Wood selection for keezer build

Homebrew Talk - Beer, Wine, Mead, & Cider Brewing Discussion Forum

Help Support Homebrew Talk - Beer, Wine, Mead, & Cider Brewing Discussion Forum:

This site may earn a commission from merchant affiliate links, including eBay, Amazon, and others.

catman

Well-Known Member
Joined
Oct 11, 2020
Messages
53
Reaction score
9
The gf and I are planning out our keezer project. We’ve purchased and are waiting to receive our freezer (8.8 cu ft Frigidaire) and kegs, and are now starting to think about what wood to use for the collar. I know this is an issue that’s been addressed in various other threads, but it’d be helpful to get some updated information and case-specific tips

Before getting started, I should stipulate that neither of us has any woodworking experience, so we are learning as we go. For this reason, we are trying to keep things as simple as possible, so no multilayer collars. (The gf has also added the request that the collar not be any thicker than the frame of the freezer for aesthetic reasons.) On top of that, we are trying to avoid woods on the more expensive side of the spectrum in case we screw the construction up and have to start over.

With that said, these are the questions I have right now. I’m sure more will come up as replies come in.
  1. Are there any types of wood generally (i.e., hardwood vs softwood) or specific species that are particularly well or poorly suited to being made into a collar? I’m thinking here not of aesthetics or price but of more thermodynamic and durability issues.
  2. What is the received wisdom on adding insulation to the interior of the collar? Is it necessary? Are there particularly good ways to do this without overly complicating the build?
  3. Given our desire to keep the project simple and avoid super large losses in case we have to throw out the wood and start over, what wood would you recommend?
Thanks for the advice!
 
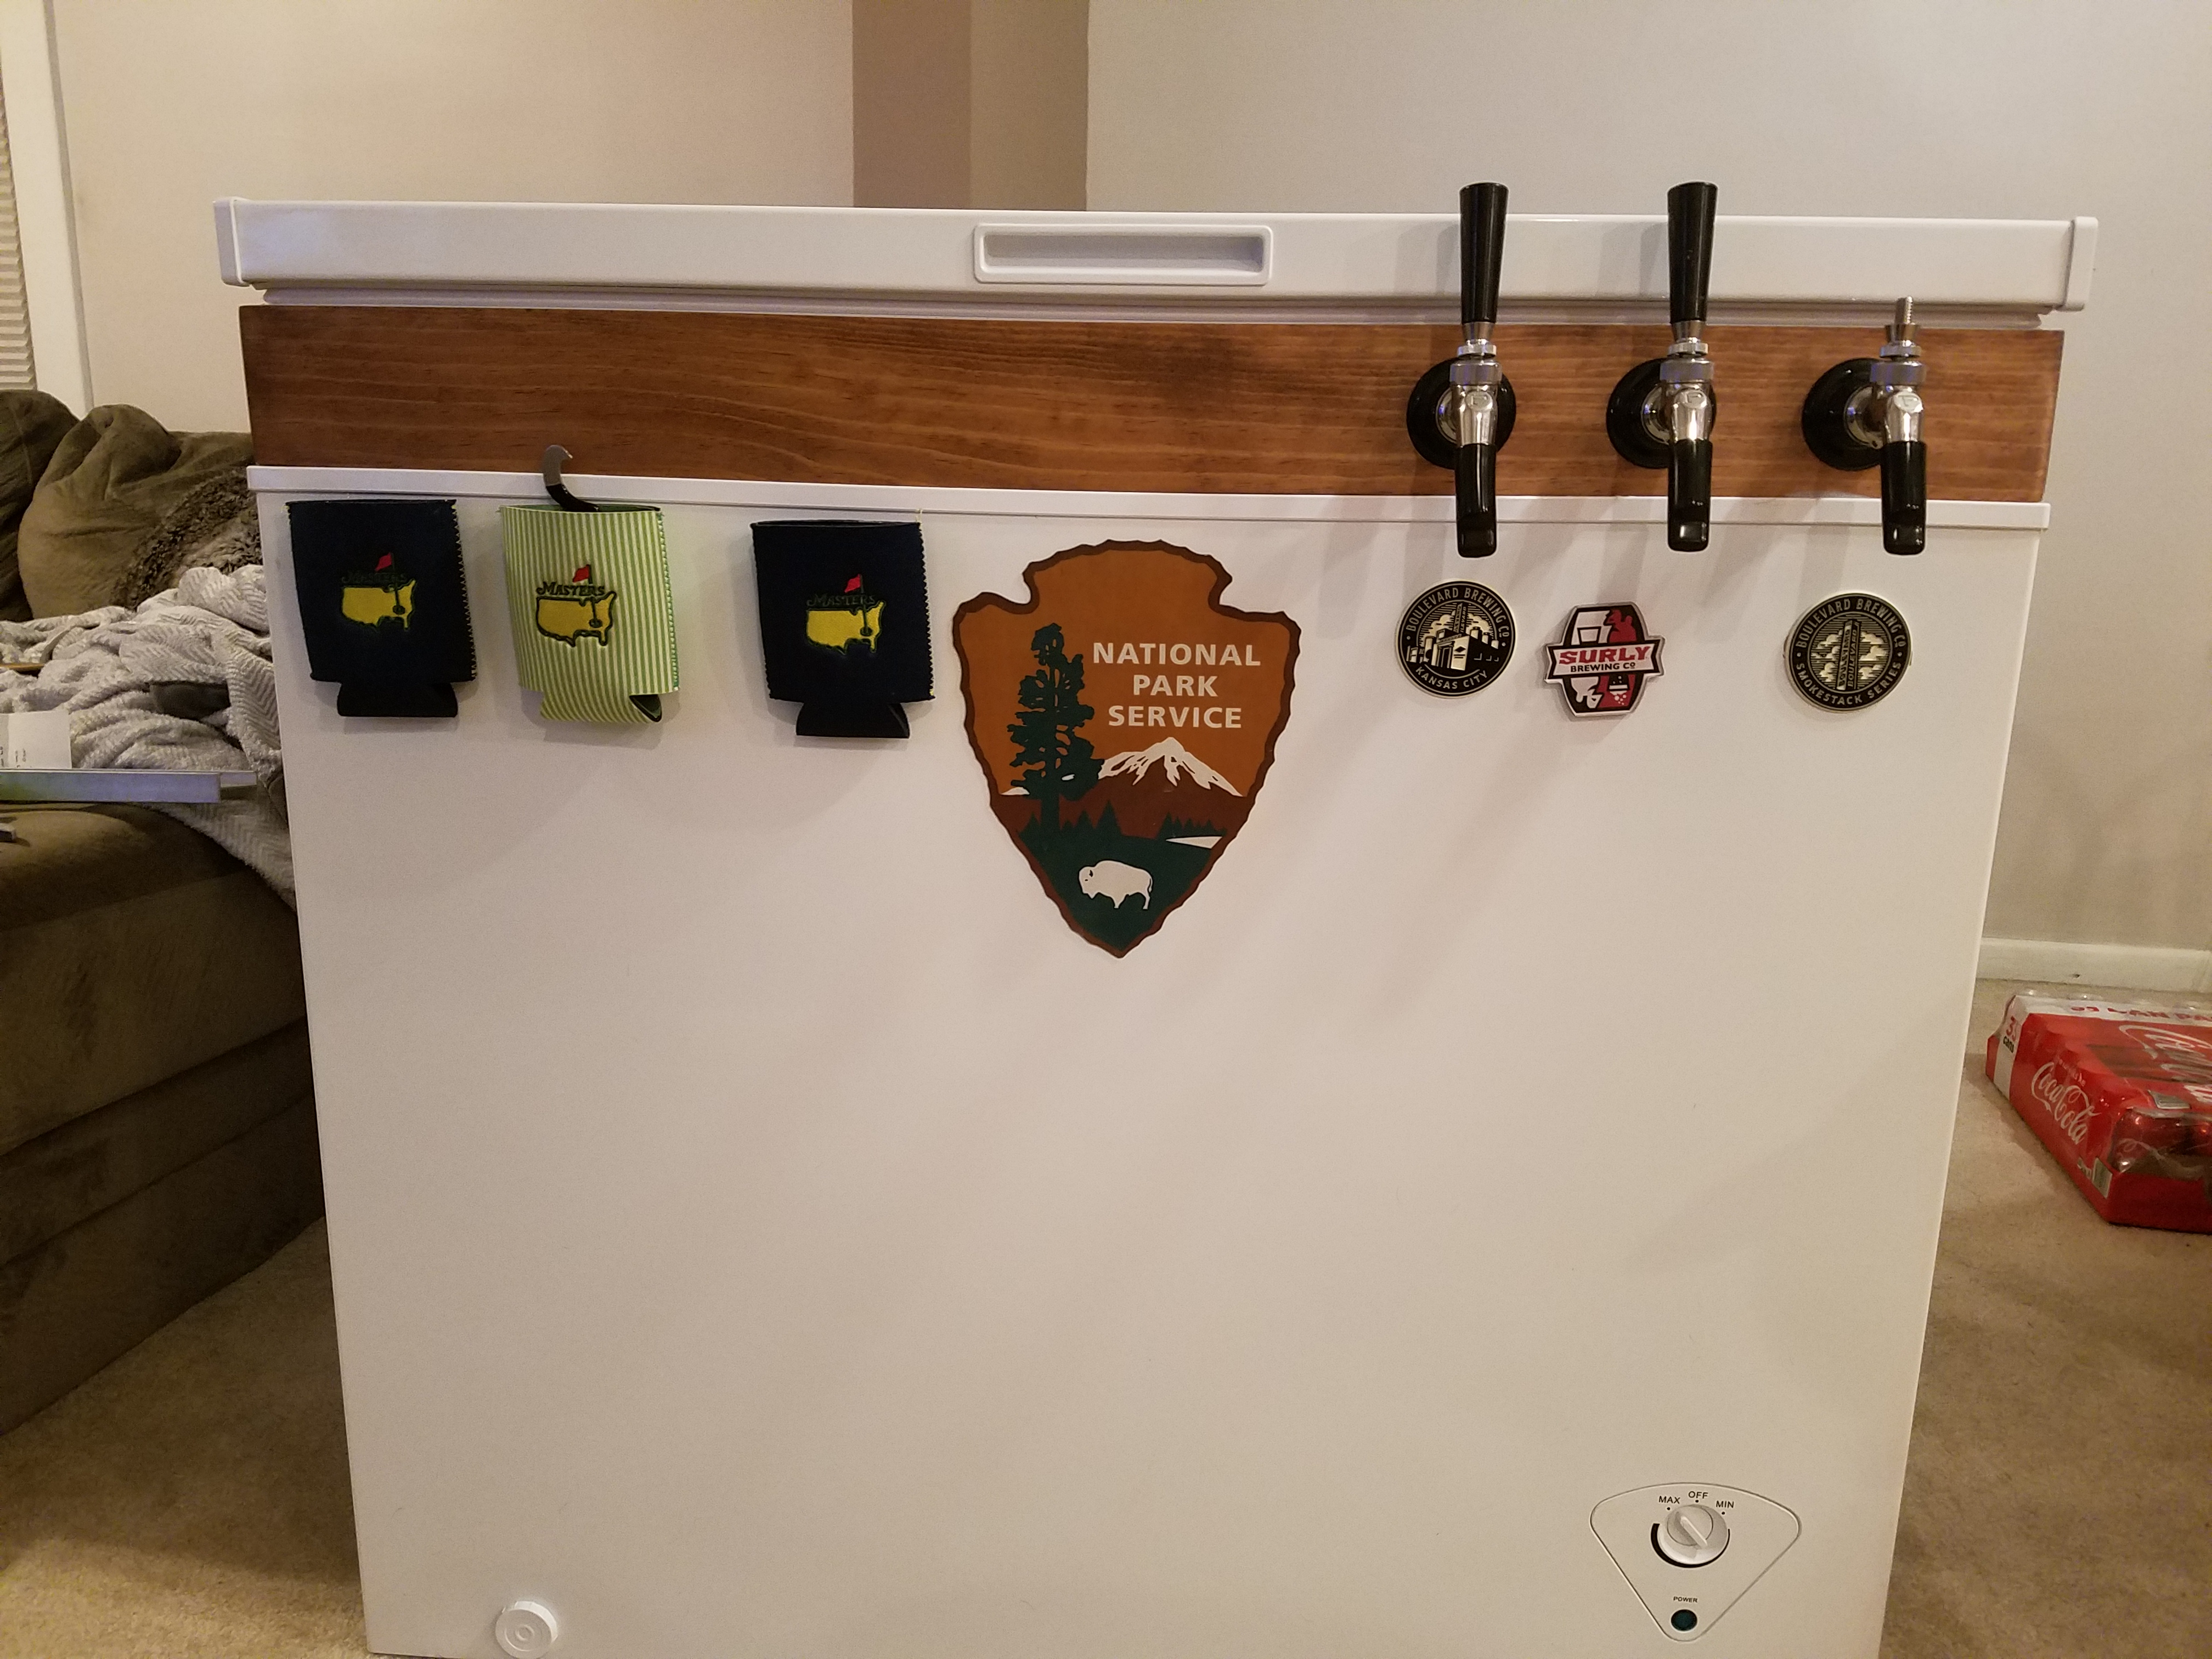
I just finished building my collar and intended to take more pictures of the construction process but I'm in a rush to finish it so I neglected the photoshoot but I will post links as best as I can. Anyway, here's my $0.02 -

I used this Pine because it's dirt cheap compared to Oak/Maple/Walnut/Mahogany and it can be stained easily.
What I liked about this Pine (don't use 2x4's):

1) Cheap (I think I spent $22 on all lumber required for my build)
2) Stains easily
3) If you take the time to pick out the right boars (look down them like you're looking down the sights of a rifle) you can find some nearly square boards which makes everything easier. Keep in mind thought that the actual dimensions of a 1x4" is .75x3.5"

Staining the wood is super easy. Once the collar is built, sand it with 220 grit sand paper and remove all dust with a tack cloth. Use a rag to apply a wood conditioner, I used Minwax for both conditioner as well as stain. I like the Red Chesnut that I used but wish I had gone a little darker.

Tip: stain the collar before you drill holes for the shanks. The reason is, I pre-drilled and wound up with a blotch by my faucets but a GORGEOUS stain on the back...that will never be seen.

Use a 7/8" spade bit to drill holes for the shanks. It's snug, but again, the idea is to be as air tight as possible.

INSULATE THE COLLAR! This is just as much about keeping the keezer cold as it is keeping condensation out. You want it sealed!

To insulate the collar I recommend using the blue foam insulation board. I got a sheet of 4'x8'x1" for like $20 (If you go to the hardware store look for one with forklift damage or something then ask for a discount. You need a tiny portion of the sheet and will usually get 50%+ off)

Cut to size and glue the insulation board into place. I used gorilla glue to both glue the insulation to the collar, and the collar to the body of the chest freezer. It works.

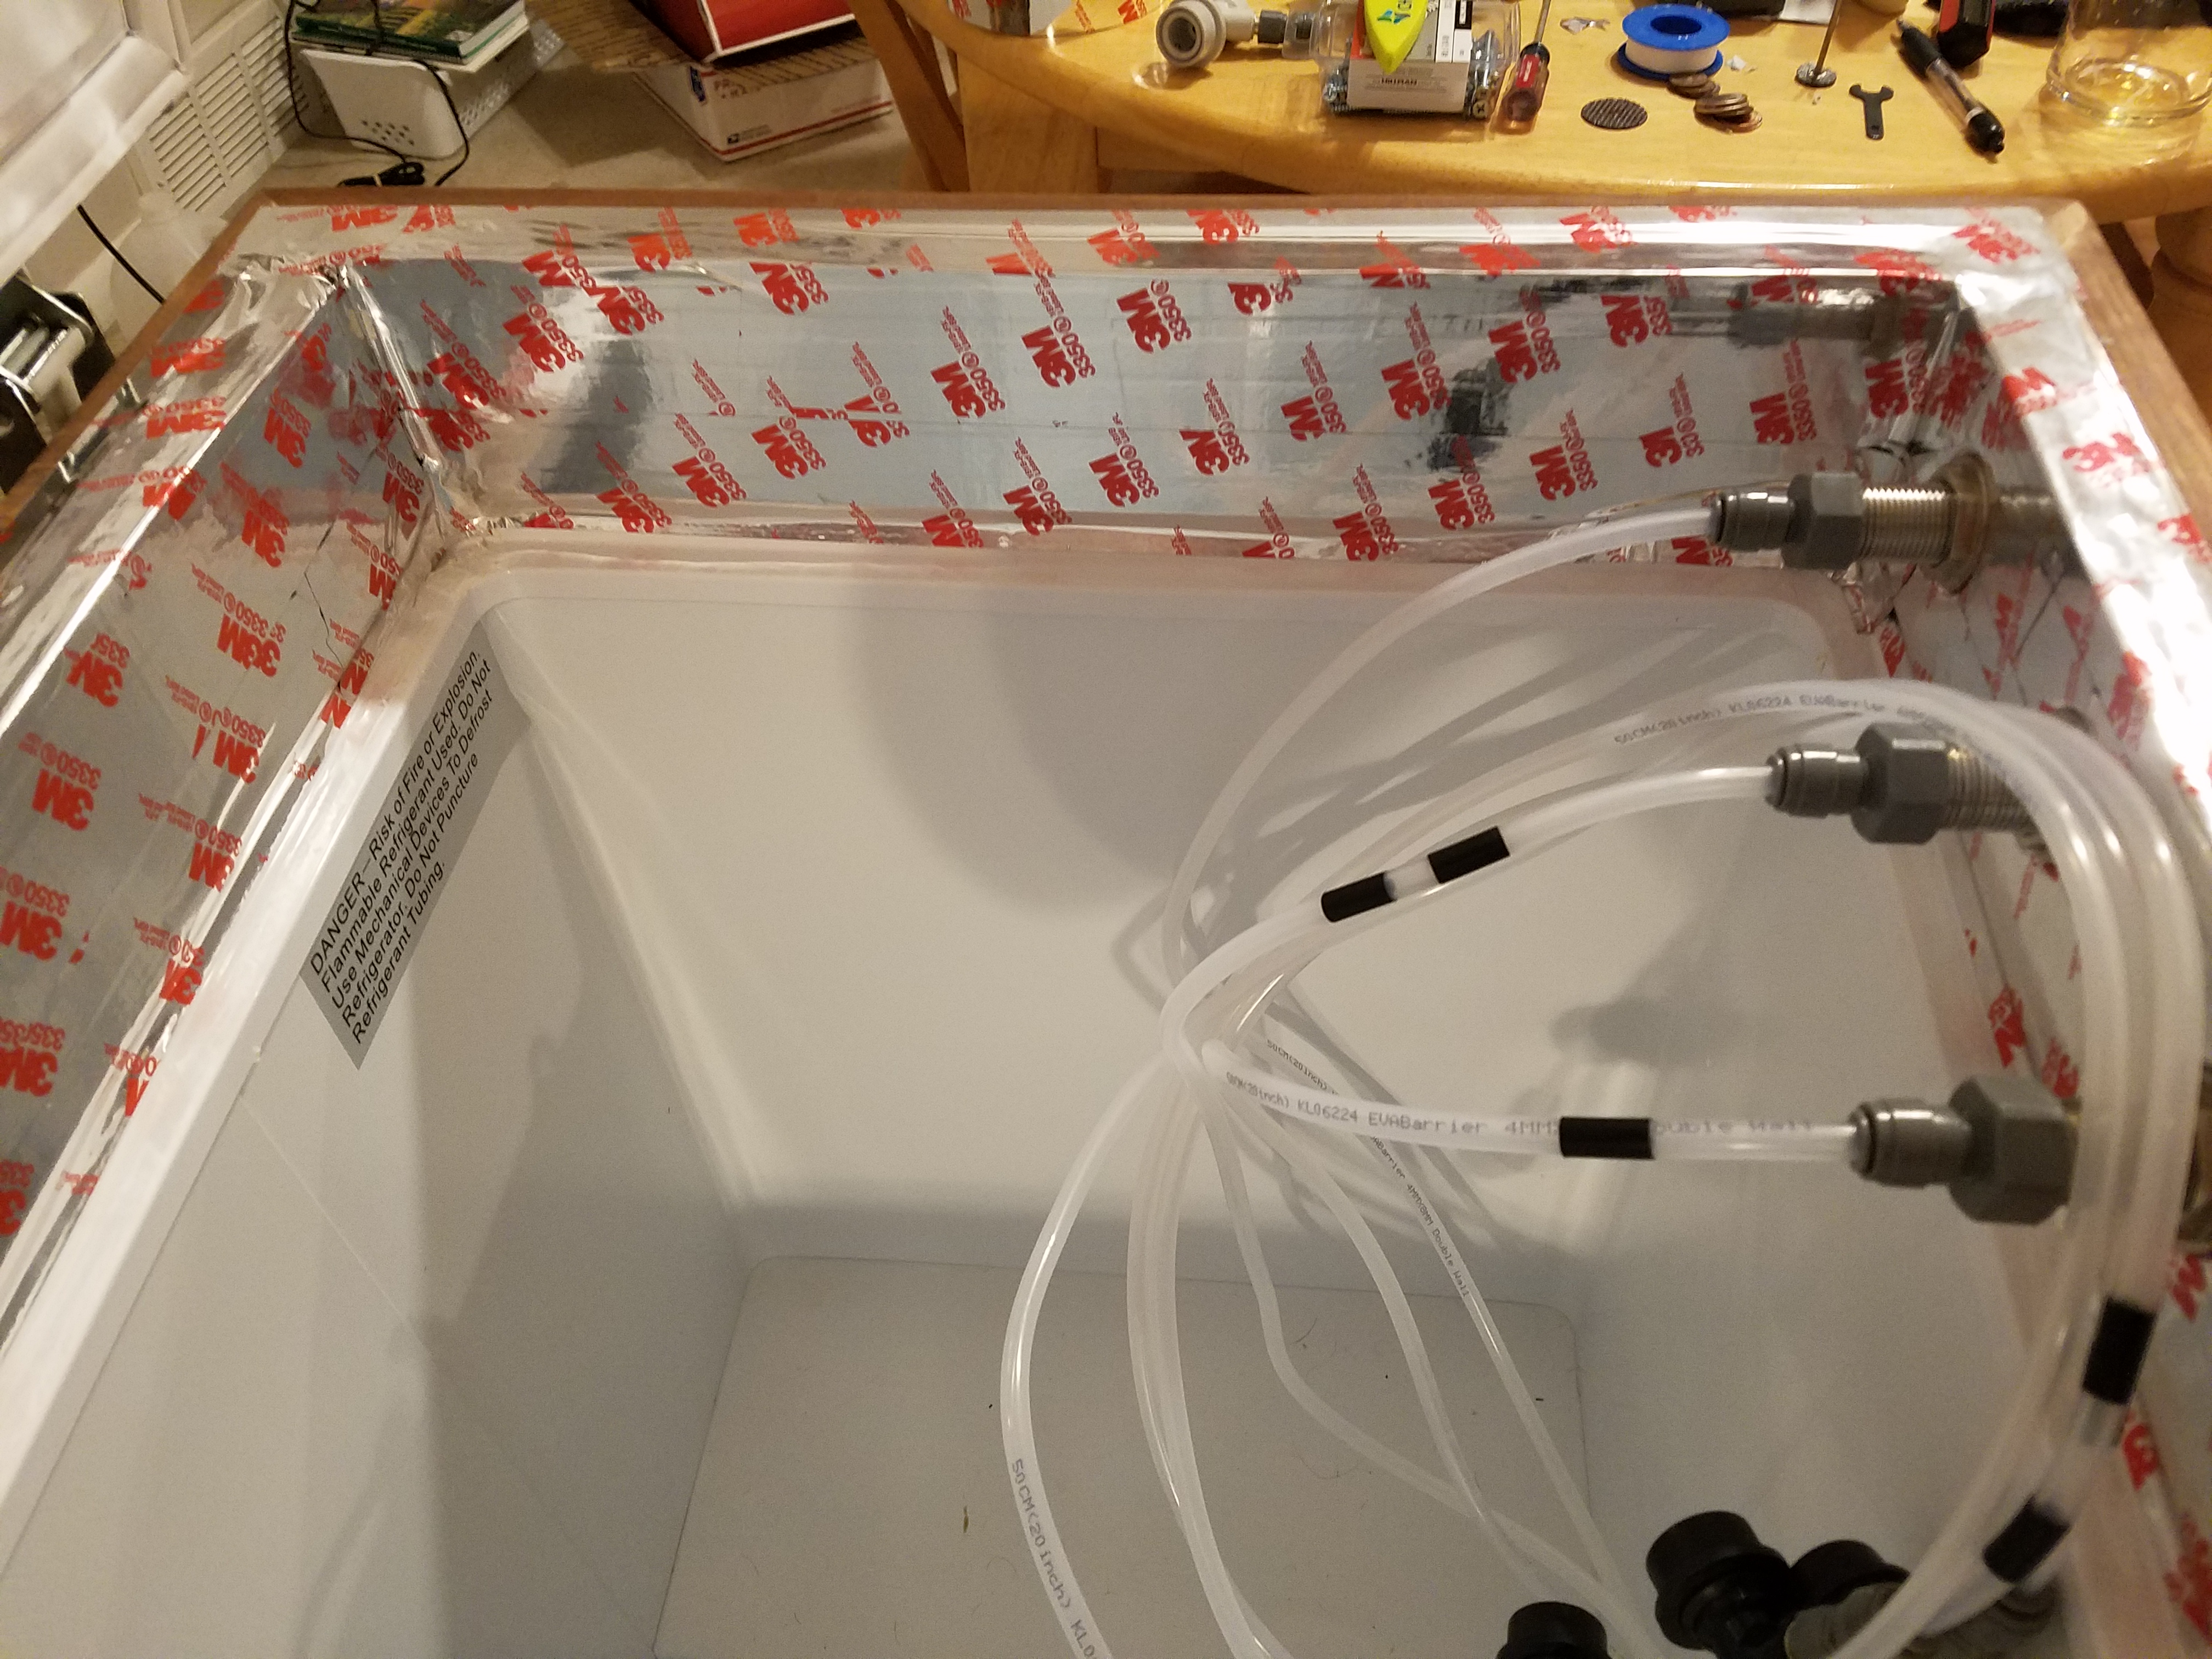
Once the insulation is glued in place and allowed to cure, cover all the insulation board with HVAC tape to help seal air gaps and contribute to the insulation value.

Using the same glue, glue that ***** to the freezer. Lay a couple boards across the collar and put a bunch of weight on top and let dry over night.


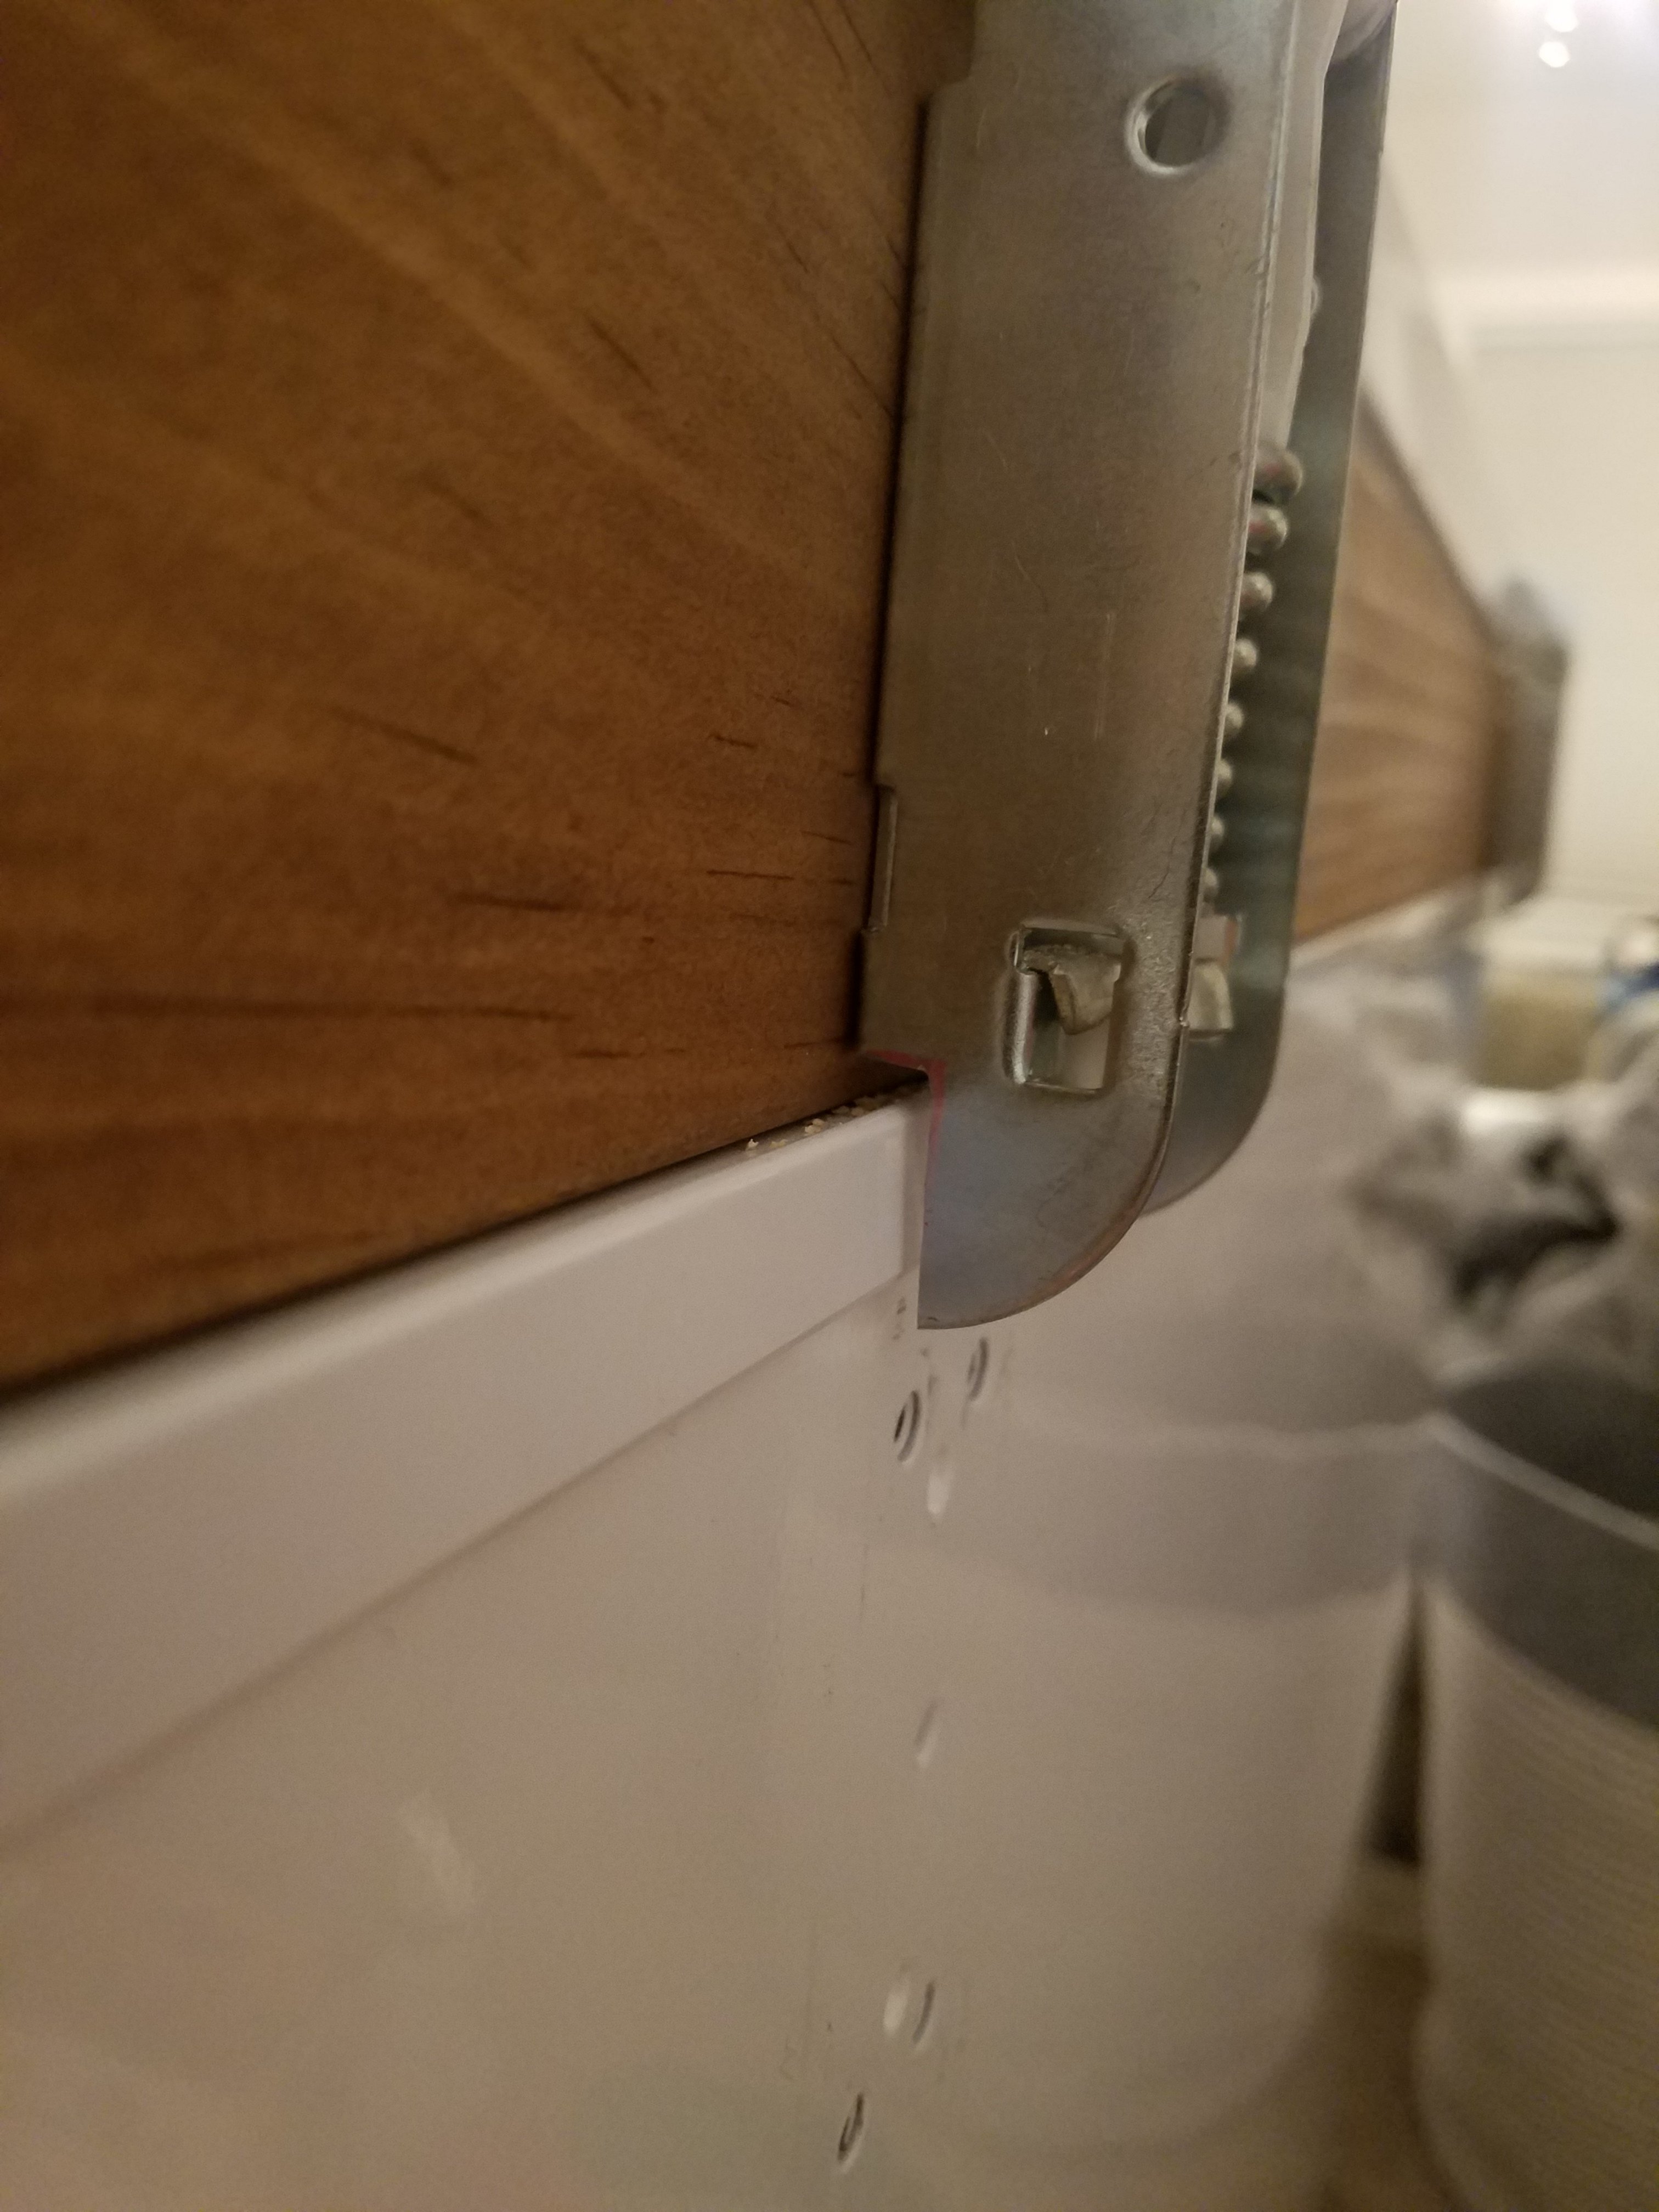
**** MEASURE THE LENGTH OF YOUR HINGES ****

My collar is 3.5" tall but my hinges are ~4.5" long (I will post pictures soon so you can see what I'm talking about)


All together I'm in this (collar) build:

~$25 for pine boards
~$20 insulation
~$7 glue
~$20 conditioner and stain


Stay tuned, I'll go take some pictures for ya
 
20201015_012129.jpg

The original Pine board is very pale. This is after a coat of conditioner and two coats of Red Chestnut stain (minwax oil based)
20201015_012138.jpg

Screwing together the collar the way I crudely drew out below I don't have any screws showing from the outside
20201015_012203.jpg

This is to show the HVAC tape. The roll I bought wasn't the actual aluminum tape where you have to peel the adhesive strip off the back so we'll see how it goes but I think it will be alright.

20201015_012257.jpg

This is why I said to measure the length of your hinges. My collar is 3.5" tall. If I made it 4.5" I wouldn't have had to cut the notch out of the the spring/hinge. It was either cut the notch out or make about a 1/4" shim to account for the difference. I decided to cut the notch out because I liked how the lid sat and made a seal.
20201015_013123.jpg

This is a crude drawing showing how I screwed everything together from the inside. I mitered the boards to necessary length making sure to cut at 45 degrees. Since I was working with 3/4" thick boards I used some of the scrap and cut 4 - 3/4"x3/4"x3.5" 3D rectangles (idk what that shape is called...you know what I mean) and screwed/glued those into the corners until the collar was built.
20201015_013135.jpg

Another crude drawing showing where the 3D rectangles go lol. Again, I wish I took more pictures during my build but I need the keezer this weekend so I didn't have time to document it.

I hope this is some sort of help for you. Cheers!
 
Back
Top