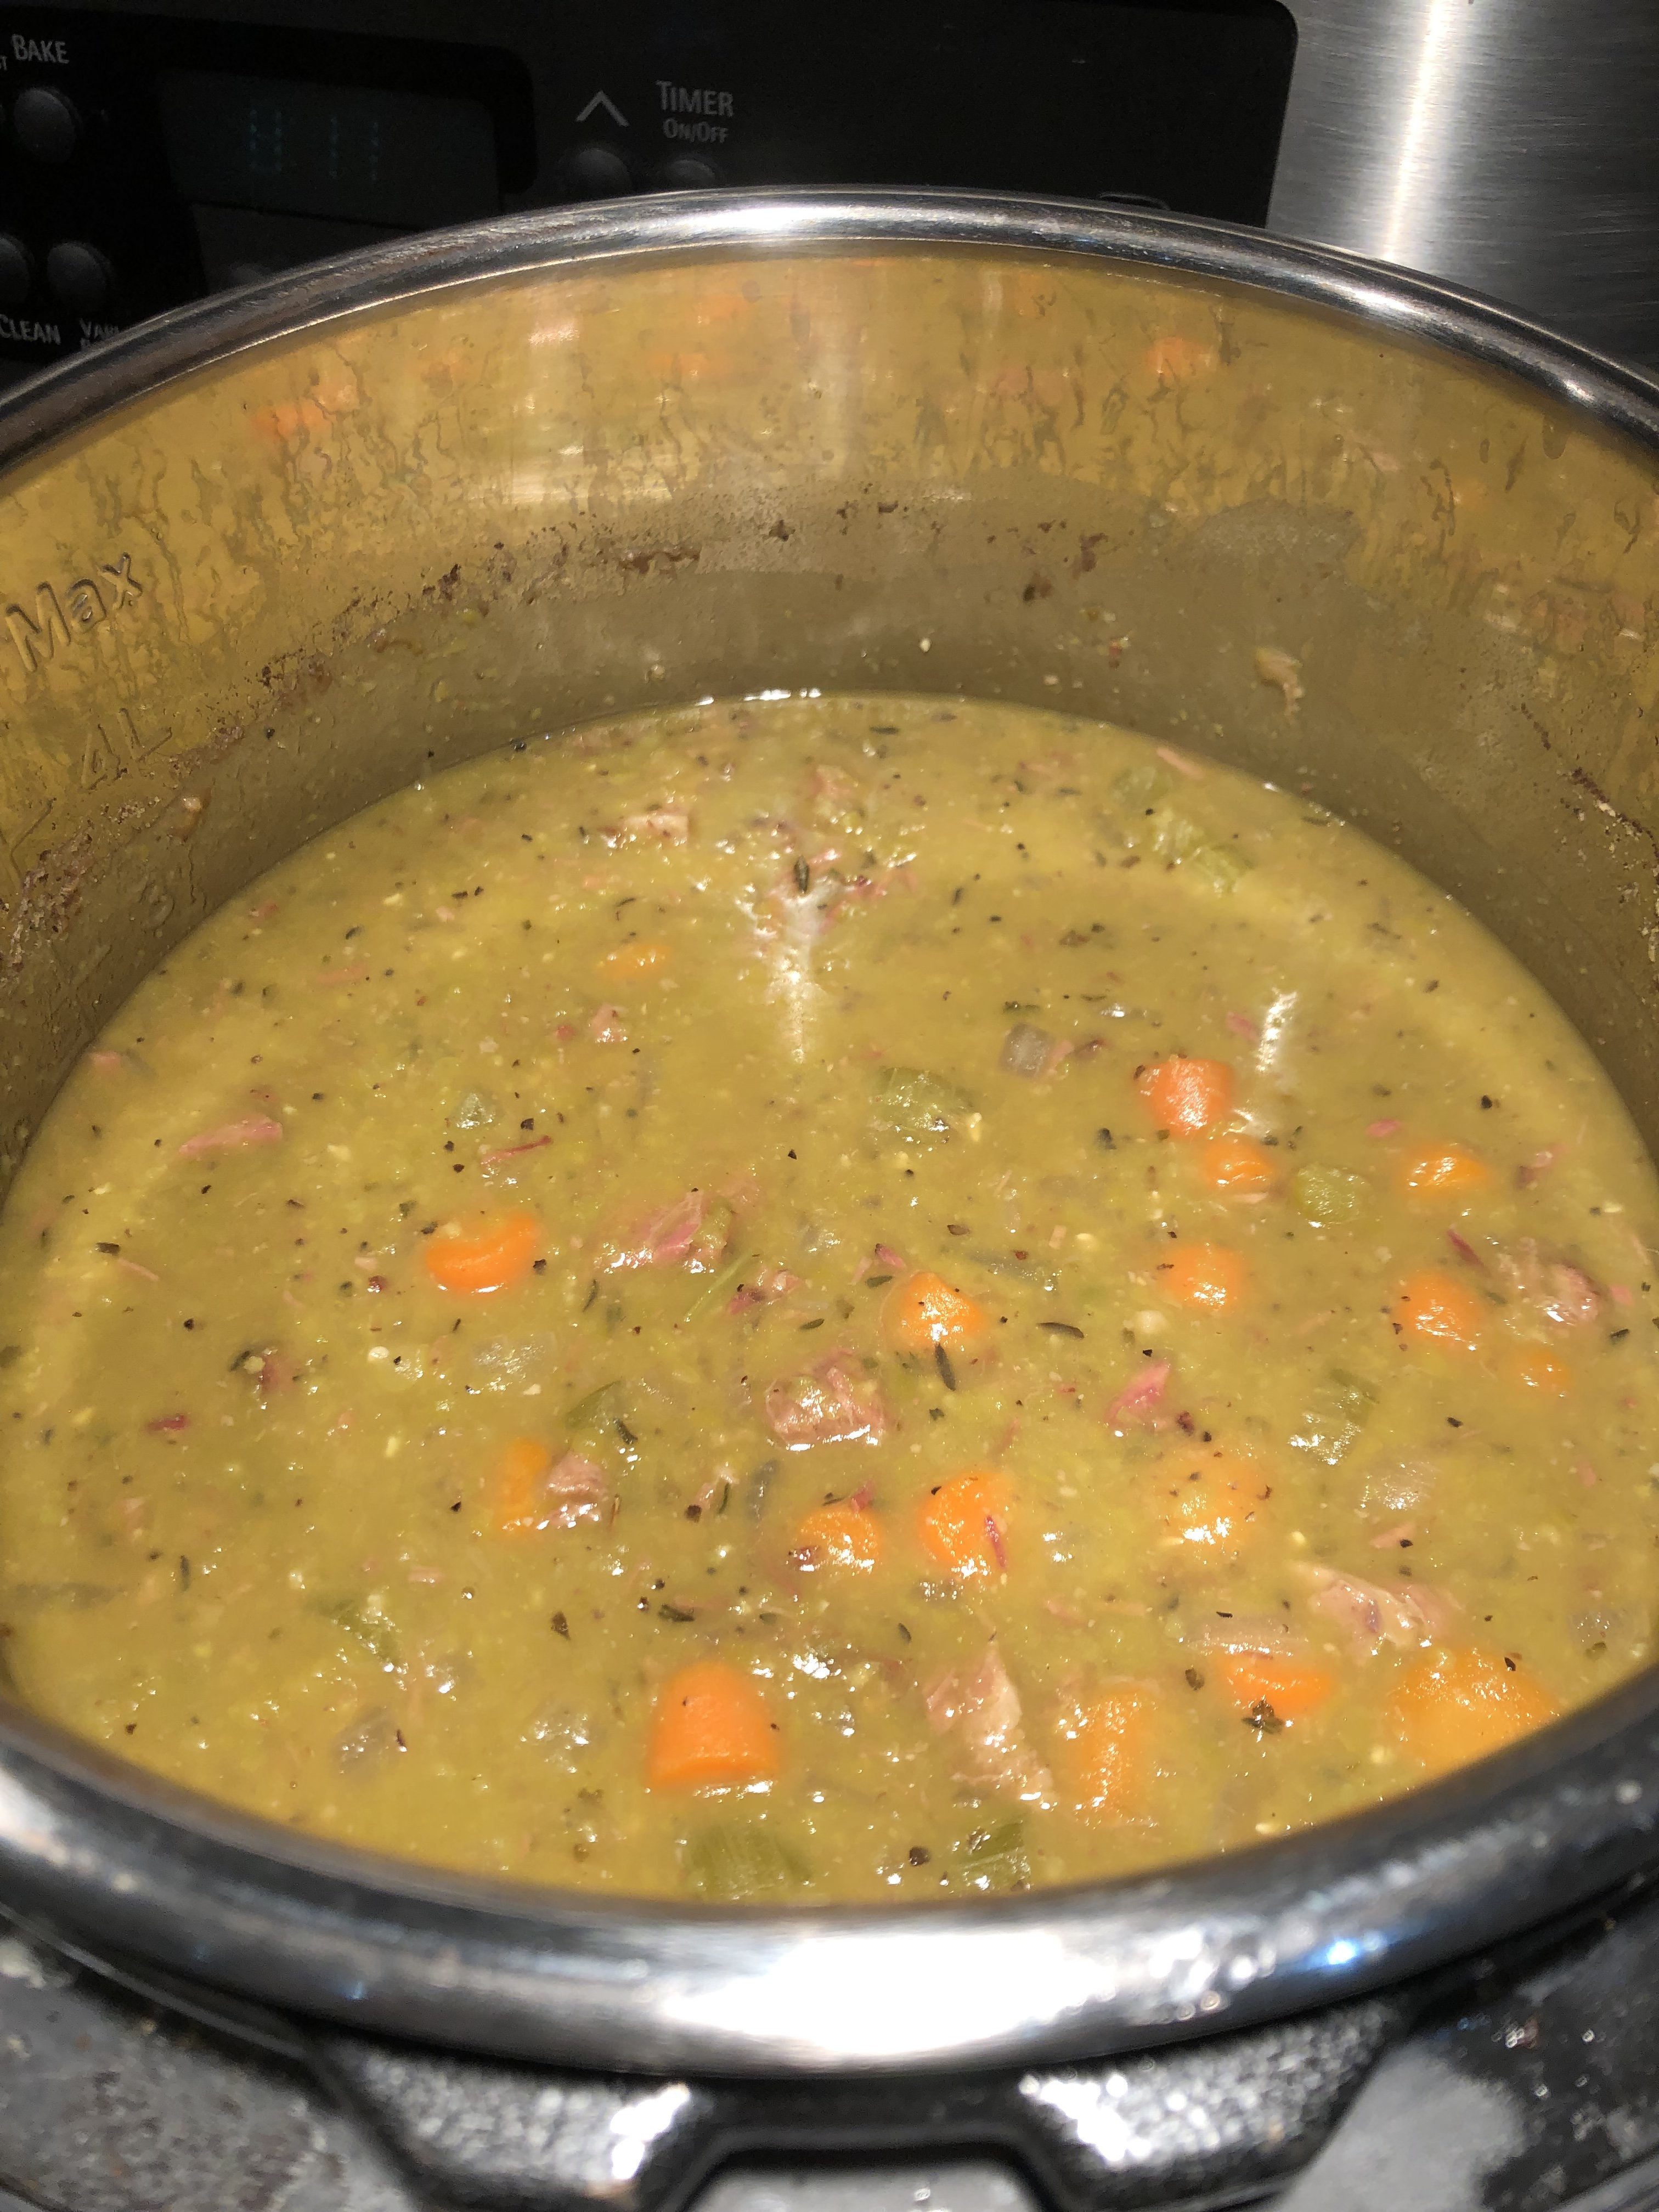
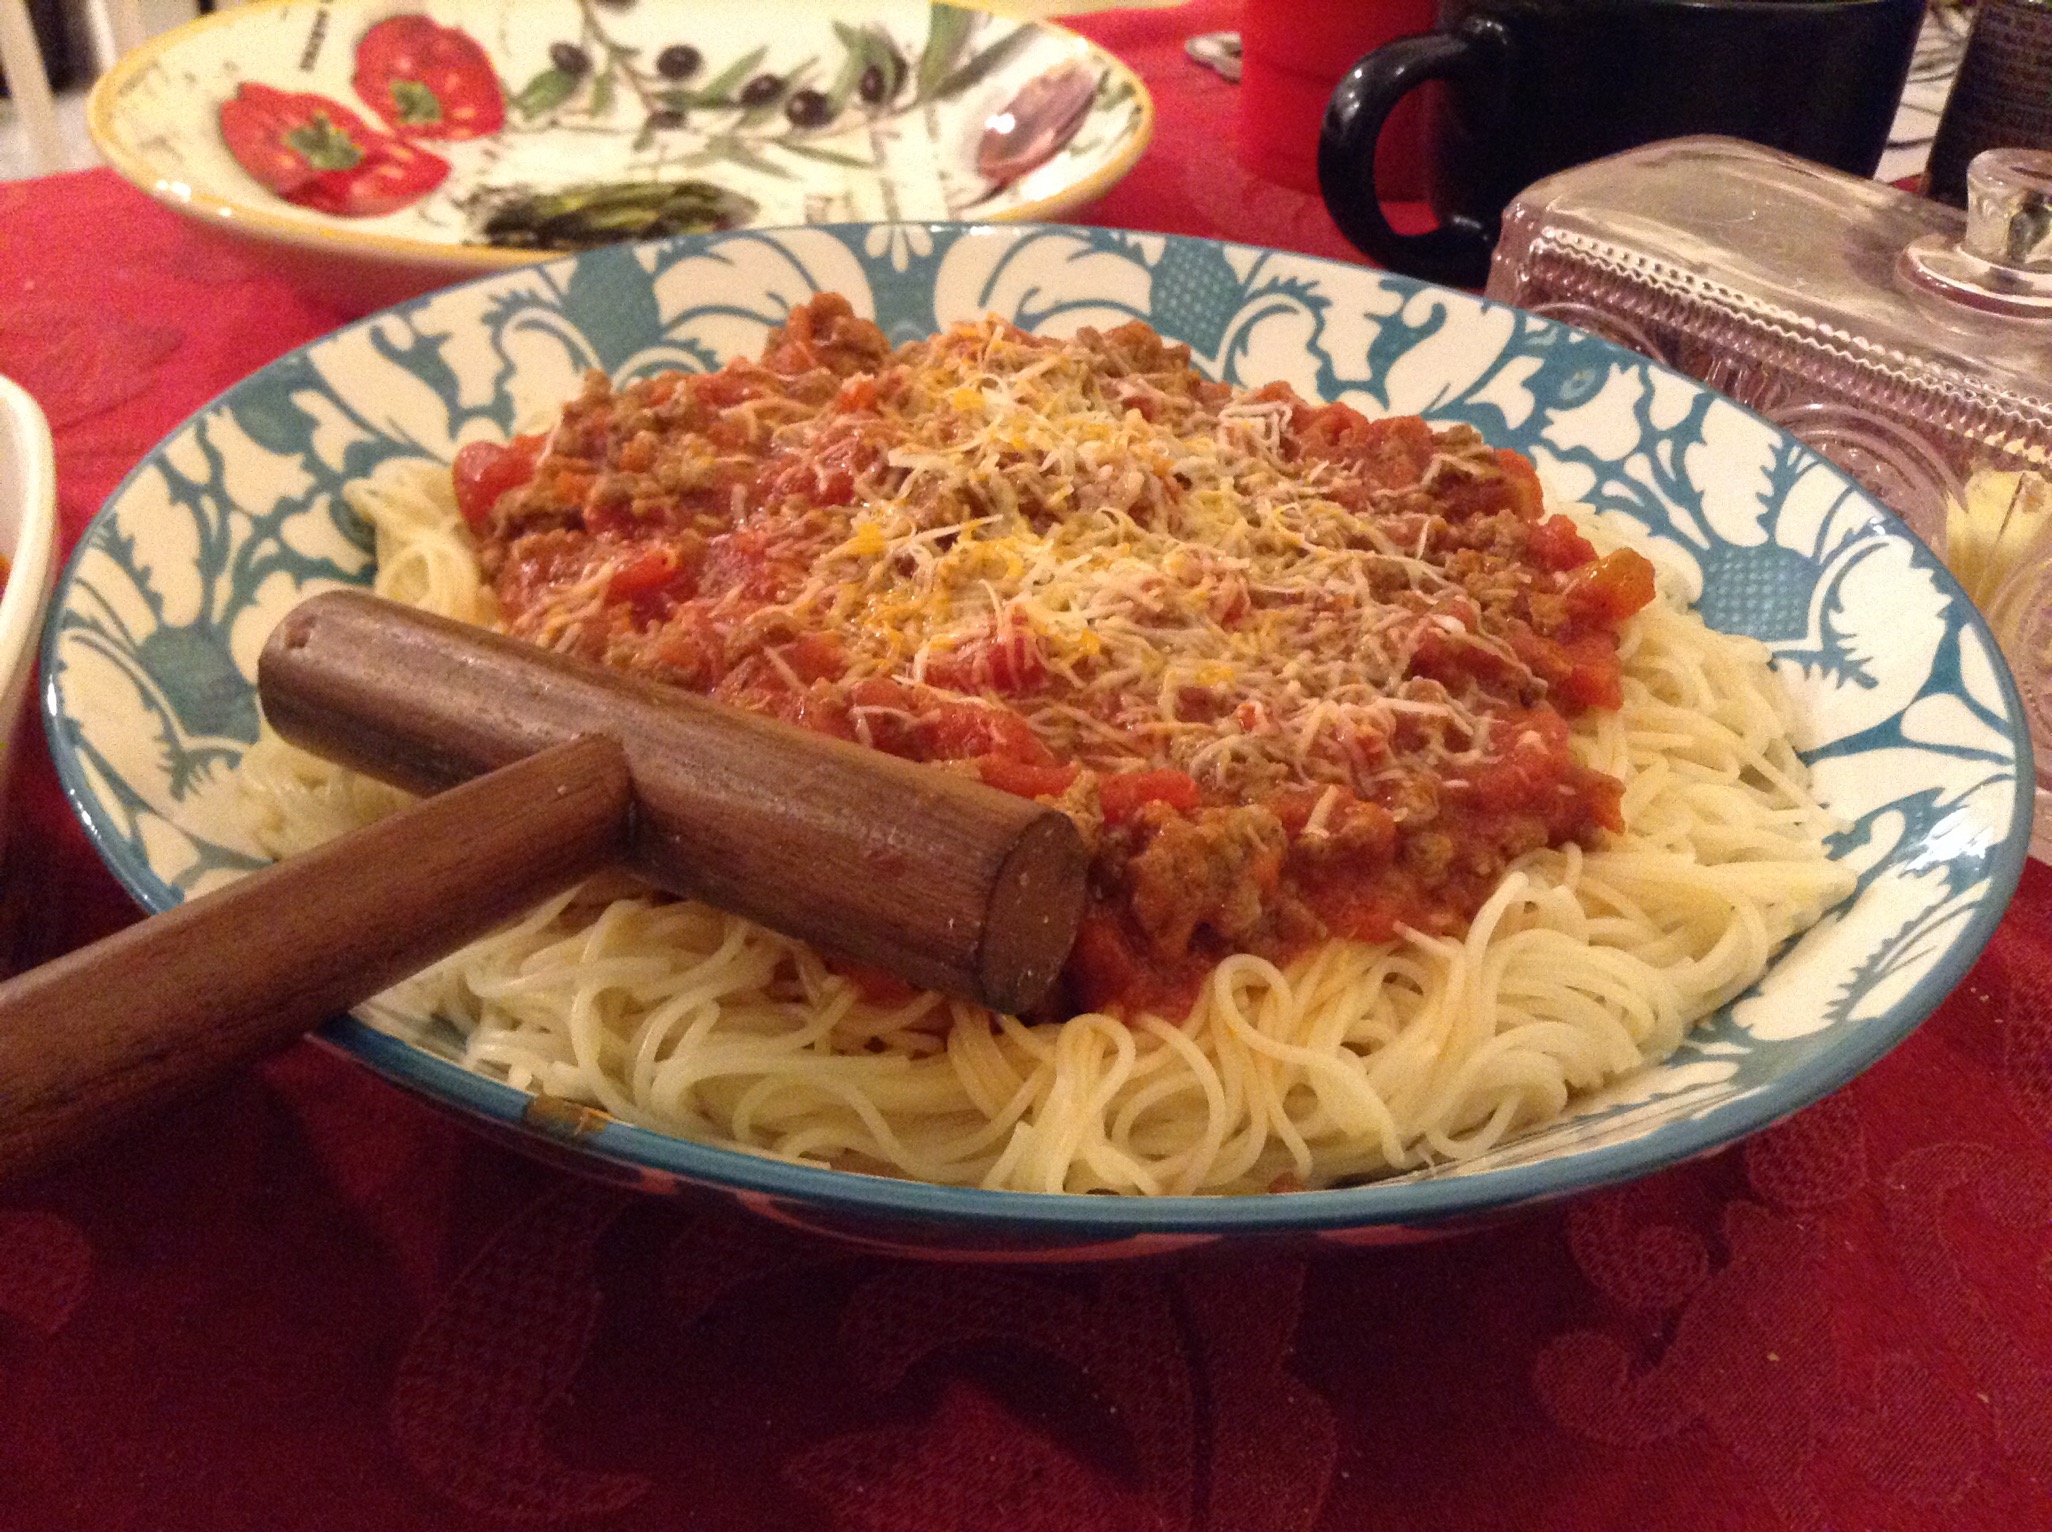
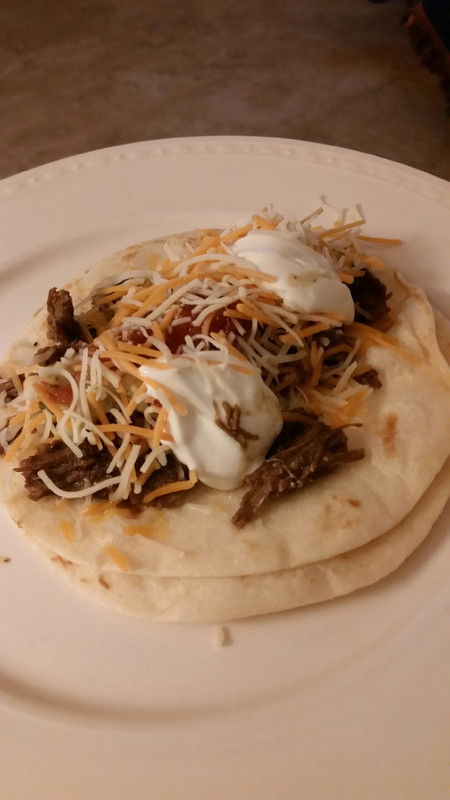
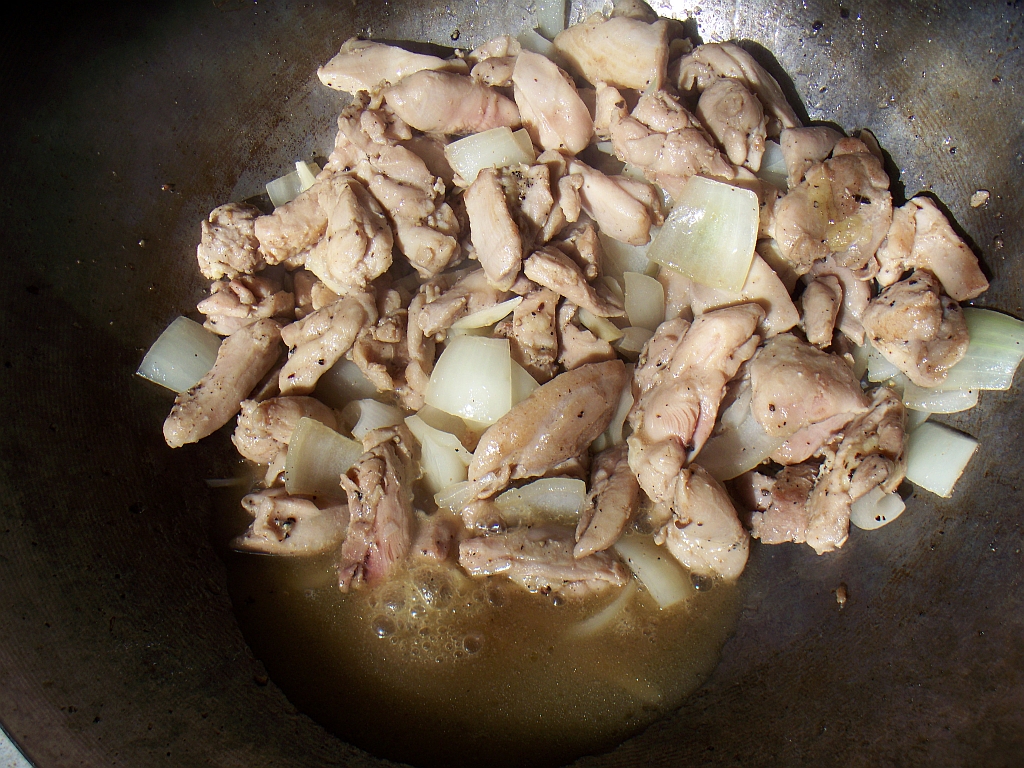
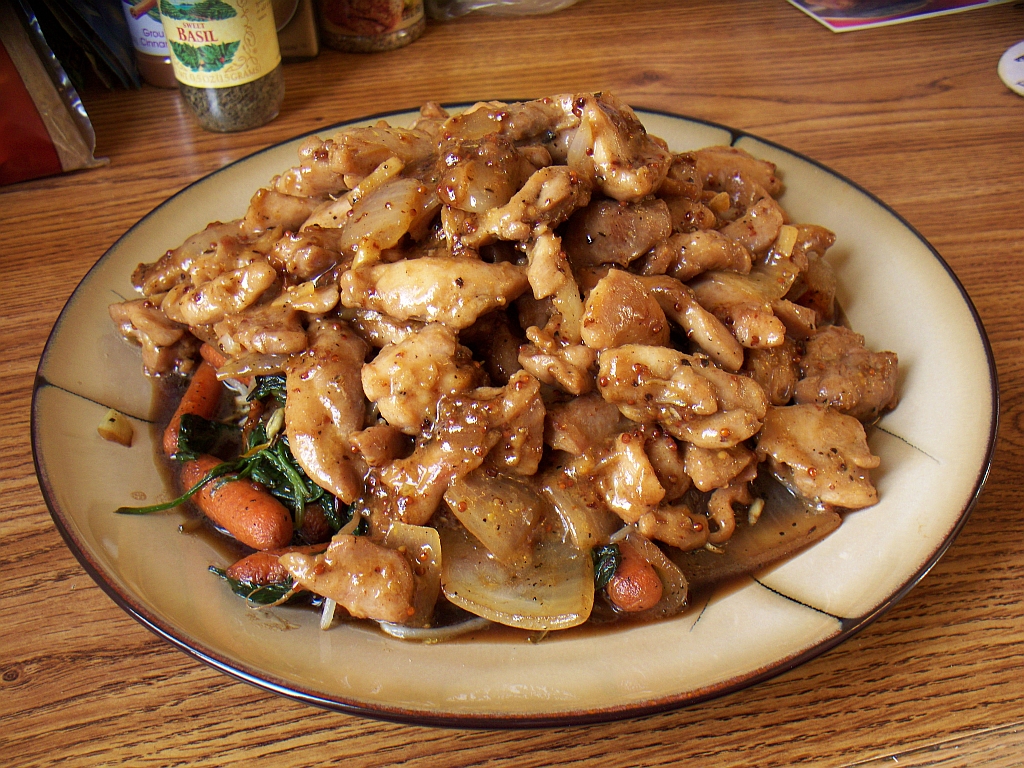
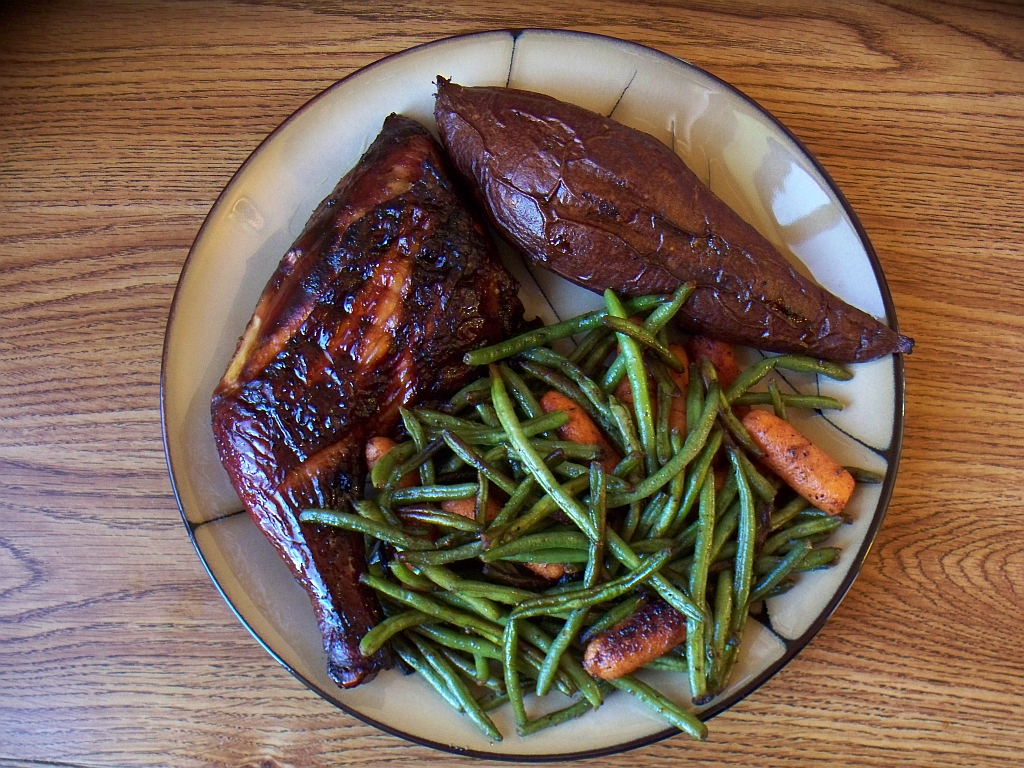
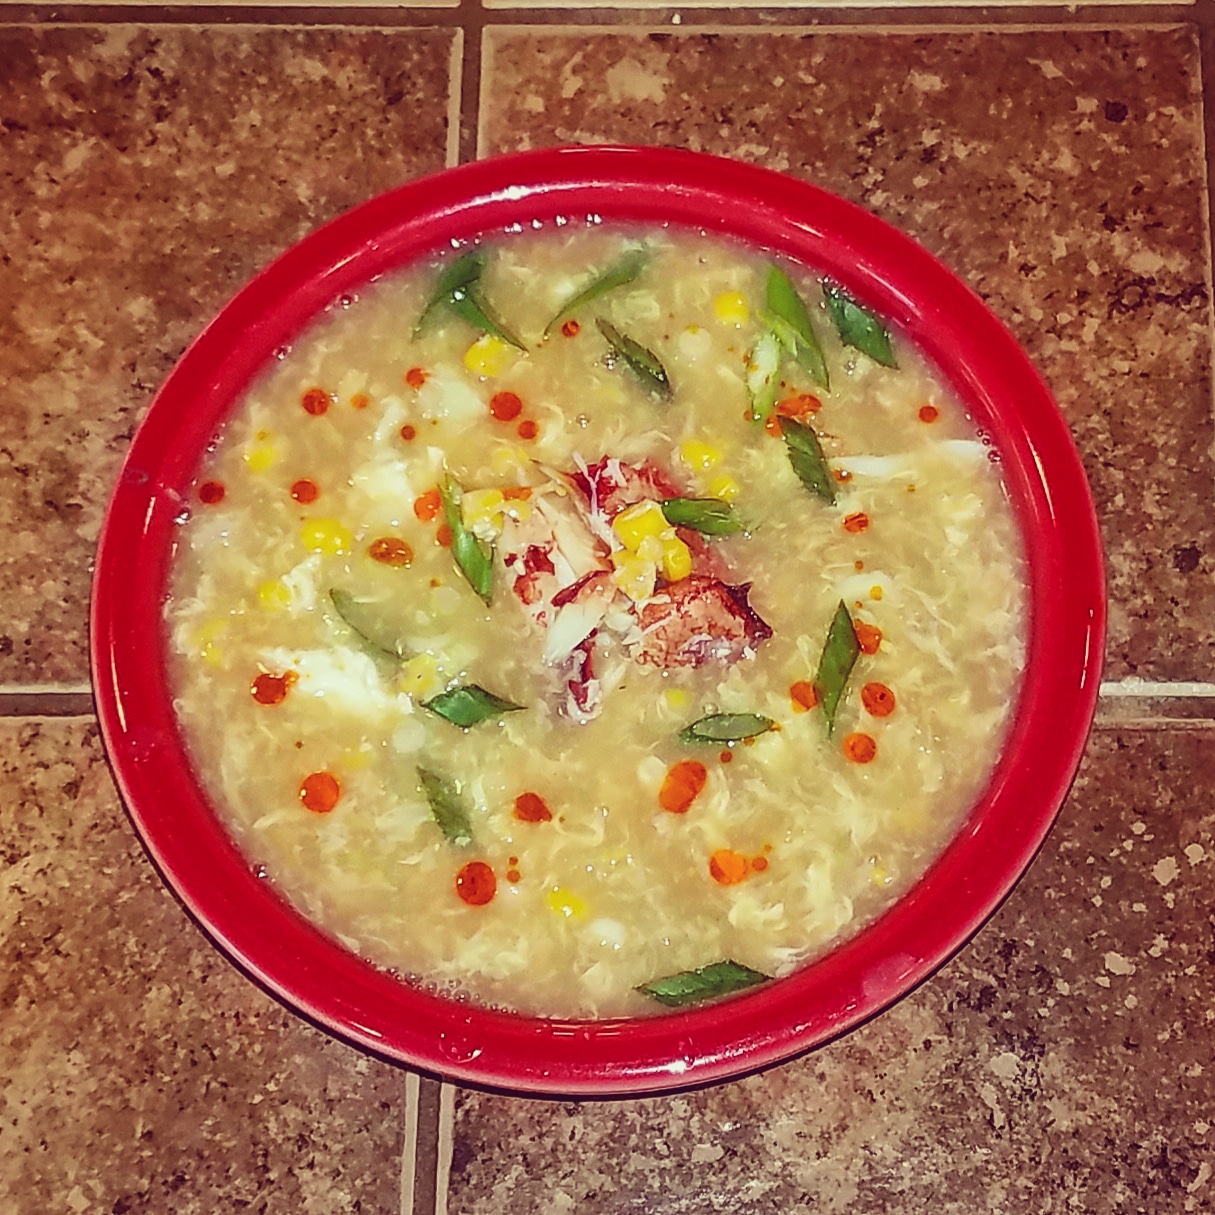
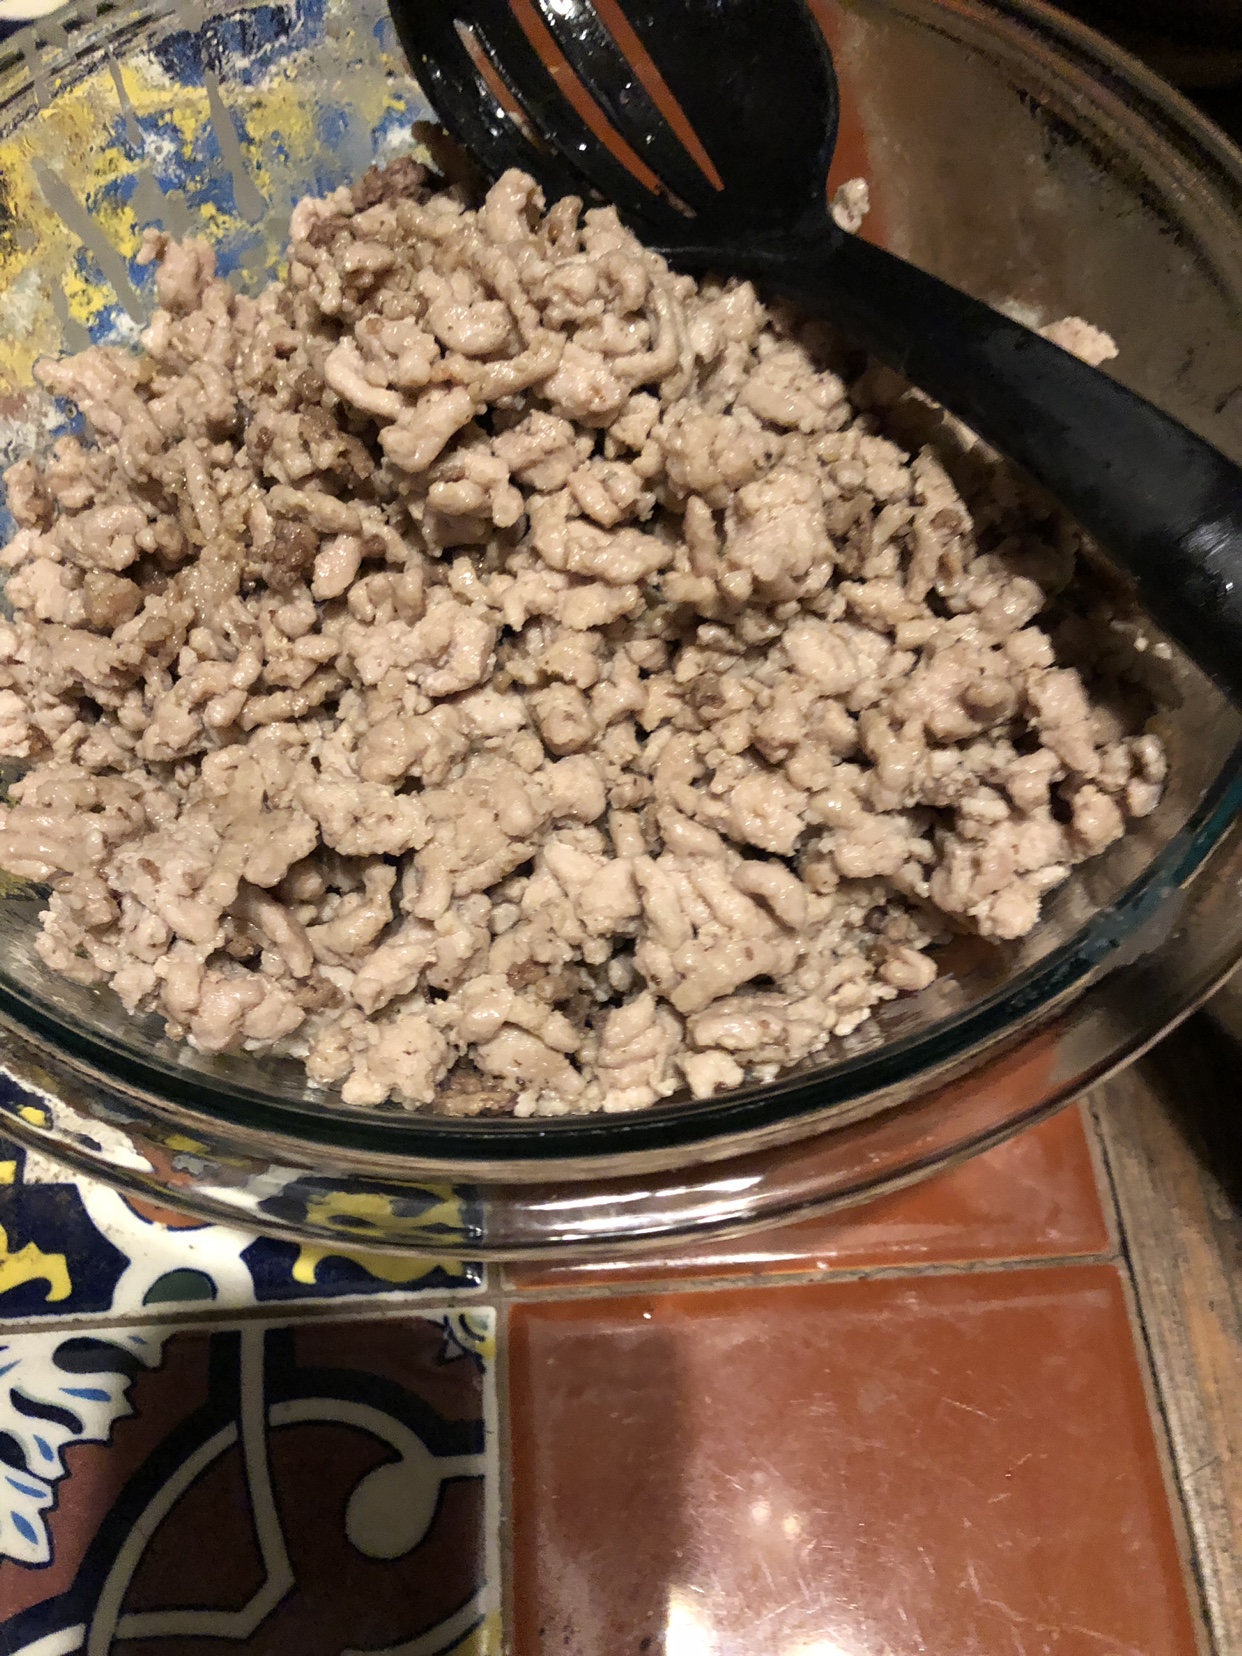
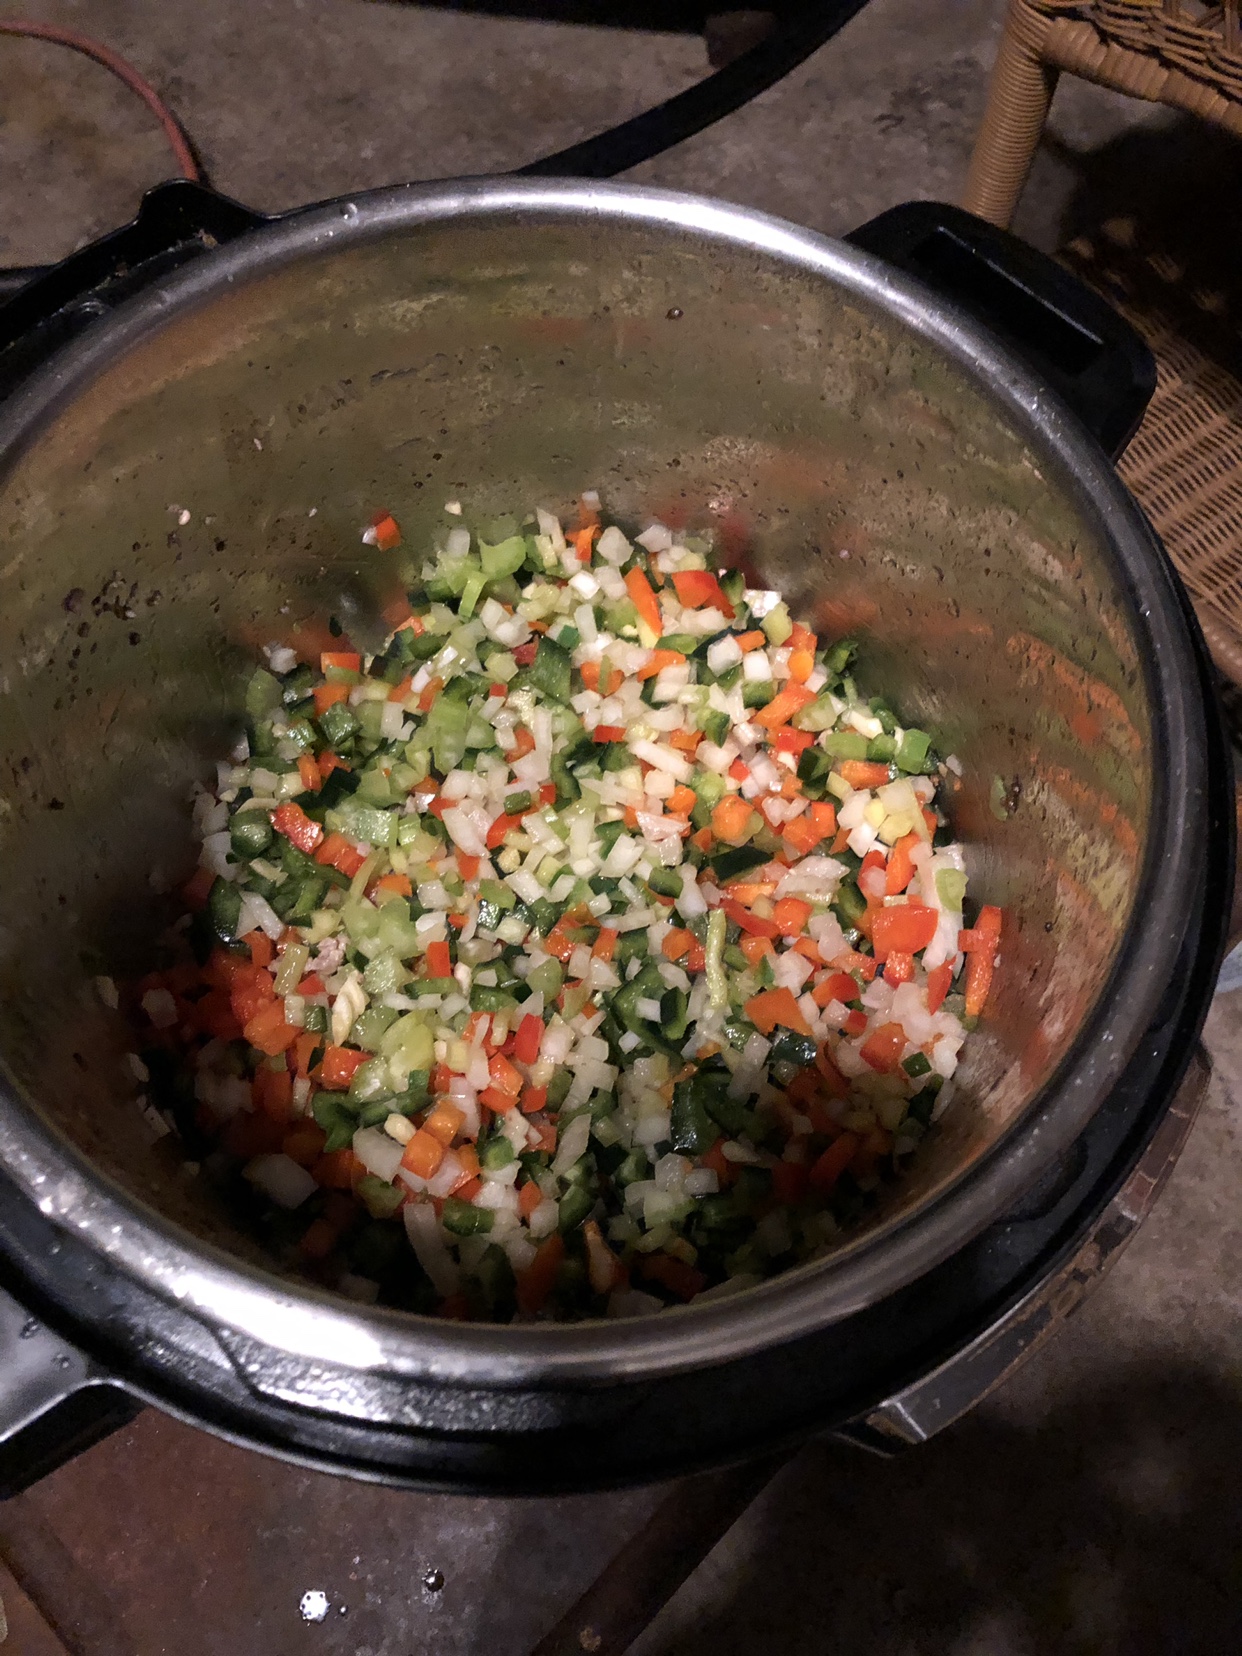
What did I cook this weekend.....

Homebrew Talk - Beer, Wine, Mead, & Cider Brewing Discussion Forum

Help Support Homebrew Talk - Beer, Wine, Mead, & Cider Brewing Discussion Forum:

This site may earn a commission from merchant affiliate links, including eBay, Amazon, and others.
I've been using this one for awhile and am happy with it.

I will say that I rest the balls at room temperature for several hours (not 30 minutes) before stretching (step 6) and that seems to make a big difference.

Also, my convection oven set to 550* cooks pizzas in less than 6 minutes which has made far superior results compared to my old oven set to "bake" at 550.

https://altonbrown.com/pizza-dough-recipe/
 
I’ve seen some of the dough debates on the pizza thread... I just do a pretty ordinary dough with a little olive oil. Also use olive oil in the proofing bowl/container.
 
Good choice in fish sauce, makes a big difference.

I add Ox-tail, marrow bones and tendon for the broth. Looks like jello when its done and cool. The instant-pot makes quick pho stock. Marrow bones are ready in 3hrs instead of all day.

Yup. I did it in the instant pot. Was pleasantly surprised, definitely worth it just from a time saving standpoint.
 
I am not, but dang I am prolific. I am working the dough to cold for starters, and for some reason after a few days the fermenting (?) dough seems to wet to rework with flour. It does produce a very airy soft dough. When I worked it with flour it took to much in. Do you (anyone else) have any good pizza dough recipes? Been wanting one. I dont know how it will work in bulk, but its time I at least try. Maybe pizza thread is better place, but thought I would ask here.

Marc Vetri’s new book Mastering Pizza is invaluable!
 
It’s easy. I will expand on it and post the recipe when I get a chance.

I did not forget about this. I've just been busy.

The recipe is a basic star bread recipe. The one I made has a filling made with butter, cinnamon, and sugar, but you can put whatever fillings in that you want. I think my next one will be savory with a marinara filling with parmesan and maybe a little finely crumbled italian sausage. I've see them on the internet made with jam fillings. You basically make the dough, let it rise, roll it out into 4 ~12" disks, coat one disk with filling, place the second disk on top of that, coat that disk with filling, place the third on top of that, coat that disk with filling, and finally place the fourth disk on top of that.

To make it perfectly round, get a bowl just under the size of your dough disks, invert it on top of the stack, and use it as a guide to trim the stack into a circle.

The trick to making it pretty is to find another small bowl or biscuit cutter or whatever that is 2-3" in diameter and put it in the center of the stack. You then use that as a guide to make 16 cuts from the small bowls outer edge out to the edge of the dough disk. So it's like cutting a pizza, but the small bowl in the middle leaves all the pieces connected in the center. You then go around grabbing two adjacent pieces twist them in opposite directions two turns away from each other then pinch the ends together. My ends came undone and I need to probably dampen them and pinch more next time, but it still looked cool :)

You let it rest/rise again for 30-40 minutes then bake it.

I started with a recipe from taste of home. I will post that next.
 
Twisted Star Bread

Ingredients:
  • 1 package (1/4 ounce) active dry yeast
  • 1/4 cup warm water
  • 3/4 cup warm whole milk
  • 2 large eggs
  • 1/4 cup butter, softened
  • 1/4 cup sugar
  • 1 teaspoon salt
  • 3-1/4 to 3-3/4 cups all-purpose flour
  • 3/4 cup jam, butter cinnamon sugar mix, etc.
  • 2 tablespoons butter, melted
  • Confectioners’ sugar

    Instructions:
  1. First, dissolve the yeast in a quarter cup of warm water.
  2. In a separate bowl, combine your milk, 1 egg, butter, sugar and salt.
  3. Add the dissolved yeast and three cups of flour.
  4. Mix with a dough hook or by hand. If your dough is gooey, make sure to keep adding flour a little bit at a time until it’s soft and forms a dough ball.
  5. Flour a smooth, large clean surface (big enough to roll out 4 12” circles)
  6. Knead the dough ball for 6-8 minutes until the surface is smooth and elastic.
  7. Place it in a greased bowl, turning once to lightly oil the top. Cover loosely with plastic wrap and set in a warm place
  8. When the dough has doubled in size, punch it down.
  9. Put the dough back on the floured surface and divide the dough into four pieces.
  10. Form each of the four pieces back into a ball and rest for 5 minutes.
  11. Roll one into a 12-inch circle.
  12. Transfer it to a 14-inch pizza pan or the back of a really big cookie sheet lined with parchment paper.
  13. Spread a third of your filling on this dough circle to within an inch of the edge. Repeat this process twice, layering dough and filling and ending with your final dough circle.
  14. If your layered dough is not a perfect circle because rolling out perfectly round dough circles is a pastry skill you don’t possess, use a sharp knife to cut the edge cleanly around so that it is a perfect circle.
  15. Place a 2 ½-inch round cutter on top of the dough in the center, without pressing down.
  16. Make 16 evenly spaced cuts outward from the circle in the center to the edge of the dough.
  17. Remove the cutter (or glass). Grasping two strips of the dough, twist them outward twice, away from one another. Pinch the ends of each strip together so your filling doesn’t try to escape. Repeat with remaining strips.
  18. Cover with plastic wrap and let your dough rise for another 30 minutes.
  19. Preheat the oven to 375 degrees.
  20. Separate the second egg, and brush the top of the bread with egg white.
  21. Bake your bread for 18-22 minutes or until golden brown.
  22. Brush the bread with melted butter.
  23. Cool on a wire rack before giving it a light dusting of powdered sugar.
 
I like them, although i've had to make a lot of adjustments. I've used them all, but my favorite so far is the saucier.

My older pans have a very very thick copper layer on bottom that holds a lot of heat. I've burned butter twice now warming butter in the All-Clad because it took no time at all.

My older frying pans have a different lip than the all clad does. The first time i gave a pan of mushrooms a flip i sent half them onto the stove top.

And lastly i poached some eggs in the large 5 qt saute pan, and i've never spent so much time cleaning 1 pan before. Egg is now permanently affixed to the pan after 1 use. I was able to get most of it off with baking soda, vinegar and a lot of scrubbing, but some i couldn't even get off with my finger nail. My previous egg poaching pan was semi-non stick and was a breeze to clean. Gonna have to find something better for this as it's not sustainable.

I have a feeling i'll be buying more and tossing my old stuff even though it's perfectly good because the dimensions of this stuff is so much better suited to how I cook.

For cleaning the SS All-clad, you must have a SS scrubby thing. It will clean it in 10-seconds to like-new shine. Though, my wife won't get within 10' of the scrubby because it destroys her nail art. Harumph. Also, there is that chainmail stuff that people use to clean their cast iron, but I haven't any experience there.

Eggs are one of the things I will not use the All-Clad for. I pull out the nonstick for those. There might be some guru out there who's figured out how to cook an egg in all-clad, but not me.
 
Sounds like you should call her bluff and get your own nail art :)

I've used the chain mail on All-Clad and it works better than the scrubby. Although Im still paranoid that Ill discover scratches over time so I use it only under severe need. I remember doing some research and online I've never read about people having problems with the chain mail. I believe some suppliers even guarantee it but where will they be 5 years from now.

The chain mail works amazingly well but the majority of use I do with it is on cast iron pans where scratches aren't as bad as shiny SS
 
And lastly i poached some eggs in the large 5 qt saute pan, and i've never spent so much time cleaning 1 pan before. Egg is now permanently affixed to the pan after 1 use.

My wife's tradition for Christmas breakfast is Eggs Benedict, so gotta poach them eggs. We got some of those silicone egg poaching cups from some store or other a long time ago and they work great. The eggs do come out a little dome shapped but I'm fine with that, you don't lose any egg to the water like can happen with traditional poaching from just cracking the egg into the hot water.

Like these: https://www.amazon.com/dp/B000P6FD3I/?tag=skimlinks_replacement-20

The issue wasn’t the eggs themselves sticking, it was all the whispy pieces of egg white that floated around and finally settled on the bottom.

It’s a shame sous vide can’t make a good poached egg equivalent otherwise that’d be the solution.
 
For cleaning the SS All-clad, you must have a SS scrubby thing. It will clean it in 10-seconds to like-new shine.

Eggs are one of the things I will not use the All-Clad for. I pull out the nonstick for those. There might be some guru out there who's figured out how to cook an egg in all-clad, but not me.

I just use steel wool on my SS. Not too worried about polish, but I DO have some bar keepers friend around.

No eggs in my stainless, ever. If one must, fried eggs can be done in stainless, with lots of oil. I never poach eggs, but I guess that's what those non-stick pots are for?

P.S. don't cook frittatas on teflon, cast iron is the way to go there. ;)
 
I've had trouble with a few things sticking to my new stainless. For instance, Monday night it was pot stickers (I didn't miss the irony). My usual way to fix these is to cook them with sesame oil and water for a while, then remove the lid and cook off the water. This was fine in my Teflon pan but my daughters got parakeets so we can't use Teflon any more.
 
I've had trouble with a few things sticking to my new stainless. For instance, Monday night it was pot stickers (I didn't miss the irony). My usual way to fix these is to cook them with sesame oil and water for a while, then remove the lid and cook off the water. This was fine in my Teflon pan but my daughters got parakeets so we can't use Teflon any more.

Guessing the fumes from the teflon are bad for the birds?

Potstickers on stainless, they can stick pretty bad... There are a few different methods. Following the brown -> steam technique. When adding the potstickers make sure the pan is very hot before adding oil, use the 'water test'. Before adding the potstickers the oil should be rippling hot. Later on, once you remove the lid, carefully scrape up and remove the potstickers immediately to a plate and cover for a few minutes. I like to reduce the remaining starchy water with some soy sauce, sweet chili sauce and sesame seeds/oil for a tasty dipping sauce.

Boil -> brown is the standard potsticker method for non-teflon pans. Steam/boil the potstickers (in stock maybe?) for 5-10 minutes, then place into a hot pan with oil and brown for 2-5 minutes until desired crispiness is attained on the bottom.
 
er.. what?
Teflon releases fumes when over-heated that will kill parakeets, even when we can't smell it. If I HAVE to use Teflon, I guess I can use the propane on the back porch, but nothing in the house. It is just one of MANY ways the household had to shift around those birds...
 
Teflon releases fumes when over-heated that will kill parakeets, even when we can't smell it. If I HAVE to use Teflon, I guess I can use the propane on the back porch, but nothing in the house. It is just one of MANY ways the household had to shift around those birds...

After I posted that, I did a quick googlage and was shocked to see that it appears to be a real thing. I assumed that teflon was completely inert and harmless.
 
A couple of us are sensitive to perfumes so that has never been in the house. We can't use bleach, rubber cement or sharpies, which is slightly bothersome. The most inconvenient is no teflon or aerosol cans (PAM, hairspray, WD40, etc), although I'm sure the reduced VOC's are better for all of us long-term.

Hoppy's pic of butternut squash got me wanting some so I tried this recipe: https://www.allrecipes.com/recipe/229733/simple-roasted-butternut-squash/

It was super tasty and easy. The kids both scarfed it up, so it will definitely be repeated.
 
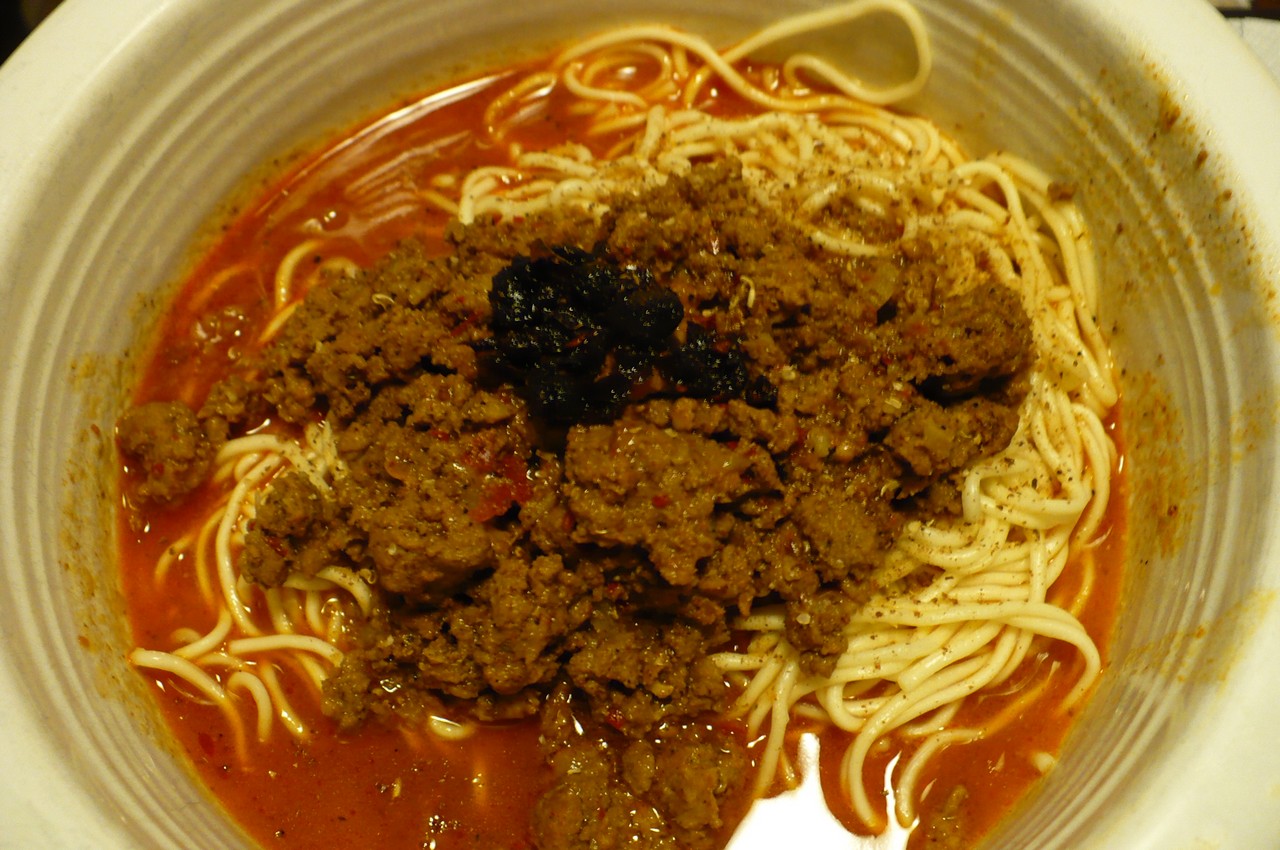
Dan dan noodles with extra ground Sichuan peppercorns and a little LaoGanMa with black beans on top. I got lazy and left out my homemade pickled mustard and nappa.
mGZw3D2.jpg
 
I've had trouble with a few things sticking to my new stainless. For instance, Monday night it was pot stickers (I didn't miss the irony). My usual way to fix these is to cook them with sesame oil and water for a while, then remove the lid and cook off the water. This was fine in my Teflon pan but my daughters got parakeets so we can't use Teflon any more.
I figure you probably know this but, once you put something in these pans you cant touch it at all until it has a decent sear. Food is designed to stick to it for pan sauces. Thats why they are so cool. But if you put something in like potstickers and touch them before they are good and browned they will stick, maybe bad enough to ruin the dish. If it doesnt come off easy, its not ready.

I am afraid of scratchage but need to get the ss scrubby recommended by pp. Tired of screwing around. Also, haha, had same thought, my break in period has been so rough will probably want another some day. I chose saute over Saucier, but Ill get more someday. We have a 3 qt cuisinart clad that has made it hard to get an all clad. I love that pot.
 
We had a baked brie wrapped in puffed pastry a bit ago in a restaurant (loved it). We tried it at home and the flavor of the rind was a bit overwhelming. Anyone do this? Should one trim the brie? Seems wrong but maybe not?
 
Teflon releases fumes when over-heated that will kill parakeets, even when we can't smell it. If I HAVE to use Teflon, I guess I can use the propane on the back porch, but nothing in the house. It is just one of MANY ways the household had to shift around those birds...

I worried about that a lot when I had a cockatiel that lived in the breakfast room part of my kitchen. Seldom used teflon then and it's all gone now since it does not last long anyway. I think most of the modern non-stick surfaces have solved much of that issue, but I would research it if I still had a bird!
 
We had a baked brie wrapped in puffed pastry a bit ago in a restaurant (loved it). We tried it at home and the flavor of the rind was a bit overwhelming. Anyone do this? Should one trim the brie? Seems wrong but maybe not?
I have never trimmed it, but I have cut it in half and spread rasberry jam before I wrapped it.
 
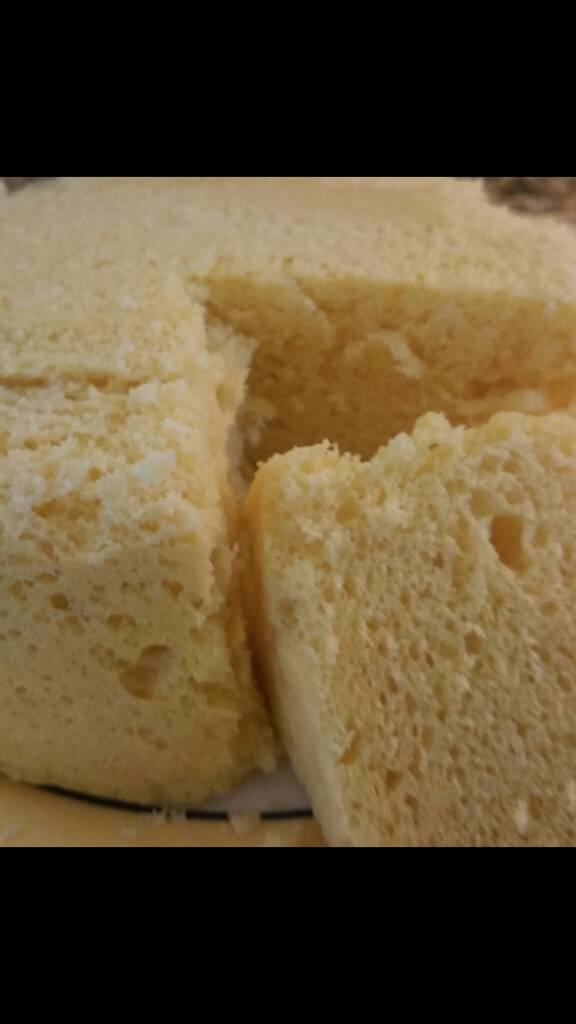
My mom gave us a 5 min microwave cake maker. It turned out really well. I mean it wasnt going to get much better for a box mix. You fill ingredients to the line of a clever little jig. Then dump the jig contents into this red bowl, stir and microwave 5 minutes. We let it dry out by not covering it, but its tasty.
Screenshot_2019-01-12-15-58-43.jpeg
 
We had a baked brie wrapped in puffed pastry a bit ago in a restaurant (loved it). We tried it at home and the flavor of the rind was a bit overwhelming. Anyone do this? Should one trim the brie? Seems wrong but maybe not?

Get a better brie. There are quite few out there that are exceedingly marginal.
 
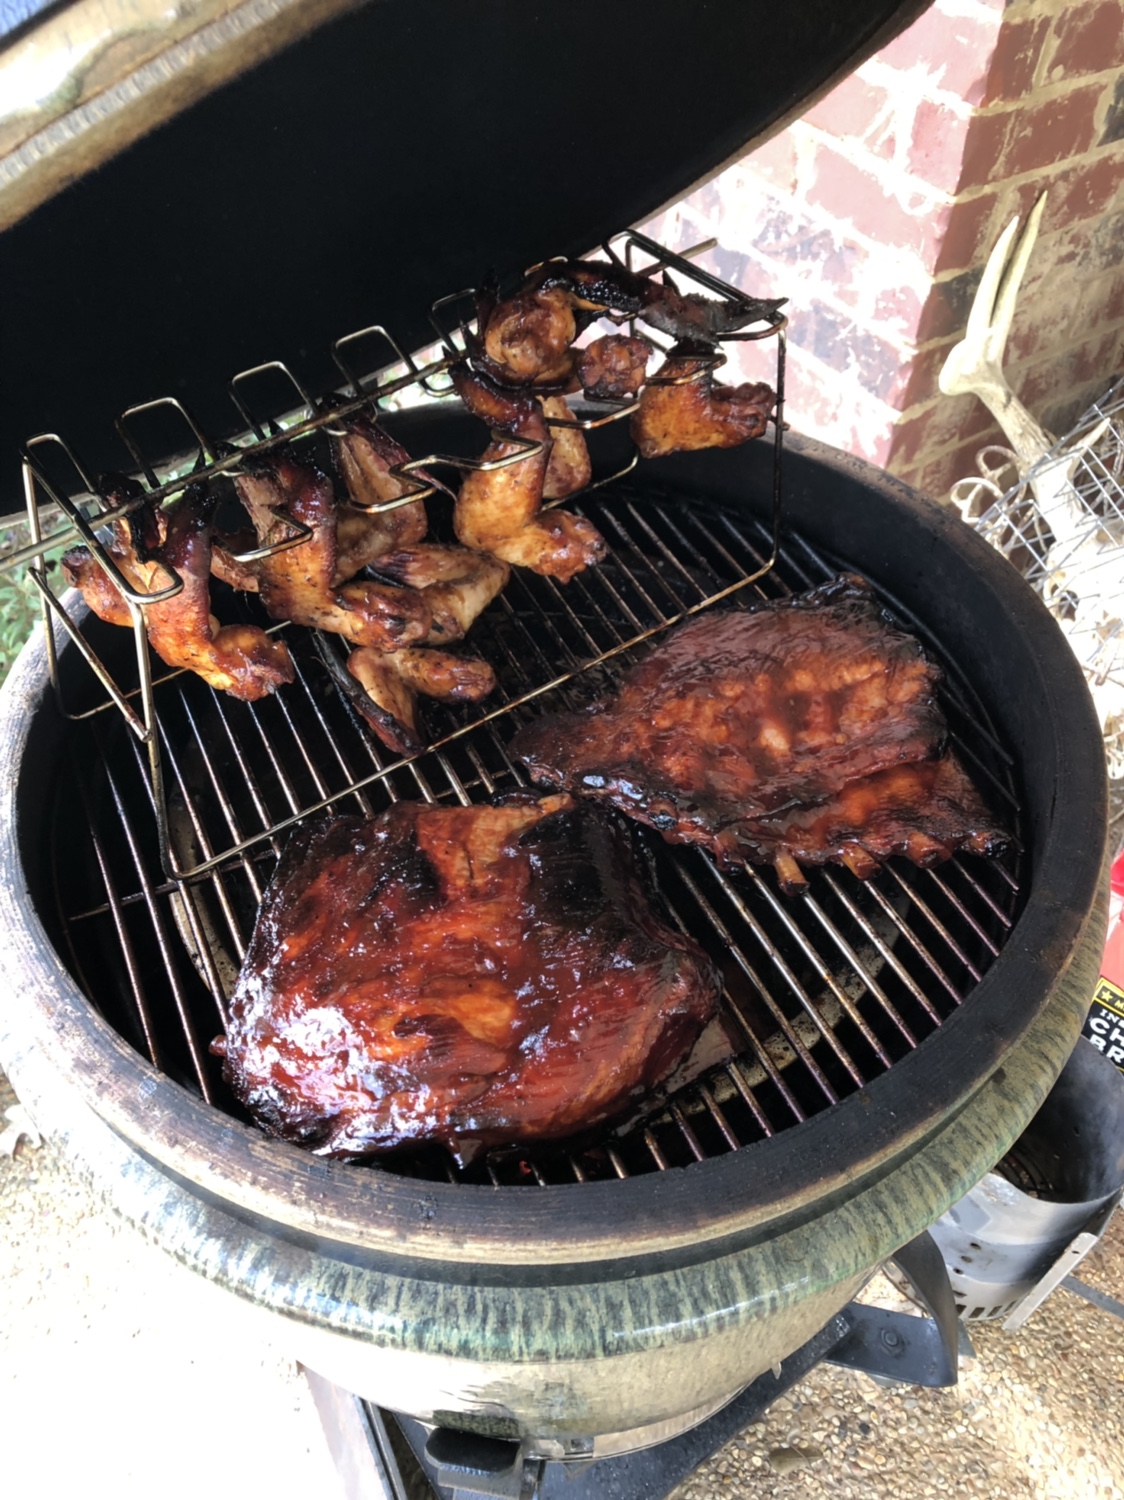
Thanks! Got this grill for Christmas and really enjoying it! I did the 3-2-1 method on the ribs! Really works well.

(3) Smoke at 225 for 3 hours
(2) Wrap in foil and smoke for 2 hours
(1) Remove foil and throw on grill and baste for an hour
 
Back
Top