Howhownow
Well-Known Member
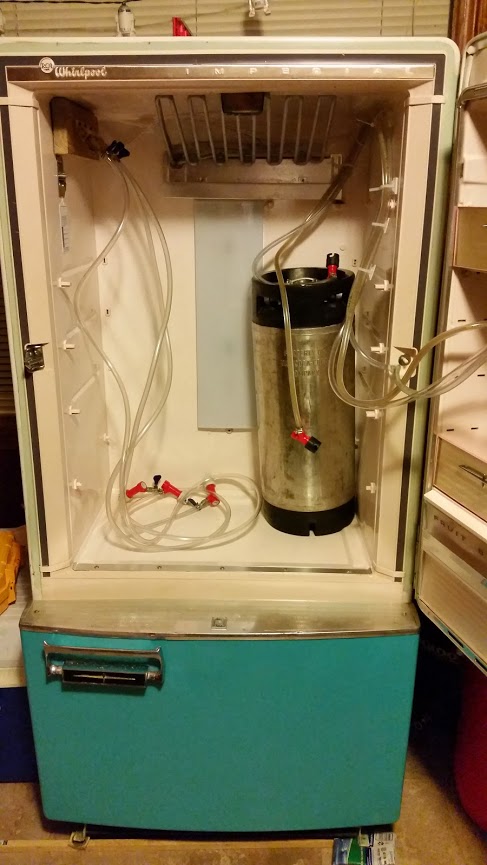
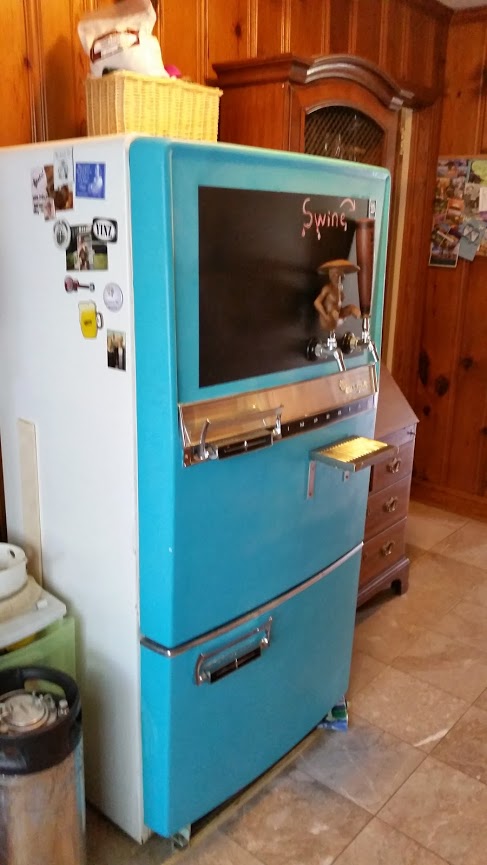
Been casually looking on CL for a few months for a vintage fridge to turn into a kegerator. Took my time because I wanted one that was still working well, and I didn't want to spend a lot because I already have a very functional kegerator that doesn't "need" to be replaced. This thing came along earlier this week for $100 and I jumped on it. Picked it up last night, and ready to start working on it next week after the beach this weekend (what can I say, it's looking like a good week)! If there is interest I'll try and document the process, and I also have some items I could use some help/input on.
Few notes about the fridge and build:
- I do not plan to completely overhaul/restore this fridge. I live in a rental home and don't have a garage or covered area to work in. My goal is to have it looking good and functional within 2 weeks, and without any major structural, mechanical, or paint work.
- The fridge works, the compressor sounds strong. The only item is a "moody" thermostat. They couldn't get it dialed in to the right temp. I plan to bypass this problem by turning the cold all the way up and running it through an stc-1000.
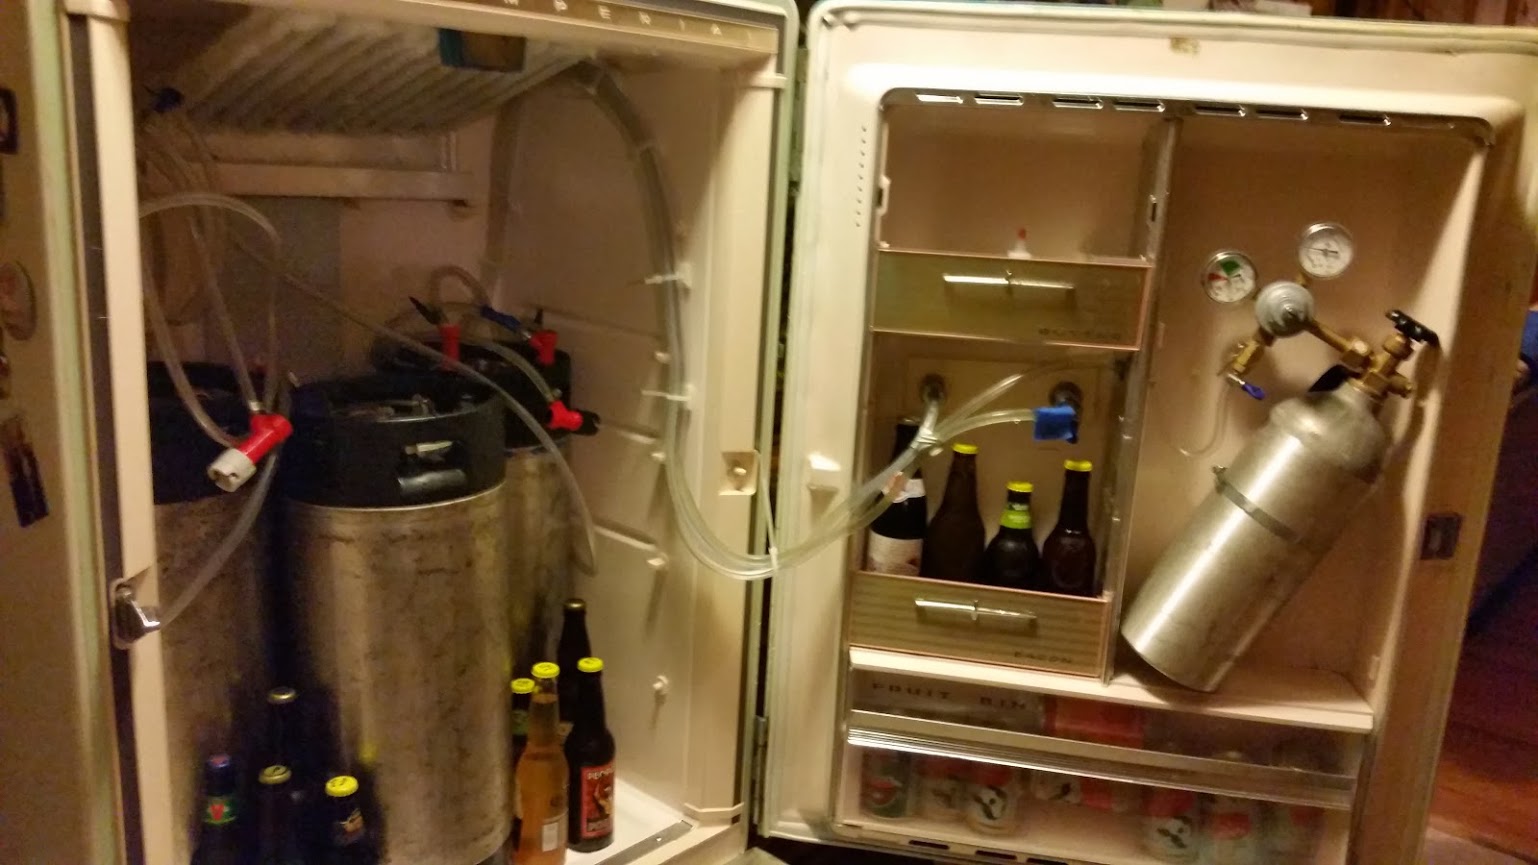
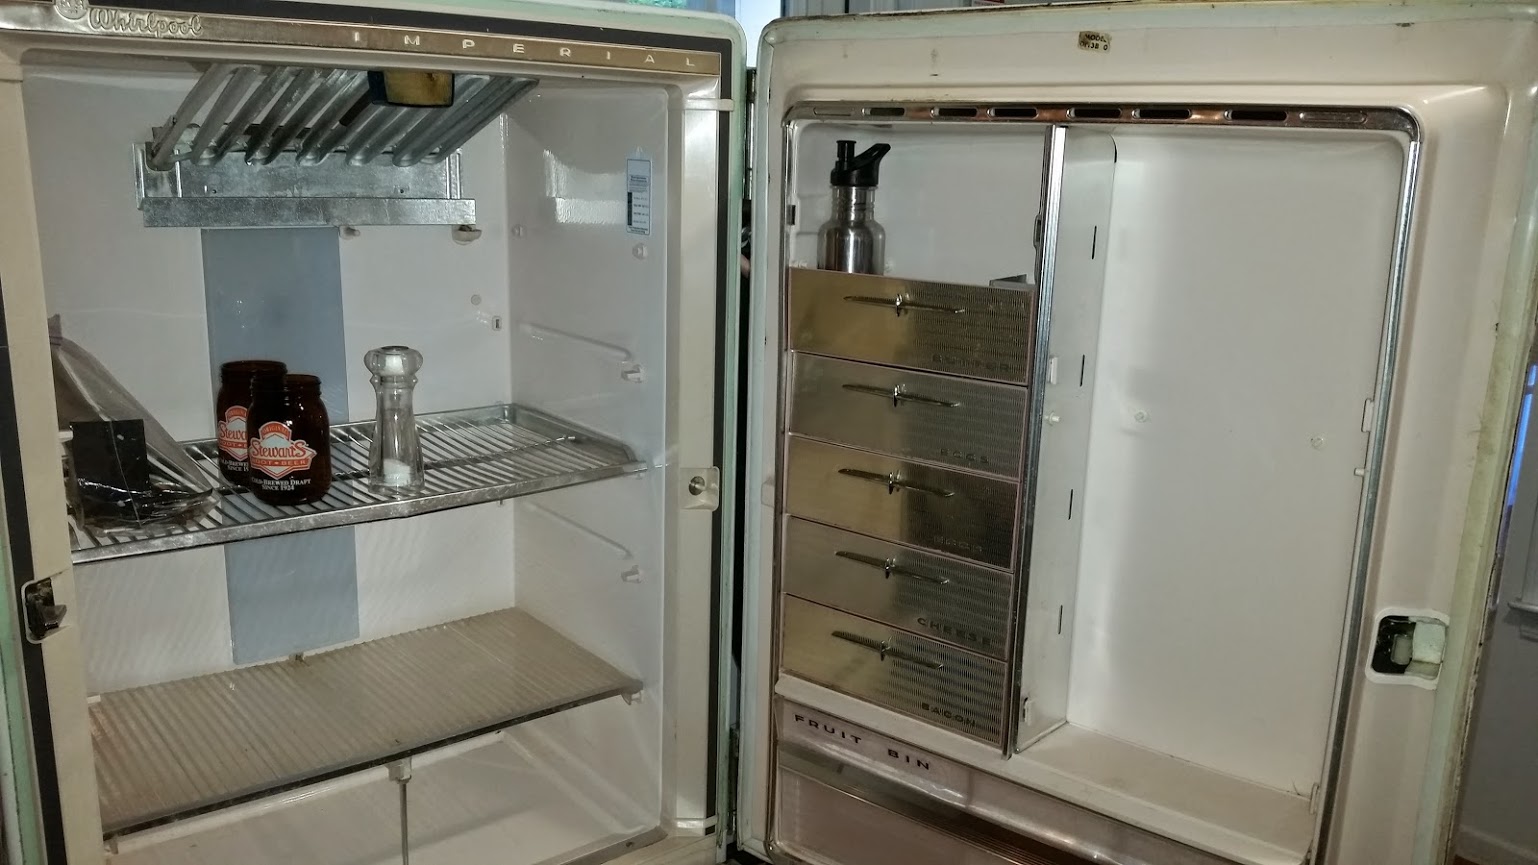
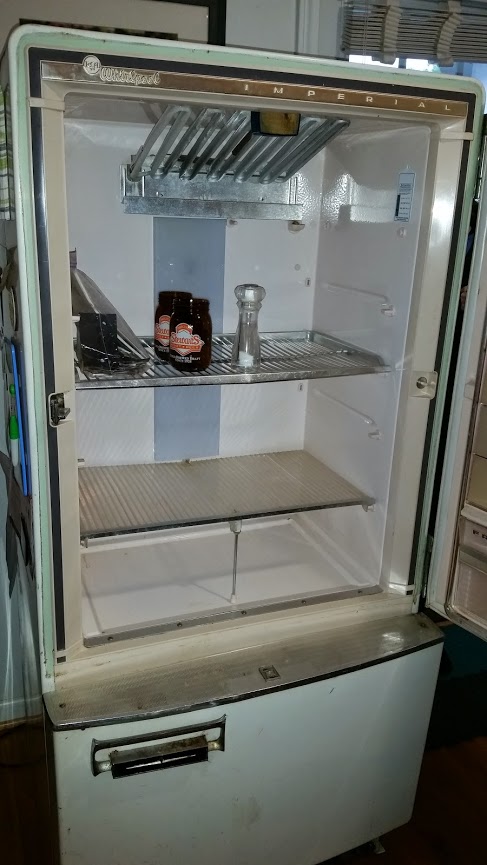
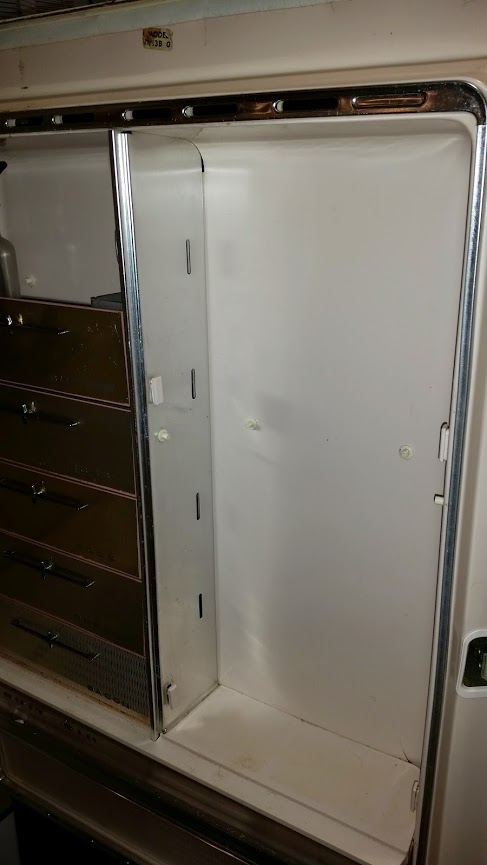
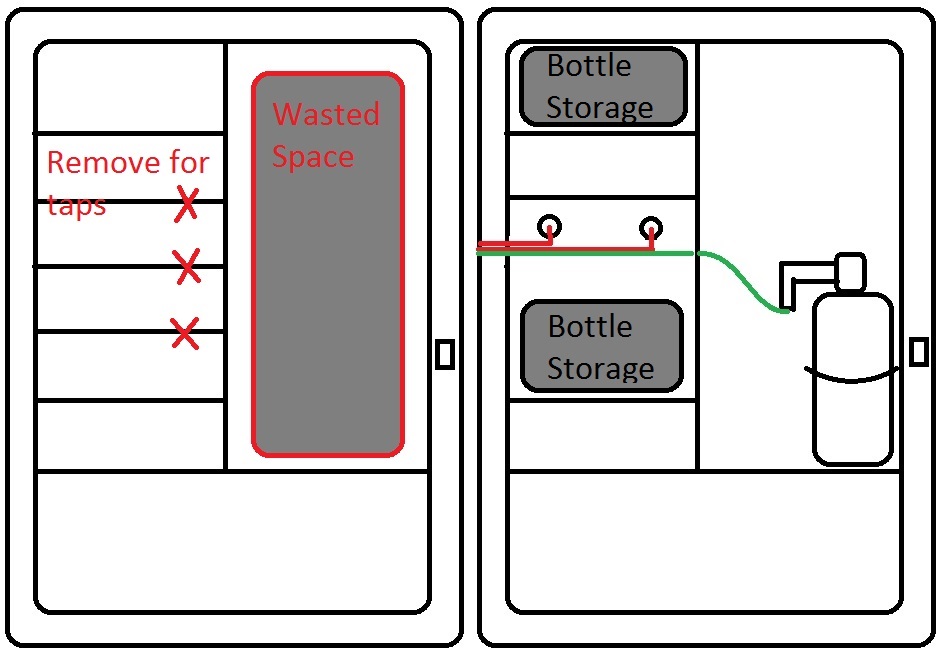
- My ideal plan is a 2-tap kegerator (same as I run now) with space for one on deck carbonating/conditioning.The starting internal dimensions are roughly 24x14. Assuming 9" diameter cornies, I figure that is JUST enough room for 3 kegs. I think I am going to end up removing the door shelves to give myself a bit of extra room, as I know all of my kegs are not EXACTLY 9", and I don't want a constant PITA of cramming kegs in there (wow, phrasing).
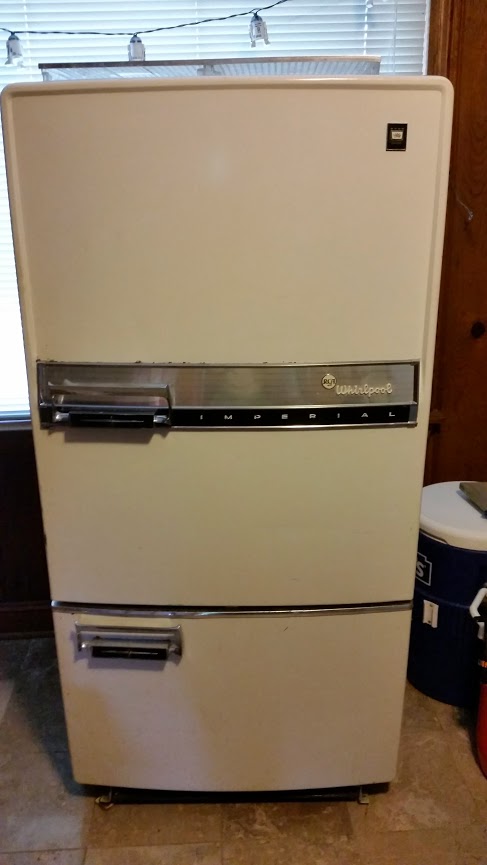
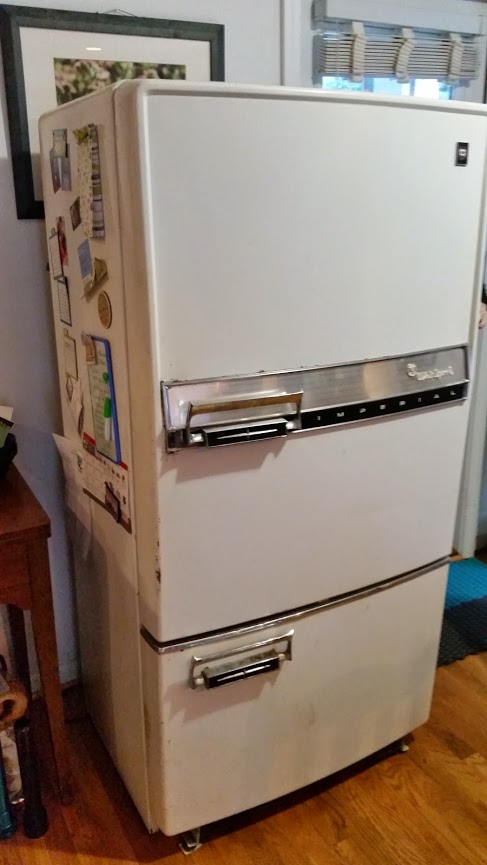
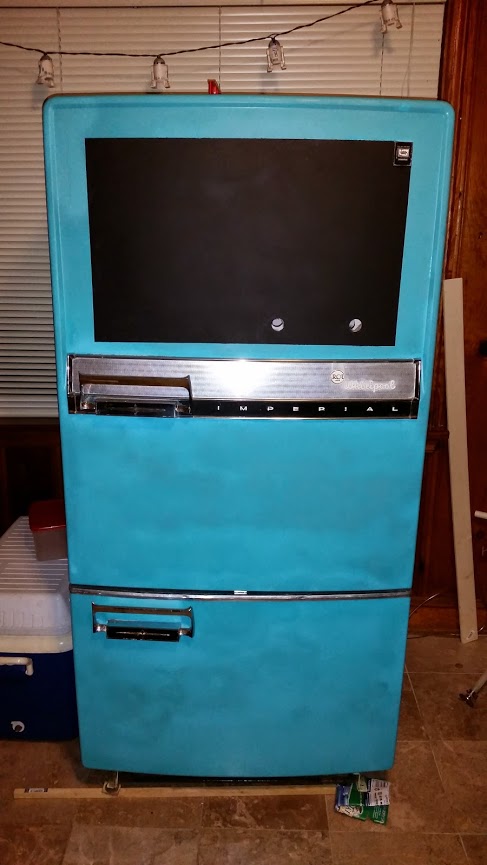
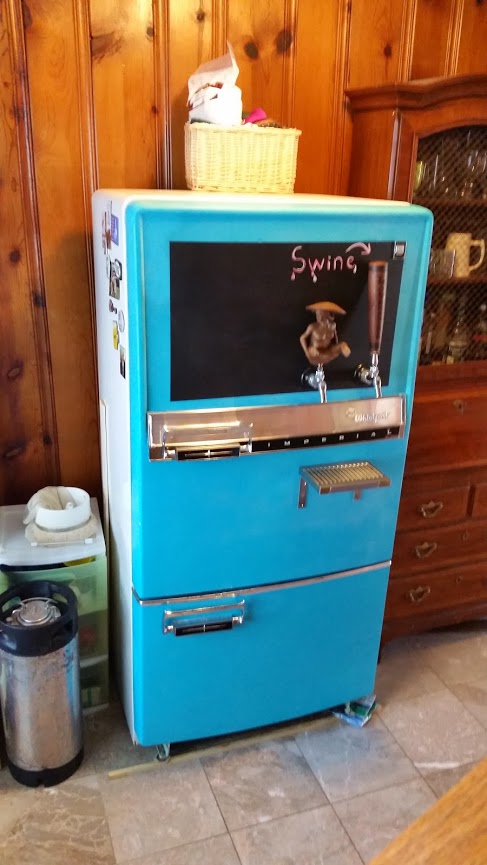
- The paint is what I would call 85-90%. The fridge was originally an amazing shade of robins-egg blue. Unfortunately, somewhere in its life, someone painted it eggshell white. Good news is that they did a pretty good job. Other good news is that the paint on the sides is in good shape, and there is virtually no rust. Any that there is could be knocked out with very minimal sanding. The seals around the doors, as far as I can tell, look pretty good.
Now a few questions:
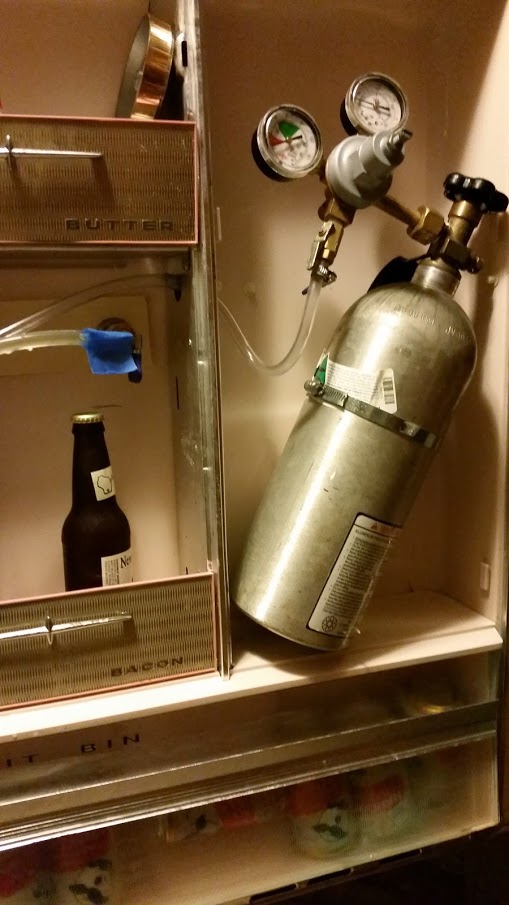
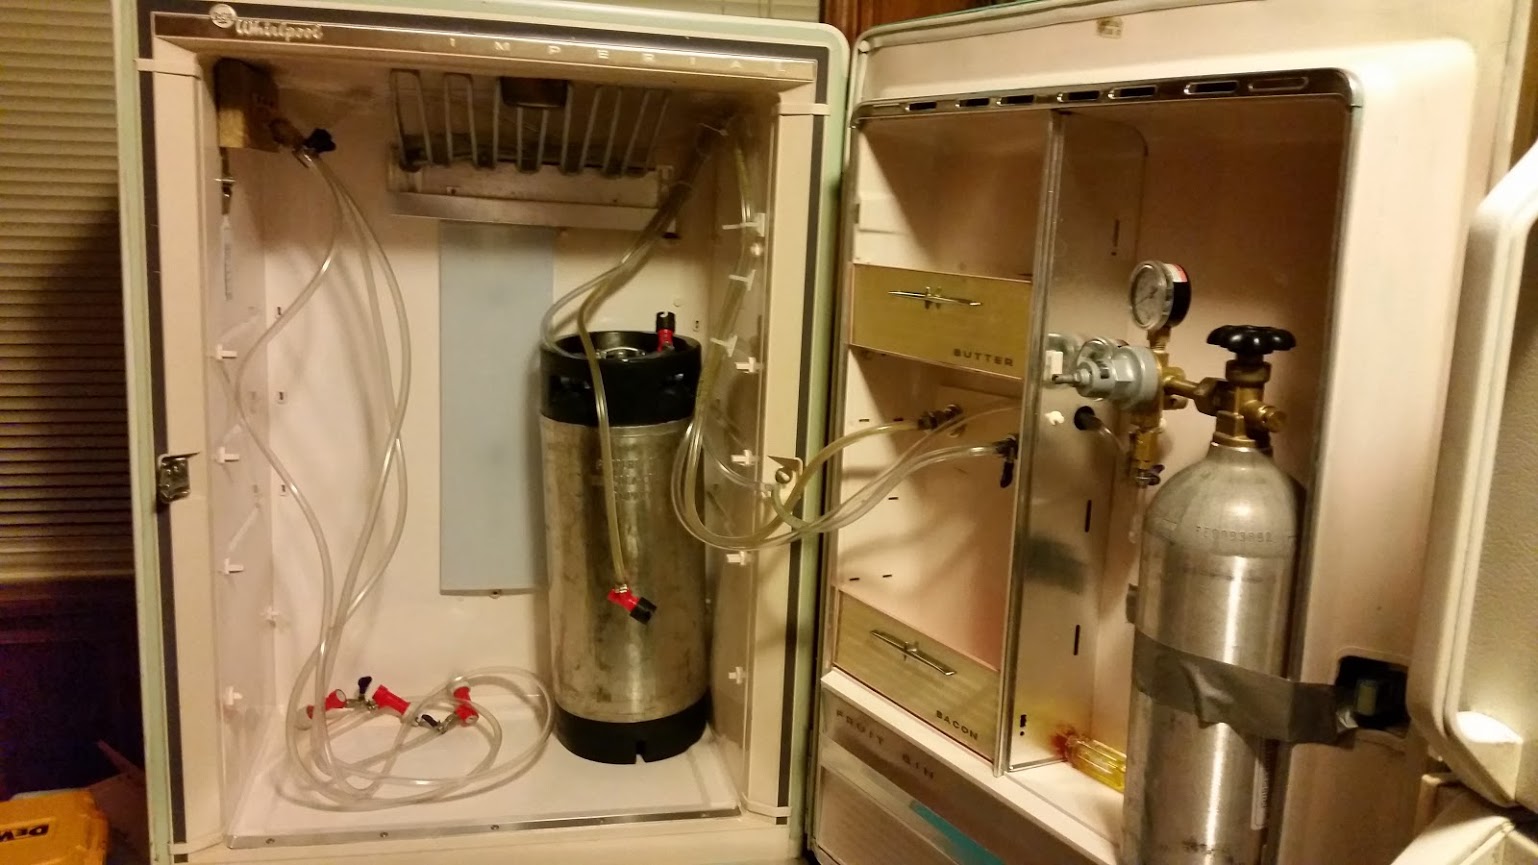
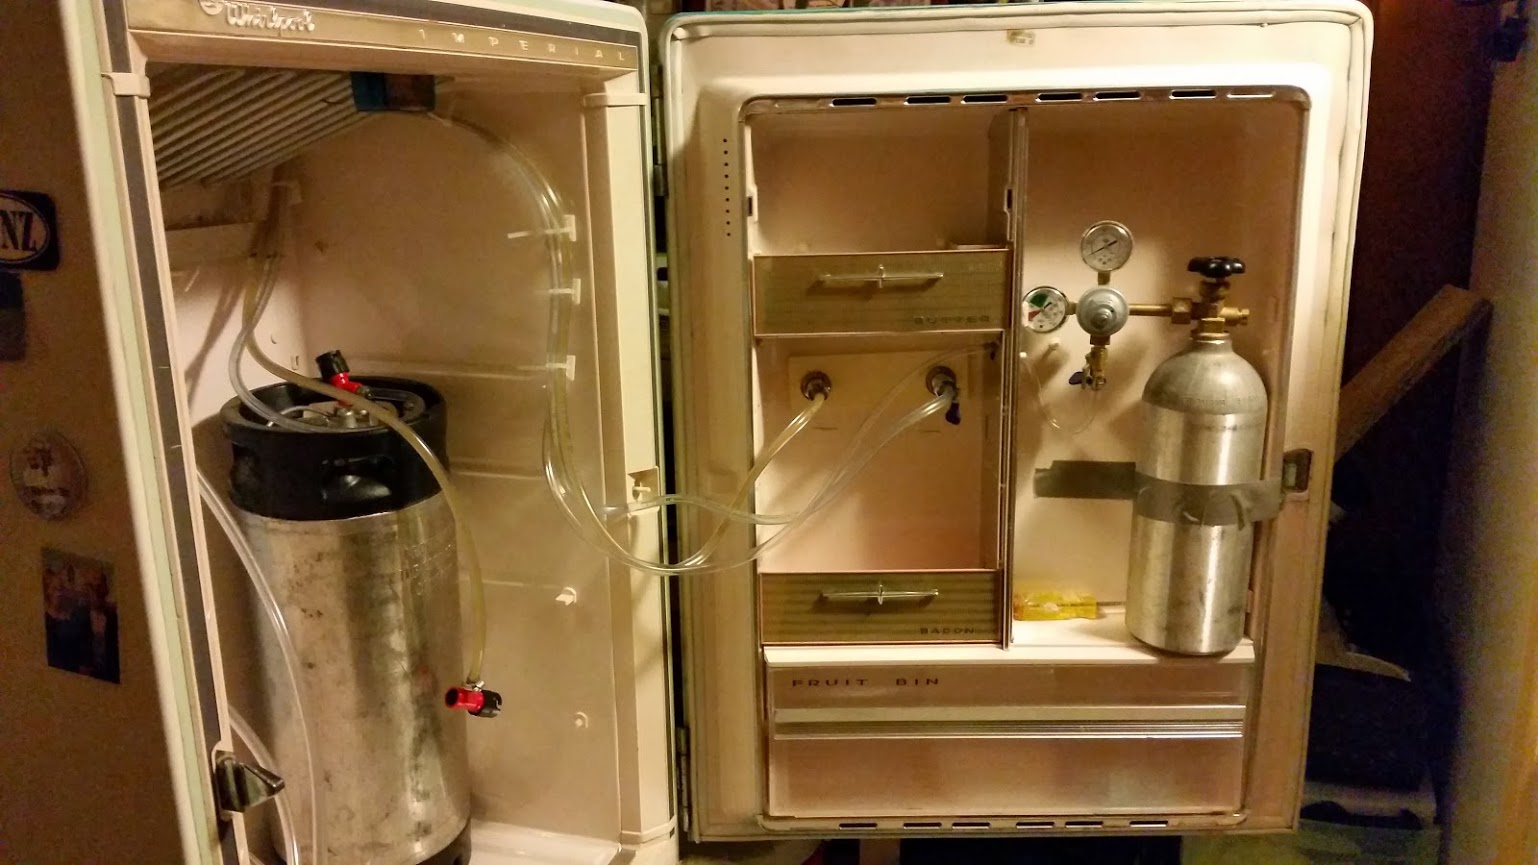
- Assuming that I can fit 3 kegs inside, that is going to leave no space for my CO2 (#5). What is the best way to mount it to the outside? I was looking at fire extinguisher mounts. Also, the cooling coils are exposed internally in the fridge. I can't find any schematics for this thing, but does that mean that I should be safe(r) to drill through the side? That whole concept has me pretty spooked.
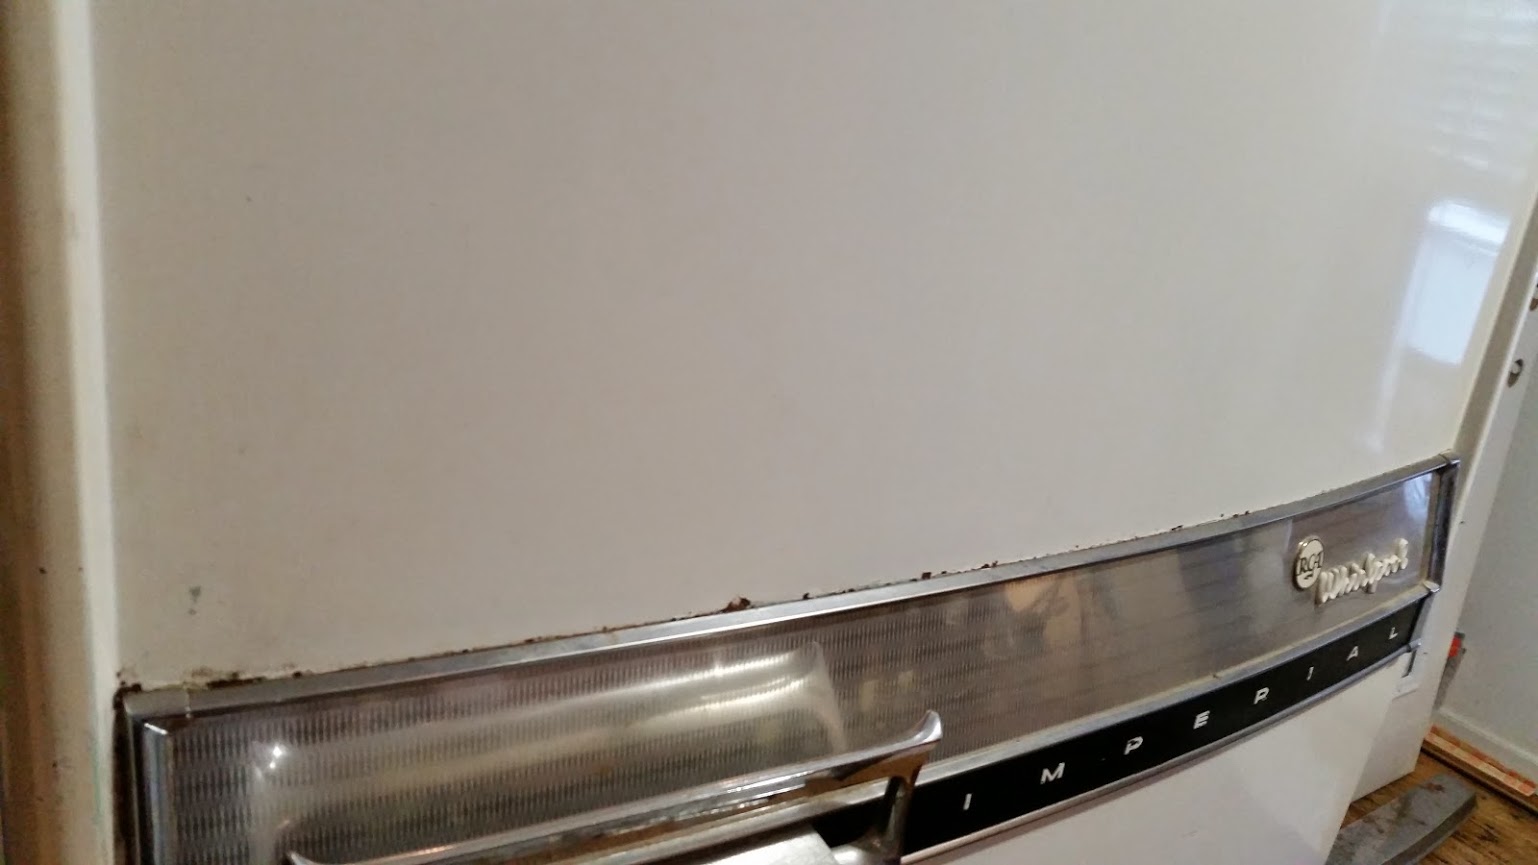
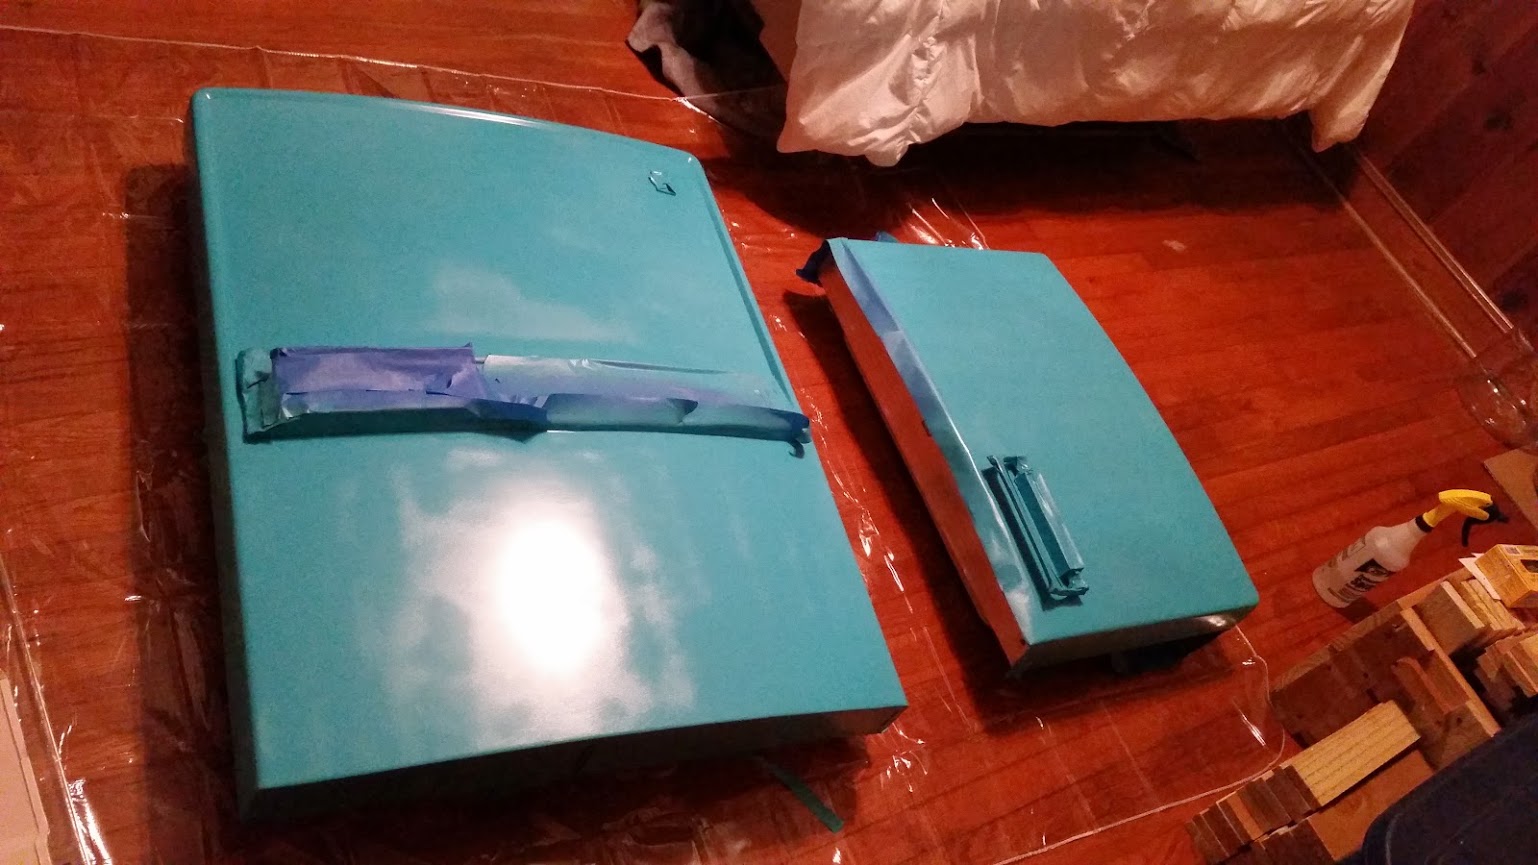
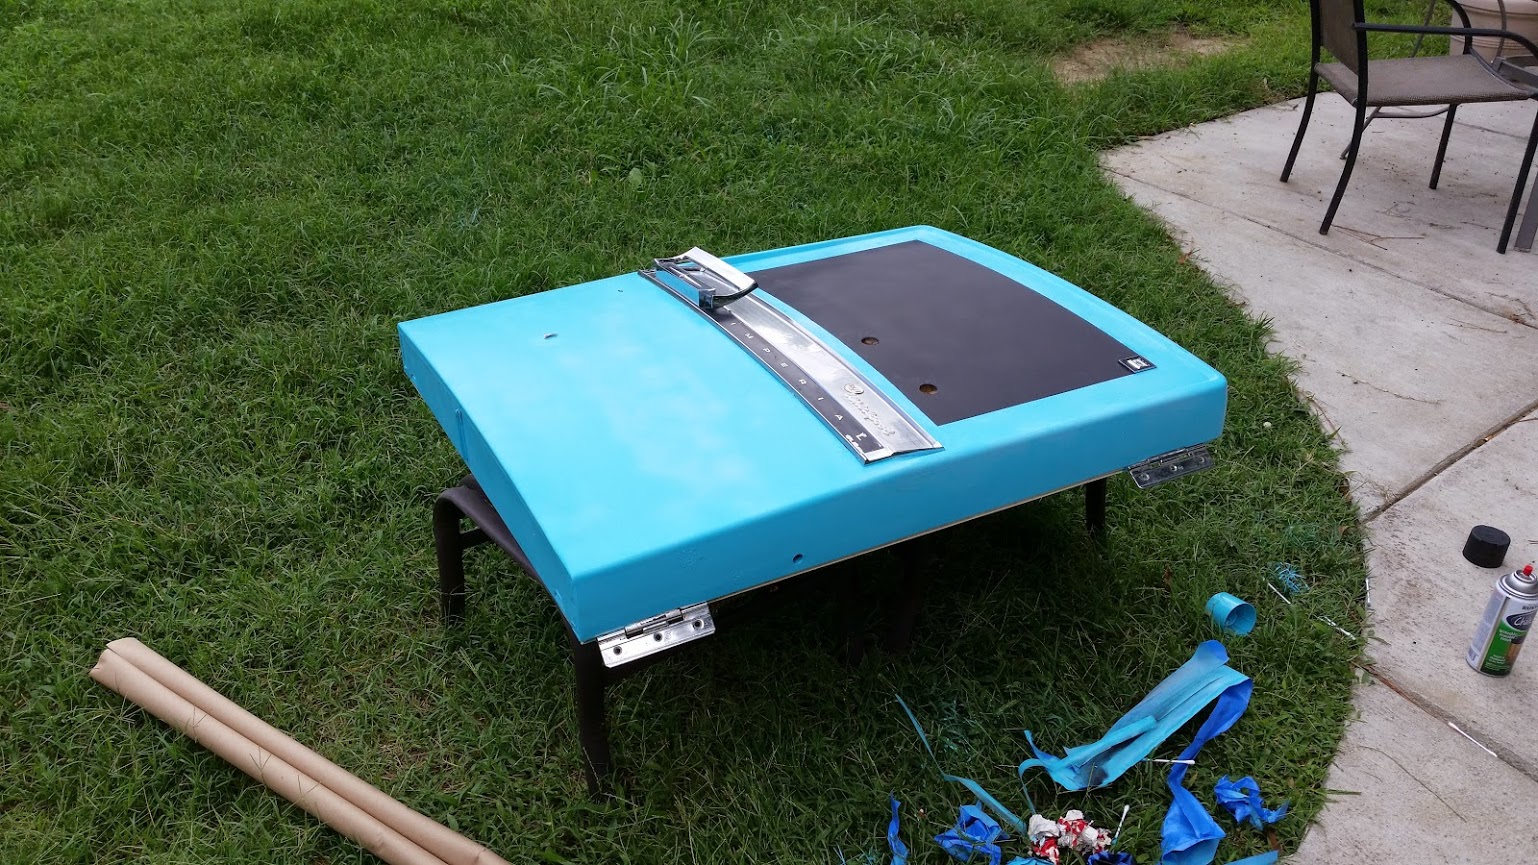
- My plan at this moment is to paint only the door. I am going to take it off the chassis and work in the front yard. I'll sand out any rust spots, clean it, tape it, then I am wondering what the best method to paint it would be. I'd like it to really shine, but I know I probably can't get that effect without a pro paint job. I have heard that people have had good luck with just the spray cans of appliance epoxy. The easy way would be to just hit it with a white can of that. On the other hand, I am wondering if it would be kind of tacky to do the door in a color- specifically a similar blue to the original. I can only find appliance epoxy in white- is there another kind of paint that may work?
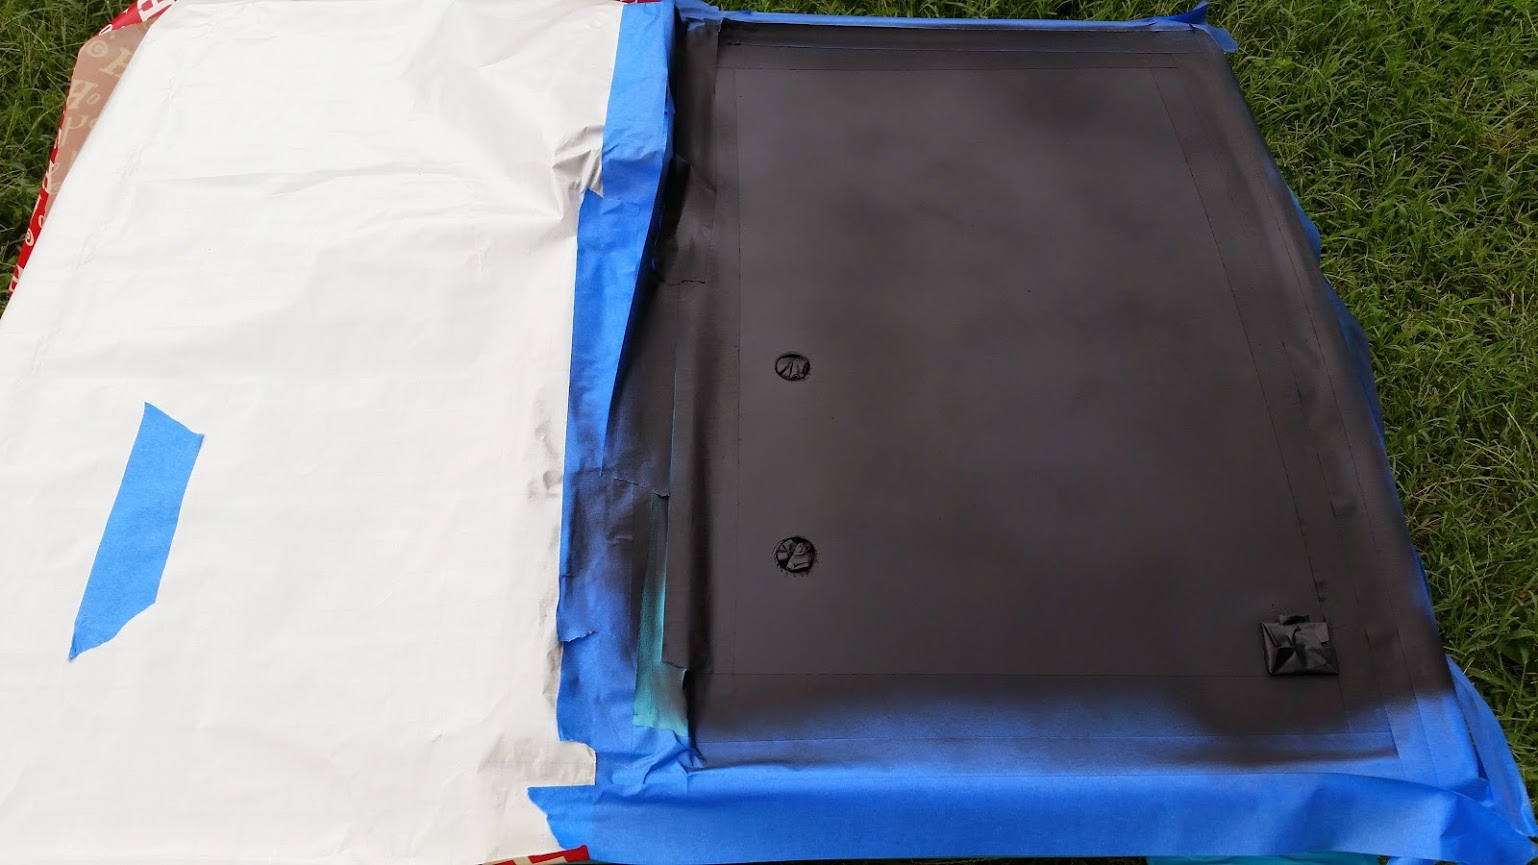
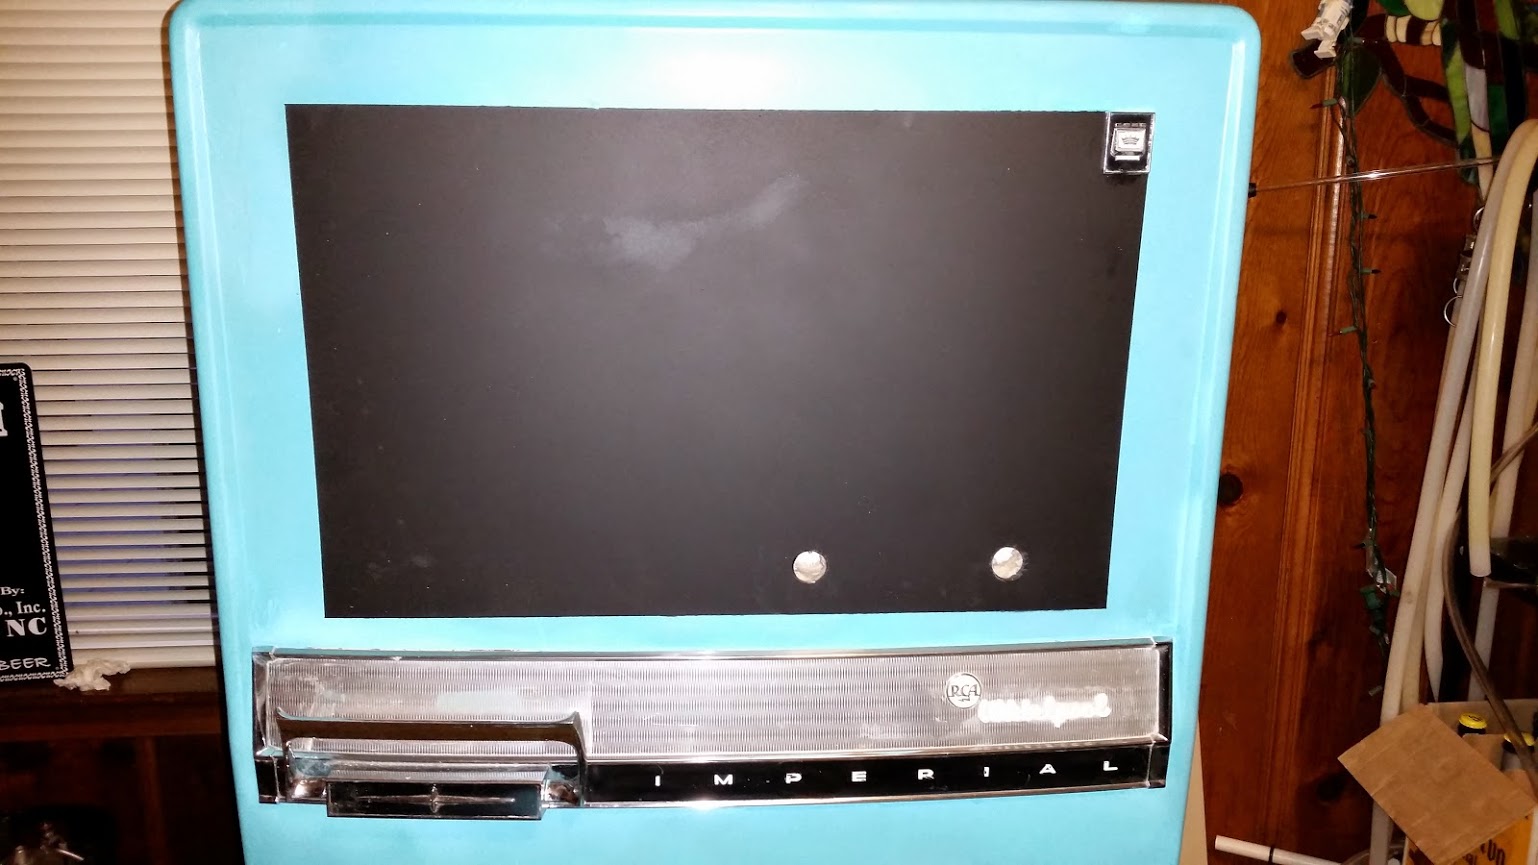
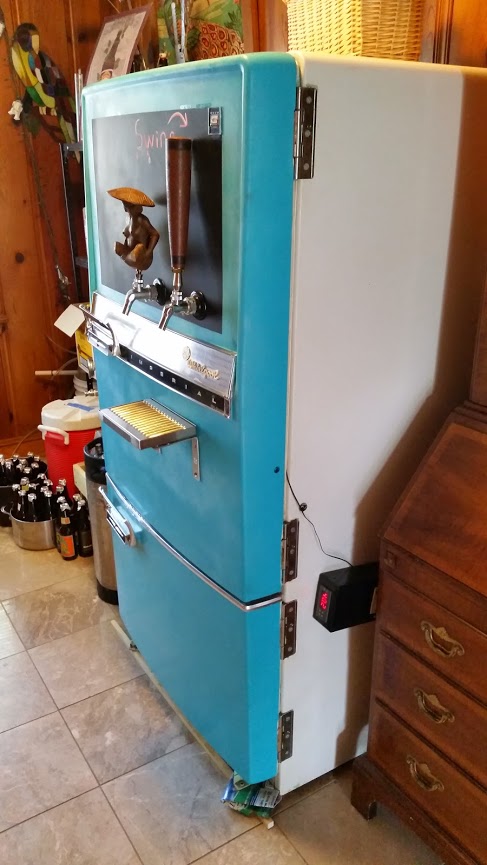
- I plan on doing some chalkboard paint on the door. as well. I am debating between doing the entire upper recessed portion, or a ~6" horizontal stripe in the 1/3 of the way above the handle.
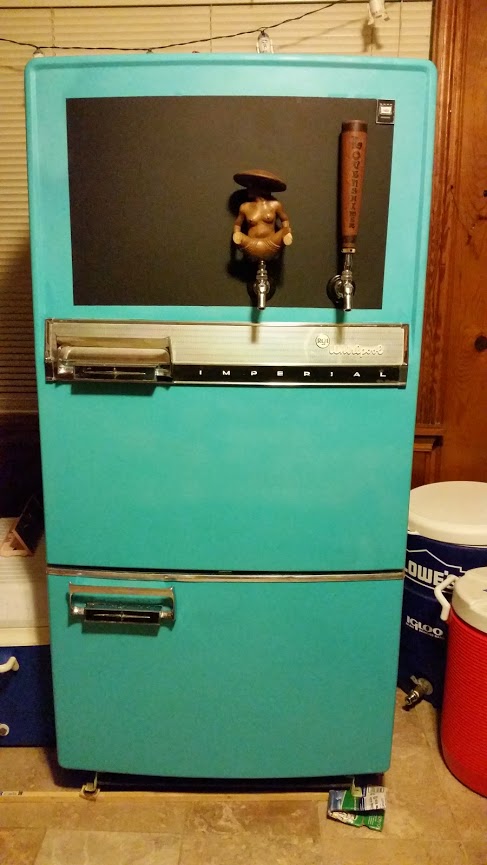
- My other debate is tap placement. I have two Perlick faucets, and I don't know if I want to arrange them close together above the RCA/Whirlpool logo, or space them evenly on the right 2/3 of the door. Also, right above the handle band with the drip tray(s) below, or higher on the fridge body with the drip tray(s) above the band?
- I am thinking of installing a shelf a few inches above where the bottom one sits now to allow for some bottle/ yeast storage, and to raise the kegs above the "Fruit Storage" drawer so maybe I don't have to remove that. Not quite sure how I'm going to do that, though...
Sorry that was long winded, just wanted to try and cover all of my bases. Right now my main worries are aesthetics and fridge function- the kegerator internals I am comfortable with and feel good about.
Few notes about the fridge and build:
- I do not plan to completely overhaul/restore this fridge. I live in a rental home and don't have a garage or covered area to work in. My goal is to have it looking good and functional within 2 weeks, and without any major structural, mechanical, or paint work.
- The fridge works, the compressor sounds strong. The only item is a "moody" thermostat. They couldn't get it dialed in to the right temp. I plan to bypass this problem by turning the cold all the way up and running it through an stc-1000.
- My ideal plan is a 2-tap kegerator (same as I run now) with space for one on deck carbonating/conditioning.The starting internal dimensions are roughly 24x14. Assuming 9" diameter cornies, I figure that is JUST enough room for 3 kegs. I think I am going to end up removing the door shelves to give myself a bit of extra room, as I know all of my kegs are not EXACTLY 9", and I don't want a constant PITA of cramming kegs in there (wow, phrasing).
- The paint is what I would call 85-90%. The fridge was originally an amazing shade of robins-egg blue. Unfortunately, somewhere in its life, someone painted it eggshell white. Good news is that they did a pretty good job. Other good news is that the paint on the sides is in good shape, and there is virtually no rust. Any that there is could be knocked out with very minimal sanding. The seals around the doors, as far as I can tell, look pretty good.
Now a few questions:
- Assuming that I can fit 3 kegs inside, that is going to leave no space for my CO2 (#5). What is the best way to mount it to the outside? I was looking at fire extinguisher mounts. Also, the cooling coils are exposed internally in the fridge. I can't find any schematics for this thing, but does that mean that I should be safe(r) to drill through the side? That whole concept has me pretty spooked.
- My plan at this moment is to paint only the door. I am going to take it off the chassis and work in the front yard. I'll sand out any rust spots, clean it, tape it, then I am wondering what the best method to paint it would be. I'd like it to really shine, but I know I probably can't get that effect without a pro paint job. I have heard that people have had good luck with just the spray cans of appliance epoxy. The easy way would be to just hit it with a white can of that. On the other hand, I am wondering if it would be kind of tacky to do the door in a color- specifically a similar blue to the original. I can only find appliance epoxy in white- is there another kind of paint that may work?
- I plan on doing some chalkboard paint on the door. as well. I am debating between doing the entire upper recessed portion, or a ~6" horizontal stripe in the 1/3 of the way above the handle.
- My other debate is tap placement. I have two Perlick faucets, and I don't know if I want to arrange them close together above the RCA/Whirlpool logo, or space them evenly on the right 2/3 of the door. Also, right above the handle band with the drip tray(s) below, or higher on the fridge body with the drip tray(s) above the band?
- I am thinking of installing a shelf a few inches above where the bottom one sits now to allow for some bottle/ yeast storage, and to raise the kegs above the "Fruit Storage" drawer so maybe I don't have to remove that. Not quite sure how I'm going to do that, though...
Sorry that was long winded, just wanted to try and cover all of my bases. Right now my main worries are aesthetics and fridge function- the kegerator internals I am comfortable with and feel good about.
 . I have included a photo of my set up for your amusement... but see my thoughts below.
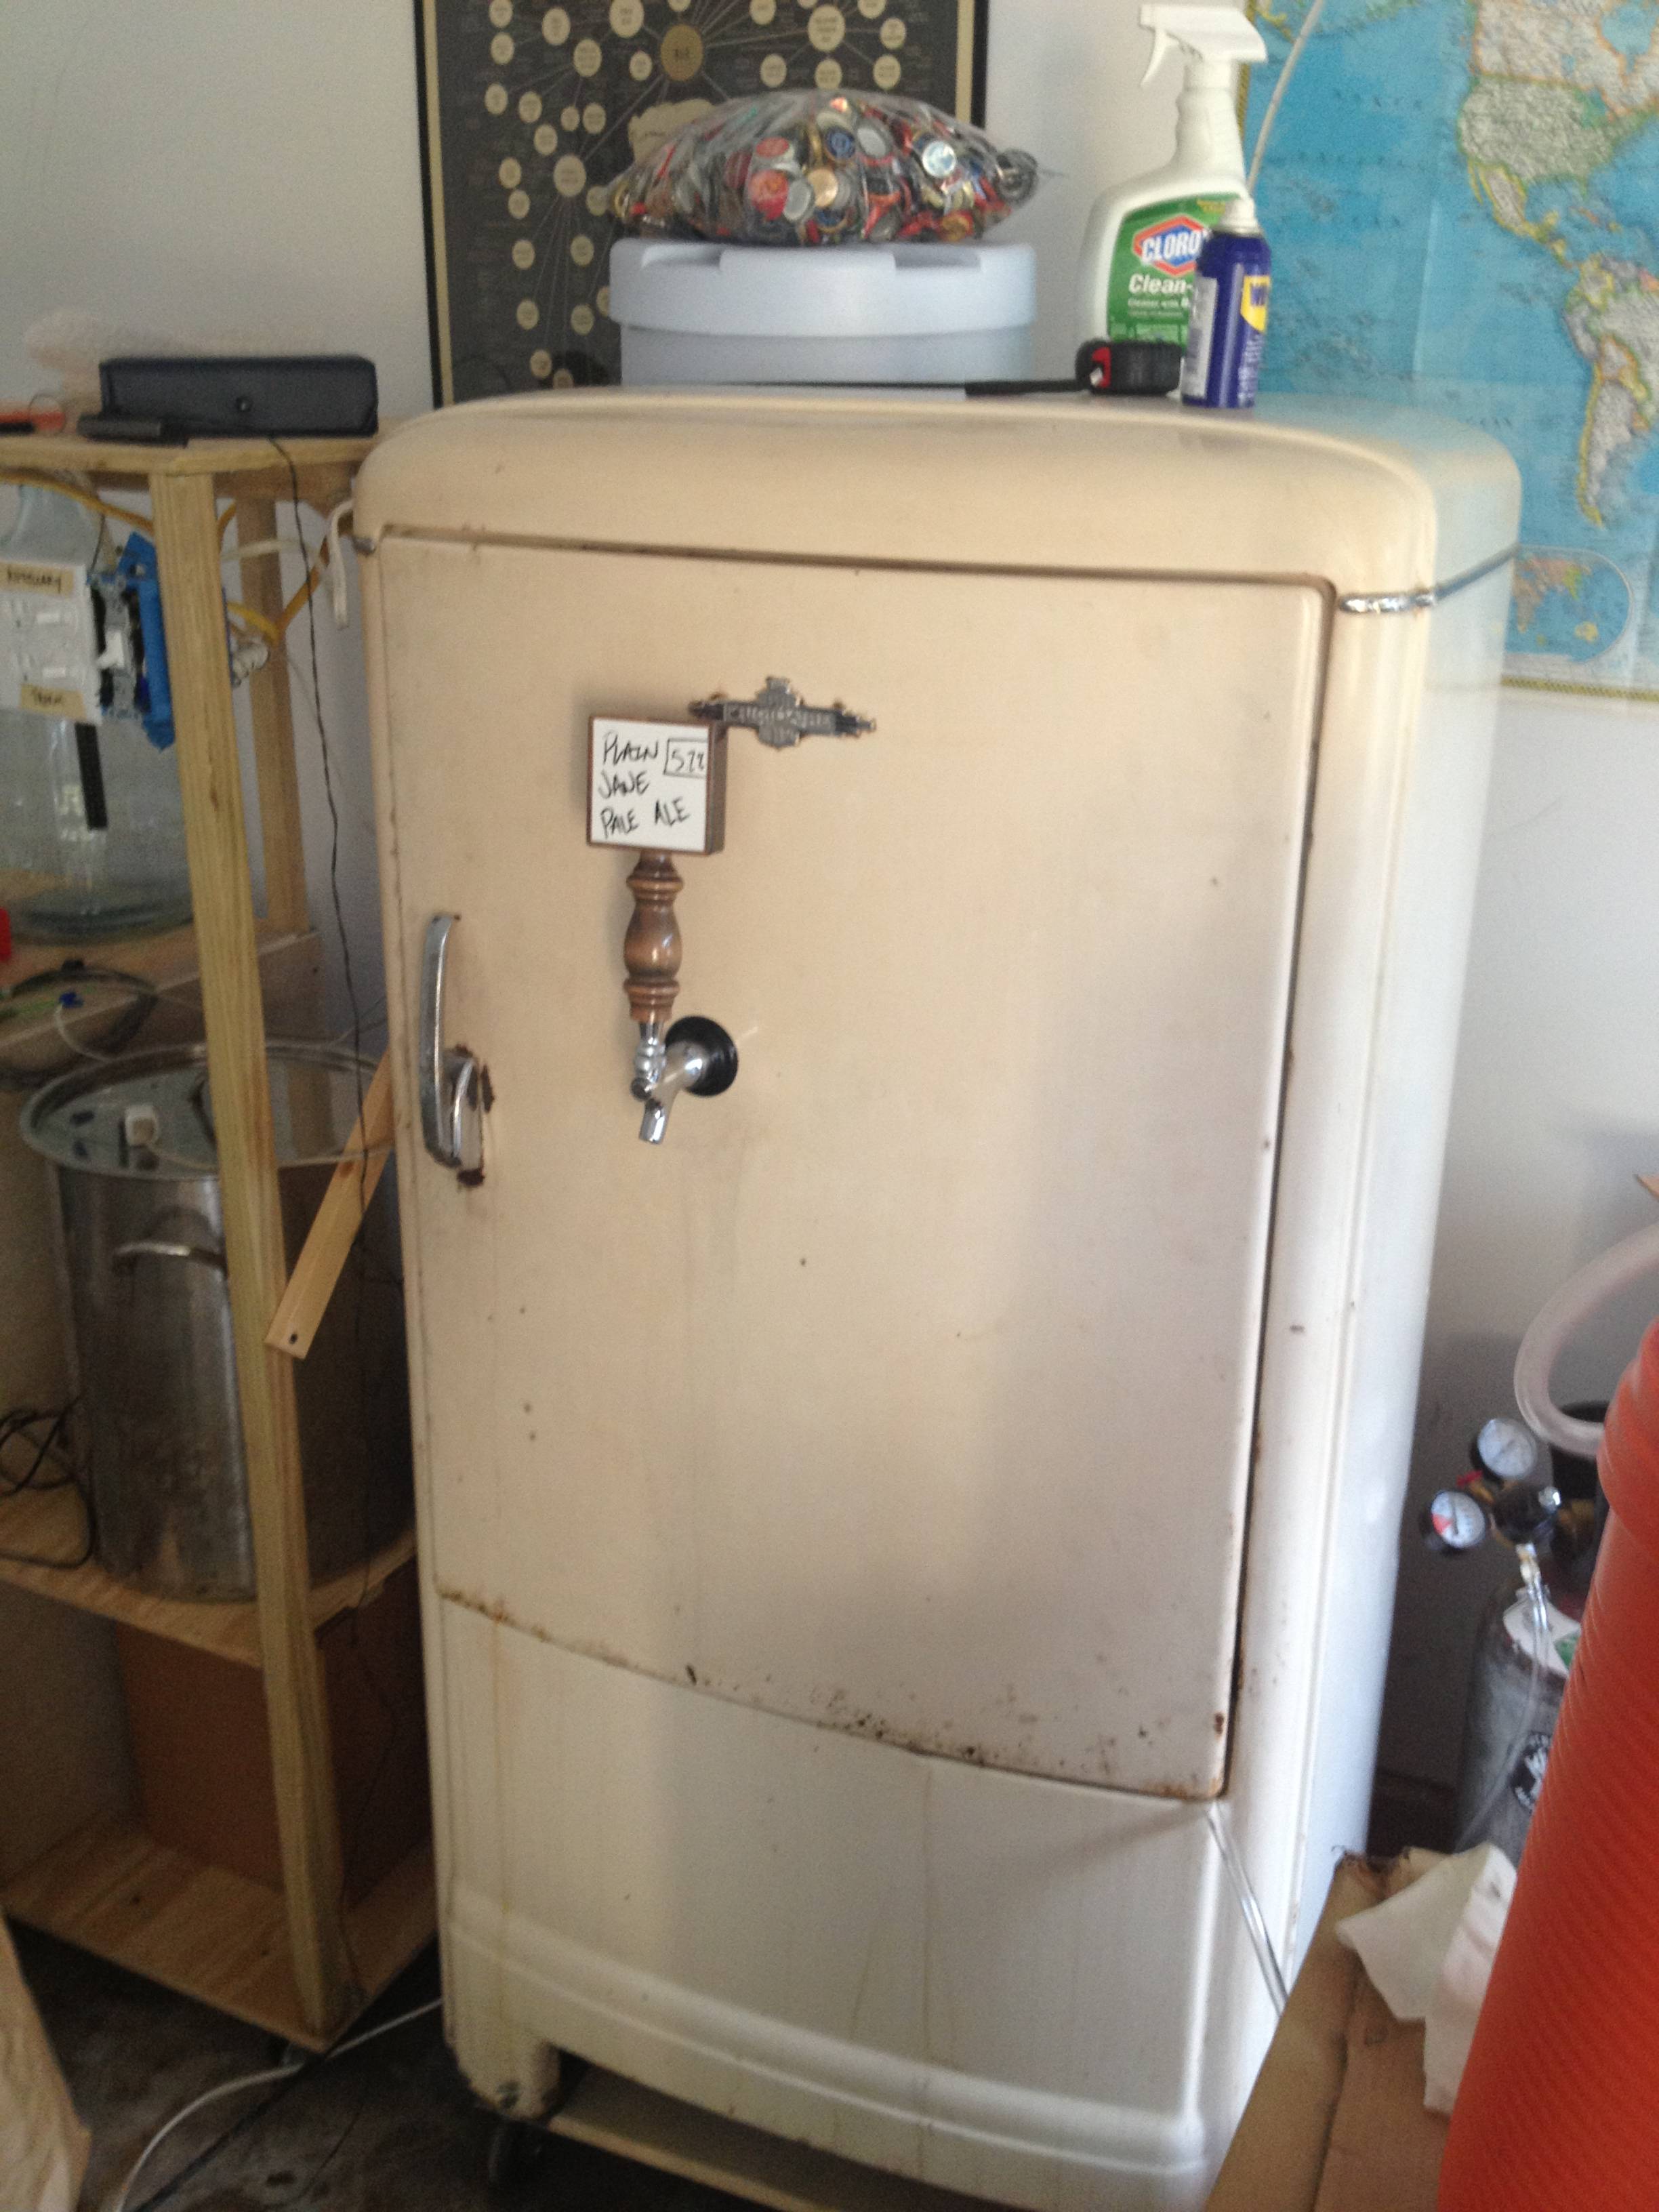


")