So it begins - Part one: Set up a pretty temperature controlled Fermentation Chamber

Homebrew Talk - Beer, Wine, Mead, & Cider Brewing Discussion Forum

Help Support Homebrew Talk - Beer, Wine, Mead, & Cider Brewing Discussion Forum:

This site may earn a commission from merchant affiliate links, including eBay, Amazon, and others.

Braumeise

Well-Known Member
Joined
Sep 29, 2015
Messages
364
Reaction score
149
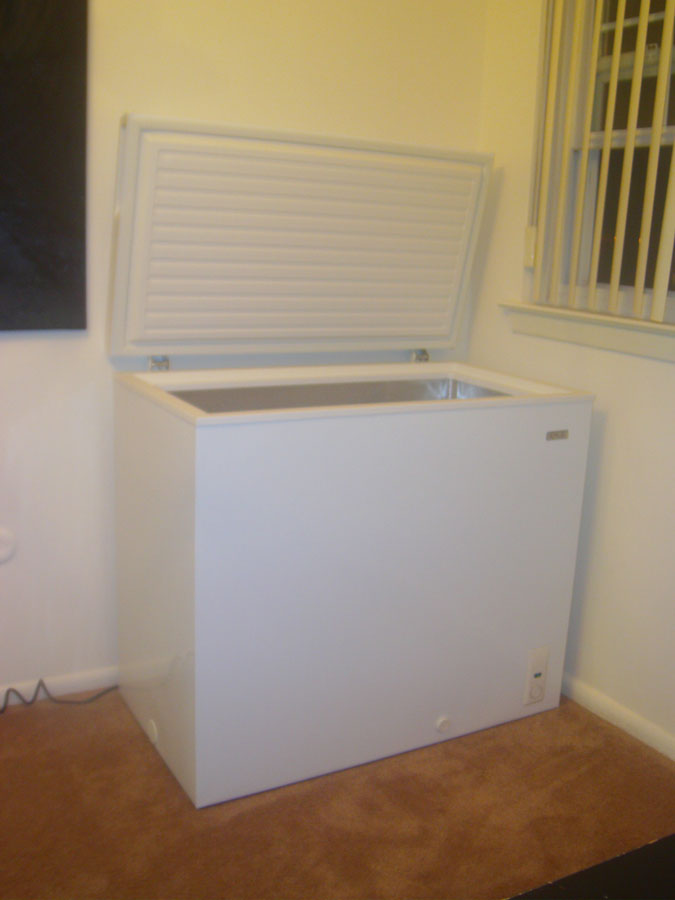
Ok. since you have been so nice to me you shall all participate in this historic moment. Picked up my chest freezer (not exactly the one I wanted but a 7.1 cu ft) and carried it into my house borrowing my friends bf.

To get a temperature controlled fridge under $ 250 you need

1. chest freezer on sale
2. a control unit for DIY wiring
3. no fear to cut a cable

You will need:

Sanitizer!
49vgfhui.jpg


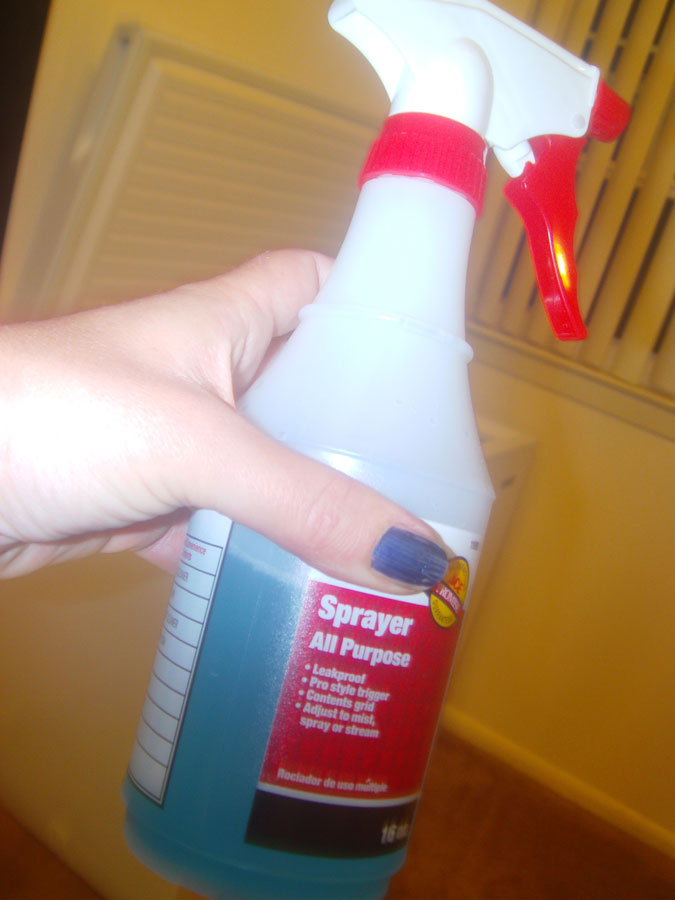
Haha! Just kidding but it doesn't hurt to give your brand new freezer a thorough cleaning!

Chest freezer

tcu5d8cc.jpg


a red table cloth

fcsyta5q.jpg


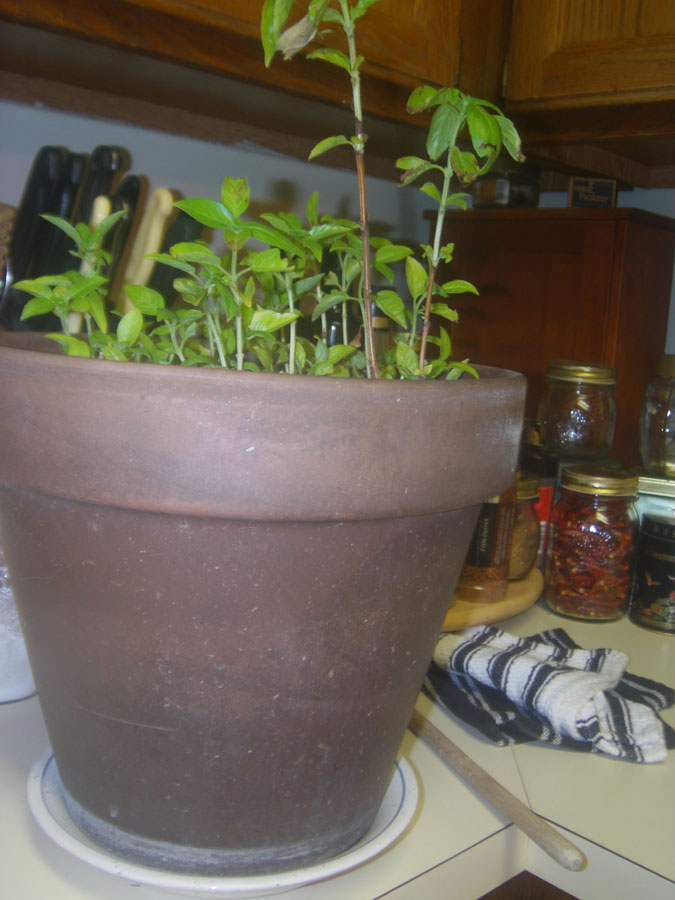
a self grown herb and some decoration

heahqxnp.jpg


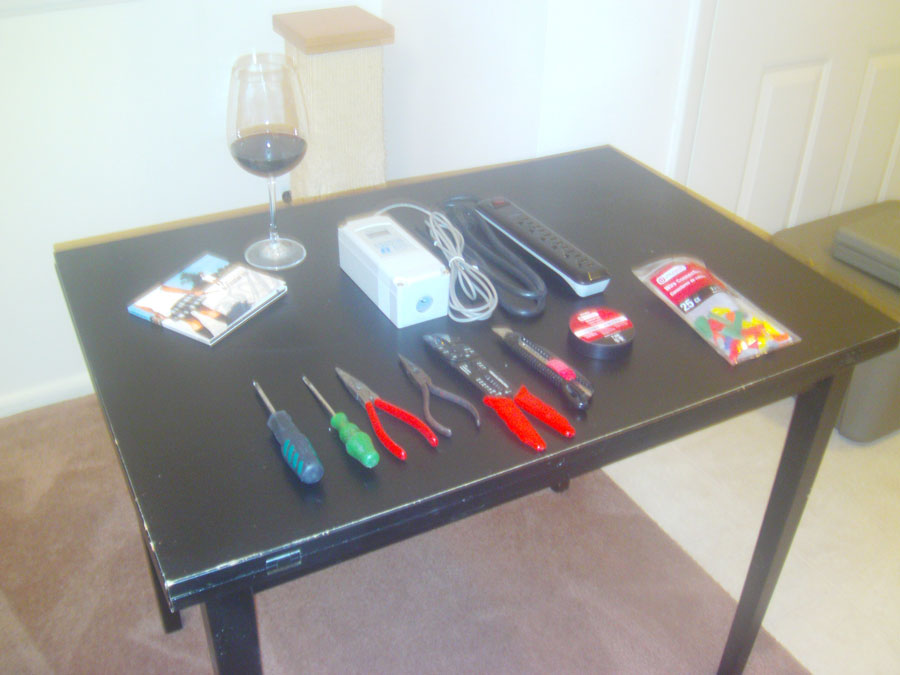
Wine! Music! Some tools and your control unit:

ikqbdps5.jpg


a cat assistant:

9jca7ijp.jpg


No fear!

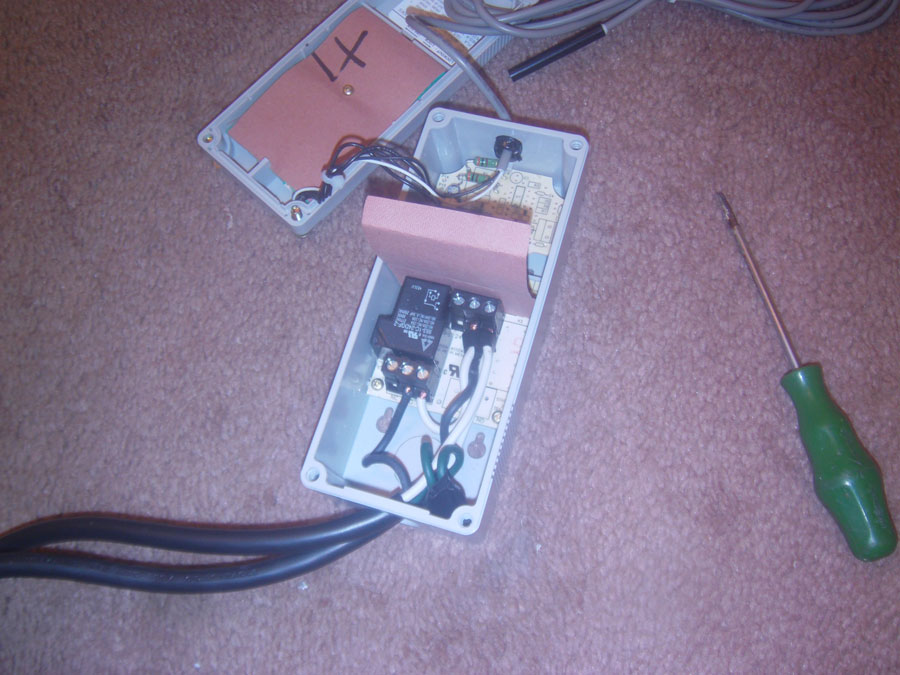
Screw open the control unit. Cut the extension cable.Cut aprox. 5 inch from the extension cable. Pull out the withe wire. Strip all ends 1cm (~ 0.5 inch)

connect the two green cables and put a cable connector on. Fasten with tape.

Connect the two white wires.

Connect the black wire that connects to the plug in to the bottom middle slot.

Put the two connect white wires in the last slot on the top.

lvks54ei.jpg


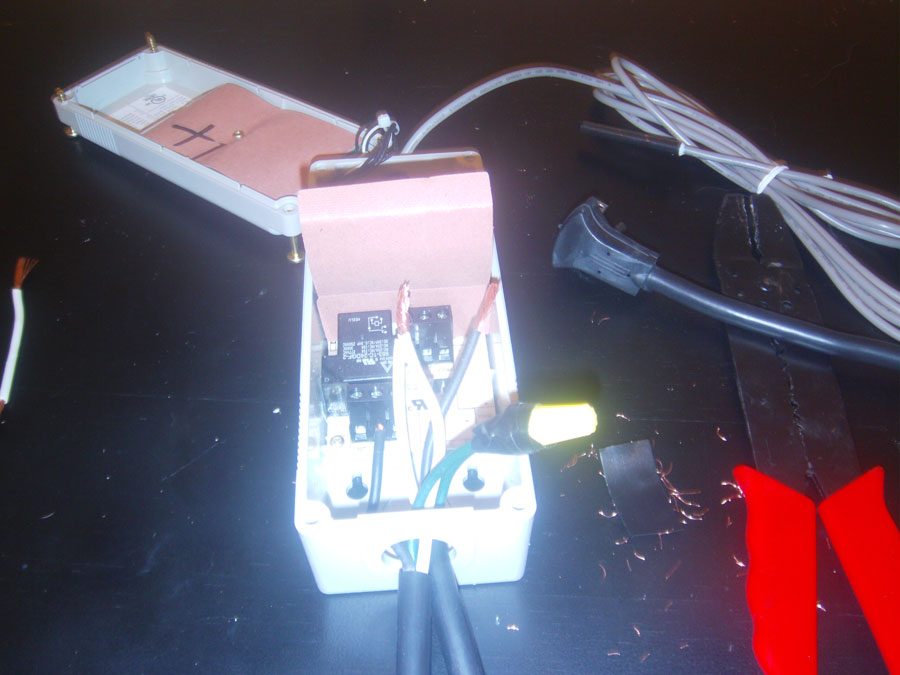
Connect the remaining black wire to the bit that we cut off earlier and put them in the top middle spot.

Put the remaining loose end of the white cable in the last slot on the bottom

73z62cih.jpg


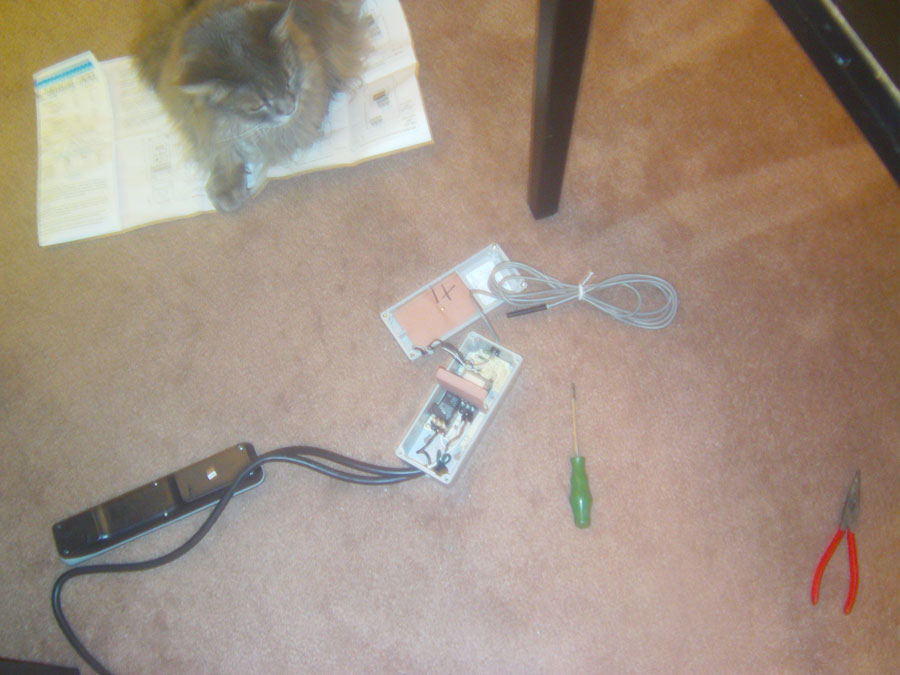
Get a new cat assistant who protects the instruction manual.

2nfpubsr.jpg


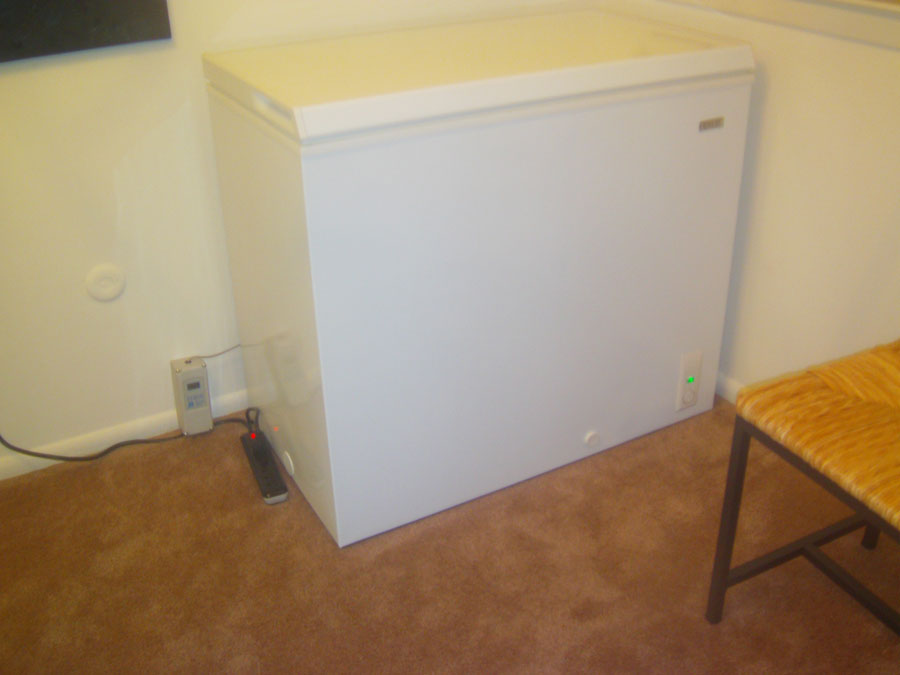
Close up, plug in freezer and be happy that it works.

u55aiu4e.jpg


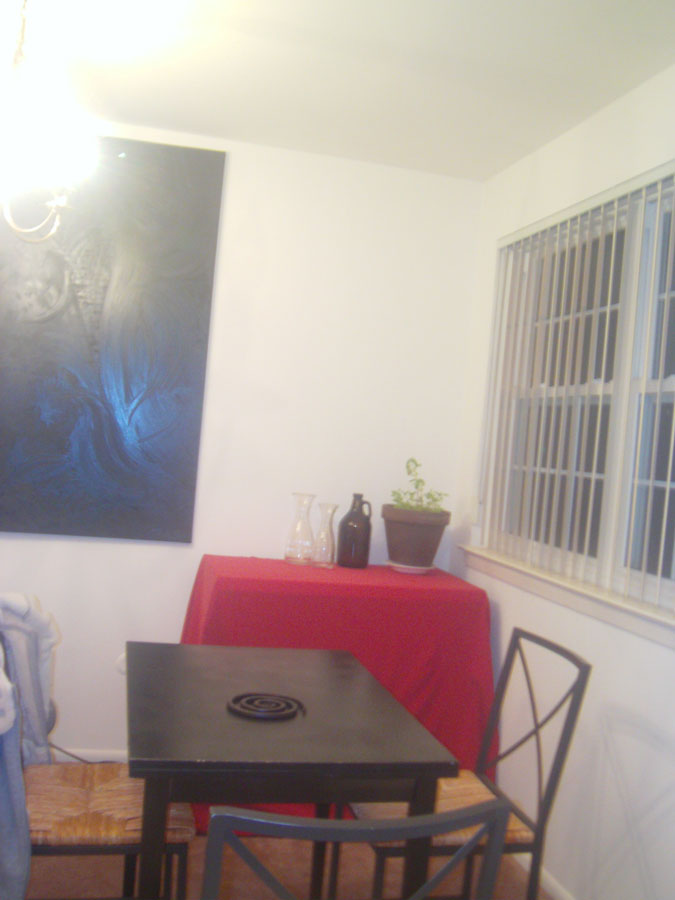
Decorate with table cloth and decoration elements.

nswqb322.jpg


Be proud of yourself!

Part two will explain how I build a mash tun and drill a hole for a ball valve in my turkey fryer...

Good night every one

Thanks for your support!
 
Fantastic, well done! You're going to love having temperature controlled fermentation.

I did it for quite a bit less than that, but I bought a used chest freezer on Craigslist, not new.
 
Fantastic, well done! You're going to love having temperature controlled fermentation.

I did it for quite a bit less than that, but I bought a used chest freezer on Craigslist, not new.

Thank you :)
cant brew lager (which is why I started all this) without one.
Chest freezers on craigslist around here where either disgustingly dirty or just about as expensive as a new one on sale.

Cant wait to actually brew beer this week end :)
 
Nice. Was wondering why you didn't put the controller where it would be more visible, before I saw the grand plan!

Haha! :)

I am still pretty happy the freezer is very, very silent. I hear the relay click, when the temperature control takes over rather than the compressor from the fridge.
Very happy with my set up so far :)
 
Have you already brewed, or are you just doing a test run with the freezer?

Still assembling everything so nothing brewed other than Kombucha and that does not count.

Will take pictures of my further DIY Adventure and if all goes well, will brew a wit beer this Sunday :)

Will keep y'all posted :)

and yes, this is my test run. Measured the temperature the control unit showed with a digital thermometer to be sure it works correctly and will let it run with a steady 65°F to see if that works so I can ferment my wit beer :)
 
Awesome! I'm currently using an old refrigerator that I had, hooked to an STC-1000, for my ferm chamber. I have 10g of a SMaSH brew that I did this weekend fermenting away in mine.

Good luck with the brewing this weekend!
 
One piece of advice- get a small (3-4") inline duct fan or just a computer fan to circulate the air in chamber. Much better temp control and fewer wild swings in cooling mode.
 
One piece of advice- get a small (3-4") inline duct fan or just a computer fan to circulate the air in chamber. Much better temp control and fewer wild swings in cooling mode.


That's cool! Will do!
Thanks, makes a lot of sense!
 
Good luck getting two cables through that connector. :D

You can however use this type:

ad88aea2-b2f7-4325-92a9-68e29ecc7d9f_1000.jpg


Can be installed in two pieces so the wiring doesn't have to be undone.

I had no issues, yet I used these cable caps that where labeled wire connectors. And I only used it to get the green wires out of the way. I nevertheless had some trouble fitting the wires into the slots but nothing that cant be fixed using of a little electrical tape.
 
Awesome! I'm currently using an old refrigerator that I had, hooked to an STC-1000, for my ferm chamber. I have 10g of a SMaSH brew that I did this weekend fermenting away in mine.

Good luck with the brewing this weekend!

Thank you!

I must really admit, it would have taken me much longer to finally feel like I was capable of starting this adventure without the support here in this community.

Such a blessing I found you guys :)
 
Good luck getting two cables through that connector. :D

You can however use this type:

Can be installed in two pieces so the wiring doesn't have to be undone.
Yeah. Just used the picture to illustrate the need for wire restraint which I hope the OP has installed. I used a bx connector on mine and got the two wires to pass thru.
 
no, OP has not installed this, yet used electrical tape to keep wires you do not want to connect from connecting.
 
Nicely done. Congrats on getting your fermentation control setup.

Just be sure that the decorative table cloth doesn't cause too much heat retention in the walls of the freezer. Probably no biggie when your at your set temperature as the compressed won't be on too long.

But when cooling the wort to pitching temps or cold crashing you might want to remove it altogether. Just a thought with a view to prolonging the life of the freezer. It may have negligible impact and my concern may be ill-founded.
 
Back
Top