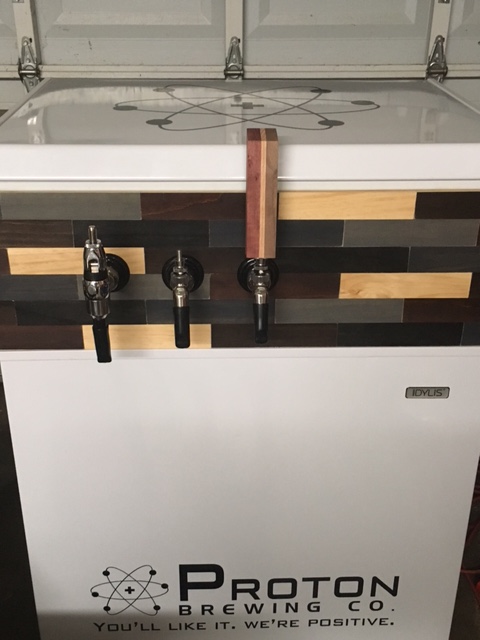
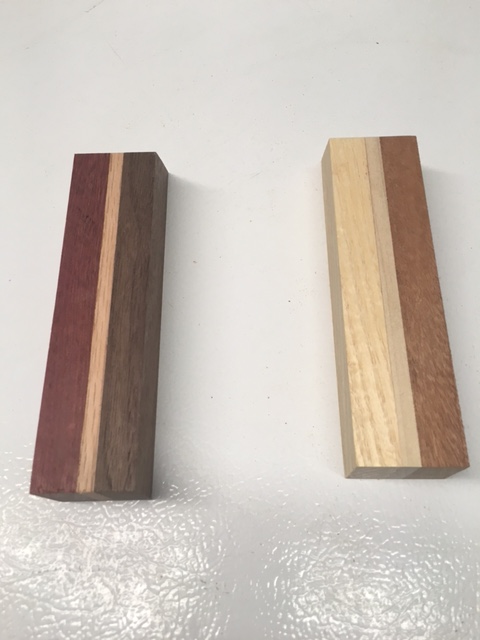
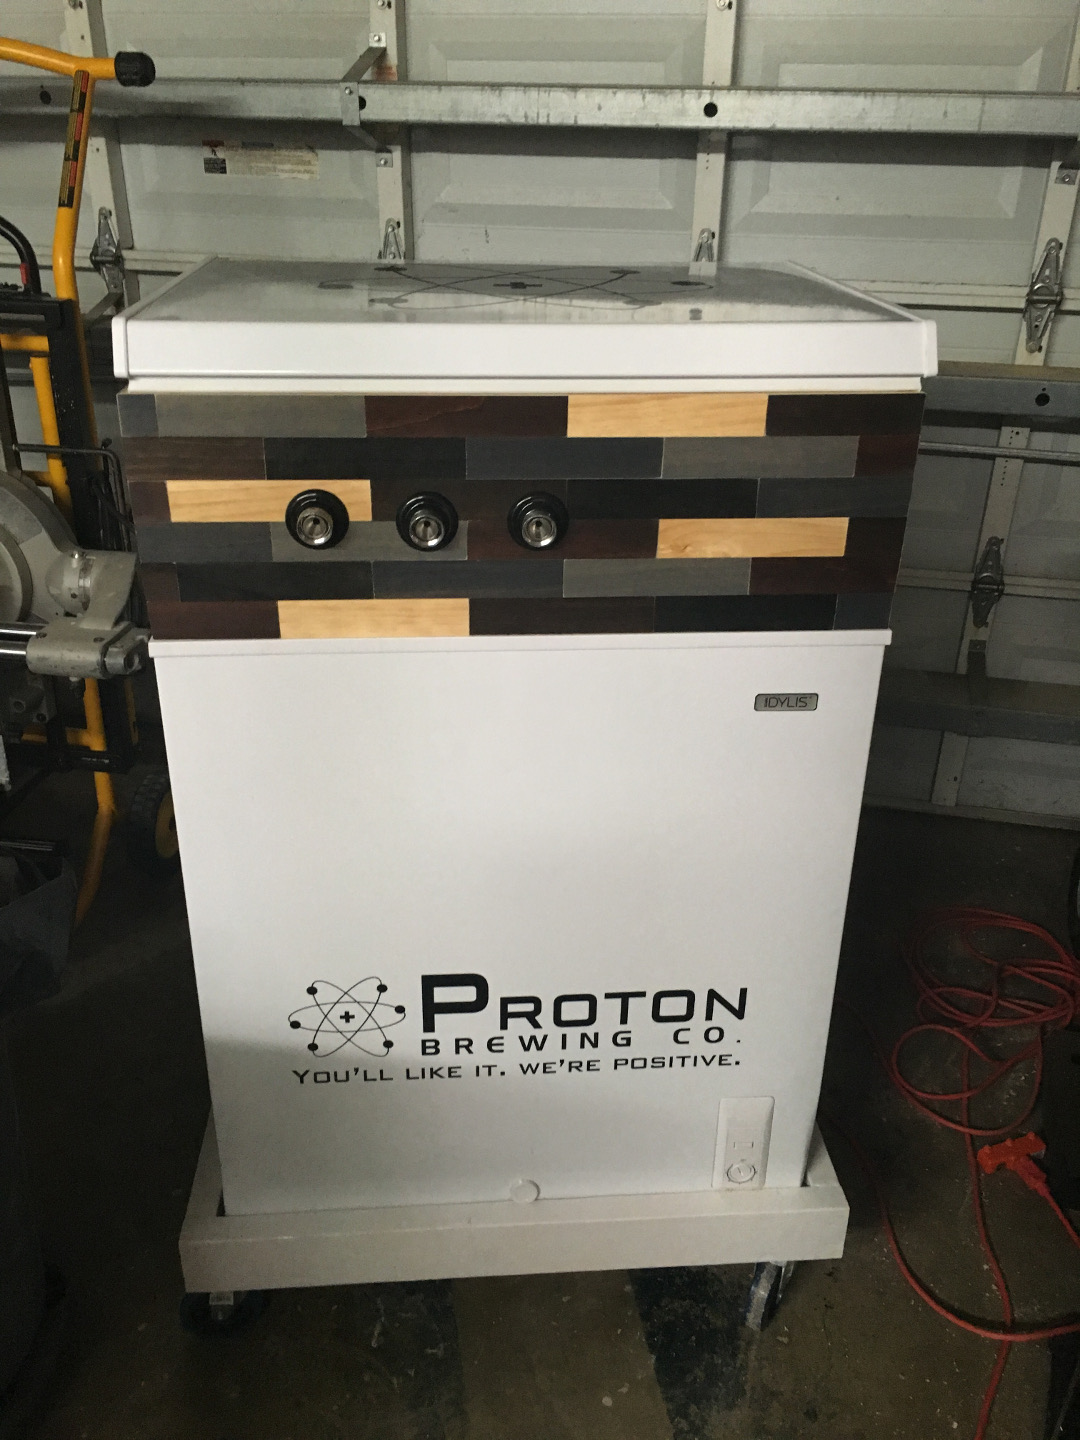
I have been thinking about adding a rolling keezer to keep in my garage so that I can have more than 2 beers on tap at a time (I have a mini-fridge 2 tap in the house by the bar) and to roll out back to the deck for parties. I came across a 5 cu ft freezer on Craigslist for $70 so I got it and started work. Originally the plan was to make a basic collar from 2x8s that I had laying around along with some basic faucets and keep the project under $150, but I wasn't really happy with what was going to be the end look so I decided to do something a bit more creative.
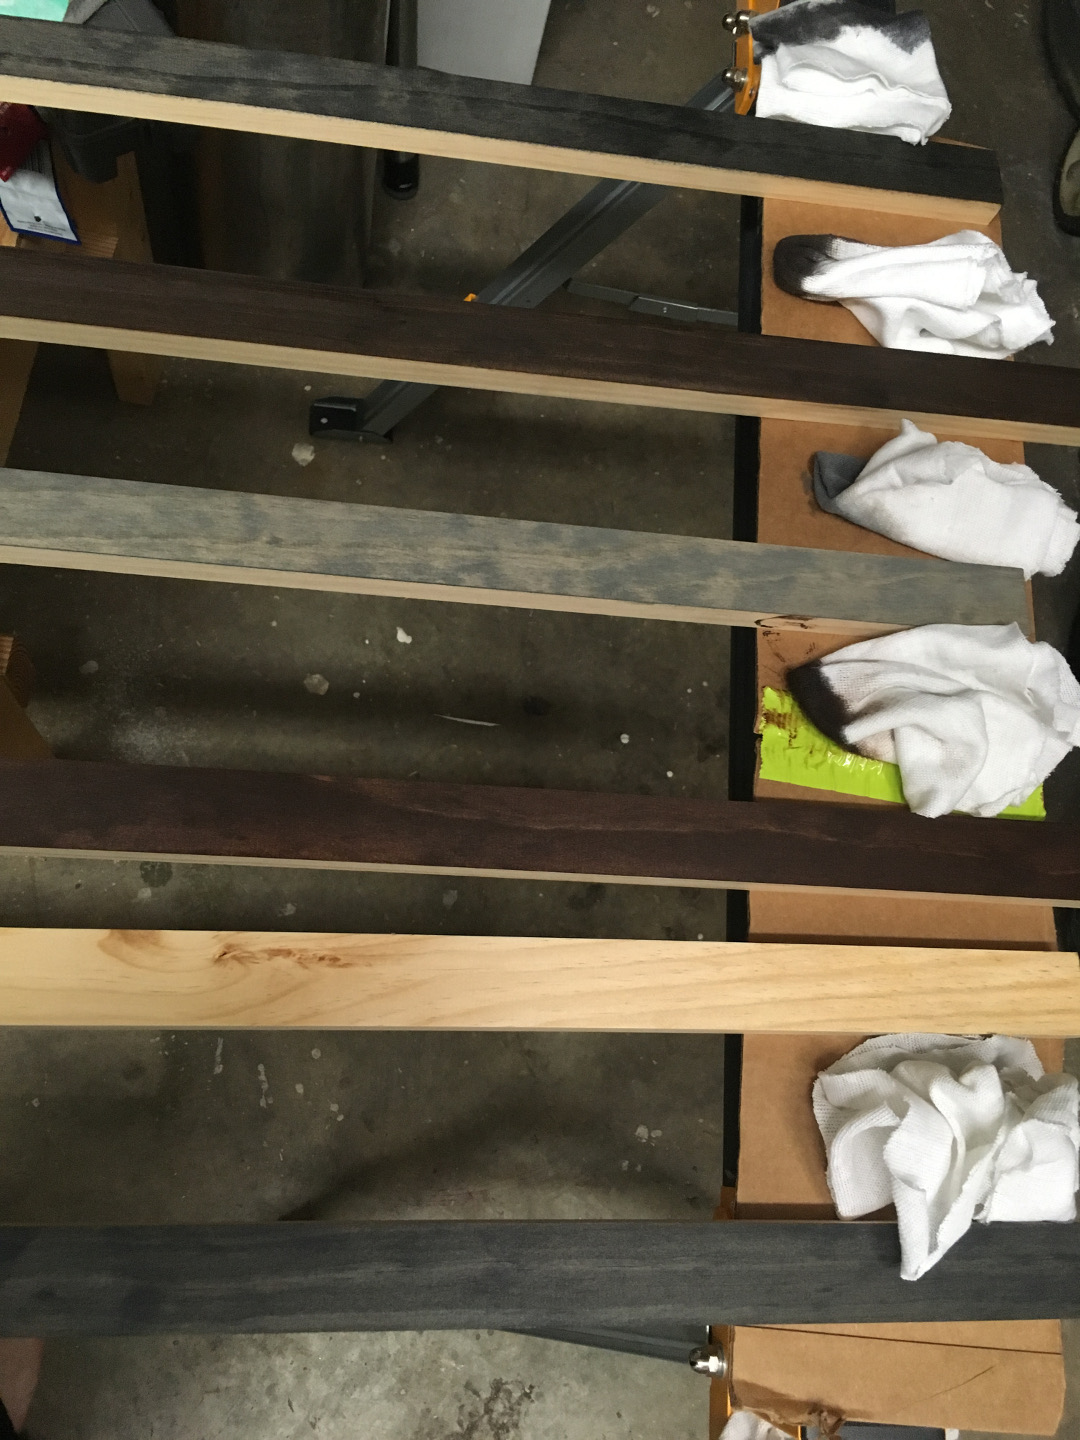
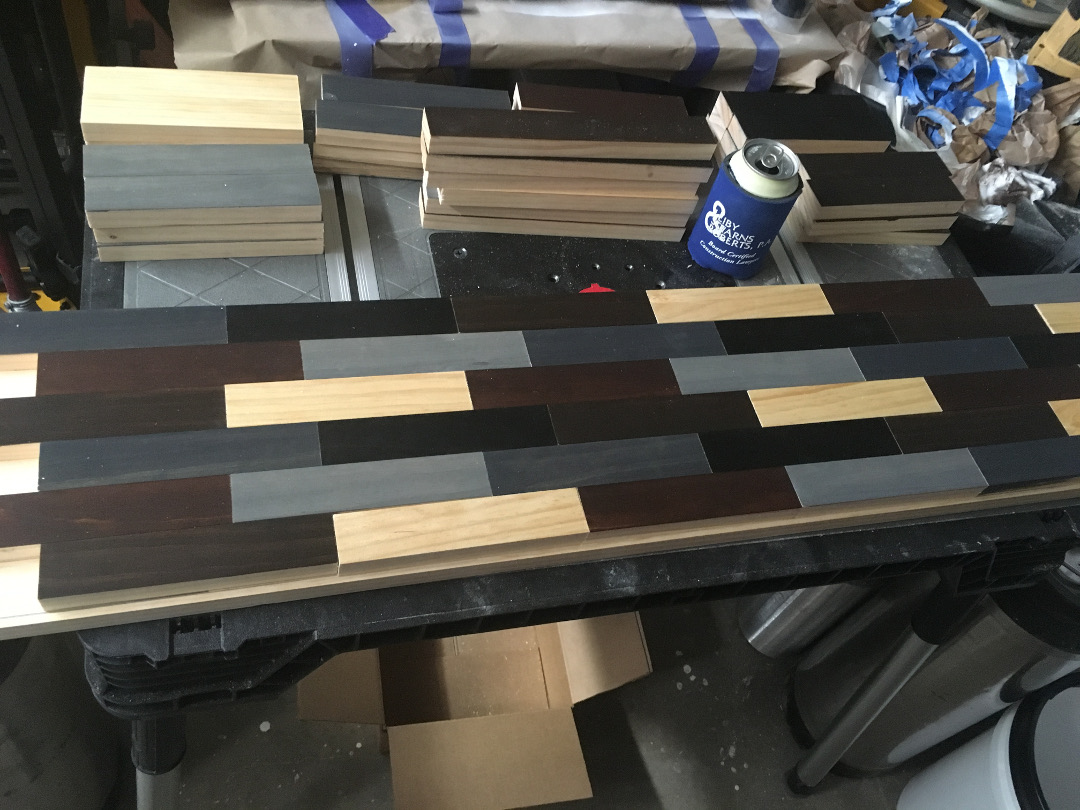
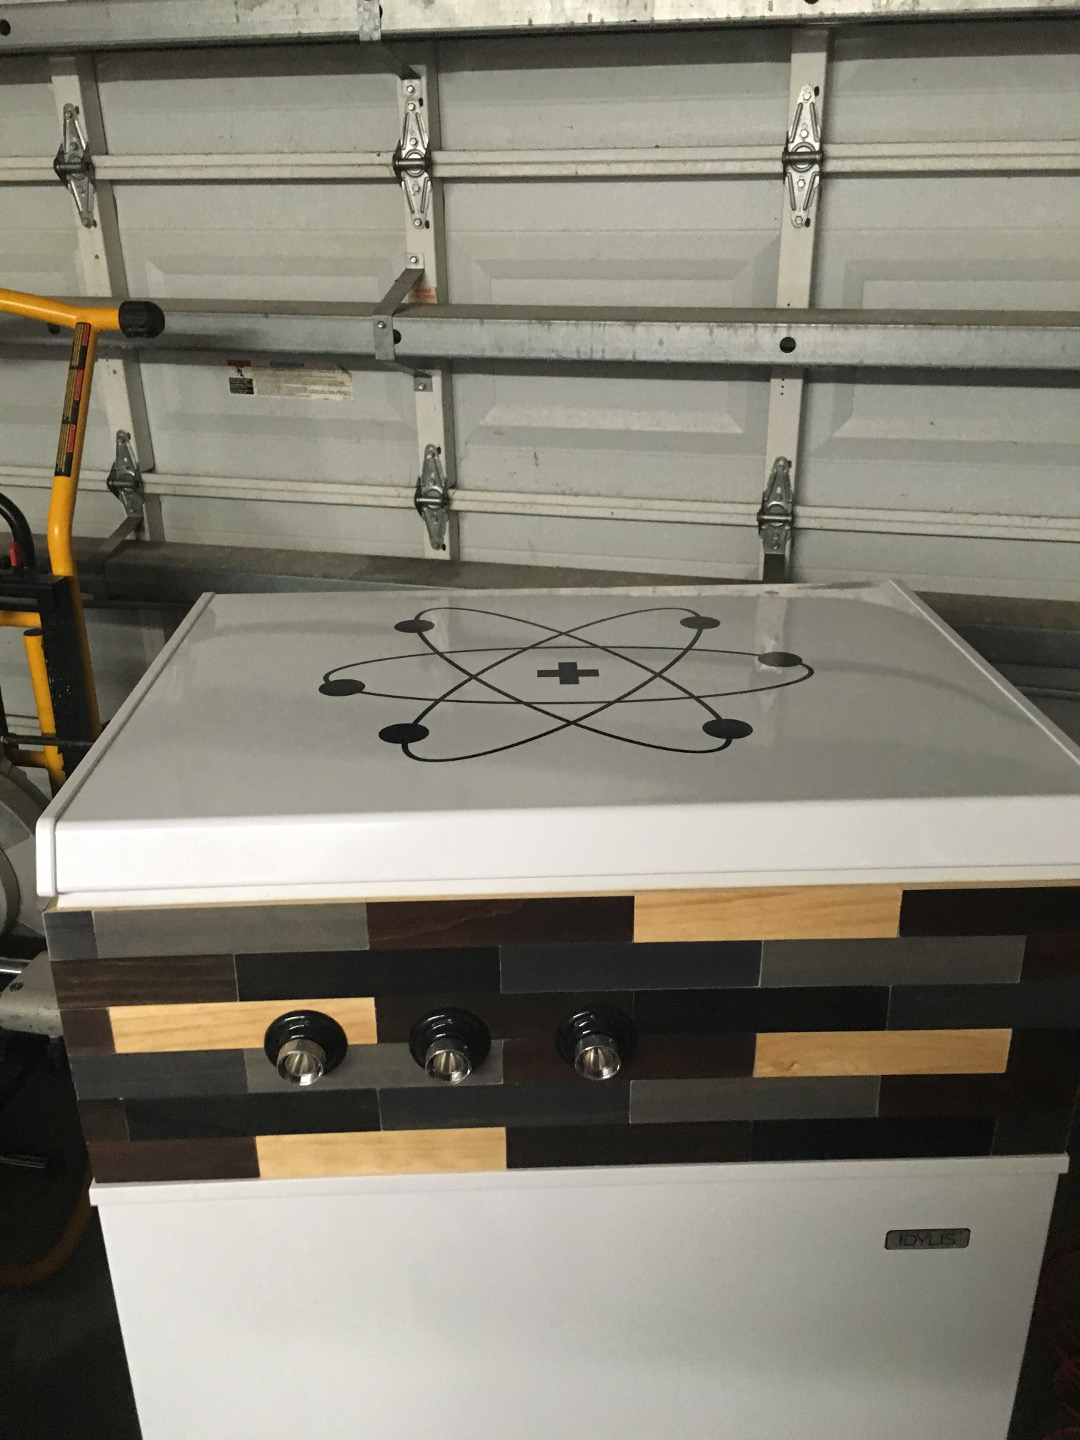
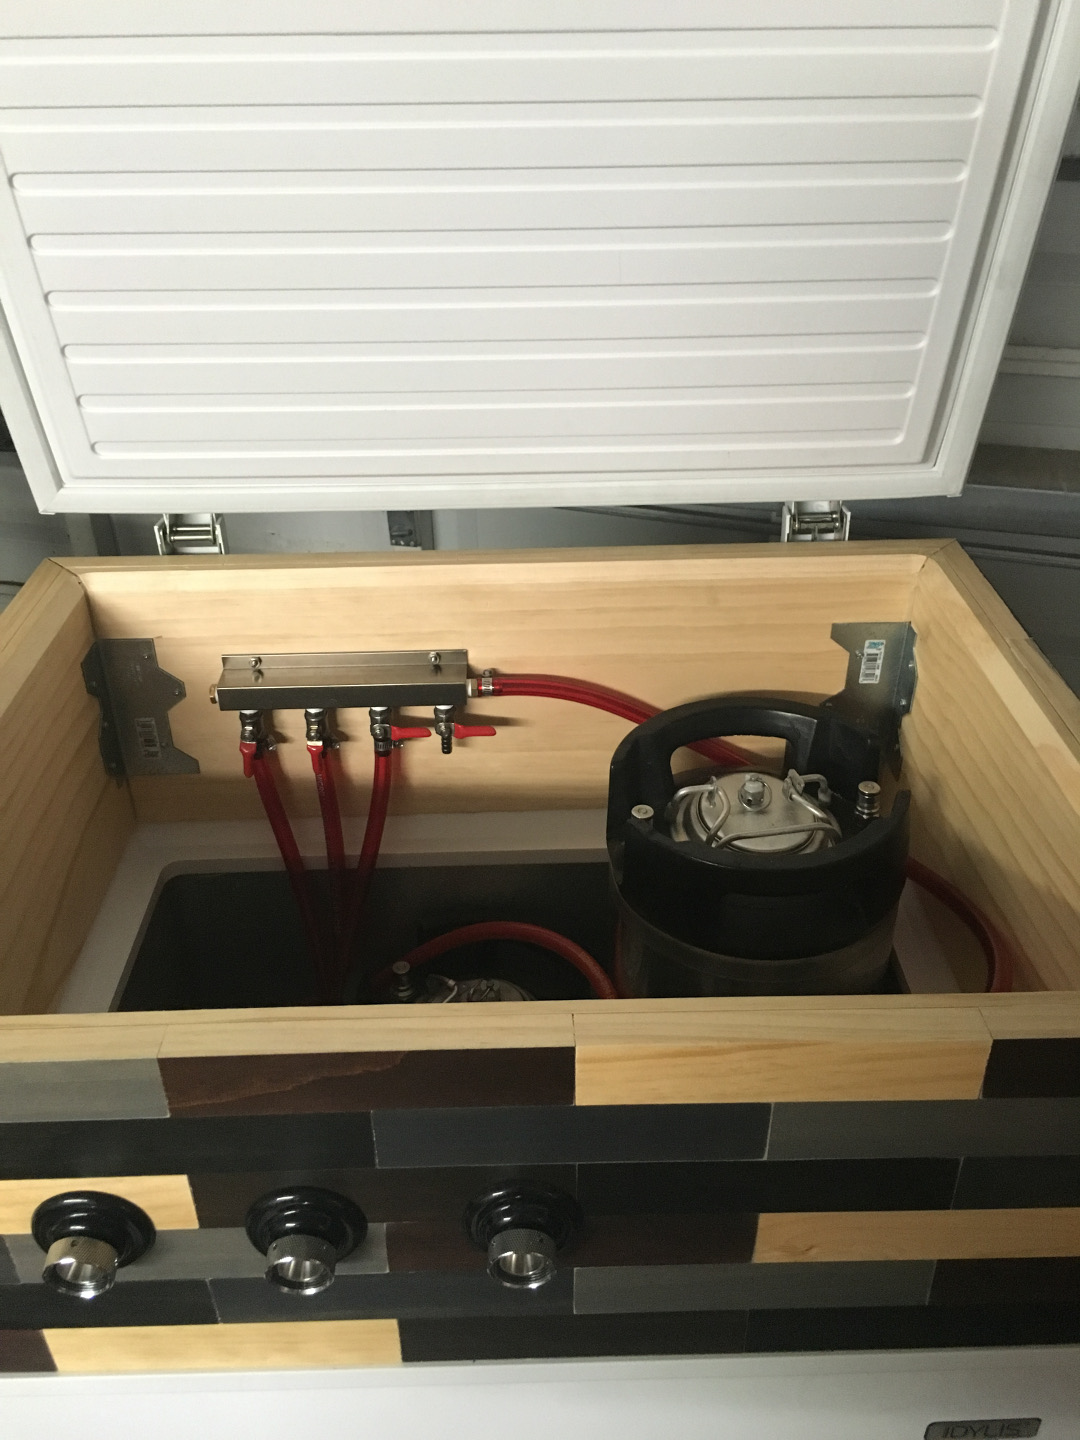
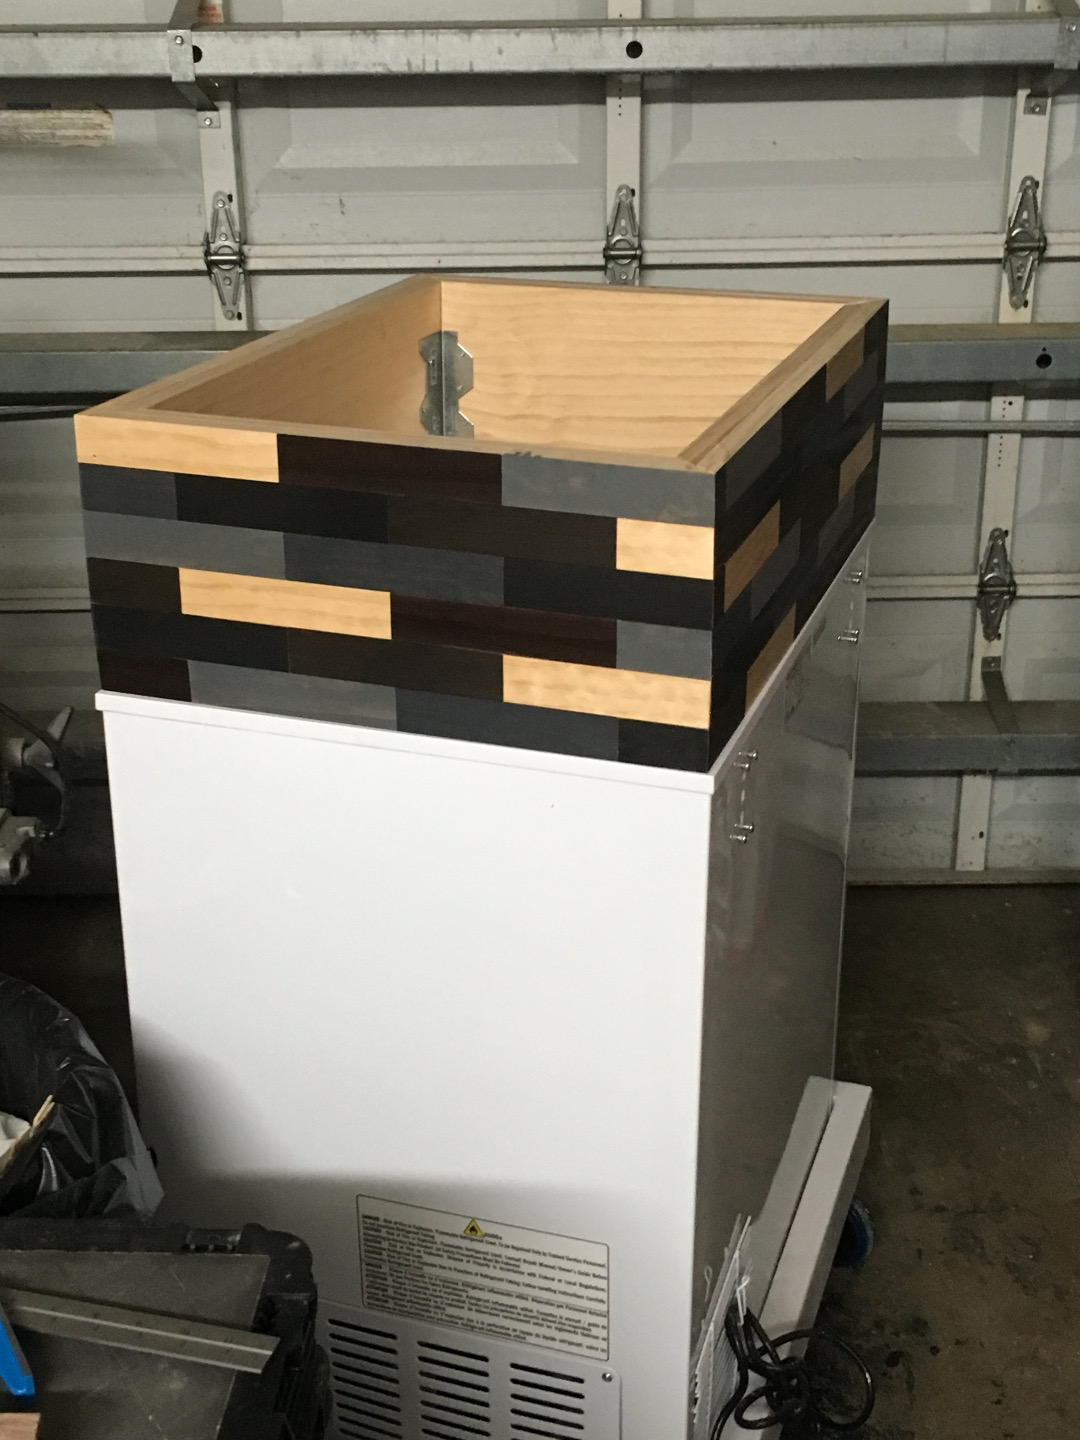
So I went off to Lowes and bought 3 4ft 1x10s and 9 8ft 1x2s, stained the 1x2s different colors, and then cut them into ~7" pieces. I then cut down the 1x10s to the proper width on my table saw and began gluing the 1x2 pieces to the boards in a repeating pattern using Loctite PowerGrab. Once everything was dry, I used mitre cuts and put it together with some brackets and wood glue. I routed the inside lip to give it a softer angle when putting kegs in and out, and to allow the lid to seal properly. All together I used around $175 in wood and stain and other related supplies.
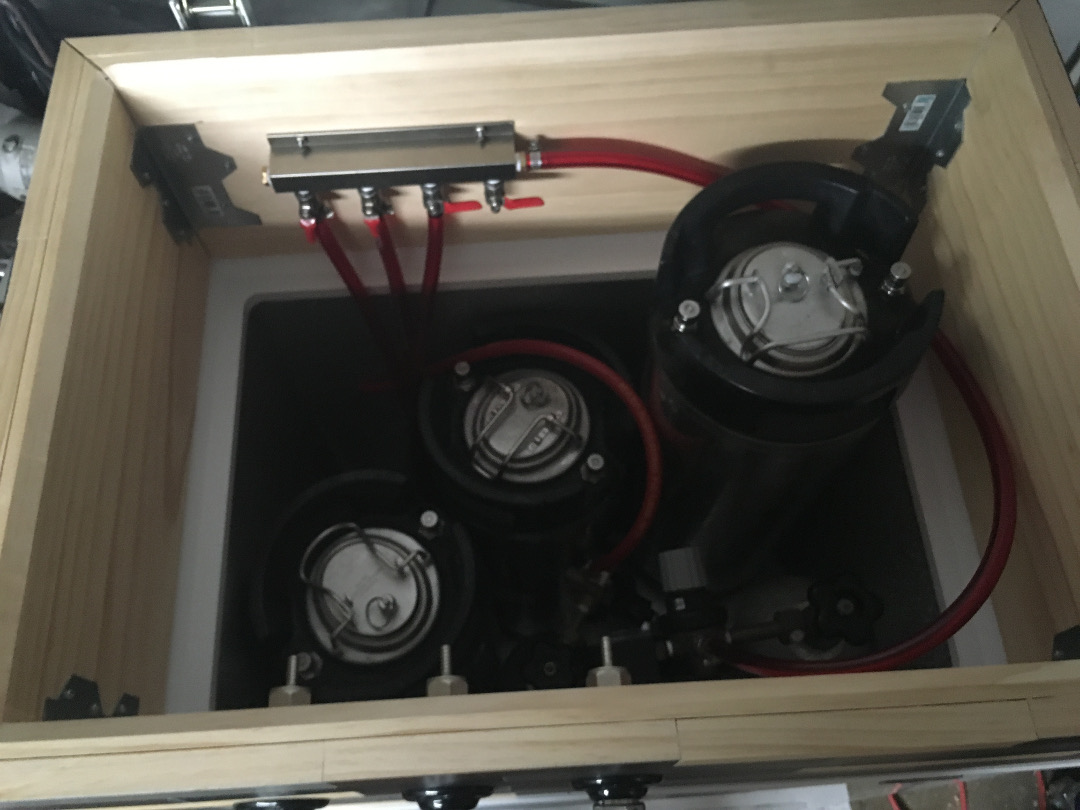
I am able to fit 3 ball lock kegs and 2 tanks with regs. I am setting it up to run either 2 beers on co2 and 1 Nitro, or just 3 on co2. I slapped my brewery decals on there and I have to say, I am pretty pleased with the way the little project turned out.


