wbarber69
Well-Known Member
- Joined
- Oct 13, 2013
- Messages
- 2,191
- Reaction score
- 263
Nice


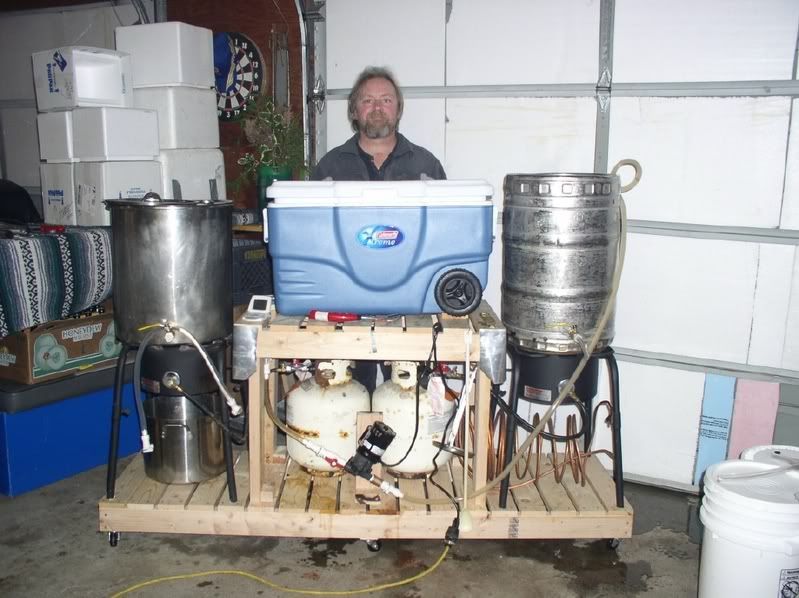
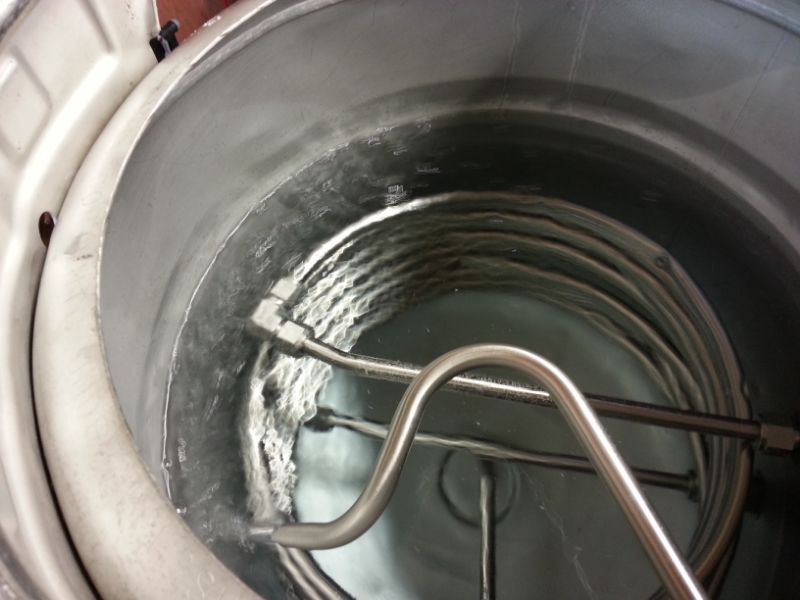
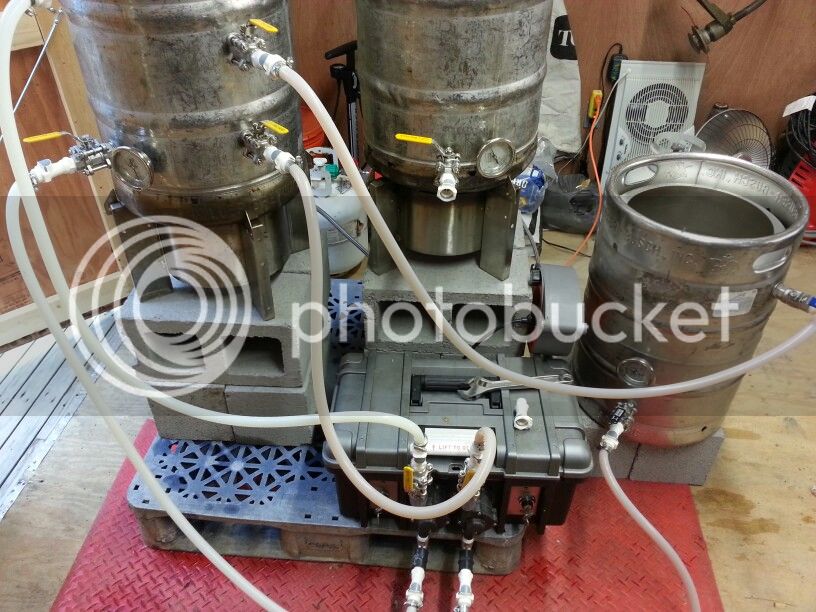
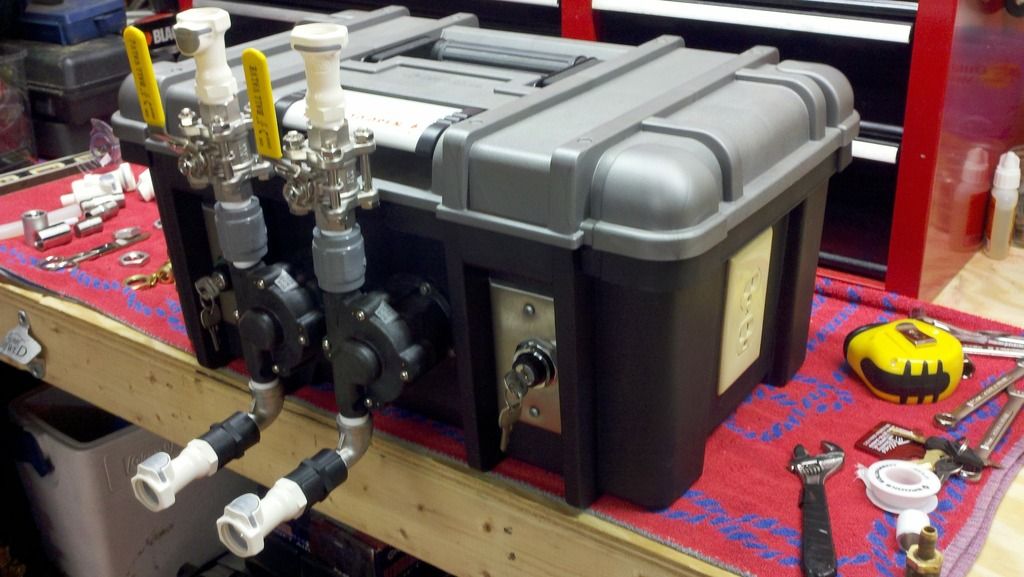
Here's my current set-up. I've kept it pretty simple since moving to all-grain. I made a simple fly sparge arm using PEX tubing my builder threw in the dumpster and I included a pic by itself if anyone is interested in replicating the design. I'm waiting on my Stout system to arrive this summer so I can make the switch to electric, but this basic system has made 11 great beers so far.
View attachment 199945View attachment 199946View attachment 199948
Sent from my iPhone using Home Brew
Here's my current set-up. I've kept it pretty simple since moving to all-grain. I made a simple fly sparge arm using PEX tubing my builder threw in the dumpster and I included a pic by itself if anyone is interested in replicating the design. I'm waiting on my Stout system to arrive this summer so I can make the switch to electric, but this basic system has made 11 great beers so far.
Here's my current set-up. I've kept it pretty simple since moving to all-grain. I made a simple fly sparge arm using PEX tubing my builder threw in the dumpster and I included a pic by itself if anyone is interested in replicating the design. I'm waiting on my Stout system to arrive this summer so I can make the switch to electric, but this basic system has made 11 great beers so far.
View attachment 199945View attachment 199946View attachment 199948
Sent from my iPhone using Home Brew


Just out of curiosity what size square tubing is every body using for their rigs, dimensions and thickness would be greatly appreciated. Trying to decide whether to go steel or wood.
Just out of curiosity what size square tubing is every body using for their rigs, dimensions and thickness would be greatly appreciated. Trying to decide whether to go steel or wood.
Thanks for your replies, you wouldn't happen to recall the gauge of the tubing would you?
Thanks for your replies, you wouldn't happen to recall the gauge of the tubing would you?[/QUOTE
If I were doing 1" square tube, I would go 1/8" or 10 gauge. I built mine out of 1 1/2" x 1/8" angle and it worked great. Cheap and good enough. :rockin:


Thanks for your replies, you wouldn't happen to recall the gauge of the tubing would you?[/QUOTE
If I were doing 1" square tube, I would go 1/8" or 10 gauge. I built mine out of 1 1/2" x 1/8" angle and it worked great. Cheap and good enough. :rockin:
Mine is over engineered by design. I used 2" x (1/8" thick) box tubing. It is an absolute beast as far as I'm concerned. Serious overkill for the 20 gallon kettles. My guess is that it could support 3x that amount.
.jpg")
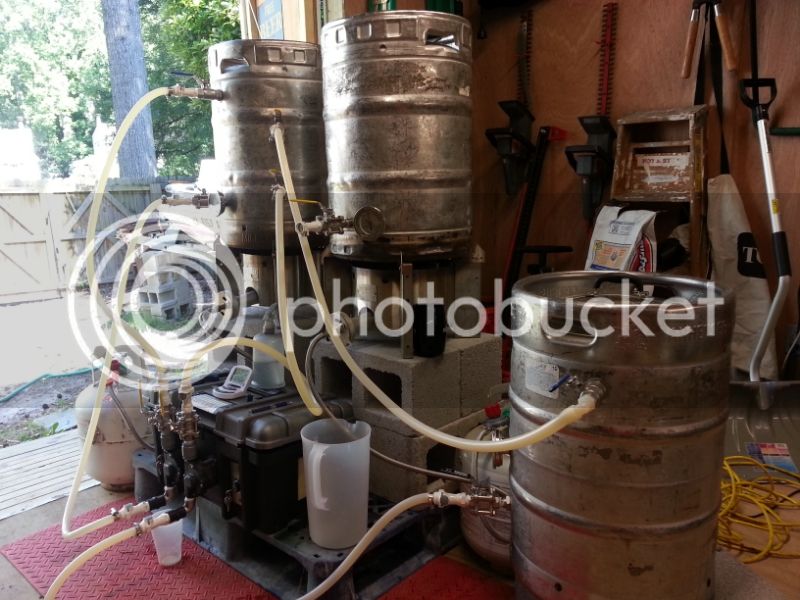
Here is my currently manual, gas/electric hybrid HERMS. I've used it twice so far and love it. The only thing I'm frustrated with is long chilling times (30+ minutes) causing poor cold break.


Been done for awhile but added a flame/heat proof mash blanket.

Nice work, nice tippy and nice casters....what are those burners rated, like 0 - 60 in 4.5 seconds!
Wilserbrewer
Http://biabbags.webs.com/
These pics are a few months old. I got the rig primed and should have the painting done within a few weeks I hope. I will post the finished product as soon as she's done. I have put about 2 years of thought into this rig and left plenty of room for expansion for after the first time I brew with it. lol. Thanks for looking!!!!
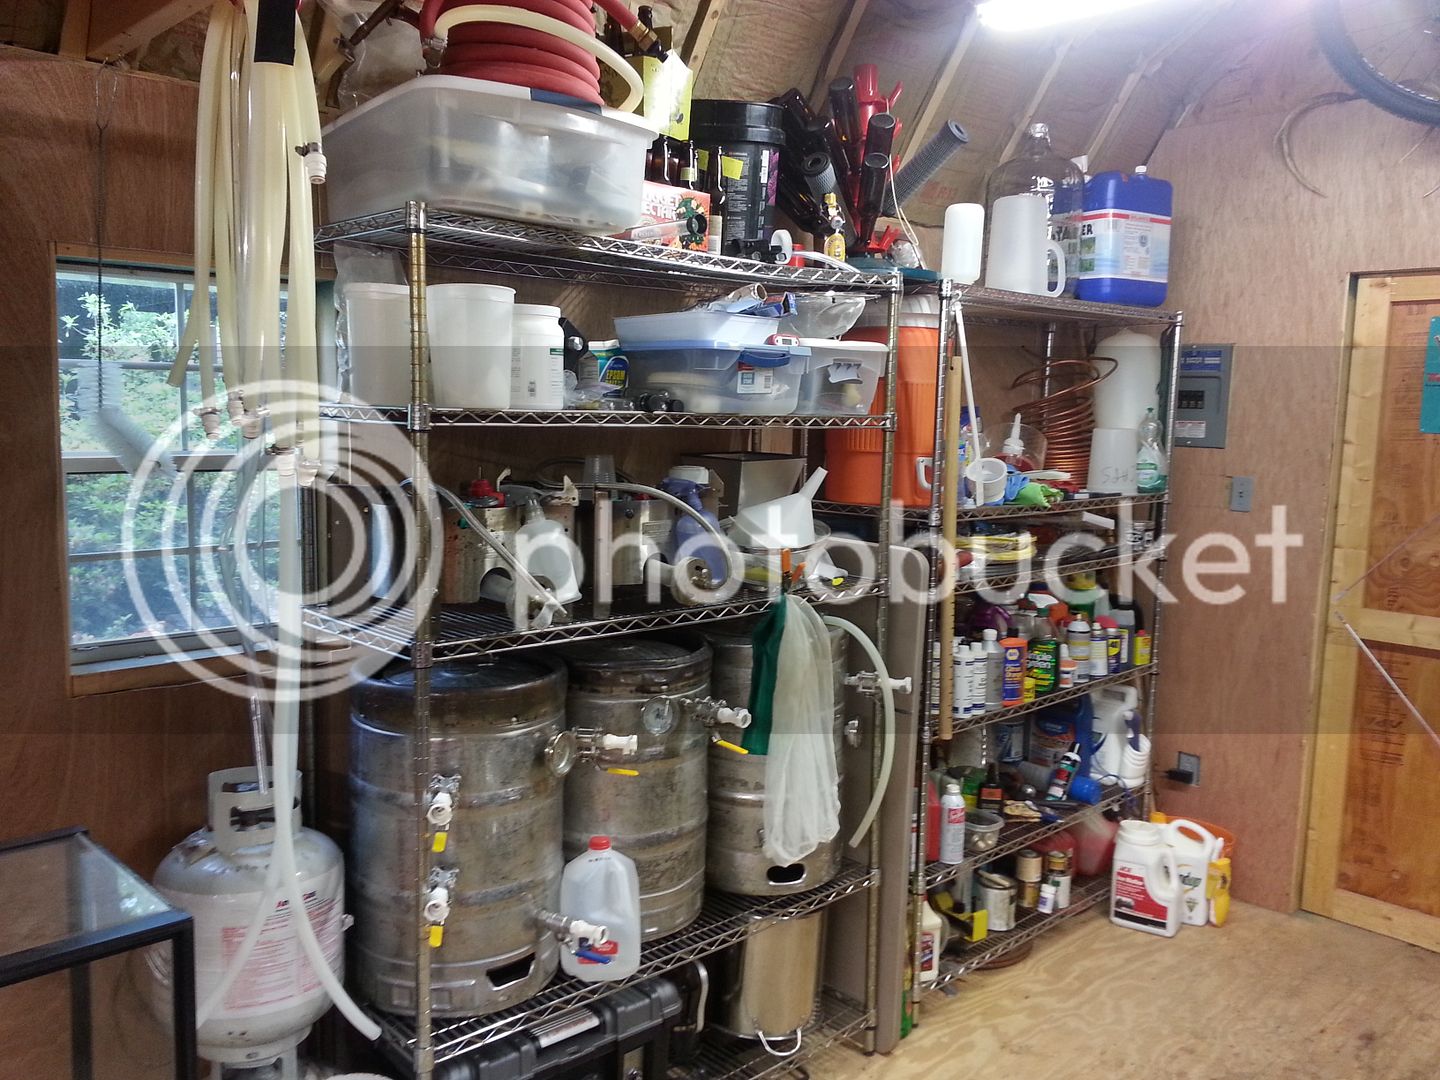
There are a lot of photos scattered over many threads of brewing set-ups.I looked all over the web for pics and ideas for a simple sculpture.Maybe it'll help someone to see a bunch in one place.
This was a fairly simple project.
Cheers
Bazowie, could you please give us some details about your flame/heat proof mash blanket? I'd be interested in something similar for my keggle, direct fire RIMS mash tun. Thanks!


What did you use to hold the kegs to the dumpers?
These pics are a few months old. I got the rig primed and should have the painting done within a few weeks I hope. I will post the finished product as soon as she's done. I have put about 2 years of thought into this rig and left plenty of room for expansion for after the first time I brew with it. lol. Thanks for looking!!!!
Love the dumpers! I have dumpers on my rig as well. Do you just flip them down into a wheelbarrow or something?
I have dumpers for my MT and BK. I've found the best approach for my setup is to let the MT drain as much as possible and then slip a lawn rubbish bag over the MT. Then when I dump it over, most often with a few bangs, the majority of the grains fall into the bag that I then tie off and put in the trash can. My usual grain bill is about 30#, so the bag is heavy, but not too bad.


Enter your email address to join:


