Show us your panel

Homebrew Talk - Beer, Wine, Mead, & Cider Brewing Discussion Forum

Help Support Homebrew Talk - Beer, Wine, Mead, & Cider Brewing Discussion Forum:

This site may earn a commission from merchant affiliate links, including eBay, Amazon, and others.
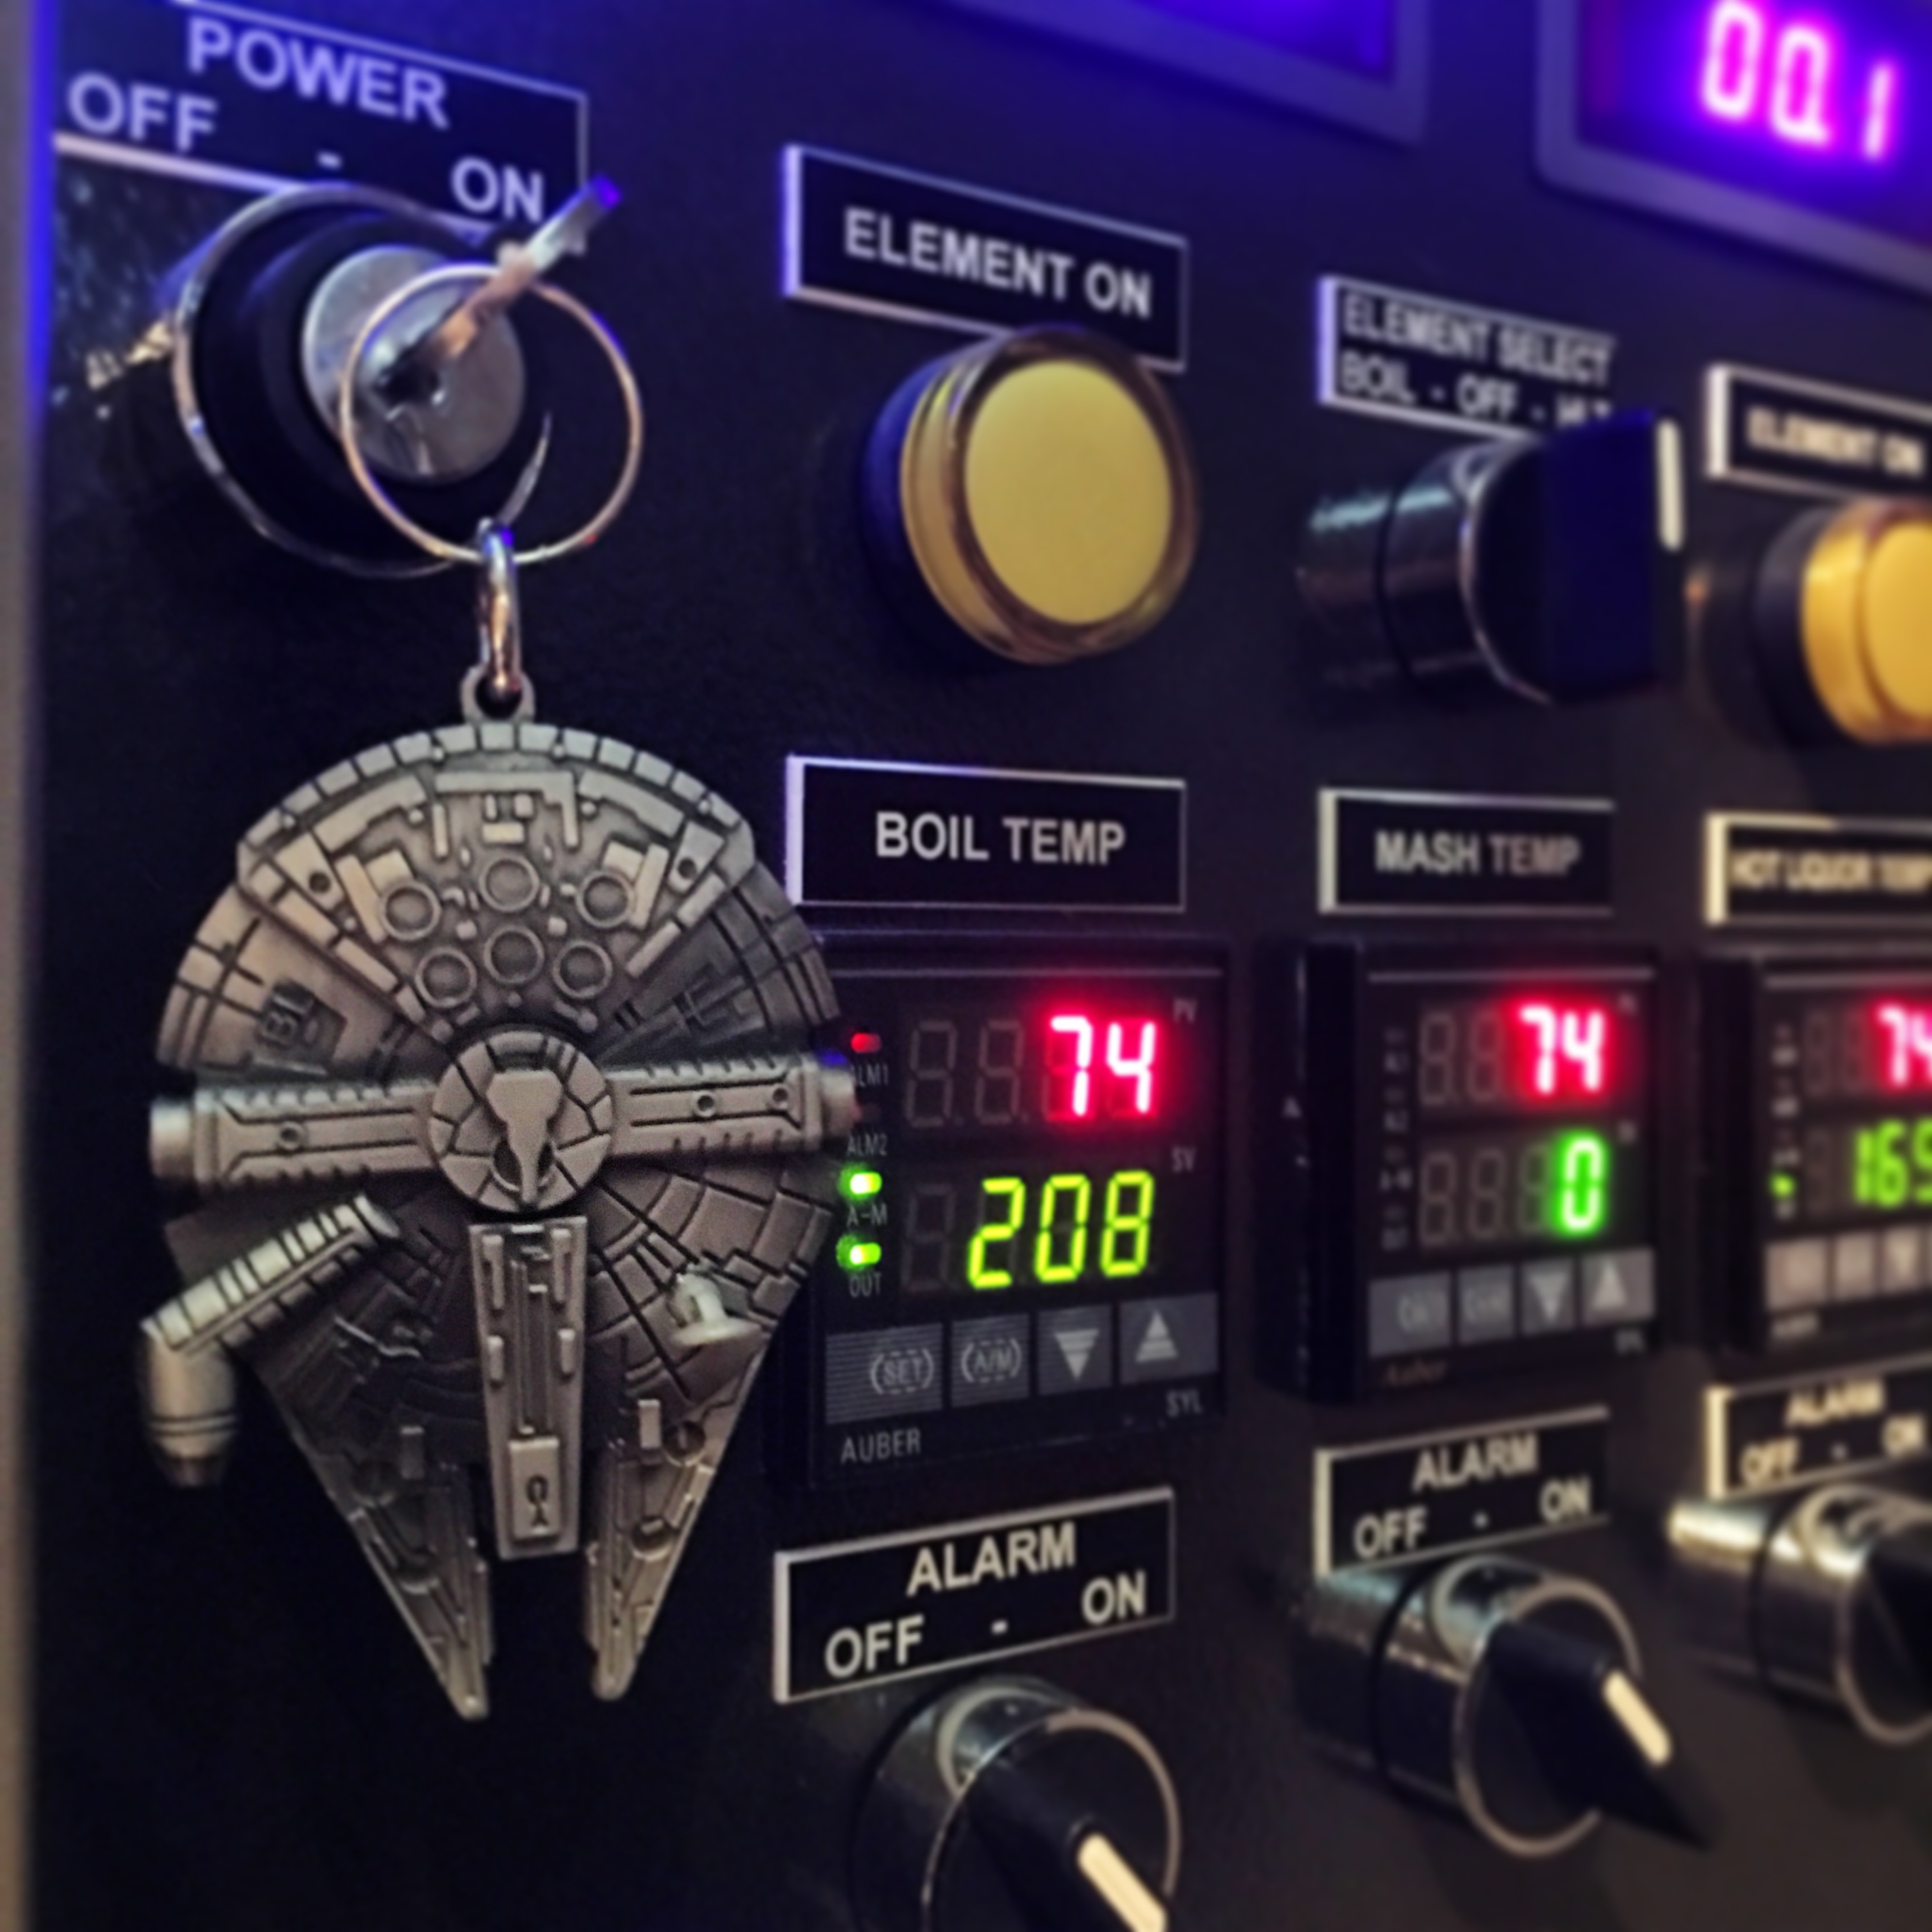
So I spent the weekend doing some long-overdue projects in the brewery; one of which was to finally customize my brew controllers. Here are a few pics. Feel free to stop by my Facebook page (https://www.facebook.com/PineGroveBrewWorks/) to see more.

RIMS pre mod.jpg


RIMS masked.jpg


kettel pre.jpg


finished.jpg
 
Bcs 460 based system. I need to get some tags on the selector switches. Bottom of panel are the pump selectors and indicators. Working your way up is the element selector in the middle and then element on, off, and manual selector for each element. Almost ready to brew on it. Just getting the final wiring and ventilation installed.

View attachment 1457491408823.jpg
 
I'm going to mount a tablet off to the left to control/monitor it via the bcs interface.
 
I just finished my RPi control panel. These pictures show the panel during the build without everything 100% complete. I plugged it in last night and ran it for about an hour in a 30 gallon kettle. Worked great. I have a 200 gallon kettle coming soon. It runs 4 6000watt elements. On the front of the panel it has a key on/off and four switches to turn elements on/off. That way if I'm doing a 5 gallon batch and only need 1 element I can and so on all the way up to a 4 bbl batch. Let me know what you think. BTW it's touch screen and extremely user friendly running the Strangebrew Elsinore by Doug Edey. View attachment ImageUploadedByHome Brew1457538673.611554.jpgView attachment ImageUploadedByHome Brew1457538688.327487.jpg
 
I just finished my RPi control panel. These pictures show the panel during the build without everything 100% complete. I plugged it in last night and ran it for about an hour in a 30 gallon kettle. Worked great. I have a 200 gallon kettle coming soon. It runs 4 6000watt elements. On the front of the panel it has a key on/off and four switches to turn elements on/off. That way if I'm doing a 5 gallon batch and only need 1 element I can and so on all the way up to a 4 bbl batch. Let me know what you think. BTW it's touch screen and extremely user friendly running the Strangebrew Elsinore by Doug Edey. View attachment 343031View attachment 343032


Is this a home brew build?!
 
I just finished my RPi control panel. These pictures show the panel during the build without everything 100% complete. I plugged it in last night and ran it for about an hour in a 30 gallon kettle. Worked great. I have a 200 gallon kettle coming soon. It runs 4 6000watt elements. On the front of the panel it has a key on/off and four switches to turn elements on/off. That way if I'm doing a 5 gallon batch and only need 1 element I can and so on all the way up to a 4 bbl batch. Let me know what you think. BTW it's touch screen and extremely user friendly running the Strangebrew Elsinore by Doug Edey. View attachment 343031View attachment 343032

Please report back if you have any issues with the ssr heatsinks in the enclosure like that.
 
Last night a simulated a 15 gallon batch testing for leaks and stuff and started thinking about heat in the enclosure. To combat that tonight I am adding two computer fans to the exterior of the box. One pushing air in and one pulling air out. I will definitely report back on how it does when I finish building my 200 gallon kettle and run all four elements at one time. That's when the system is really going to be tested.
 
I'll run another one tonight or at least this weekend and I'll check the ssr temps. I'm going to set up a temp probe for the box. Elsinore comes with an internal heat shut off setting so that you can prevent a blow up.
 
Elsinore comes with an internal heat shut off setting so that you can prevent a blow up.
Even if the temp's not near the "maximum" they recommend, the cooler you run things the longer the parts will last. This is especially true for electrolytic caps as they dry out faster in higher heat. They may still last years, but you can easily cut the life expectancy by 50% with more heat

Cutting holes for a push/pull fan setup like you mention is a good idea. Only caveat is that you loose any panel water resistance with big holes like that. So something to keep in mind with future builds. (This is why I put the heatsink on the outside of my panel).

Good luck!

Kal
 
Thanks Kal. I thought about the holes in the box for the fans so today I've been looking into a water cooled system like in a computer for the CPU. It's not to late for me to flip them up and put a heat sink on the top or back.
 
I would be a lot cheaper to put the heat sink on the top or back than to do water cooling, not to mention any failures/issues that could occur with water cooling. Passive is (IMHO) best as it can't fail.

Kal
 
Well if Kal says put the heat sink on the outside then that's exactly what I'm going to do. Brun the way my layout is I think it's to late to put it on the side. I'm going to build a couple more of these for some friends that want them so my next design will be better and cleaner.
 
Everything done except the trim around the wood its mounted too. Also was thinking of getting a tv swivel mount so i can move it closer to me a bit while im brewing.

I have mine mounted to a TV mount arm and I love it. It allows me to adjust the panel as I need and when done, fold up and out of the way.
 
Everything done except the trim around the wood its mounted too. Also was thinking of getting a tv swivel mount so i can move it closer to me a bit while im brewing.

I see you have a HLT or Boil switch. I was planning on having a mash/boil switch.

My thought is I can recirculate heated mash and prep sparge water.
Then I wont need the mash heat when I am sparging and can heat the boil as soon as element is covered.

And if I have an oversized batch I can use my HLT to boil also.
 
Well if Kal says put the heat sink on the outside then that's exactly what I'm going to do. Brun the way my layout is I think it's to late to put it on the side. I'm going to build a couple more of these for some friends that want them so my next design will be better and cleaner.

Minor thought. If you do move the ssr's and heat sinks, It might help to separate them some. Allowing an air gap between them would help dissipate the heat, especially for the two in the middle that are bordered by heat on two sides. Even if you left them inside with the dual fan setup, it would help to separate them.
Cheers!
 
I put the heat sinks on the back so you can't see them but the panel is done. I'm brewing a 15 gallon batch right now. Please let me know what you think. I plan on trying to sale a few of these to fund this brewing habit of mine. Lol. Btw it can control up to 4 6000 watt elements. I ordered all the material to build my 4bbl kettle with stand. View attachment ImageUploadedByHome Brew1458506247.399358.jpg
 
Btw it can control up to 4 6000 watt elements. I ordered all the material to build my 4bbl kettle with stand. View attachment 345766

I assume your GFI breaker is in your main panel? What size GFI is feeding your control panel? I ask because it sounds like you want to run these elements concurrently, but that would require a 100-110a breaker, and I've never seen a GFI breaker that size before.

Also, where'd you source your breaker panel mount for your control panel?
 
I bought a 125amp breaker panel from ace hardware and took the breaker mount set up out of it and mounted it in my panel.
 
So, if you have a failure between your panel and the wall, the control panel will assume everything is ok, relying on the non-GFCI breakers in your house's panel to trip? Am I reading that correct? That seems a bit dangerous as regular breakers are NOT designed to protect human life, but save wires from burning.

I'd rather have my GFCI protection AT THE SOURCE of power. I have actually had a GFCI trip while brewing in a slight spill situation and I'm glad the power tripped at the wall.
That is definitely the preferred approach for the reasons you state. Best it have the GFI in an electrical panel upstream and separate from the control panel touched by operators.

If the GFI breaker is right in the device being protected, a current leak before the GFI could still pose a danger to the operator.

Kal
 
So, if you have a failure between your panel and the wall, the control panel will assume everything is ok, relying on the non-GFCI breakers in your house's panel to trip? Am I reading that correct? That seems a bit dangerous as regular breakers are NOT designed to protect human life, but save wires from burning.

I'd rather have my GFCI protection AT THE SOURCE of power. I have actually had a GFCI trip while brewing in a slight spill situation and I'm glad the power tripped at the wall.

You missed Devildog's other post... he has two 60a spa panels that are feeding the control panel; so he does have his GFI's in the proper orientation.

That said, Devildog, not to be a naysayer, but if you do eventually go "Pro" like you state, I really believe you are going to have to redo this panel if you want to use the mechanicals; mainly because having 2 feeds to your panel probably won't cut muster. Things might be different with your local codes, but I wouldn't bet on it.
 
Cyber backpacker you are correct that the panel will possibly need modifications to pass an inspector. My brother is an inspector in another state and he looked at it and said that it could pass. The electrician I had look at it said it was wired cleanly and looked to be a sound panel. With that being said I am still thinking about separating the breakers on the inside of the panel to minimize how many are operating on each spa panel. This would require a separate box that I would mount to the back of the panel just to house the breakers. I just started looking into the cost and requirements to have it UL tested. All of the parts are UL listed parts so that was a big step. If I read it correctly it's going to cost about $5k to get it tested. I have an electrical engineer that is coming over tomorrow night to do a brew session with me and see how it works and give me any thoughts he might have on changes that might need to be done. I'll keep you updated as I venture down this road.
 
Here's my hosehead clone - finally found a use for my UDOO Quad (RPi + Arduino). I wanted proper powercon connectors and the ability to run 2x120V elements or 1x240V for a single eBIAB setup. It is definitely tight on space - I would have got a bigger enclosure if I didn't pay to have the panels cut already :( In hindsight, I would have added USB+HDMI for the Udoo - if I swap wifi networks, I have to open the whole thing up.

Panels:
00_panel_back.jpg
00_panel_front.jpg

Arduino proto shield: 2x CT monitors, 1x DS18B20, 3.3V->12V Level Shifter for relays/SSR
01_proto.jpg

Original placement (swapped out the bus bar with Wago connectors for space)
02_test_fit.jpg

All wired up:
03_wired.jpg

Enclosed:
04_fin.jpg

Here's a price breakdown:
price.PNG
 
No worries! Was curious as I know the two fans will help immensely (I wouldn't built anything this high current with an enclosed SSR without a fan or two like you did so good thinking ahead!) ;)

Kal
 
Bought a house about 2 months or so ago... Finally got all the parts together recently for the sub panel and conduit and plugs and such.

House had a hot tub that was removed, so i was left with a 50 amp circuit. I have no real need to go to a back to back setup, so i put in a 30 amp circuit for the brewery and a much needed 20 amp circuit for some extra plugs in the garage as well.. only had time to wire up one, but going to put in one more some time down the line once i get all the other projects out of the way... i'm just glad to be able to brew again!

t minus 2 weeks to brew day!

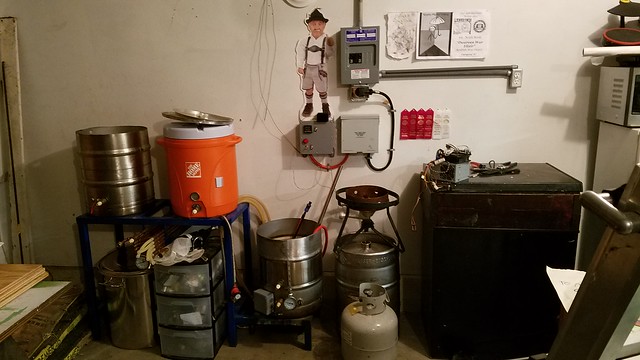
20160326_213302 by Noah Scott, on Flickr

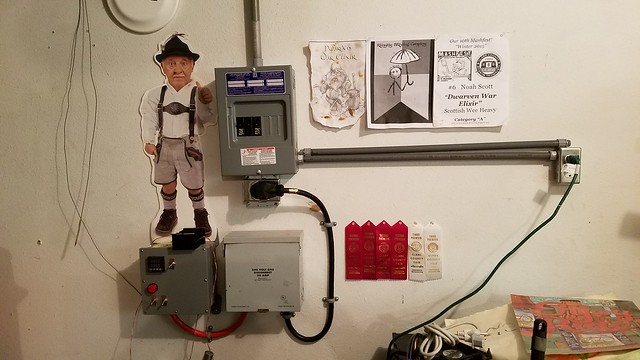
20160326_144251 by Noah Scott, on Flickr

After i first got the sub panel, GFCI and panel wired up just to make sure there was no magic smoke

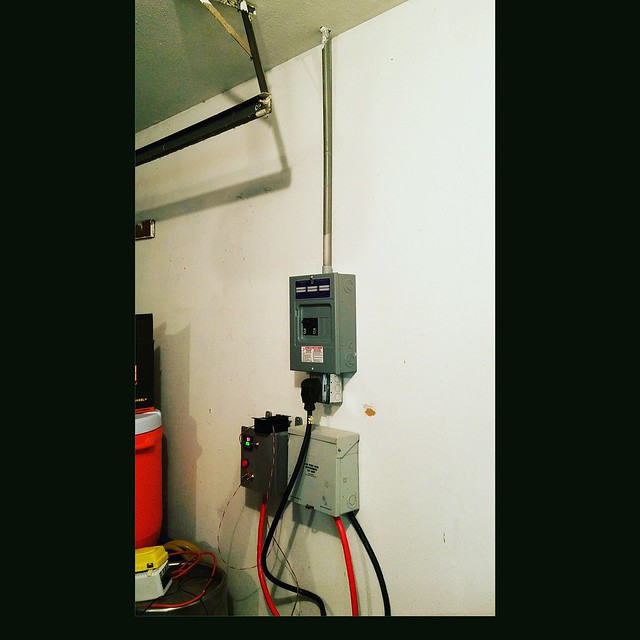
IMG_20160326_000242 by Noah Scott, on Flickr
 
Recently finished and used in anger for the first time last Sunday.

View attachment ImageUploadedByHome Brew1461795430.459752.jpg

Two PIDs for the HLT and RIMS, two switched outlets for pumps, all running from a 30A circuit

View attachment ImageUploadedByHome Brew1461795461.694124.jpg

Two Mager SSRs for element fine control, contactors for element on/off. The RIMS contactor is interlocked to the pump switch, so you can't fire the element without the mash recirculating.

Of course I'm already planning the next additions...
 
Back
Top