- Joined
- Jul 21, 2013
- Messages
- 1,317
- Reaction score
- 305
HAHA...have to crash this thread!


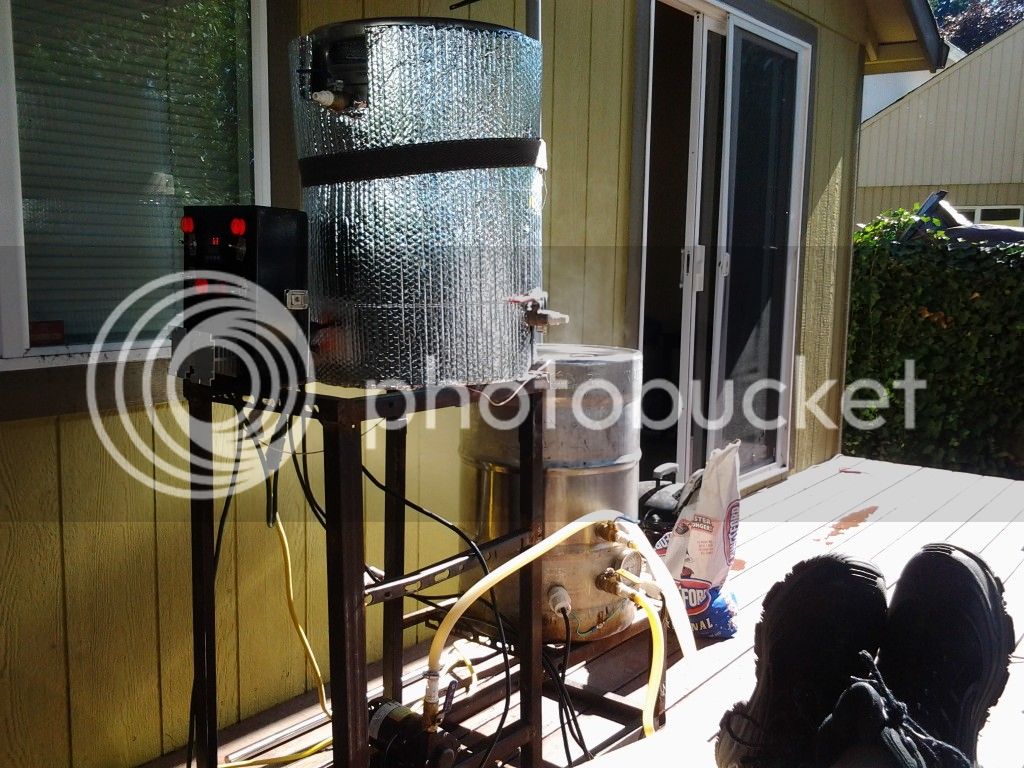
I really hope your controller is GFCI protected. Lots of exposed power there.HAHA...have to crash this thread!
")
HAHA...have to crash this thread!


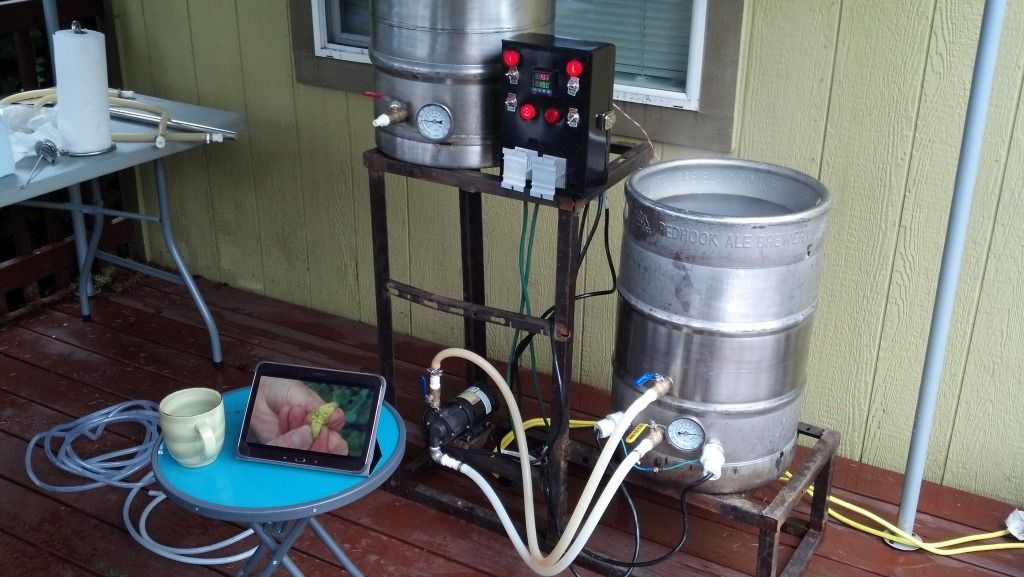
nice control panel mount, I also love the vintage hp designjet plotter in the background... I used to service those for years... I still have one customer using one.Alot of really nice builds.
DeeDub76 - very nice.
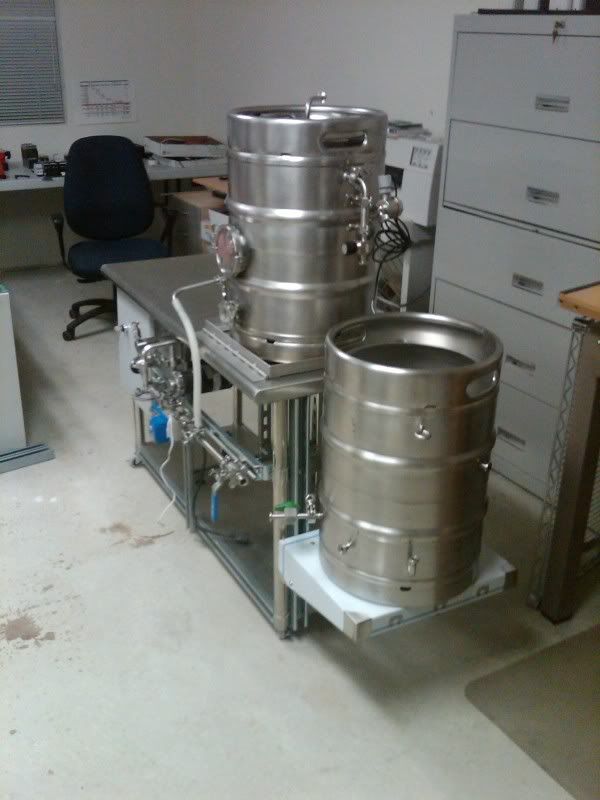
Like you and TheFlyingBeer, I am using a stainless steel table. I got mine from Costco a while back for something else and figured it would be cheaper than building a stand.
Looks like you used unistrut for the control panel. I am using that as well for mounting alot of the components.
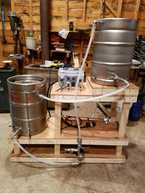
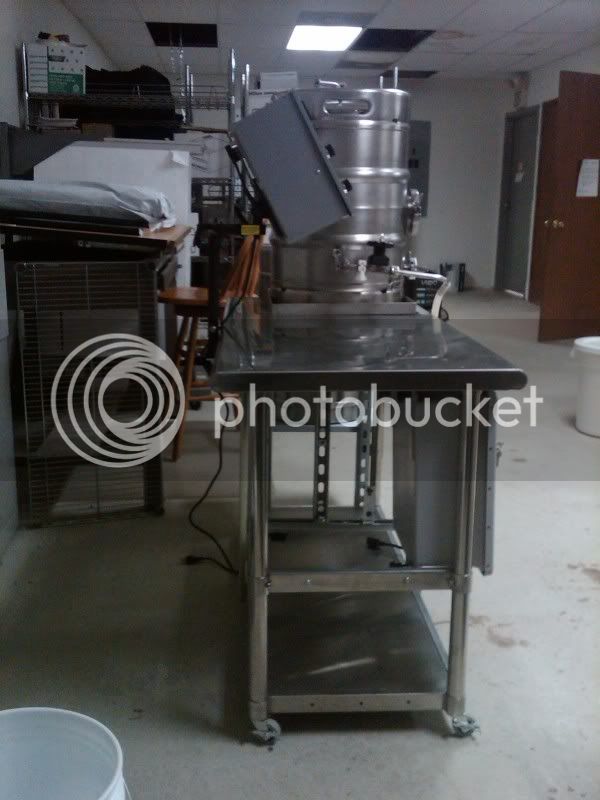
Here are some shots of mine partially done. It's missing the HLT that goes on the left.


Nice mtbr_brewer! That's quite the before and after change!
Kal


![20170423_133339[1].jpg](https://cdn.homebrewtalk.com/data/attach/344/344149-20170423-133339-1-.jpg "20170423_133339[1].jpg")
![20170405_122504[1].jpg](https://cdn.homebrewtalk.com/data/attach/344/344151-20170405-122504-1-.jpg "20170405_122504[1].jpg")
![20170430_113558[1].jpg](https://cdn.homebrewtalk.com/data/attach/344/344152-20170430-113558-1-.jpg "20170430_113558[1].jpg")
![IMG-20170326-WA0010[1].jpg](https://cdn.homebrewtalk.com/data/attach/344/344153-IMG-20170326-WA0010-1-.jpg "IMG-20170326-WA0010[1].jpg")
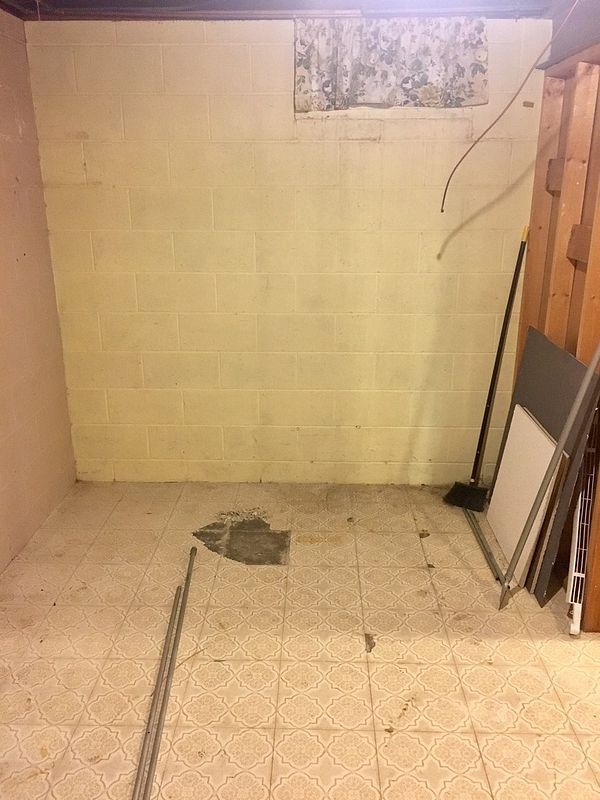
Well since this has already been revived...
Quick Before and After of my Brew Room
Kal inspired room design and system, just wish I had one of his control panels!
Before
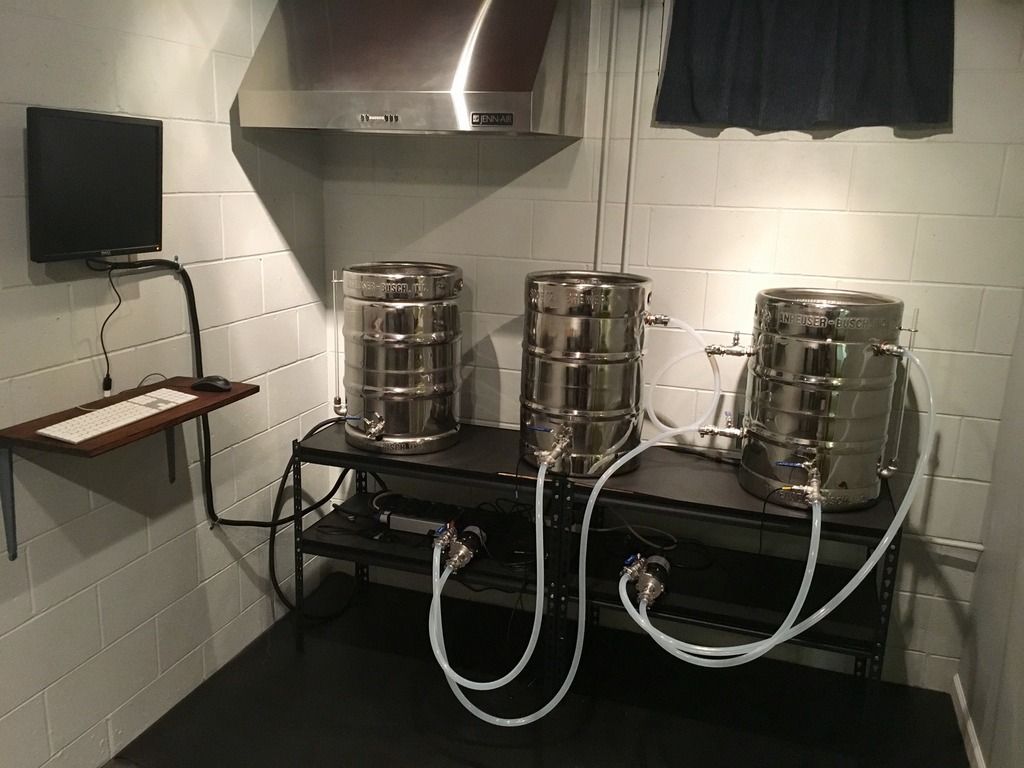
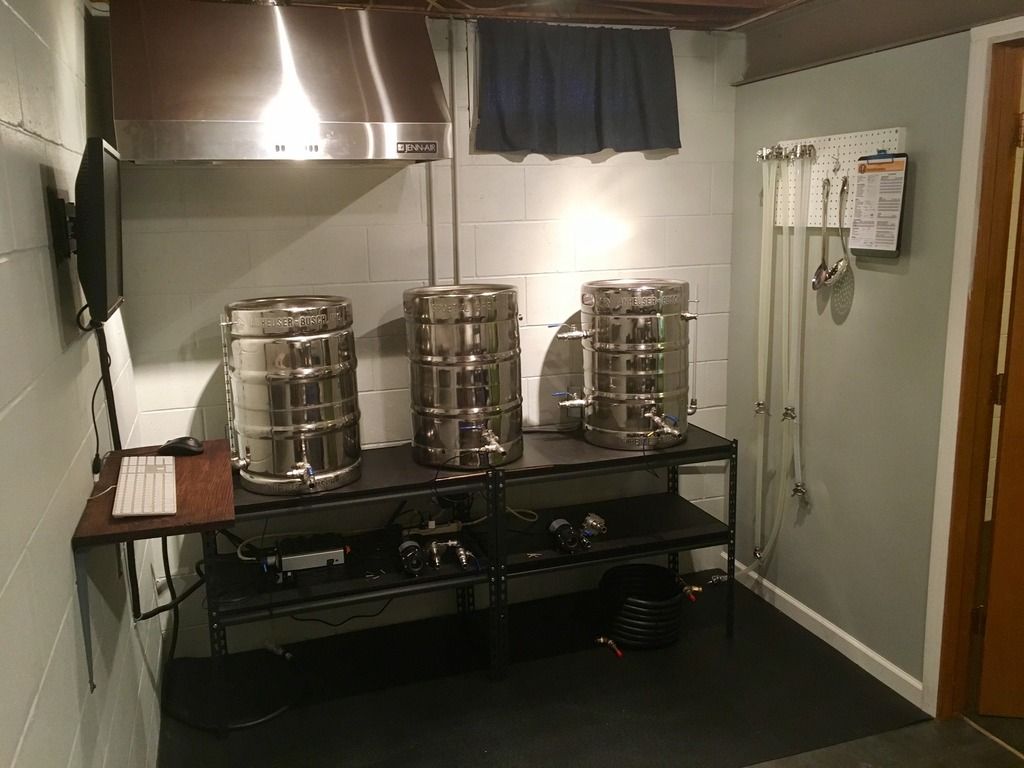
After
Is that carpet you put down? I went the other way myself after a few spills for easier cleanup.

Just got my eBIAB setup going. Right now it is in a garage and carrying everything up and down from the basement is a pain. Hope to someday be able to run this all indoors. Currently have a cheap controller, no bells and whistles here. I am sure I will build upon it over time.
Move to the basement asii soon as you can. Best brewing move I ever made. Consistent weather in the basement, and not having to mule all your equipment, ingredients, and finished beer made brewing pleasurable rather than hard work [emoji29]


Enter your email address to join: