show us all your fermentation closets/chambers here

Homebrew Talk - Beer, Wine, Mead, & Cider Brewing Discussion Forum

Help Support Homebrew Talk - Beer, Wine, Mead, & Cider Brewing Discussion Forum:

This site may earn a commission from merchant affiliate links, including eBay, Amazon, and others.
It ain't pretty inside, and kind of hard to see, sort of a strange fridge. Each shelf was a chilling coil, so a couple hours of careful bending and I got almost all of it in the 48qt igloo cooler full of 40% propylene glycol. Pumps piped at the bottom, thermostat bypass thermocouple in there as well.
View attachment 285274

Interesting. I been trying to find a way to improve my gylcol trunk line cooler. Currently I just use a fridge with a keg full of glycol, but I like the idea of submerging the coils in the solution.
 
@ aseglins

Just when we thought our setup was impressive... Someone has to go and post **** like this.

Beautiful fermenting chamber my friend. Well done.
 
It ain't pretty inside . . .
Nice job! Pretty don't count. Similar to my system . . .

swamp chiller_02b.jpg
 
My latest ferm/lager mini fridge build...I added a quick disconnect to my firmwrap (hardwired to STC) so I can remove when heat is not needed

file.php

file.php

file.php
 
Wow compared to some of these awesome builds mine almost isn't worth showing. But its simple and it does the job for me. Magic Chef wine fridge, no temp controller yet but I plan to modify it for better temp control, and add a circulation fan for more stable temps. So far it holds as cold as high 40's, I typically brew ales so it gets 50s-60s temps with ease and the compressor doesn't run that much.

Right now I've got a German Kolsch chugging away at a solid 60 degrees. Really looking forward to drinking my first batch fermented with controlled temps, my previous batches have been done in a closet at 68-72 degrees, so not exactly ideal.

20150704_084927.jpg


20150704_144241.jpg
 
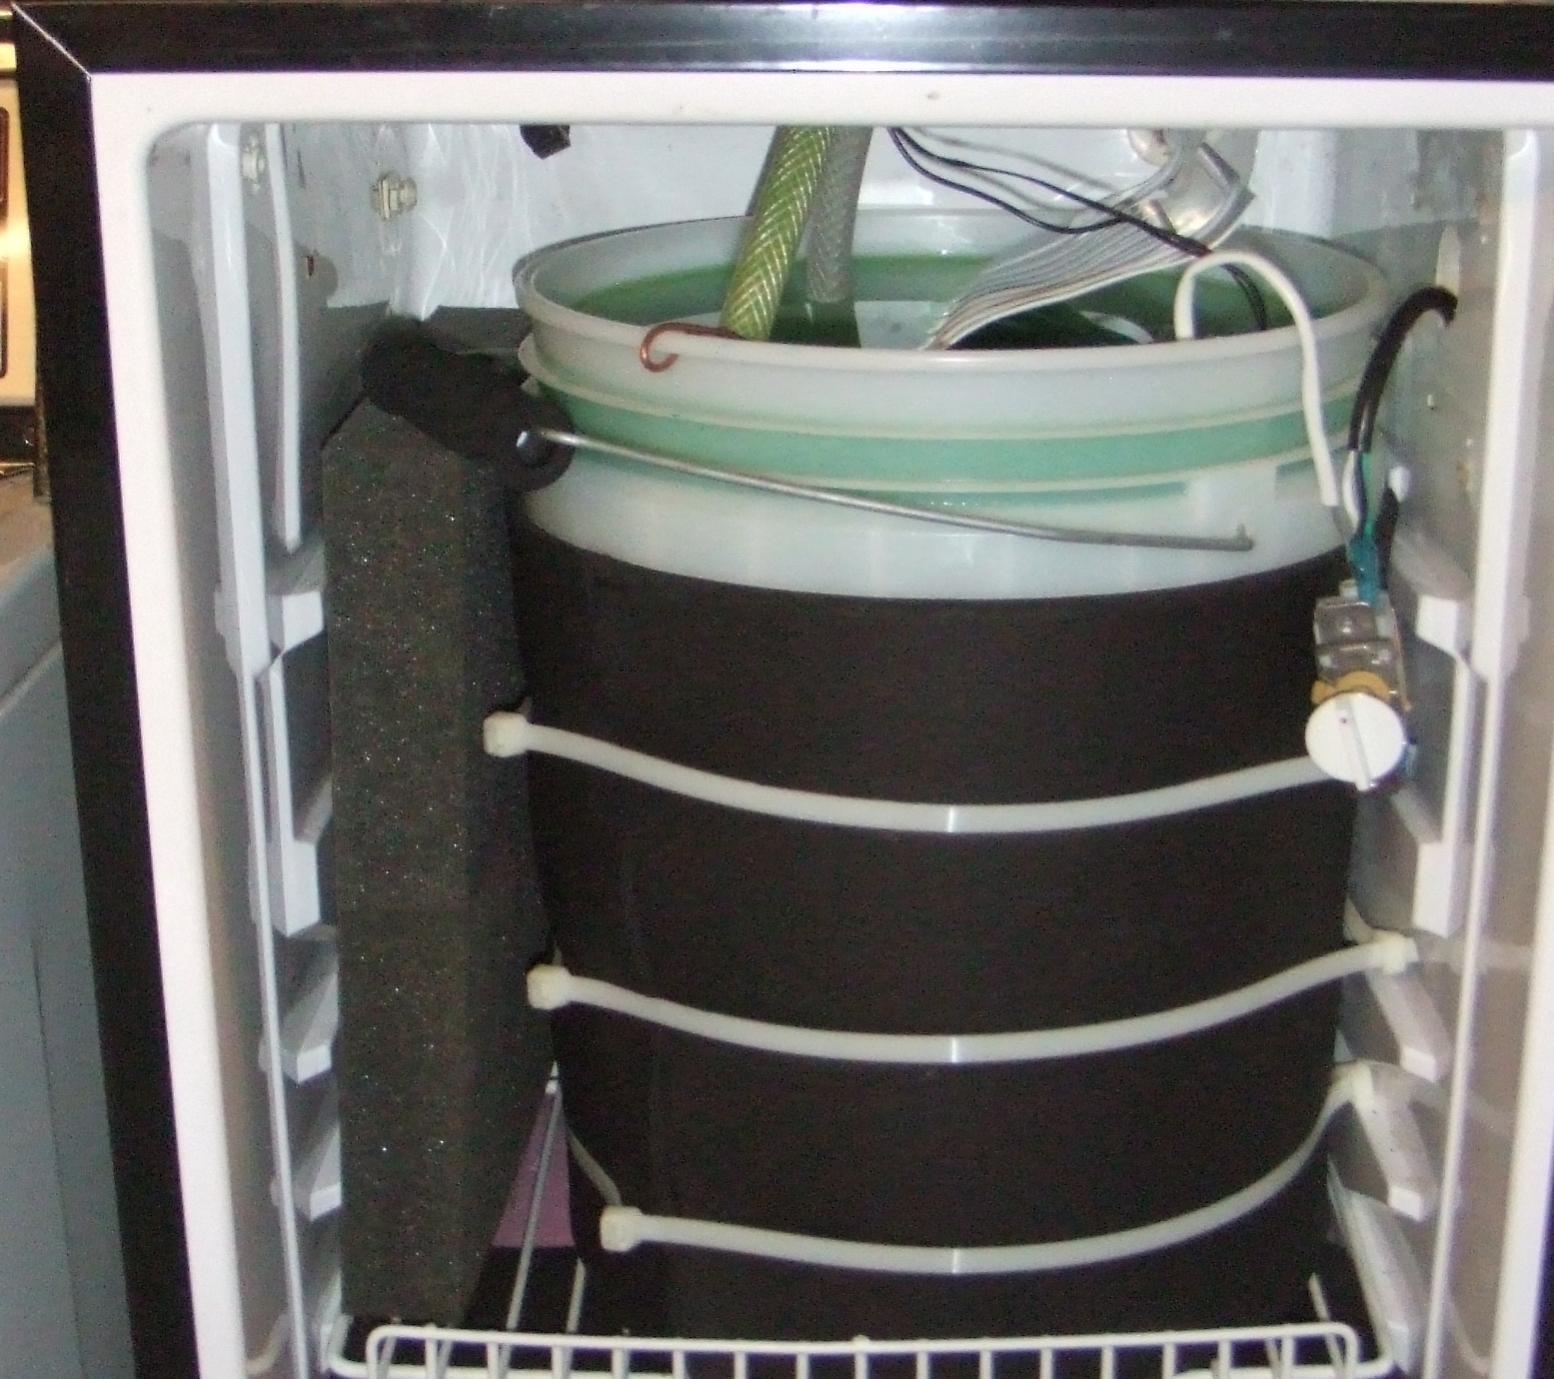
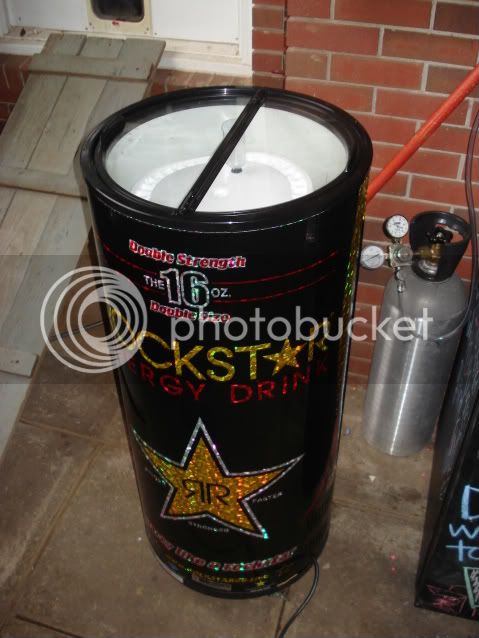
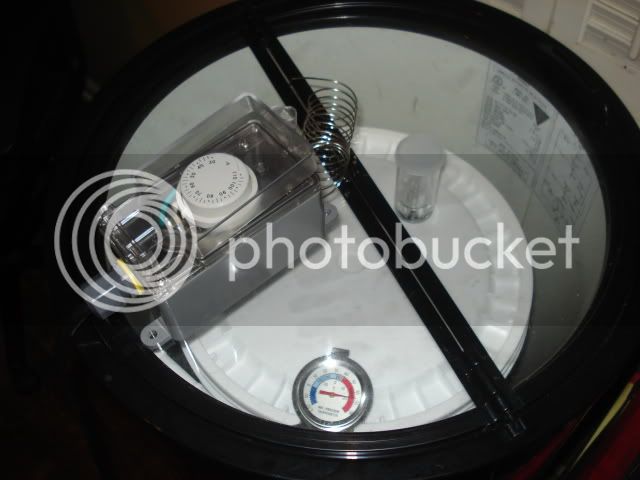
Rockstar Energy drink fridge... It's perfect for 1 bucket.

DSC04306.jpg


DSC04312.jpg

Got the temp control on. My first all-grain batch, and my first temp controlled batch!

You, sir, are a GENIUS and a LIFESAVER! I am new to home brewing and was given an SS Brew Bucket as a birthday gift, however, for the past few months I just could not find a mini-fridge that was deep enough to accommodate the 12" diameter and 23" height of the bucket. The only one I found was a $600 Frigidaire! A used, full-size fridge could work, but space and square footage is very limited in my garage and therefore wouldn't fit.

So I came here for ideas and then I saw your post. The round barrel cooler is PERFECT and I've already found several on Craigslist for a great price. I just might buy two of them.

You just solved my major headache. Thanks! :mug:
 
And now that I can post, I'll add what I've done so far.

I am starting from square one here, and will begin with my first 1 gallon batch this weekend.

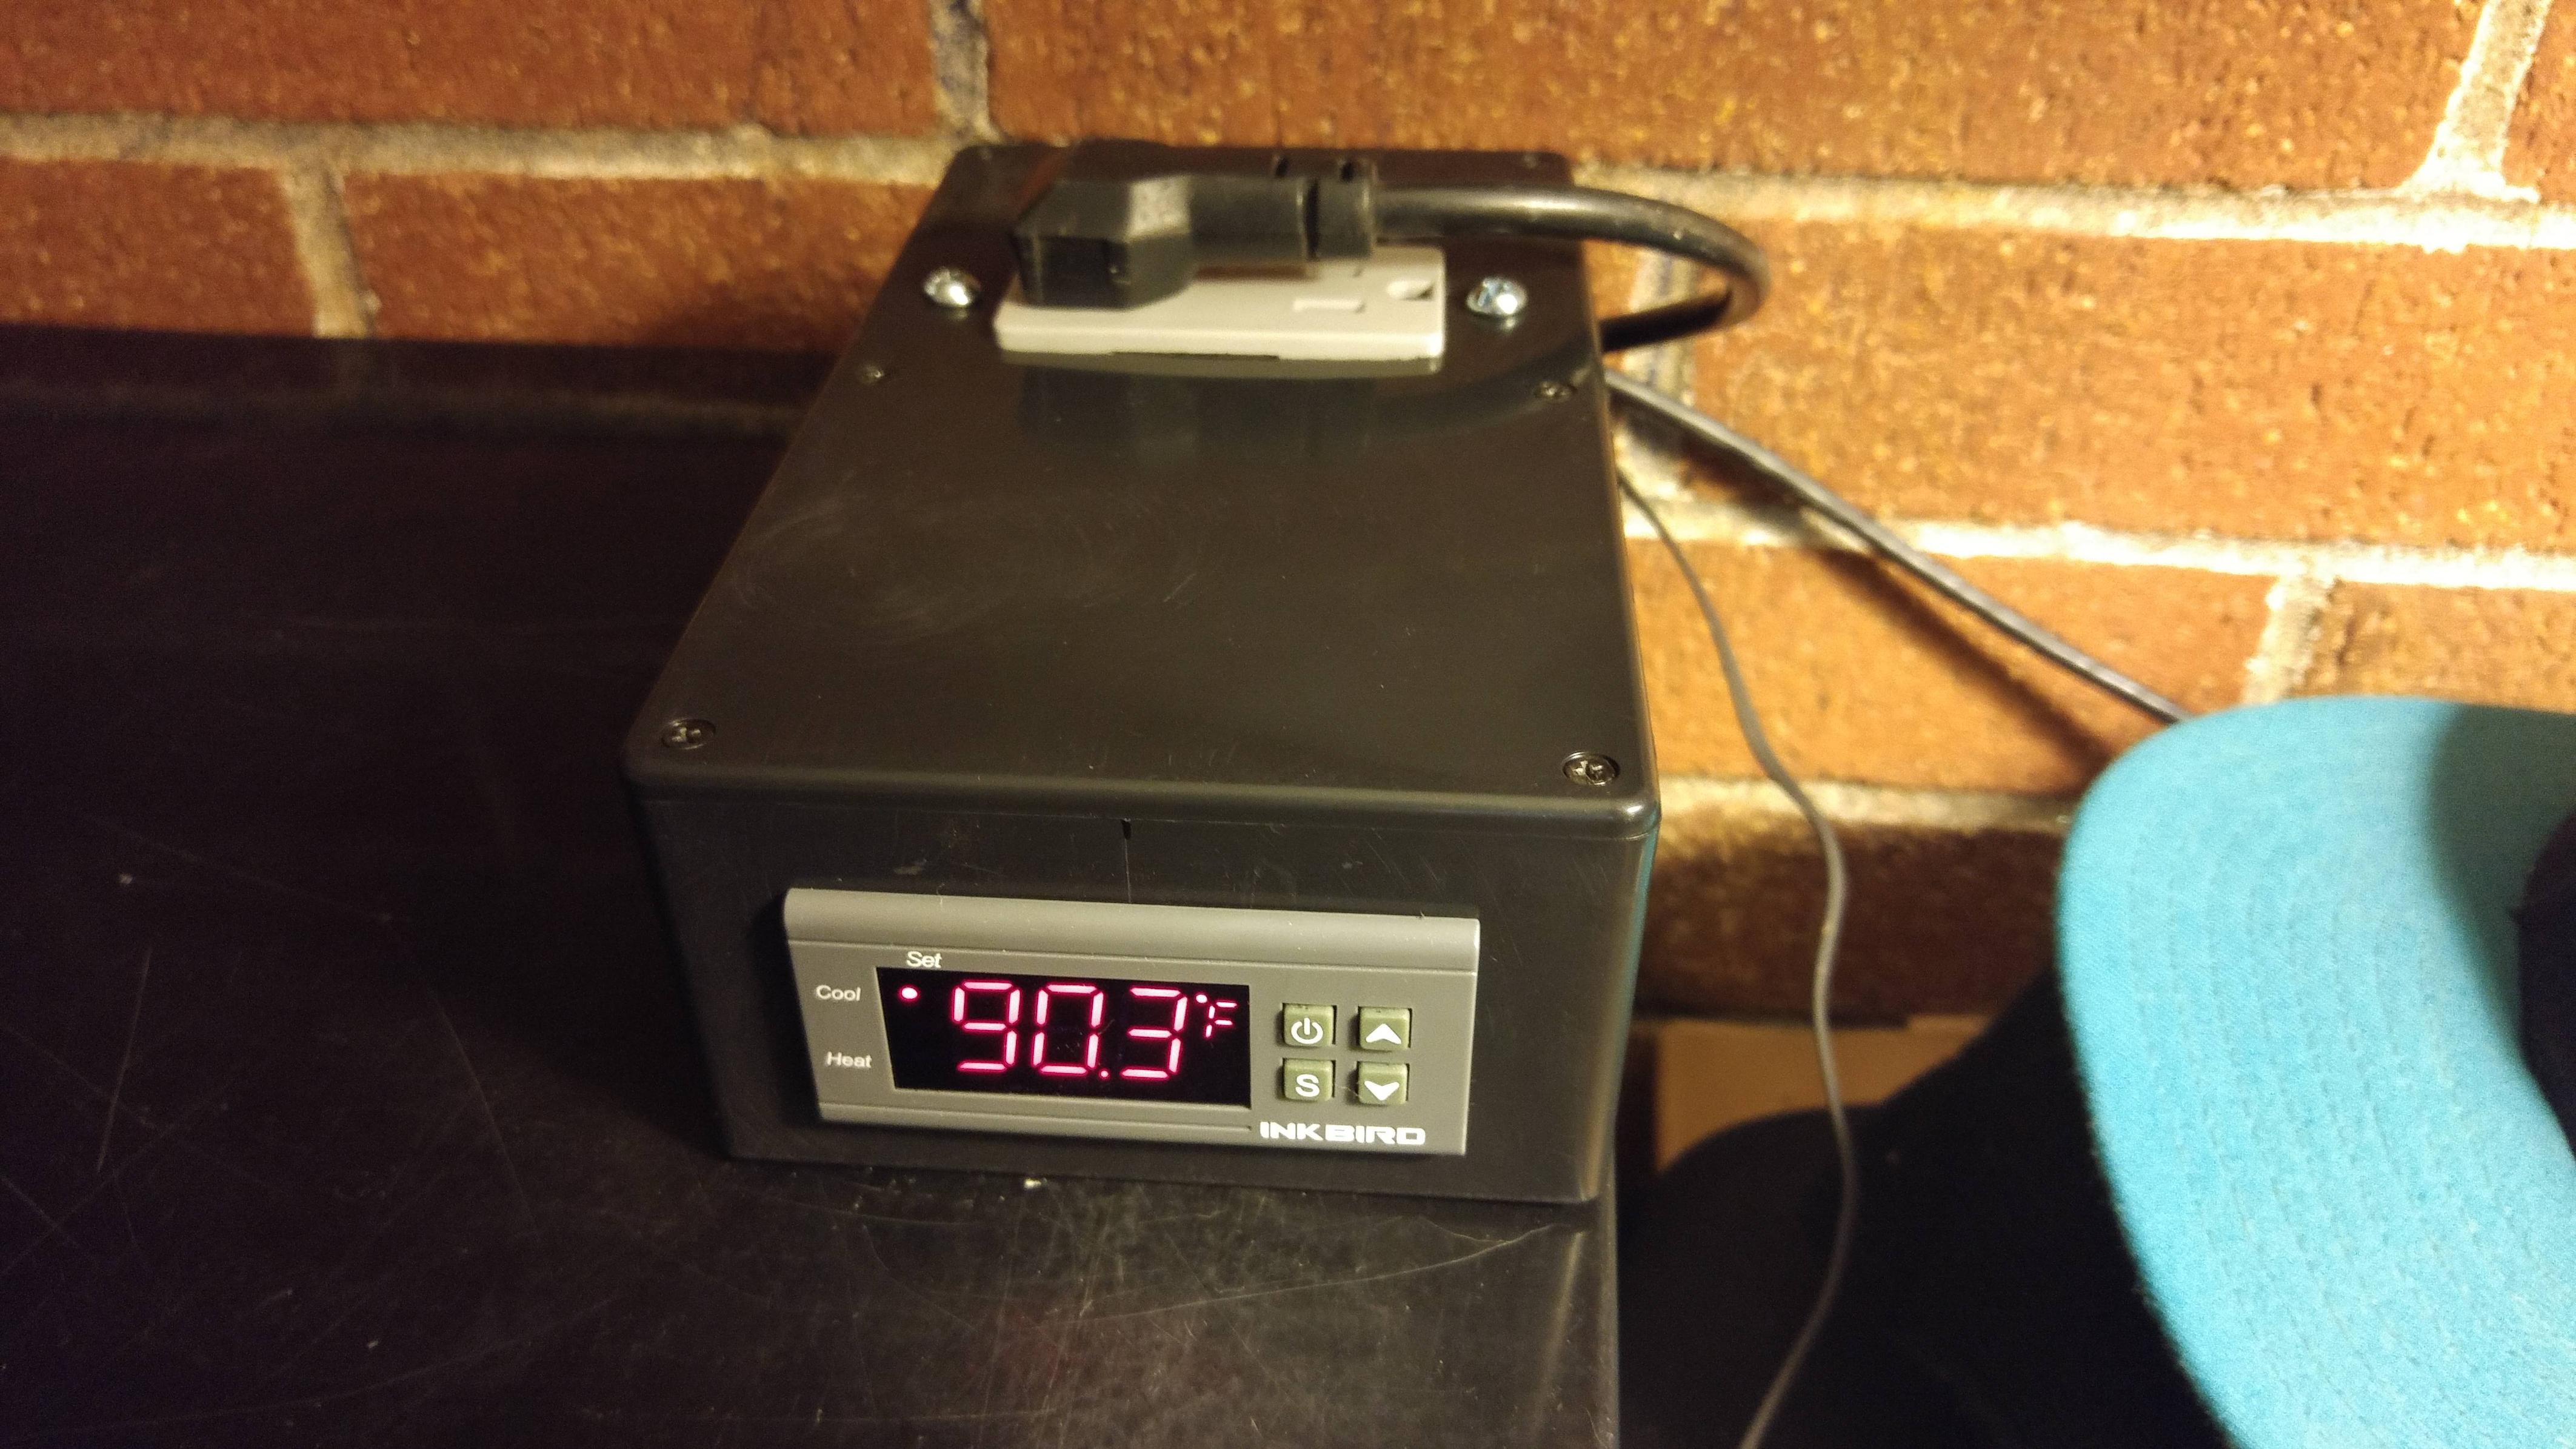
I already built my Inkbird temp controller which was shockingly easy and inexpensive.

FEkI3rxCrADgFeLQkRS9Lr-sPrCUoJP6IxfcKUY5DhQ=w1098-h923-no


9VQjFiySwIyreuBVq9I7eQJ_RXtcJ5X3_VyvPU8a2P-n=w785-h923-no


3E74LWRfAqyfQm6cAJYhBEvTQfFlGtjizBQSwo6zwM2D=w1641-h923-no


And then I found a $40 Haier mini-fridge on Craiglist in great condition.

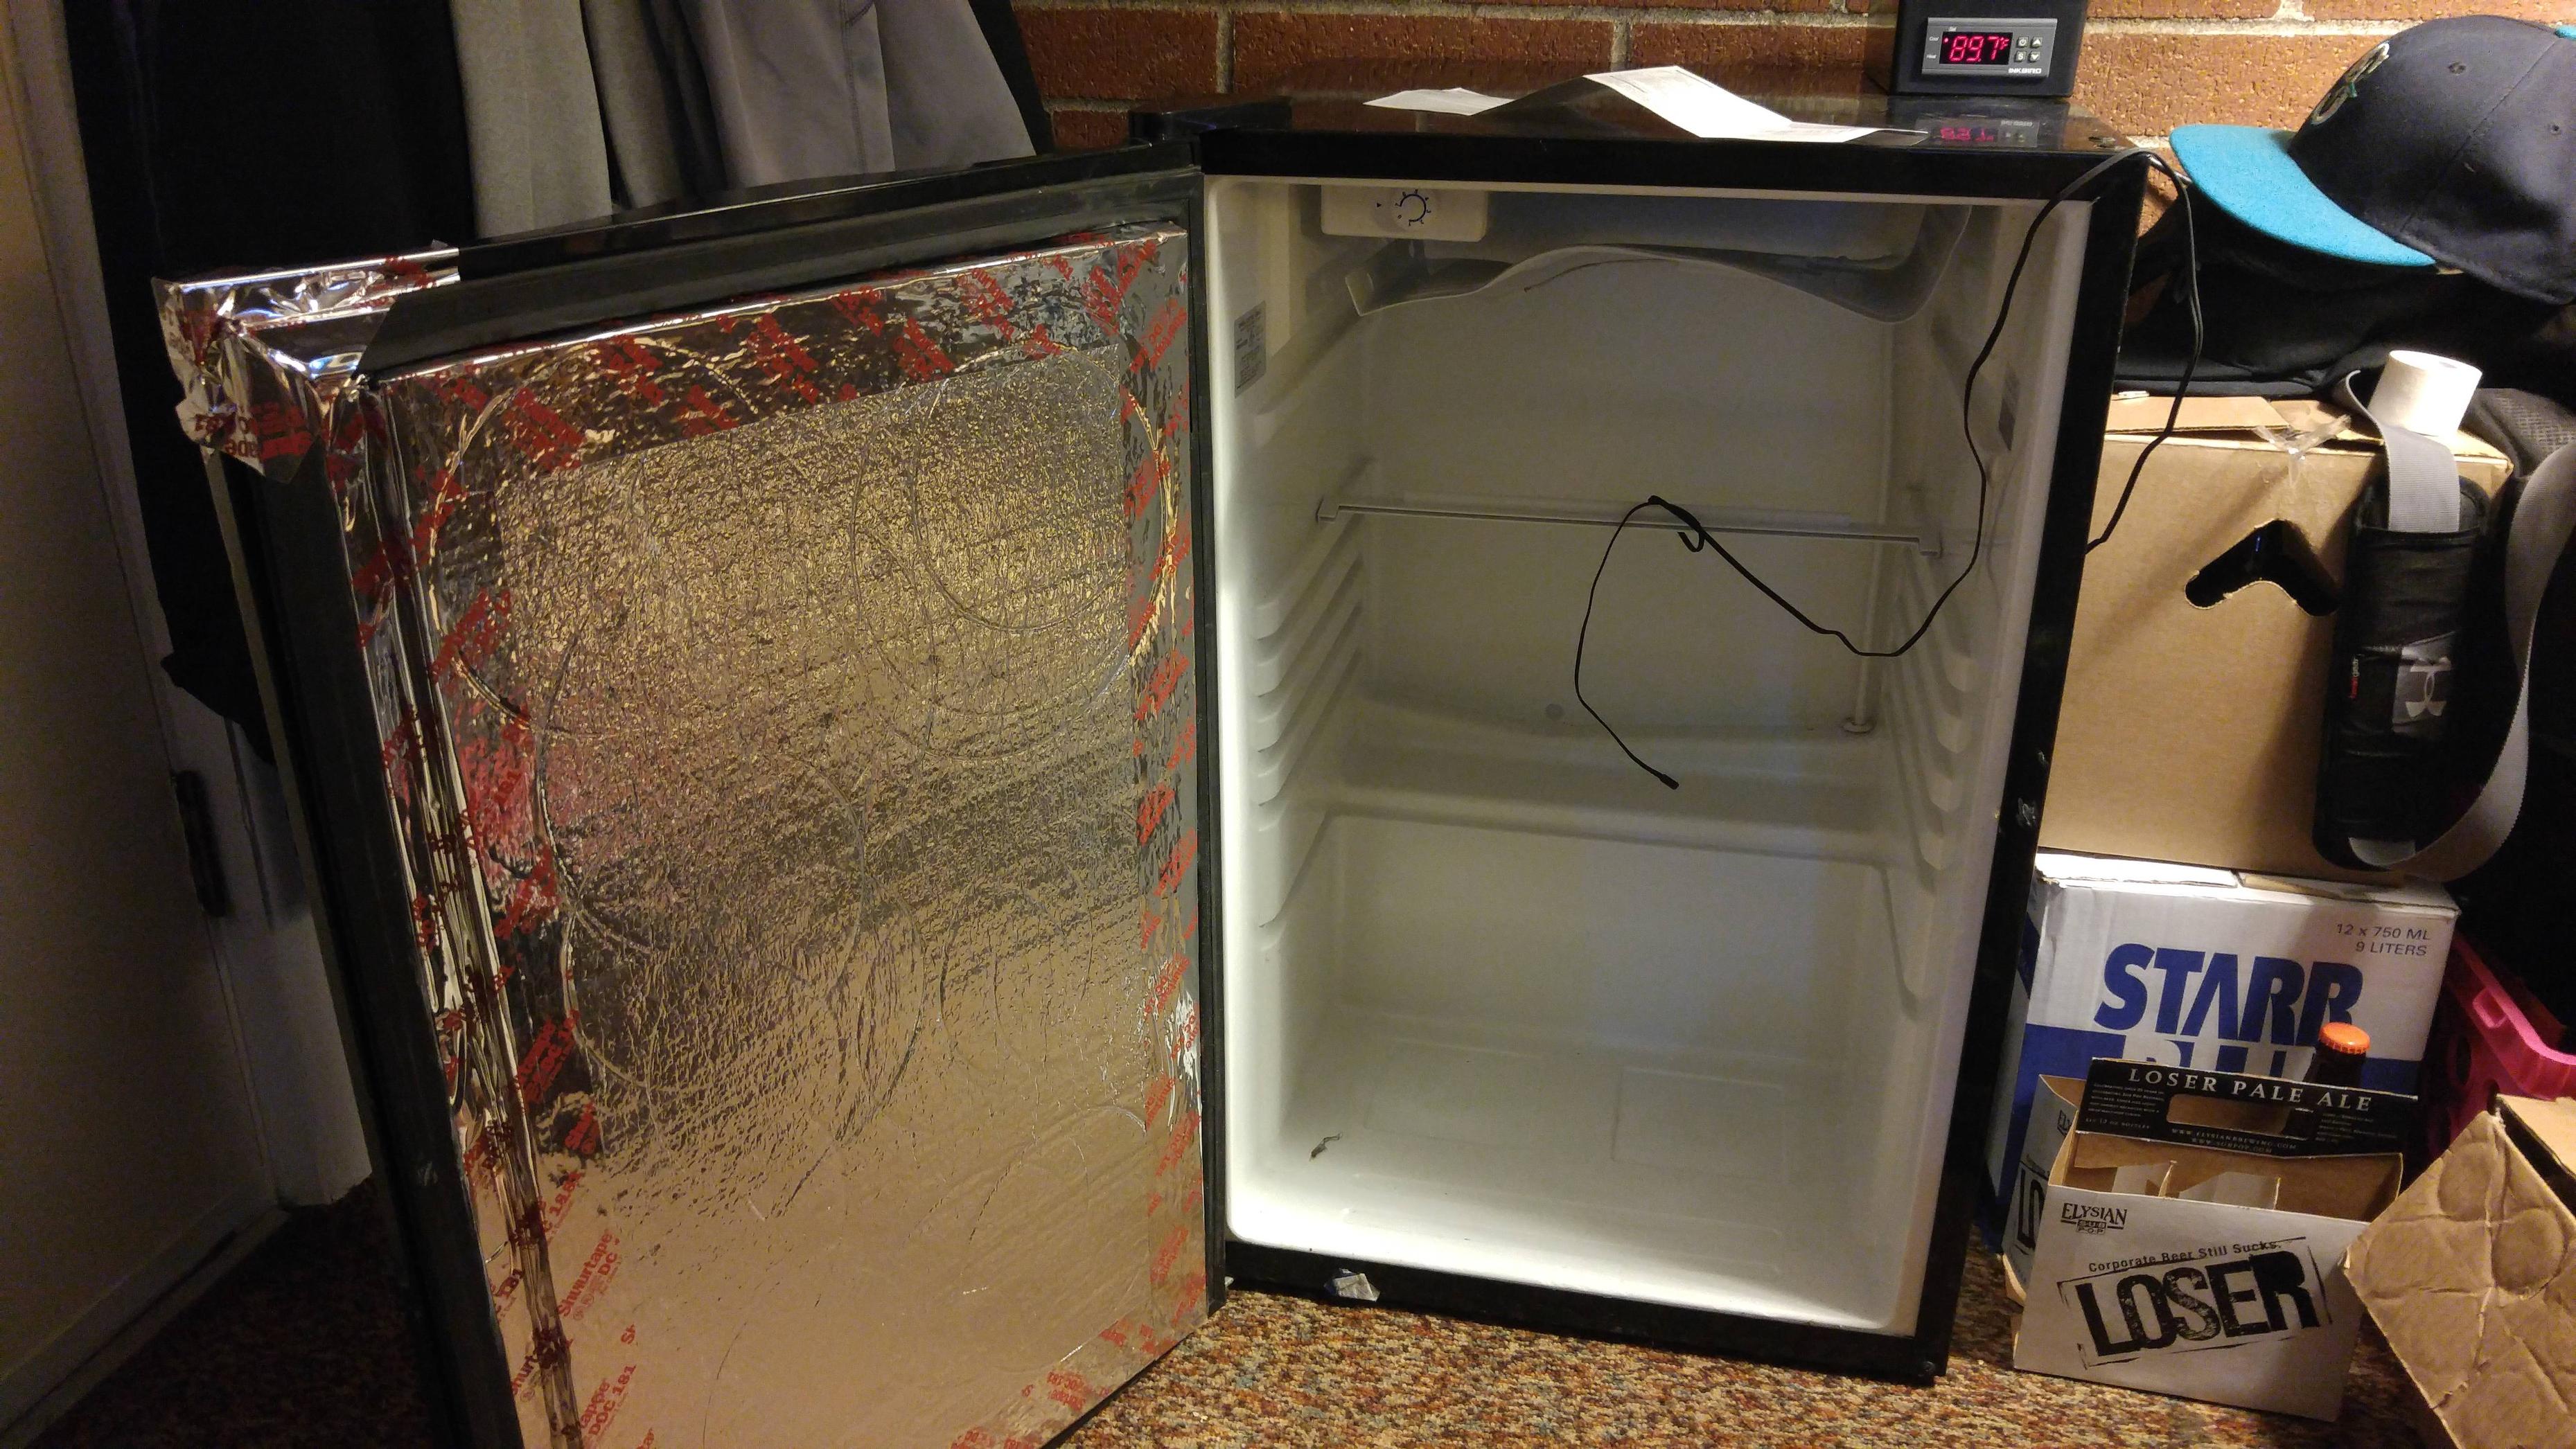
Using a utility knife, I cut the inner door panel inside the groove that holds the gasket. Then I pretty much ripped the inner door off. Maybe I should have used dental floss or something to cut across cleanly and leave the thick insulating foam behind, but no matter.

Here is the back of the inner door after removal. The smooth parts around the border show how far I was able to cut with my utility knife. Maybe an 8" chef's knife or a long, serrated knife would have let me cut further in.

_sP4P_LGX7x7c0tZZy9mP6VqV2TI_MYIel095Z4pxAiH=w636-h923-no


I then cleaned up the remaining stuck-on foam and adhesive with a putty knife leaving just the part that holds the grooved trim for the gasket.

V0dxywt69cKCdf6sn83QUxFOKi5VrVCfzmnAlI9Or9J8=w979-h924-no


BbNAkJfObdZE8URfK_sdNlIpdeOxlAR0wQOssHCRaoc5=w520-h923-no


YdG4z54-EWAU-5UuusQaXr2IDOtSSAQquscifqUihxM5=w520-h923-no


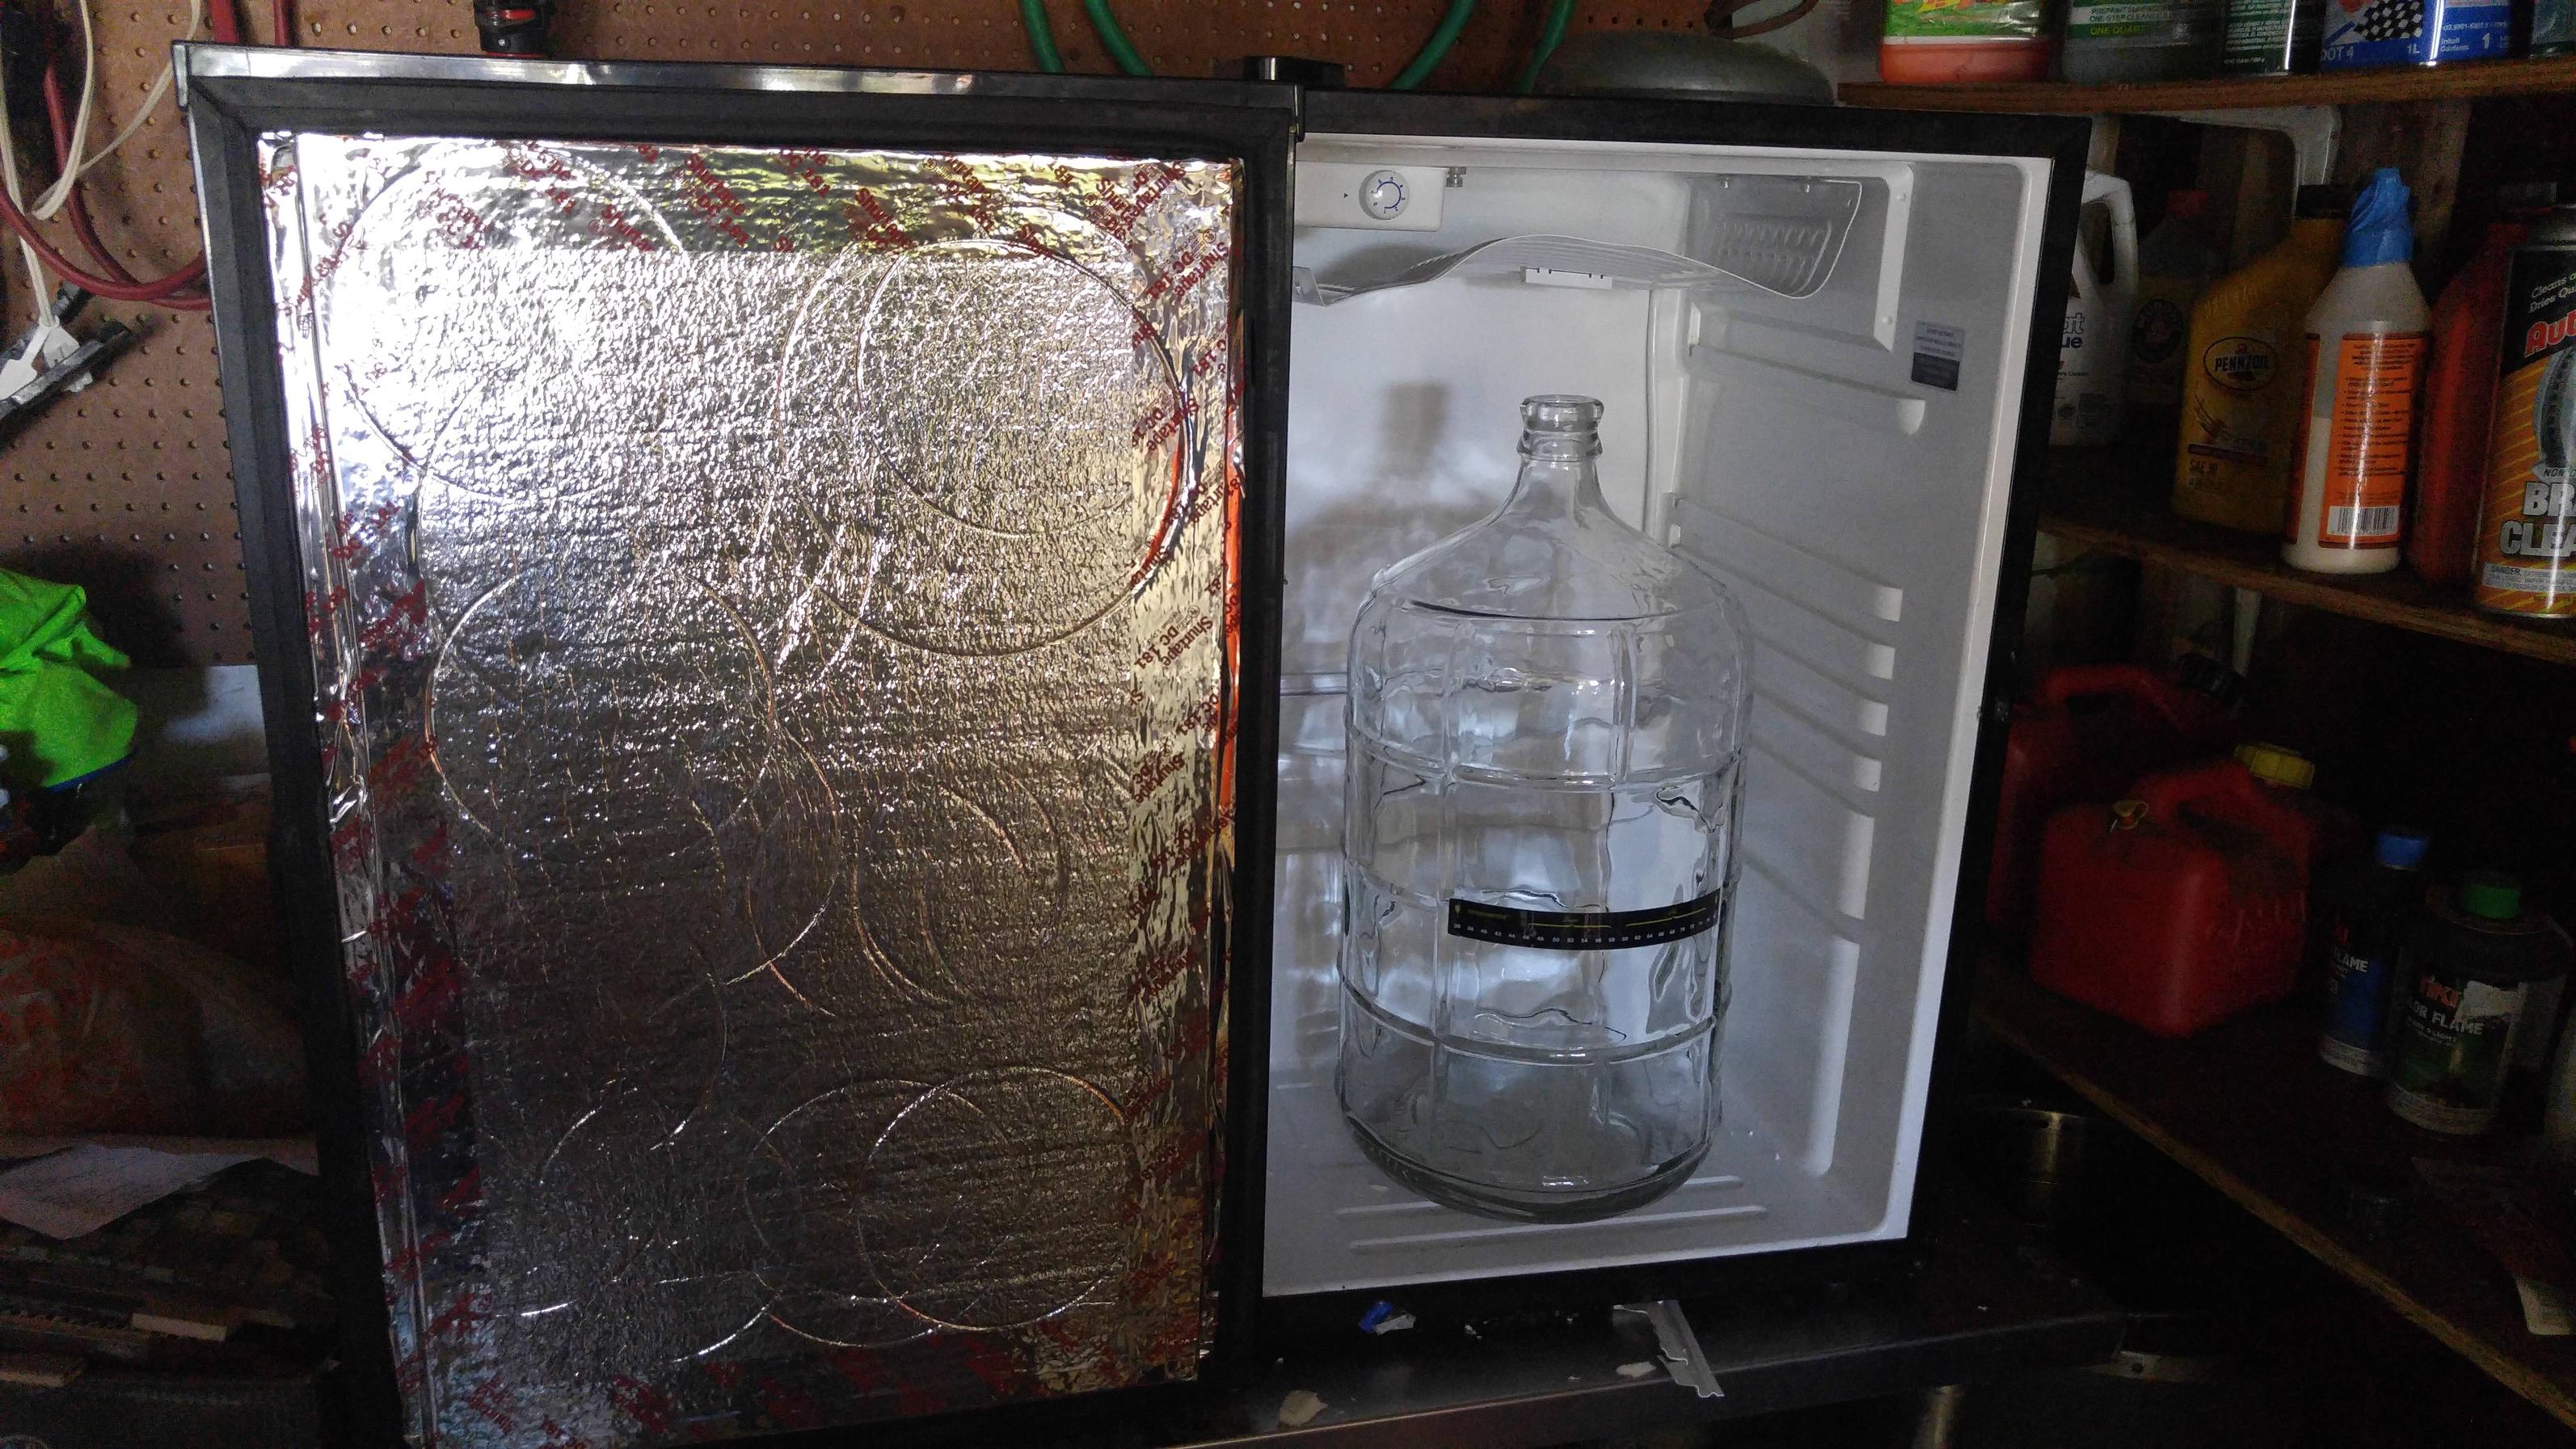
Then off to Home Depot for some "hobby foam". Since it measured 24"x24" square and my fridge door was 30" high, I had to cut two pieces. Then, using my caulking gun, I used construction adhesive to glue the foam pieces in and some silicone caulking around the edges and corners.

FJXCYbhHepEieBi0PISAFb4INR1_vLqe4NGukczb7CNG=w1641-h923-no


iJ9nhE2BXqr6lRbsZItegXB5An2K5nNYNxbfBga1f9i-=w519-h923-no


I only had to remove two screws to bend down the freezer coils against the inside back wall. I can probably fit four 1-gallon jugs in there at the same time if I use blow-off tubes instead of bubblers.

N2a8ZTicFhpS0aQ8QSdcQrOqBMD76bTO7WDaNtSm4eLS=w542-h923-no


I've since added a 120mm 12V computer fan inside near the top to assist with air circulation.

7/28/15 EDIT -- Here's my first batch:
X6WCZwrC7p-_MkmmCjjBNZjyYIhC3tarwJPc7vwuyX4H=w563-h973-no
 
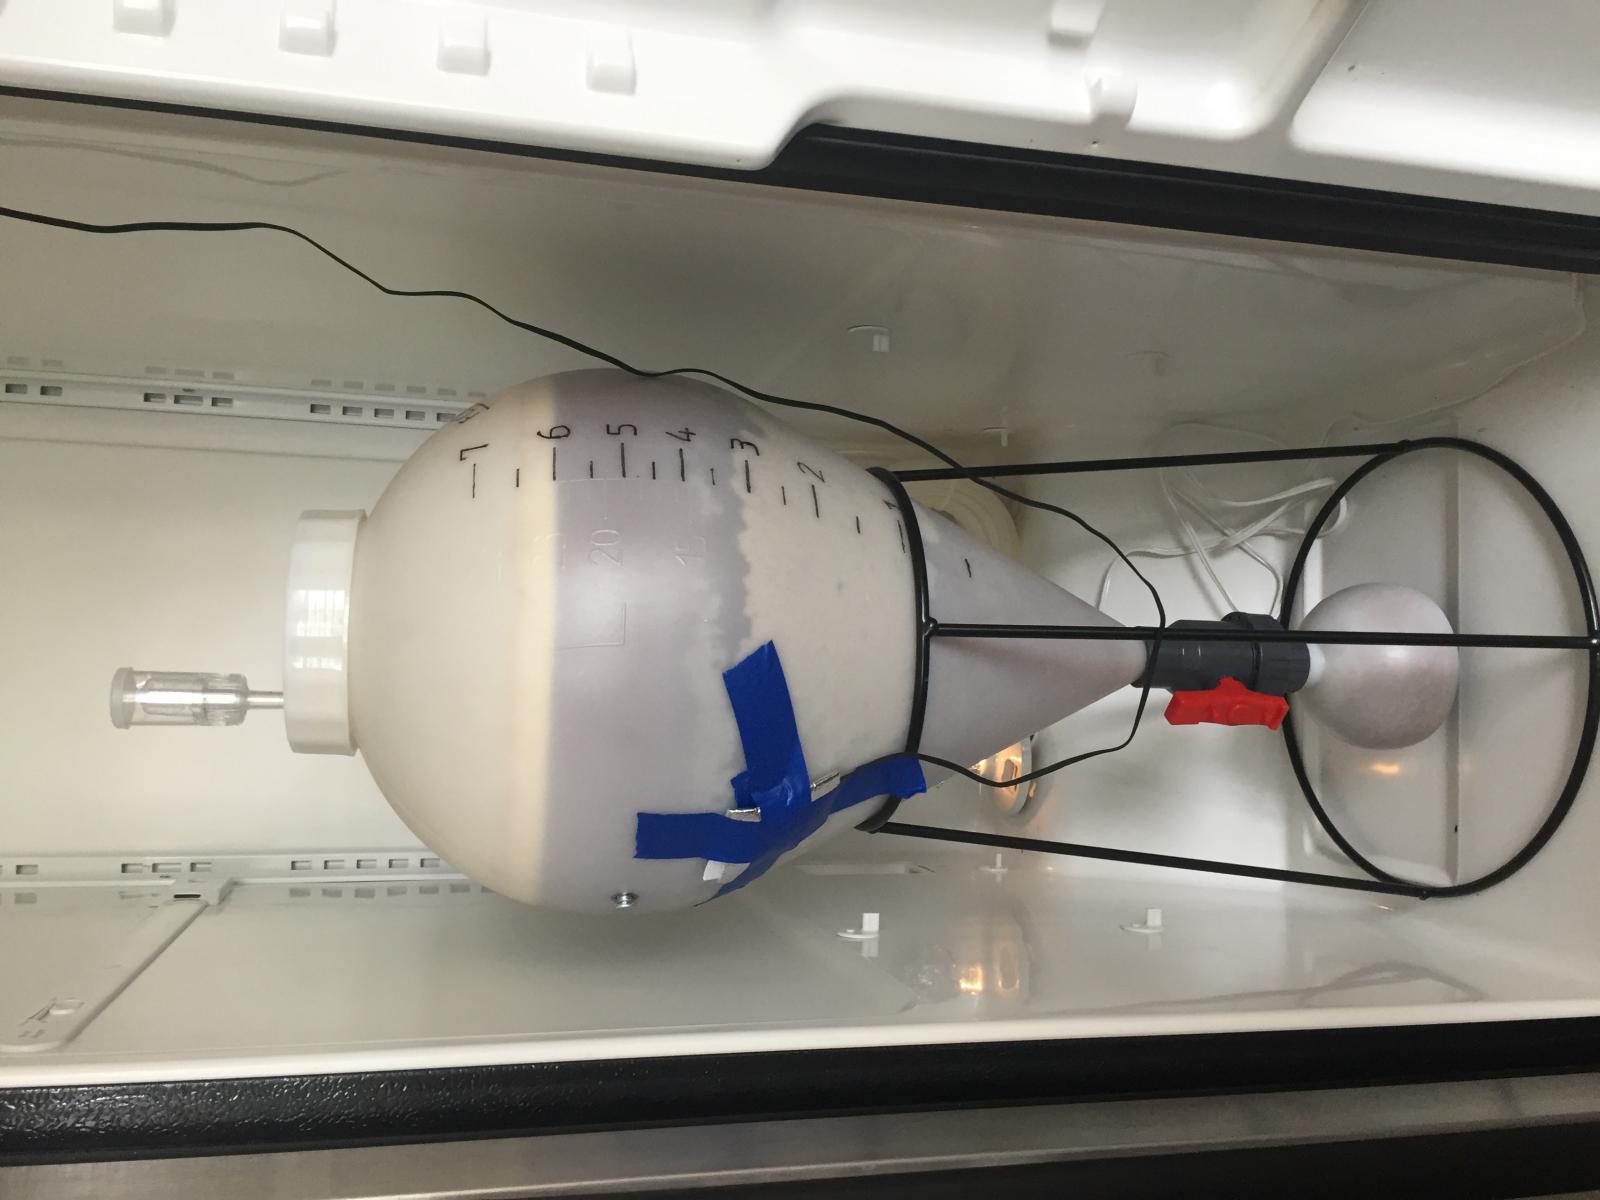
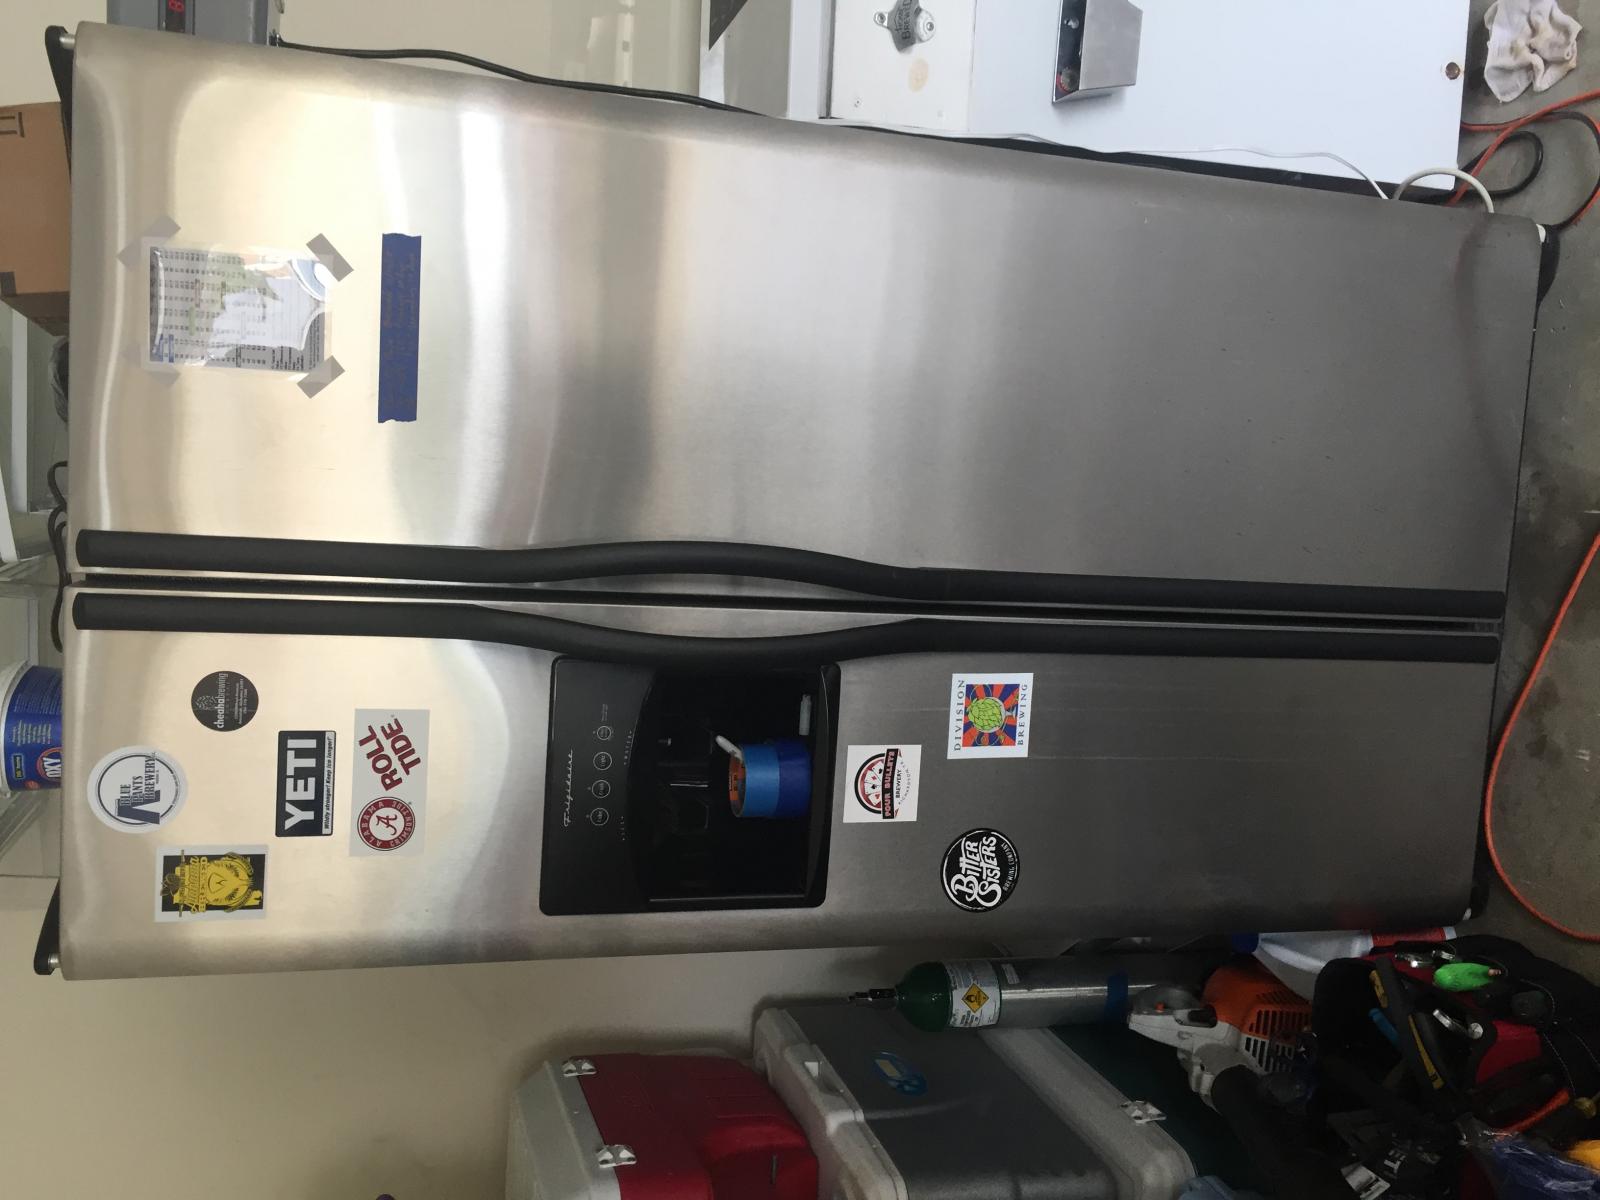
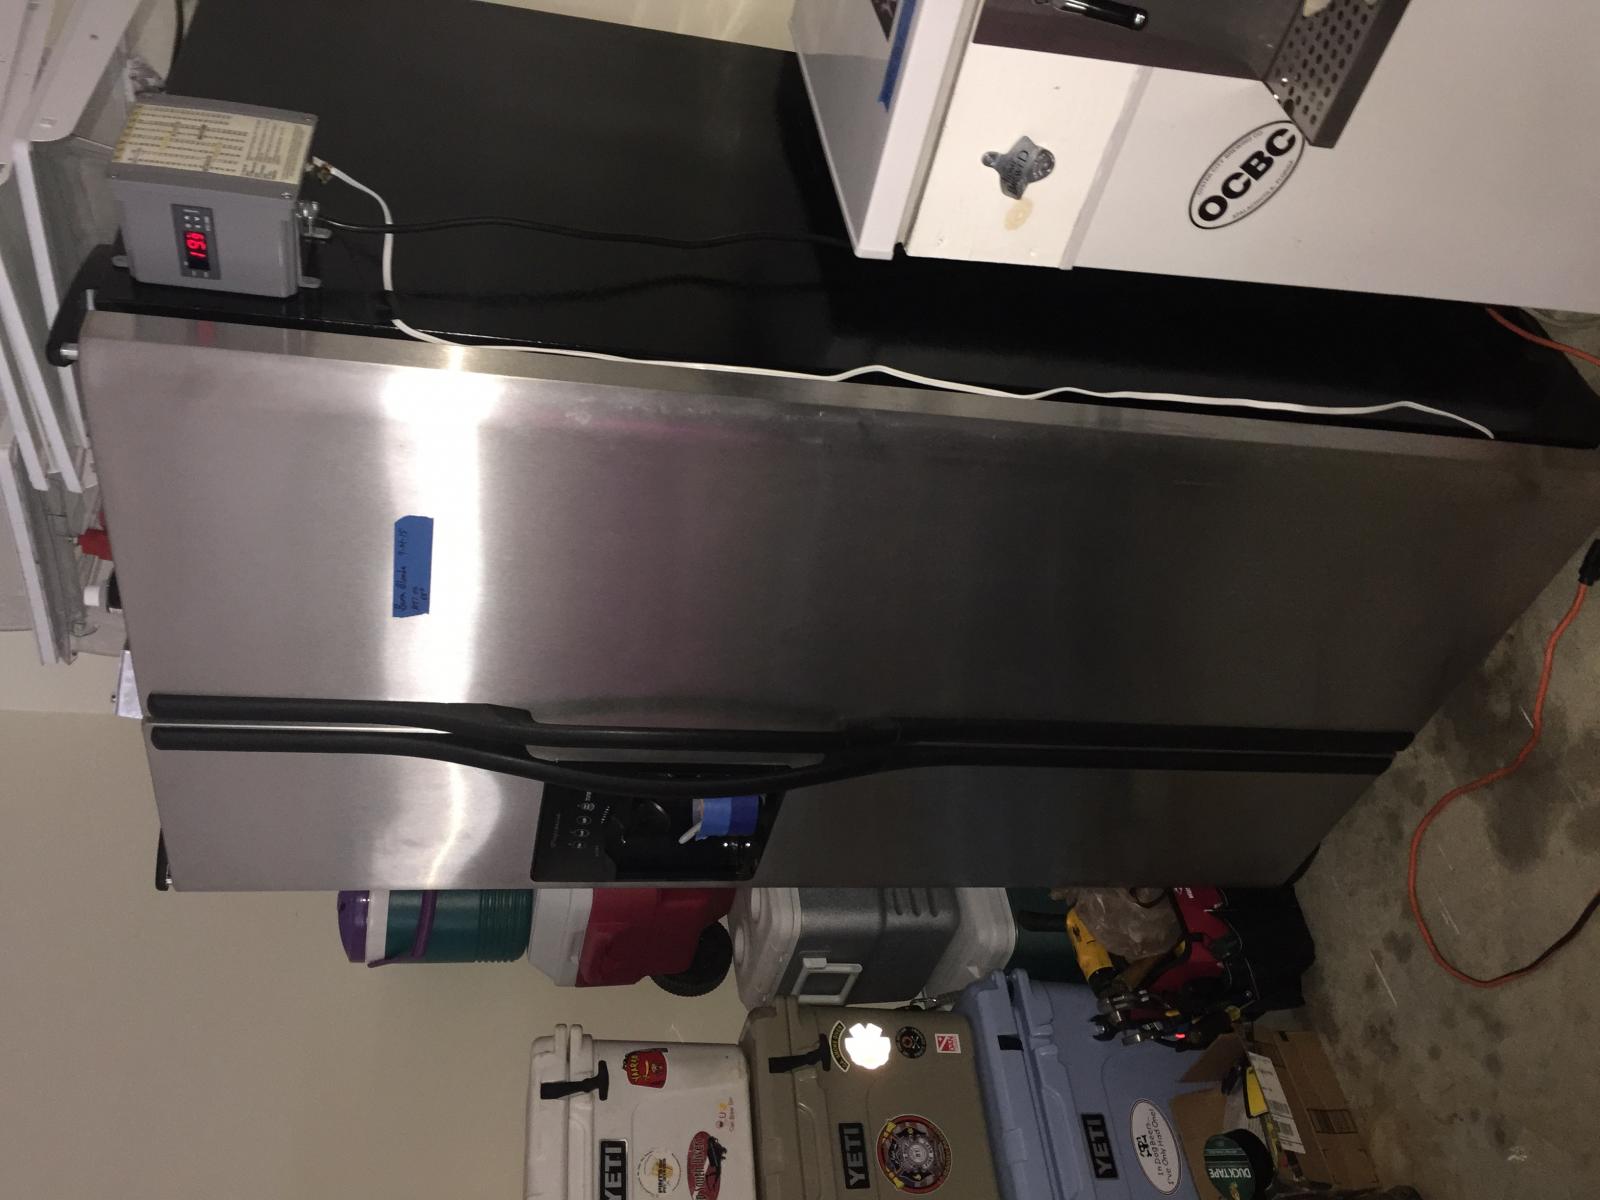
Currently pumping glycol from a two gallon stainless tub in the freezer of my kegerator - works fine for keeping 68 degrees for my ales but can't get down to the temps I want for crashing (35-40 degrees). Problem isn't the radiator, the temp rises too fast in the glycol and the passive cooling of the tank in the freezer can't compete with the radiator. I am building a chiller with a 5,000 BTU window AC unit which should do just fine based on what I've read on other threads. Otherwise, temp control (both heating and cooling) has been excellent with the PID control. +/- 1/2 degree F.

Nice looking unit you got there! One thing to consider when designing your new setup is how you will transmit the cold after setting up a glycol chiller. I'm not sure but you might still be unhappy with the results with using the radiator. You loose a lot of energy when going from liquid to air to liquid. Maybe consider using the chiller to chill the conical directly, either jacket or immersion chiller.
 
Had to move my brewing stuff out of the laundry room so built a chamber. It is raised to allow gravity keg filling.
Presently house 2 Spiedel 60 l fermenters with room for probably two more.
Stc1000 controlled and cooled with a small window A/C. Found out you have to bypass the a/c thermostat.
Bought two STC1000's and both are defective.

image.jpg
 
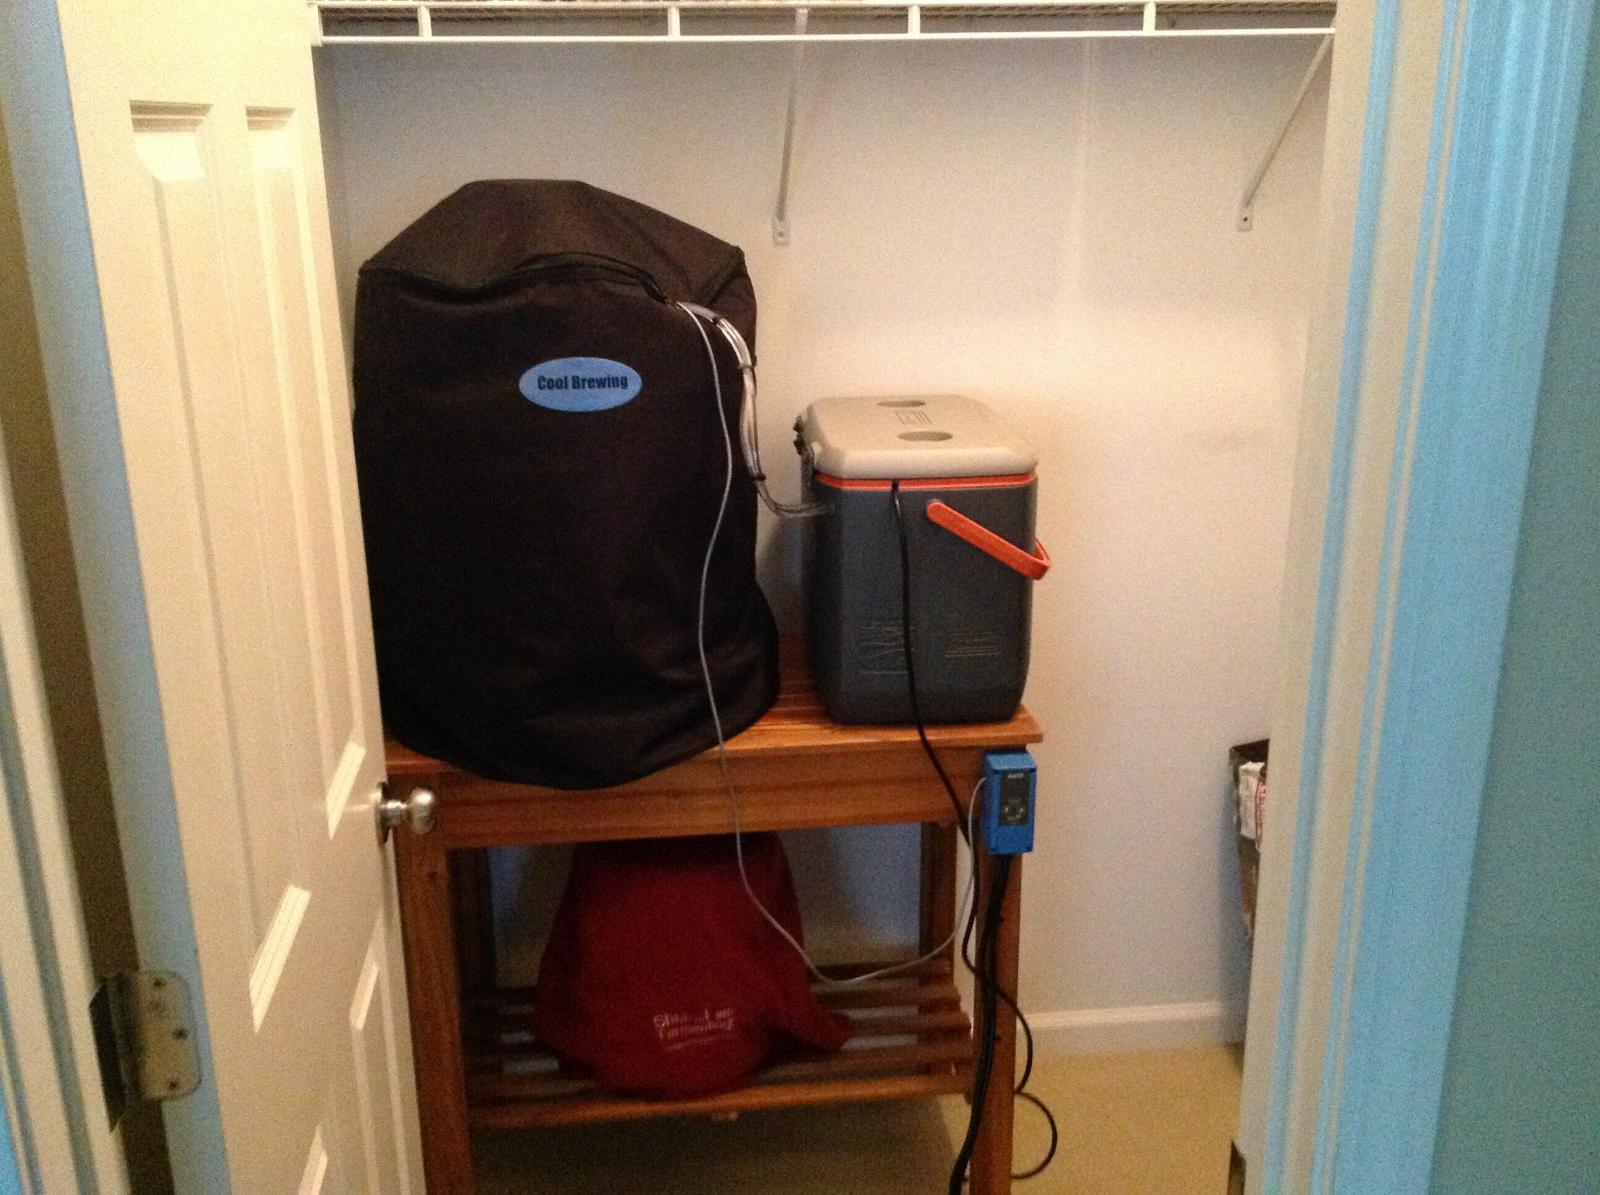
Better put mine on here, not a chamber more of an fermentation...cubby?

And before anyone asks that is a carboy with 3724 set to 90*. Fermentor 2 has a sanke of american wheat that I was finishing out rising to 72* for a few days. When cold crashing I drop the glycol down to about 17 and I can get my keg down to 33 in about 7 or 8 hrs and hold it comfortably. Should have taken pictures a couple days later because I had one at 90, 33, and 68 all at the same time!. All temps can be programmed independently of each other. I should also mention I'm running the stc-1000+ frimware on these units and using the cooling jackets from www.gotta-brew.com.

IMG_5464.jpg


IMG_5470.jpg


IMG_5468.jpg


IMG_5471.jpg


IMG_5466.jpg
 
This is my Primary fermentation cabinet. It's an apartment size fridge/freezer with a Johnson controller added. It stays in my garage. I use a 7.9 gal Speidel tank. It never blows over on a 5gal batch. I just use film over the top hole and never use a airlock/bubbler.


This is my secondary fermentation chamber. A 32 bottle wine fridge. It doubles as an extra primary cooler. It stays in my laundry room. Shown here with the same Speidel 7.9 gal tank.

 
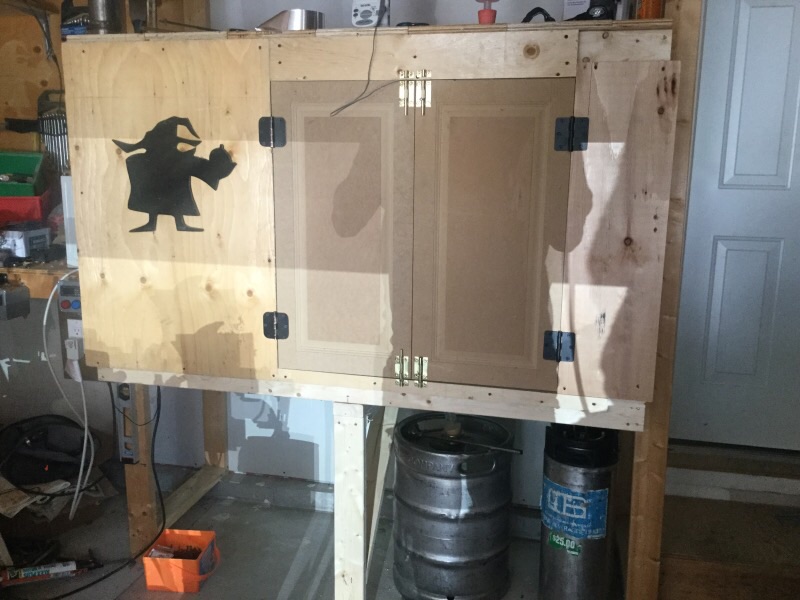
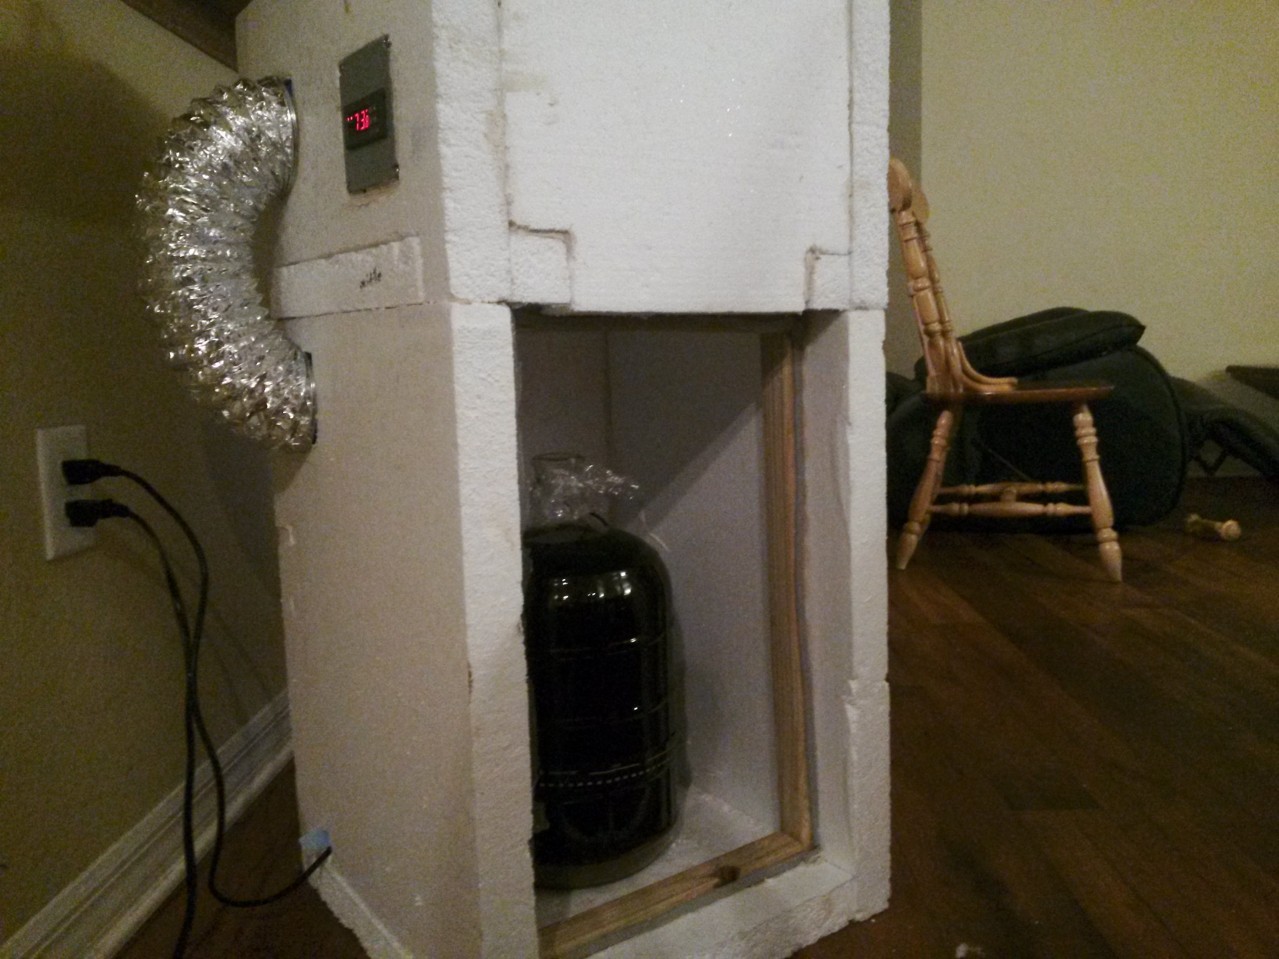
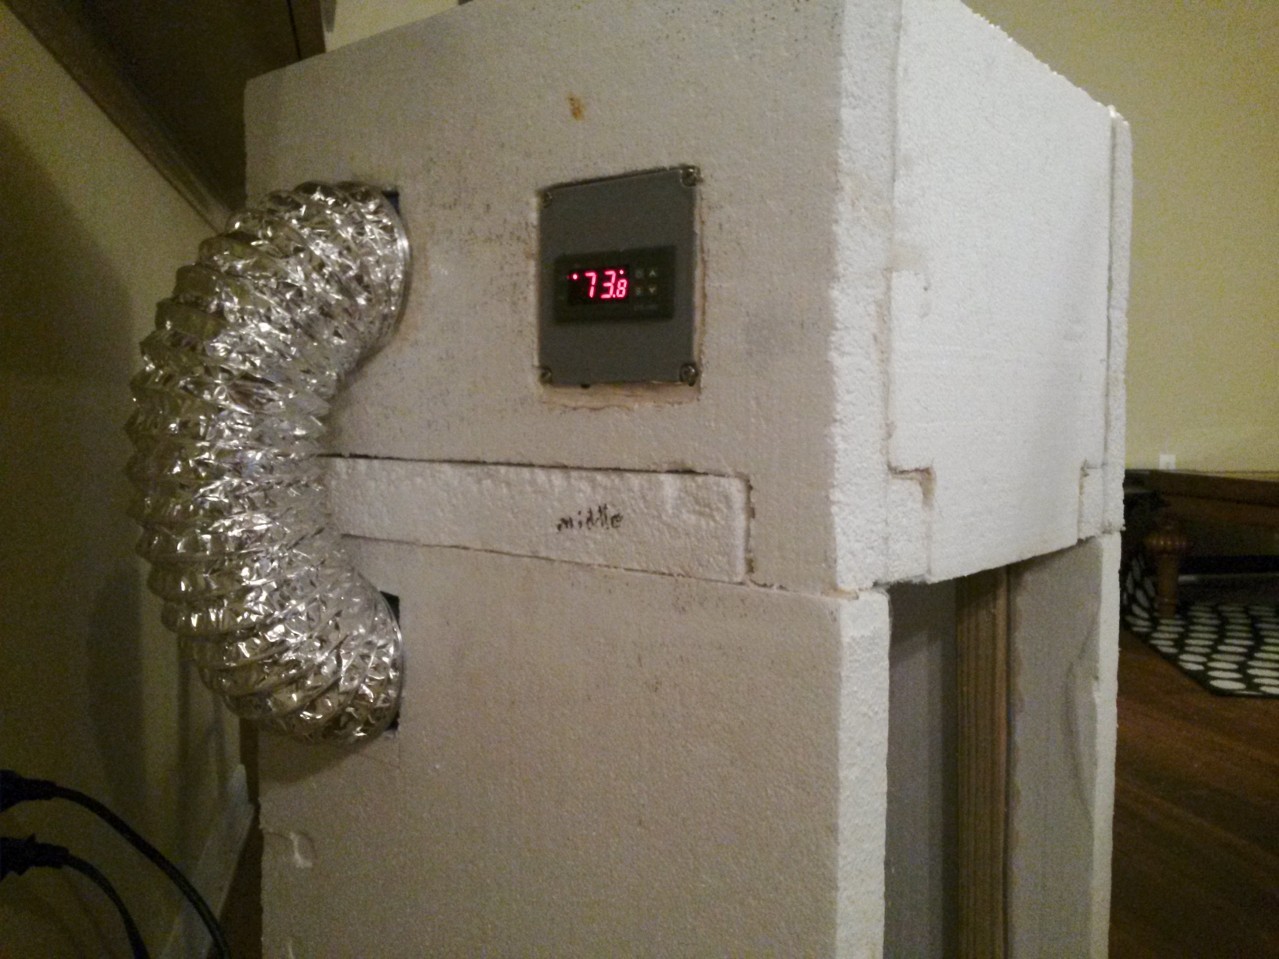
Just finished my Son of Fermentation Chiller. It's still a bit rough around the edges and I still want to add a few things (double pane window on doors, etc.)

Cost about $100 including purchasing a few tools.

Works like a charm so far - can drop the temp in the chamber 5 degrees in under a minute. I have two fans operated by an STC 10000+ - one pulling air out of the chamber and blowing it over the ice, the other pulling the now cold air down into the chamber. I built a small wall which keeps the cold air from freely flowing down into the chamber when the fans aren't running.

I altered the SOFC design to put the cold chamber above the ferm chamber because I don't have a lot of space in my small apartment. I was a little worried that the new design wouldn't work as well, but it seems to work great.

Also, god do I hate working with foam...

WP_20151109_002.jpg


WP_20151109_003.jpg


WP_20151109_007.jpg
 
www.homebrewtalk.com/showthread.php?t=377233

Still working great from the dead of winter to the heat of summer.

image.jpg
 
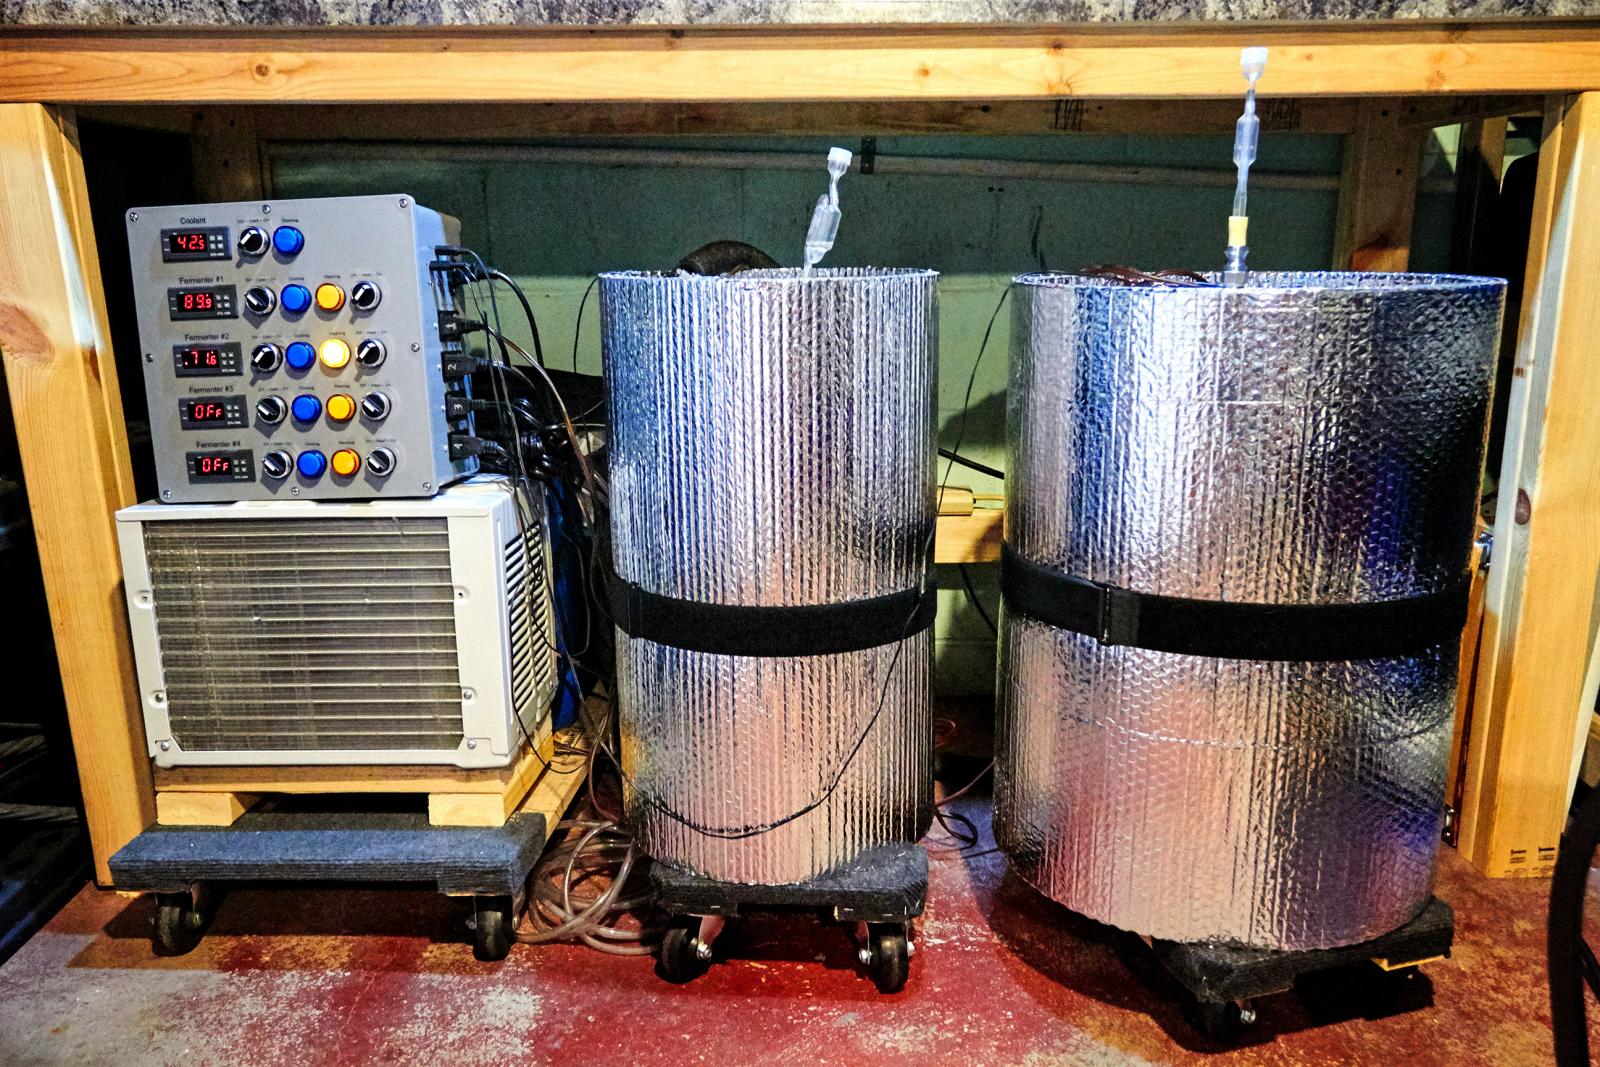
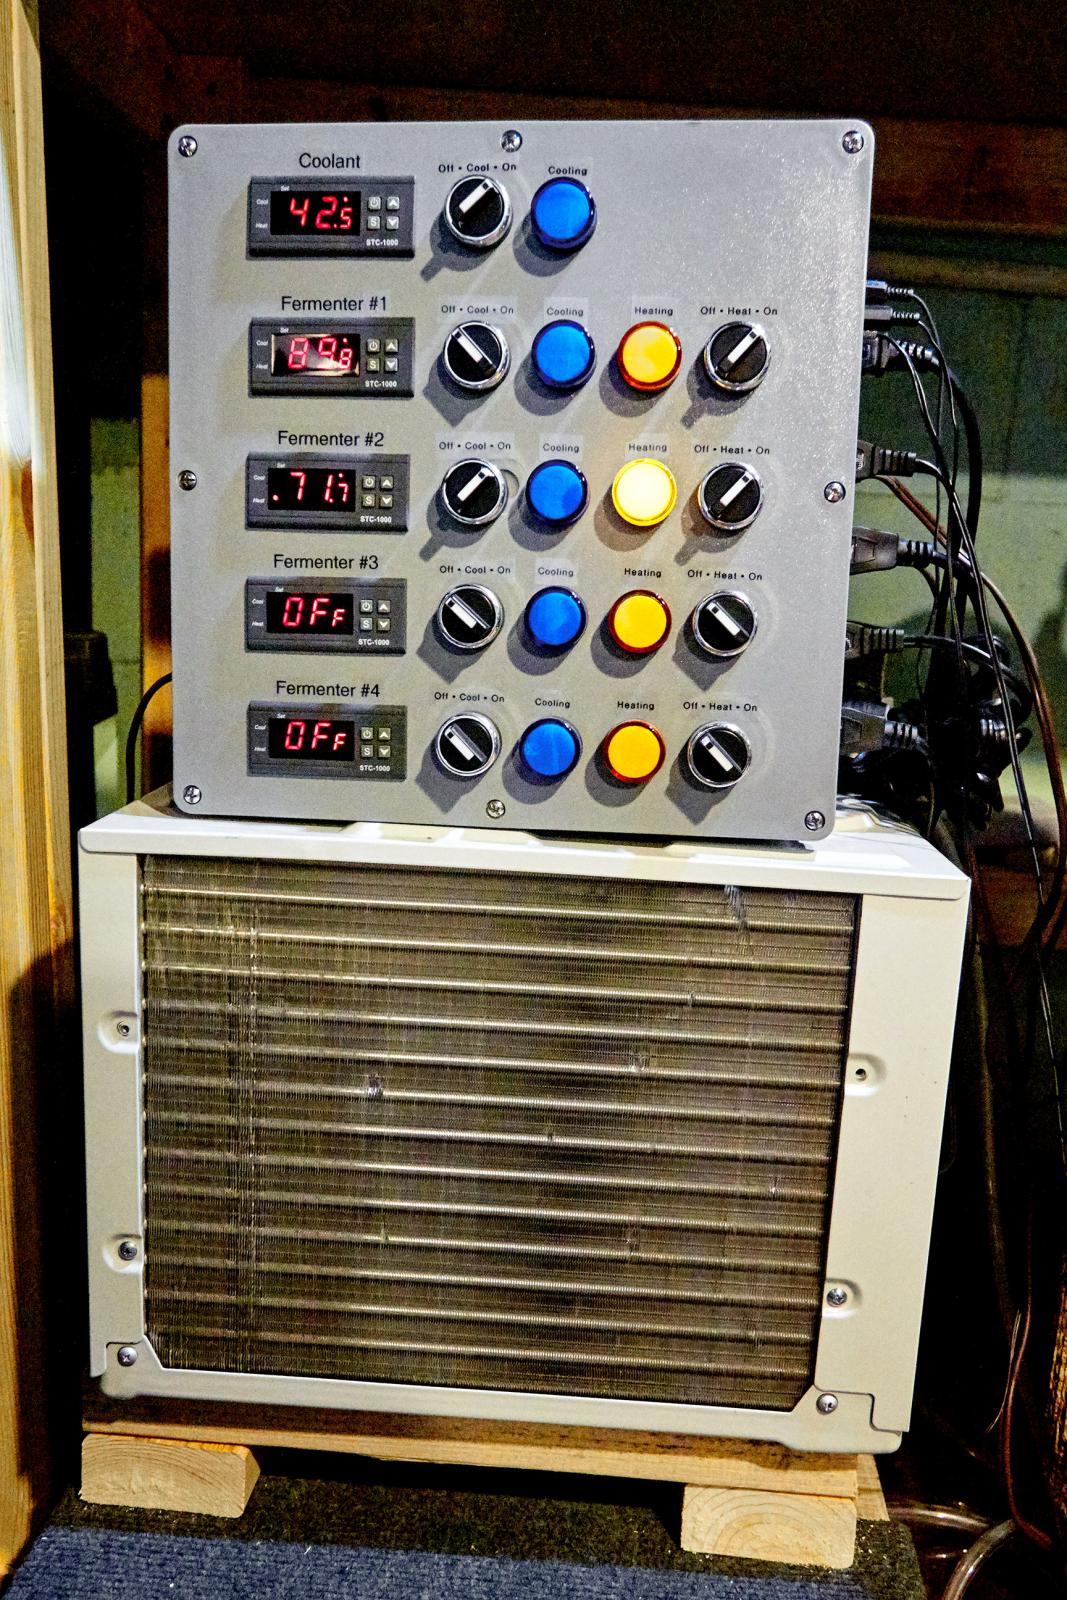
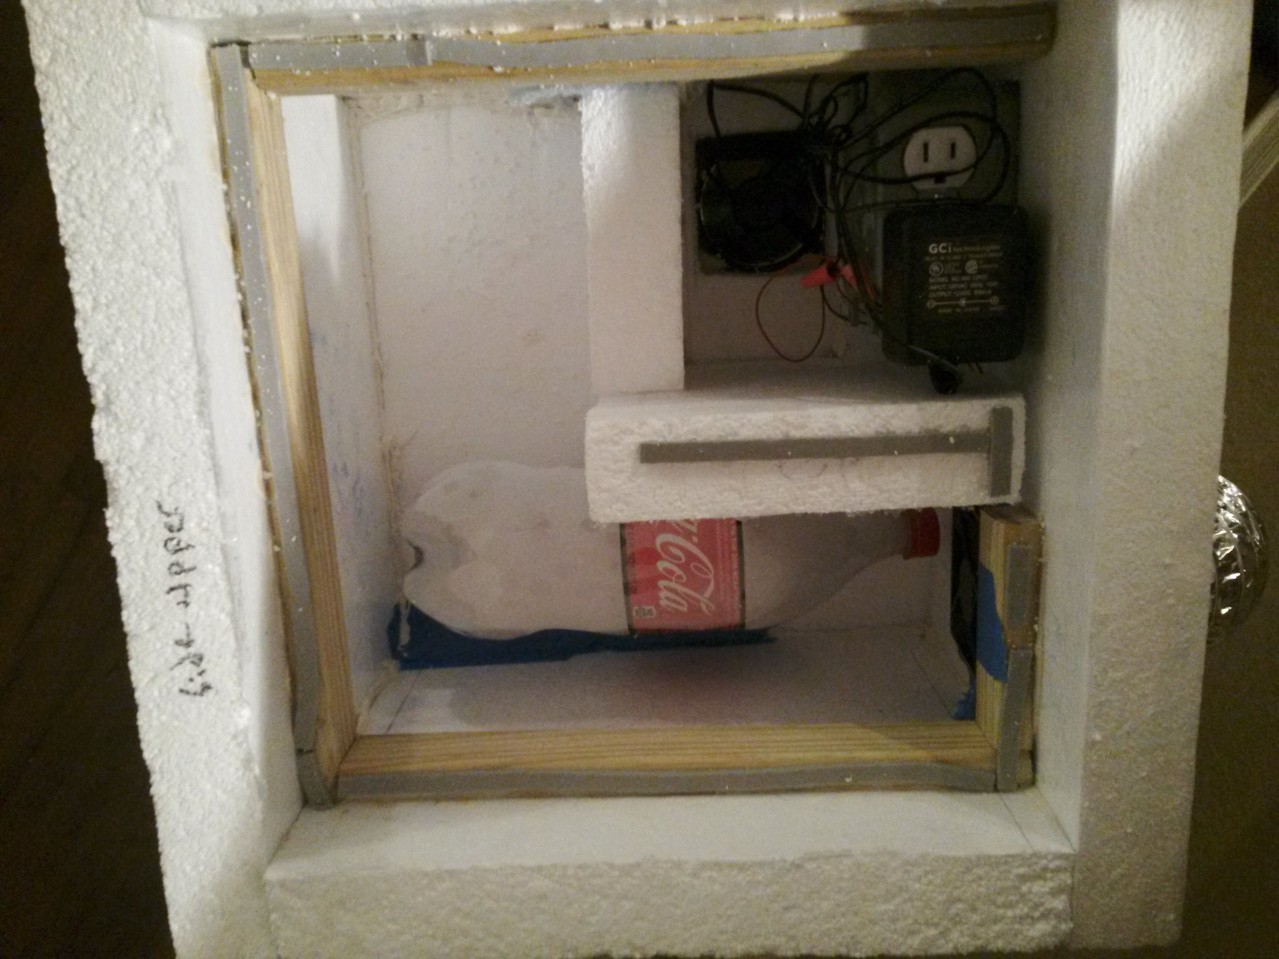
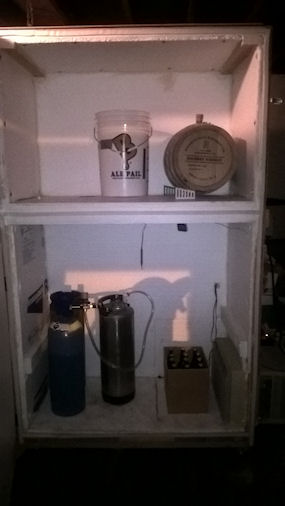
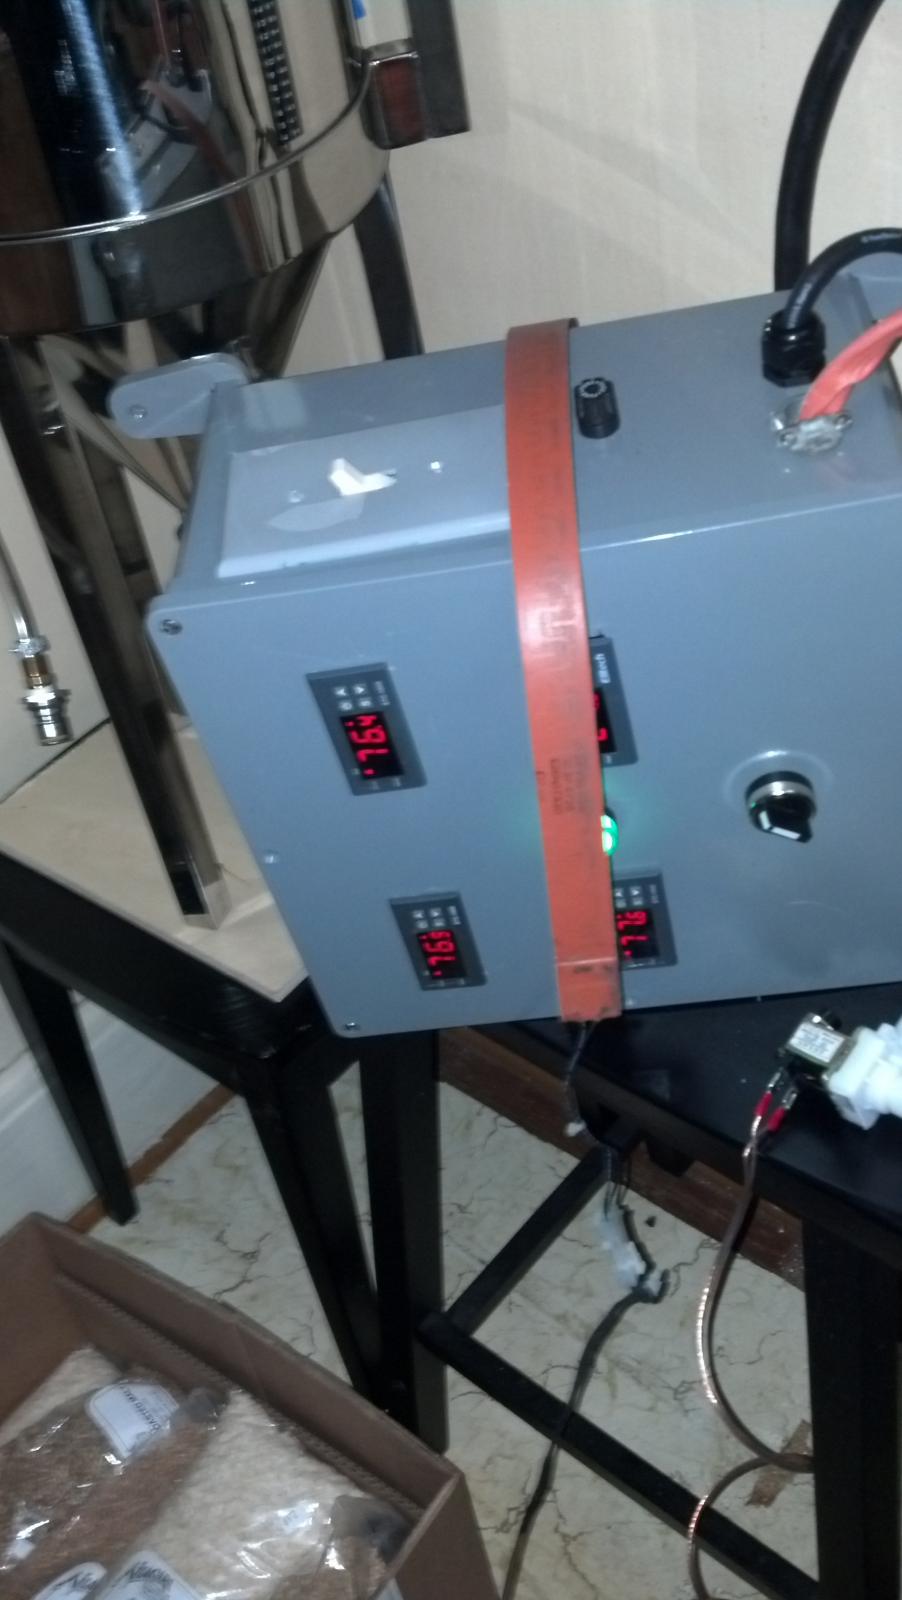
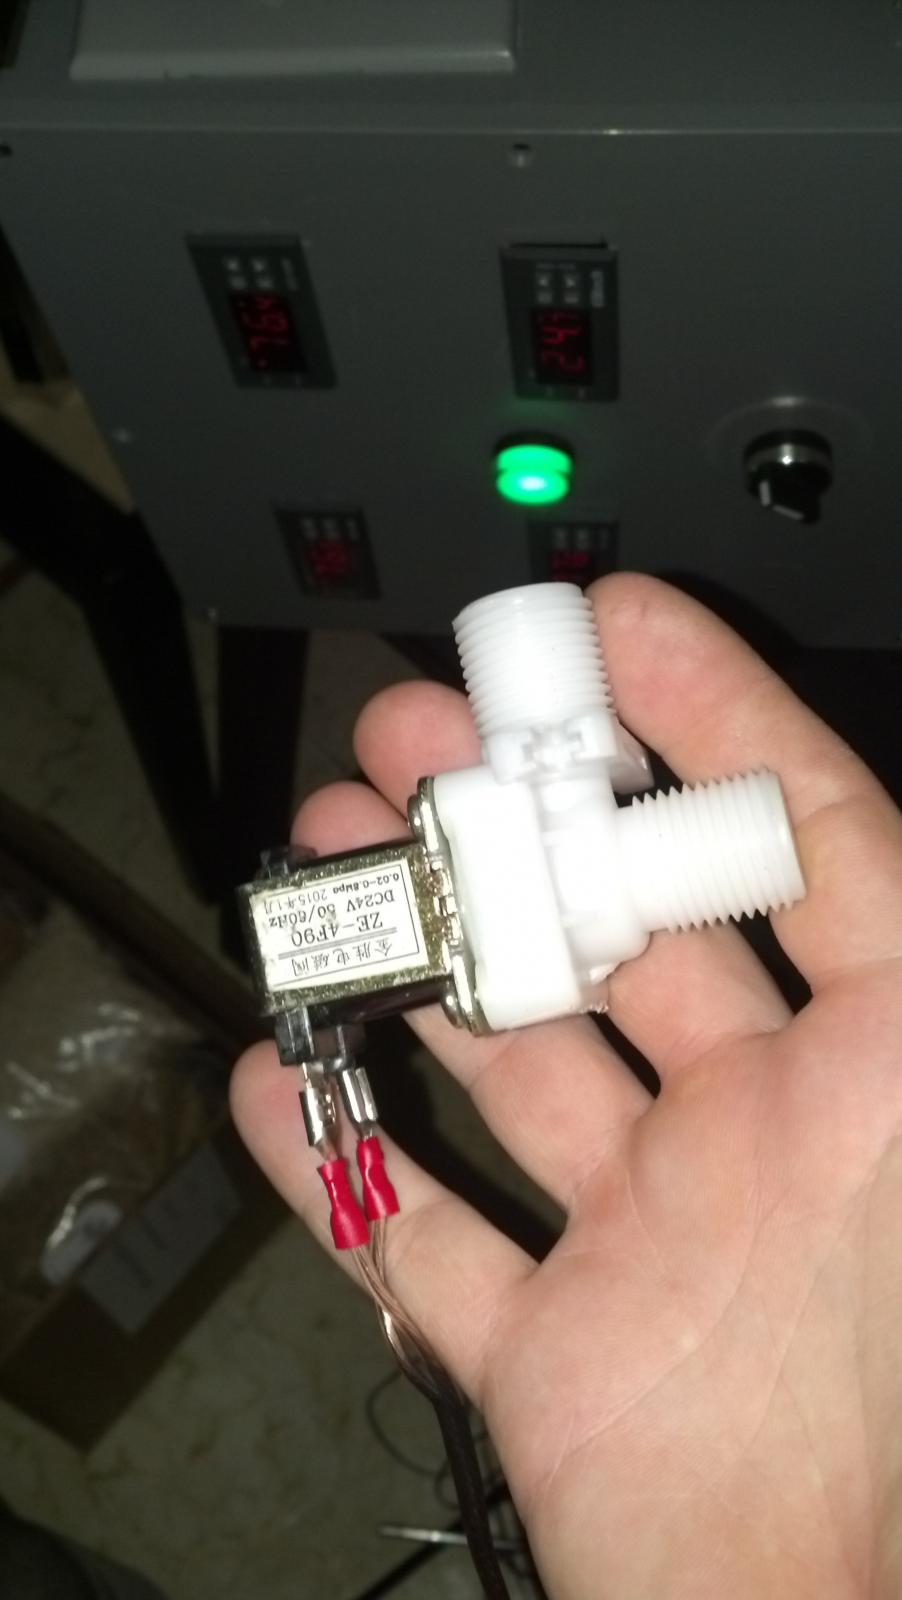
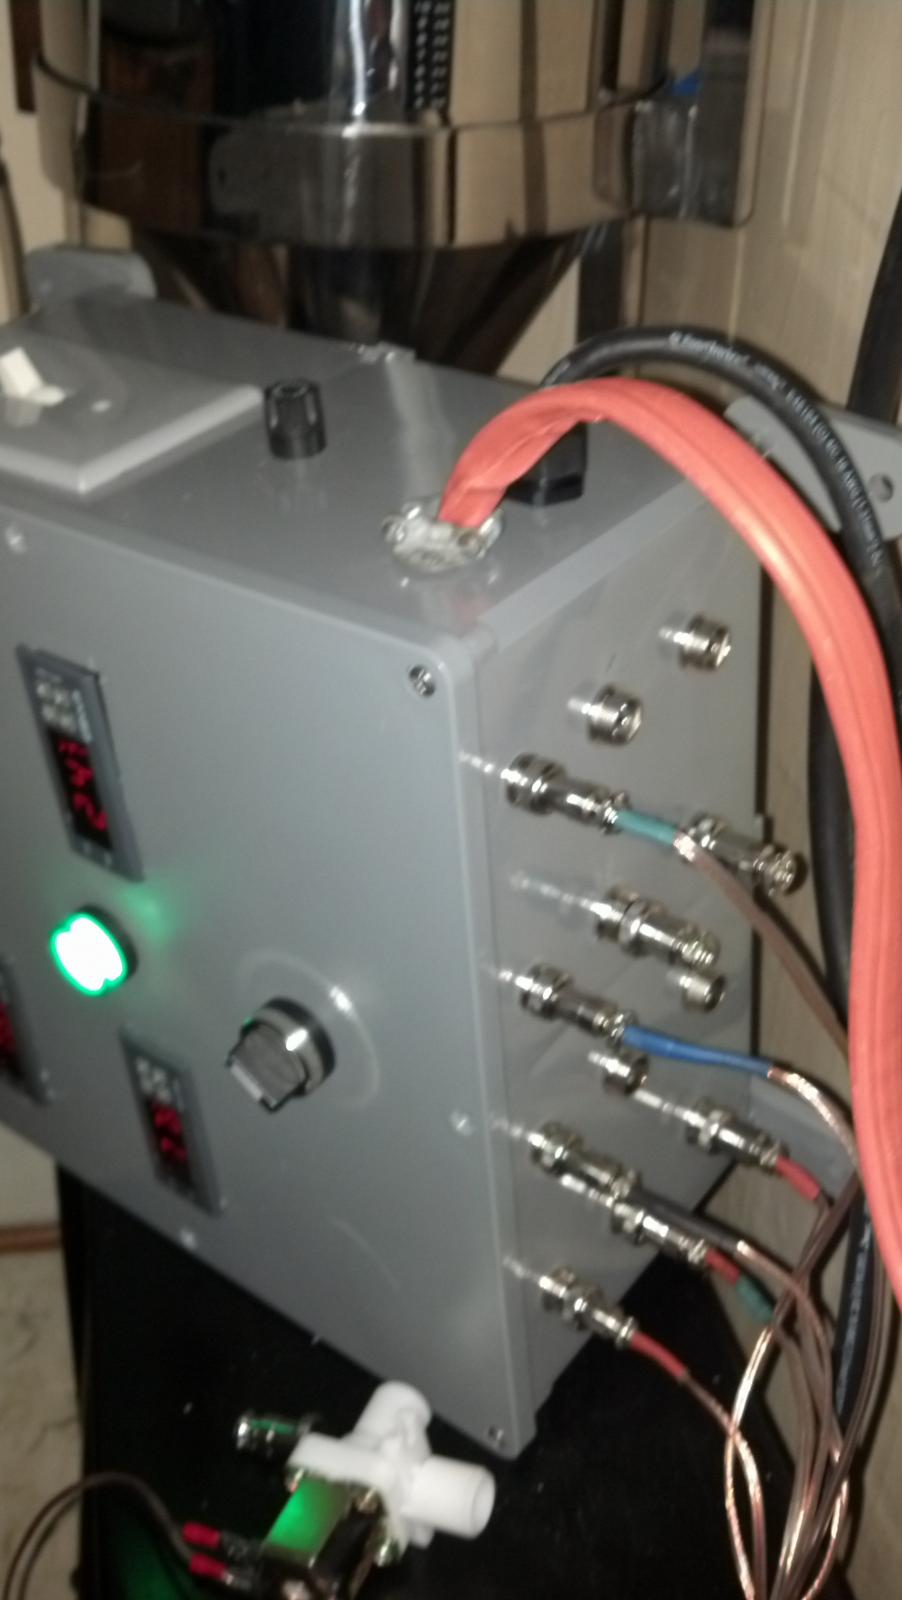
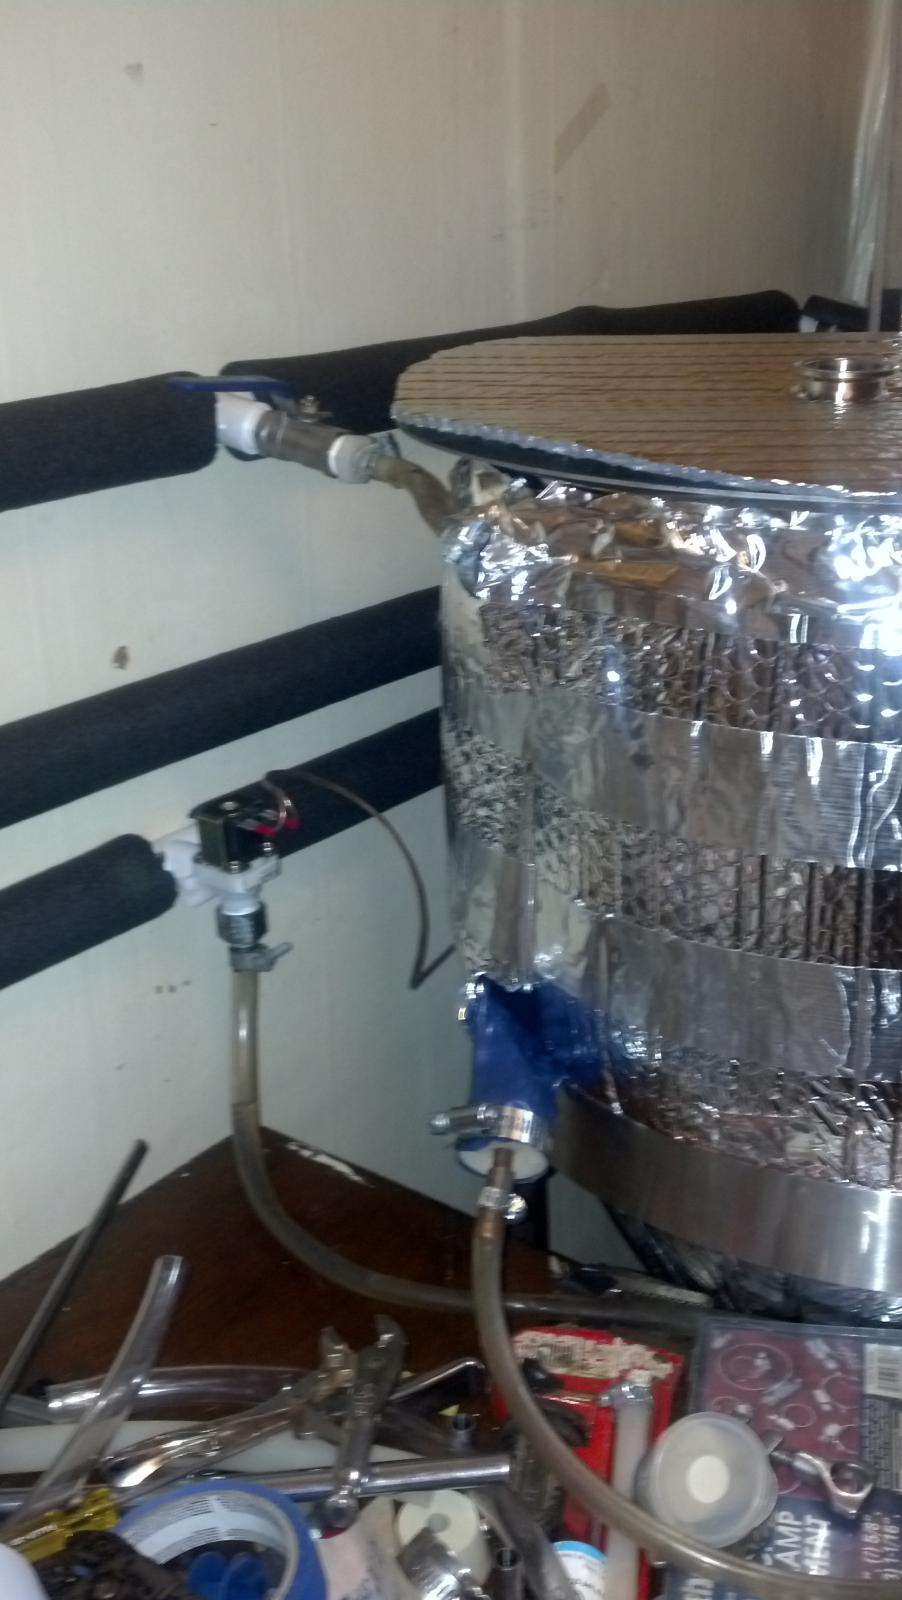
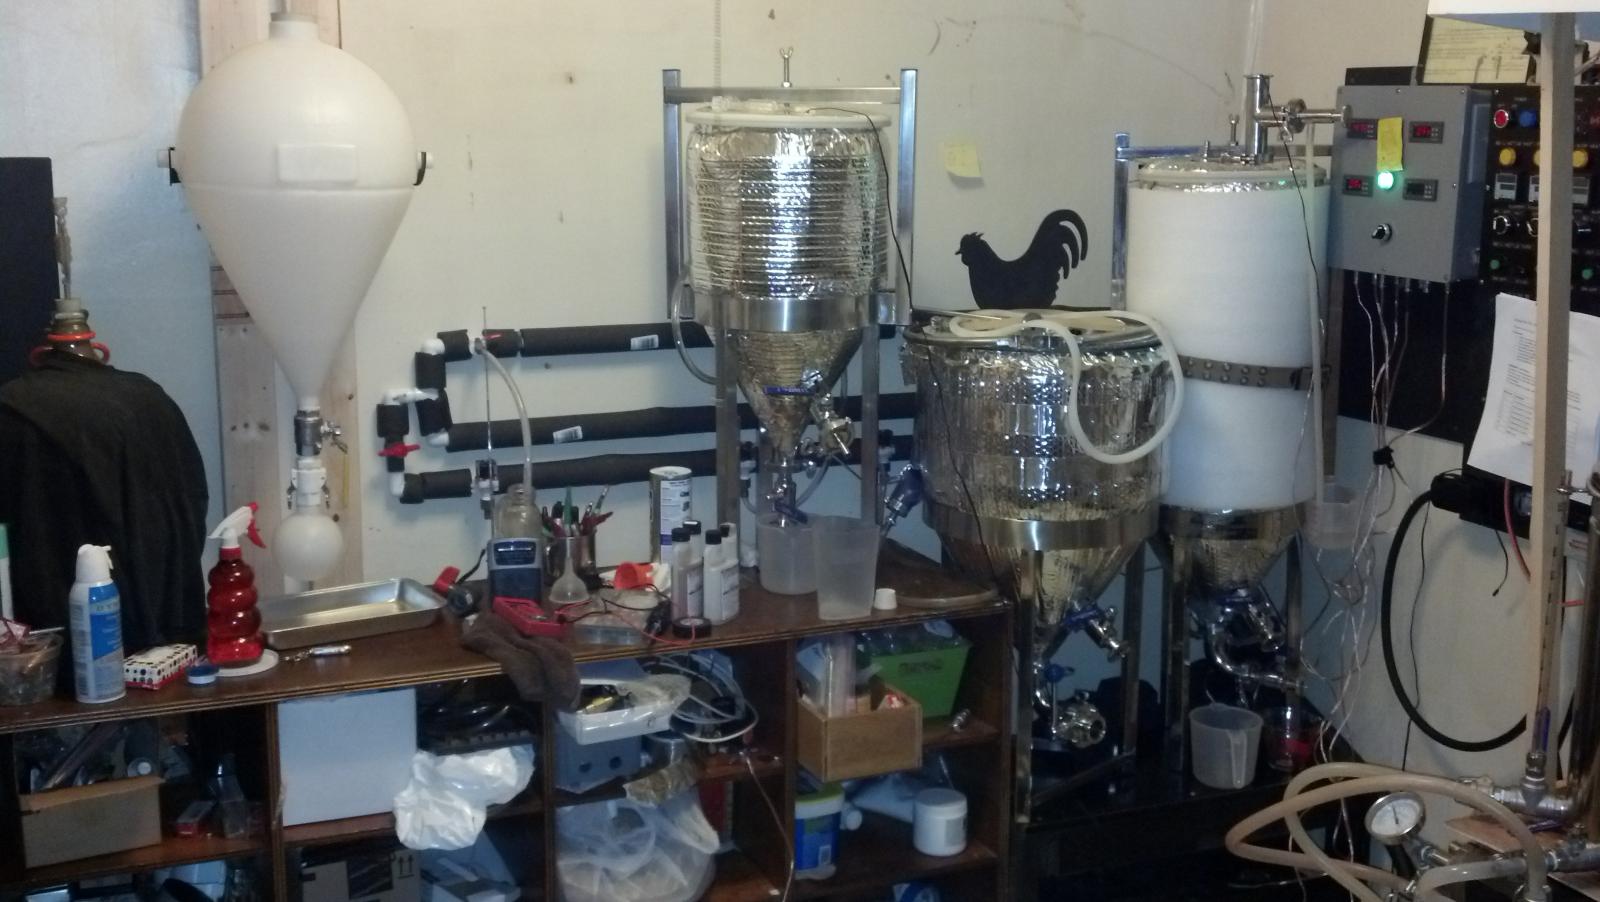
Here are some poorly taken pics of my 4 ferementor controlled glycol setup using STC1000+ units and dual contact relays to turn on the individual 24v dc control valves at the same time as the 240v ac pump in my chiller which circulates it through the main manifold mounted on the wall... I got the idea for the manifold from another thread here.

I used a coolzone carboy jacket for cooling the 12.5g stout fermenter and surgical tubing wrapped around the smaller 8 gallon stout knock off but the best performing jacket was the $10 discharge hose like they sell at the home depot, wrapped around the middle 12.5 g fermenter with a #7 1/2 stopper in each end with a 3/8 piece of tubing inside it for hose nipples to connect the cooling lines. this will drop 11 gallons of wort 10 degrees in under 30 minutes...
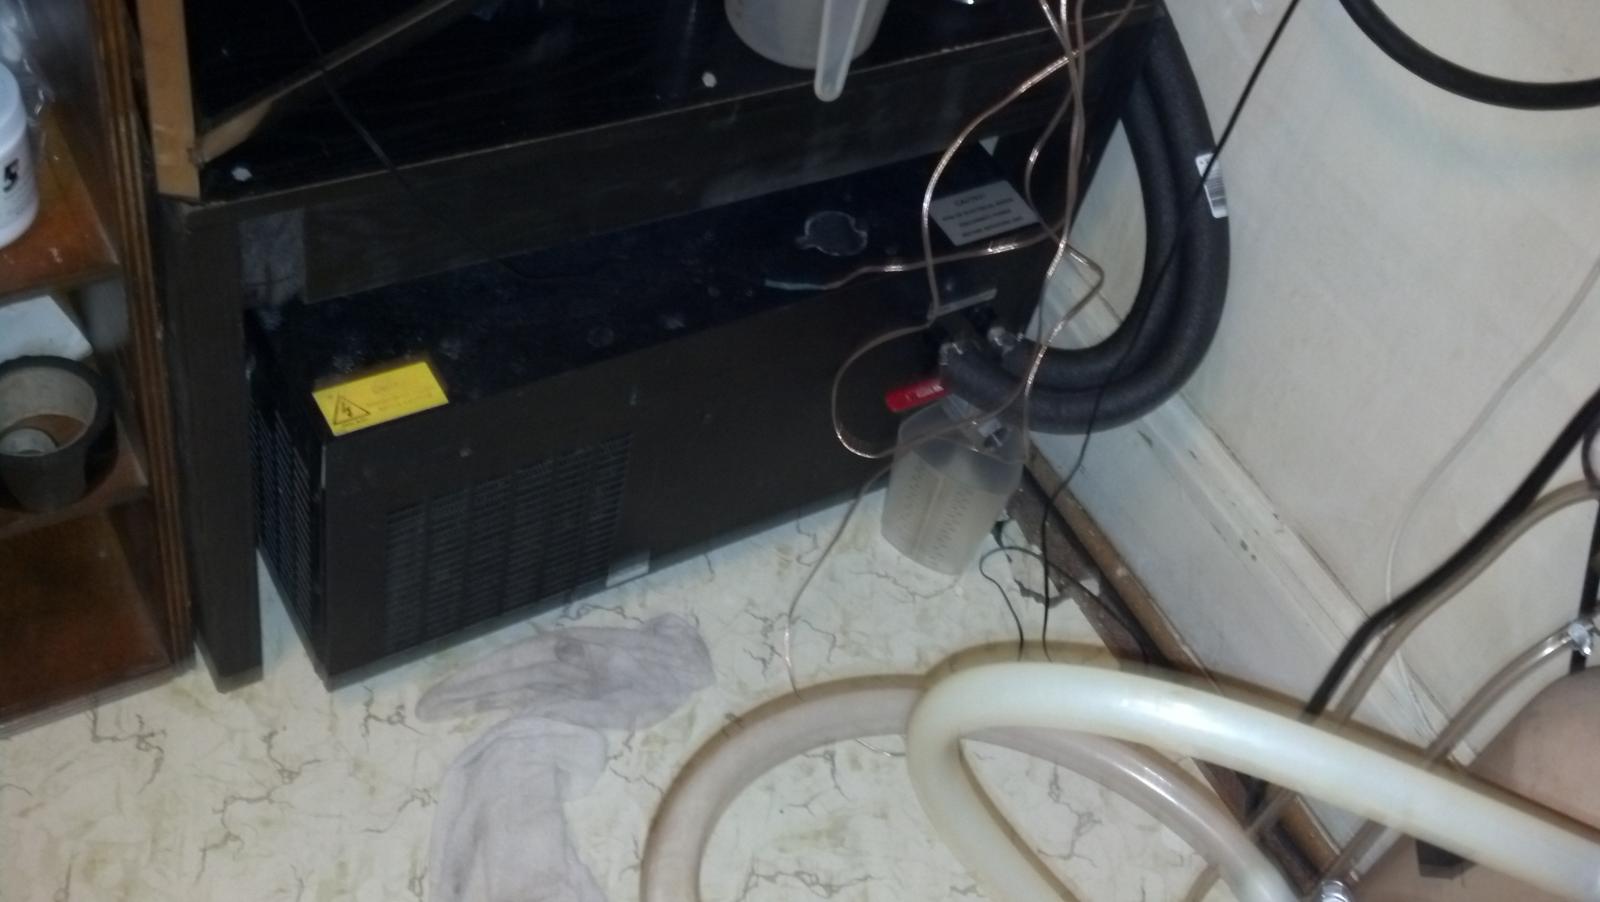
The glycol chiller I rescued from the trash at one of my customers were it was used for cooling water in a CTP plate processor.

total cost for everything including the conicals was about $1100.

IMG_20150518_101600_479.jpg


IMG_20150518_101541_521.jpg


IMG_20150518_101522_314.jpg


IMG_20150930_215715_845.jpg


IMG_20151006_203621_297.jpg


IMG_20151006_203647_638.jpg
 
Here are some poorly taken pics of my 4 ferementor controlled glycol setup using STC1000+ units and dual contact relays to turn on the individual 24v dc control valves at the same time as the 240v ac pump in my chiller which circulates it through the main manifold mounted on the wall... I got the idea for the manifold from another thread here.

I used a coolzone carboy jacket for cooling the 12.5g stout fermenter and surgical tubing wrapped around the smaller 8 gallon stout knock off but the best performing jacket was the $10 discharge hose like they sell at the home depot, wrapped around the middle 12.5 g fermenter with a #7 1/2 stopper in each end with a 3/8 piece of tubing inside it for hose nipples to connect the cooling lines. this will drop 11 gallons of wort 10 degrees in under 30 minutes...
The glycol chiller I rescued from the trash at one of my customers were it was used for cooling water in a CTP plate processor.

total cost for everything including the conicals was about $1100.

The next time my wife complains about all my **** I am showing her this. Thank you in advance.
 
This is my secondary fermentation chamber. A 32 bottle wine fridge. It doubles as an extra primary cooler. It stays in my laundry room. Shown here with the same Speidel 7.9 gal tank.

Beerbeque - what is the Model # on that Haier wine fridge ?

Thanks
S
 
I started with a sketch and ended up changing the layout once all the parts came in:

IMG_8859.jpg


IMG_8949.jpg

Laying out the panel front - should have gotten a drill press for this, maybe everything would have lined up....

IMG_0536.jpg

Handles mounted.

IMG_9001.jpg

Used JB Weld for the top, grinding off the screw ends - note the safety glasses - thanks SWMBO!
Grinding Video! https://youtu.be/-qGRfK_-n6k

IMG_8975.jpg

Heat sink and handles installed.

IMG_8950.jpg

Work table full of stuff.

IMG_8943.jpg

More wiring.

IMG_8944.jpg

Even more wiring - using a light as a test keezer.

IMG_8999.jpg

Starting to mount the controllers and weather station.

IMG_9016.jpg

After painting.

IMG_9029.jpg

Rewiring power adapters.

IMG_9018.jpg

Pulled the blades and inserted wires.

IMG_9019.jpg

Power converter board.

IMG_8889.jpg

Testing SS Brewtech pump controller.

IMG_8838.jpg

SS Brewtech Controllers the way they were designed to work on the fermenters.

IMG_9028.jpg

Starting wiring up the controller for reals.

IMG_9060.jpg

Everything wired and operational.

IMG_9032.jpg

First power ups!

IMG_9033.jpg

Testing continues.

IMG_9055.jpg

More testing.

IMG_9059.jpg

Even more testing.

IMG_9084.jpg

All working!

Video of panel working with all working lights engaged: https://youtu.be/NwTyNAHTCiA

IMG_9103.jpg

A matched pair!!

IMG_9104.jpg

Sweet!

IMG_9725.jpg

Starting the wiring process.

IMG_9728.jpg

Mounting controller to wall - cut the back out and mounted it over a double GFCI outlet. Wired in the Keezer, Freezer and Cooler directly to the solid state relays. The rest of the wires are leads for temperature sensors and power leads from the appliances.

IMG_9731.jpg

Ran all the wiring behind the wall and under the stainless shelf.

IMG_9745.jpg

Up and completely operational controlling all devices prior to first brew.

Video of panel working on wall of brewery: https://youtu.be/R7ATFciW_VI

IMG_9727.jpg

I'm ready for my close up!

IMG_0159.jpg

Everything working as planned!
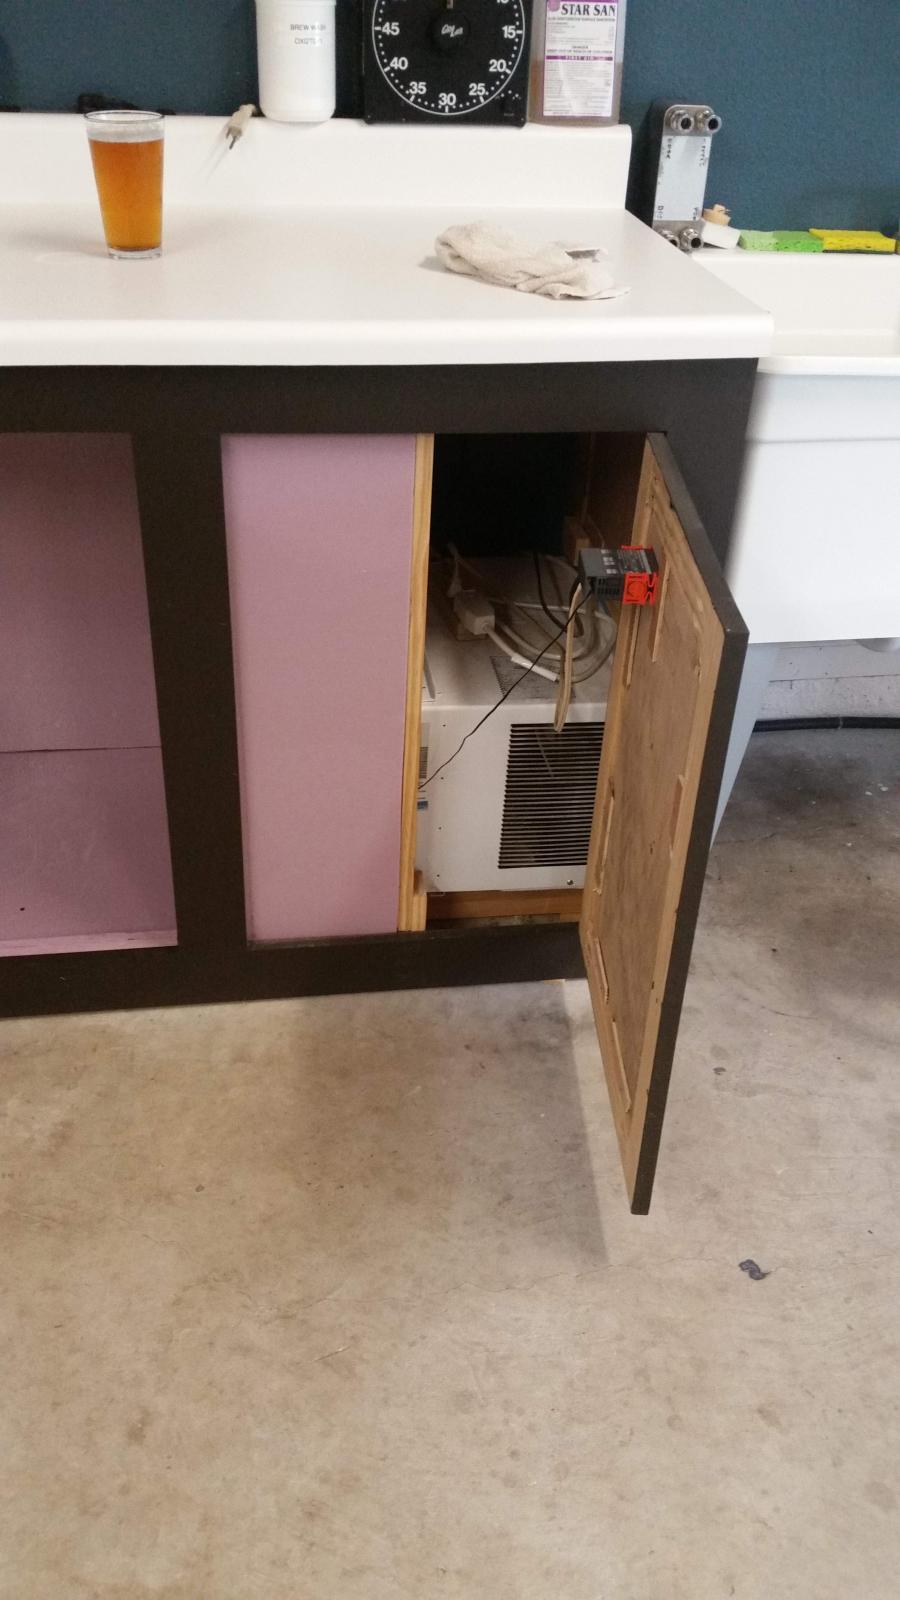
 
Used whatever wood and materials I could find lying around the shop. My wife's old kitchen and an old keezer collar both live again. Most expensive part of the build was the friggin insulation from home depot. One of those projects that makes me sad when its over.

IMG_1422.jpg
 
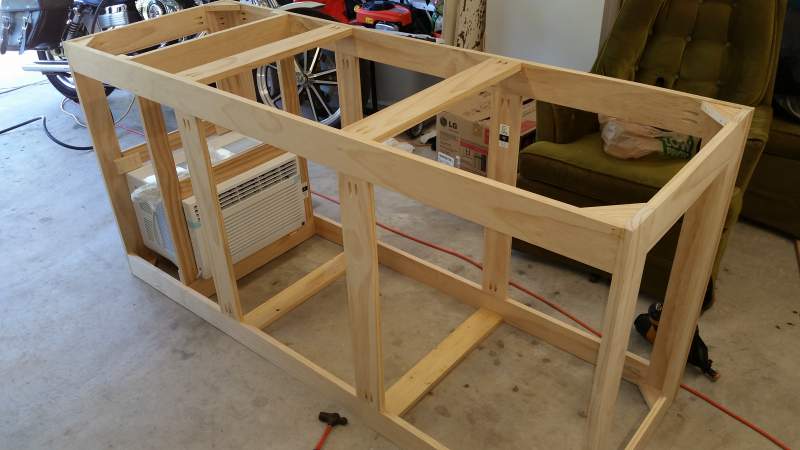
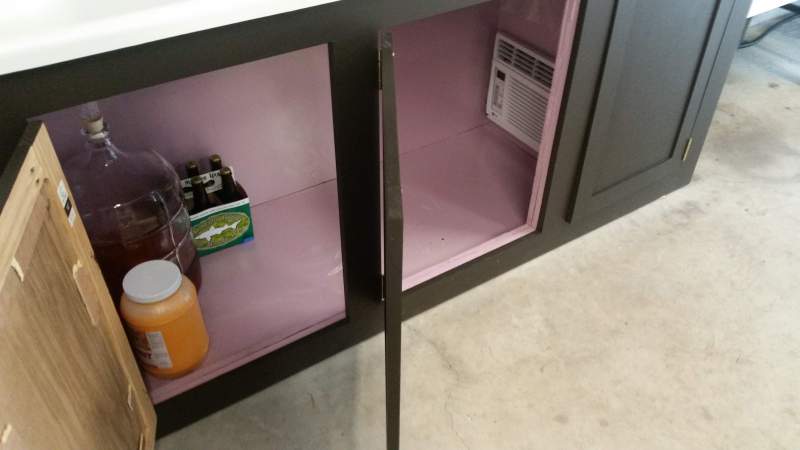
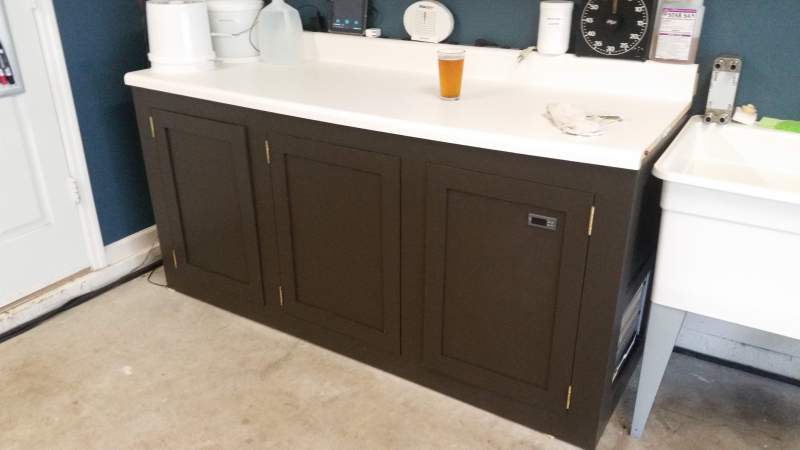
Here's my mostly finished chamber... Inside has 2" of foam. Still need to make better sealing doors. 6000BTU AC is usually set to 64 degrees, but it can easily cool to fridge temps in my Florida garage.

What are the dimensions on this? I love this setup and want to use this as my inspiration. Is there anything on top of the insulation on the bottom? Did you just buy a counter top from Home Depot?
 
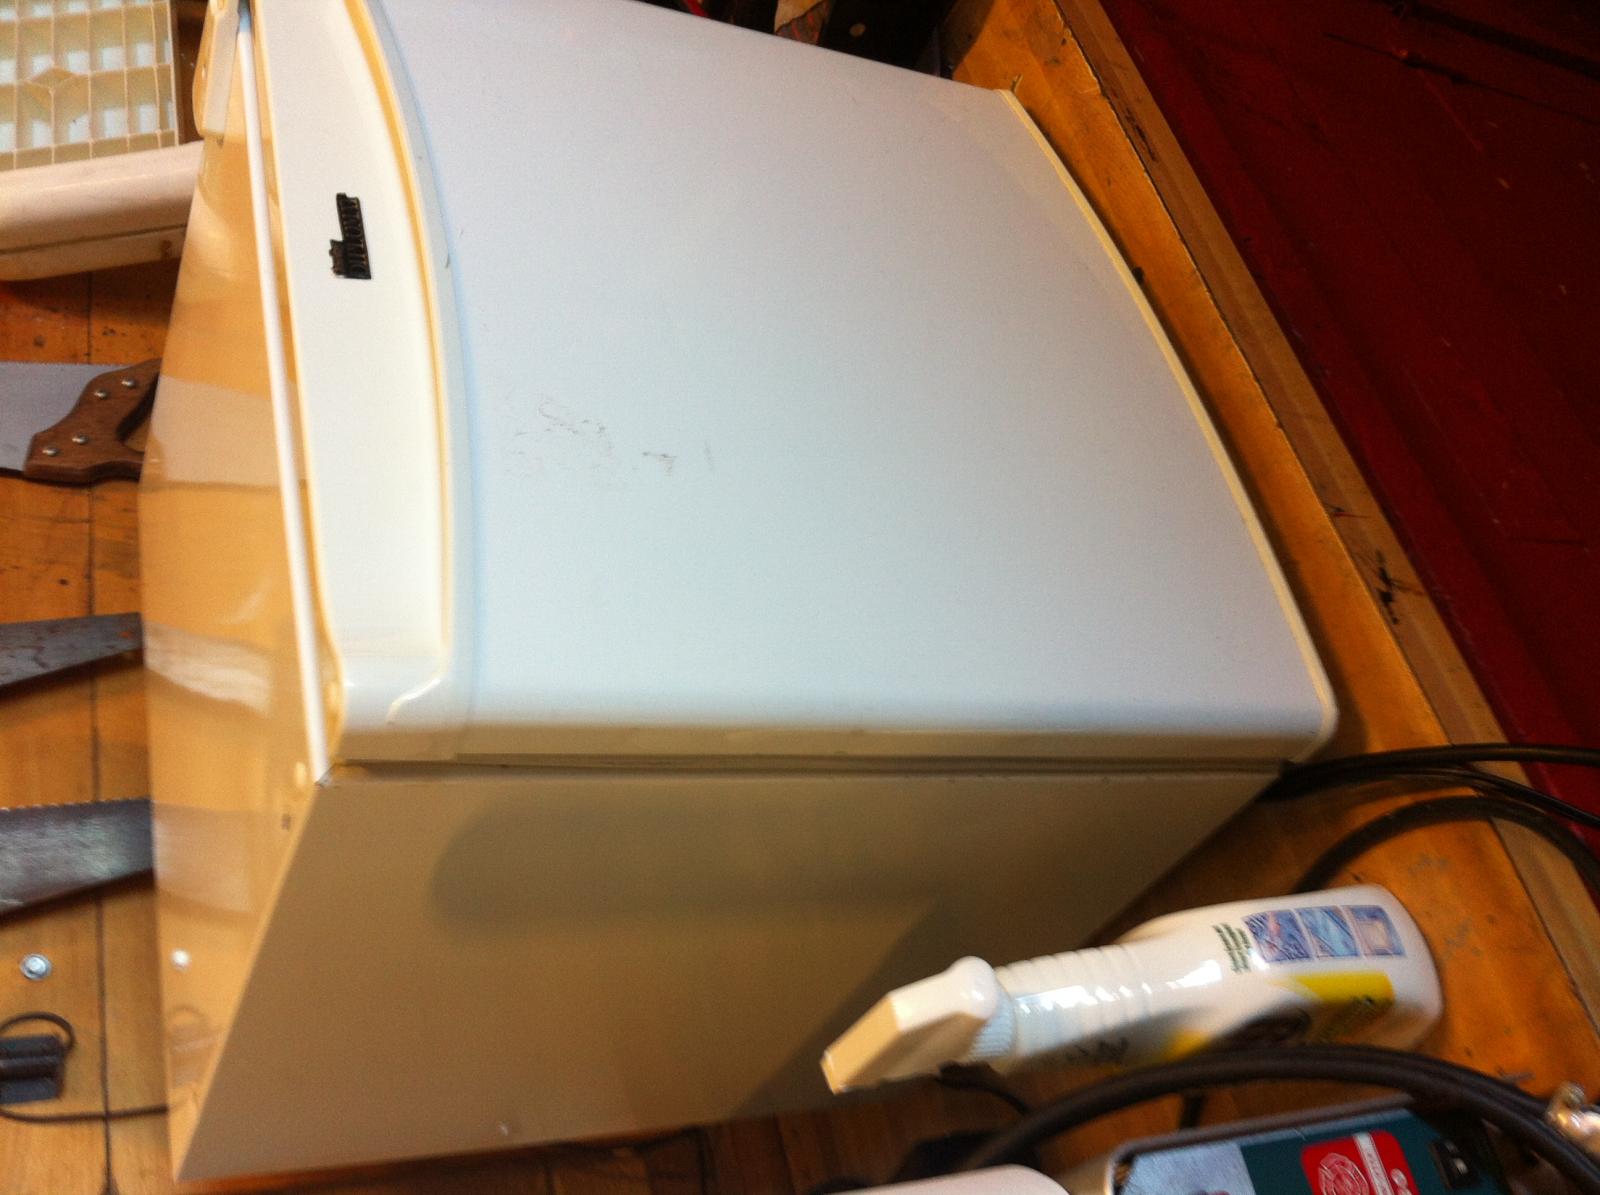
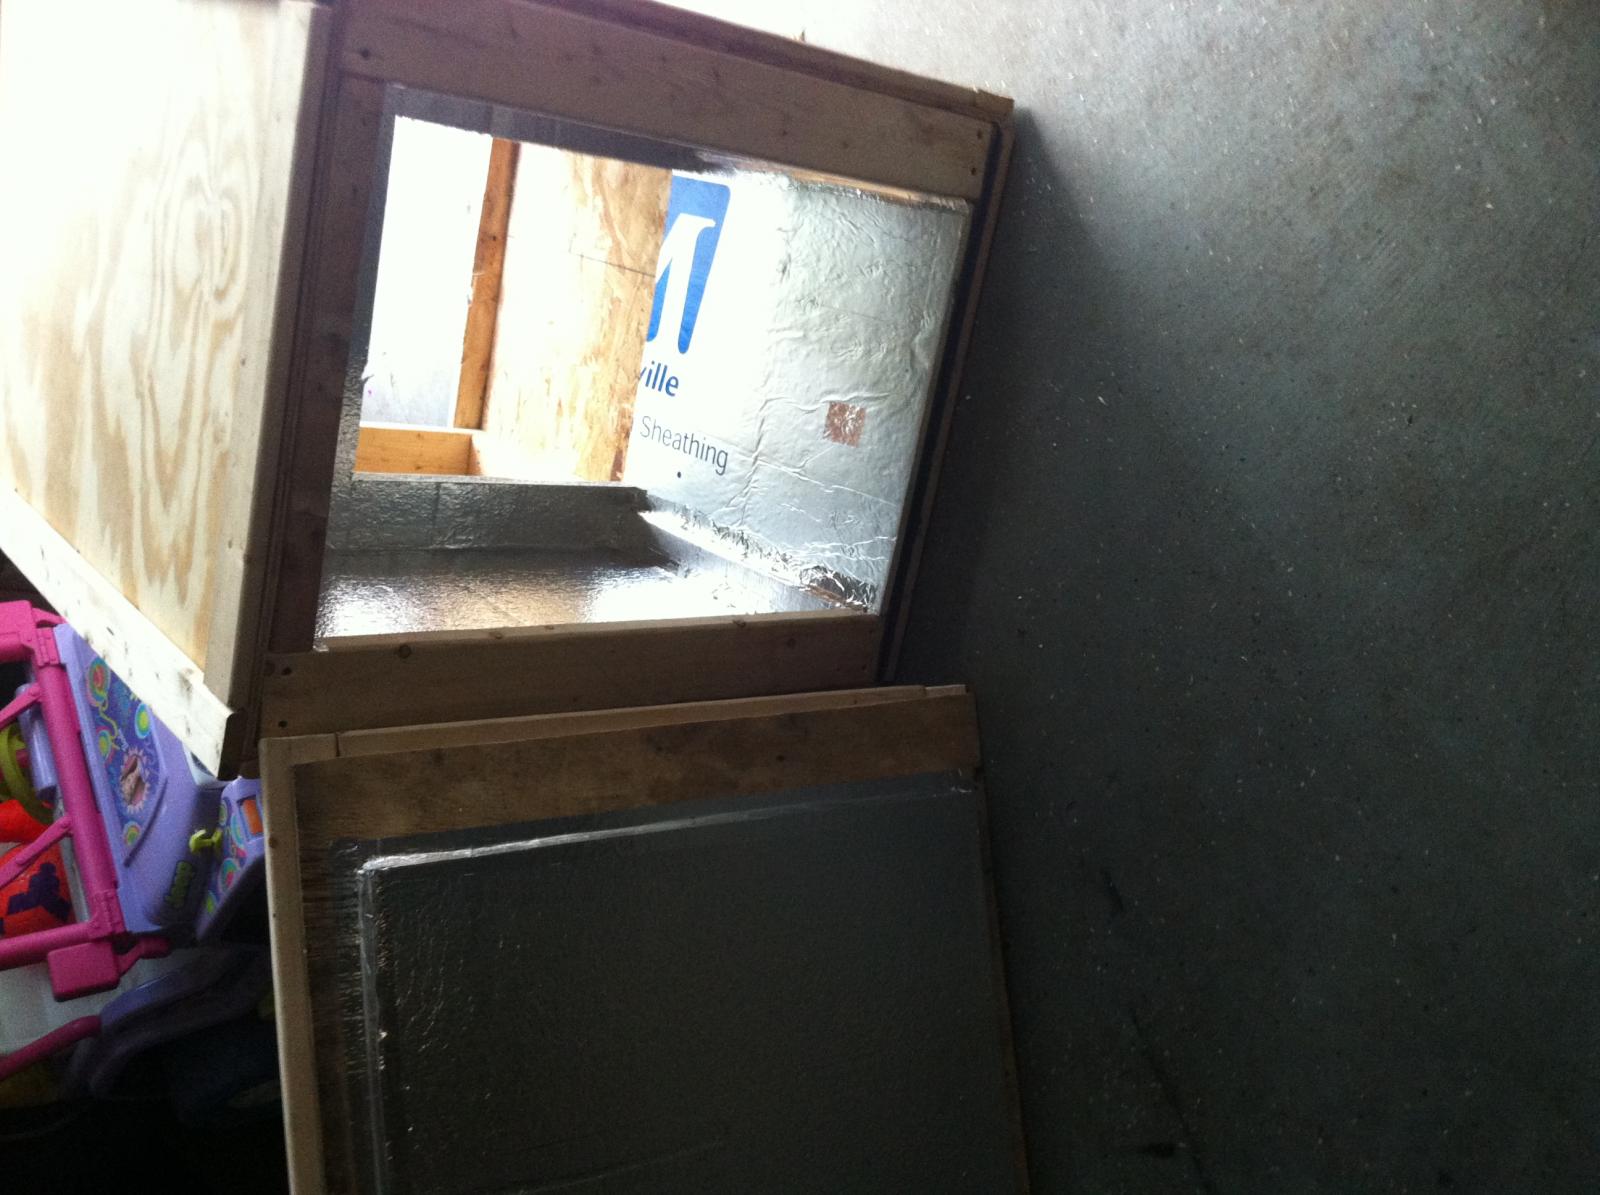
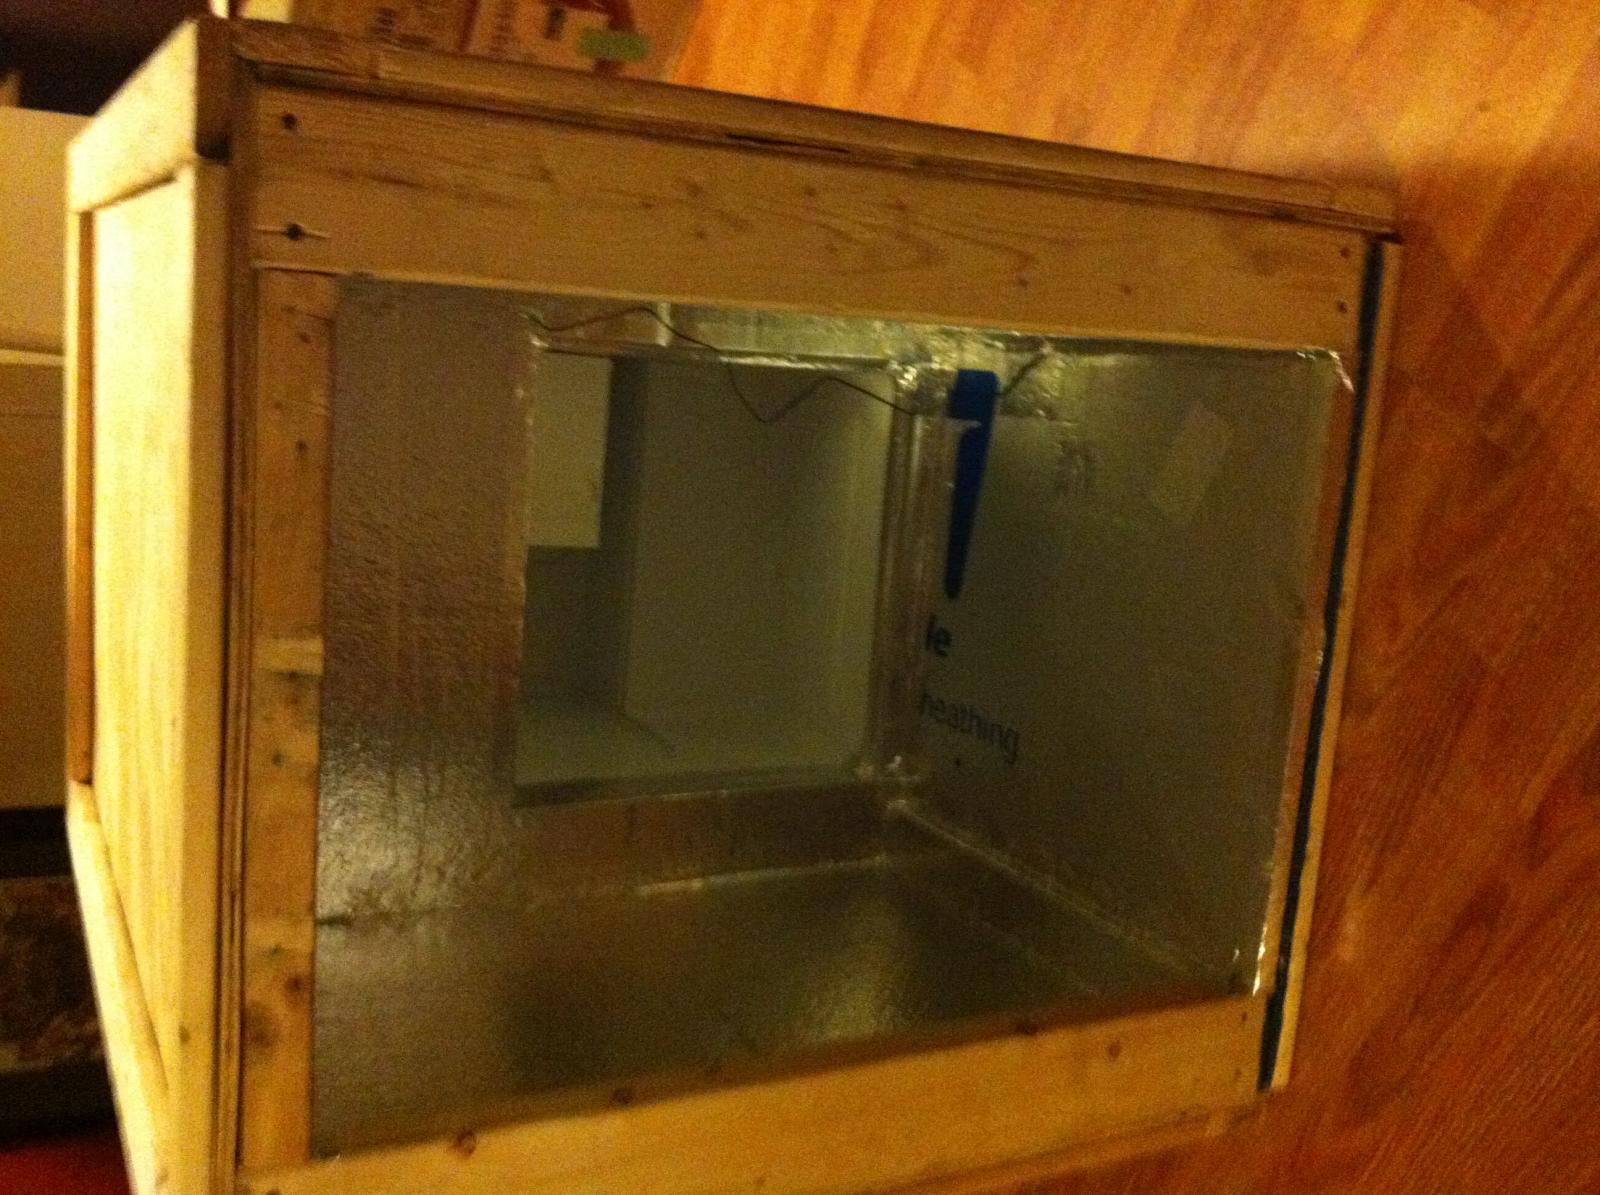
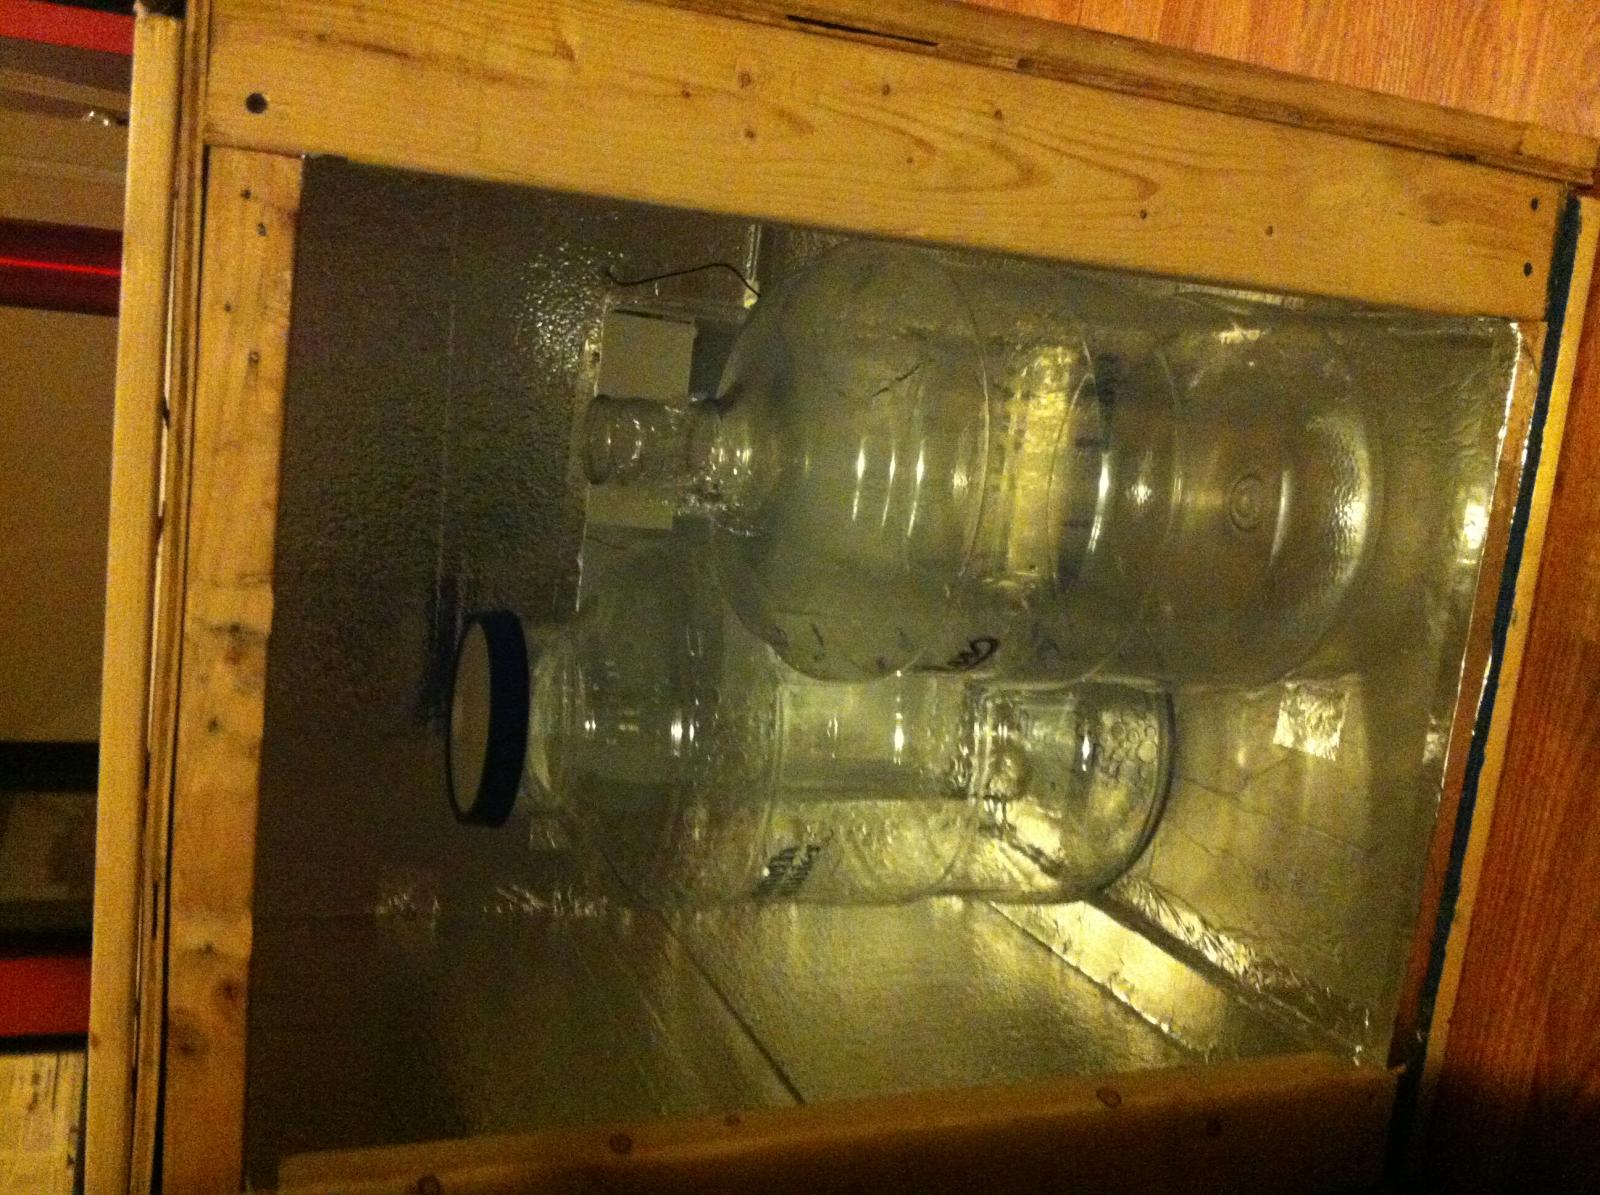
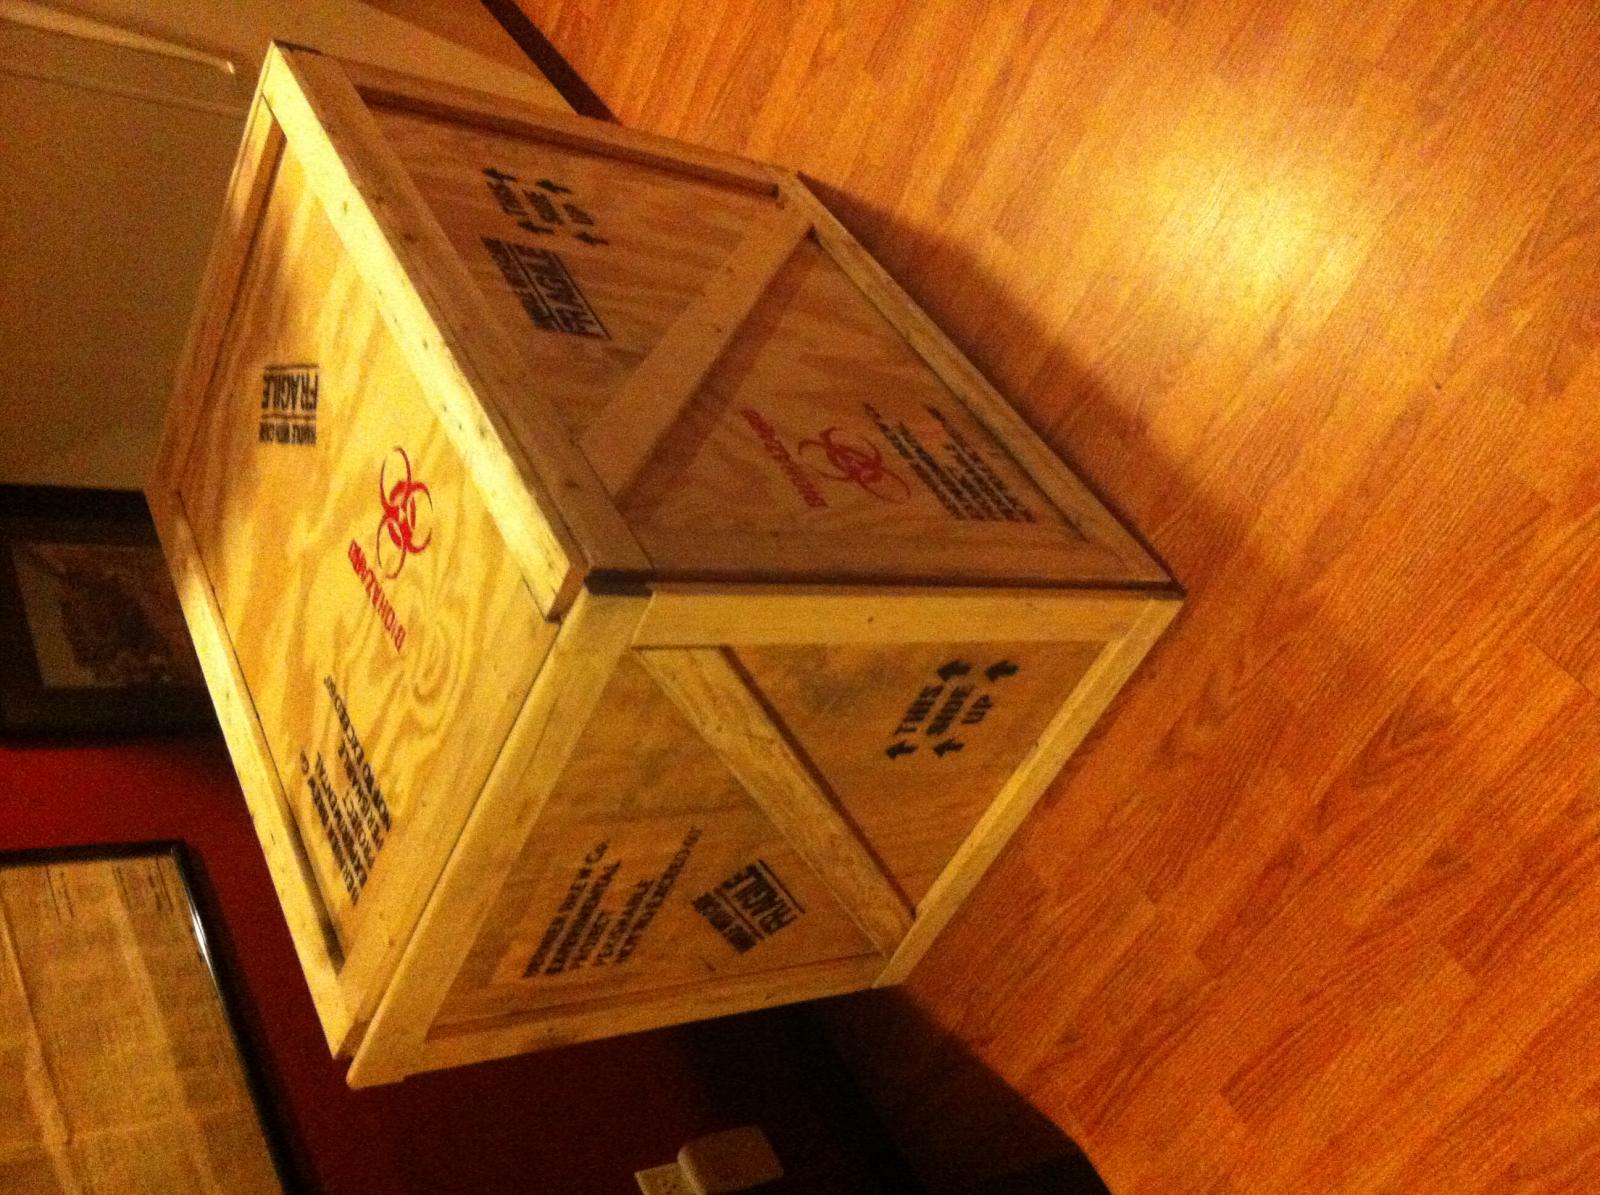
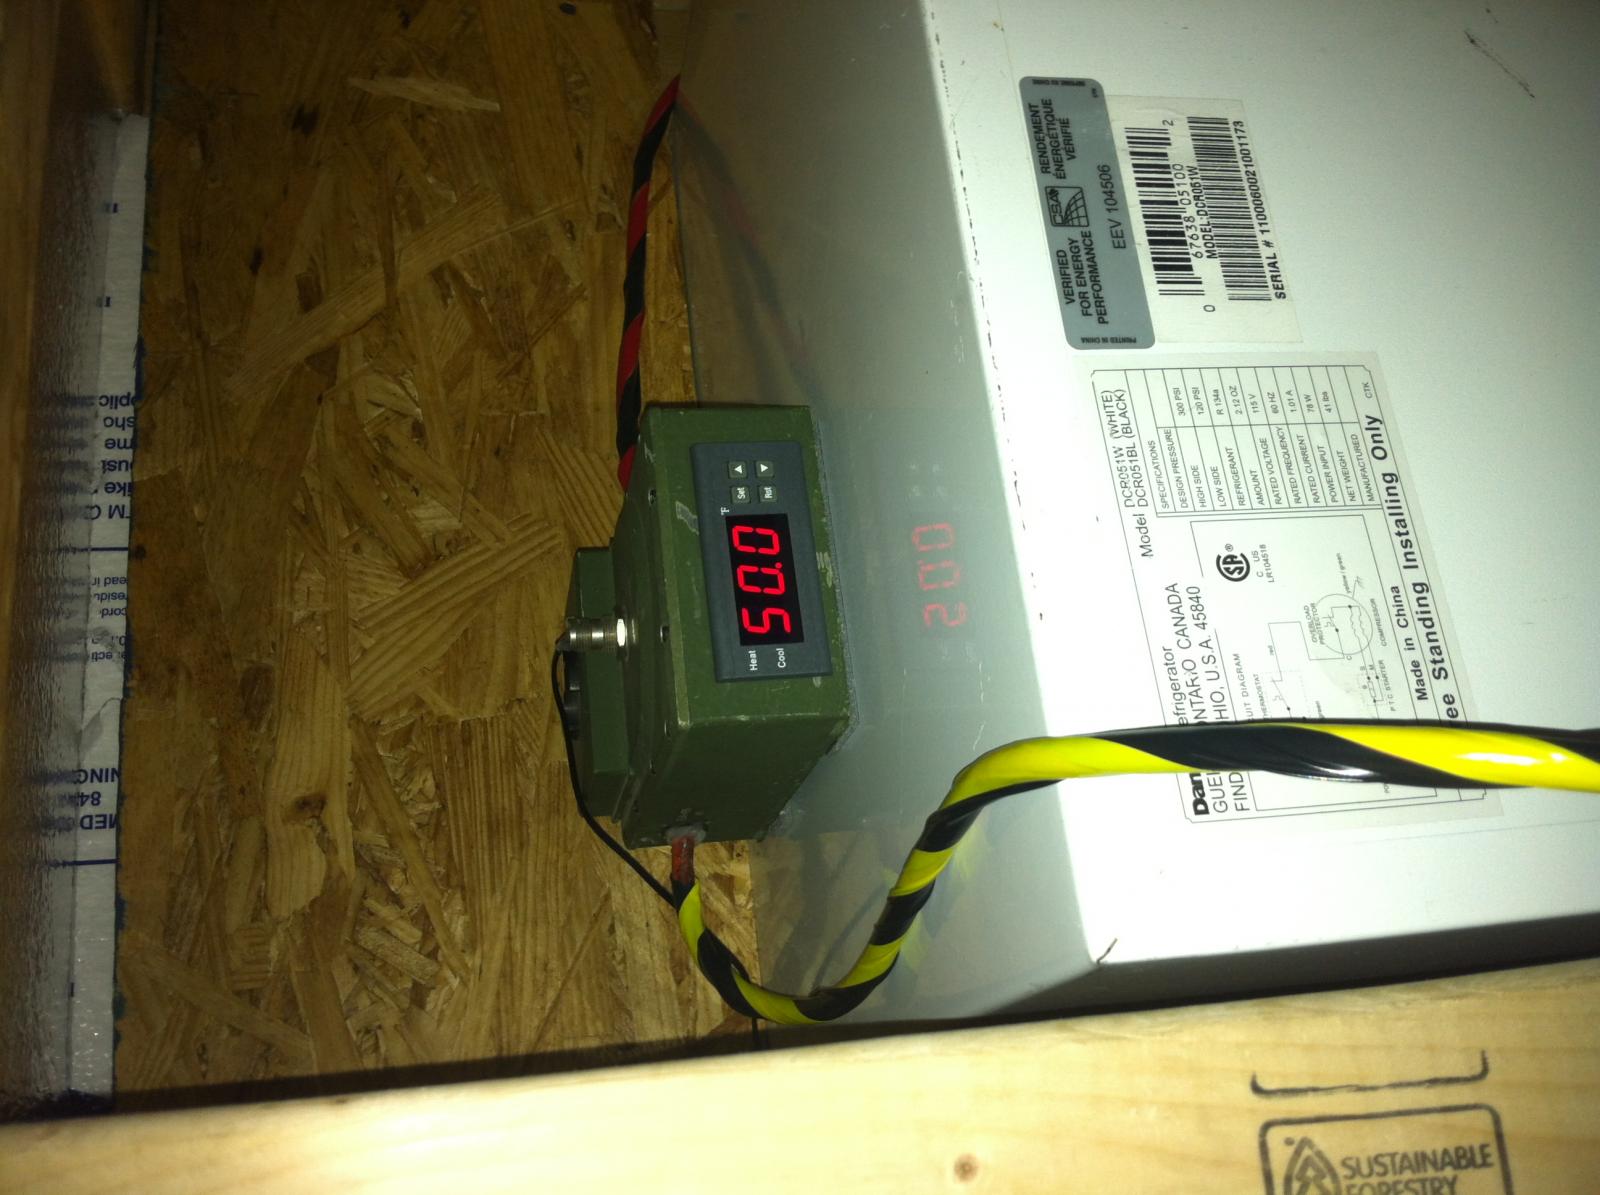
here's some pictures of my fermentation chamber I built. My intent was to make it look like a shipping create. Some fool was throwing away a perfectly good tiny office fridge. To small to fit anything... or was it. When I use it to lager it does take about a day to get it down to temp but I do believe that this is a good thing in that I'm not shocking the yeast with a quick temp change. I like to start my lagers fermenting around 60 and slow lower the temp down towards 50 degrees f. I use a stc-1000 for temp control and wired an outlet inside the chamber so I can plug in a carboy heater if I desire a warmer fermentation. I can fit 2- 6 gallon carboys in here. Also not pictured, I later added twist locks that clamp the door on at all 4 corners but also enable complete removal. sorry about the sideways pics. I can't seem to figure out how to rotate them on this site.

IMG_3766.jpg


IMG_3783.jpg


IMG_3789.jpg


IMG_3785.jpg


IMG_3812.jpg


IMG_3784.jpg
 
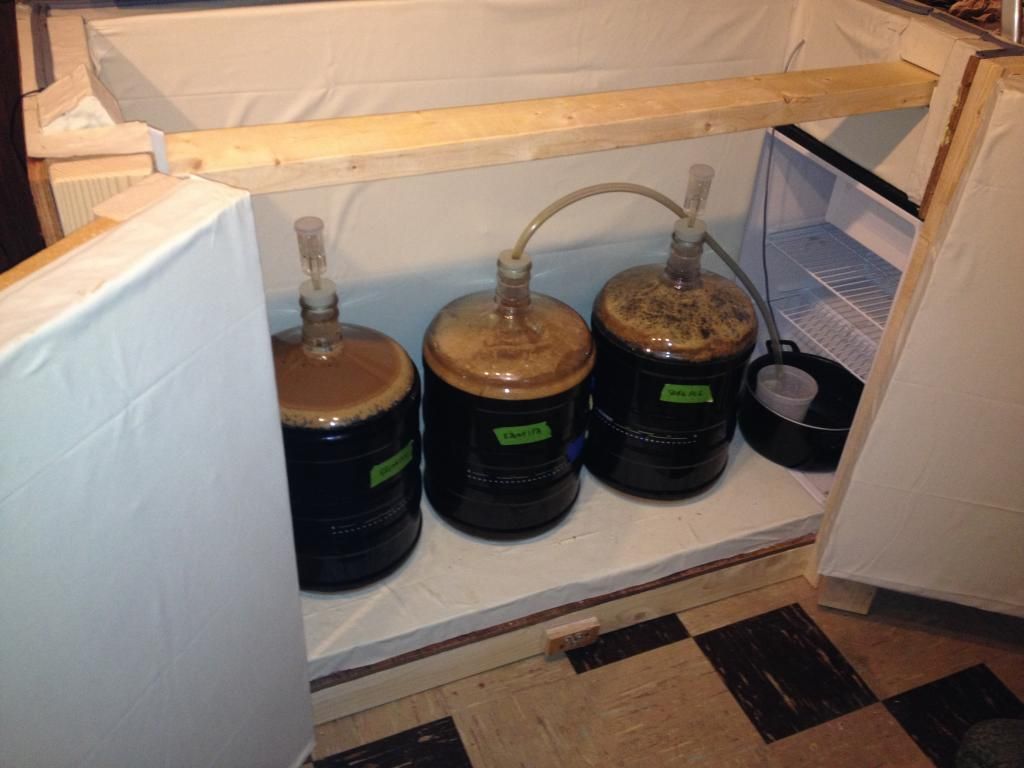
This is a quick one I banged together with leftovers. It's a bit rough but it will do as a spare chamber for a 2nd fermenter.
View attachment ImageUploadedByHome Brew1453760814.684840.jpg

View attachment ImageUploadedByHome Brew1453760838.611128.jpg

View attachment ImageUploadedByHome Brew1453760861.789195.jpg

View attachment ImageUploadedByHome Brew1453760894.989357.jpg

This is my proper ferm fridge with STC 1000+ integrated (assimilated Borg style). Currently cold crashing.
View attachment ImageUploadedByHome Brew1453760957.738078.jpg
 

Latest posts

Back
Top