Chris Evans
Member
- Joined
- Jan 23, 2019
- Messages
- 5
- Reaction score
- 7
After spending many hours (days) researching, I've started on my Keezer project...
Inspiration
Inspiration
- I like this general design, particularly the industrial towers: https://brewingwithalex.wordpress.com/2015/06/10/new-kegerator-design-reclaimed-wood-and-pipe/amp/
- Also I like the concrete work on the top and wood sides here: http://drewmcdowell.com/blog/9-uncategorised/81-kegerator
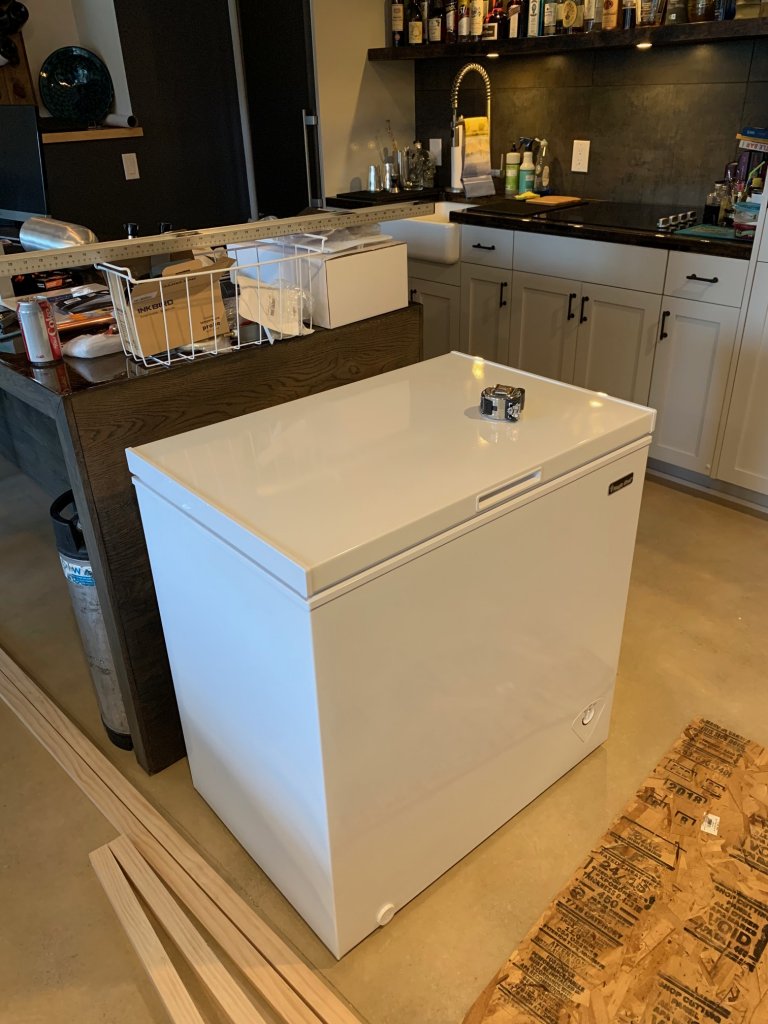
- Keezer: Home Depot had a 7cuft Magic Chef on special that'll work great. Inkbird temperature controller
- Siding & Frame: 2x4s and 2x2s for the frame, with some reused or nice dark weathered wood
- Counter: Will be 2x 0.75"x38"x26.5" MDF with a concrete finish (2 so that i can have a cutout for the drip tray to be flush with the top)
- Towers: 3 seperate towers of 2" industrial Anvil steel piping (amazingly all available on Amazon.com). Perlick 630SS faucets. 5x24x0.75 drip tray
- Drink setup: 3x 5-gallon pin lock corny kegs (2xbeer/1xsparkling water [for Marco the 3-year-old + the missus]).
- Drink delivery: Double regulator (to give higher pressure to the water keg), Splitter for the 2 beer kegs, 5/16 piping for CO2-to-regulator, 3/16 piping regulator-to-keg-to-tap. Metal couplings and clamps
- Tower cooling? I plan to put the beer line through copper pipes (extending ~4" into the freezer), and that through foam insulation. Is that going to work? (other option is to lose the foam, and use a fan to cool the tower, but i worry that will cause lots of condensation...)
- Beer piping length? I've seen folks with really long beer lines from the keg to faucet...why is that & is it necessary?
- Siding? In Seattle...where to get the wood?
- Drilling through the top of the freezer? I assume there are no lines in there??...there is only a light that I've disconnected the wiring for and removed
- Piping size? Does the above 5/16 and 3/16 setup sound OK??
- General unease that I'm missing something vital!