Myrdhyn
Well-Known Member
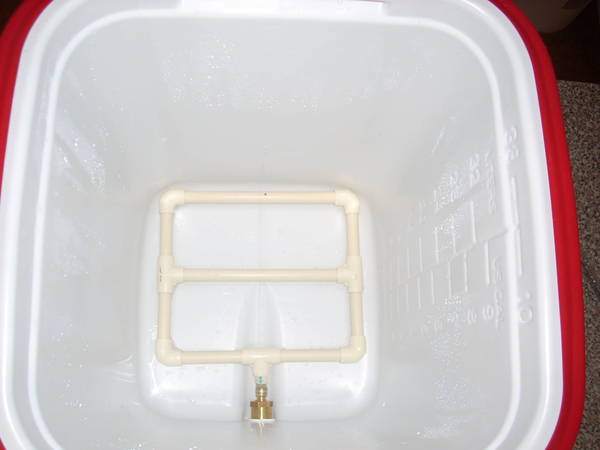
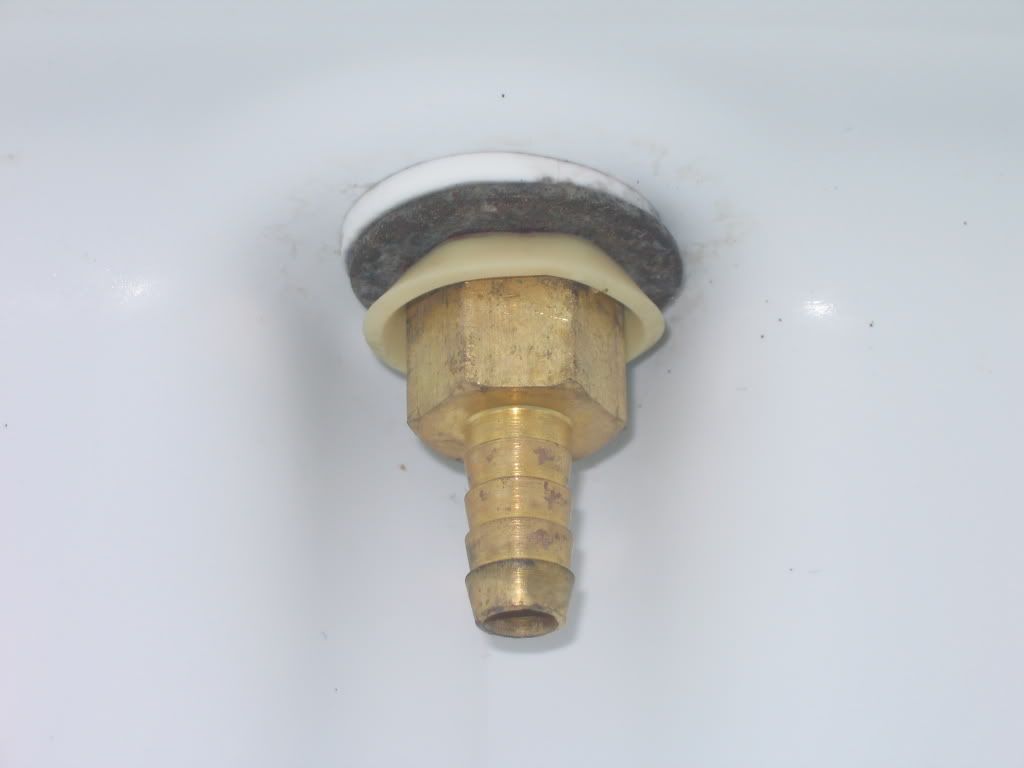
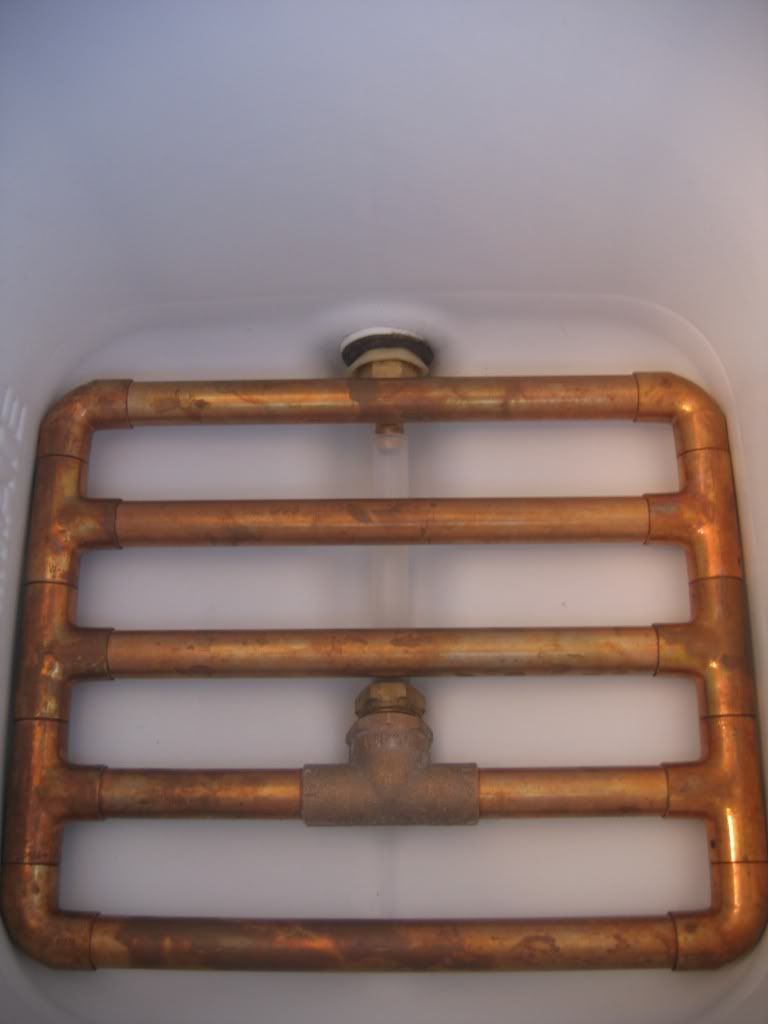
Would there be any increase in deadspace (leftover water/wort) if you were to run the drain line up, over, and back down to the bulkhead, say for instance if your cooler was perfectly flat on the bottom? Or would it leave the same amount (0.03g)?