
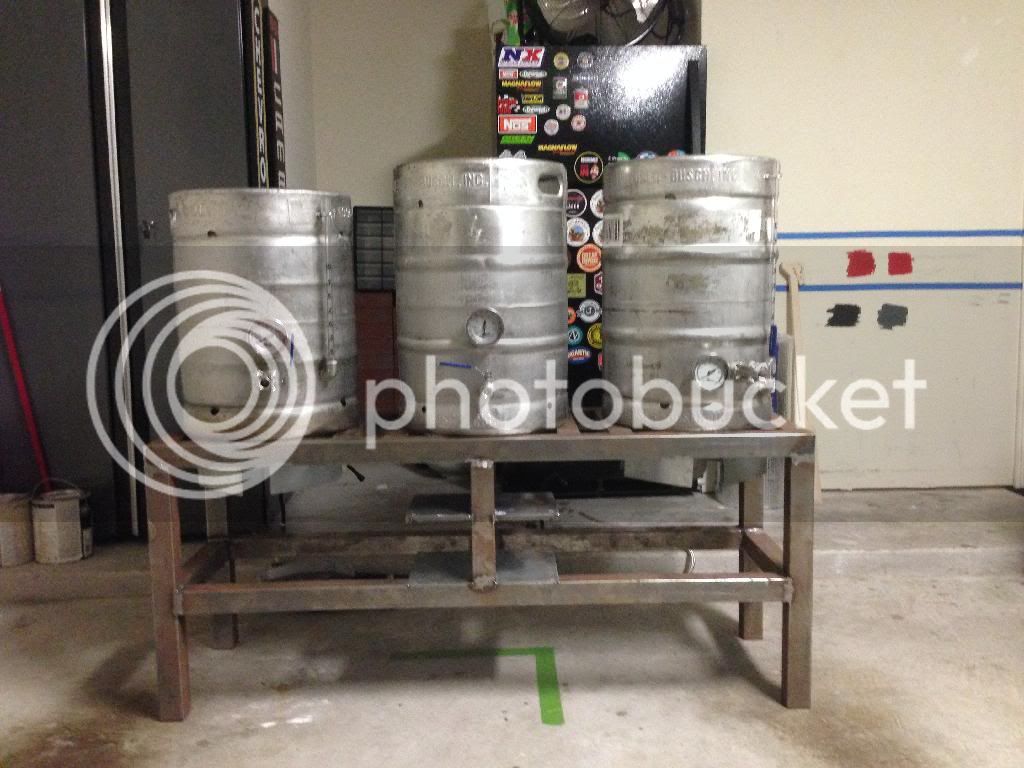
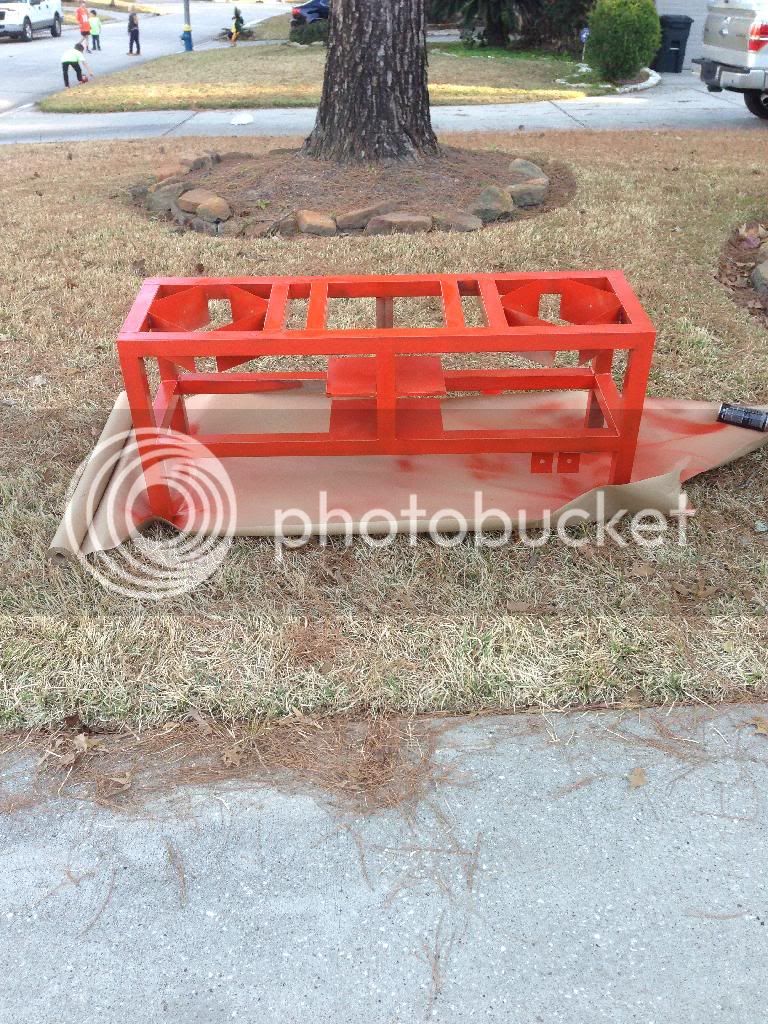
After a few extract brews under my belt, I decide to jump head first into the all grain. I've liked the single tier so I decided to go with that. After a few months of looking and researching I found a set of plans to go with. There is a local iron place near by that makes gates, doors and other decrotive stuff my girlfriend loves to buy for the house, so I got to build the stand for $150. They used 1.5x1.5 square tube. They dragged their feet getting it started but I can't complain for the price and the quality of work.
(Sorry for the crappy phone pics)
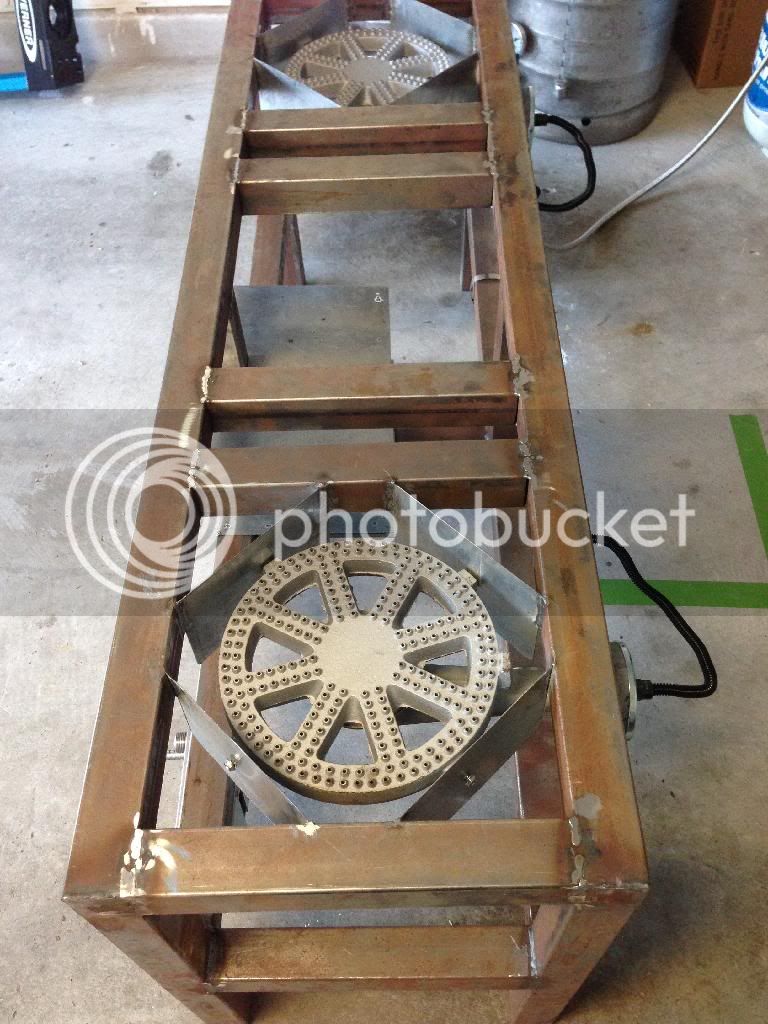
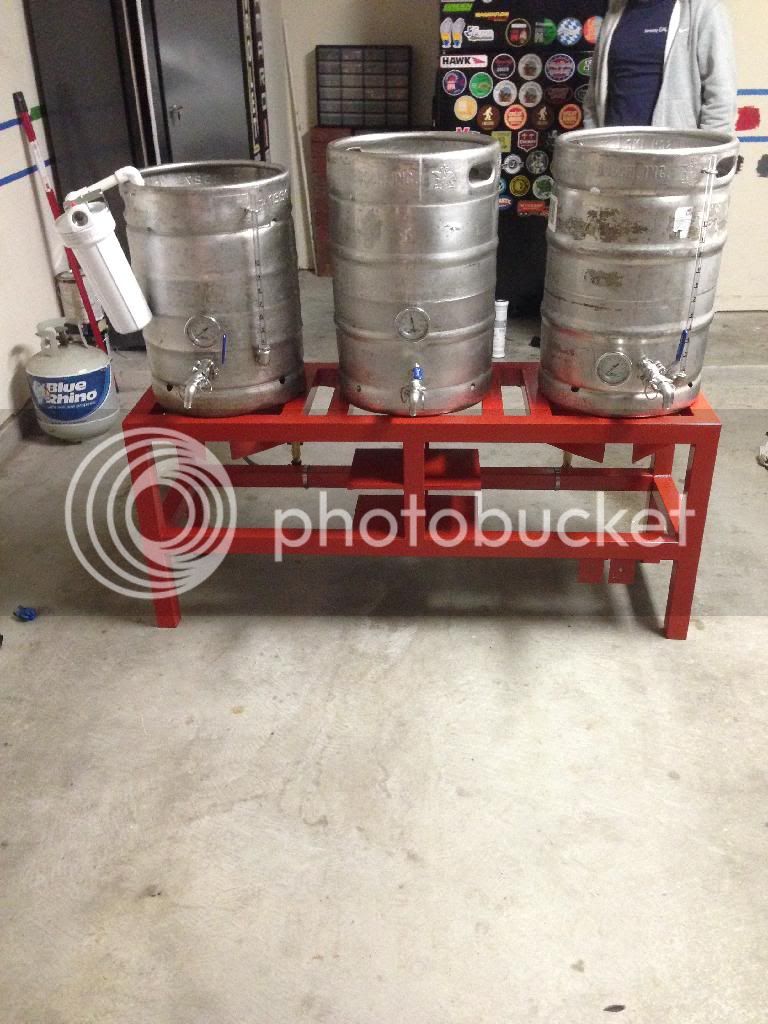
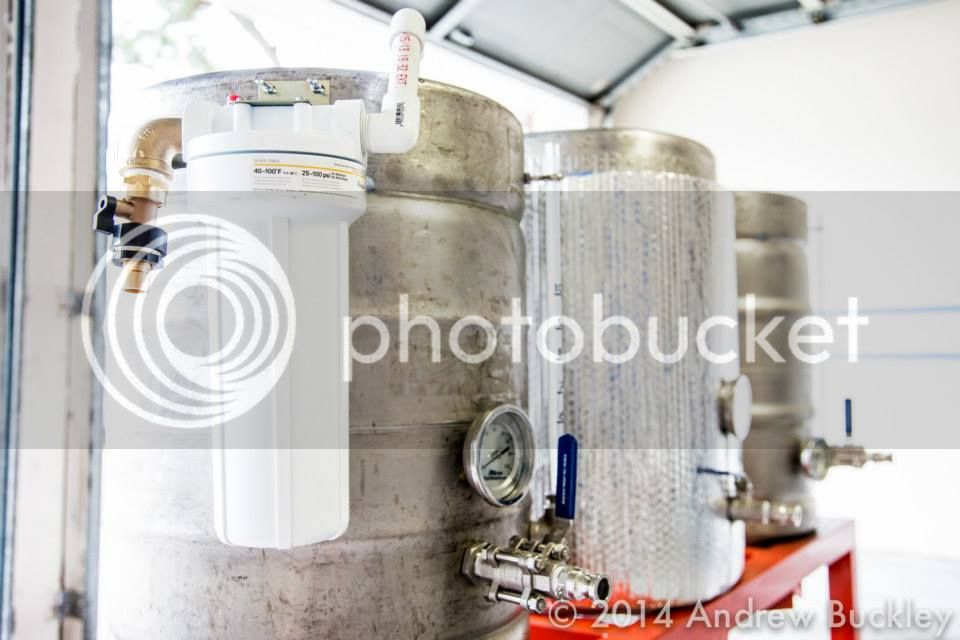
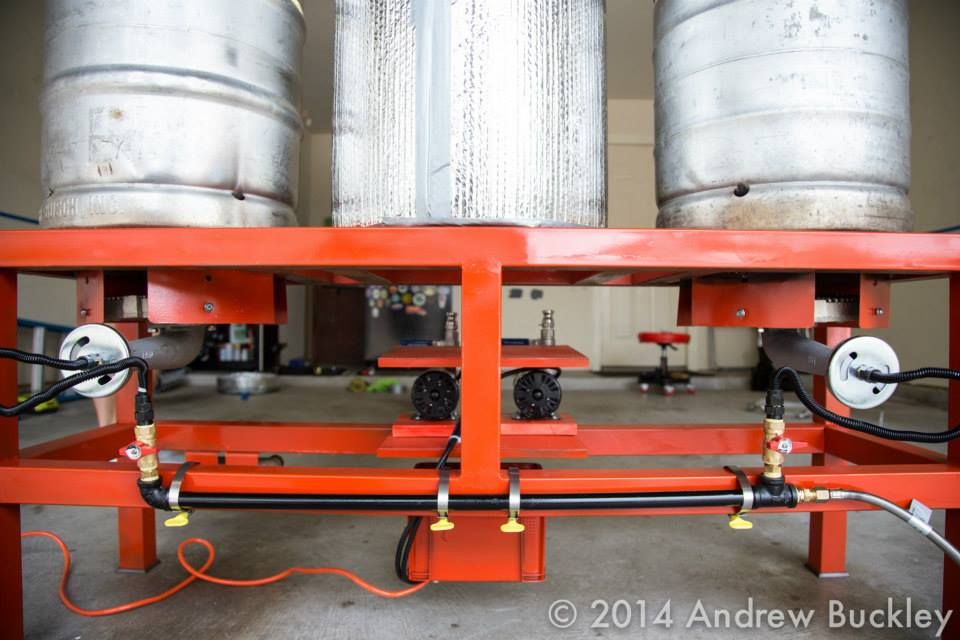
Here are the BG-14's mounted in:
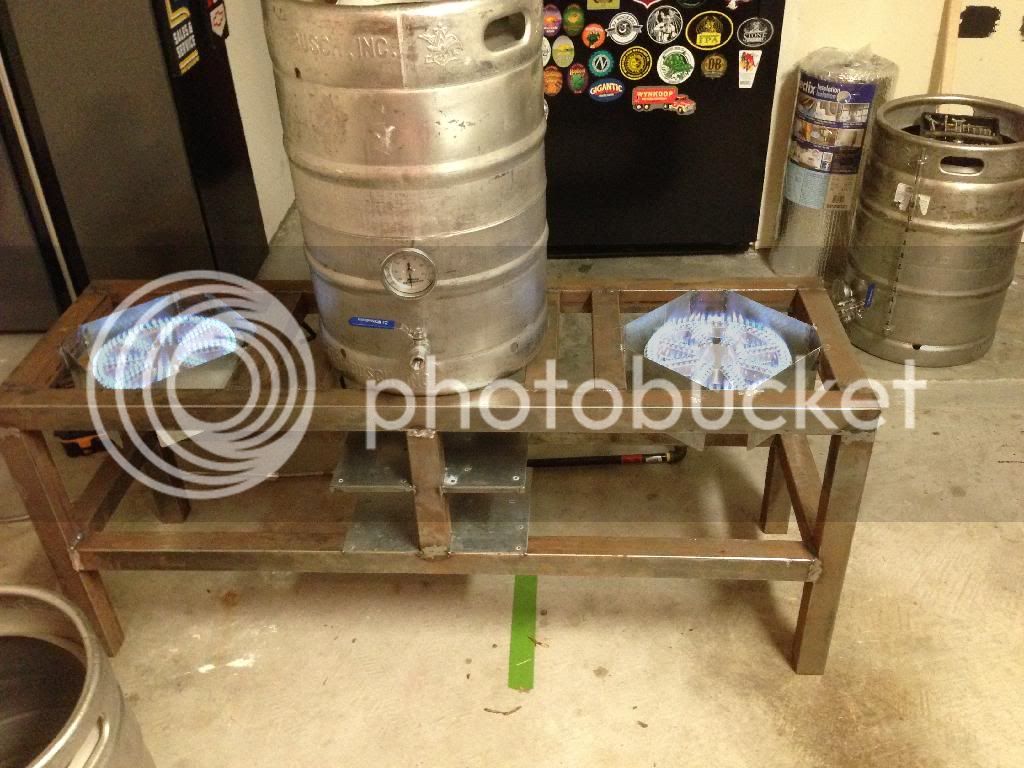
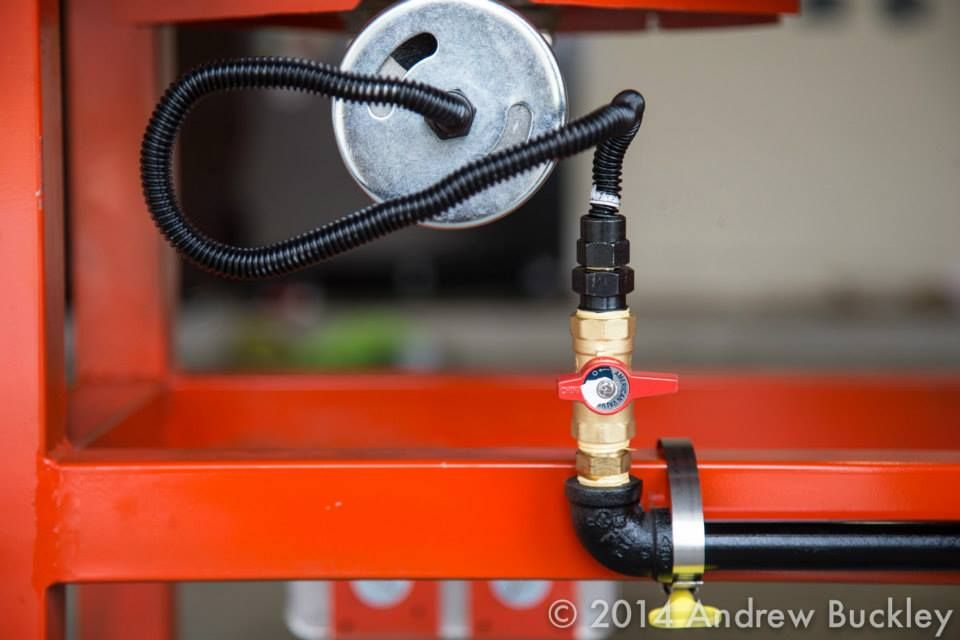
Burners kicked on and no leaks! these suckers get hot.
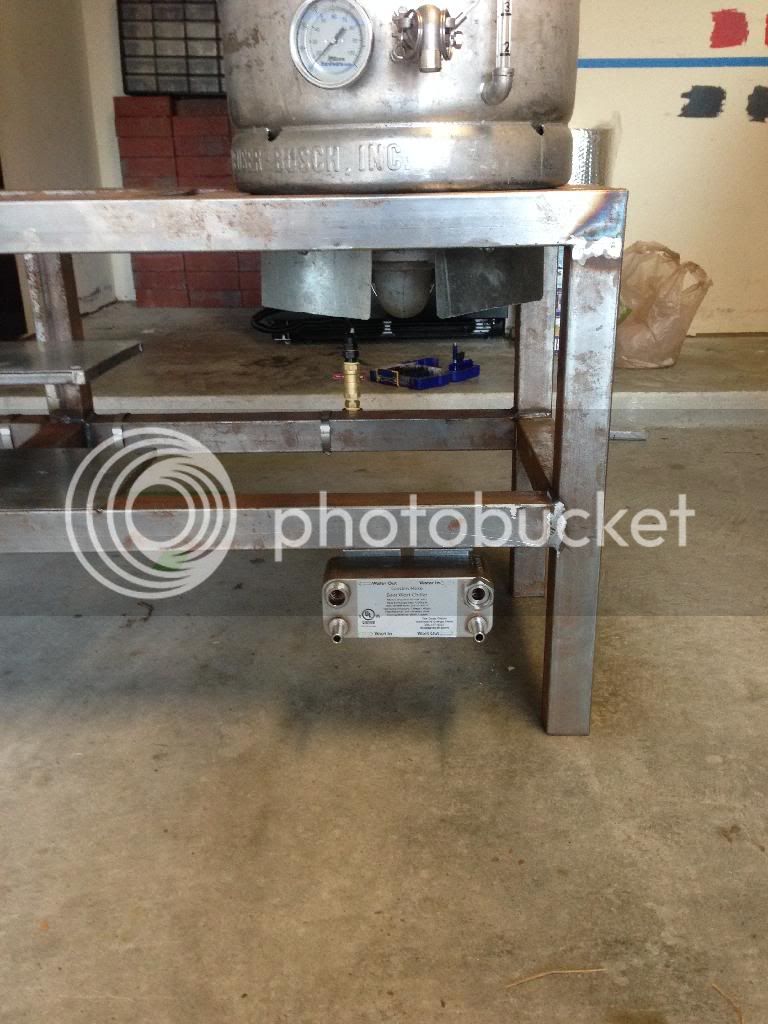
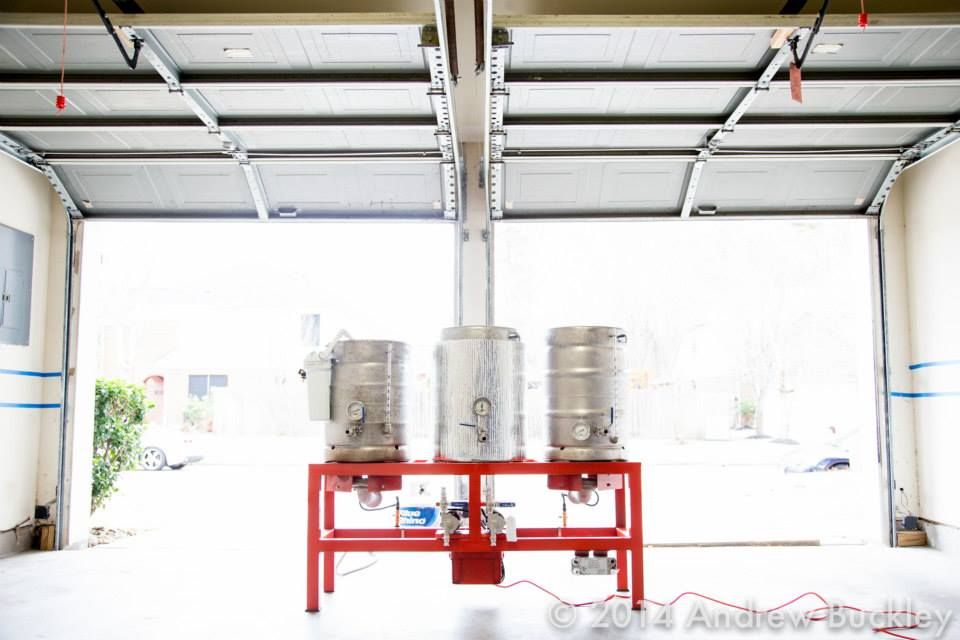
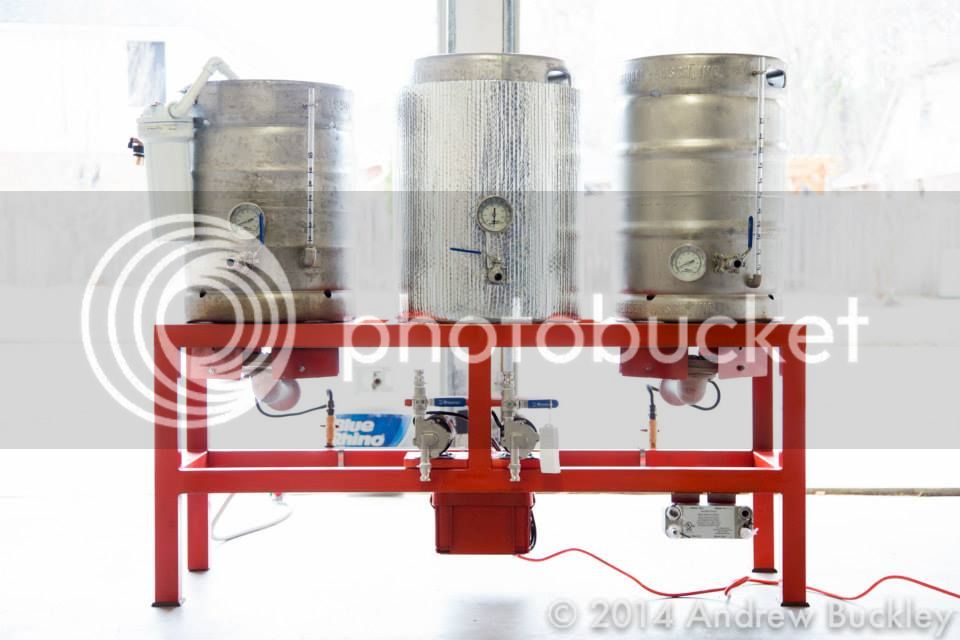
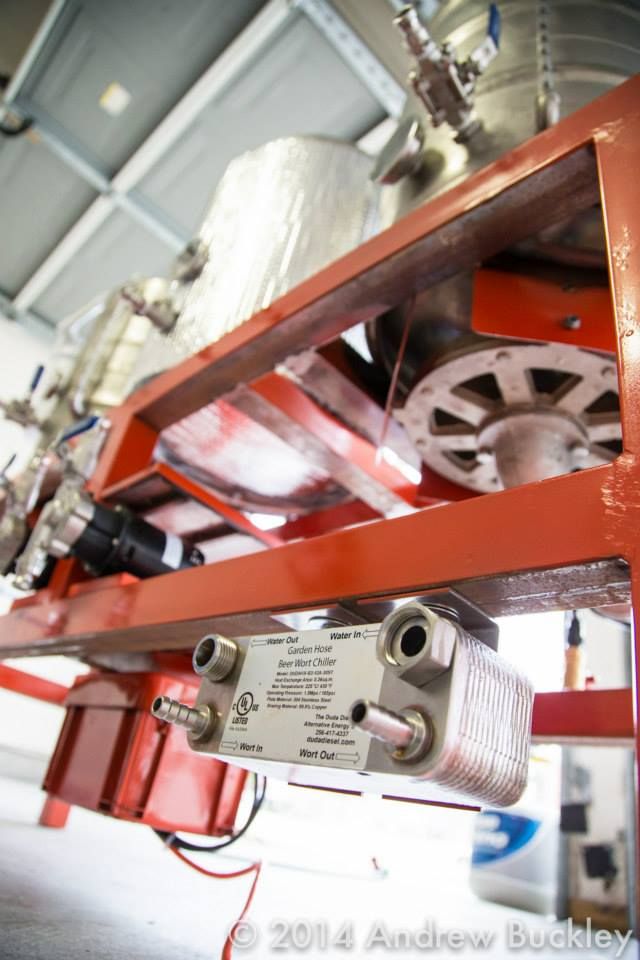
Mounted the Duba Diesel Plate chiller on the bottom using some off-the-shelf L brackets from Home Cheapo. Didn't need any modifications on the brackets, they fit perfectly.
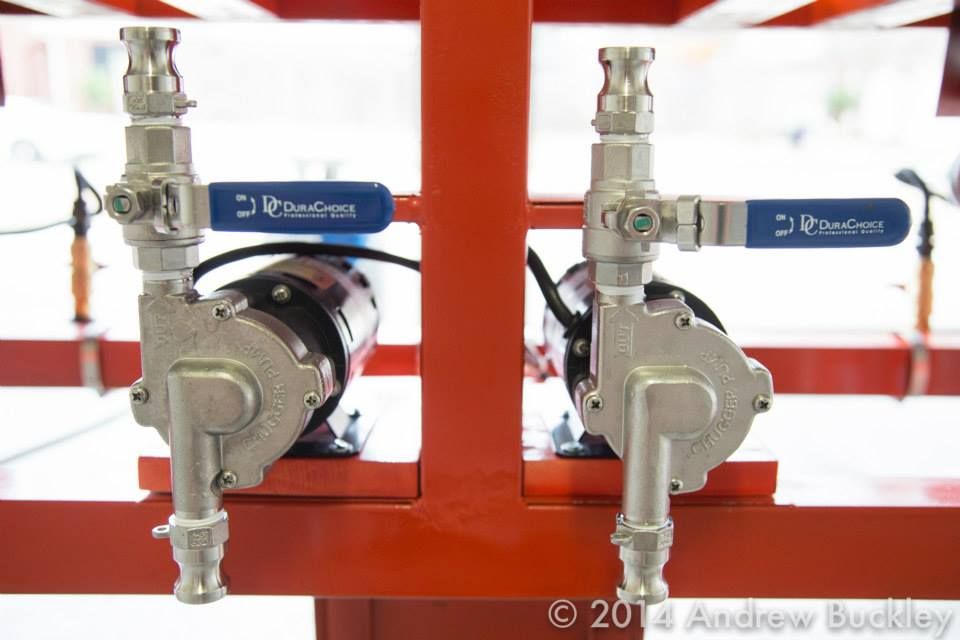
So after seeing all the other sweet rigs here, I thought a coat of paint was inline. Decided to go with engine enamel paint. I'm a GM fan so when I saw the Hugger Orange can it was perfect. Paint says its good for 500 degrees, and only cost a few dollars. I did get some quotes for powder coating but it cost more than the stand itself to have it powdered.
More photos to come!
(Sorry for the crappy phone pics)
Here are the BG-14's mounted in:
Burners kicked on and no leaks! these suckers get hot.
Mounted the Duba Diesel Plate chiller on the bottom using some off-the-shelf L brackets from Home Cheapo. Didn't need any modifications on the brackets, they fit perfectly.
So after seeing all the other sweet rigs here, I thought a coat of paint was inline. Decided to go with engine enamel paint. I'm a GM fan so when I saw the Hugger Orange can it was perfect. Paint says its good for 500 degrees, and only cost a few dollars. I did get some quotes for powder coating but it cost more than the stand itself to have it powdered.
More photos to come!

")
