Lucky_Chicken
Well-Known Member
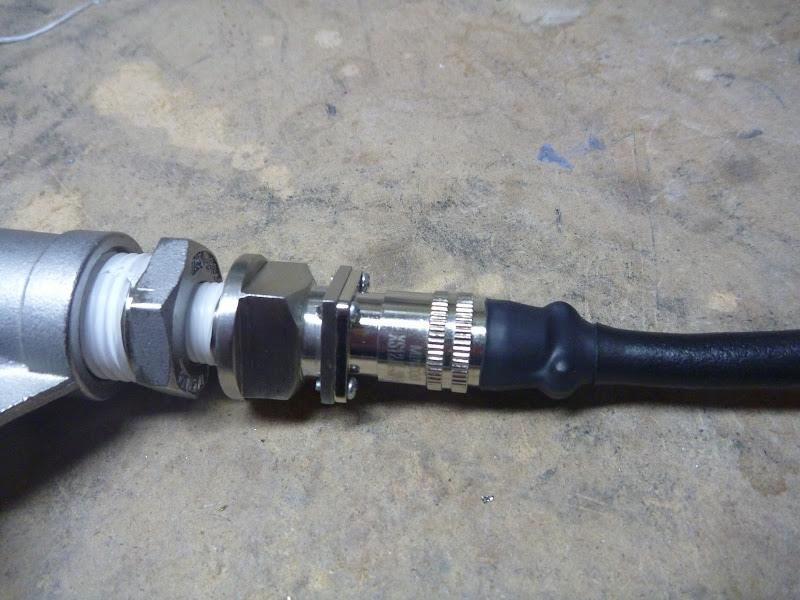
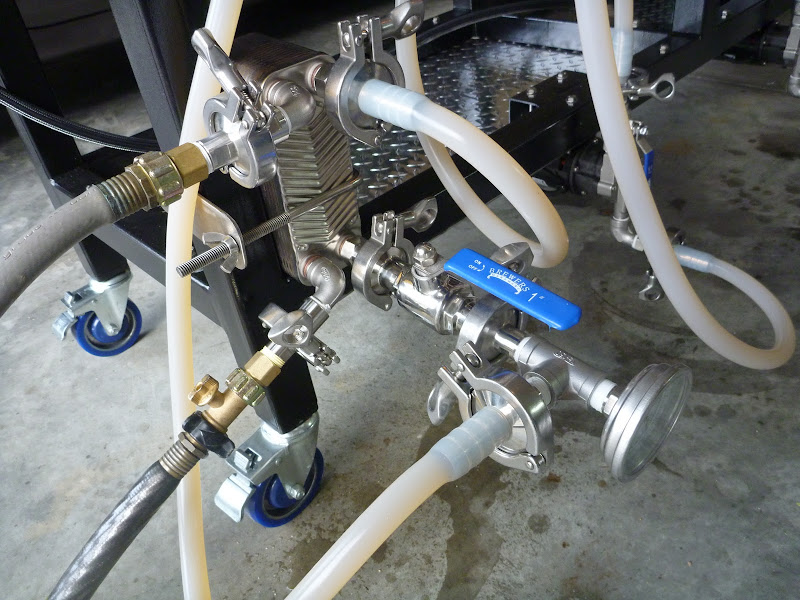
looking good but i would probably enclose those wires with wire nuts. espically since its in a place where it could catch something while you are rolling it.

looking good but i would probably enclose those wires with wire nuts. espically since its in a place where it could catch something while you are rolling it.
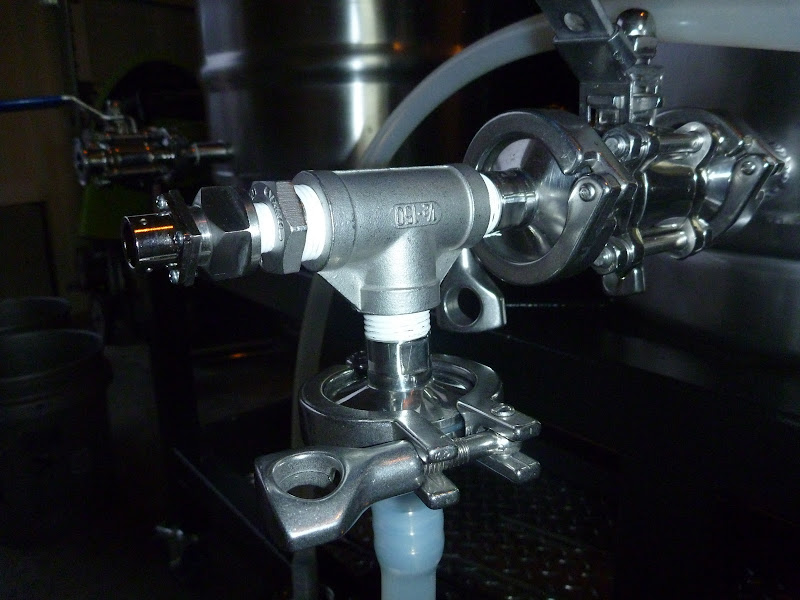
Absolutely love this build and our current build is very similar but much more ghetto ha. I have a question about the positioning of your element with the dip tube. Our current setup the element is too close to our dip tube and I assume it's because of where we mounted it. How did you find the proper placing? Thanks
I agree with this. Did you think about just mounting a metal 2-gang outlet box and the running the wires and making the connections with the wire nuts inside the box? They are only a few dollars and you could add one of the solid metal plates with gasket on the open side. It might not be completely waterproof, but it would certainly protect those connections way better.
")

You will see that I have a temperature differential of 4 degrees. Does this seem normal? I only ask because Kal's temp diff is 0.
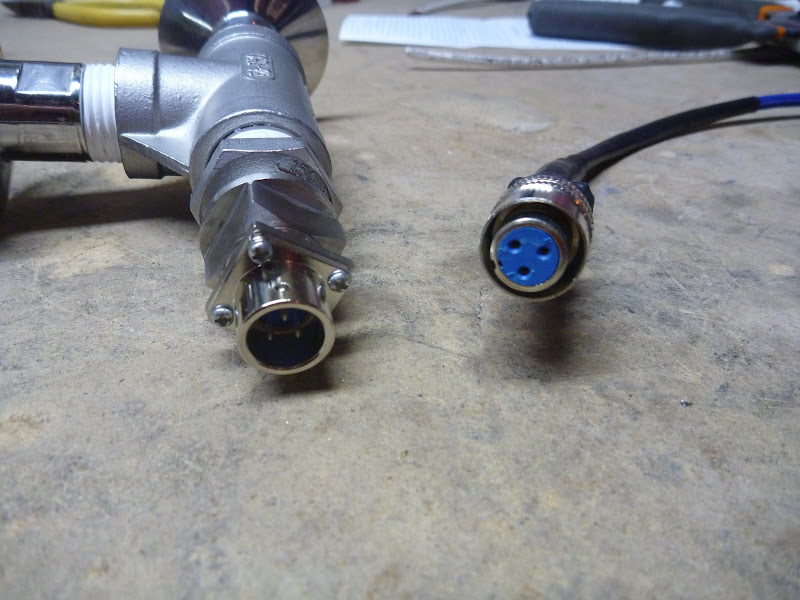
Did you calibrate the temp with another thermo? You have to adjust PD or DP setting(forget which one exactly, need to look it up)? The manual states anything over 5 is probably a wiring issue. Mine was 10 and wiggling the connector I saw it float more. I replaced my connecter and resoldered and now it is with a 1.7 diff, which I adjusted to.
I used a RTD, so I am not sure for a Thermocouple. When mine where I off, I would calibrate it at 120, them when I was at 160, I was 10 off. So the calibration was not consistent across all temp ranges. Swap your probes and see what they read then. Is the water temp with the thermopen match the PIDs? What is the temp of the water coming back into the mash tun, is it getting heated to 155?
just curious, do you have a wiring diagram for your system? i was thinking of going the 1 receptacle route for the 2 elements, but still haven't decided yet.
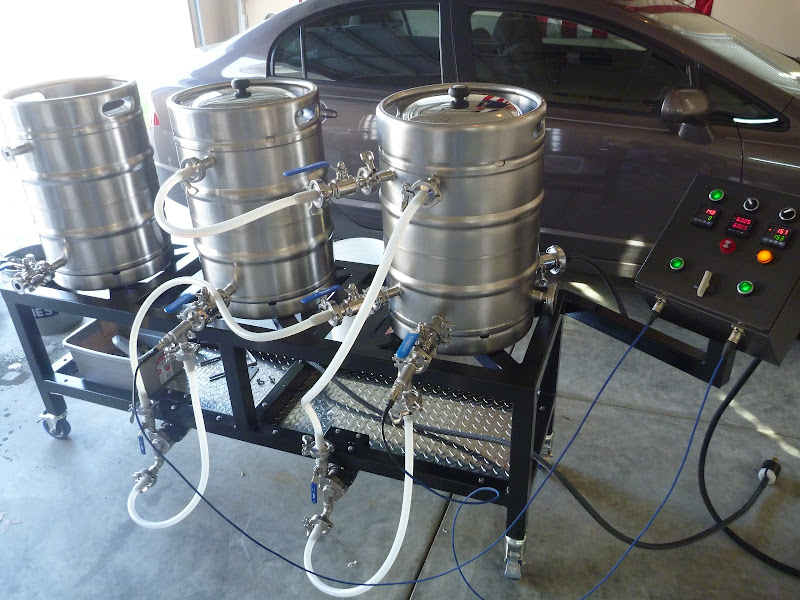
btw, that setup is amazing. not much else i can say. purely amazing.
Love your stand. Just wondering how tall is the stand?
In my case all 3 PIDs were calibrated individually.
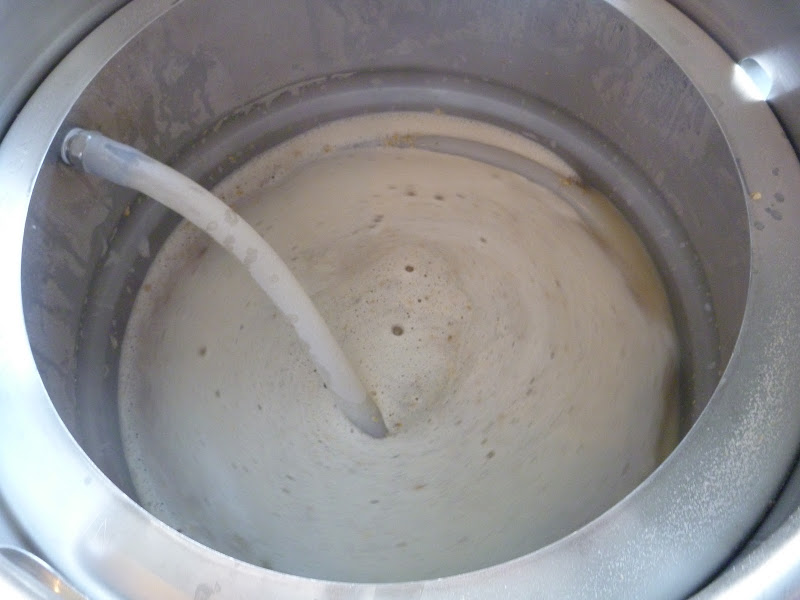
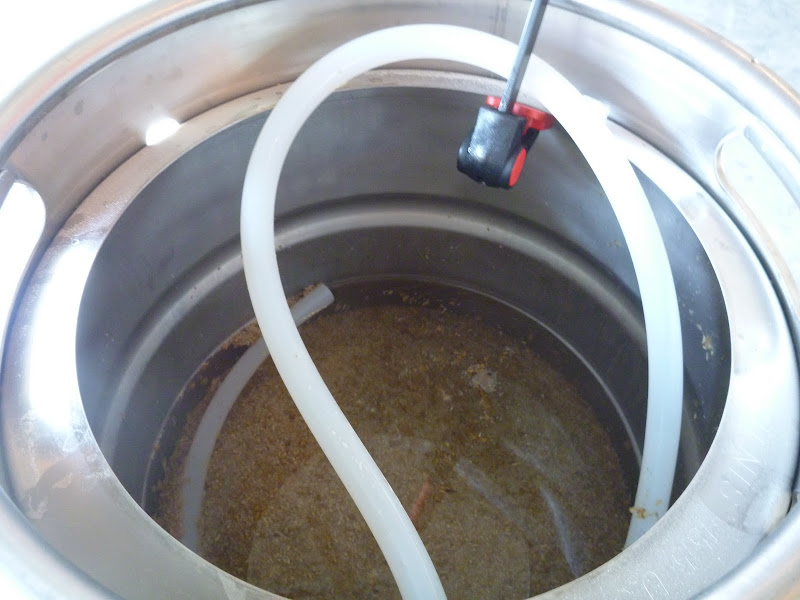
When I mash in the temp of the mash drops because the grain is cooler than water from HLT. Temp will keep increasing because it is constantly circulated through HERMS coil, but it never reaches the temperature of water in HLT. Mine gets to 1 degree lower than the water in HLT.
Could it be that I am just losing 4 degrees in transfer? Do you think that having grain in the MT will allow the MT to hold a closer diff to the HLT?
I really like the some what simplified design From kals The electric brewery. have you drawn up any plans? this is definitely something i want to build my self.
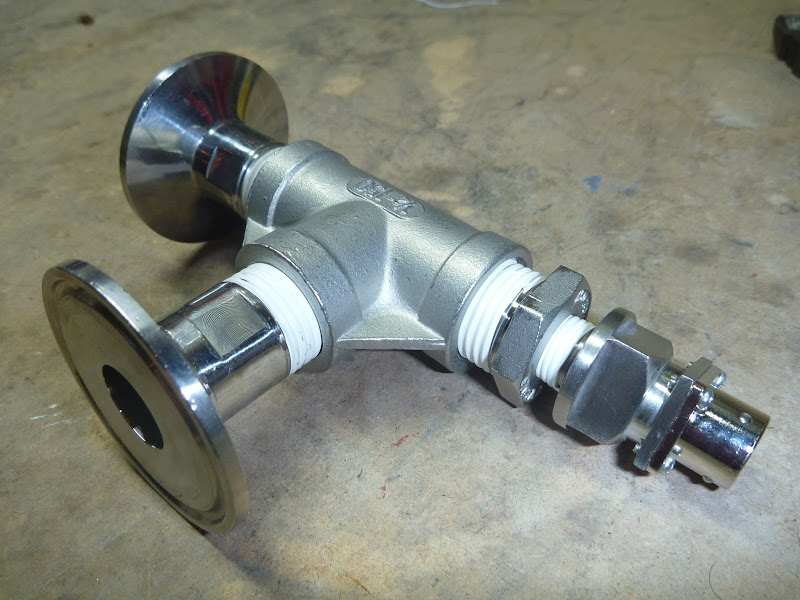
Would you mind breaking down the parts you used for the ports where the temp sensors are placed?
Thanks!
You brew on it yet?
brewing this weekend. 10 g of ed's haus pale ale
i'll post some pics or something
Same hear.
would you be able to give a control panel parts list? i'm trying to make mine similar just having trouble figuring out what parts to cut from Kals design.
Impressive build!
I noticed you mounted your herms coil as high as possible on the HLT keg wall. Was there a reason for this?
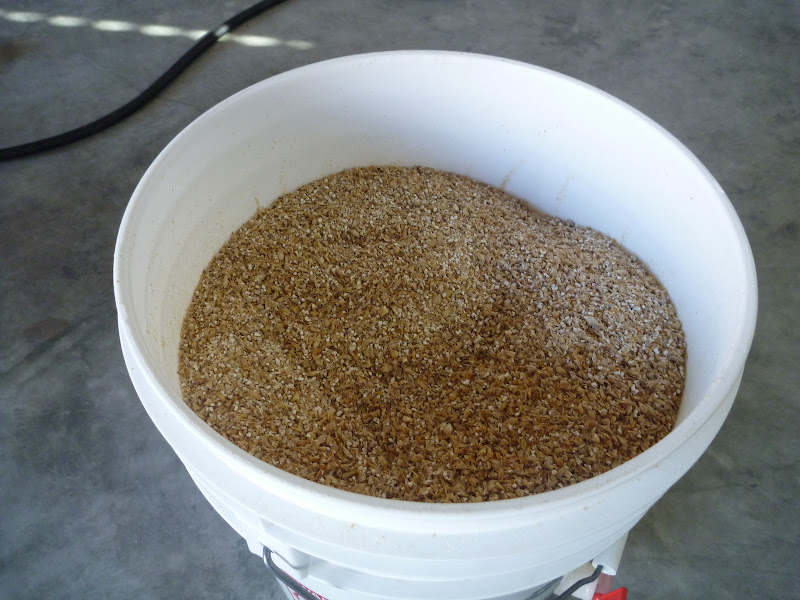

21 lbs of the goods - turns out too much - my efficency was 94% - way more than I expected on the first run.
Enter your email address to join:
