My E-HERMS Brew Rig Thread

Homebrew Talk - Beer, Wine, Mead, & Cider Brewing Discussion Forum

Help Support Homebrew Talk - Beer, Wine, Mead, & Cider Brewing Discussion Forum:

This site may earn a commission from merchant affiliate links, including eBay, Amazon, and others.
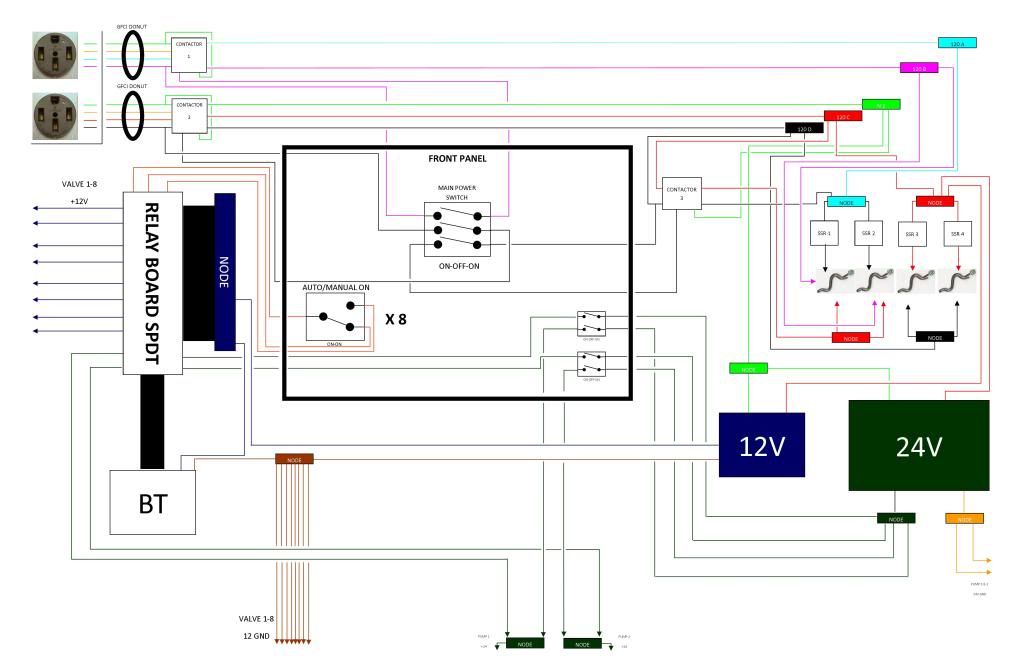
Alright, here is my stab at a wiring diagram. Remember i am using 4 5500w elements, two 24V pumps with speed control (potentiometer). I think i got all the major components. Although i didn't include my din rail breakers for the valves and pumps and i'm sure a bunch of other stuff.

HighLevelWiring.jpg
 
I love the idea of powder coating. That stand looks sturdy and well balanced.

I'm watching intently!
 
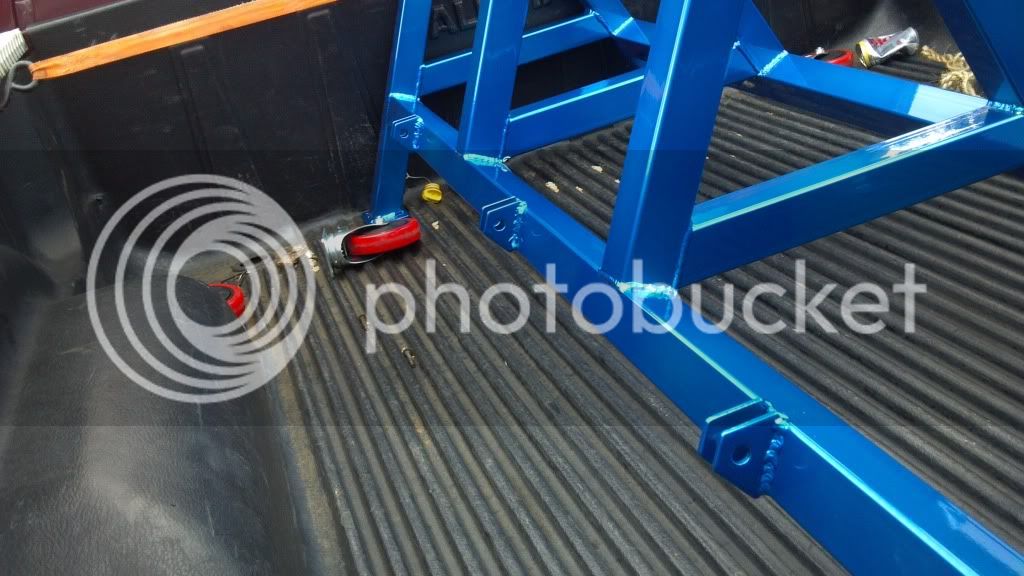
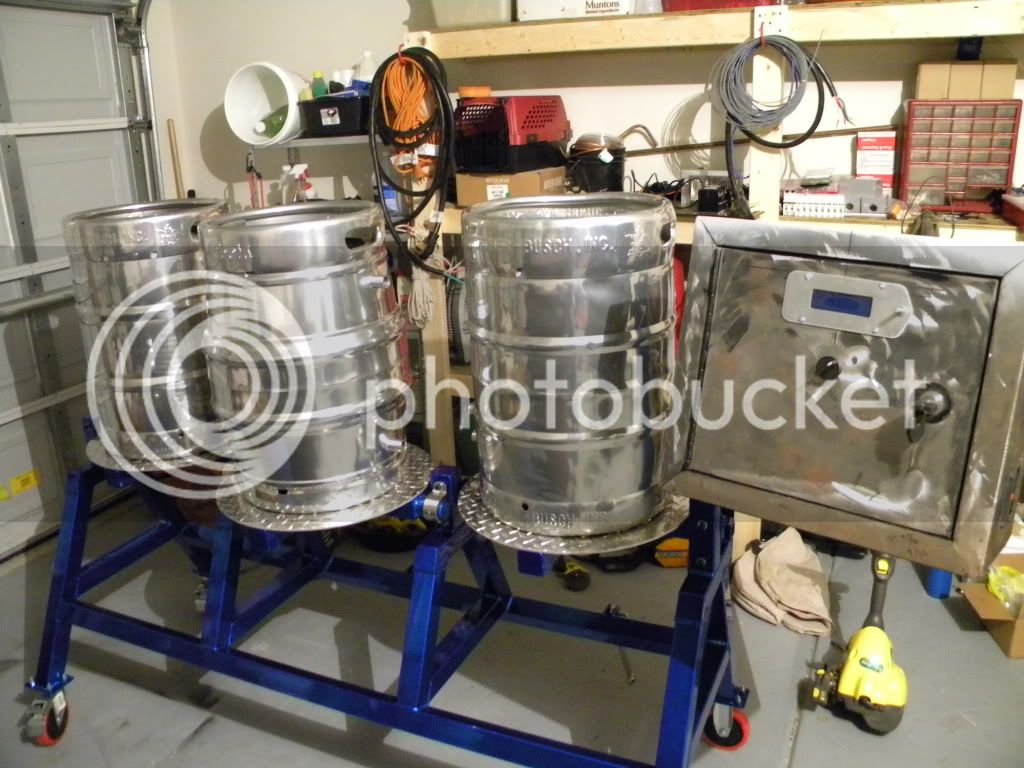
Just got the rig back from the powder coaters today. The color looks great, but they had a major "out gassing" problem with all four pieces. The silver underlayer for the candy color bubbled and wrinkled in various places. The guy wouldn't discount me therefore i will likely not go there again! anyway, here are some pics:

2012-02-29_15-01-53_394.jpg

2012-02-29_15-02-00_894.jpg

2012-02-29_15-02-27_96.jpg
 
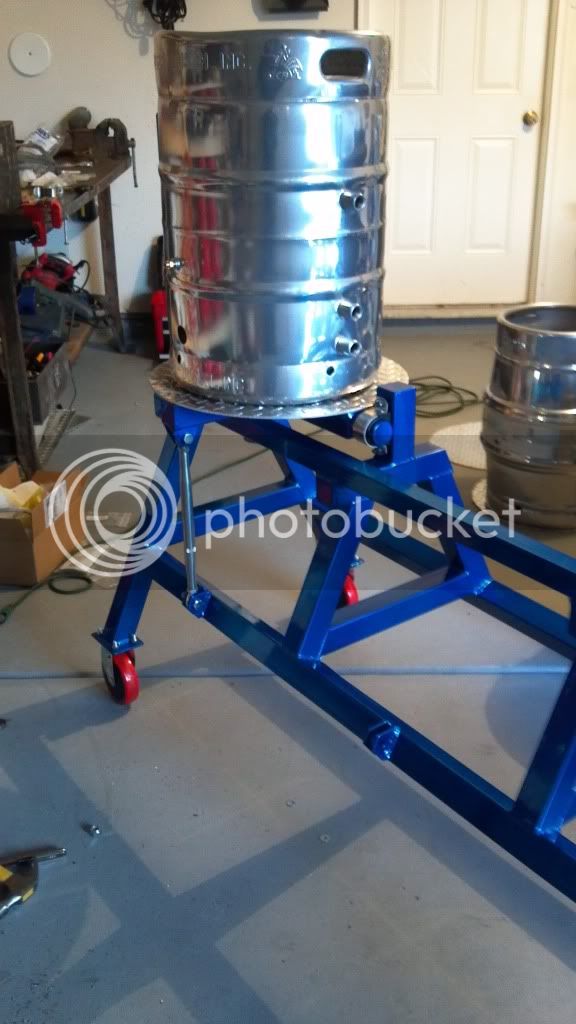
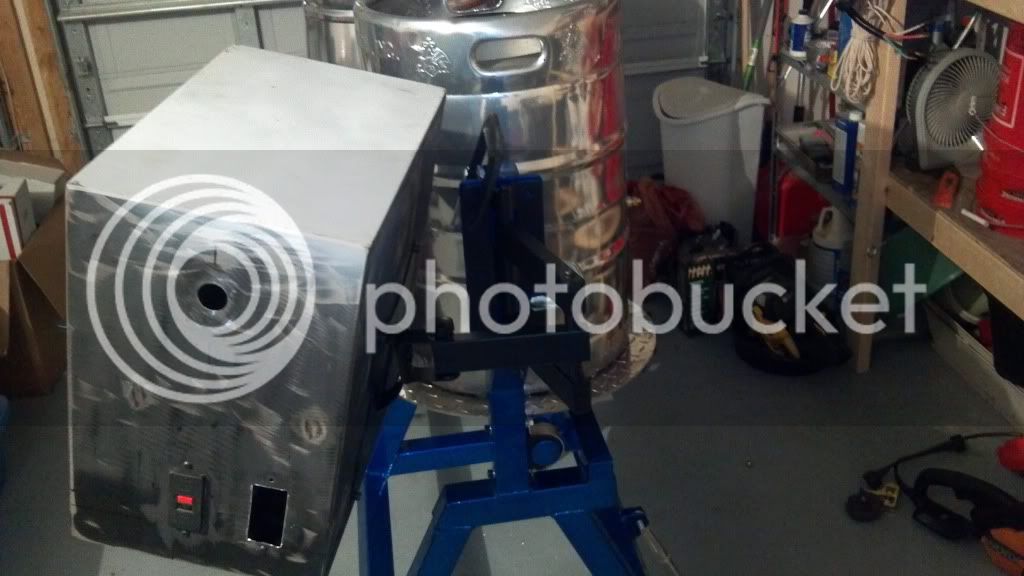
Ok i got one of the kegs mocked up in place and took a picture. Looks like i may have a slight problem with clearance between the heating element box and the outer posts on the frame with both the HLT and BK. I think i will either use a smaller box for those elements or use not box at all on those. Not sure yet what i am going to do about that.

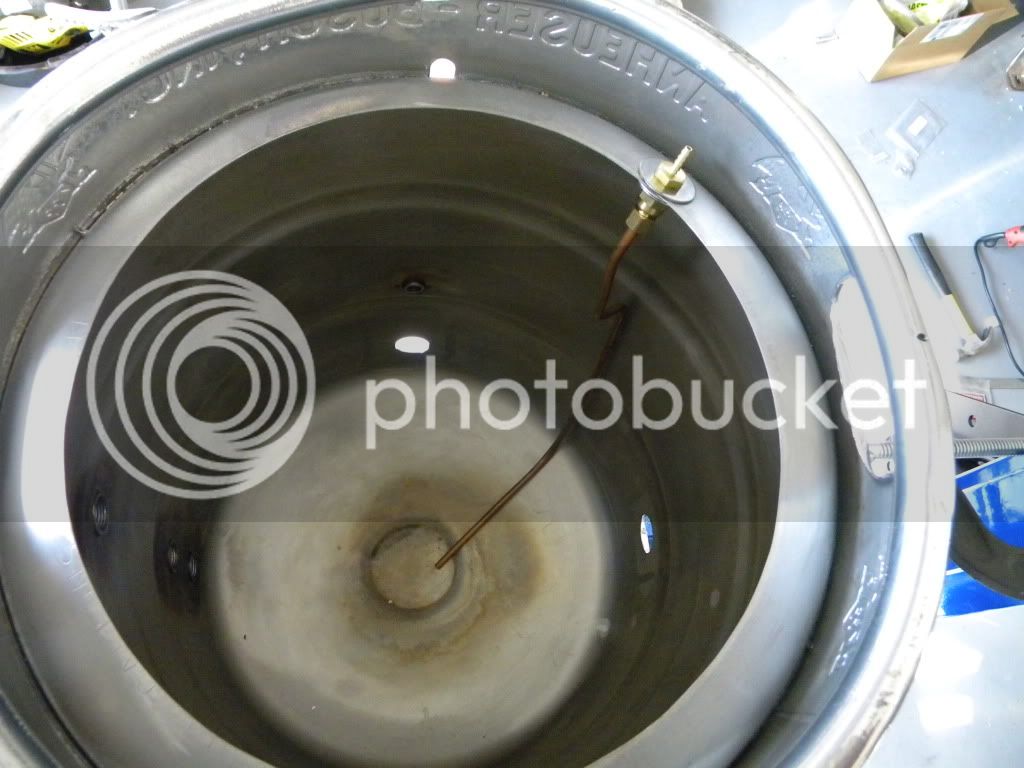
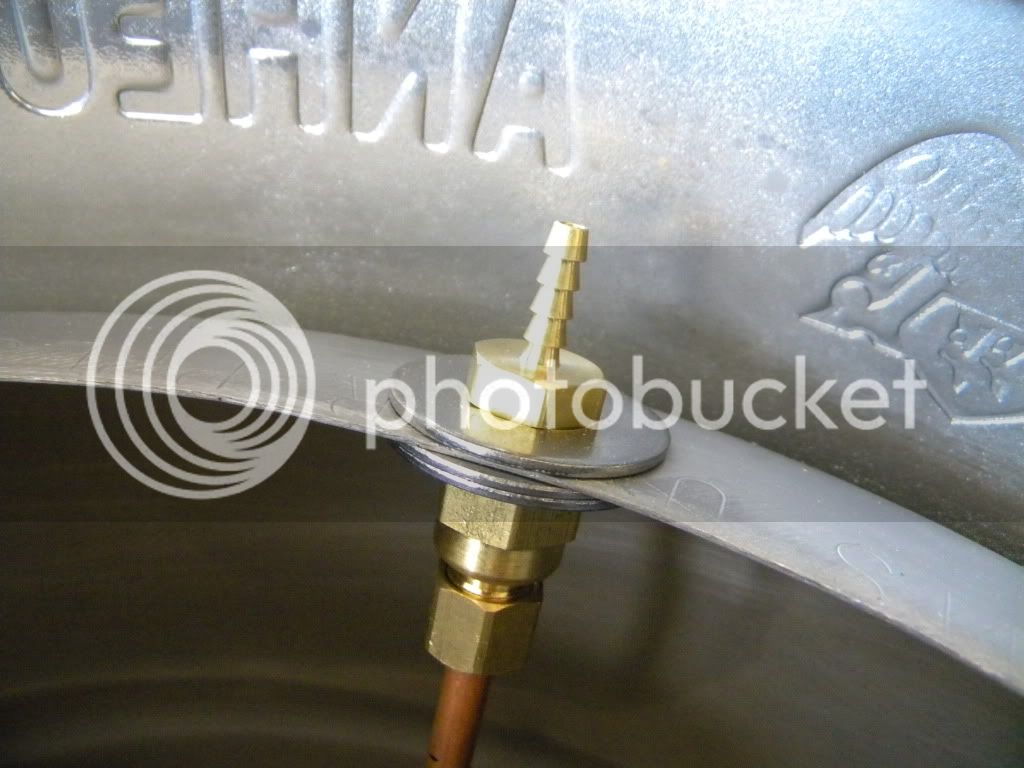
I fixed the bubbler system dip tubes so that they are rigid by installing a brass compression fitting in place of where the rubber grommet was. I will post a pic of that when i get one, i am away from the house at the moment.

The next steps are to finish installing all of the pivot trays, rivet the diamond plate to the trays, and then fasten the diamond plate to each keg somehow. I am thinking about using rivets up through the diamond plate (1/4" thick) and into the rolled bottom edge of the keg in 8-12 places. More pics to come!

2012-03-01_07-53-00_635.jpg
 
I wrote a comment but for some reason it didn't actually post.

What's the deal with the paint? The painter take the blame for it or blame something else?
 
I wrote a comment but for some reason it didn't actually post.

What's the deal with the paint? The painter take the blame for it or blame something else?

The powder coat for the candy blue color is a two step process. The first coat is a shiny silver color that serves as the reflective material behind the "candy" blue second coat. Apparently the second round of heating while the candy color was curing, many of the areas (mostly around welds) showed little bubbles of silver coating protruding through the blue.

They told me it was likely due to the metal i used containing trapped gasses that came out when heated. Upon further reveiw i think i have confirmed that since it only out gassed near/on the welds, it could be a product of having too much argon/co2 pressure while welding. I was told after all of the welding that the pressure should be around 15-20 psi. I had it at like 45 or 50!.

Anyway, the owner would not come down on the price because he saw it as an uncontrollable problem that was not his fault. i was a bit disappointed because i paid double for the 2 step process!
 
Bummer. May I ask what the paint job cost you, that's a awfully pretty stand
 
That's quite a beautiful frame my friend. I would attempt the same but I'll be running gas.
 
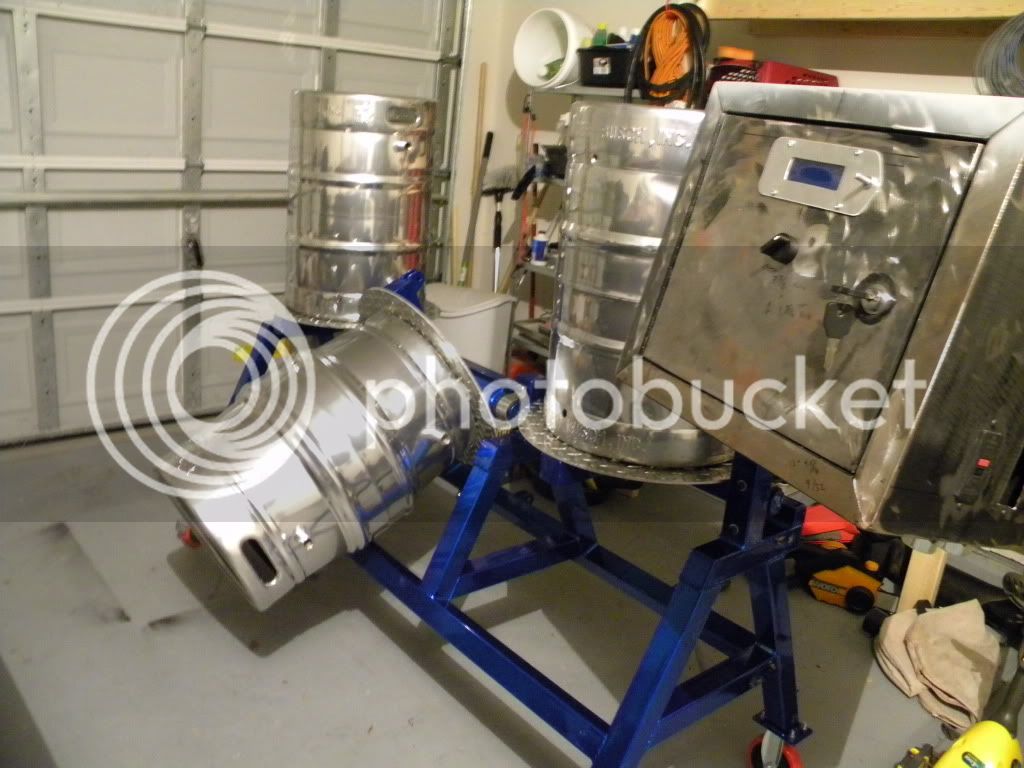
Ok i got some work done today. It's starting to come together now! I got the diamond plate mounted to the pivot trays and the kegs mounted to the diamond plate. I then started mounting the control panel just to see how it would look. Here are some pics:

DSCN9527.jpg

DSCN9646.jpg

DSCN9643.jpg

DSCN9528.jpg

2012-03-04_19-24-46_182-1.jpg
 
I didn't leave myself enough room for an electrical box for the elements i am putting on the side of the BK and HLT. I came up with this for a solution. Its not done yet but i plan to trim the cap so that it fits flush to the adapter that's in place. i also need to find a way to cleanly attach the ground to the keg somewhere.

attachment.php

attachment.php

attachment.php

attachment.php
 
MOPAR! Nice build. Where are you located? I am in Fort Mill and I just built an all electric E-HERMS brewery. Done 3 batches so far...my brew quality has skyrocketed.

let me know if you are ever interested in brewing together some time. i could probably learn a thing or 2 from you...or vice versa.

here is my build:

https://www.homebrewtalk.com/f170/my-e-herms-build-lots-pics-281582/index11.html

take it easy!

I have actually watched your videos before. You were the one who had the frame welded at Gibbs right? Oddly enough i had my kegs welded at Hendrick Motorsports. I would definately not mind brewing together sometime - don't be fooled by all the bling i still have A LOT to learn. I have probably only brewed about 50 batches. I just kinda went all out really quick!:mug:
 
I got a little bit done today. Got all the elements installed with grounds to the kegs. I also mounted the fluid pumps and put the air pump in place.
2012-03-11_17-56-52_967.jpg

2012-03-11_18-29-06_801.jpg

2012-03-11_18-34-59_690.jpg

2012-03-11_19-17-29_879.jpg
 
Hey guys,

I figured i would post up about some of the progress i have been making on my brew rig. It's going somewhat slow partially due to money and a little due to laziness.

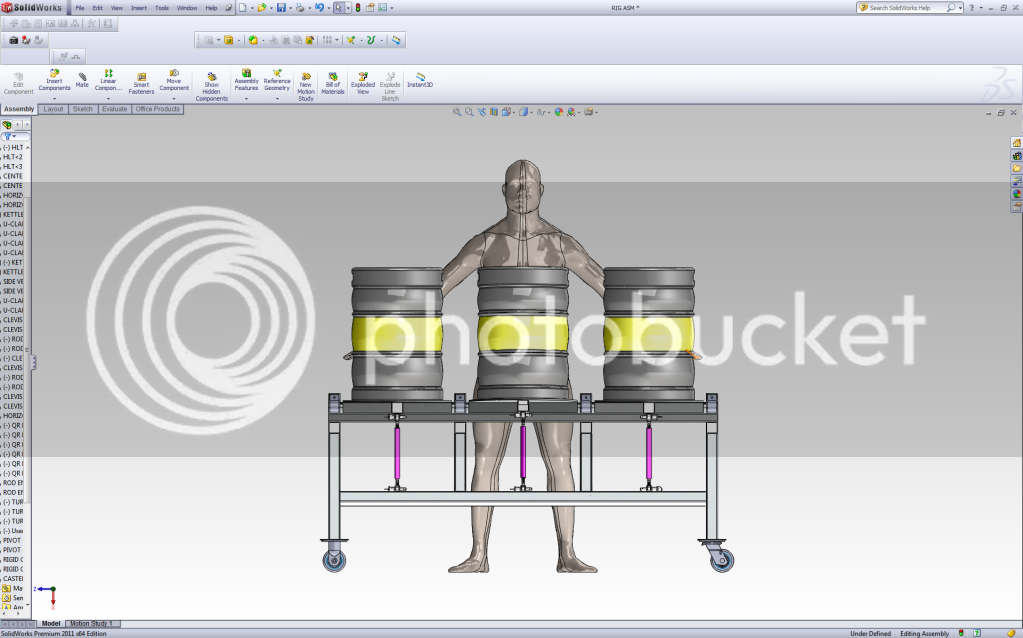
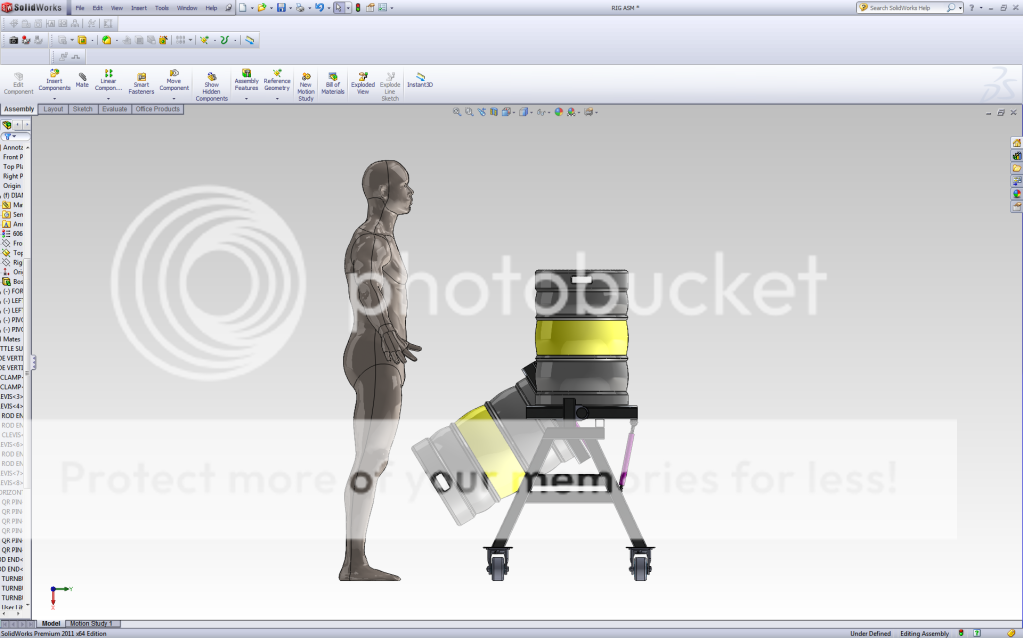
Anyway, I have a rough CAD model made for structural portion as it is designed so far:

rig.png

rig2.png

rig3.png


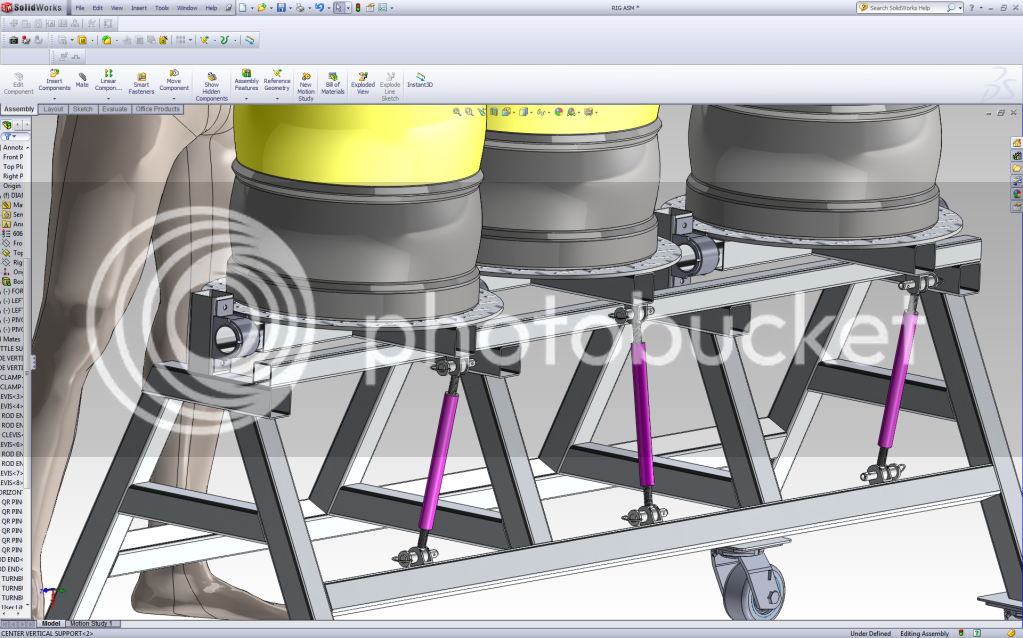
That is just part of the work i have been doing. A lot more to come with control panel and stuff. I wanted it to look different than most other rigs, and it ended up looking like a sawhorse. I still think it looks good though.

All of the plumbing will be hard lines with disconnects on the sides and backs of all 3 vessels. That way i can unhook the turnbuckles and tip them forward to rinse them out.

Do you guys think its at a good height? the top of the kegs are at ~ 53"
Those struts should be Hydraulic rams that could be set up to dump the MT :)
 
as a matter of fact, i have been working on it this weekend quite a lot. I have managed to hook up all but one of my 4 temp sensors (the fourth will need to wait for the plumbing to be complete).

I also nearly completed the bubbler system installation. all of these little wires and soldering takes so much time! anyway, i made solid progress this weekend. I am about to take a trip to lowes to get some tee's for the bubbler air lines and some velcro to mount my pump controllers under my pump panel. The it will be on to wiring the 24V pump power and pump speed control circuit.

I was able to run the sensors in a bus configuration, utilizing only 3 of the eight available wires in the RJ-45 recep. i then tied into that same 5v and ground to power the 3 pressure sensors. i then had to utilize 3 additional RJ-45 wires to run the pressure sensor signals back to my panel. I hope i do not have a problem with signal interference! its all low voltage so i hope not.

2012-05-20_16-38-09_103.jpg

2012-05-20_16-38-45_330.jpg

2012-05-20_16-39-25_810.jpg

2012-05-20_16-39-37_653.jpg
 
moparx12 said:
as a matter of fact, i have been working on it this weekend quite a lot. I have managed to hook up all but one of my 4 temp sensors (the fourth will need to wait for the plumbing to be complete).

I also nearly completed the bubbler system installation. all of these little wires and soldering takes so much time! anyway, i made solid progress this weekend. I am about to take a trip to lowes to get some tee's for the bubbler air lines and some velcro to mount my pump controllers under my pump panel. The it will be on to wiring the 24V pump power and pump speed control circuit.

I was able to run the sensors in a bus configuration, utilizing only 3 of the eight available wires in the RJ-45 recep. i then tied into that same 5v and ground to power the 3 pressure sensors. i then had to utilize 3 additional RJ-45 wires to run the pressure sensor signals back to my panel. I hope i do not have a problem with signal interference! its all low voltage so i hope not.

If you run into EMI problems with the cat 5 you could replace it with shielded cable and rj45 ends. Then bond one side to a good ground source.
 
thanks mux! i hope i dont have that problem, because making all of those ethernet cables took a long time. i think if i have a problem, i will run a separate cat 5 for the pressure sensors and leave the temp sensors on there own cable.
 
Ok, i completed almost all of the "external" wiring. I still need to wire the 8 valves and the last temperature sensor. I need to finish the plumbing before i can do those things, so that is what i am working on now.

The control panel is going to stay empty for a while longer! Anyway, here are some pics of inside the kegs. I will post up pics of the plumbing progress as soon as i have something substantial.

2012-05-27_20-06-02_648.jpg

2012-05-27_20-05-51_430.jpg

2012-05-27_20-05-42_232.jpg
 
5500 per! Yes, i will have the ability to run b2b batches with 4 x 5500 W elements running full blast. I don't want to wait for water to heat up :D
 
moparx12 said:
5500 per! Yes, i will have the ability to run b2b batches with 4 x 5500 W elements running full blast. I don't want to wait for water to heat up :D

100 amp service? You're going to be able to sharpen your kitchen knives and lawn mower blade on the meter at it spins.
 
Thats nuts! My house house had a 60 Amp service until last year.
 

Latest posts

Back
Top