
chapusin
Well-Known Member
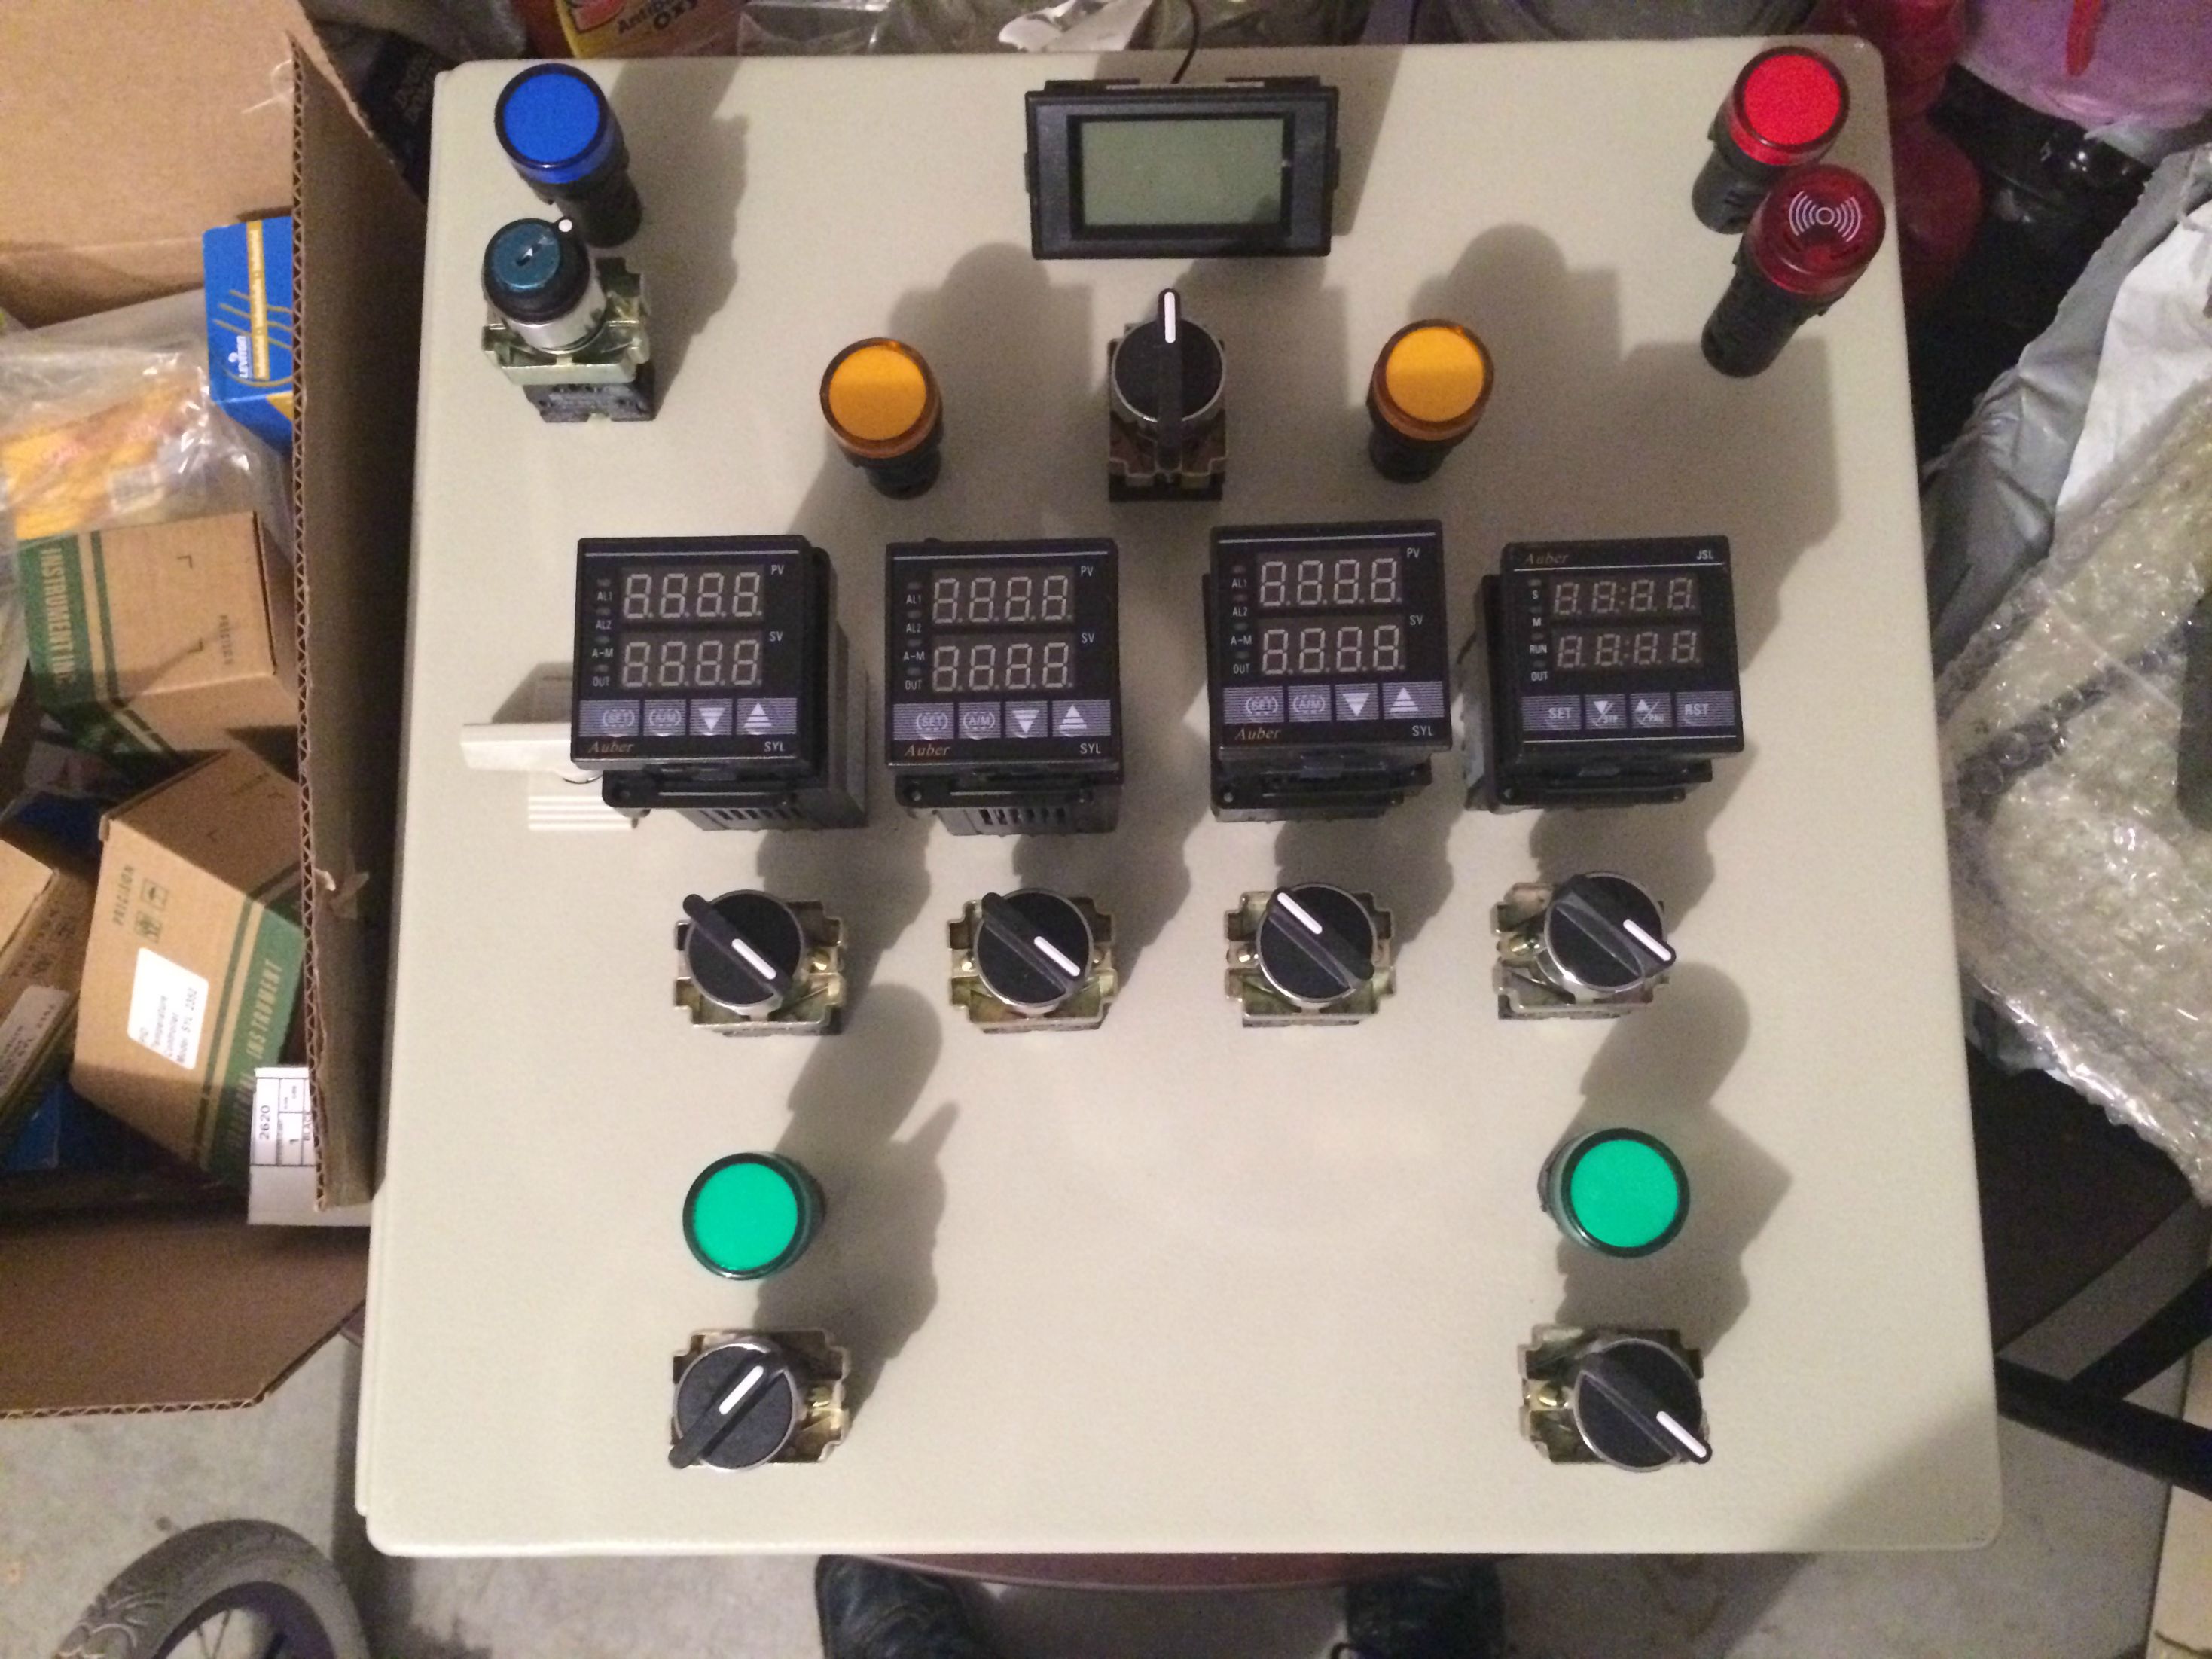
Hi guys, like most of you, I'm starting to build a e-herms system based on Kal's E-Brewery. Not everything is the same, for instance, I'm not using the omega timer and I'm not using the volt and amp meters they use. Mine is more like the one azwillnj built (https://www.homebrewtalk.com/f51/hu...el-stir-plate-ferm-controller-61-pics-400554/).
So as you can tell, nothing extraordinary to see here, I mainly want to use this thread as a build log to keep records for myself. Some parts of it might benefit others too, as I will try to list everything I bought and how much I paid. I didn't cheap out on PID's so, you can probably pay less than I did by choosing other brands like mypid. I'm not including ball valves and quick disconnects because I already have them, however I am switching from kegs to kettles, so I'll put those here as well as I found them to be super cheap.
Lastly, I have no idea how to wire this thing up, specially the volt/amp display but I will do my best to try and follow Kal's instructions for the rest and hopefully get help from Auber for the timer.
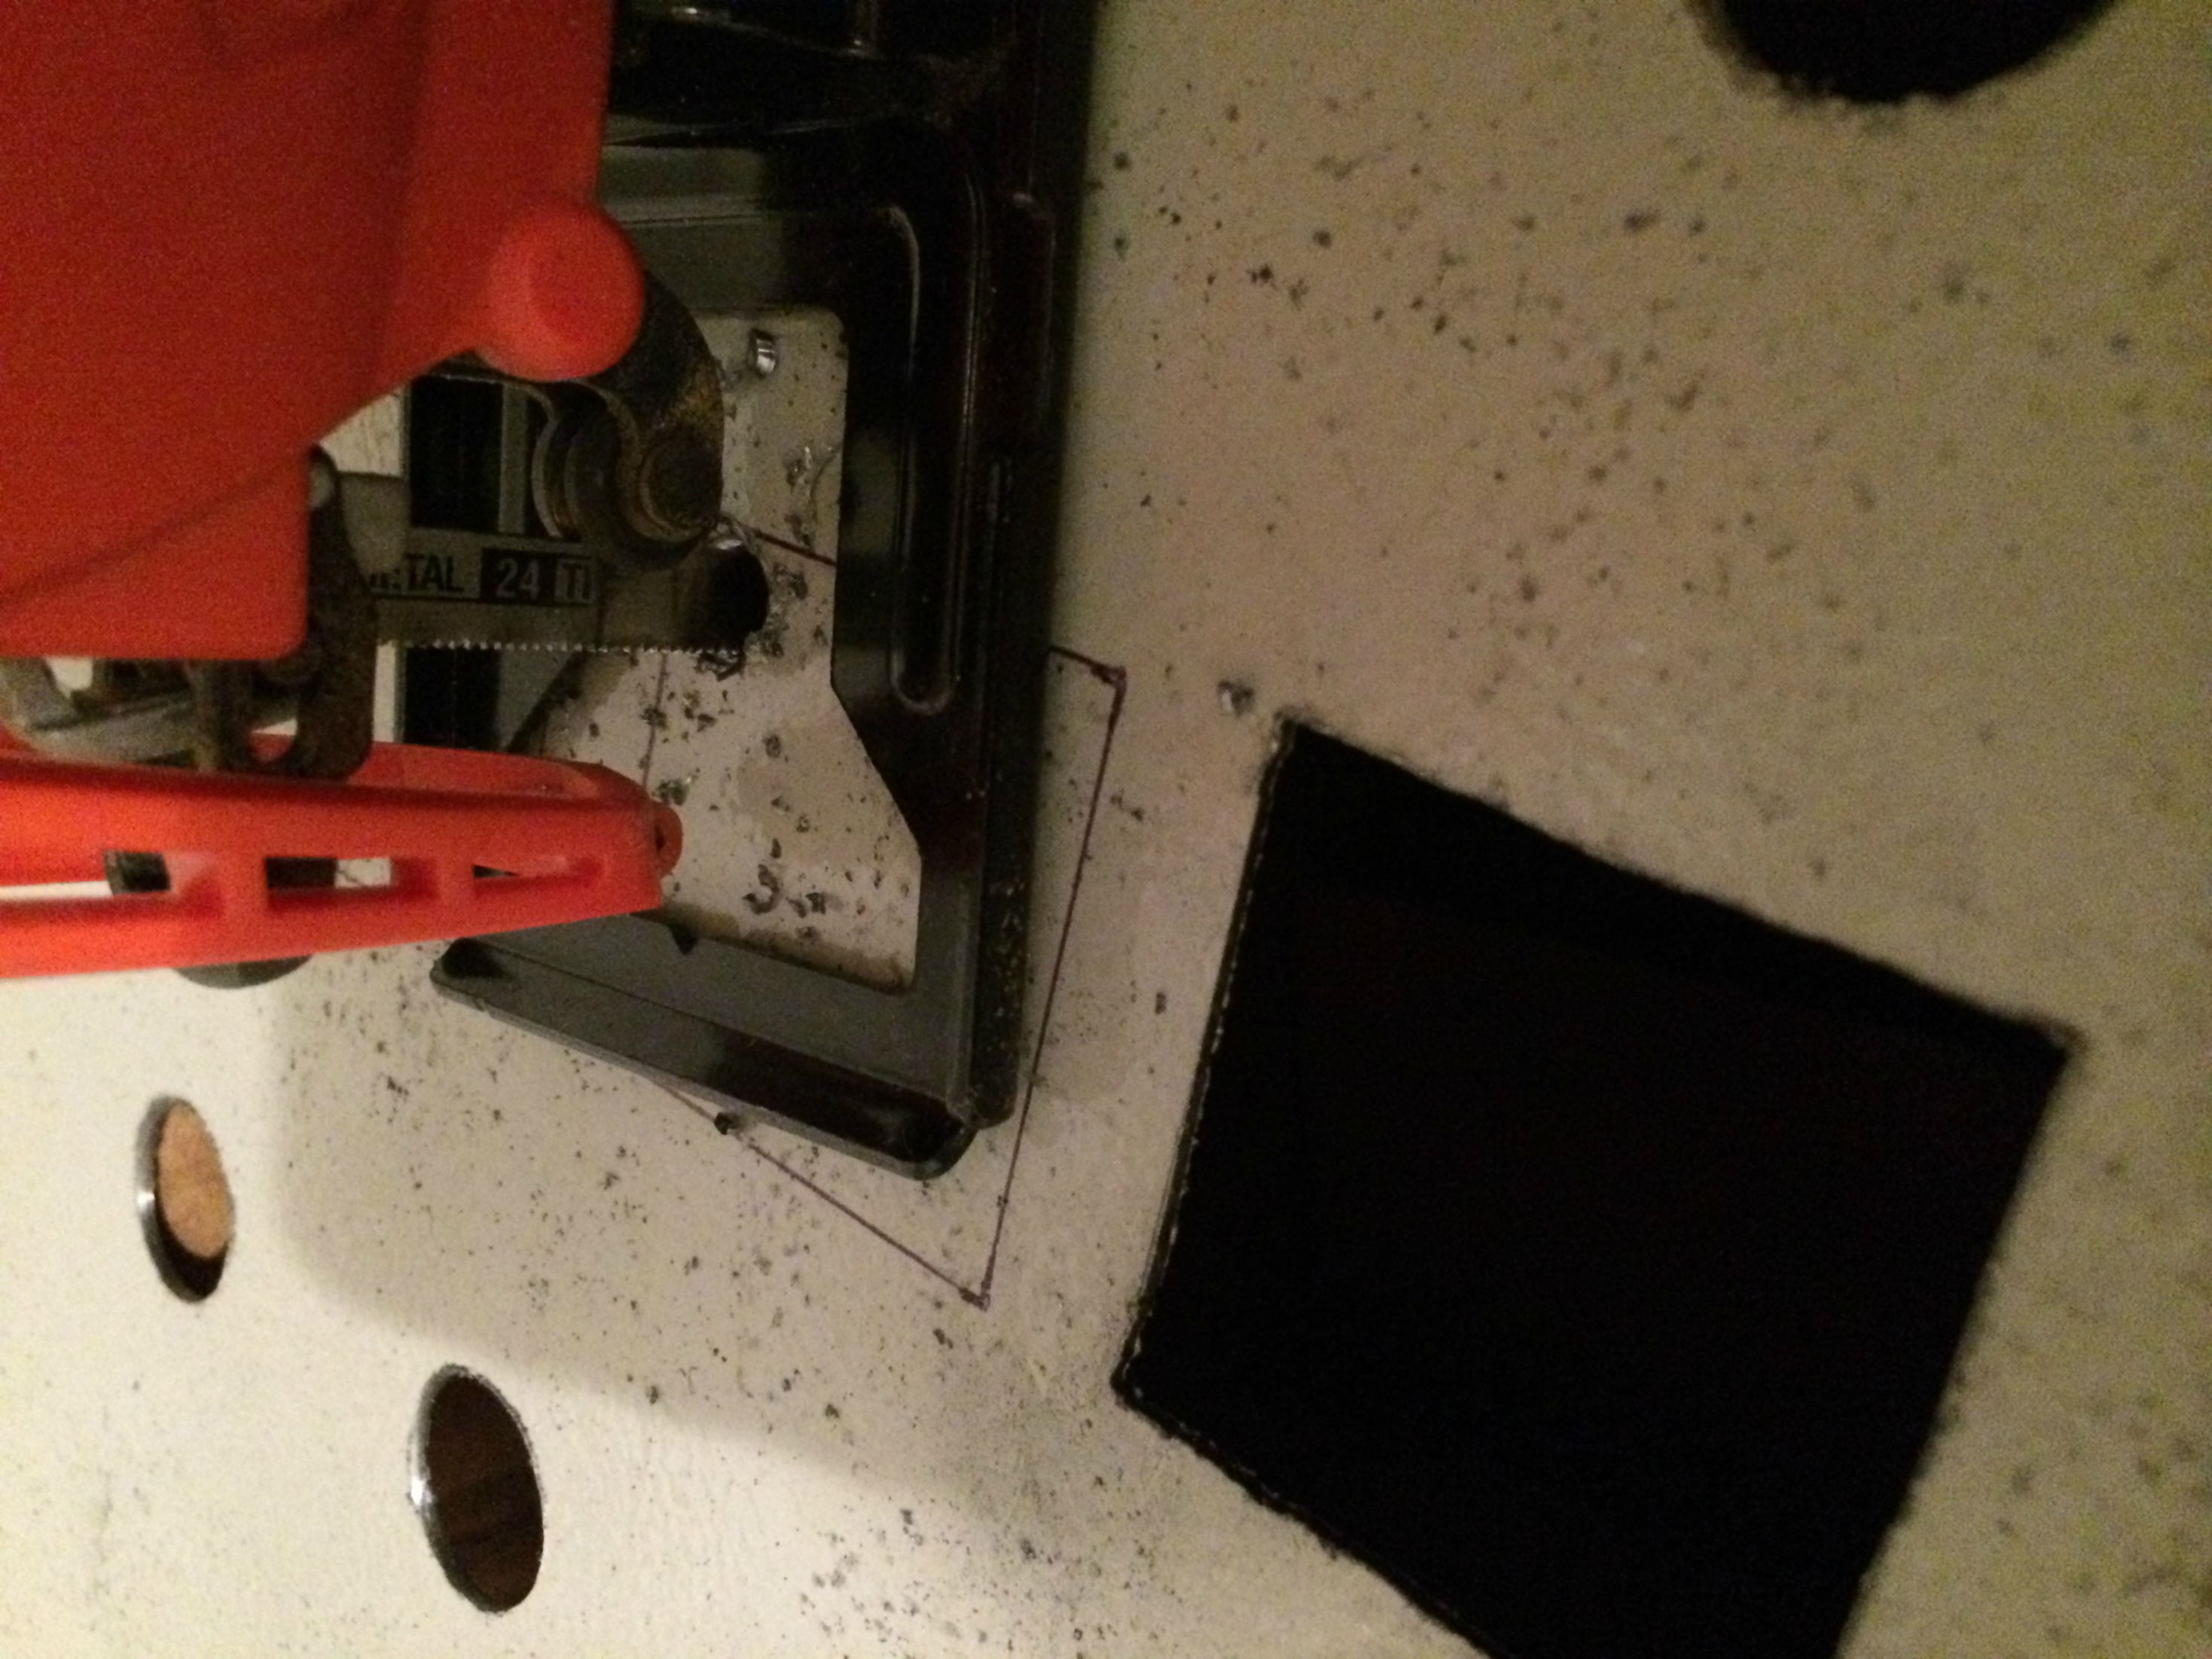
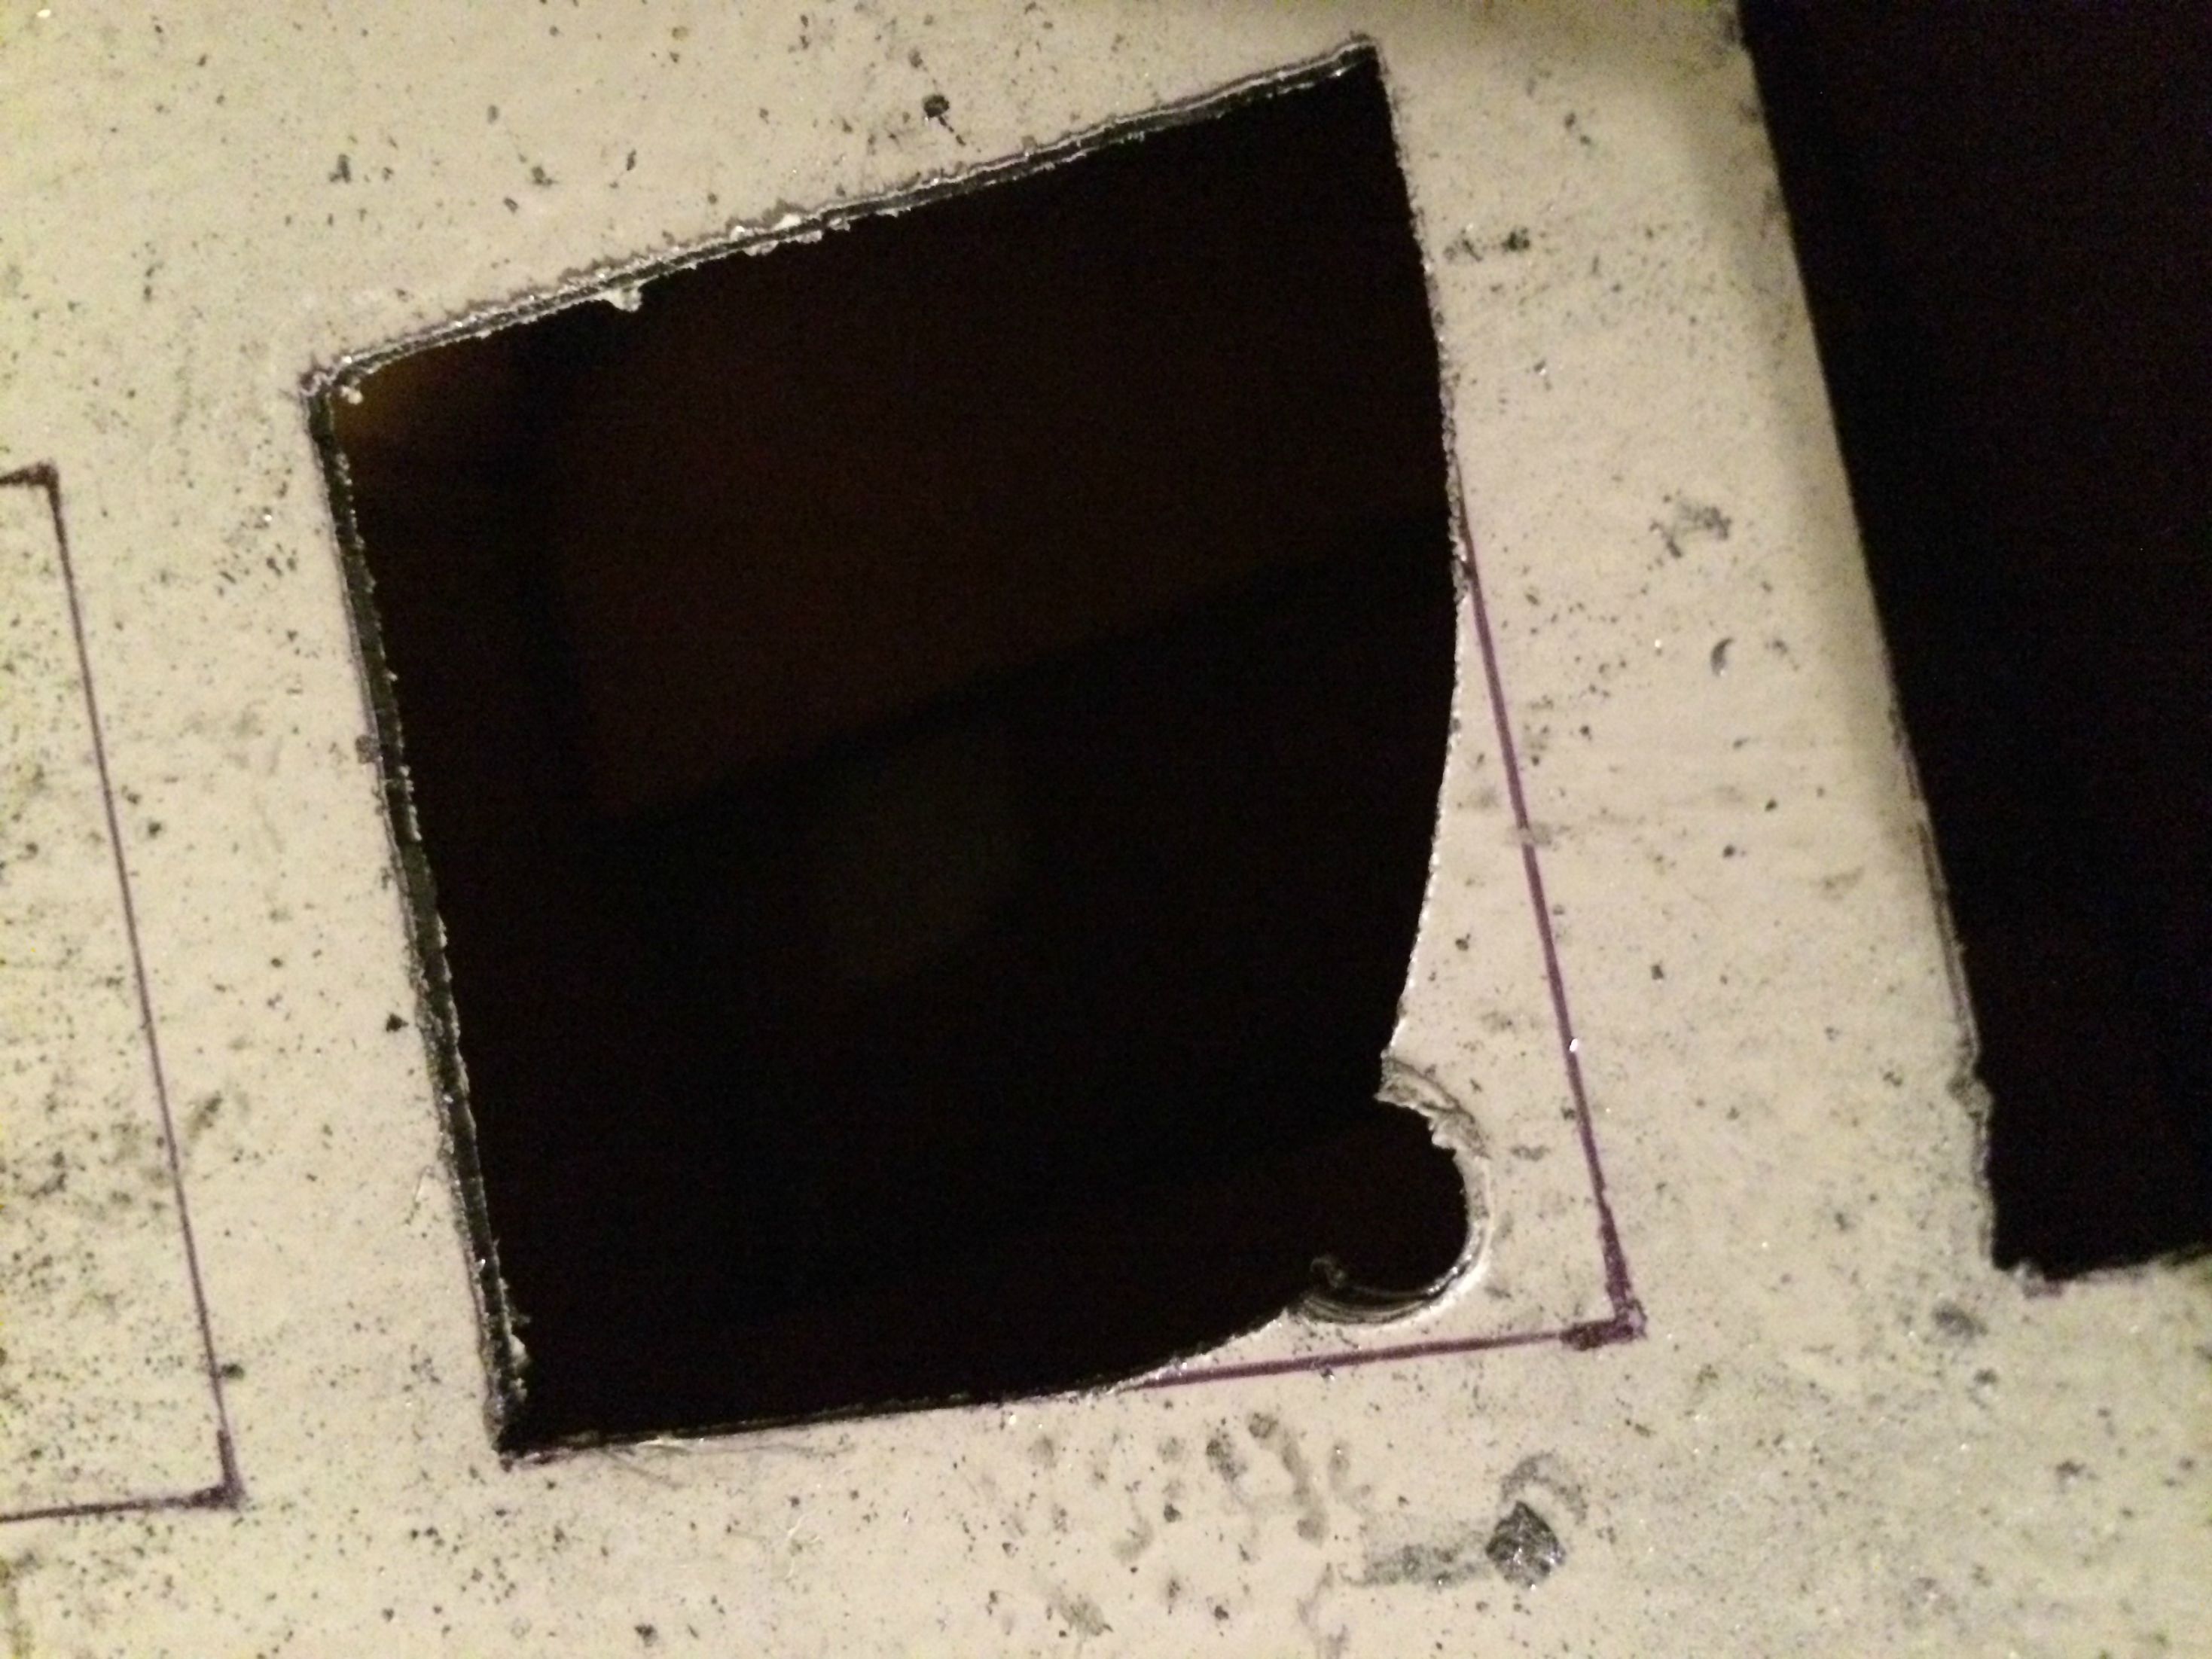
I will add pictures as I make advances in the project.
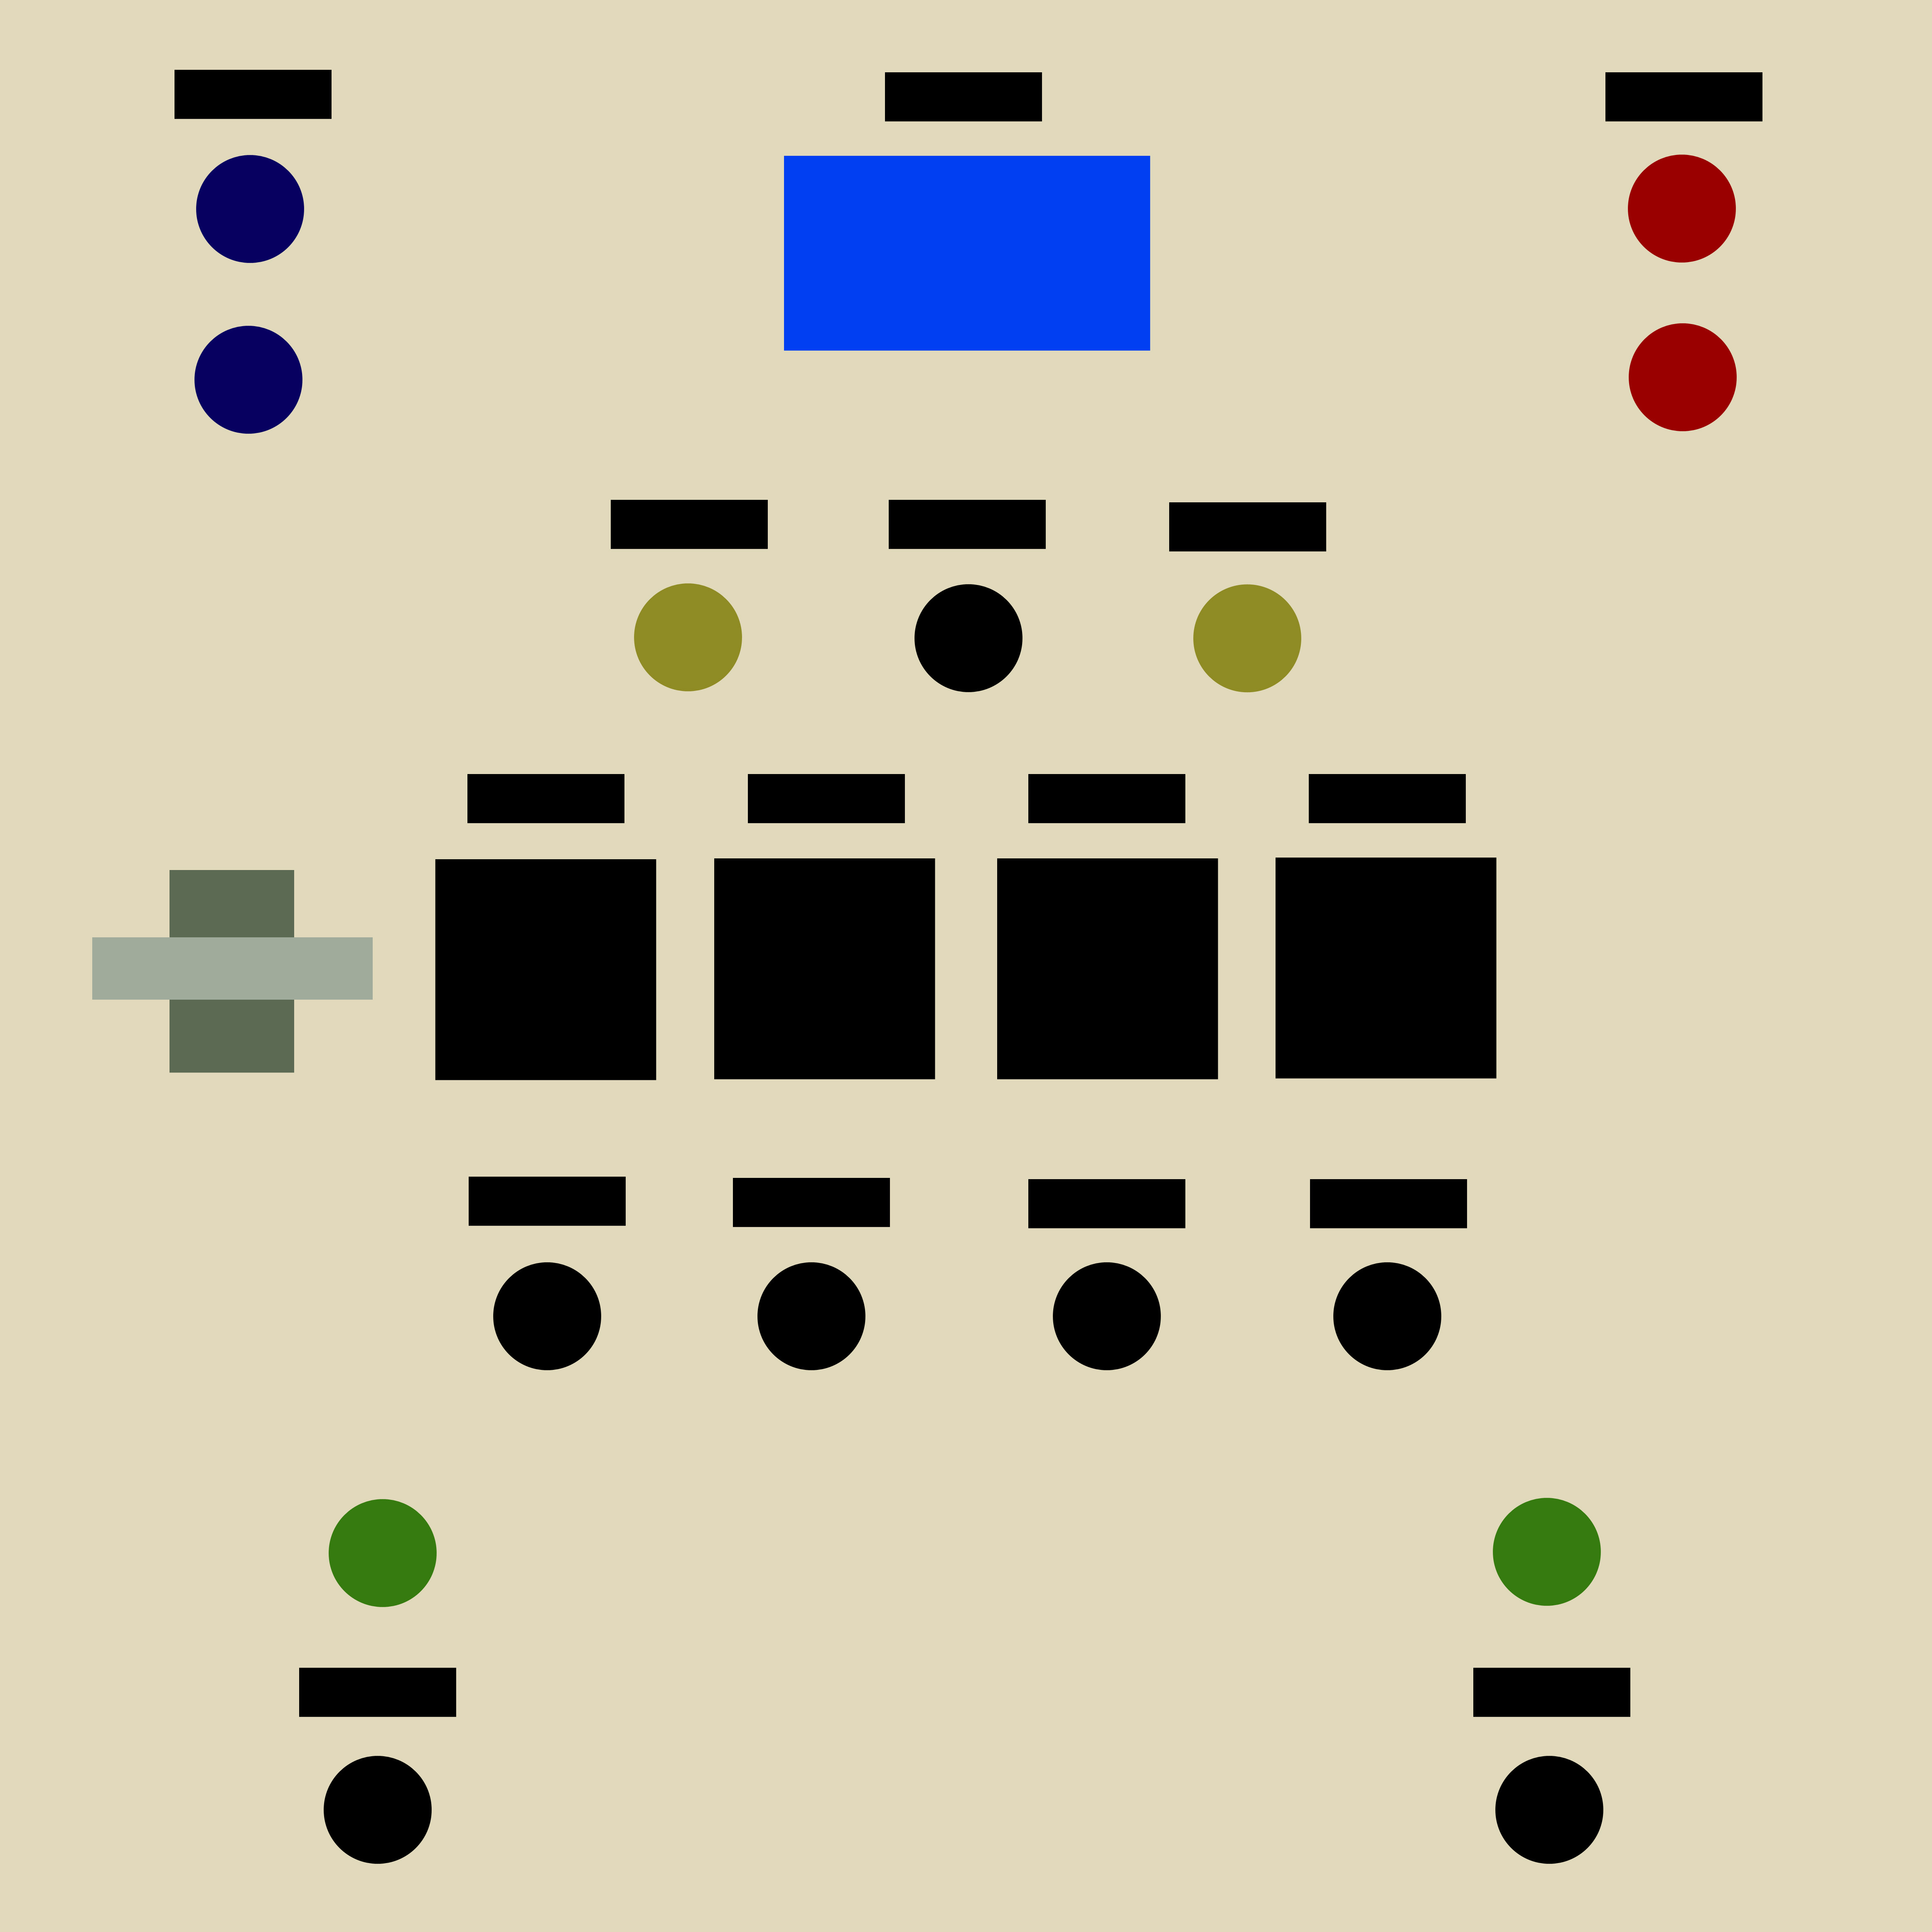
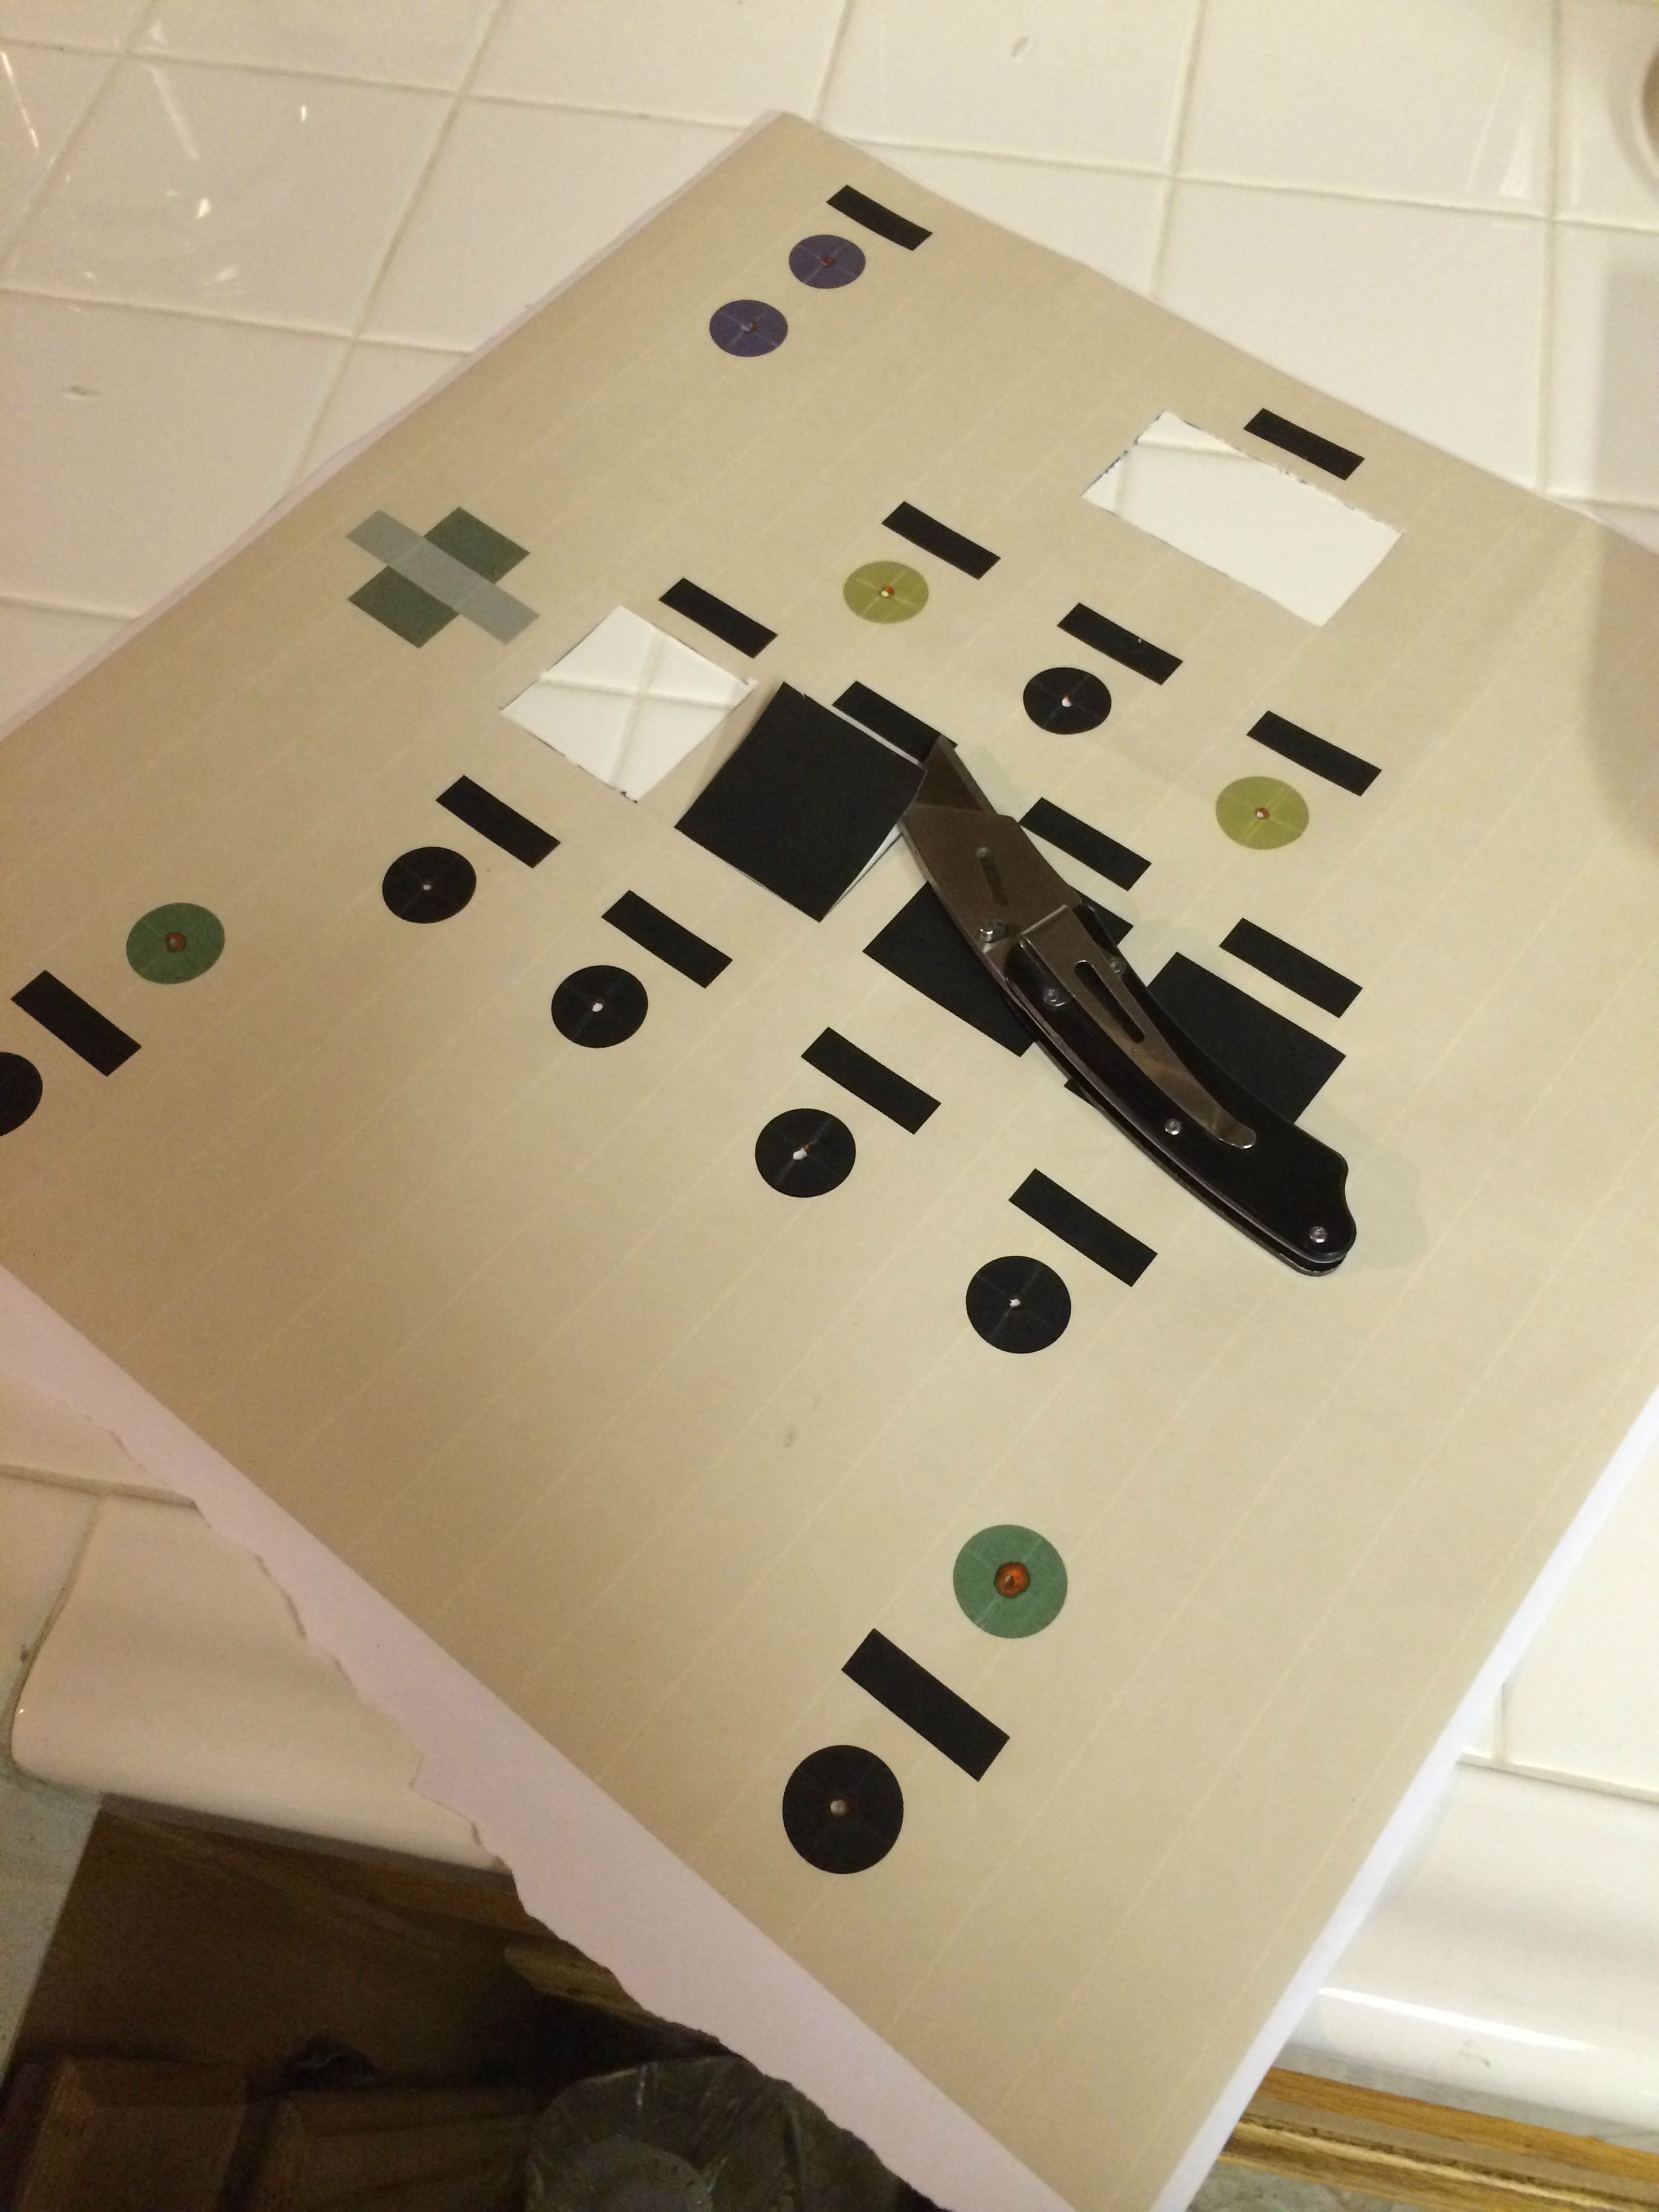
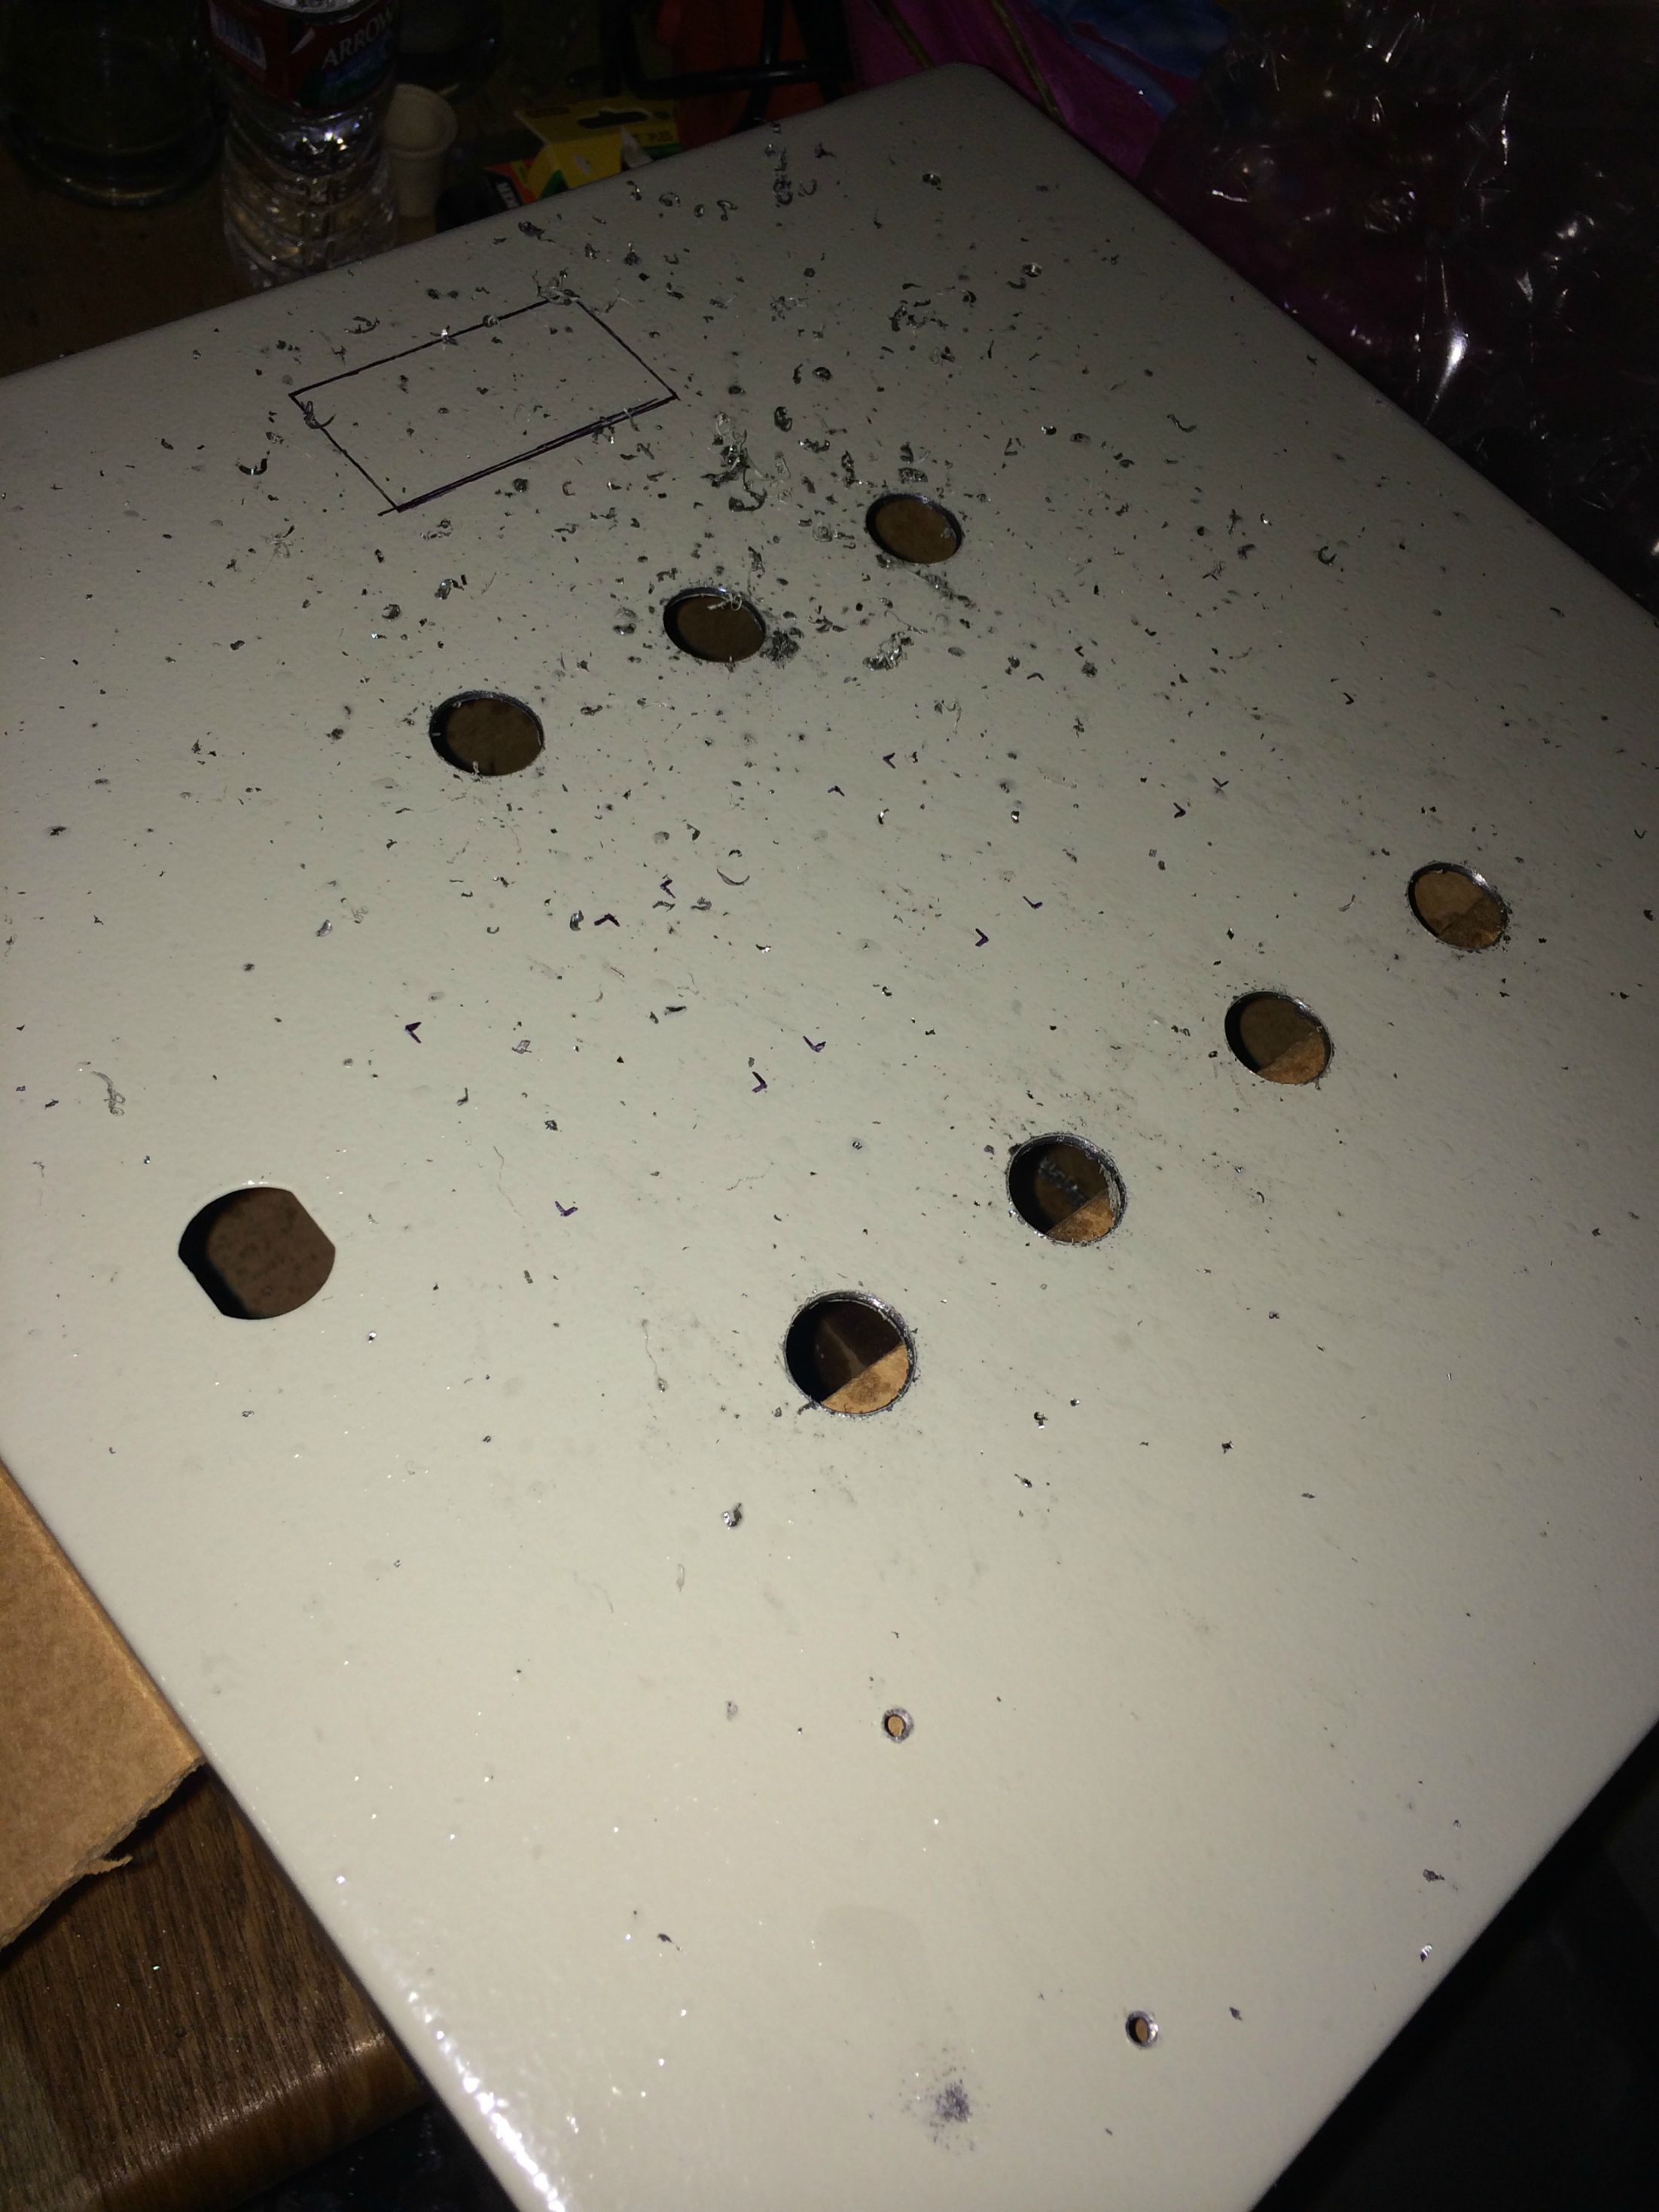
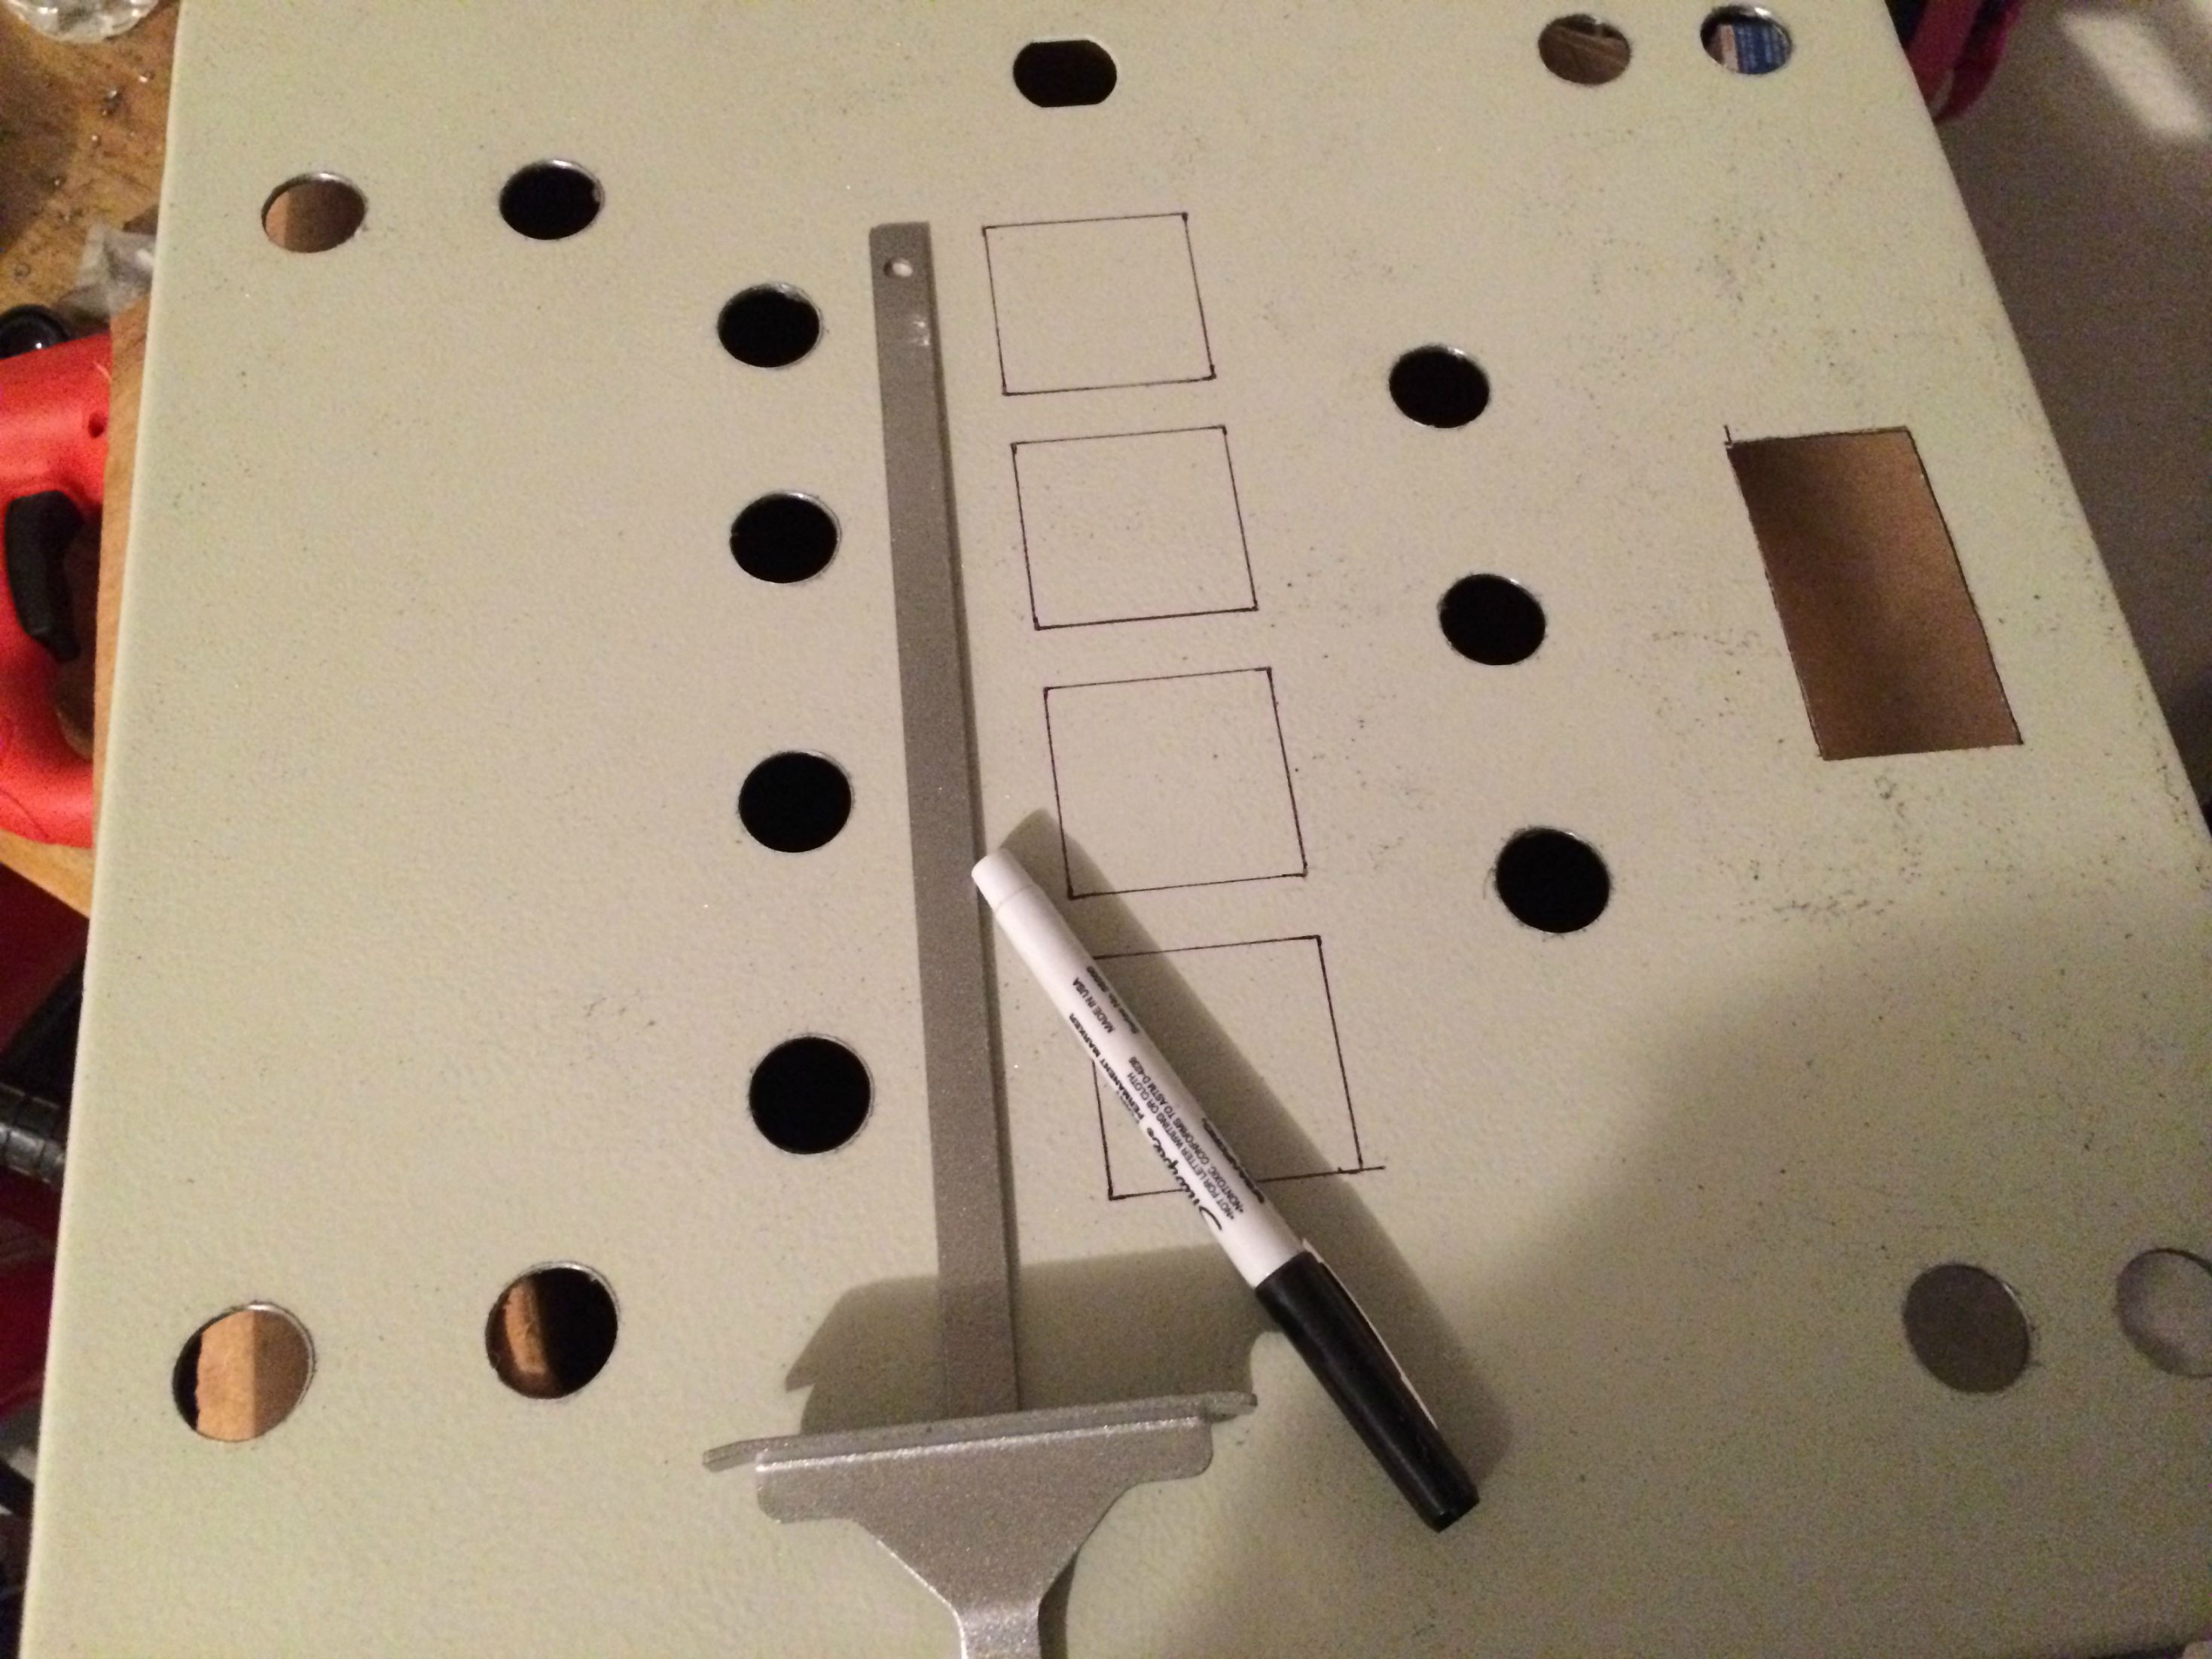
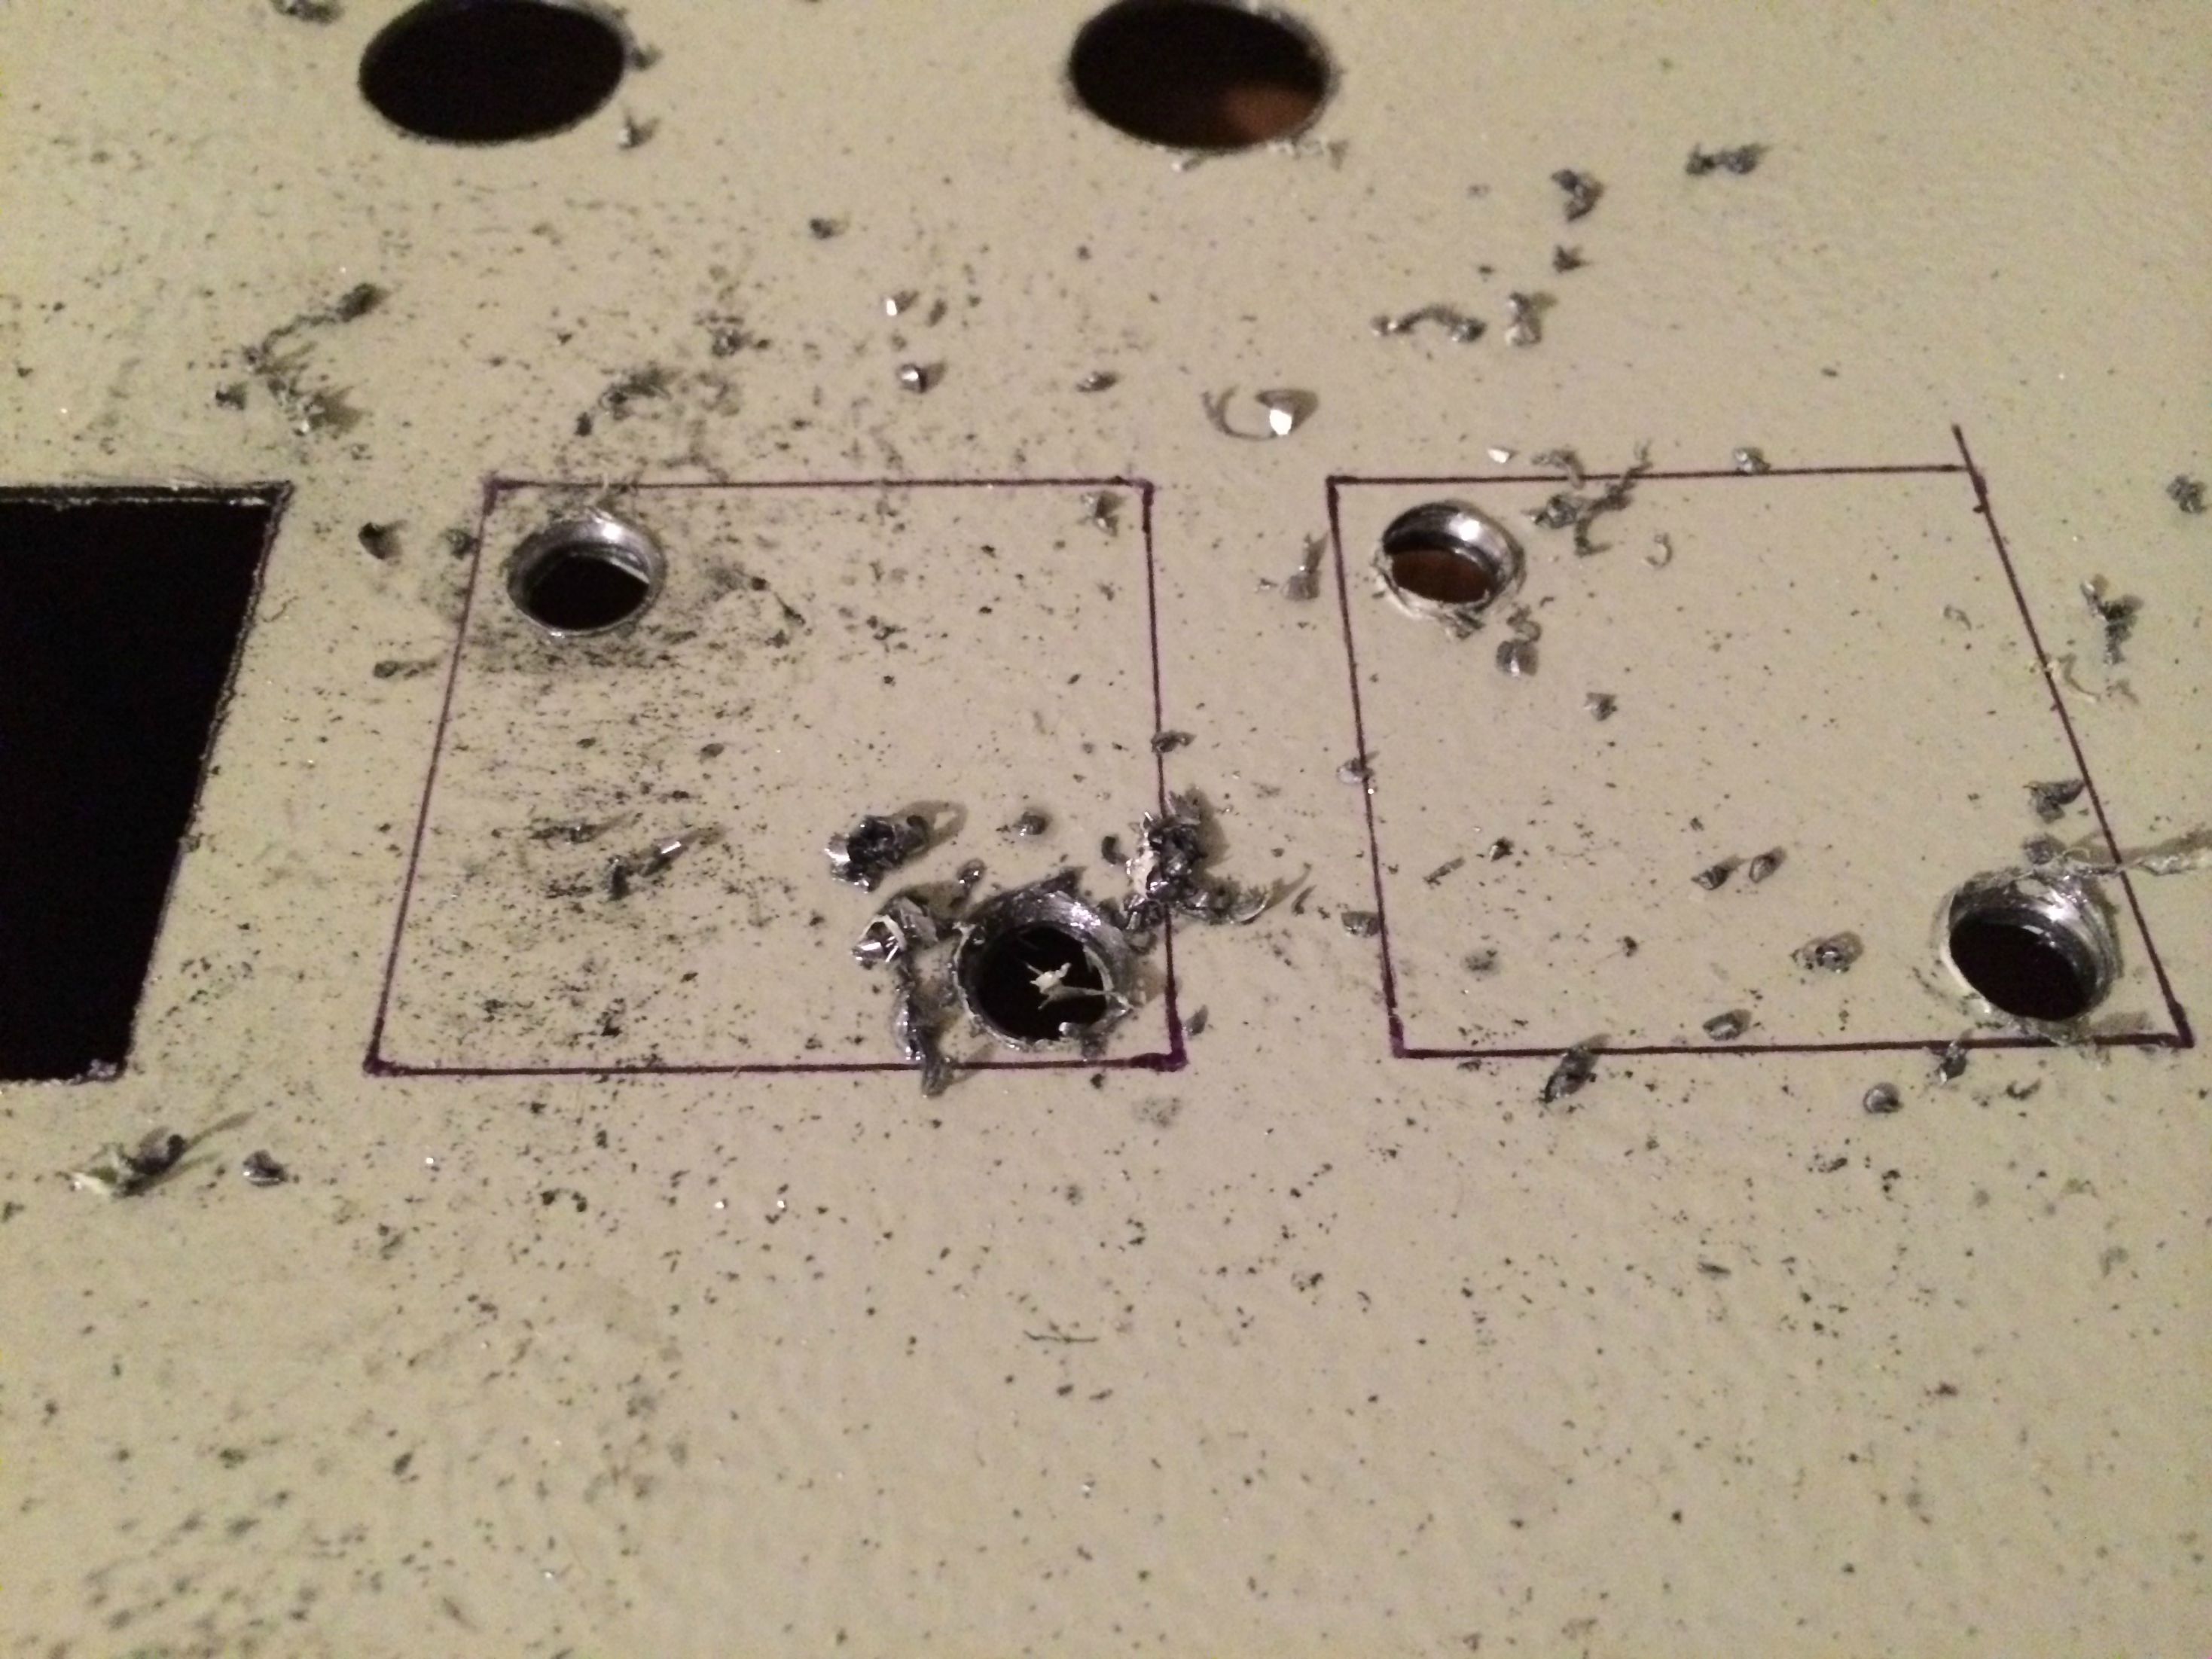
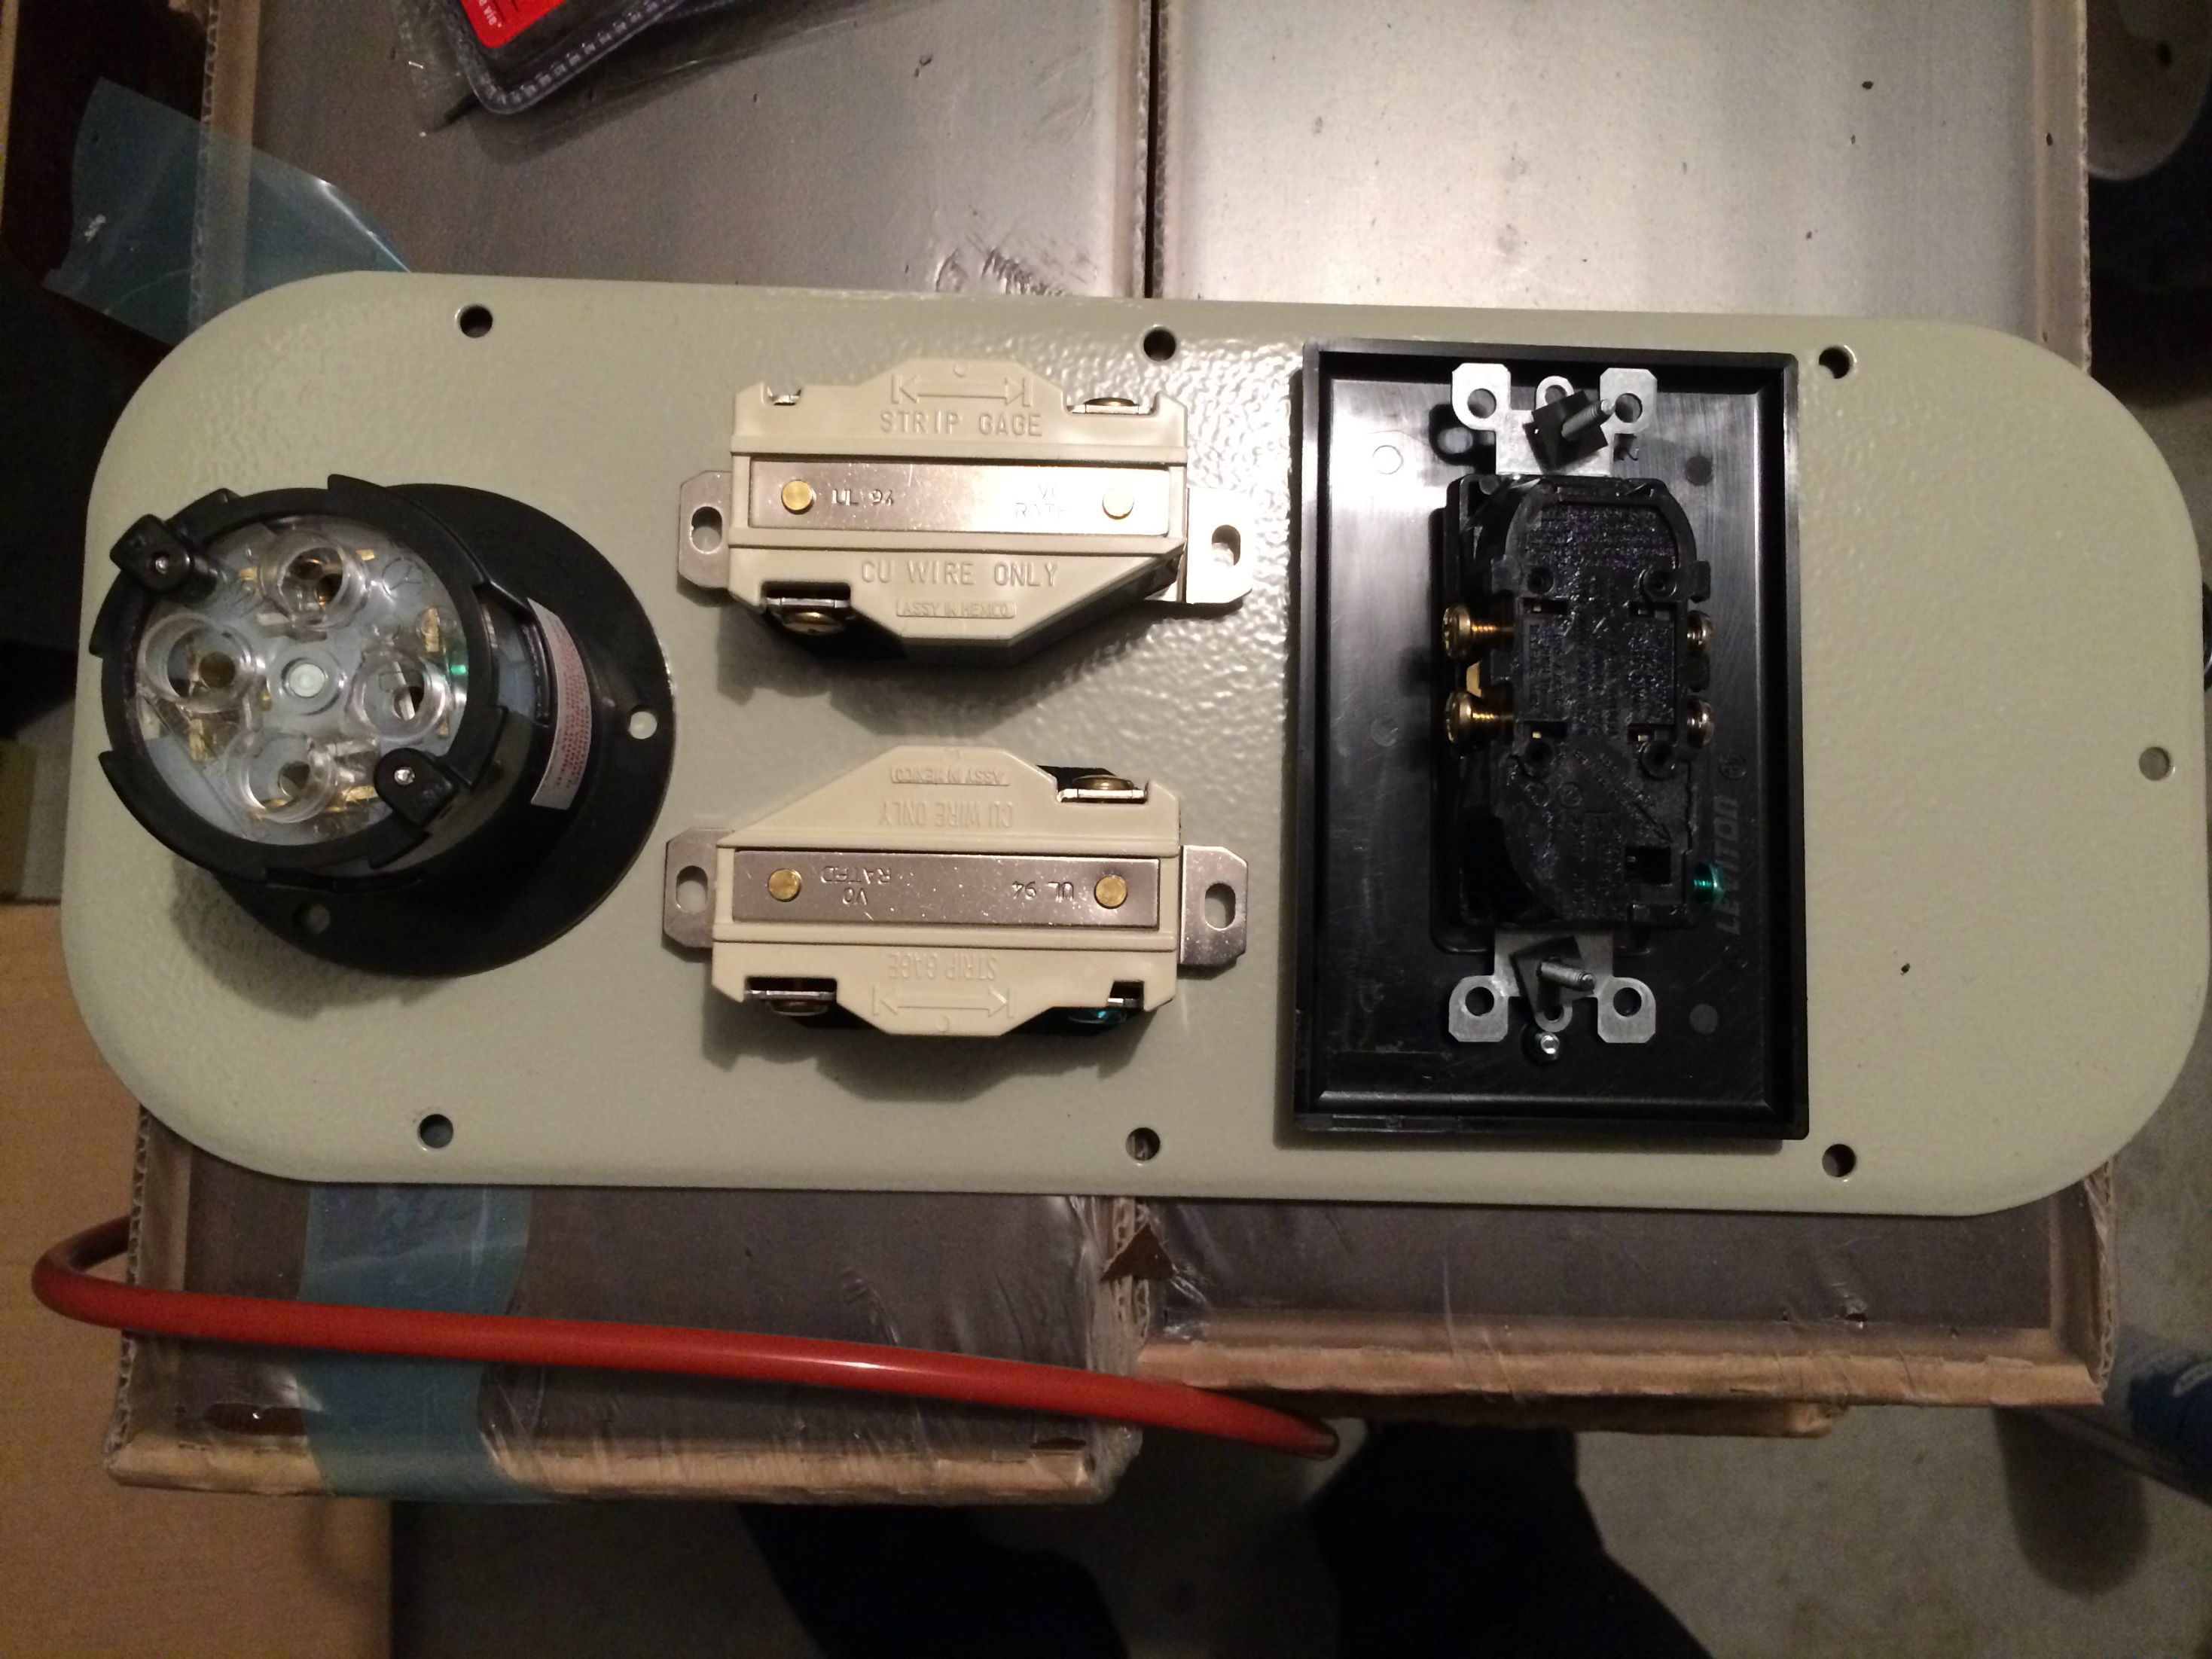
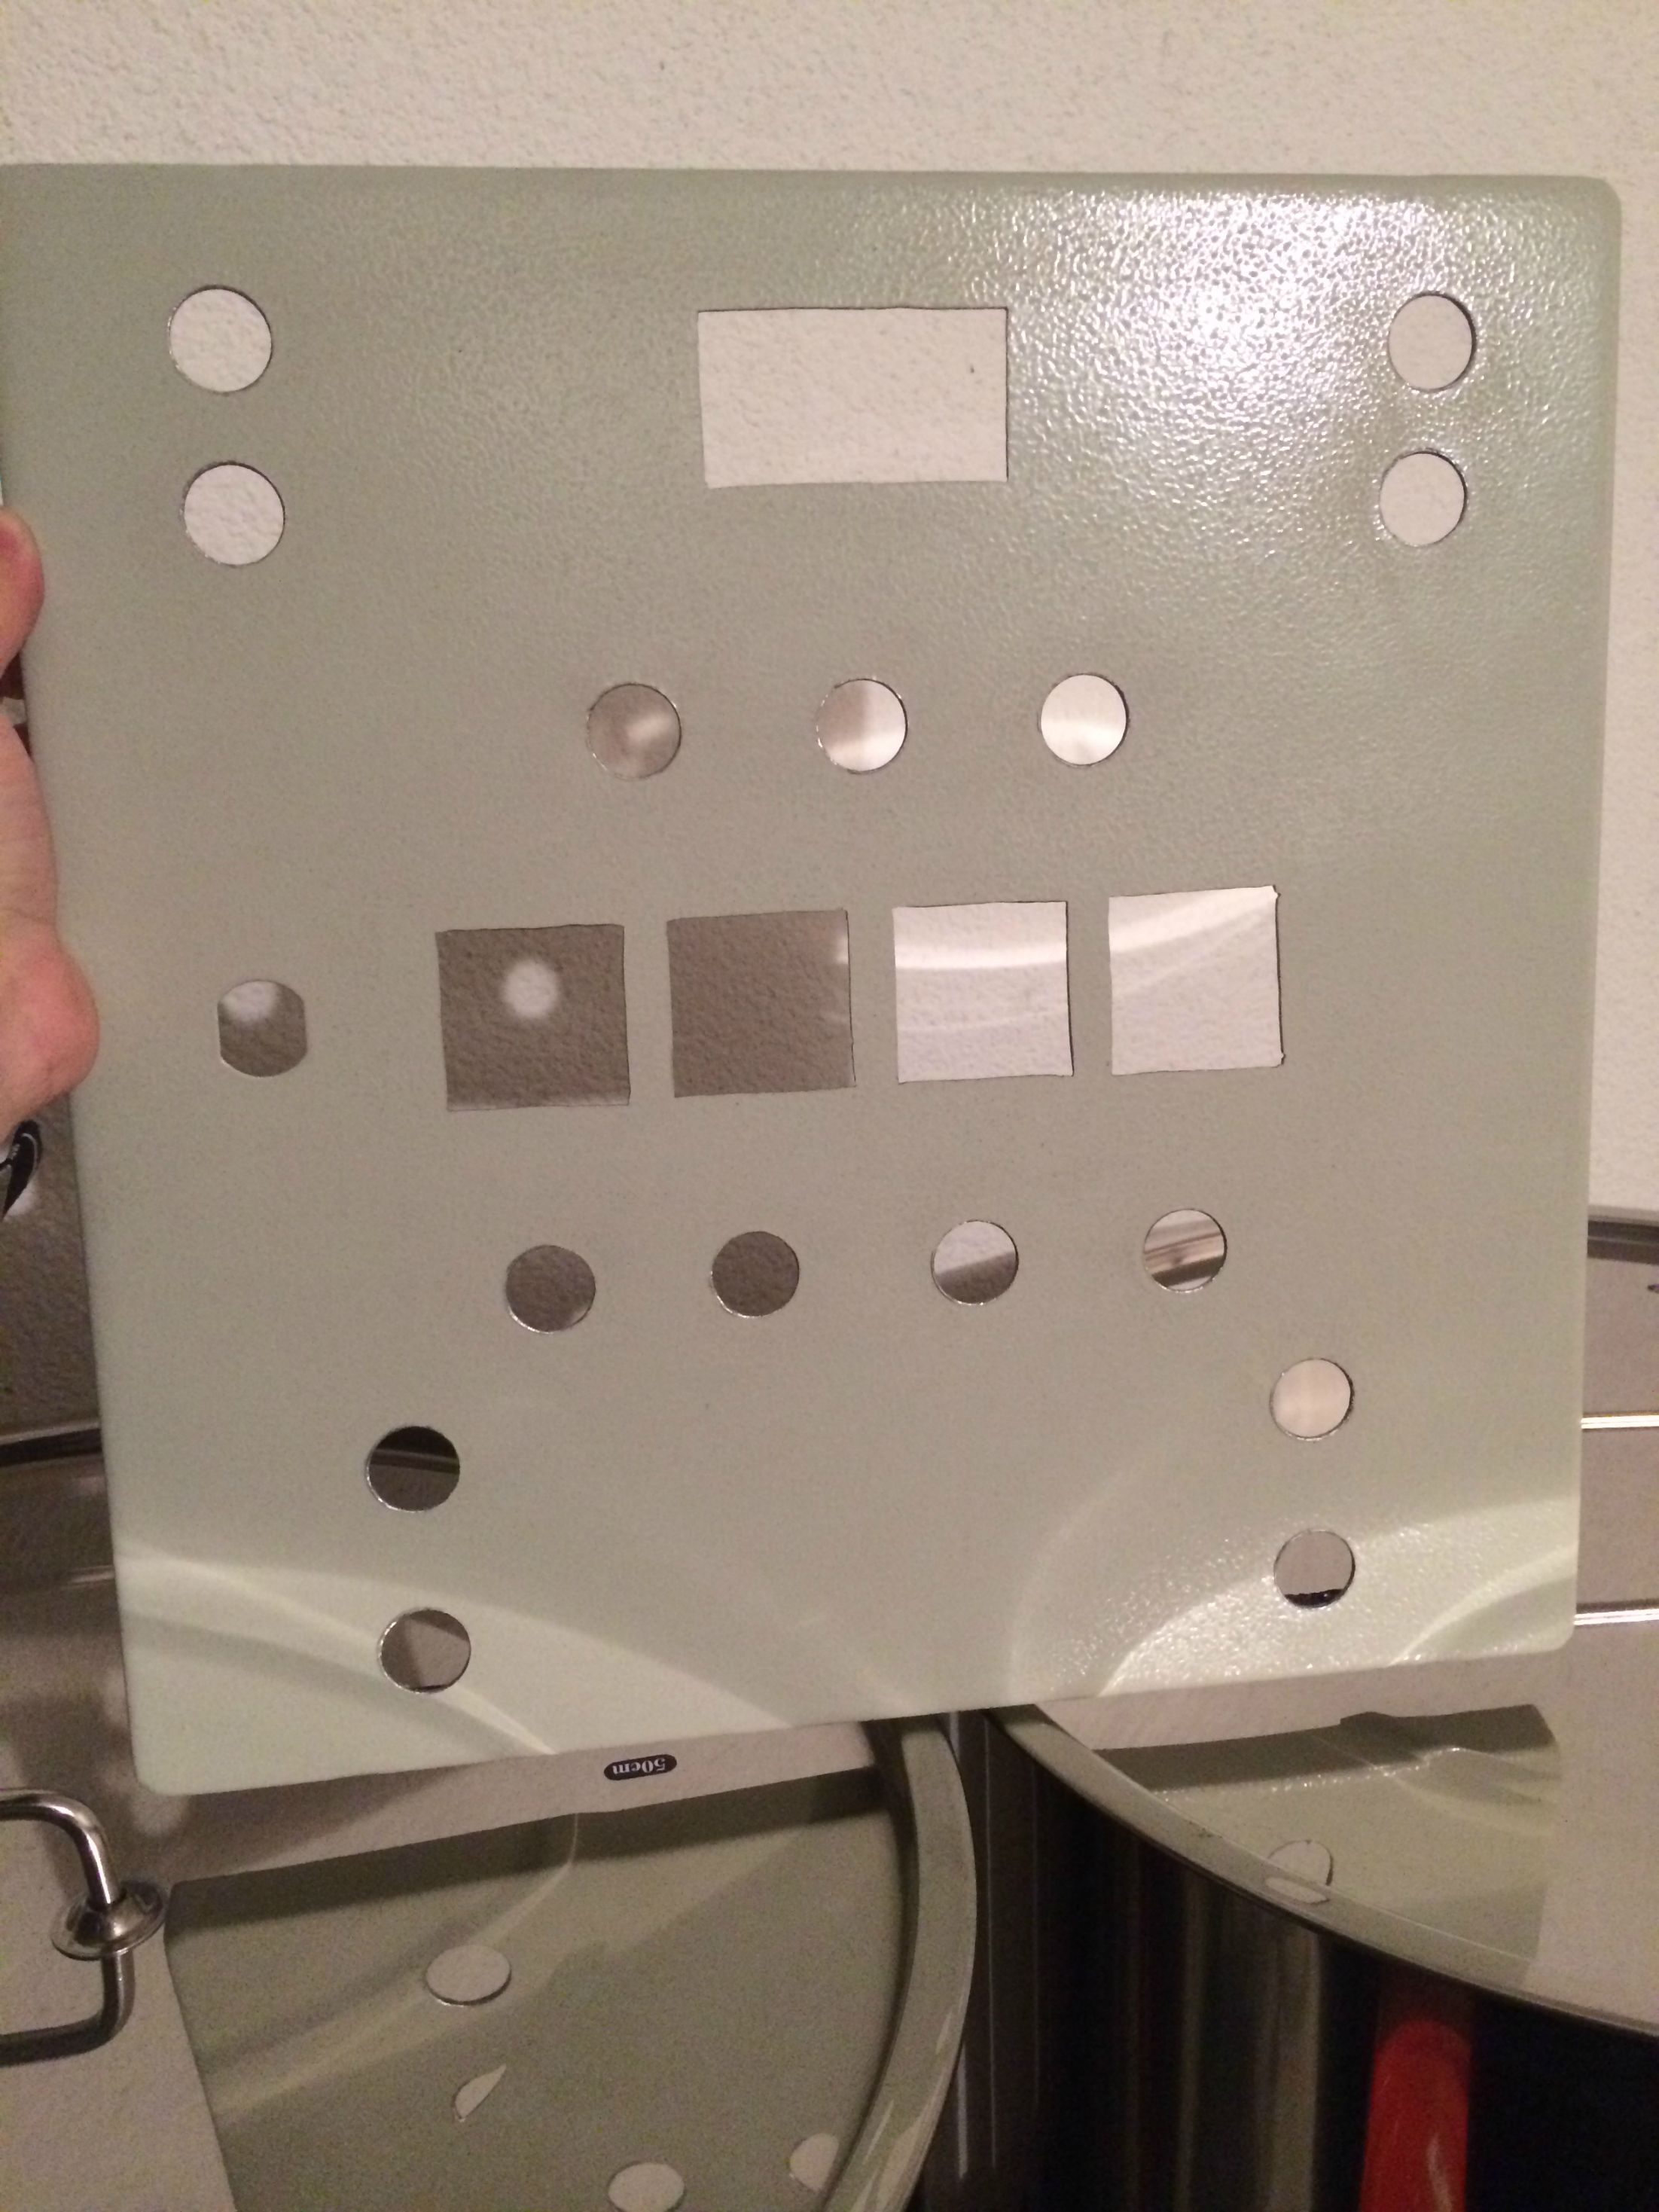
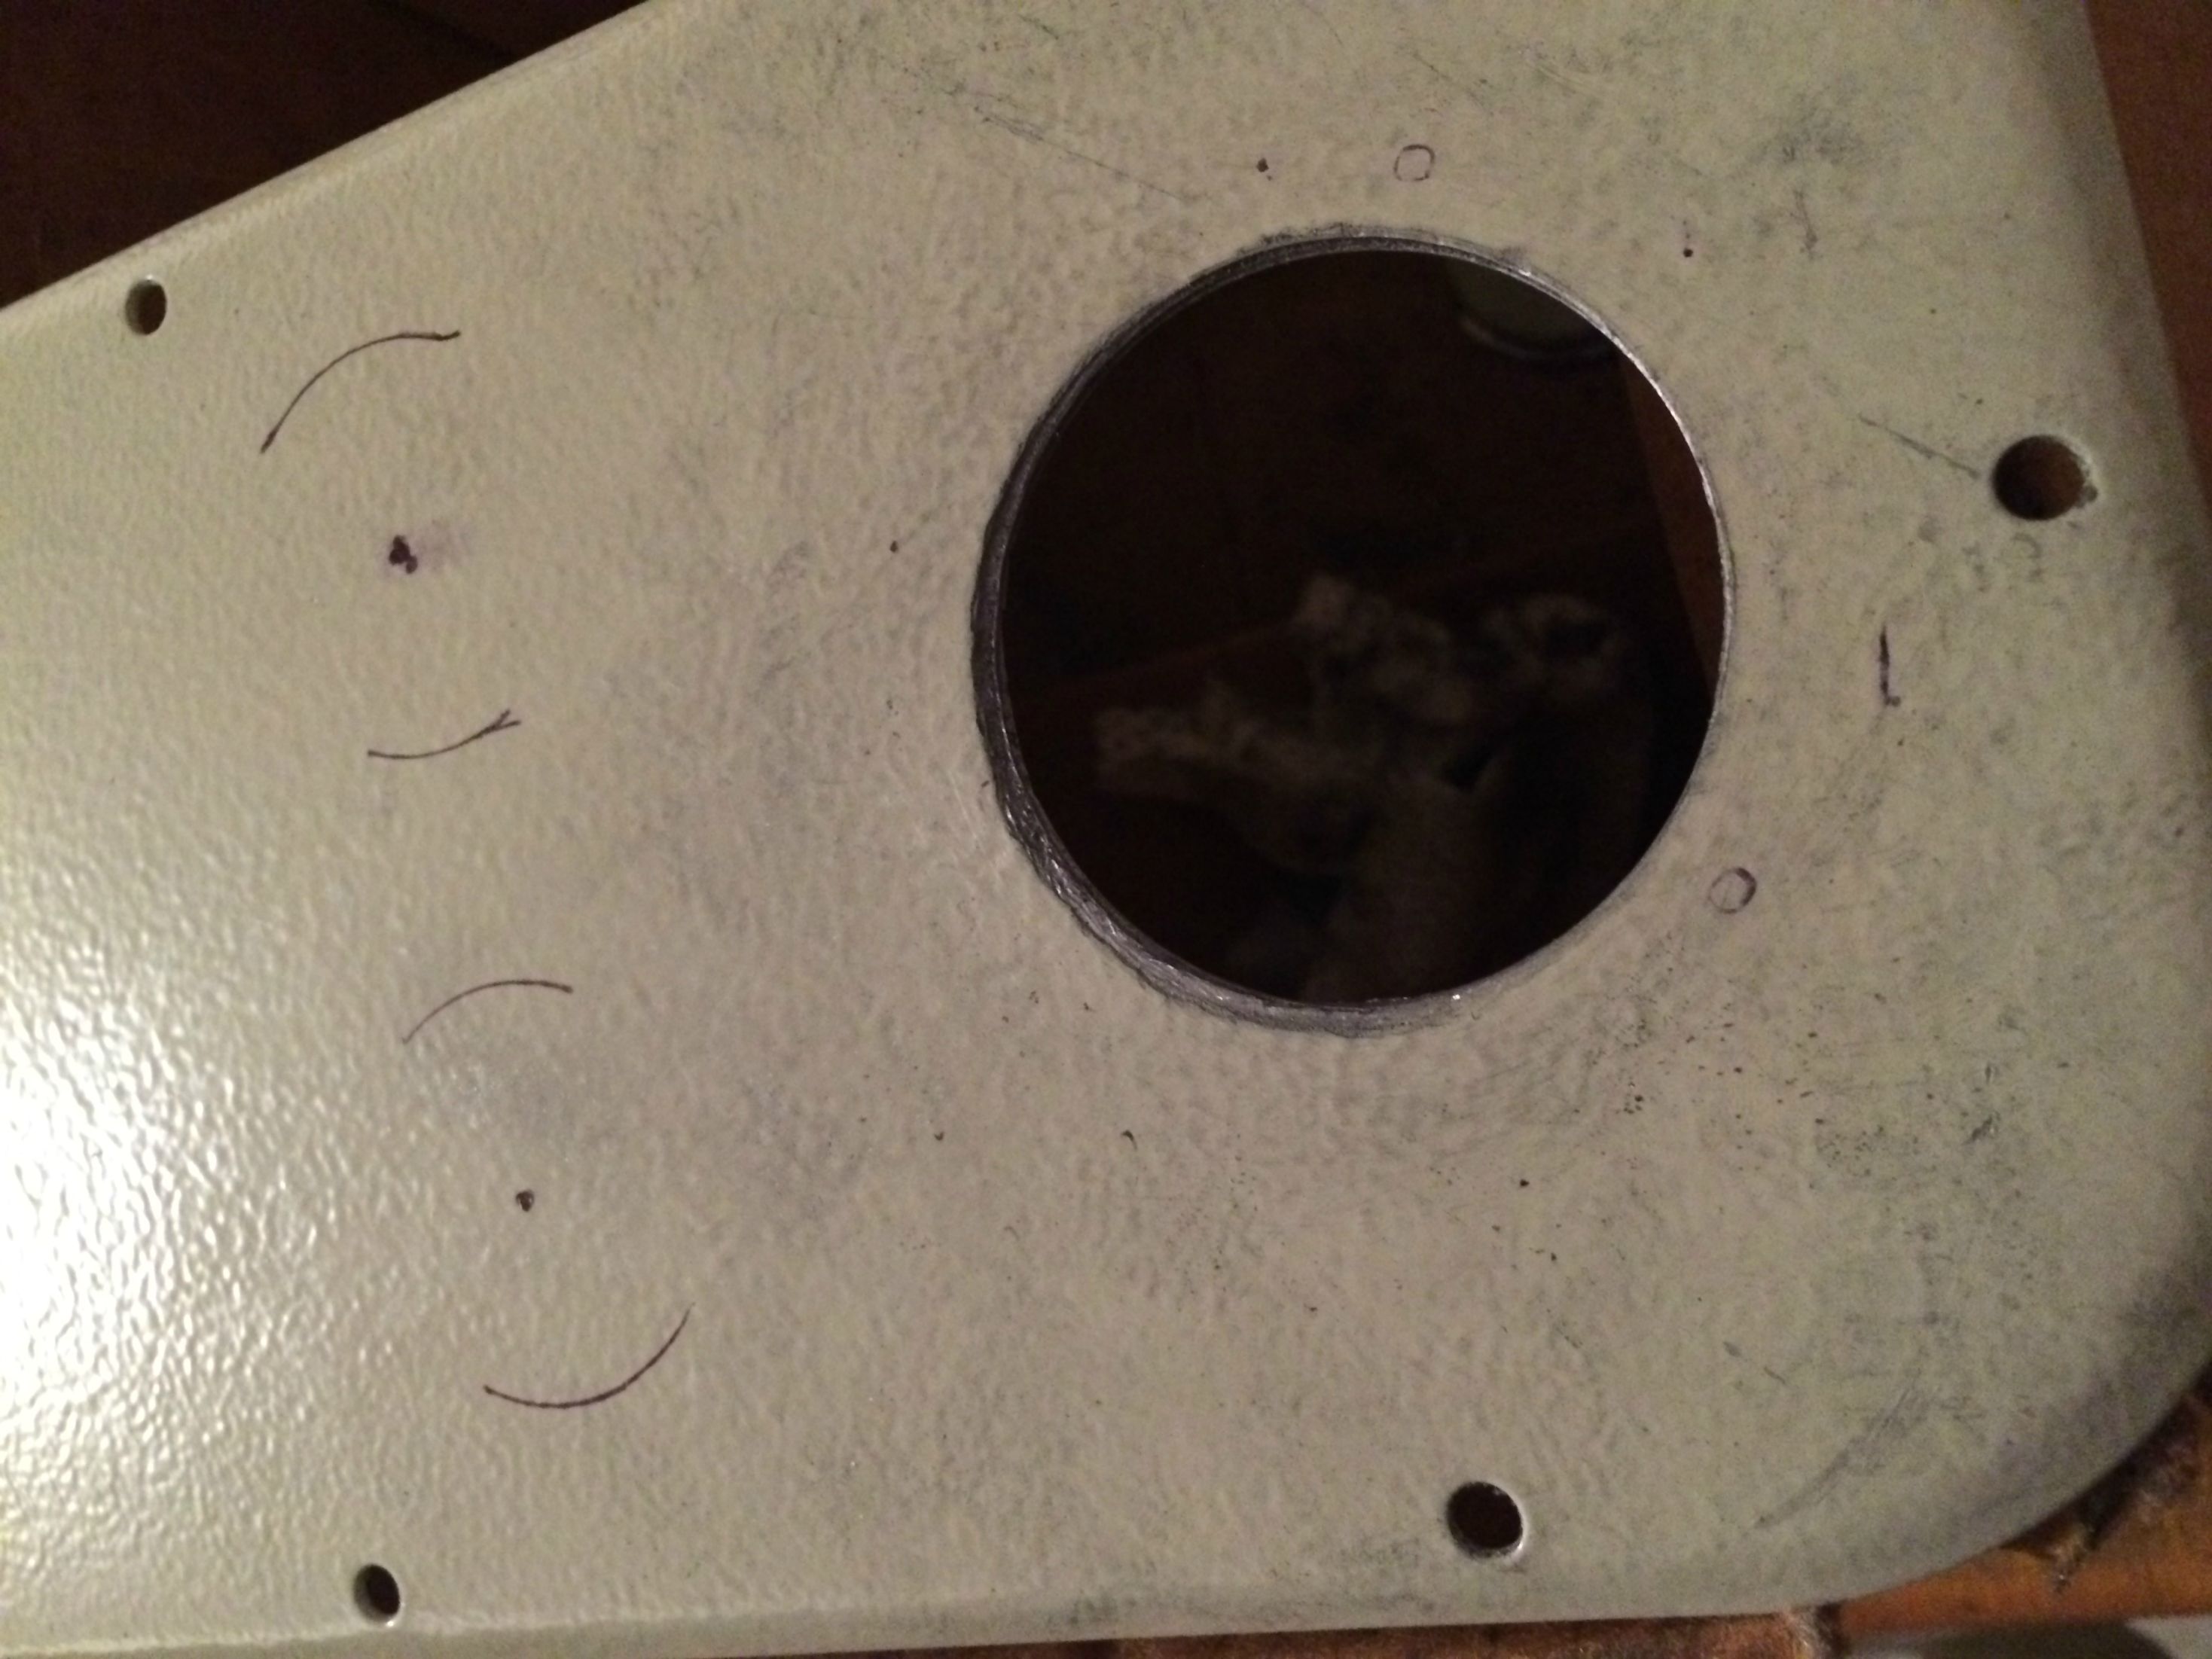
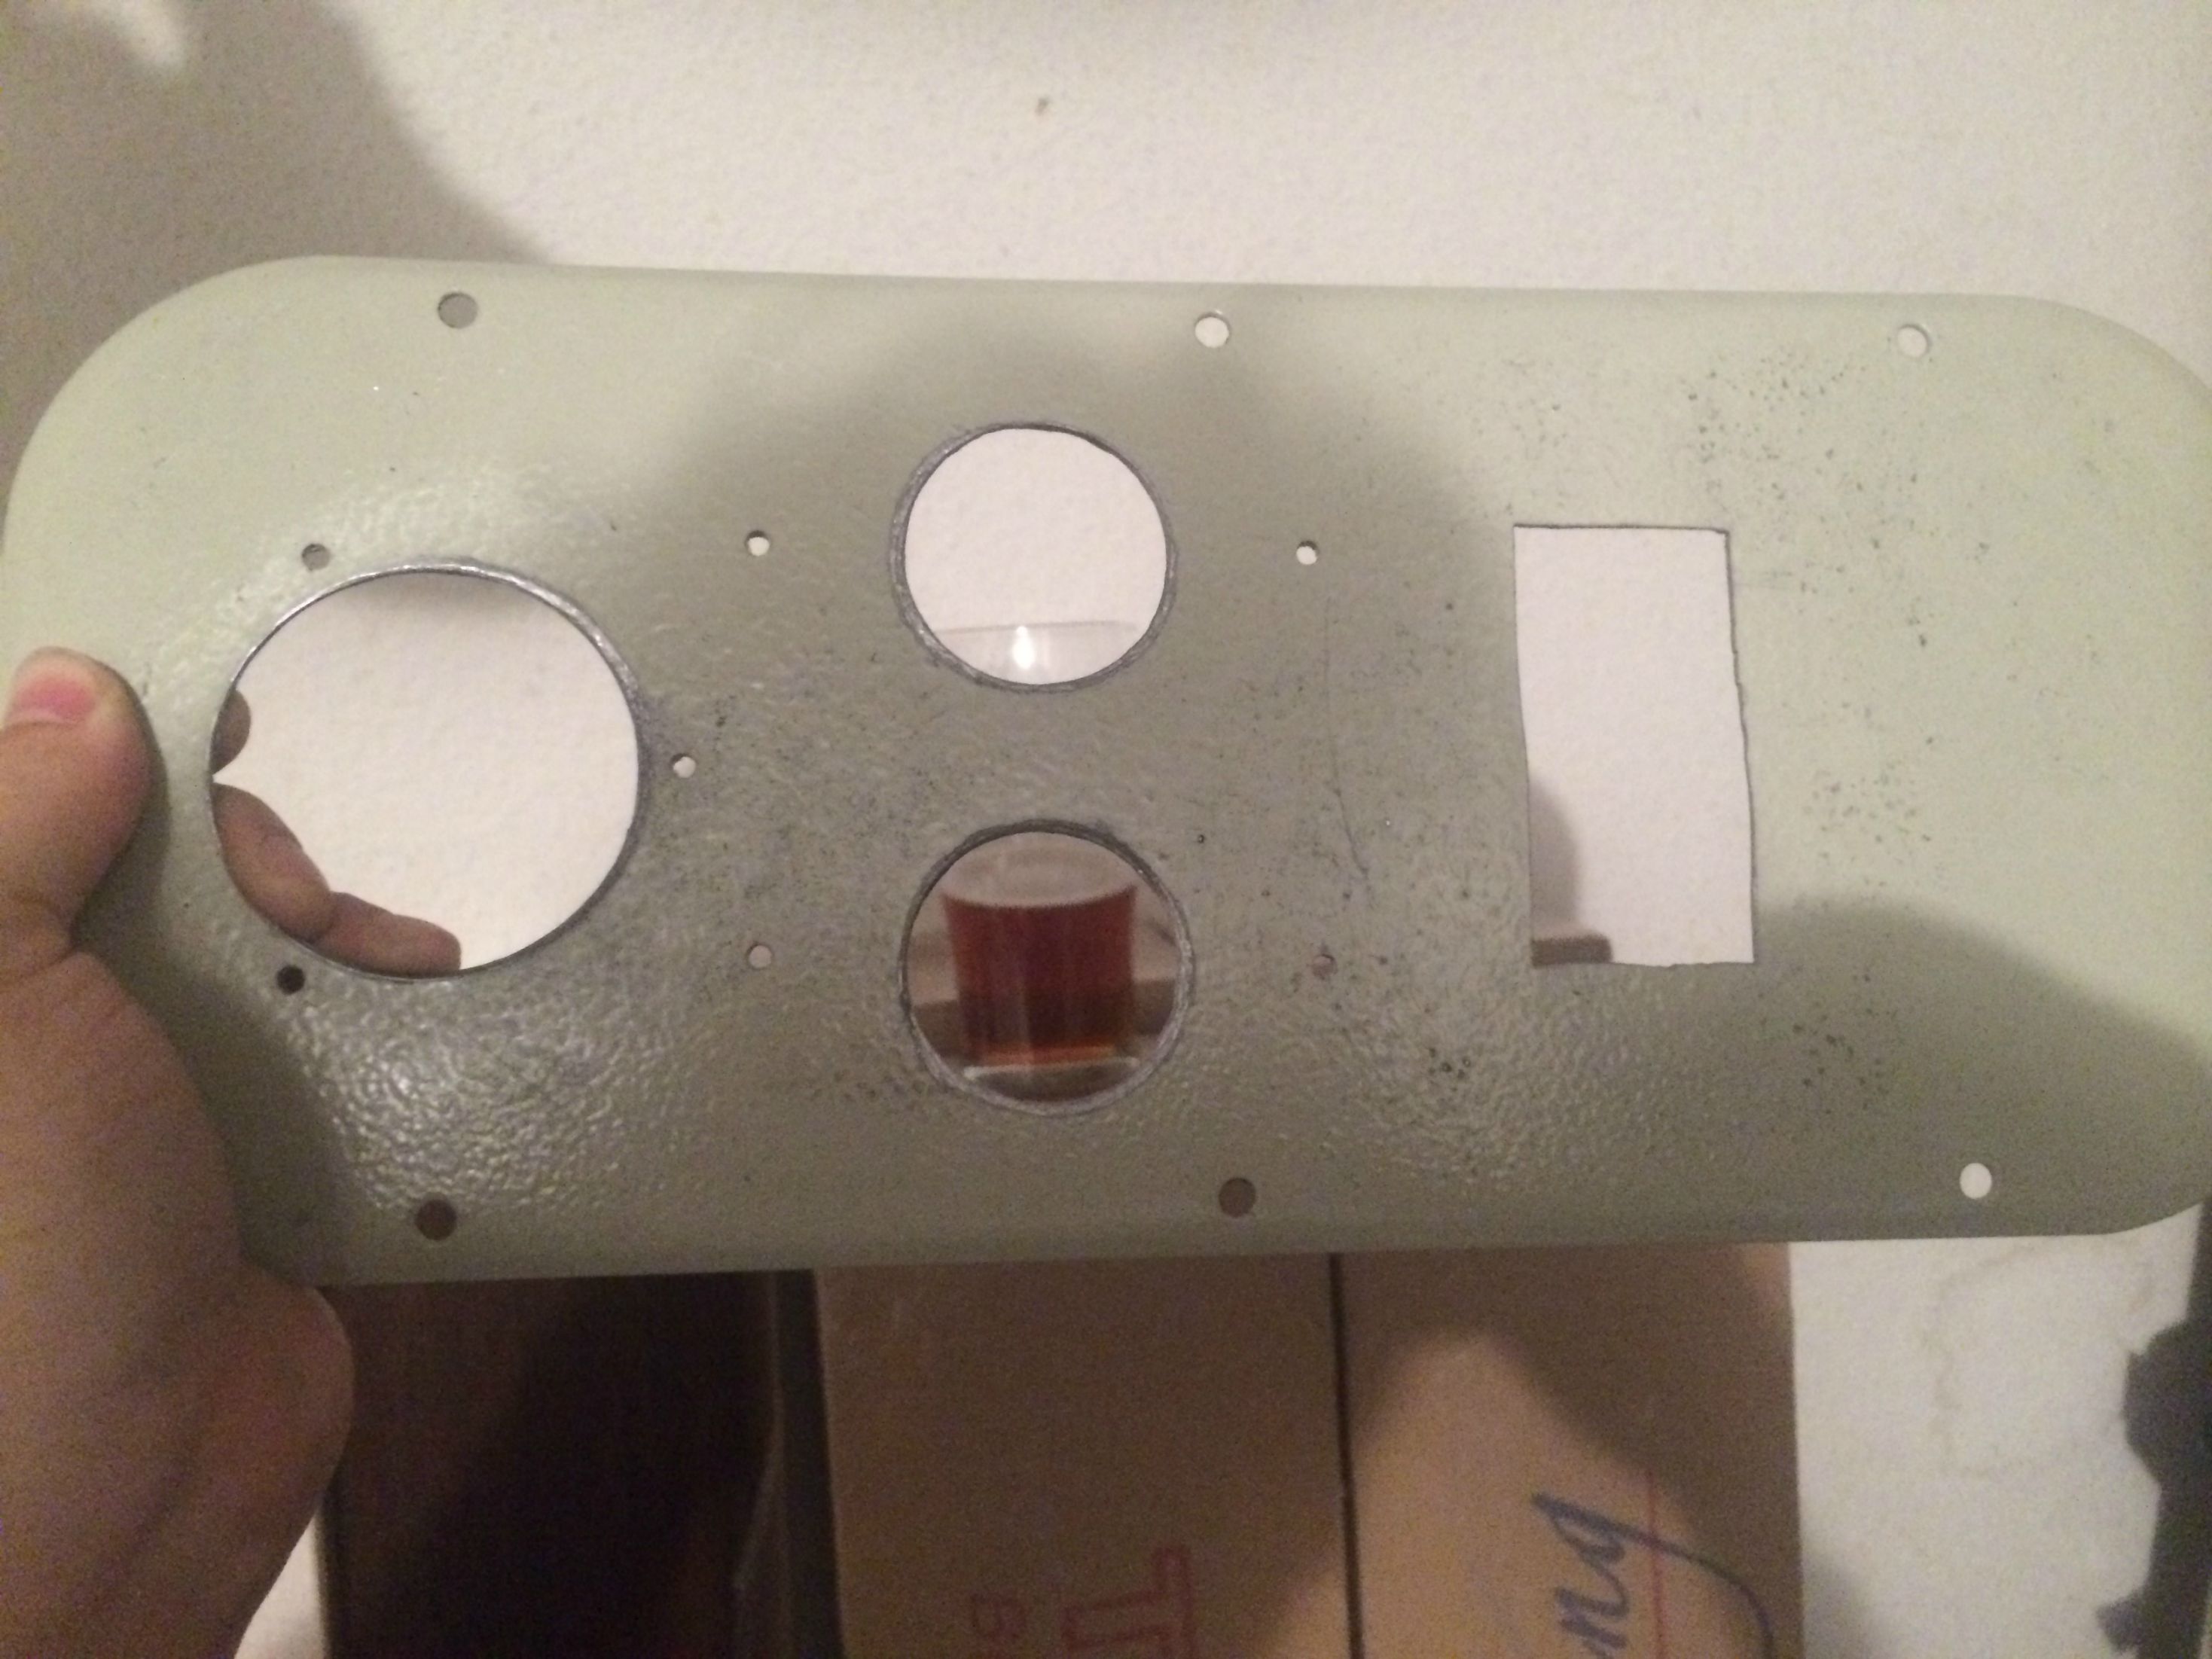
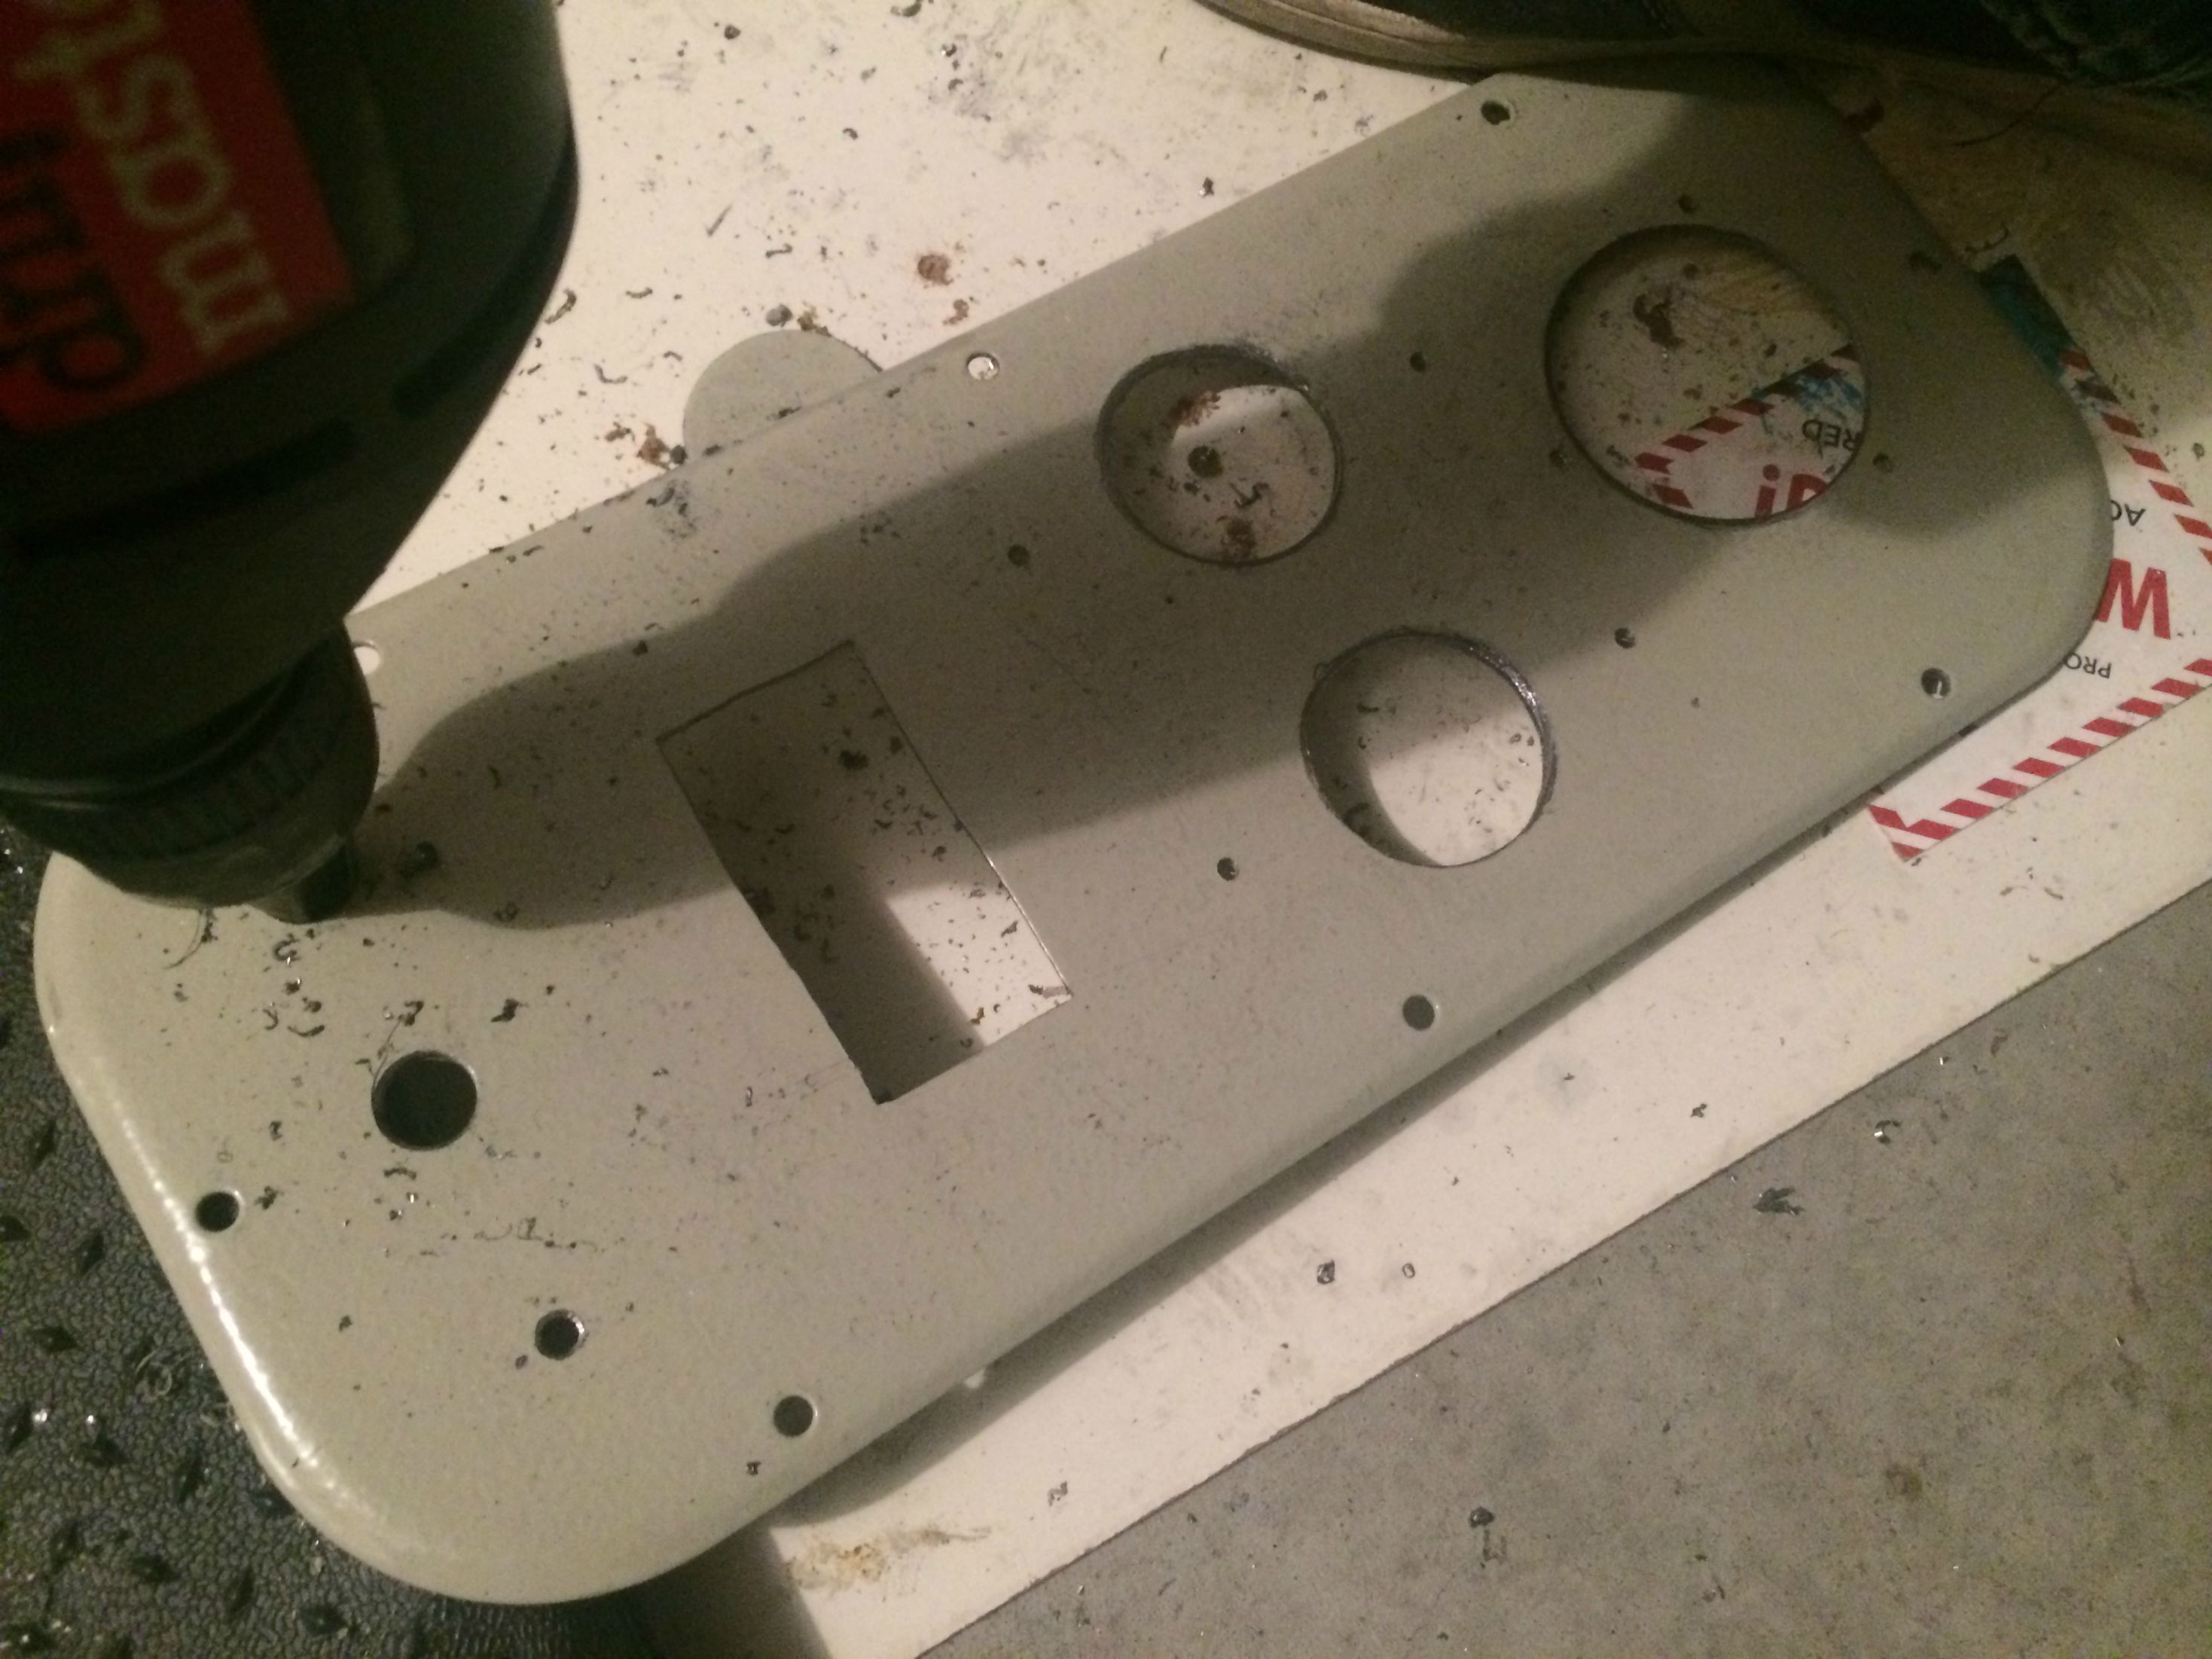
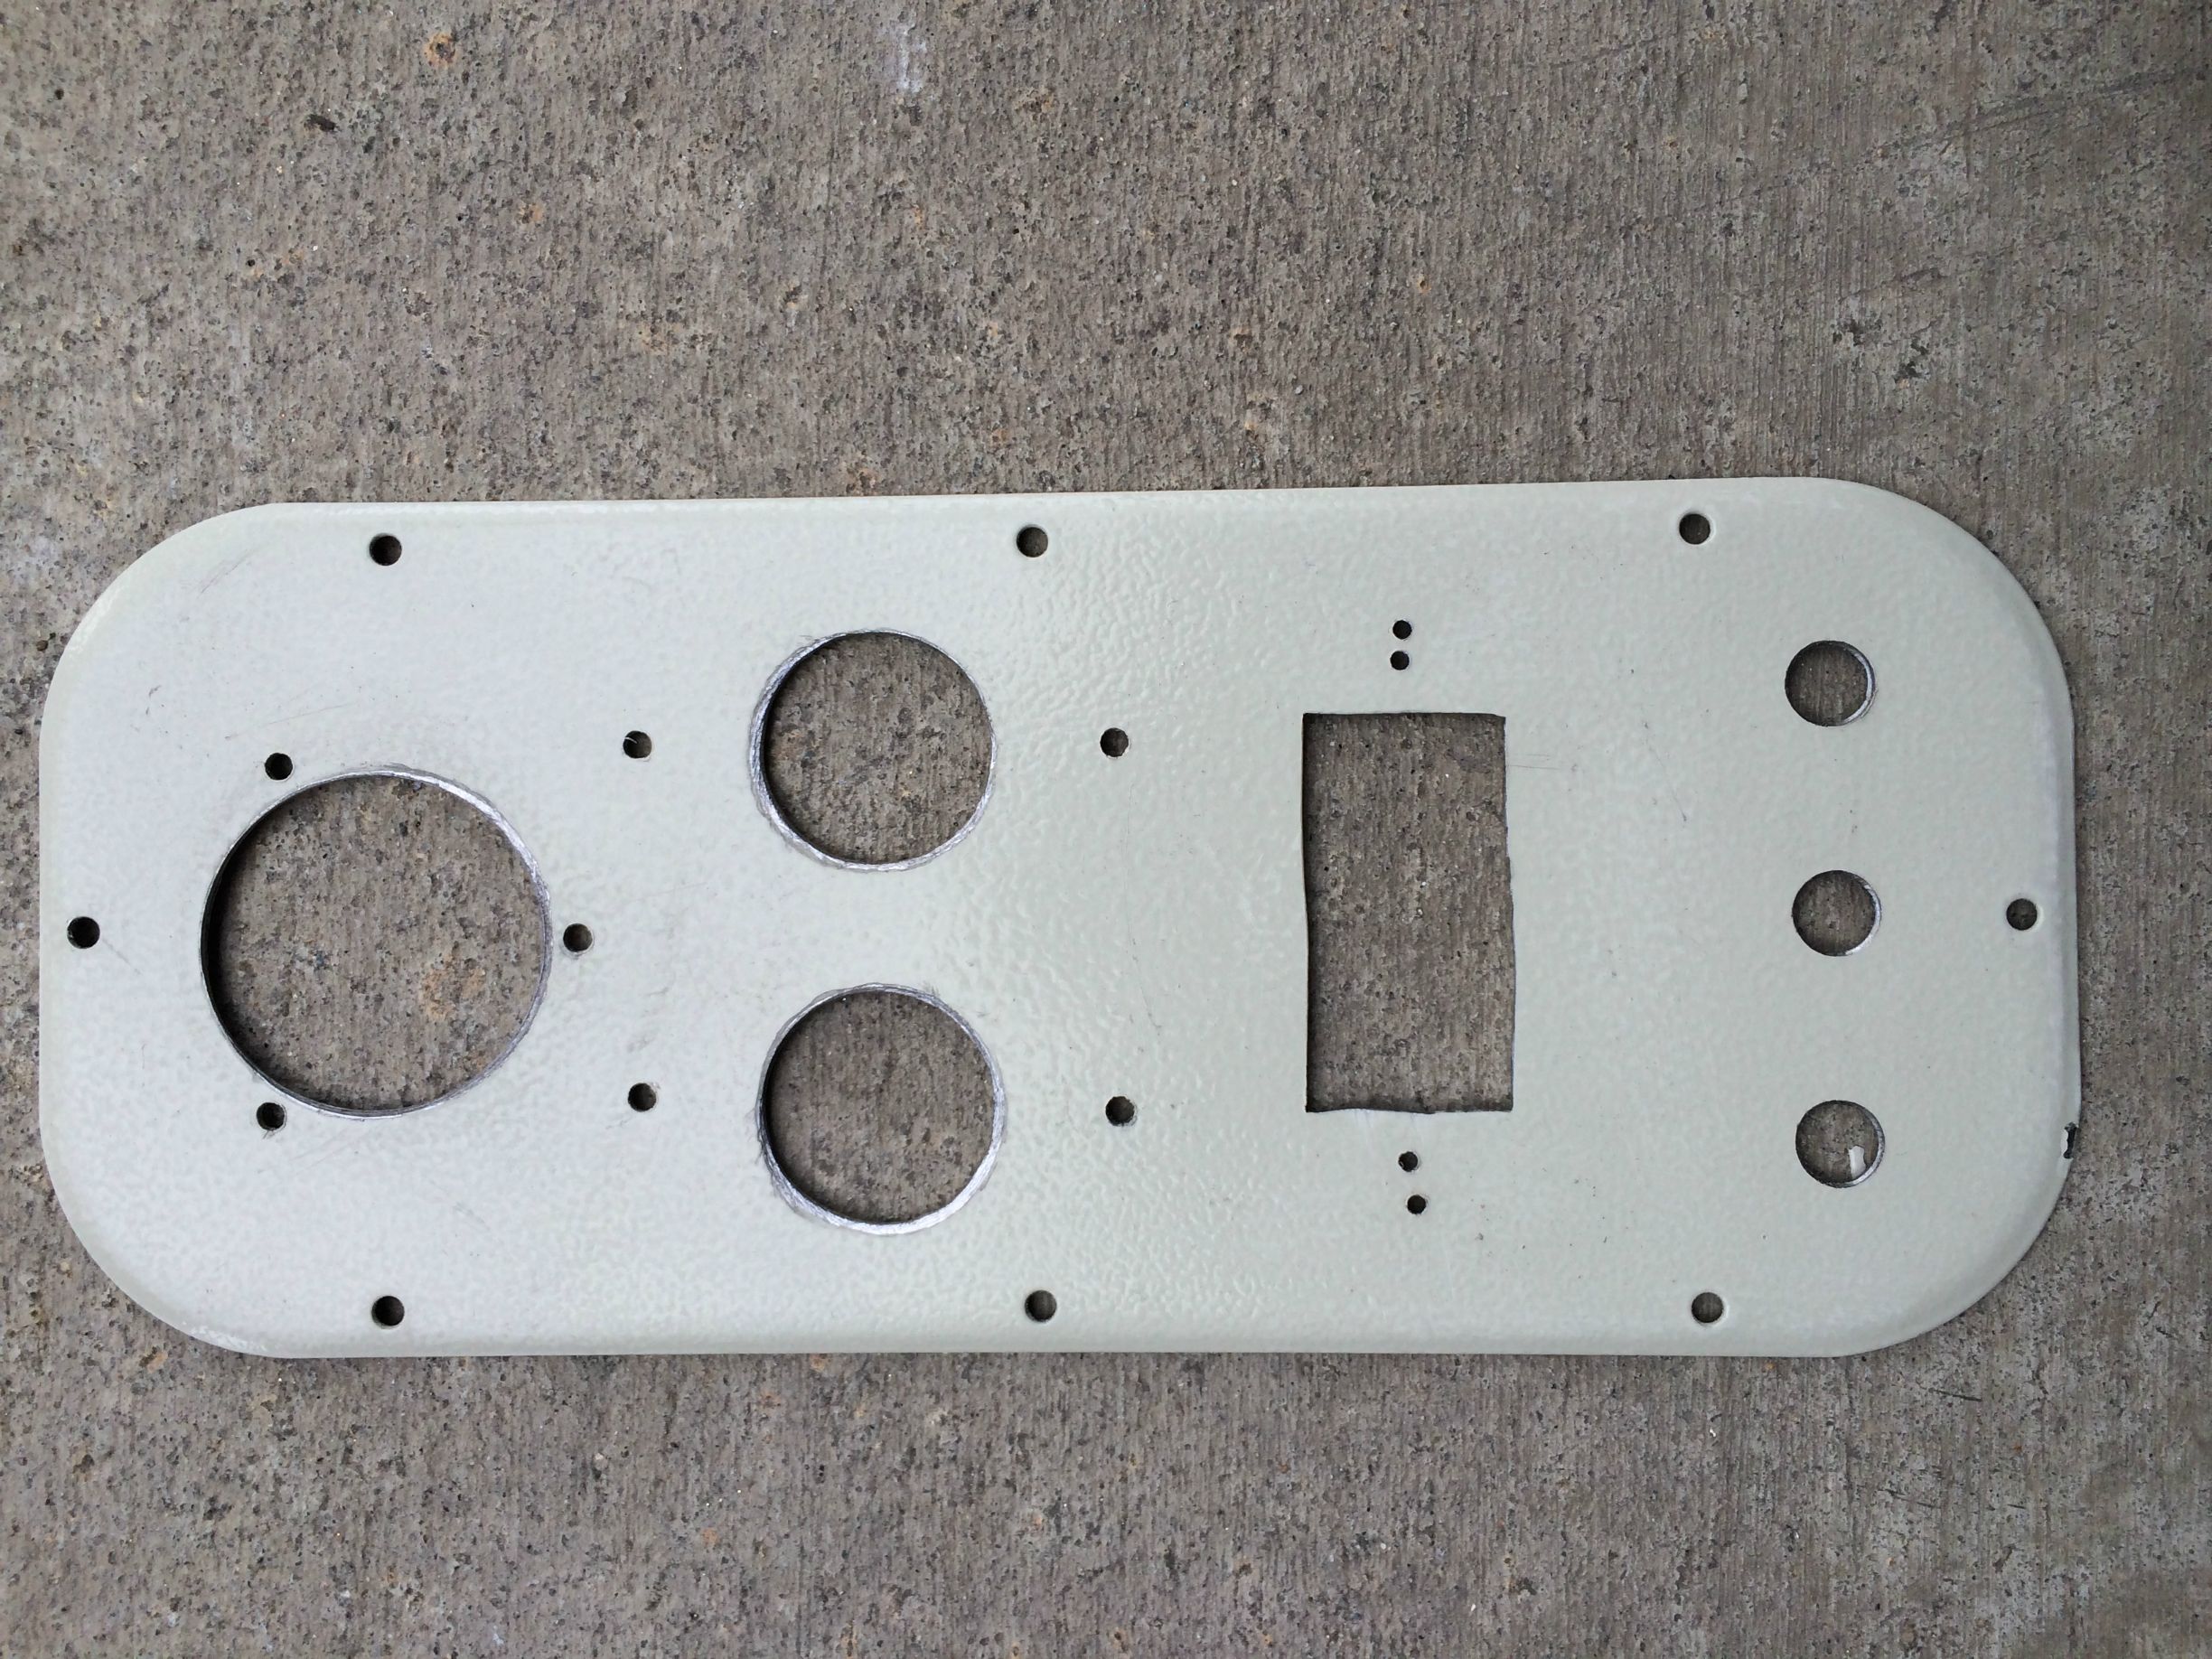
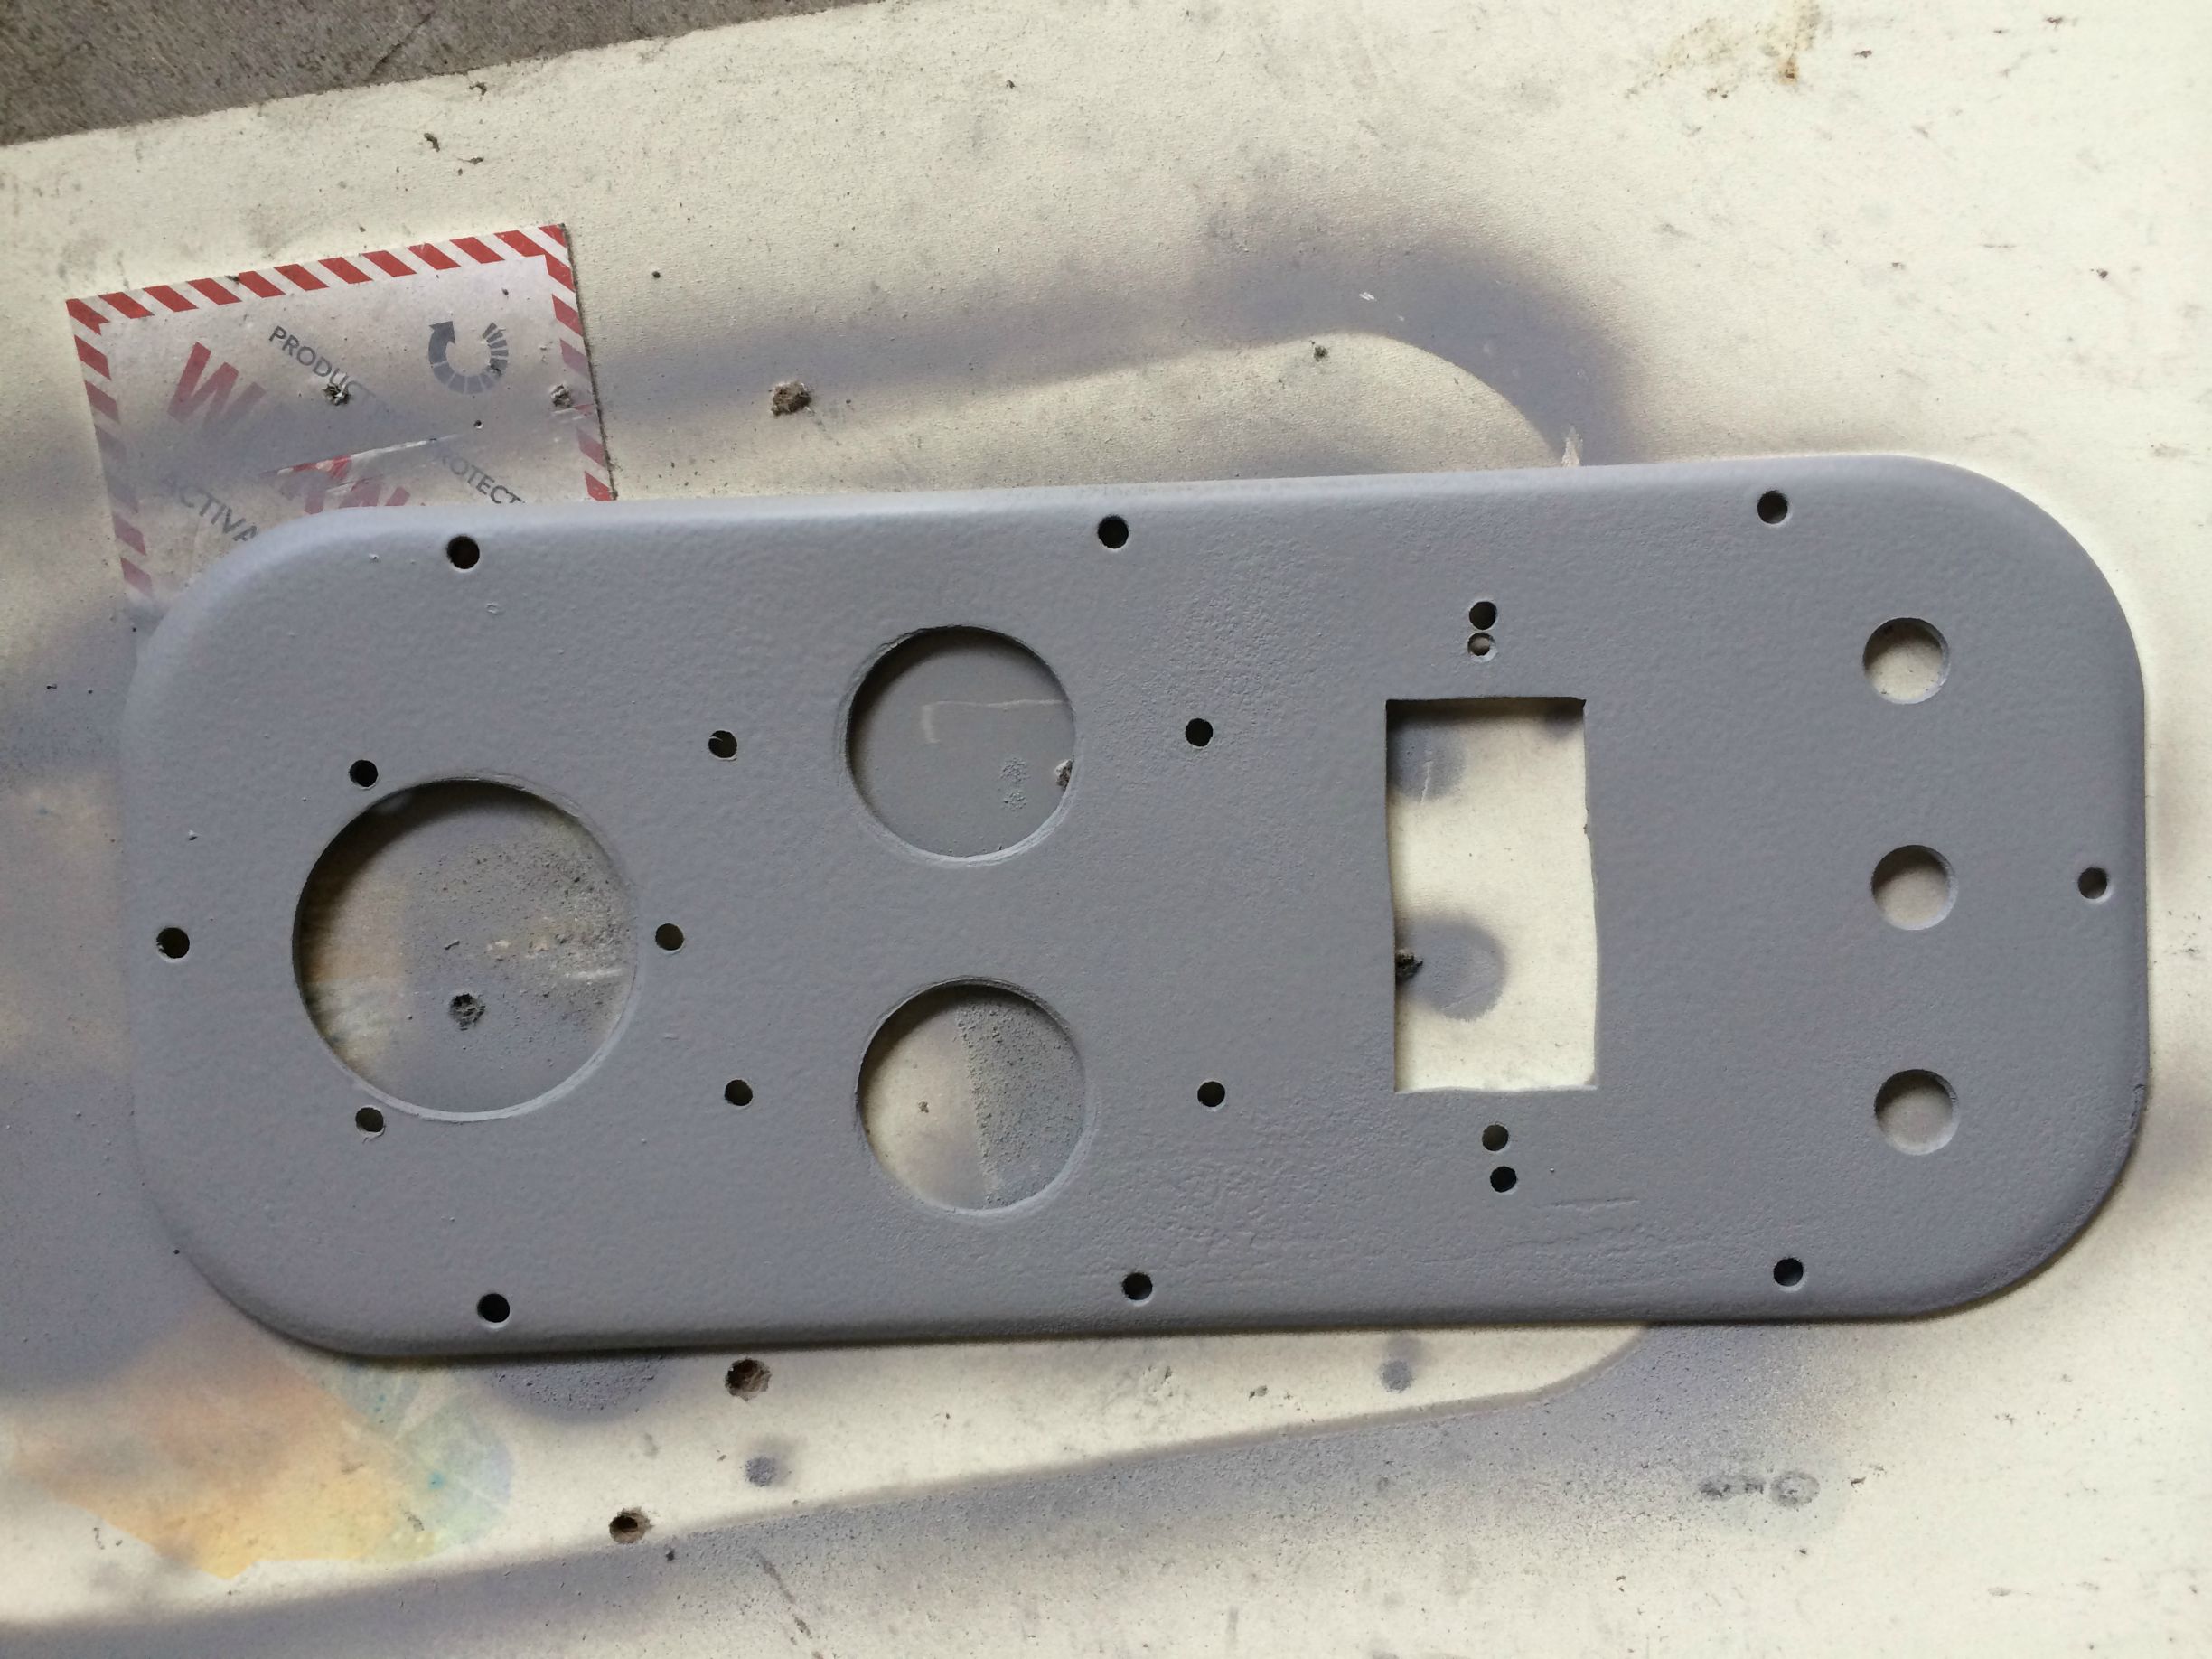
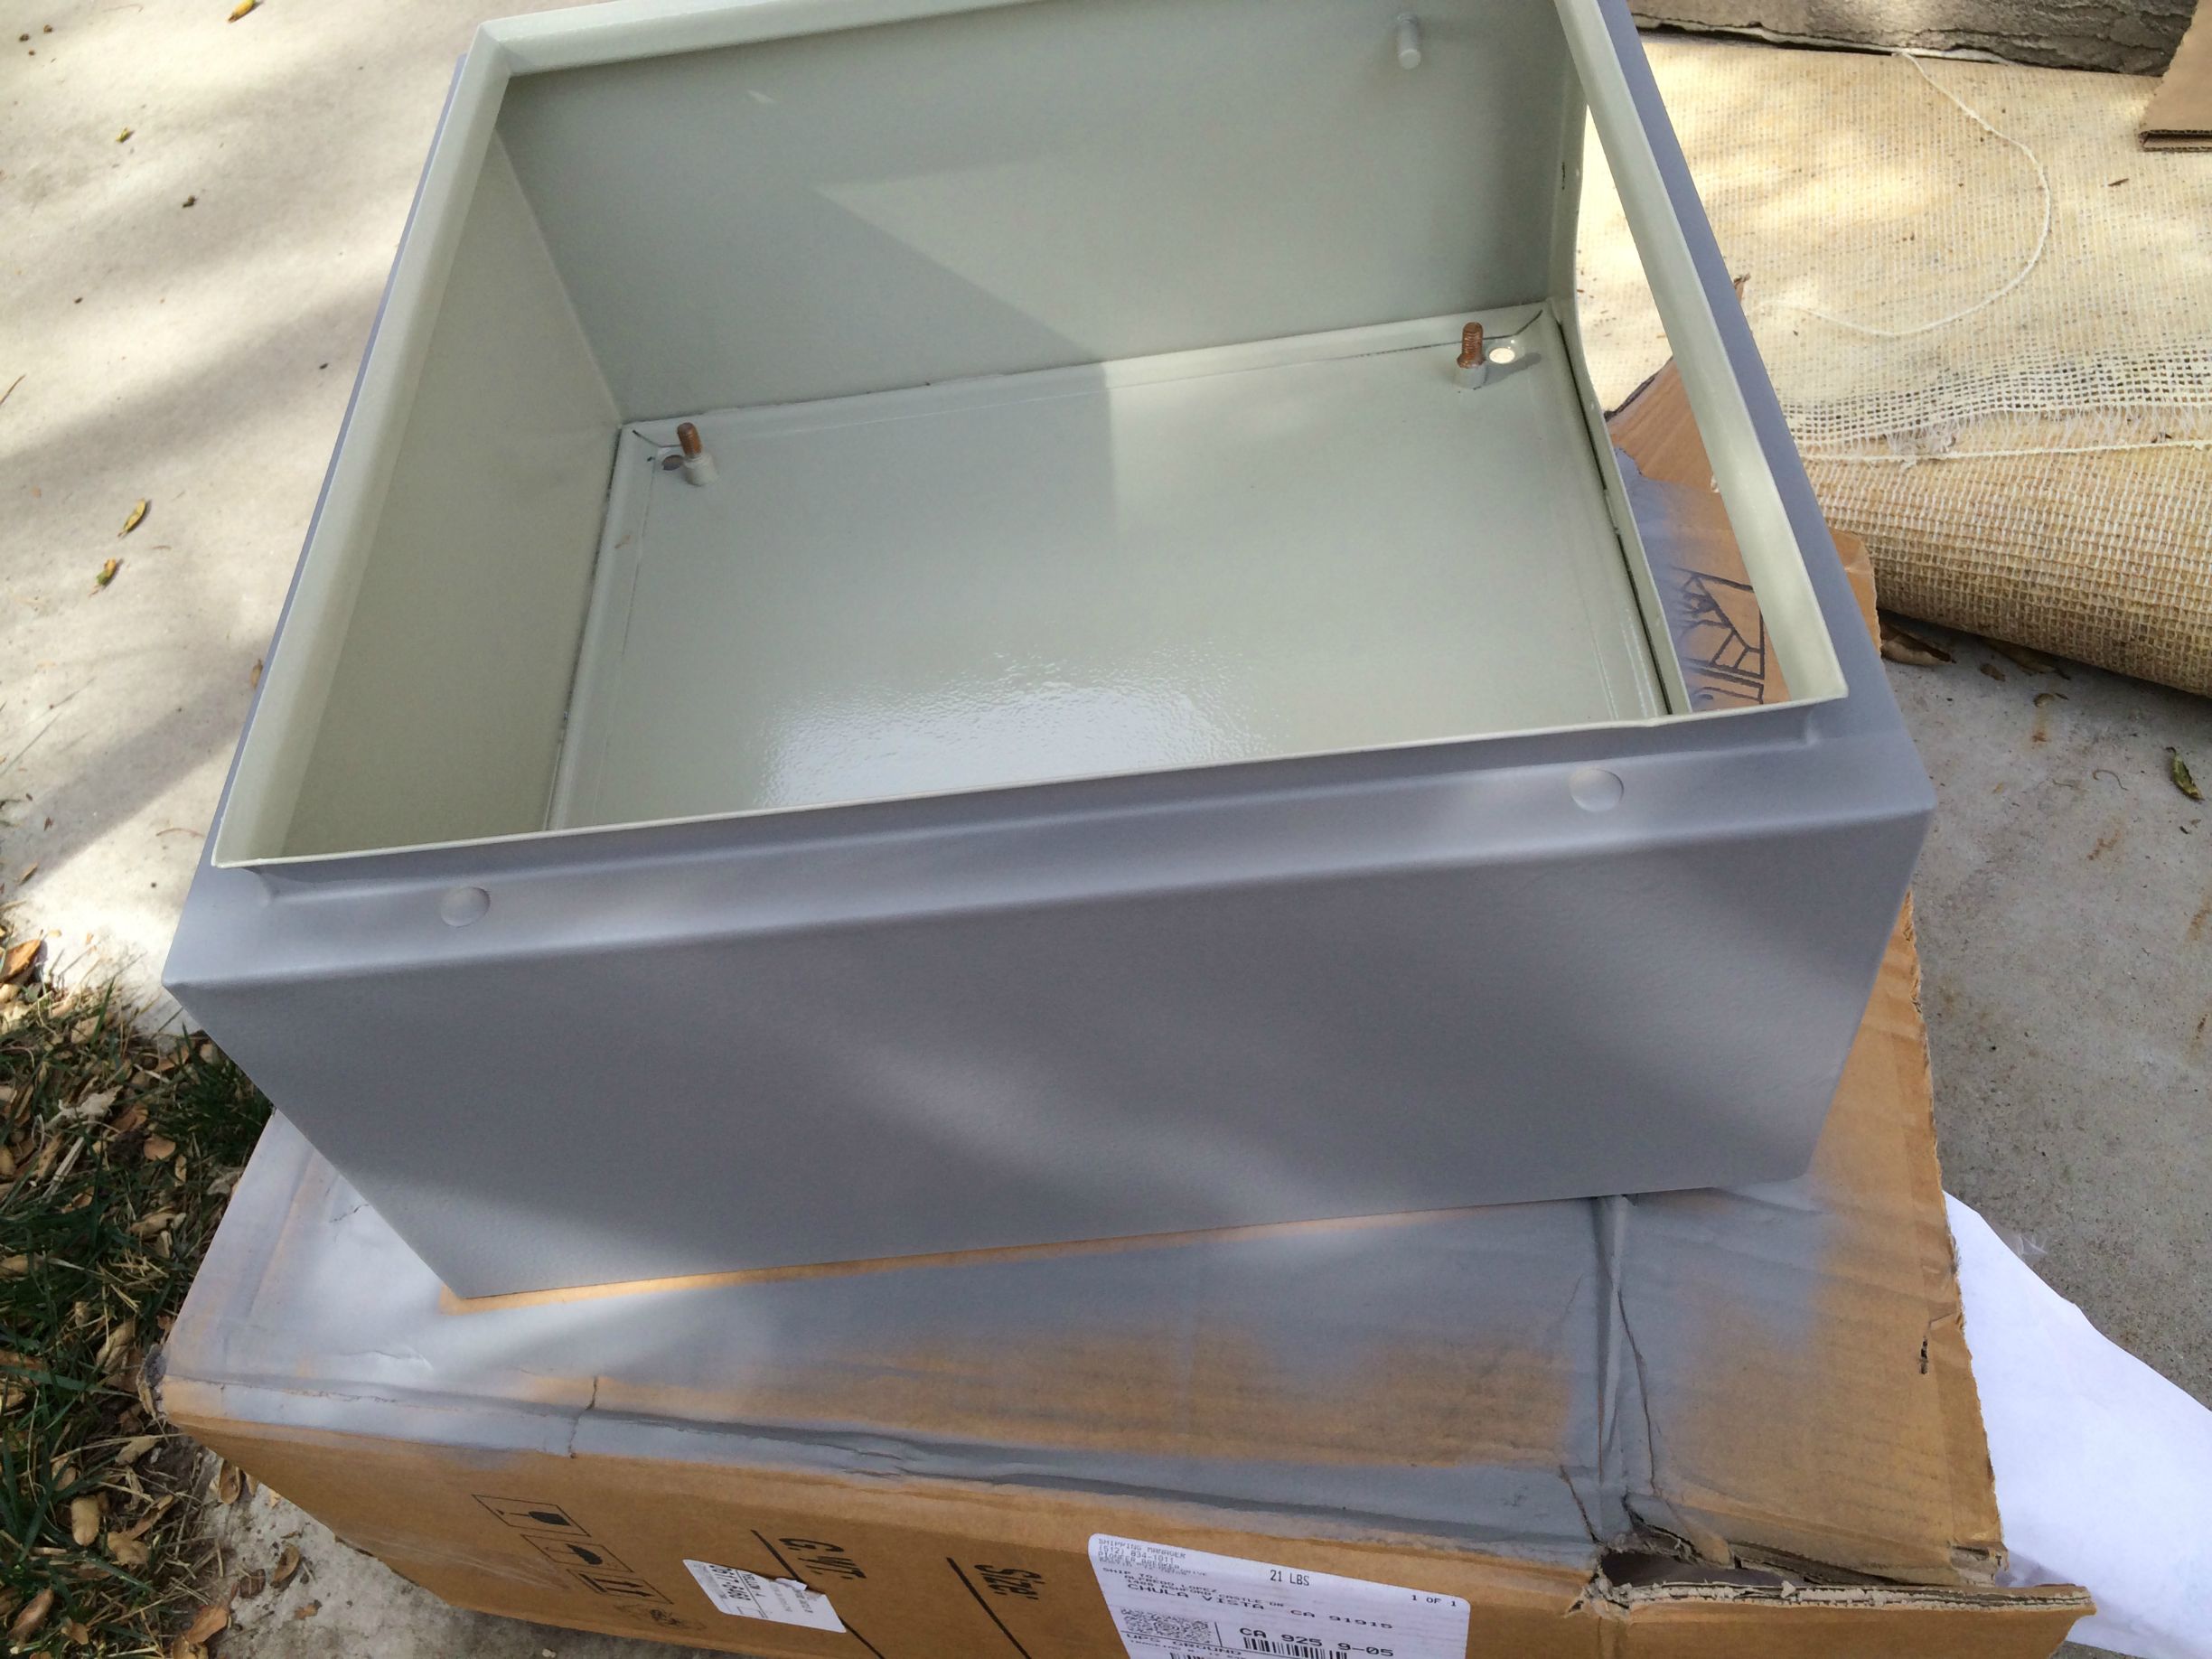
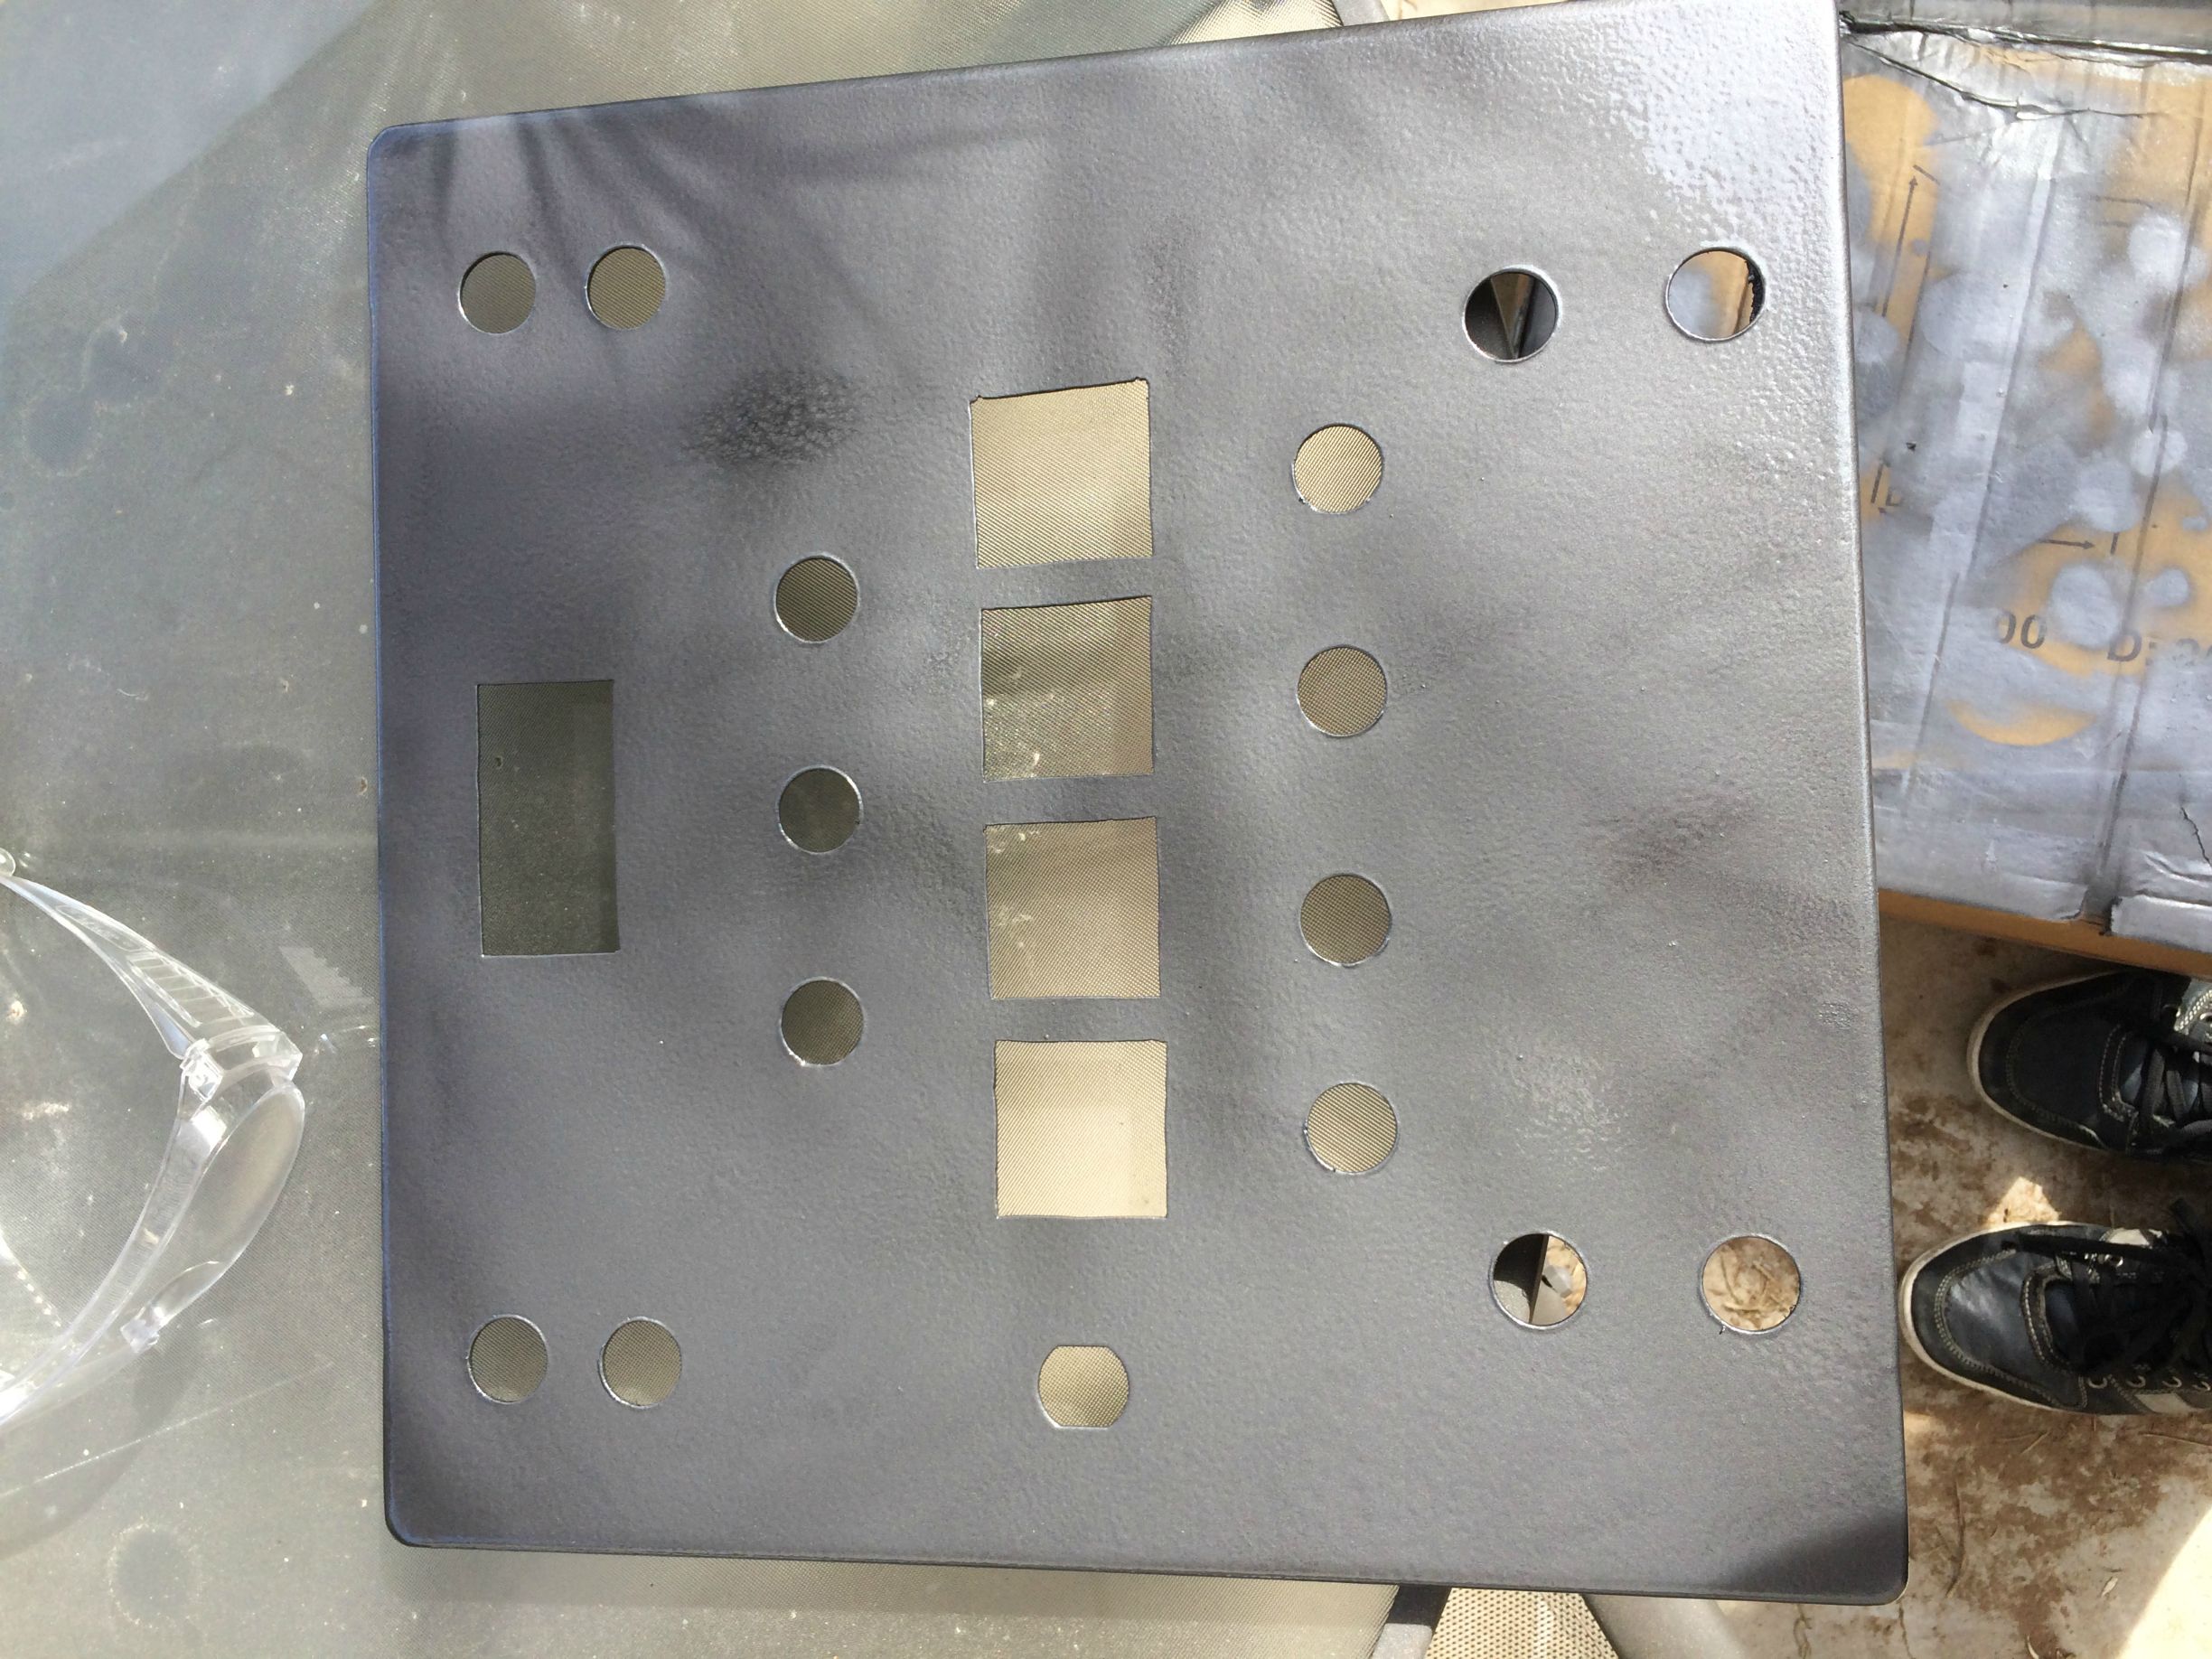
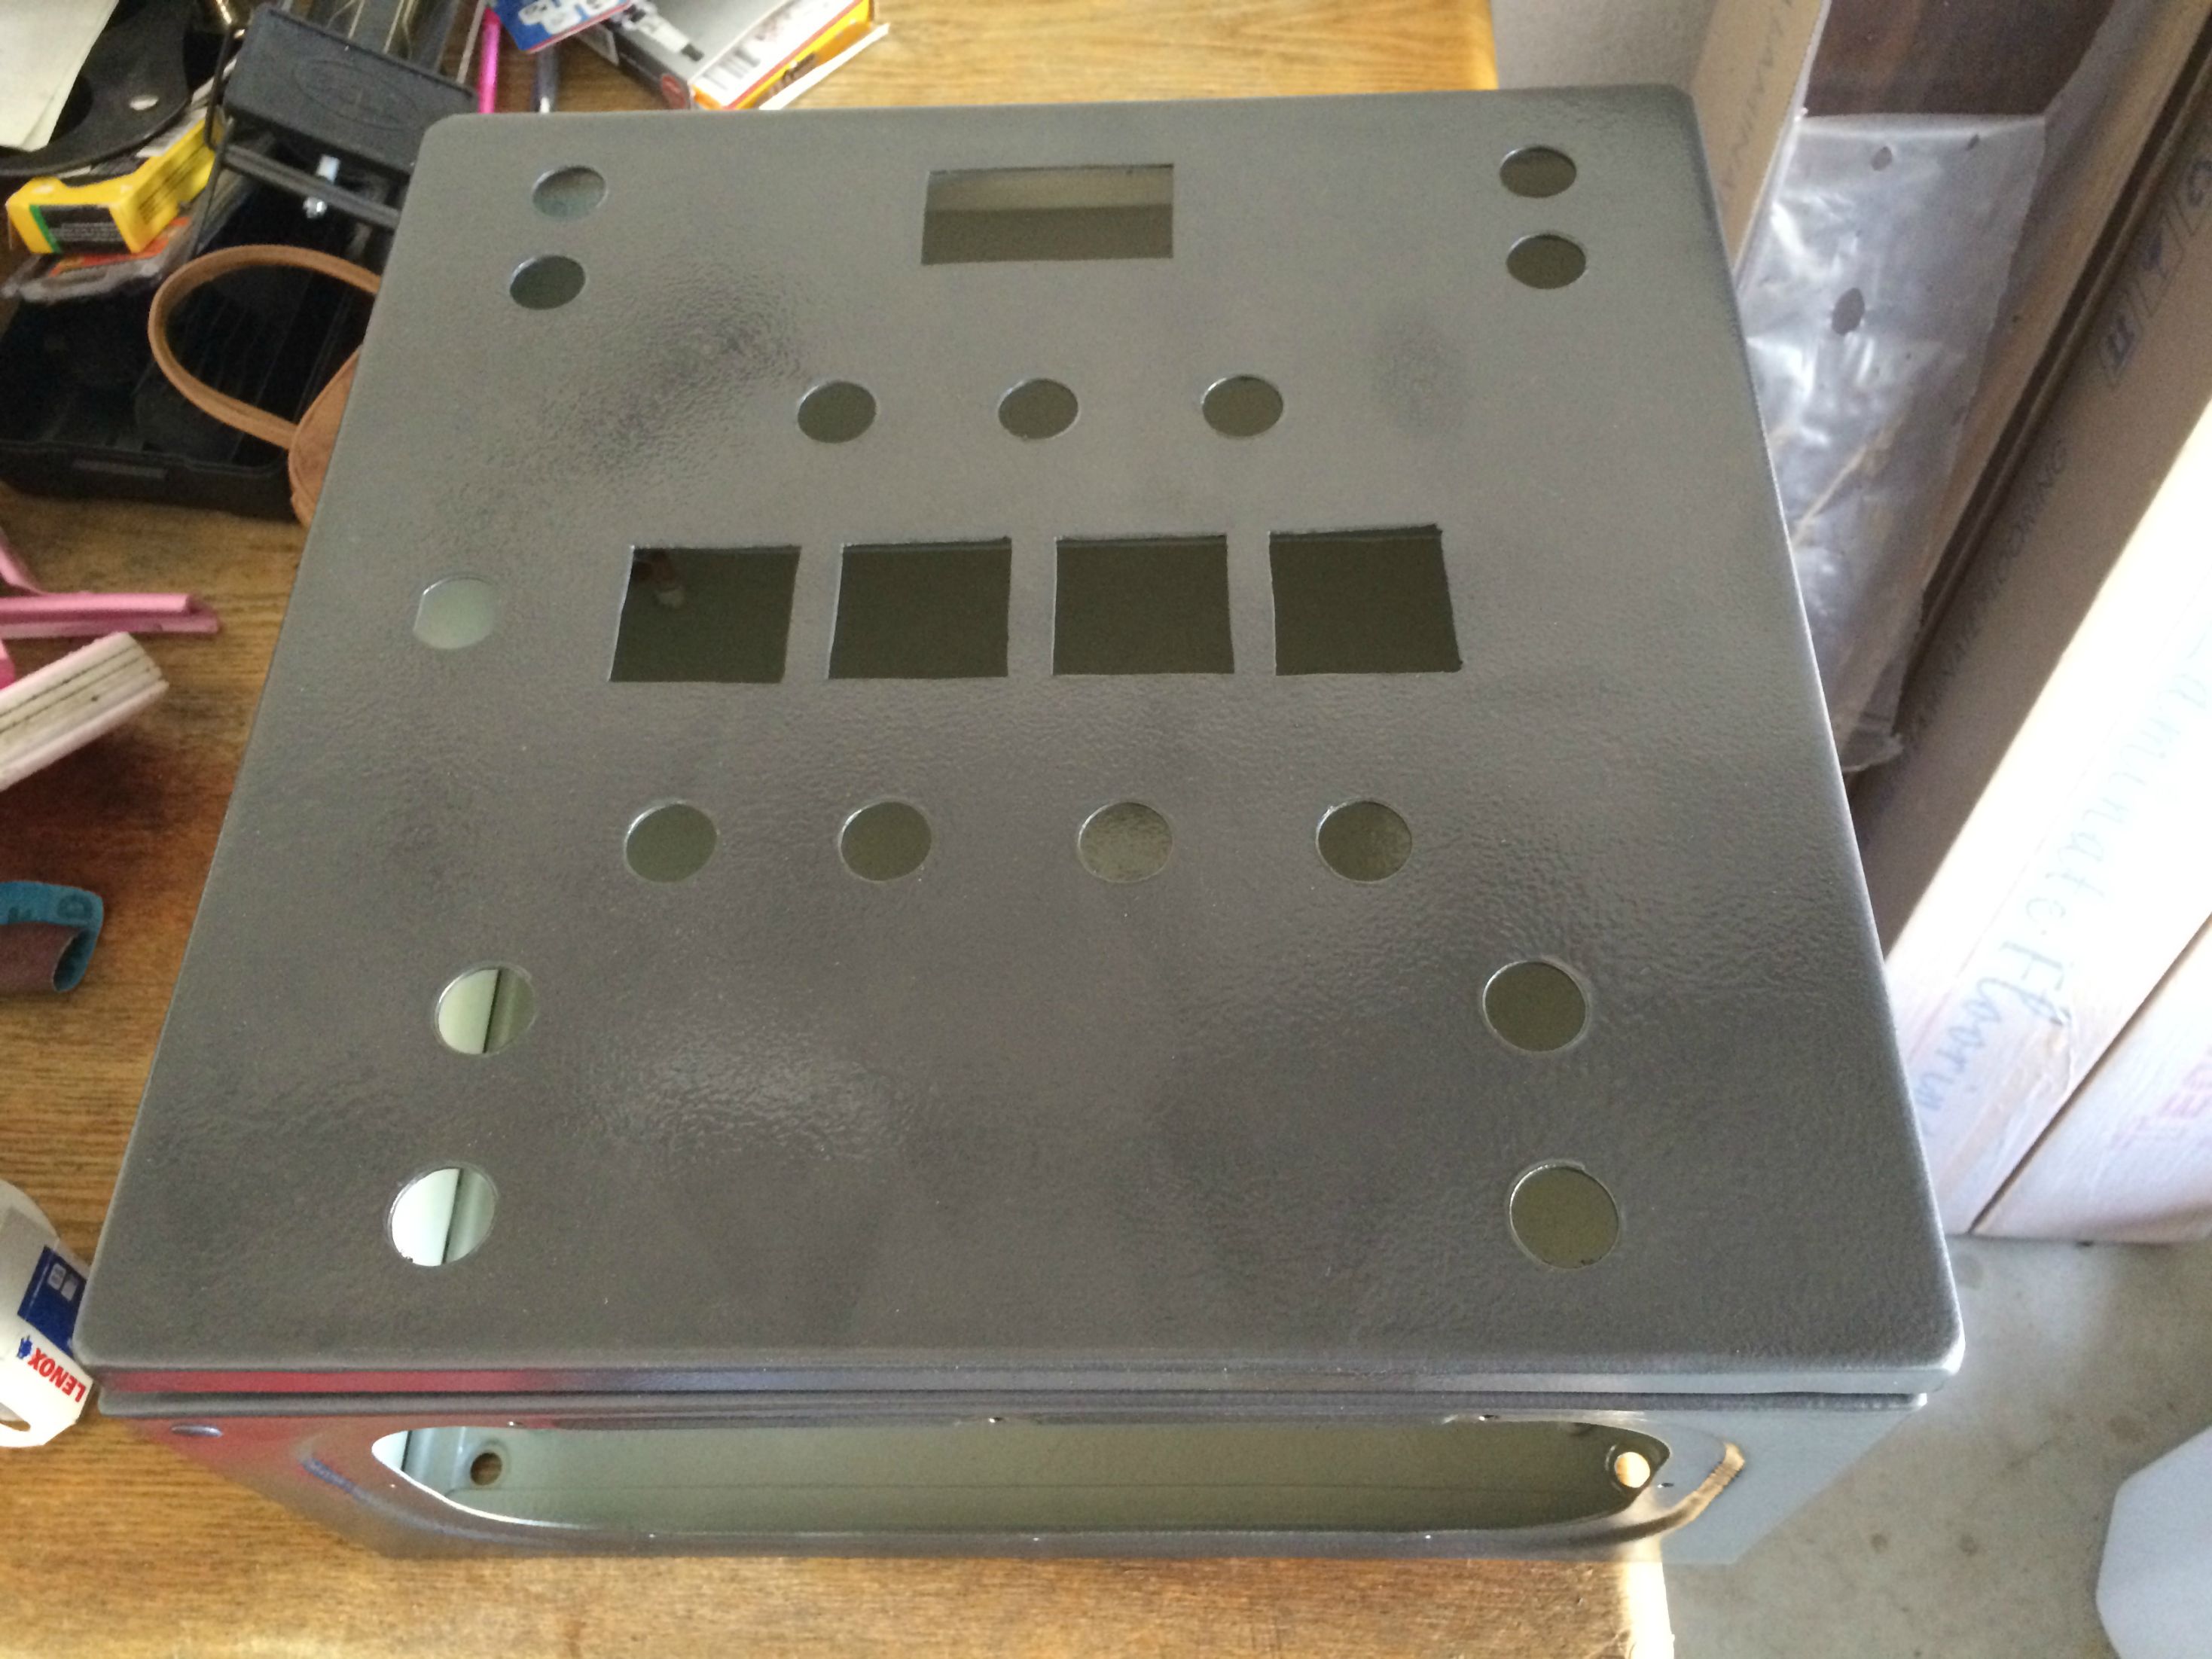
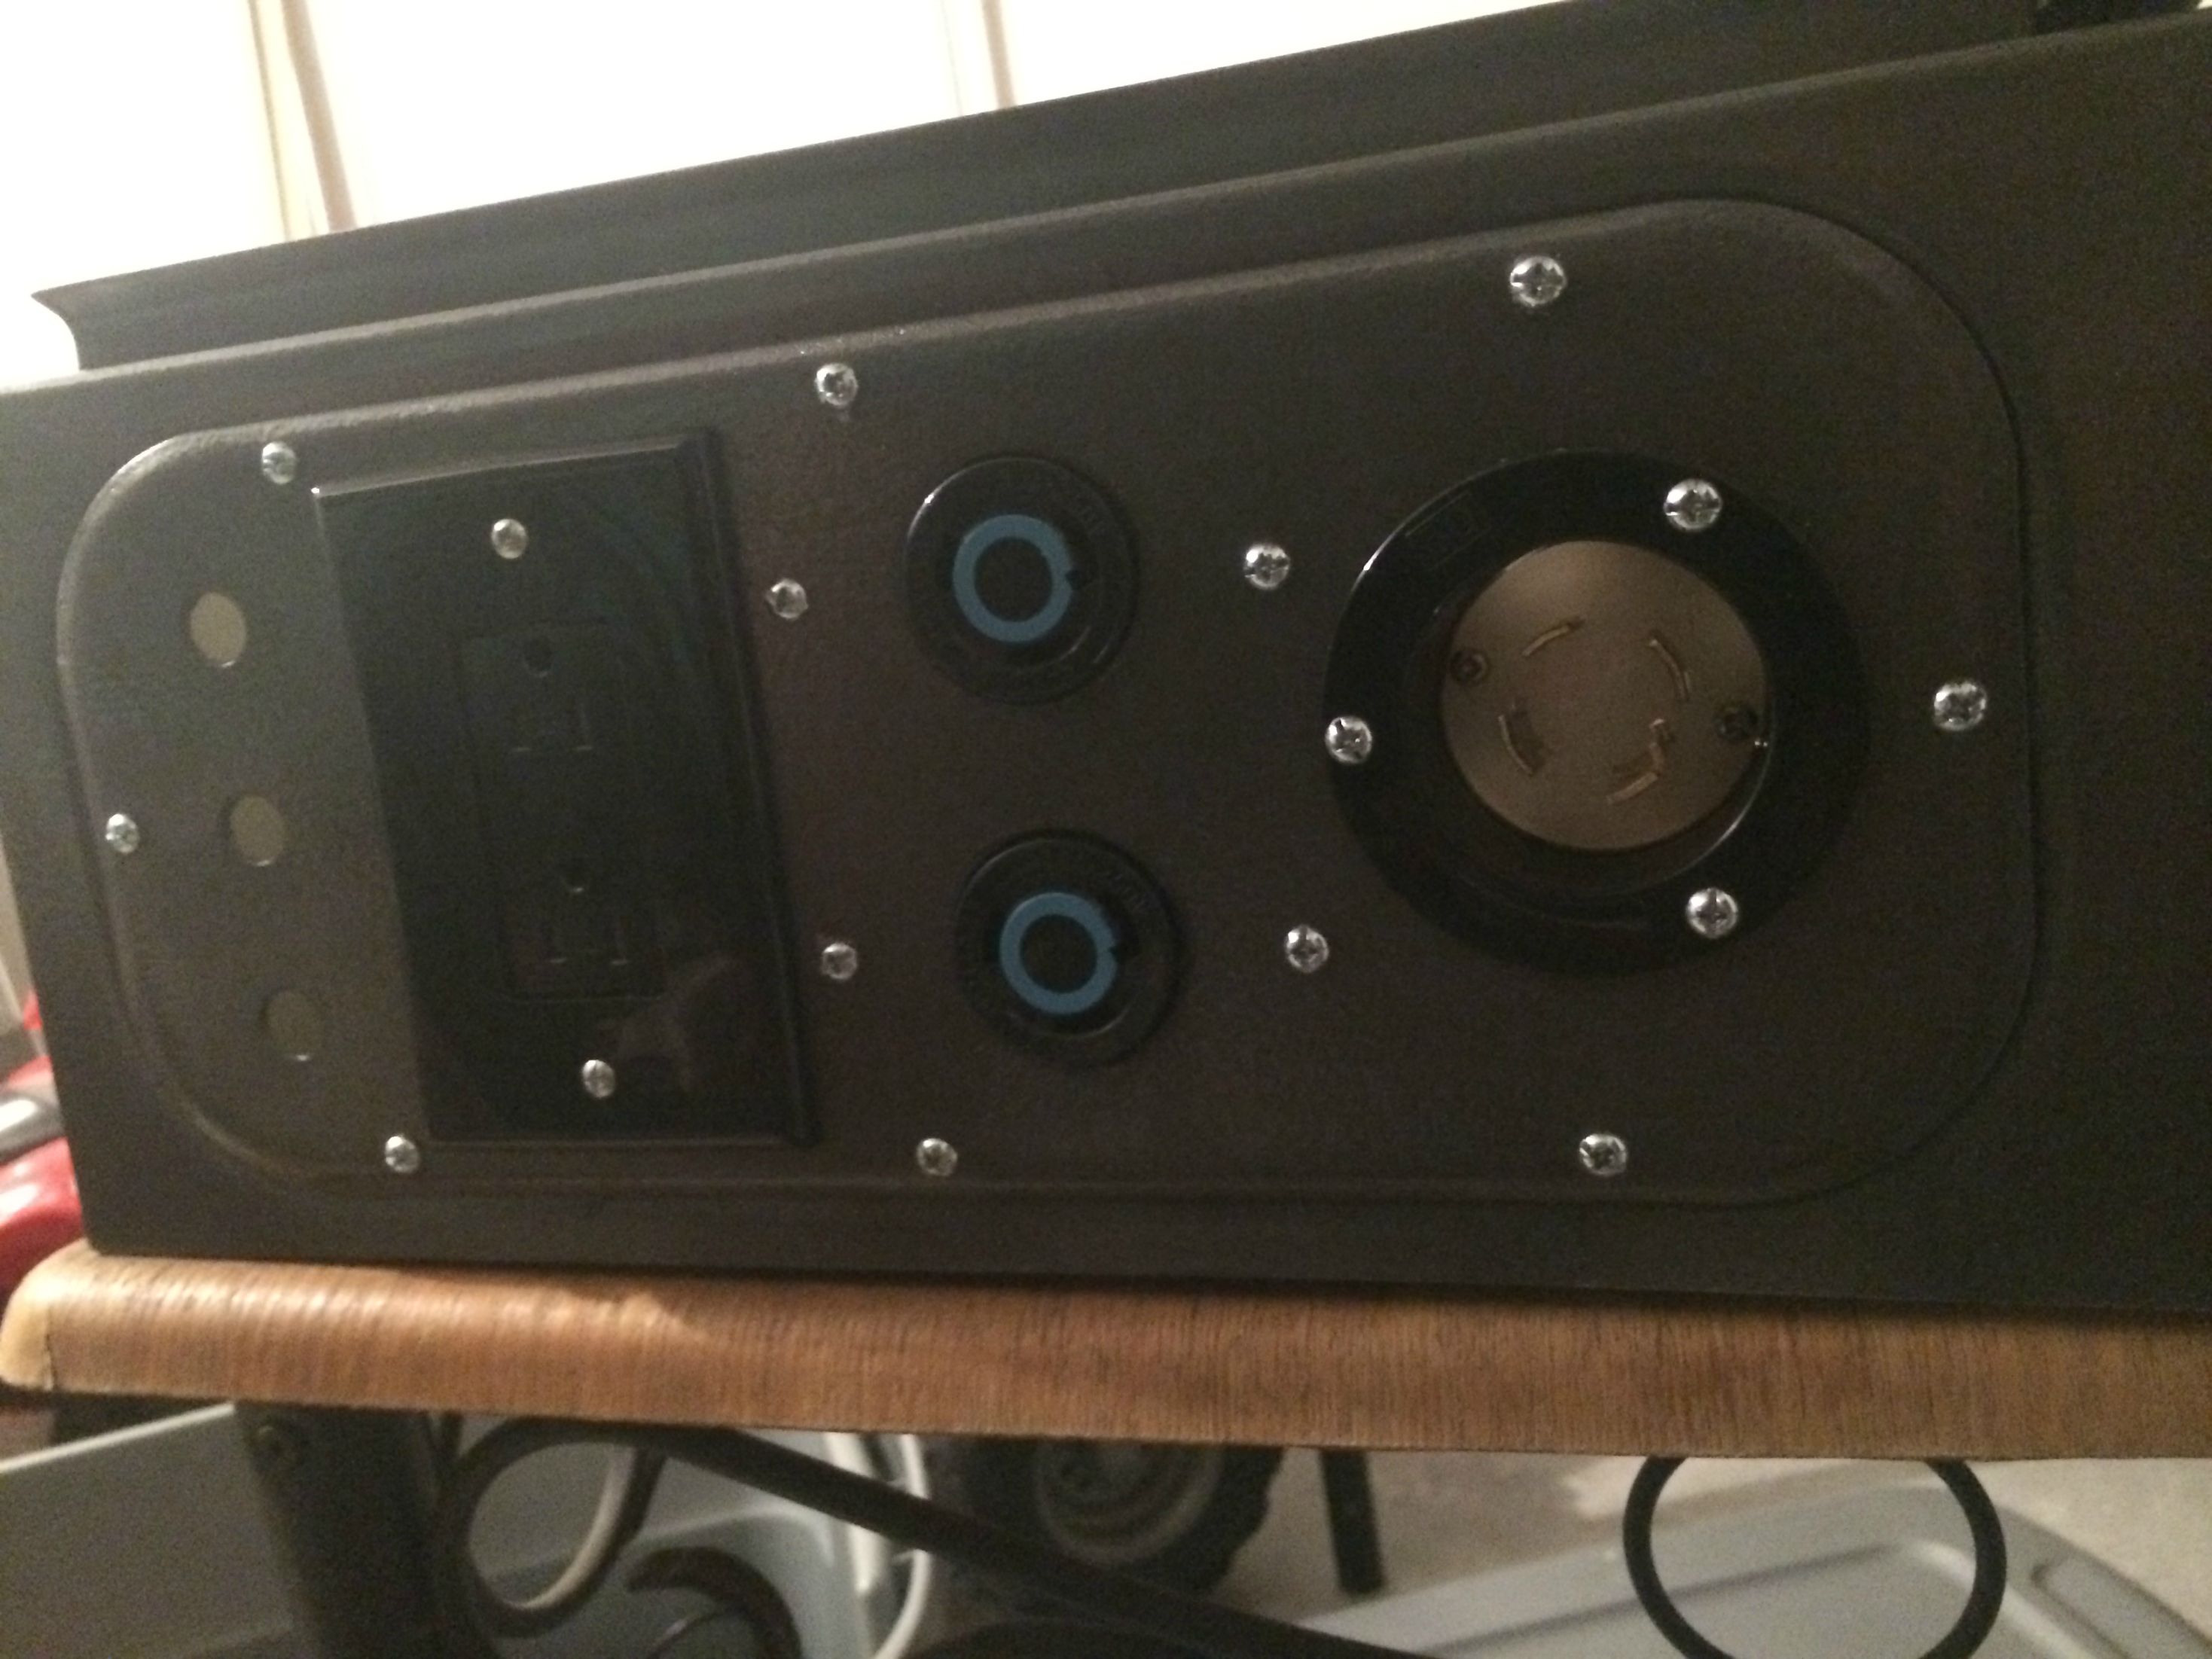
Enclosure
ENCLOSURE 16"(400)W X 16"(400)H X 8"(200)D WITH BACK PLATE. BEIGE COLOR - $79 + 16.49 shipping
http://www.amazon.com/gp/product/B00BR4IJOC/?tag=skimlinks_replacement-20
Sugatsune SWF 650 Stainless Steel Wire Pull Handle, Satin Finish, Threaded Holes, Round Grip, 5" Center To Center, 1-3/8" Projection (Pack of 2) - $15.76
http://www.amazon.com/gp/product/B005FMTURW/?tag=skimlinks_replacement-20
2 of Sugatsune SWF 316 Stainless Steel Wire Pull Handle, Satin Finish, Threaded Holes, Round Grip, 12" Center To Center, 1-3/8" Projection (Pack of 1) - $12.50
http://www.amazon.com/gp/product/B005FMTUOK/?tag=skimlinks_replacement-20
Krylon 69322 Rust Protector Hammered Paint, Charcoal Gray Hammer - $9
http://www.amazon.com/gp/product/B008PPVMOK/?tag=skimlinks_replacement-20
PlastiKote T-235 Gray Sandable Primer Enamel - 12 Oz. - $7.84
http://www.amazon.com/gp/product/B000CPAA3A/?tag=skimlinks_replacement-20
Power cables, connectors and elements
Carol 10 AWG 3C SJOOW Power Cable 25 ft. - $37.92 + $9.61 shipping
http://www.amazon.com/gp/product/B000PH83WU/?tag=skimlinks_replacement-20
PETRA 90-2028 10-Foot 4-Wire Dryer Cord - $ 17.98
http://www.amazon.com/gp/product/B0014KO11O/?tag=skimlinks_replacement-20
Arrow Hart NEMA L14-30 30 AMP 125/250V 3 Pole 4 Wire Flanged Inlet - $28.99
http://www.ebay.com/itm/121130342104?ssPageName=STRK:MEWNX:IT&_trksid=p3984.m1497.l2649
Leviton 2713 30 Amp, 125/250 Volt, NEMA L14-30R, 3P, 4W, Locking Connector, Industrial Grade, Grounding - Black-White - $21.99
http://www.amazon.com/gp/product/B000FKBZ5O/?tag=skimlinks_replacement-20
2 of Leviton 2621 30 Amp, 250 Volt, NEMA L6-30P, 2P, 3W, Locking Plug, Industrial Grade, Grounding - Black-White - $13.15 each
http://www.amazon.com/gp/product/B00002NARX/?tag=skimlinks_replacement-20
2 of Leviton 2620 30 Amp, 250 Volt, Flush Mounting Locking Receptacle, Industrial Grade, Grounding, V-0-MAX, Black - $15.95
http://www.amazon.com/gp/product/B00002NAT9/?tag=skimlinks_replacement-20
2 of Camco 02962/02963 5500W 240V Screw-In Lime Life Ripple Water Heater Element - Ultra Low Watt Density $28.72 each
http://www.amazon.com/gp/product/B000BPG4LI/?tag=skimlinks_replacement-20
2 of Hubbell Bell 5345-0 Two Gang 5-3/4-Inch Outlets Weatherproof Box, Gray - $11.16 each
http://www.amazon.com/gp/product/B00004WZ2V/?tag=skimlinks_replacement-20
4 of Master Electrician 2BC Weatherproof 2 Gang Blank Cover - $6.22 each
http://www.amazon.com/gp/product/B00ARCH6VW/?tag=skimlinks_replacement-20
2 of 18-8 Stainless Steel Round Shim, Unpolished (Mill) Finish, Annealed, Hard Temper, ASTM A666, 0.075" Thickness, 1-1/2" ID, 2-1/4" OD - $ 2.88 each
http://www.amazon.com/gp/product/B006U241XY/?tag=skimlinks_replacement-20
217 Silicone O-Ring, 70A Durometer, Red, 1-3/16" ID, 1-7/16" OD, 1/8" Width (Pack of 25) - $6.34 each
http://www.amazon.com/gp/product/B000FMYSEM/?tag=skimlinks_replacement-20
2 of Type 304 Stainless Steel Threaded Pipe Fitting, 1 Pipe Size, Locknut, 150 PSI - $6.66 each
http://www.mcmaster.com/nav/enter.asp?partnum=4464K586
2 of Standard Straight Cord Grip, Aluminum, 3/4" NPT Trade Size, .50"-.63" Cord Diameter - $7.90 each
http://www.mcmaster.com/nav/enter.asp?partnum=7529K533
External enclosure components
Digital AC 300V 100A Blue Lcd Dual Panel Volt Amp Combo Meter+CT(Shunt) 110-220v - $9.88
http://www.ebay.com/itm/230974573262?ssPageName=STRK:MEWNX:IT&_trksid=p3984.m1497.l2649
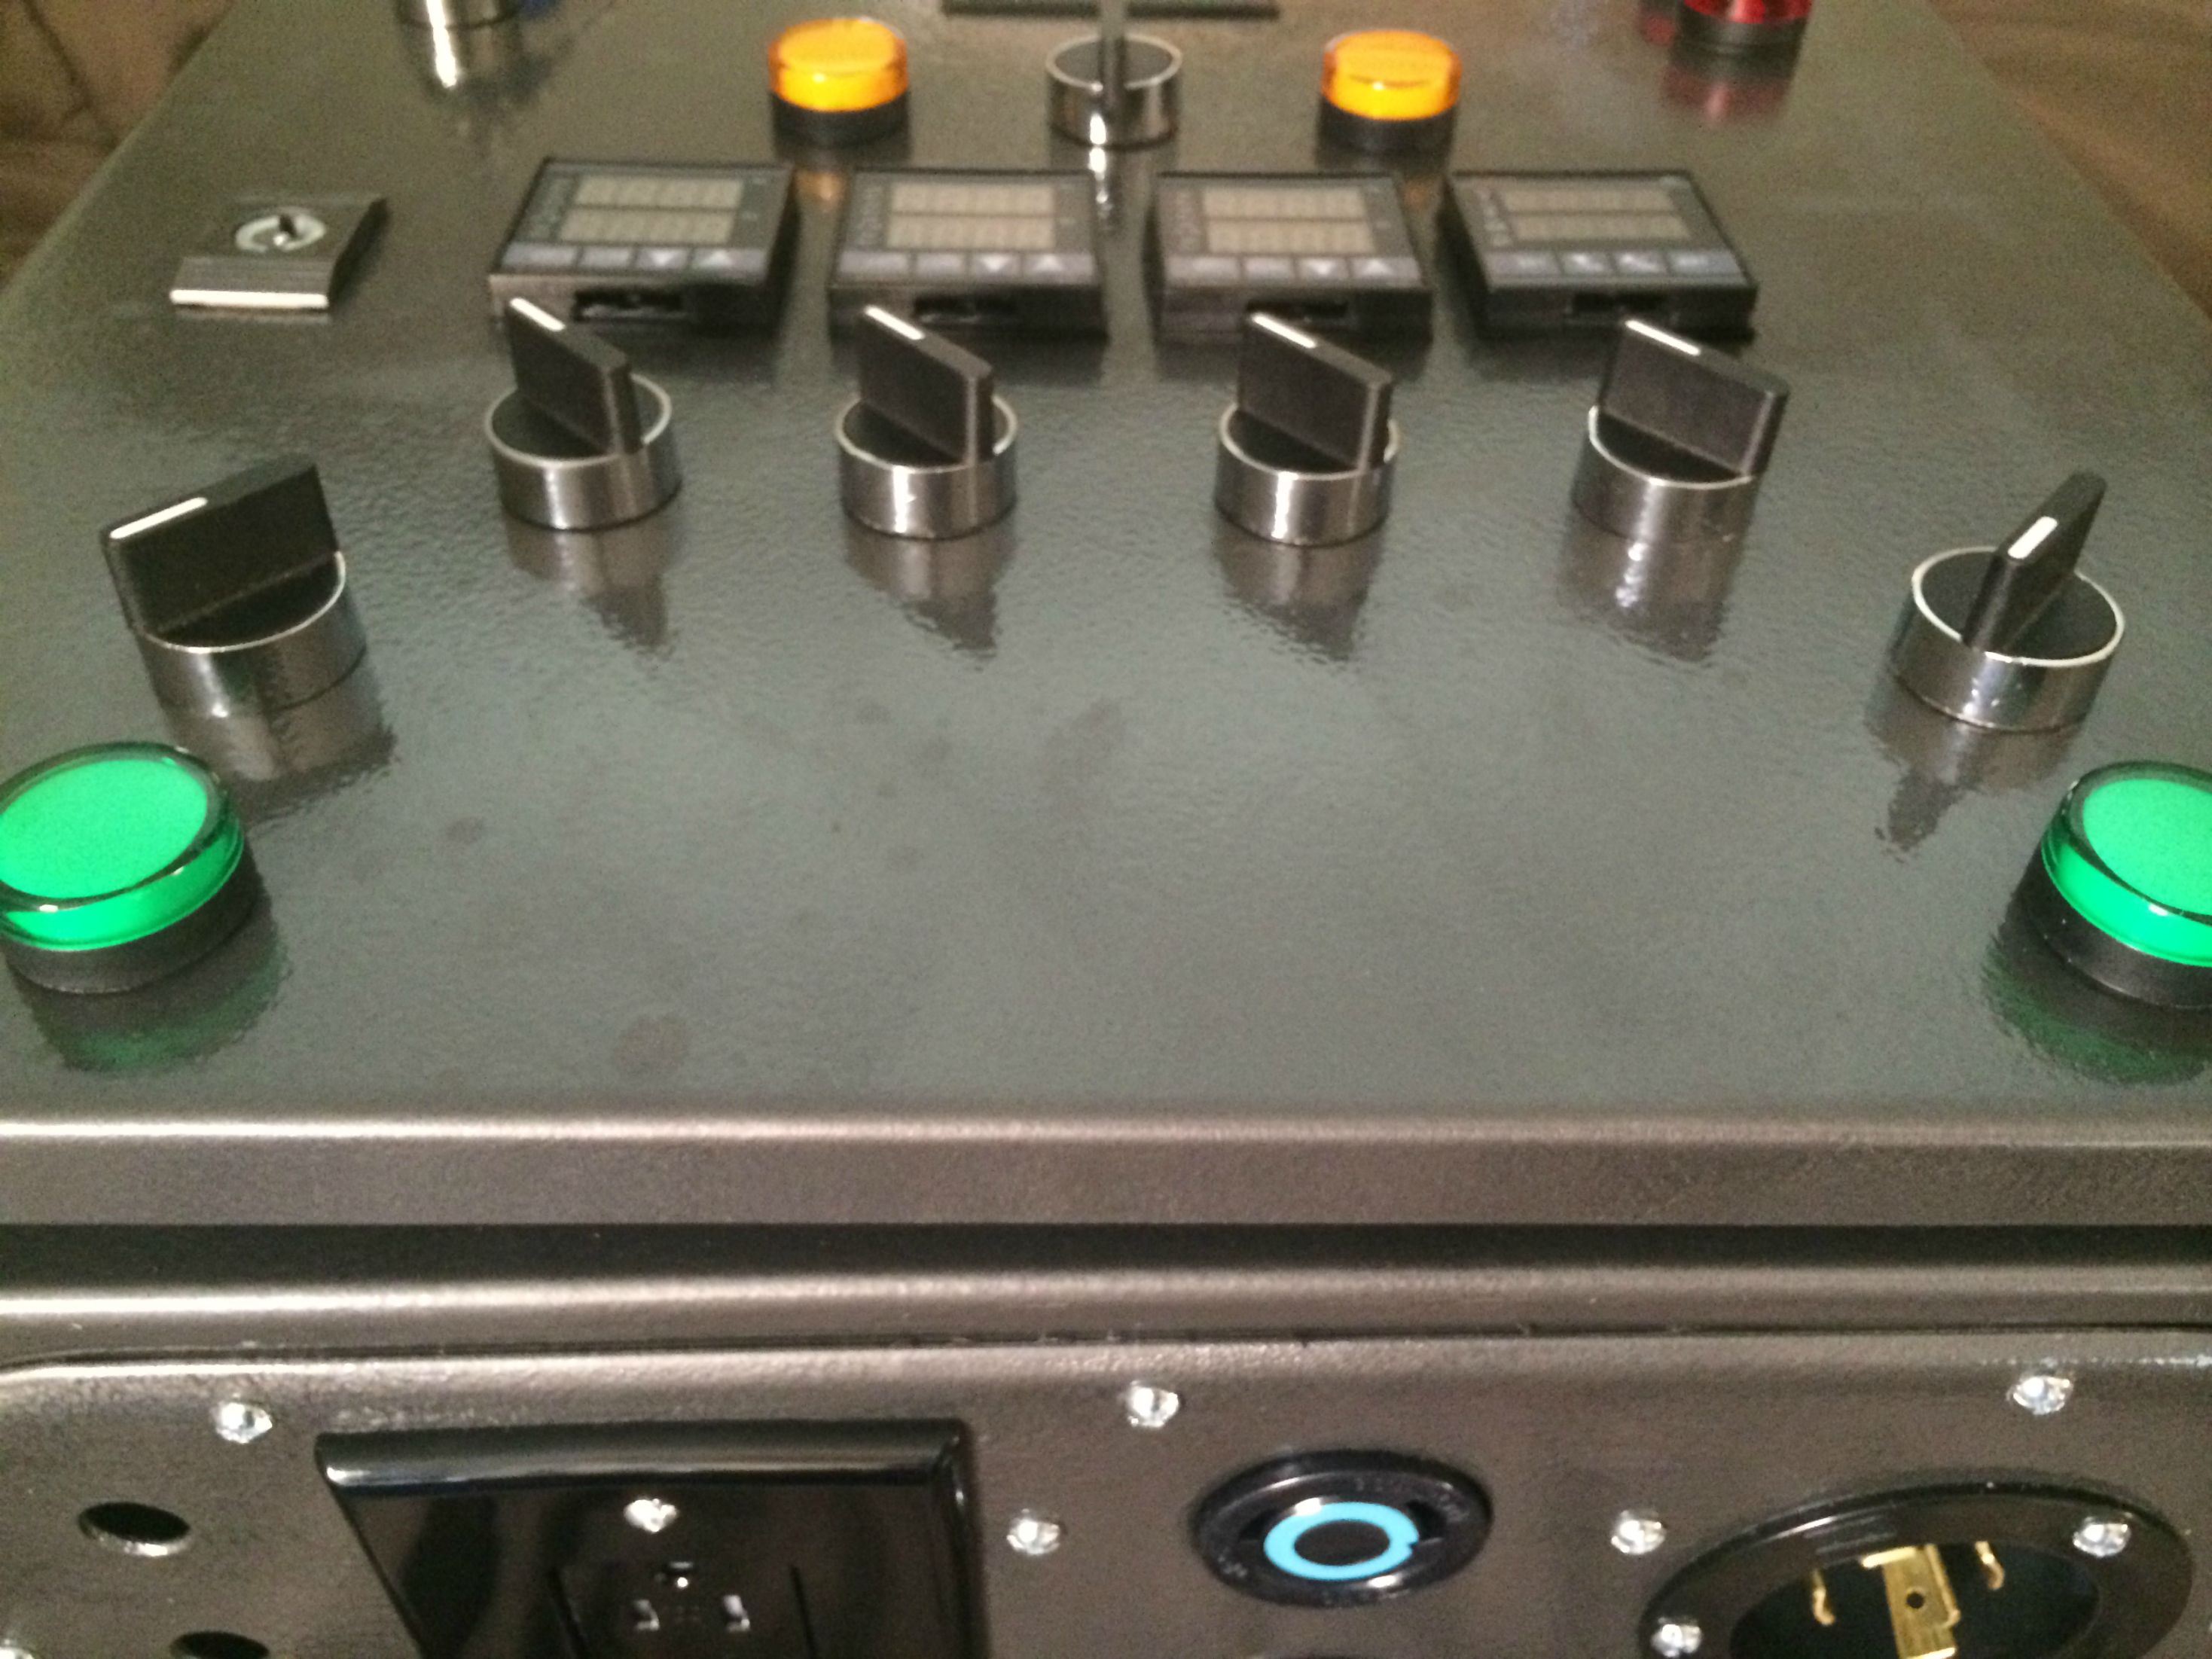
3 of 1/16 DIN PID Temperature Controller (SSR control output) Item # SYL-2352 - $46.50 each
http://www.auberins.com/index.php?main_page=product_info&cPath=1&products_id=3
Timer for Beer Brewing, Multi-Events Item # JSL-73A - $42.32
http://www.auberins.com/index.php?main_page=product_info&cPath=16&products_id=356
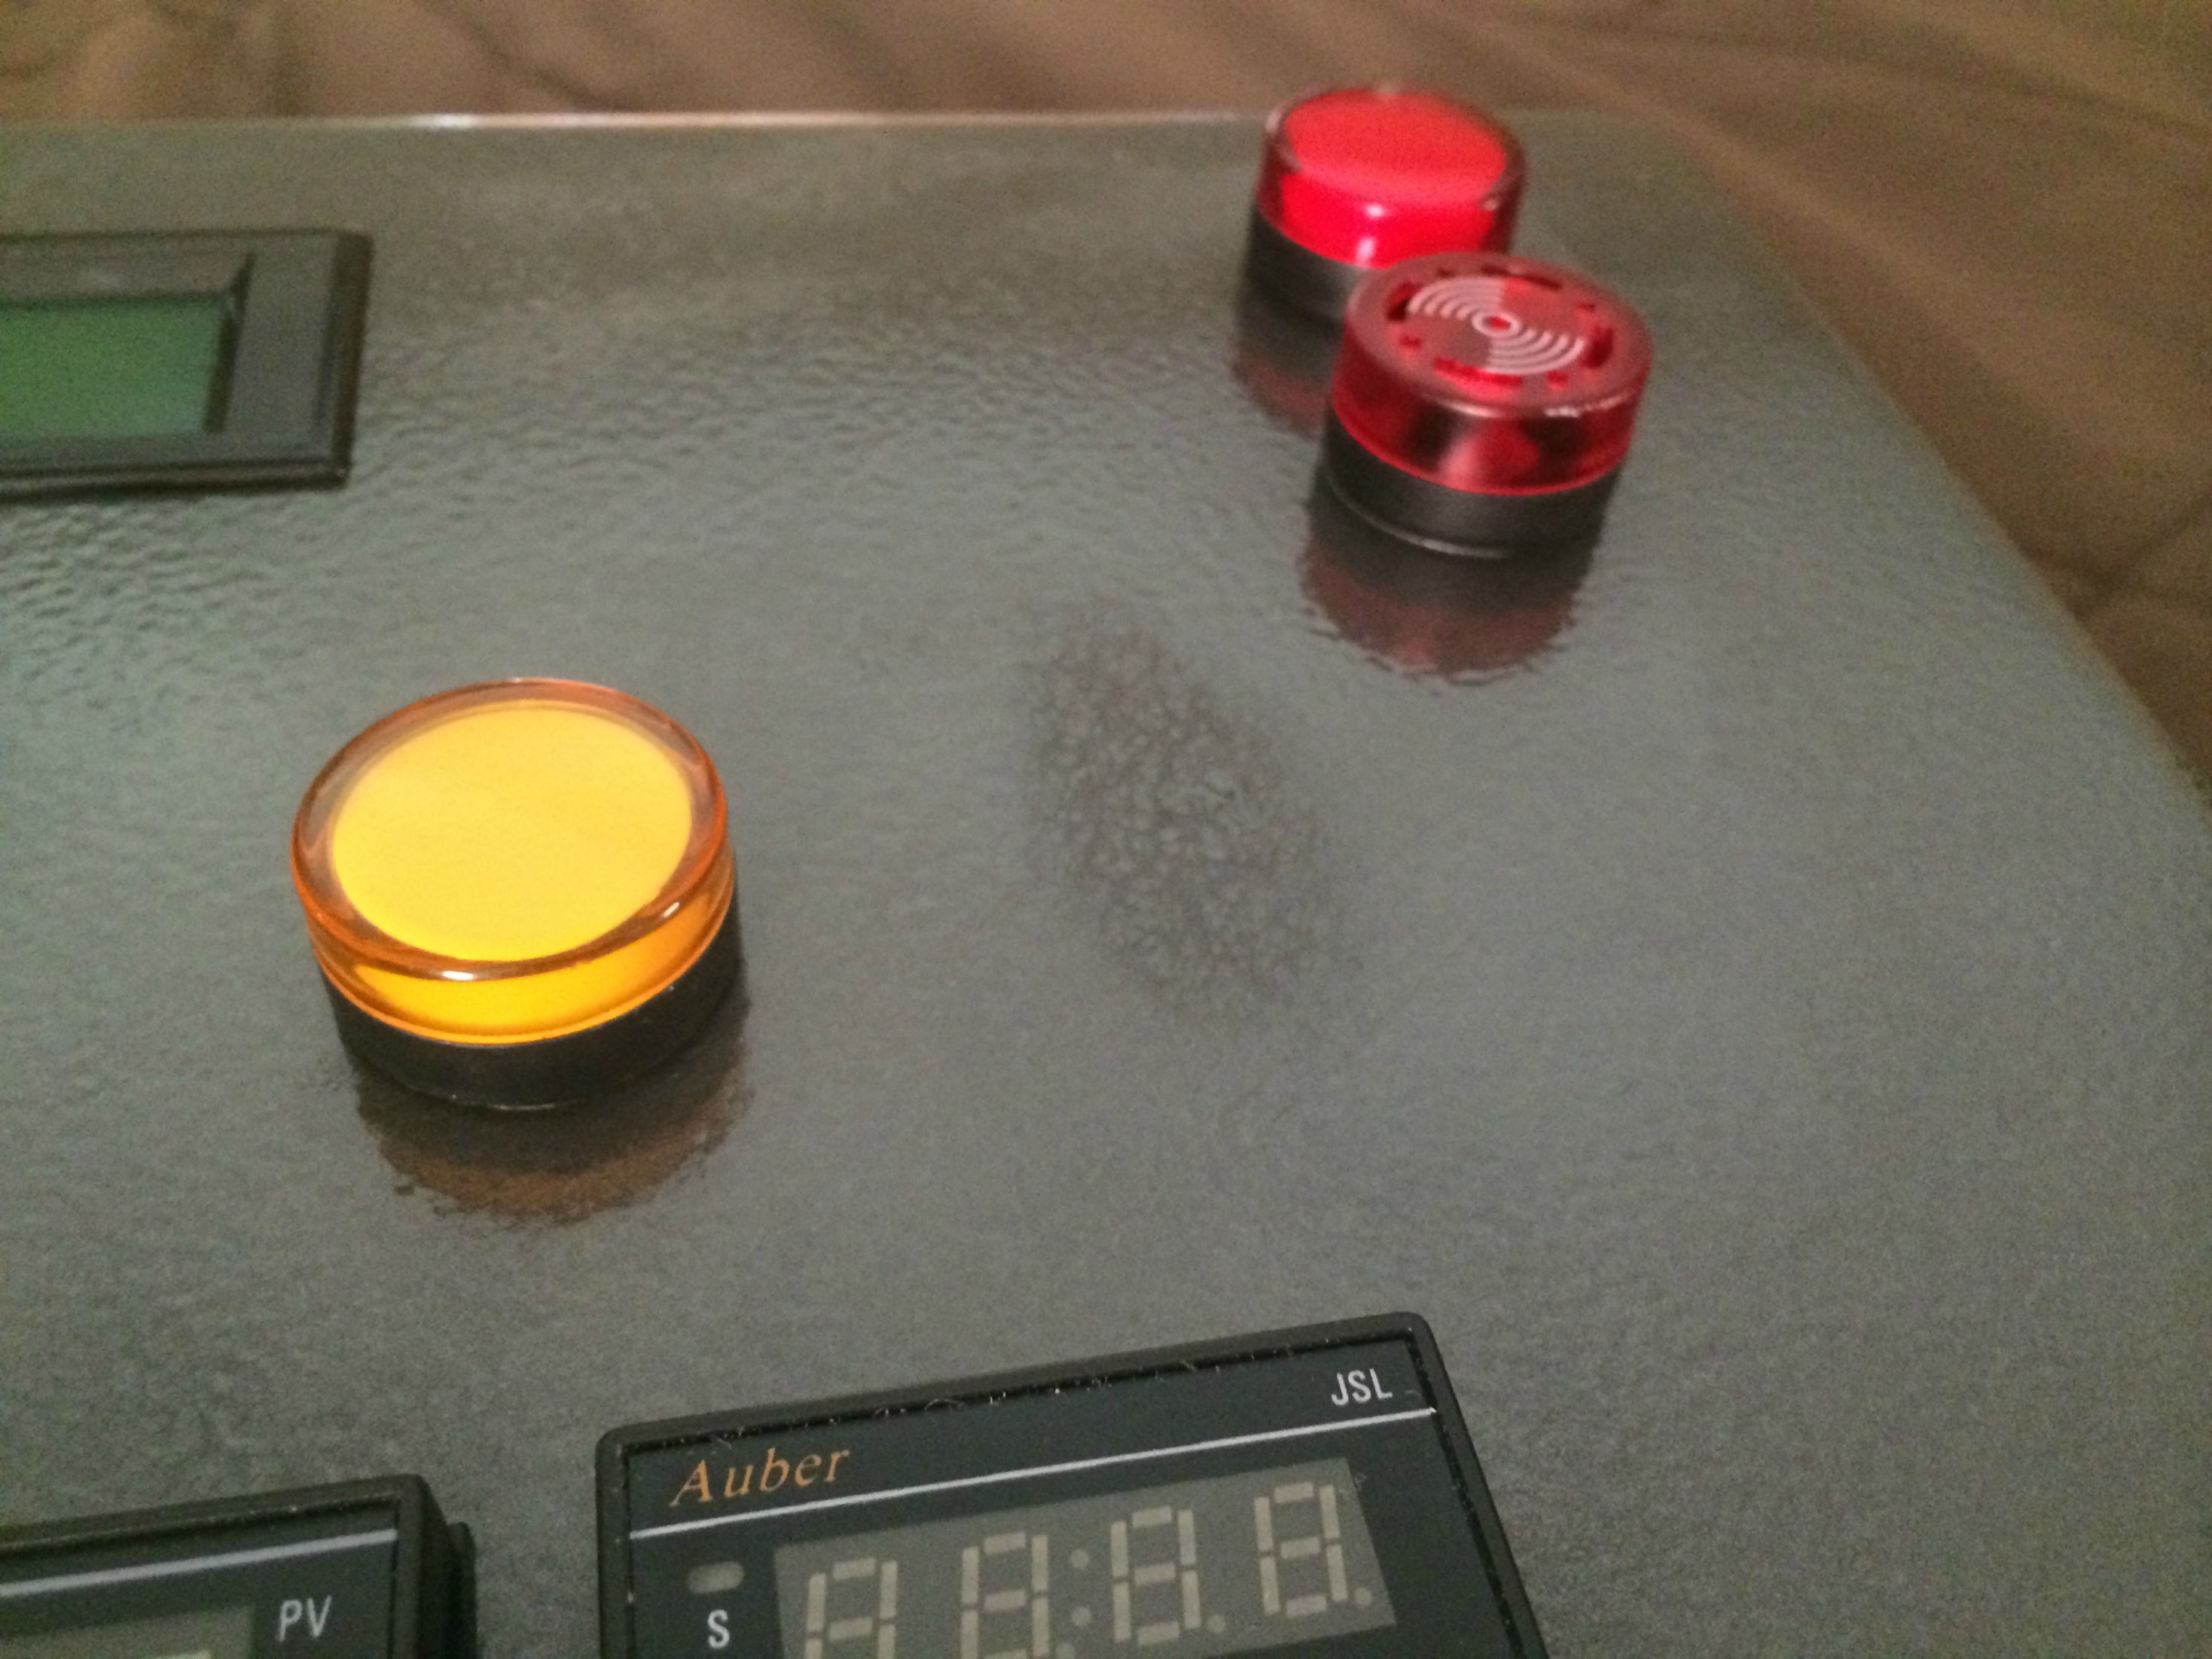
AC 220V Red LED Power Indicator Pilot Single Light Lamp 22mm - $2.52
http://www.amazon.com/gp/product/B00DUW2NSC/?tag=skimlinks_replacement-20
AD16-22SM AC 220V 22mm Flash Light Red LED Active Buzzer Beep Indicator - $4.87
http://www.amazon.com/gp/product/B00EDKICFI/?tag=skimlinks_replacement-20
2 of Amico 22mm Panel Mounted Hole Yellow LED Indicator Signal Light 220VAC - $3.66 each
http://www.amazon.com/gp/product/B00DUW2MGA/?tag=skimlinks_replacement-20
2 of Amico AC 220V Green LED Power Indicator Pilot Single Light Lamp 22mm - $3.68 each
http://www.amazon.com/gp/product/B00DUW2LO8/?tag=skimlinks_replacement-20
Amico AC 220V Blue LED Power Indicator Pilot Single Light Lamp 22mm - $3.70
http://www.amazon.com/gp/product/B00DUW2LVQ/?tag=skimlinks_replacement-20
6 of XB2BD21C NO 2 Positions Maintained Select Selector Switch - $3.29 each
http://www.ebay.com/itm/280793575996?ssPageName=STRK:MEWNX:IT&_trksid=p3984.m1497.l2649
XB2BJ33C 2N/O 3Positions Maintained Extended Lever Selector Switch - $3.29
http://www.ebay.com/itm/280793953483?ssPageName=STRK:MEWNX:IT&_trksid=p3984.m1497.l2649
XB2BG21C 1N/O 2Positions Maintained Key Select Selector Switch - $4.59
http://www.ebay.com/itm/281094978632?ssPageName=STRK:MEWNX:IT&_trksid=p3984.m1497.l2649
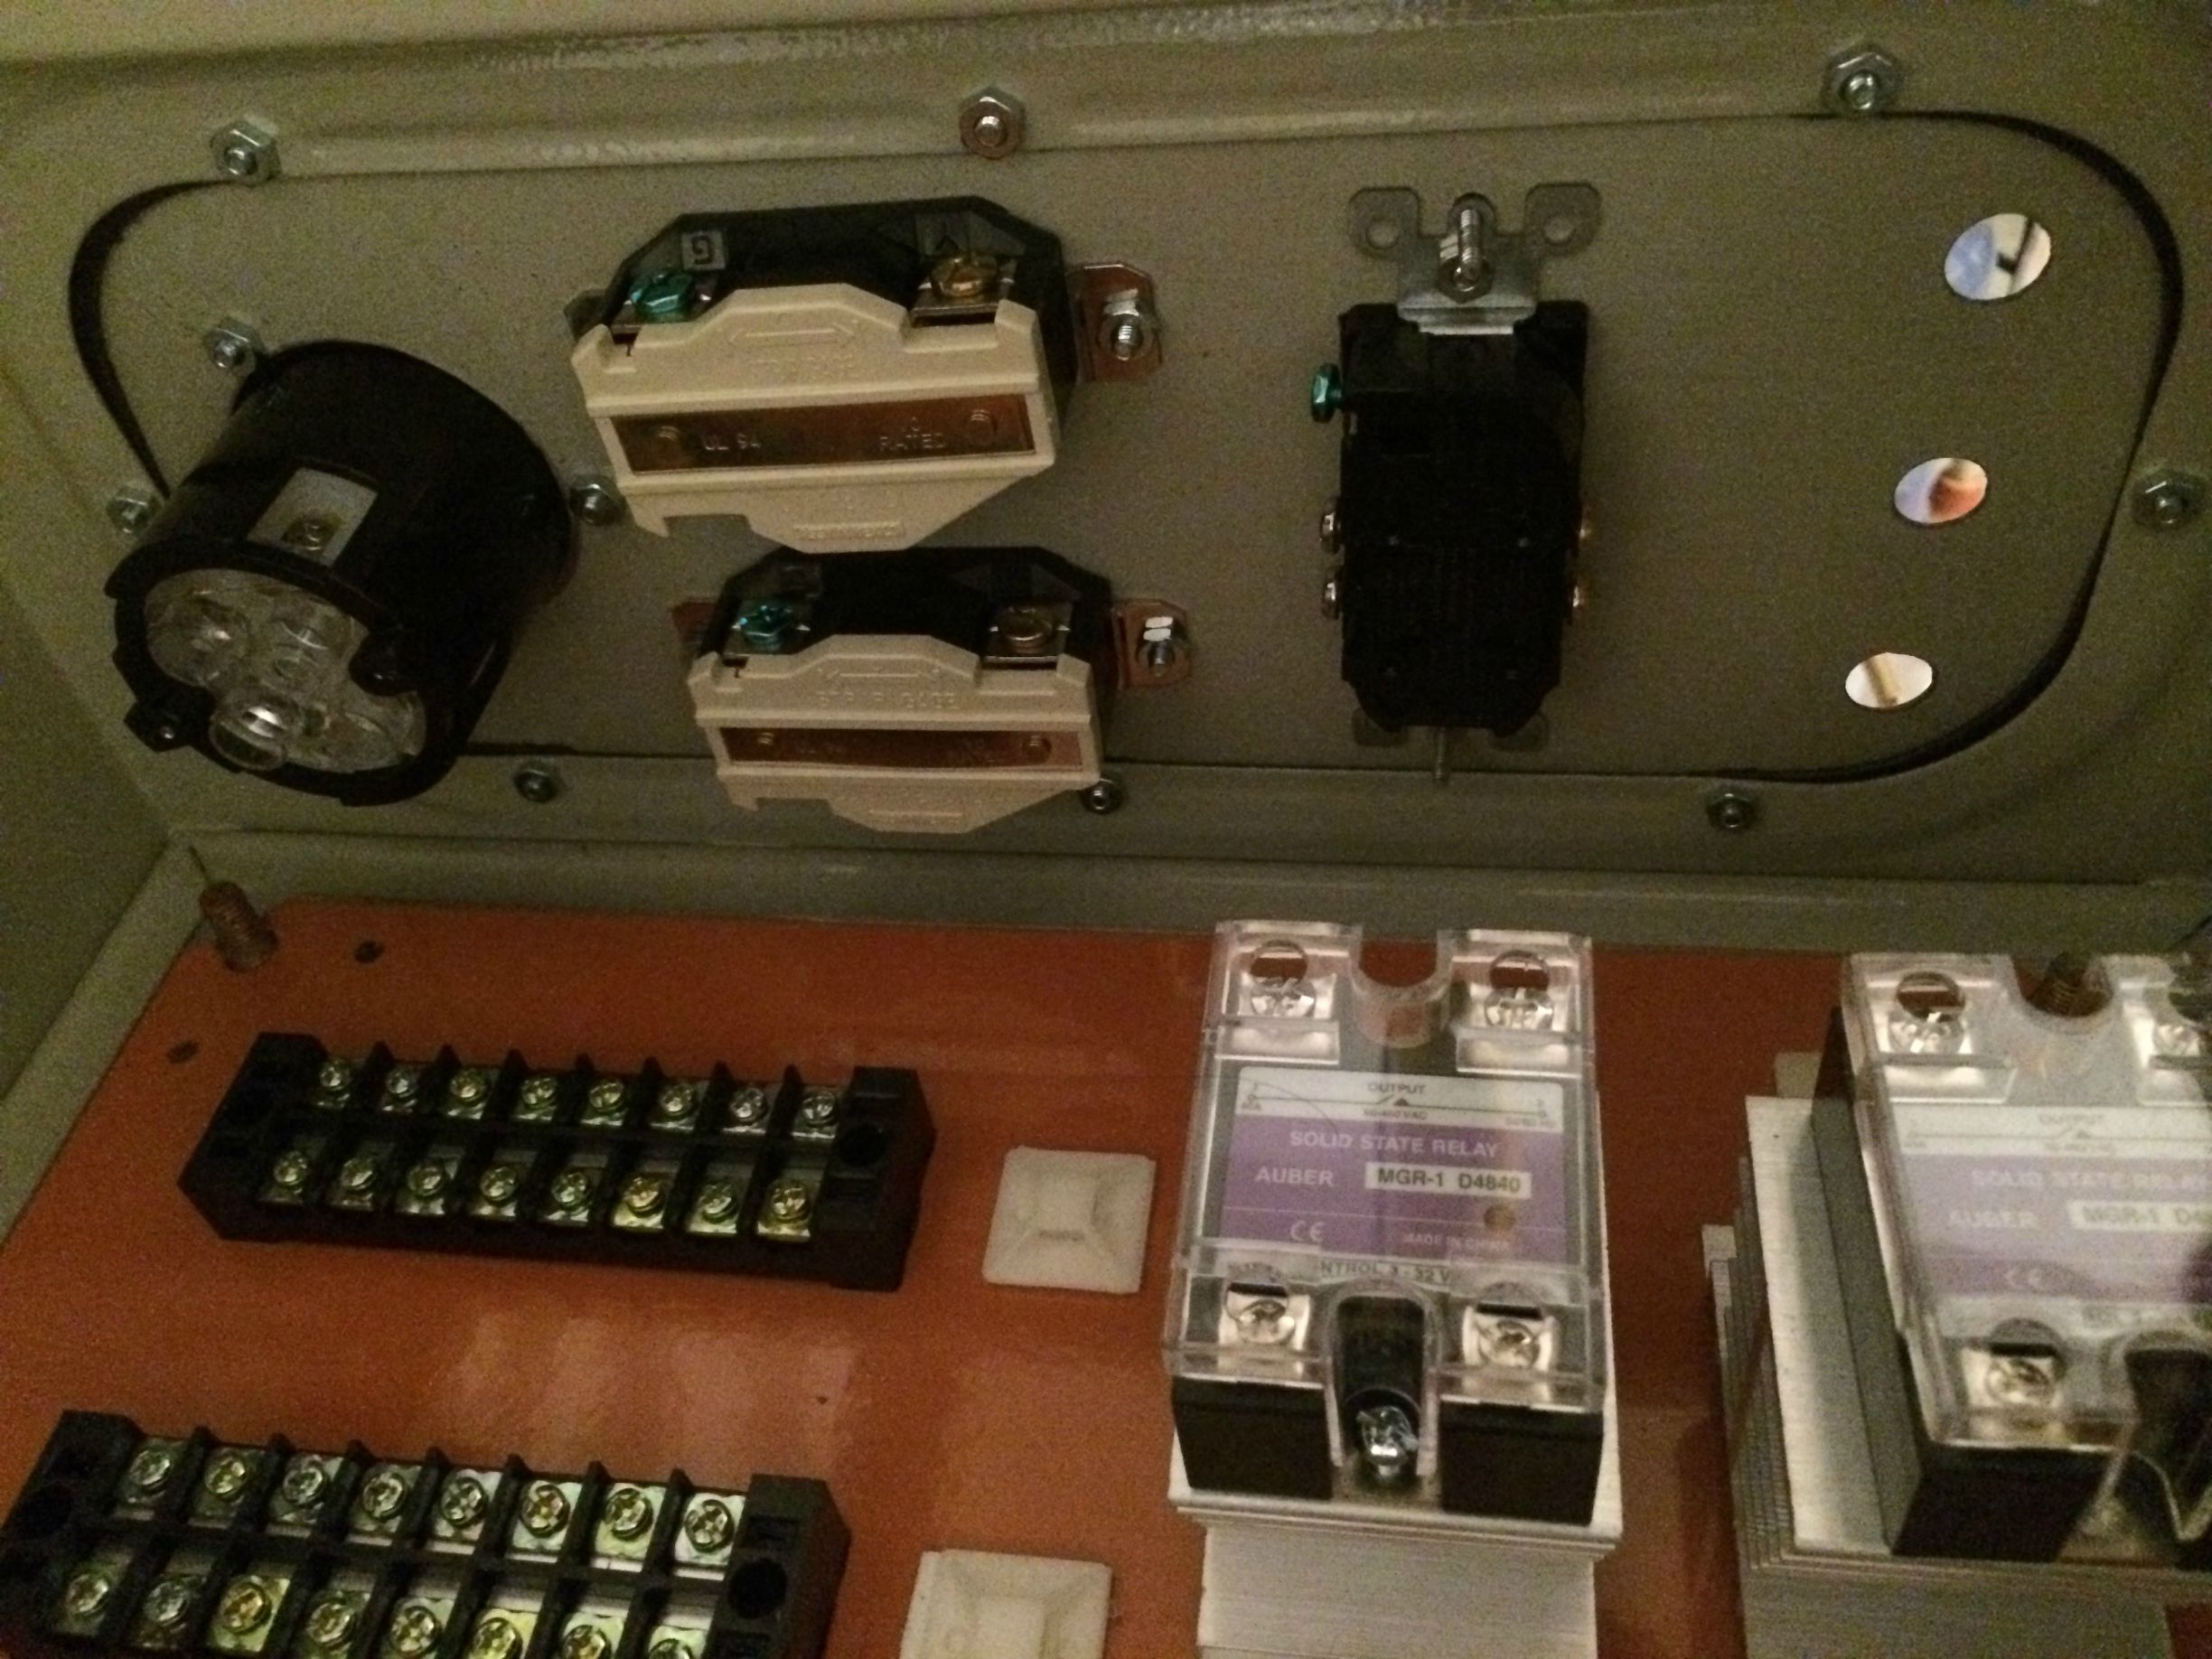
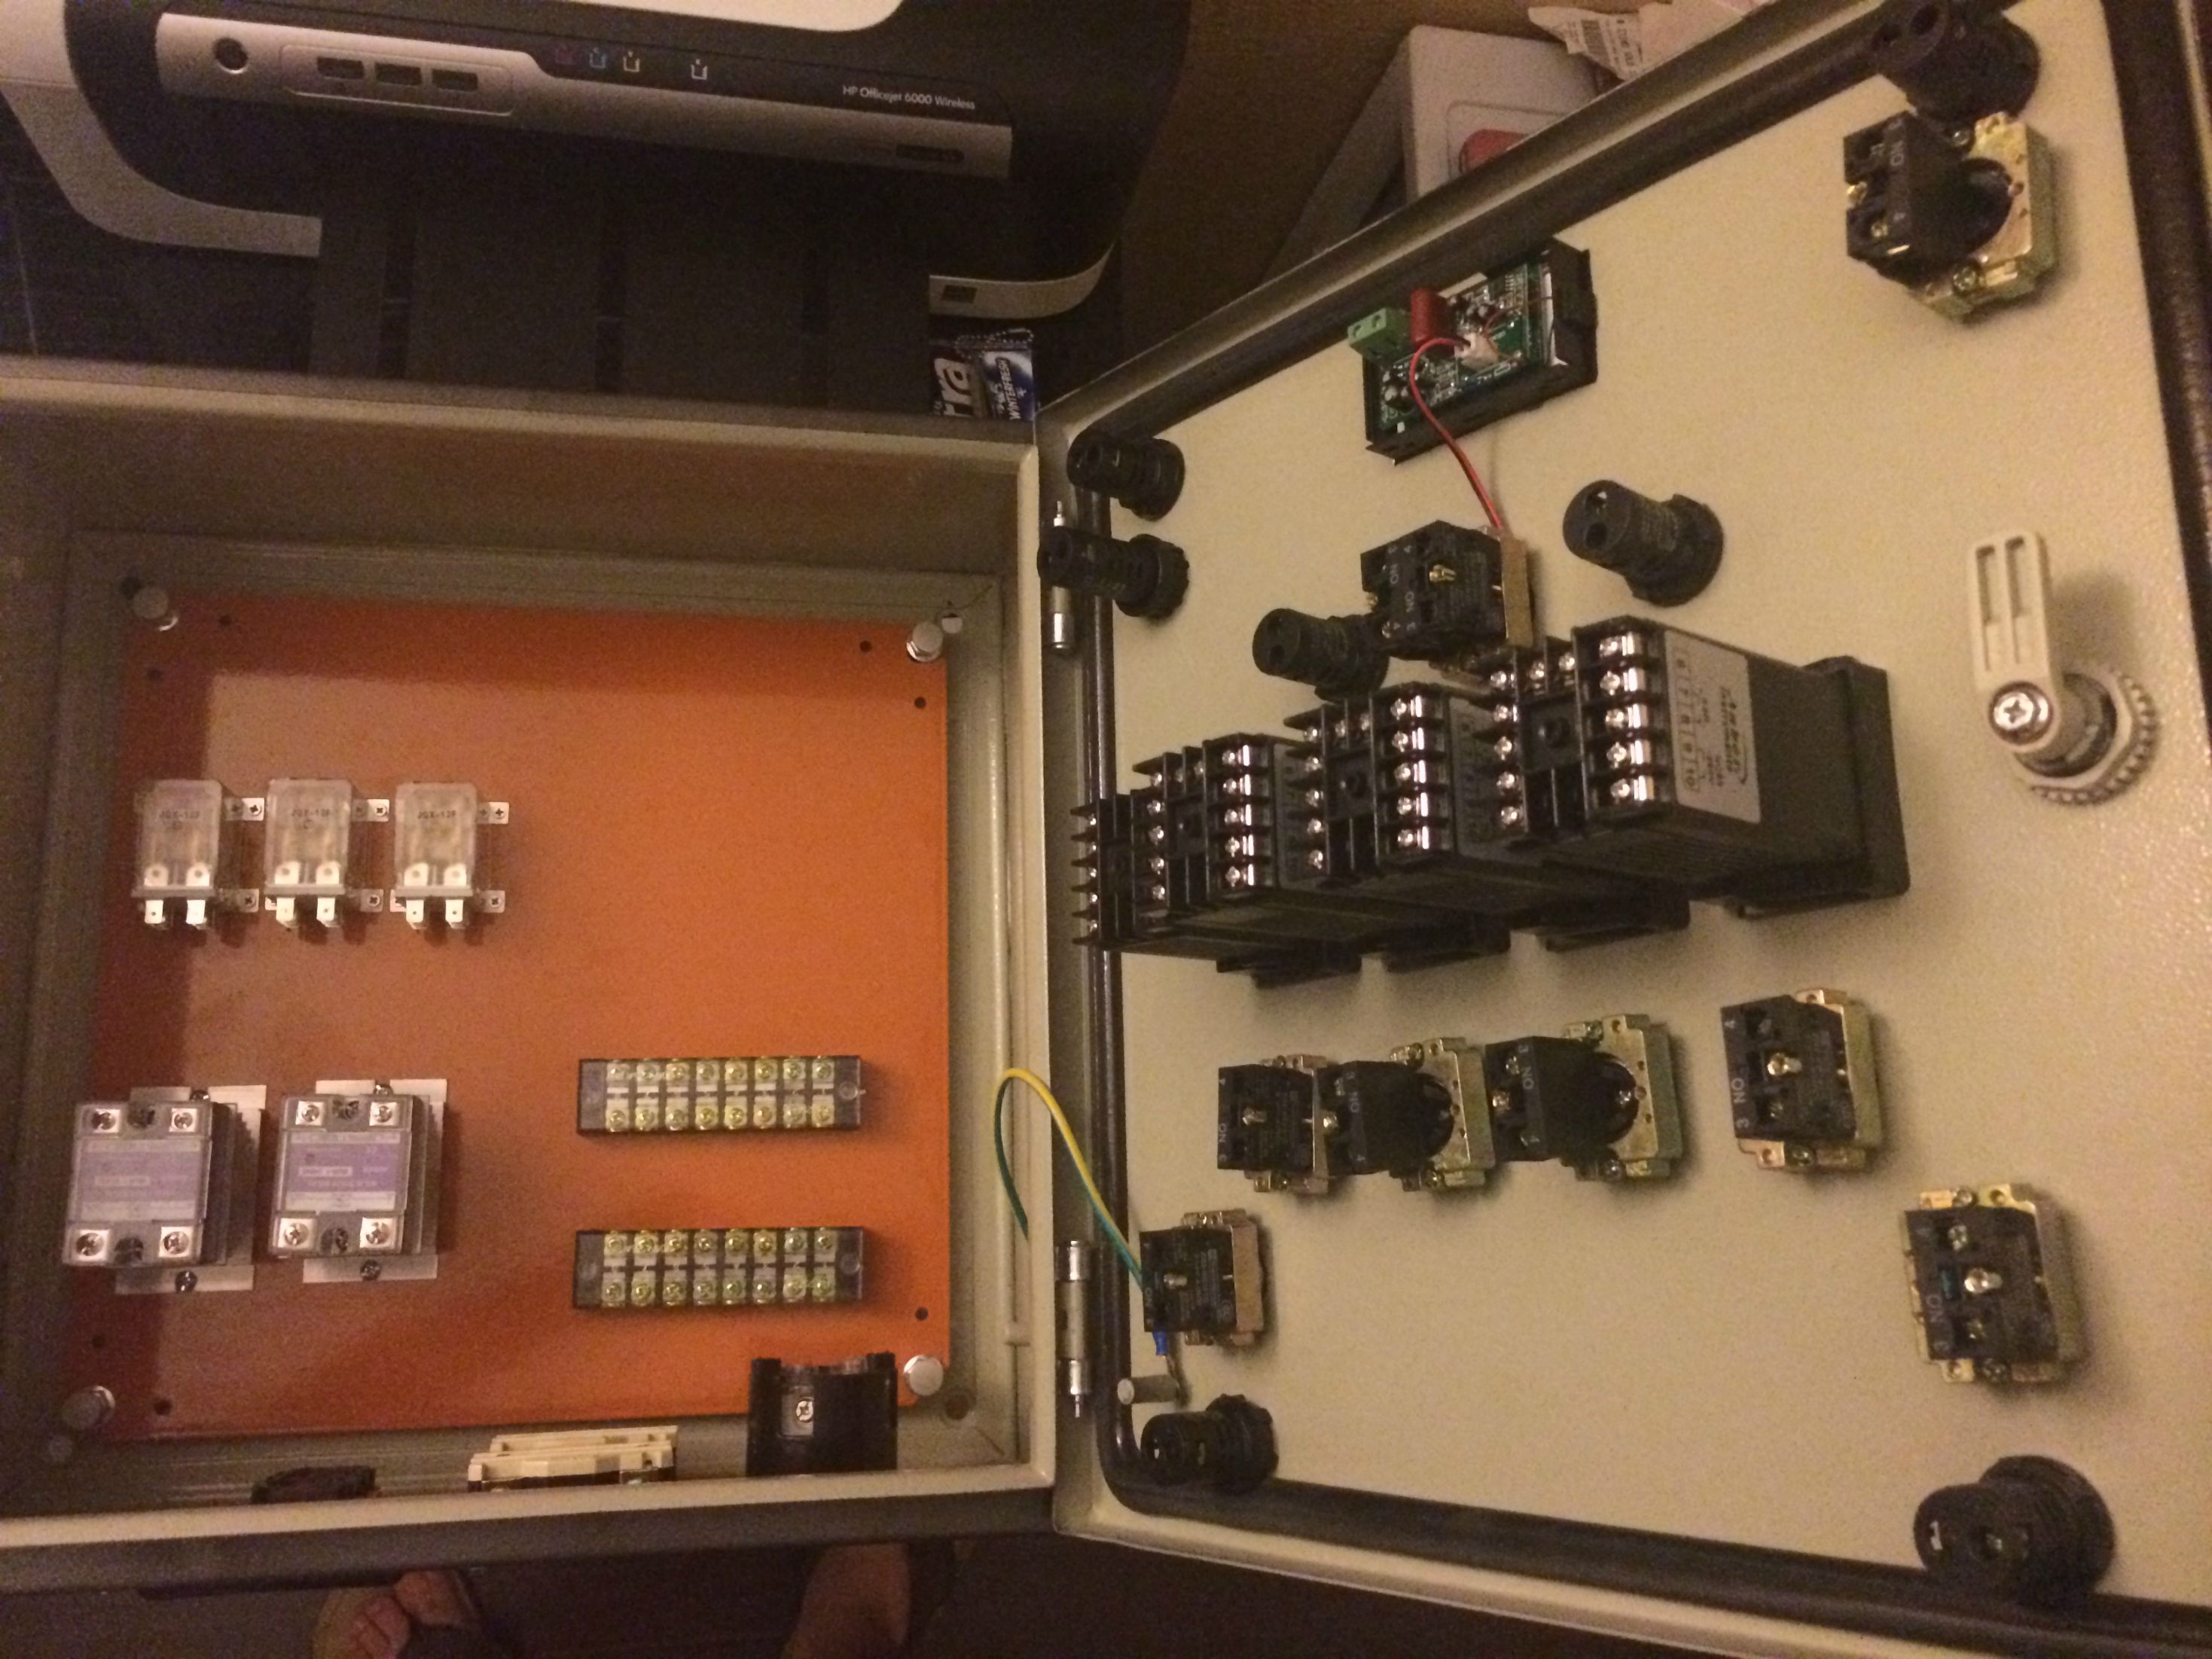
Internal components
2 of 40A SSR Item # MGR-1D4840 - $19 each
http://www.auberins.com/index.php?main_page=product_info&cPath=2_30&products_id=30
2 of Amico Aluminum Heat Sink for Solid State Relay SSR Small Type Heat Dissipation - $5.90
http://www.amazon.com/gp/product/B005D6145G/?tag=skimlinks_replacement-20
3 of 110VAC 30A DPDT Power Relay Motor Control Silver Alloy - $8.32 each
http://www.ebay.com/itm/280701739196?ssPageName=STRK:MEWNX:IT&_trksid=p3984.m1497.l2649
2 of Install Bay BVST6 Spade Terminal Vinyl Connector 16/14 Gauge #6, Blue (100-Pack) - $4.38 each
http://www.amazon.com/gp/product/B005HQ4QTI/?tag=skimlinks_replacement-20
100 pc YELLOW RING TERMINALS 12-10 GAUGE WIRE 3/8" STUD $9.49
http://www.ebay.com/itm/380212700533?ssPageName=STRK:MEWNX:IT&_trksid=p3984.m1497.l2649
Gino 5 Pcs Screw Type 22 AWG Wire 5 x 20mm Inline Fuse Holder - $5.68
http://www.amazon.com/gp/product/B0094DFECI/?tag=skimlinks_replacement-20
100Pcs Glass Fuse 5X20mm Current 7A 250V Quick Blow Glass Fuse - $5.59
http://www.ebay.com/itm/190978809868?ssPageName=STRK:MEWNX:IT&_trksid=p3984.m1497.l2649
100Pcs Glass Fuse 5X20mm Current 7A 250V Quick Blow Glass Fuse - $5.59
http://www.ebay.com/itm/190978809868?ssPageName=STRK:MEWNX:IT&_trksid=p3984.m1497.l2649
Probes
2 of Liquid tight RTD sensor, 1.5 inch, 1/2 NPT Thread Cable Option: 8 ft Deluxe Cable with mating connector/cable Item # PT100-L401/2NPT - $43 each
http://www.auberins.com/index.php?main_page=product_info&cPath=20_15&products_id=249
Liquid Tight RTD Sensor, 2� Probe, Weldless Fitting*** Cable Option: 8 ft Deluxe Cable with mating connector/cable
Item # PT100-L50M14 - $46
http://www.auberins.com/index.php?main_page=product_info&cPath=20_3&products_id=84
Miscellaneous
10 Feet XScorpion 3/4 Inch Black Heat Shrink Tubing - $5.25
http://www.ebay.com/itm/310794907281?ssPageName=STRK:MEWNX:IT&_trksid=p3984.m1497.l2649
Sil-Bond Clear BBQ smoker RTV adhesive sealant Hi temp - $7.99
http://www.ebay.com/itm/171091964787?ssPageName=STRK:MEWNX:IT&_trksid=p3984.m1497.l2649
100 PCS Pack 6" inch Black Network Cable Cord Wire Ties - $2.94
http://www.ebay.com/itm/291025903945?ssPageName=STRK:MEWNX:IT&_trksid=p3984.m1497.l2649
2M Spiral Wire Wrap Tube Manage Cord - $2.09
http://www.ebay.com/itm/19097650282...eName=STRK:MEWNX:IT&_trksid=p3984.m1497.l2649
Thermal Grease Paste Compound Silicone for CPU Heat Sink $1.99
http://www.ebay.com/itm/400271236963?ssPageName=STRK:MEWNX:IT&_trksid=p3984.m1497.l2649
Stainless Steel Flat Washers #6 Qty 100 - $2.75
http://www.ebay.com/itm/251057755559?ssPageName=STRK:MEWNX:IT&_trksid=p3984.m1497.l2649
Stainless Steel Machine Screw Hex Nuts #6-32 Qty: 100 - $3.75
http://www.ebay.com/itm/360529266495?ssPageName=STRK:MEWNX:IT&_trksid=p3984.m1497.l2649
Monoprice Cable tie mounts 25x25(mm), 100pcs/Pack - white - $5.67
http://www.amazon.com/gp/product/B003L16ZYU/?tag=skimlinks_replacement-20
Techflex PTN0.50BK25 Flexo PET General Purpose 1/2-inch Braided Cable Sleeve, Black - 25 Foot - $13.94
http://www.amazon.com/gp/product/B004UHQNUU/?tag=skimlinks_replacement-20
Neiko 01924A Ultimate Self-Adjusting Wire and Cable Stripper - $17.69
http://www.amazon.com/gp/product/B000IYTCG6/?tag=skimlinks_replacement-20
2 of Momentive/GE Silicone Sealant, RTV108, 2.8-oz Tube, Semi-Clear - $6 each
http://www.mcmaster.com/nav/enter.asp?partnum=7545A471
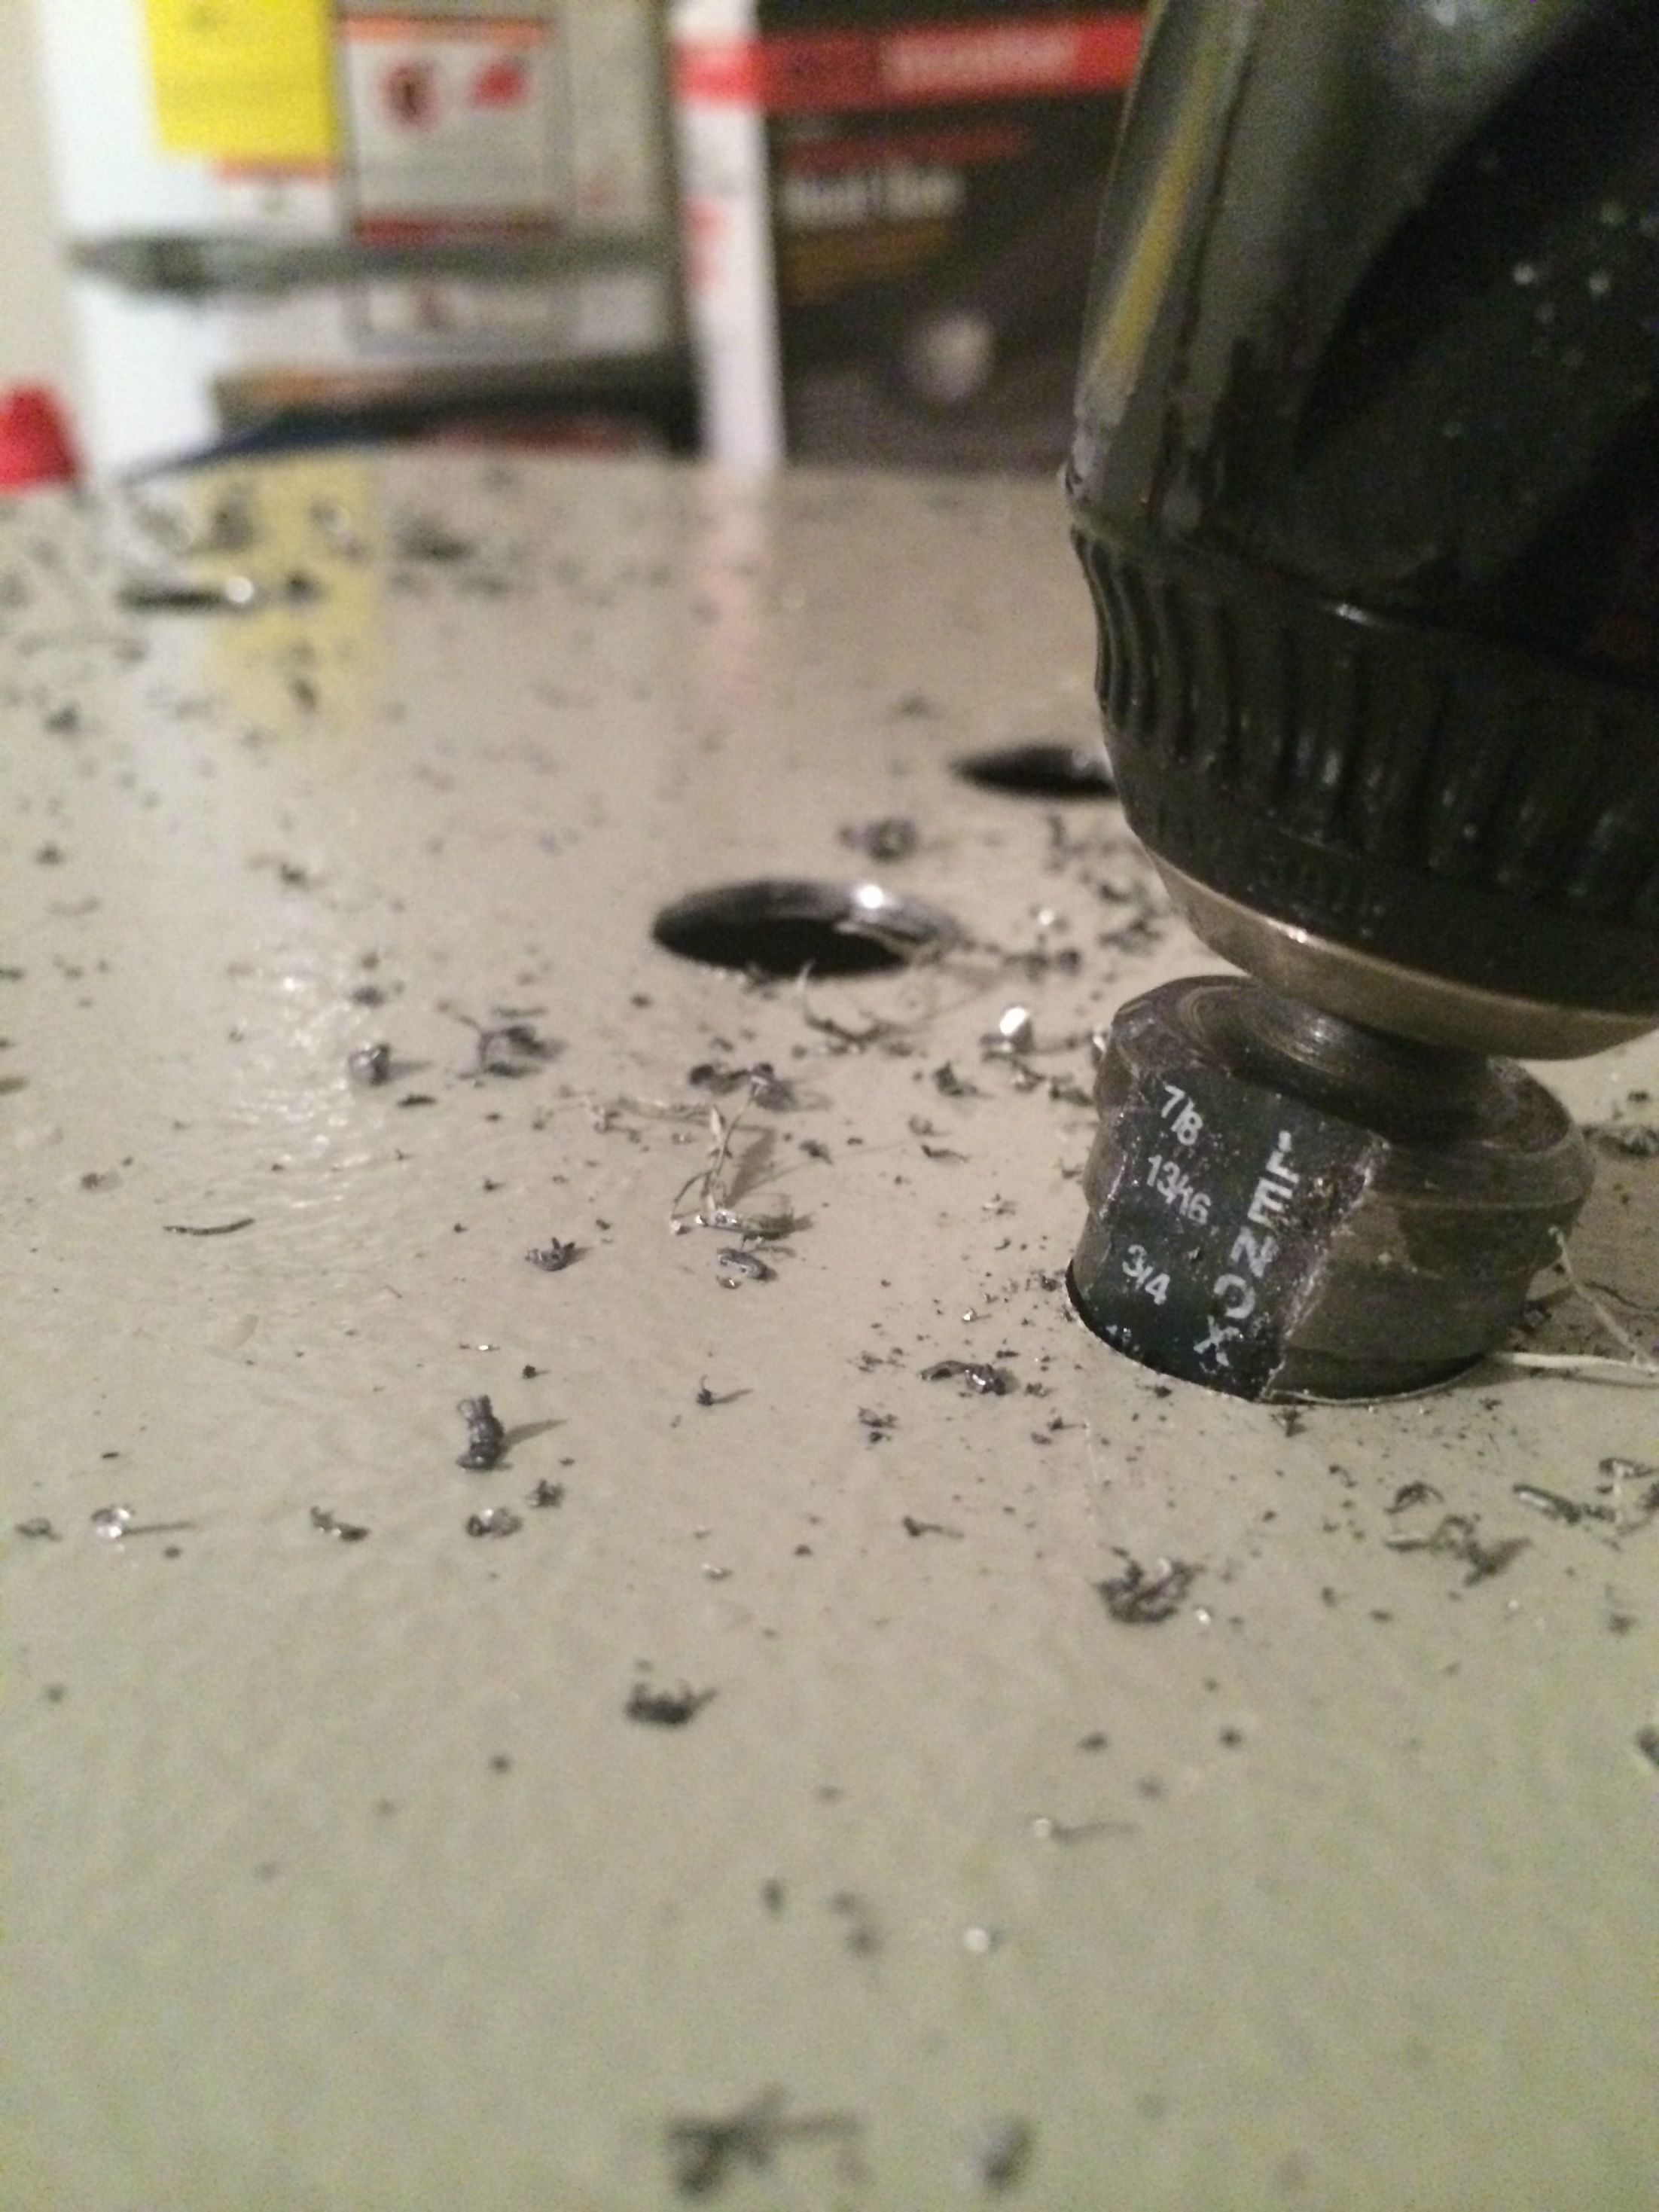
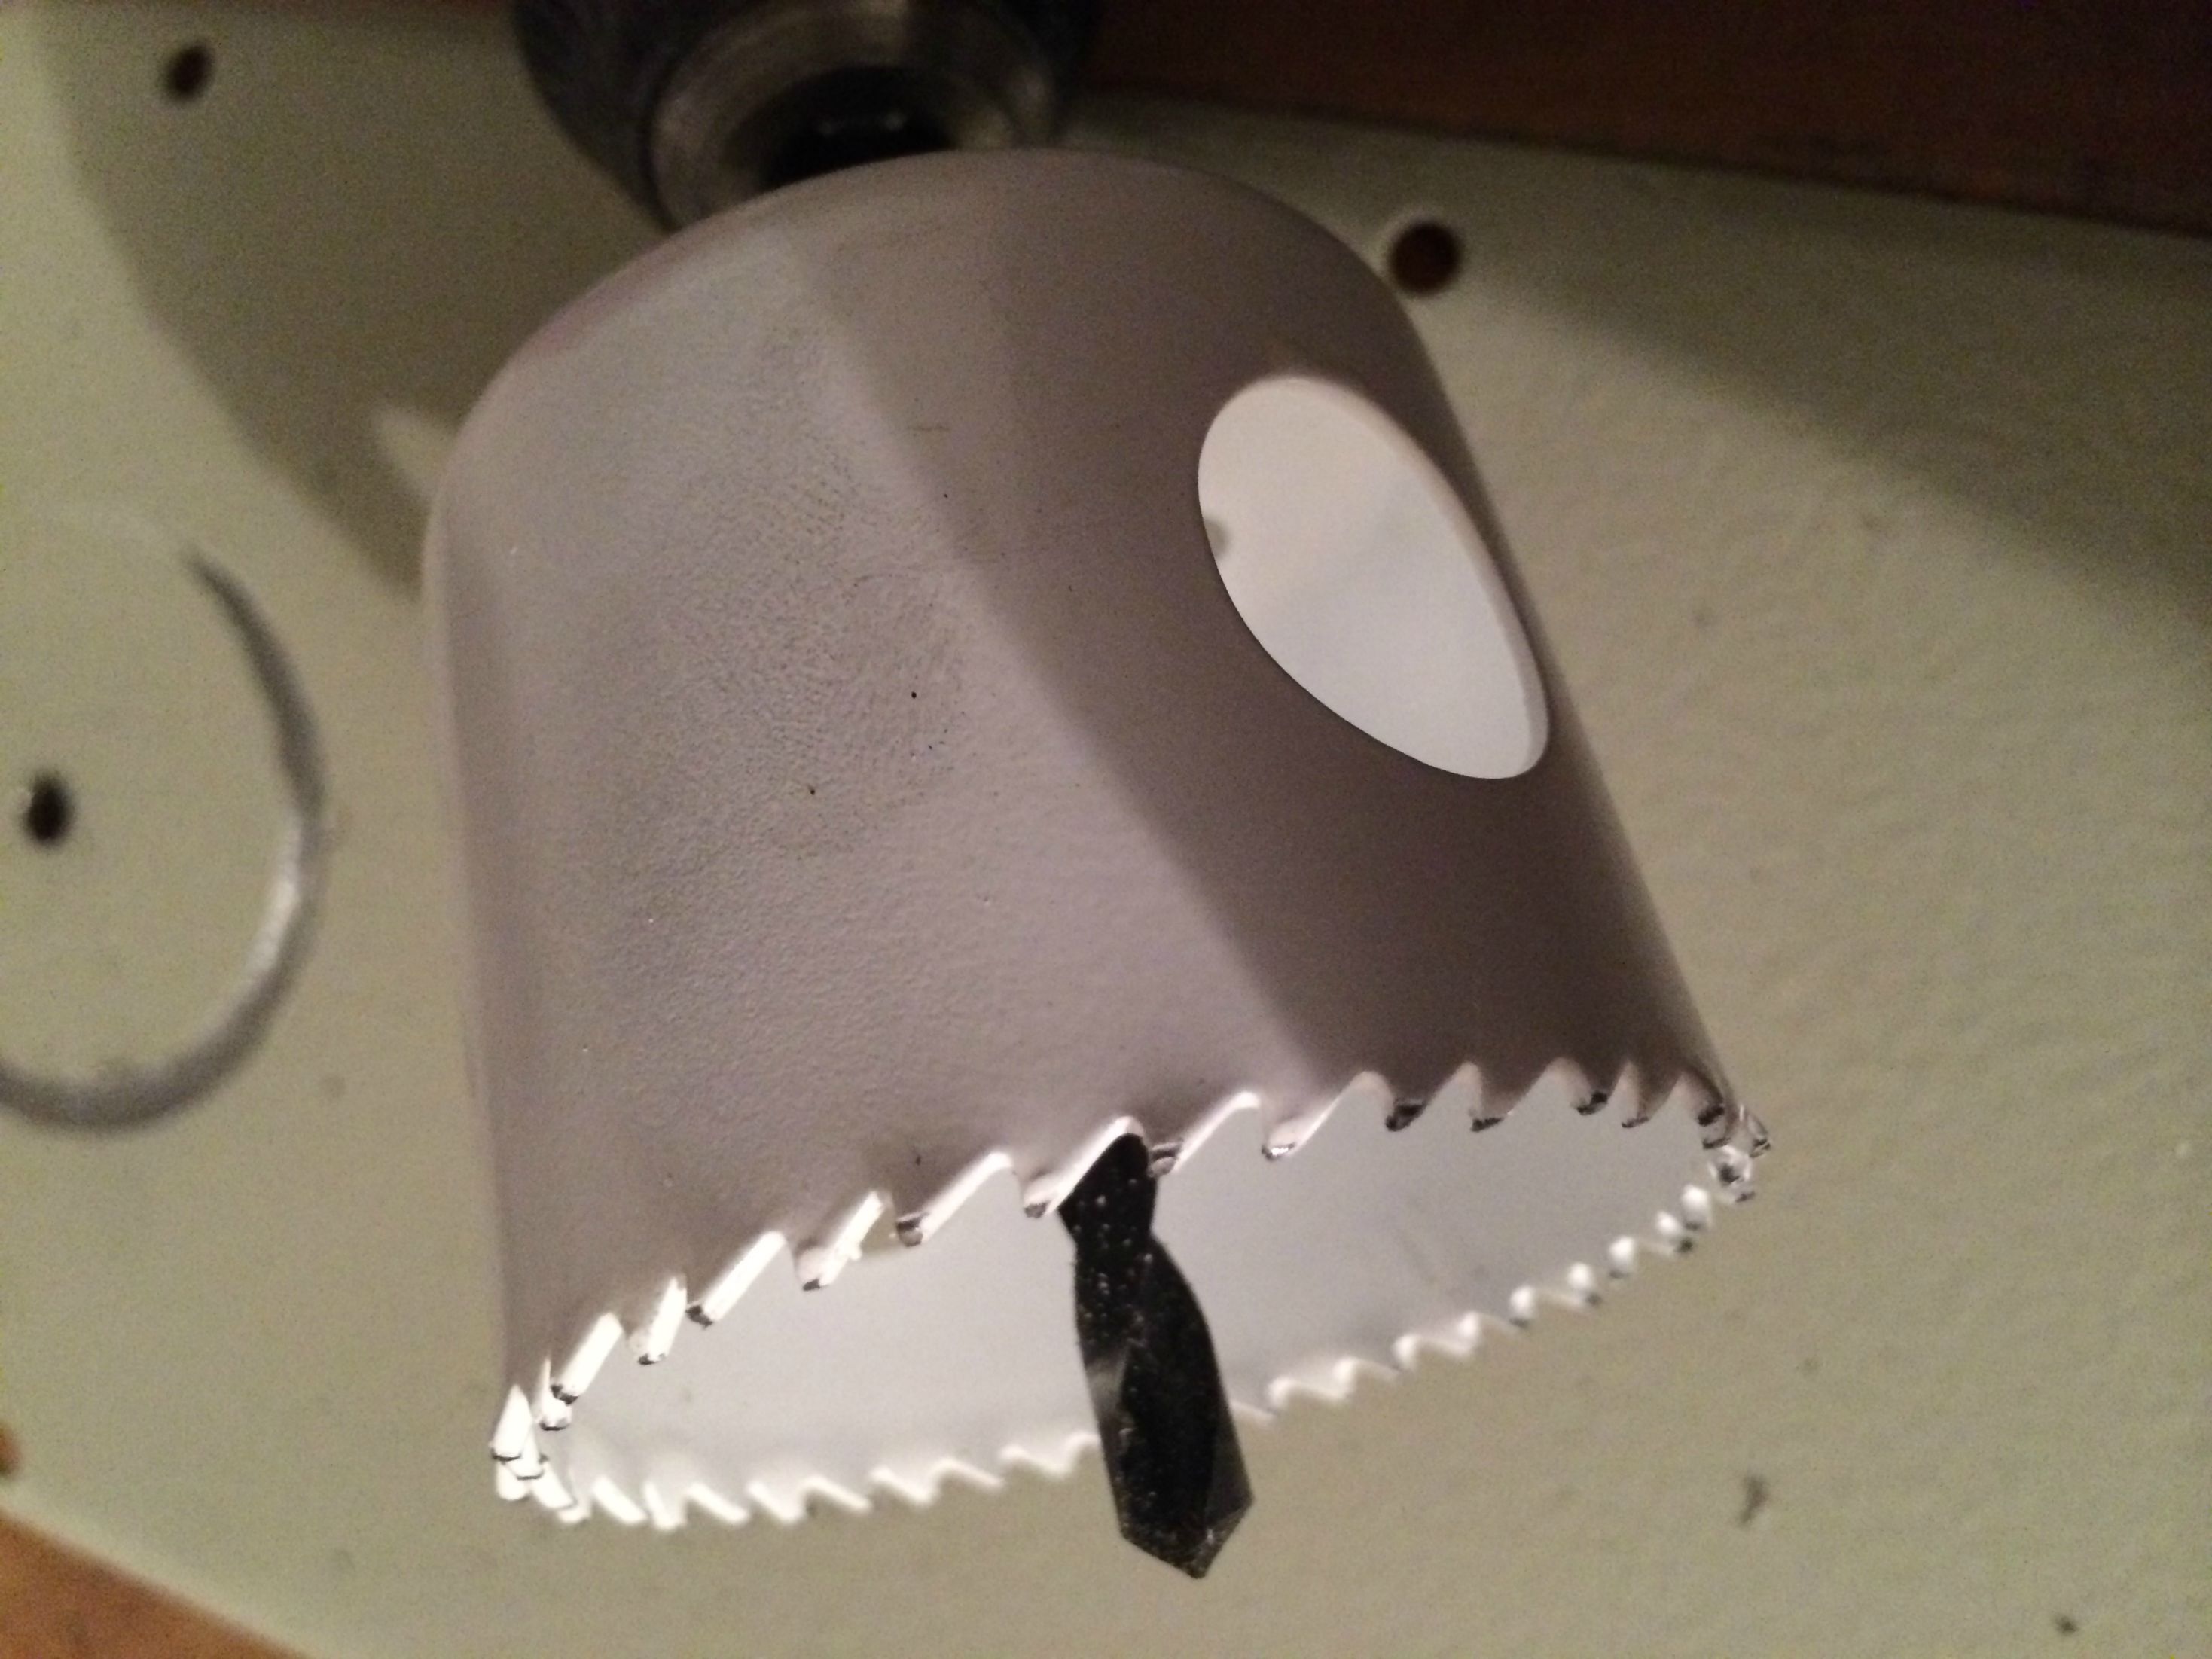
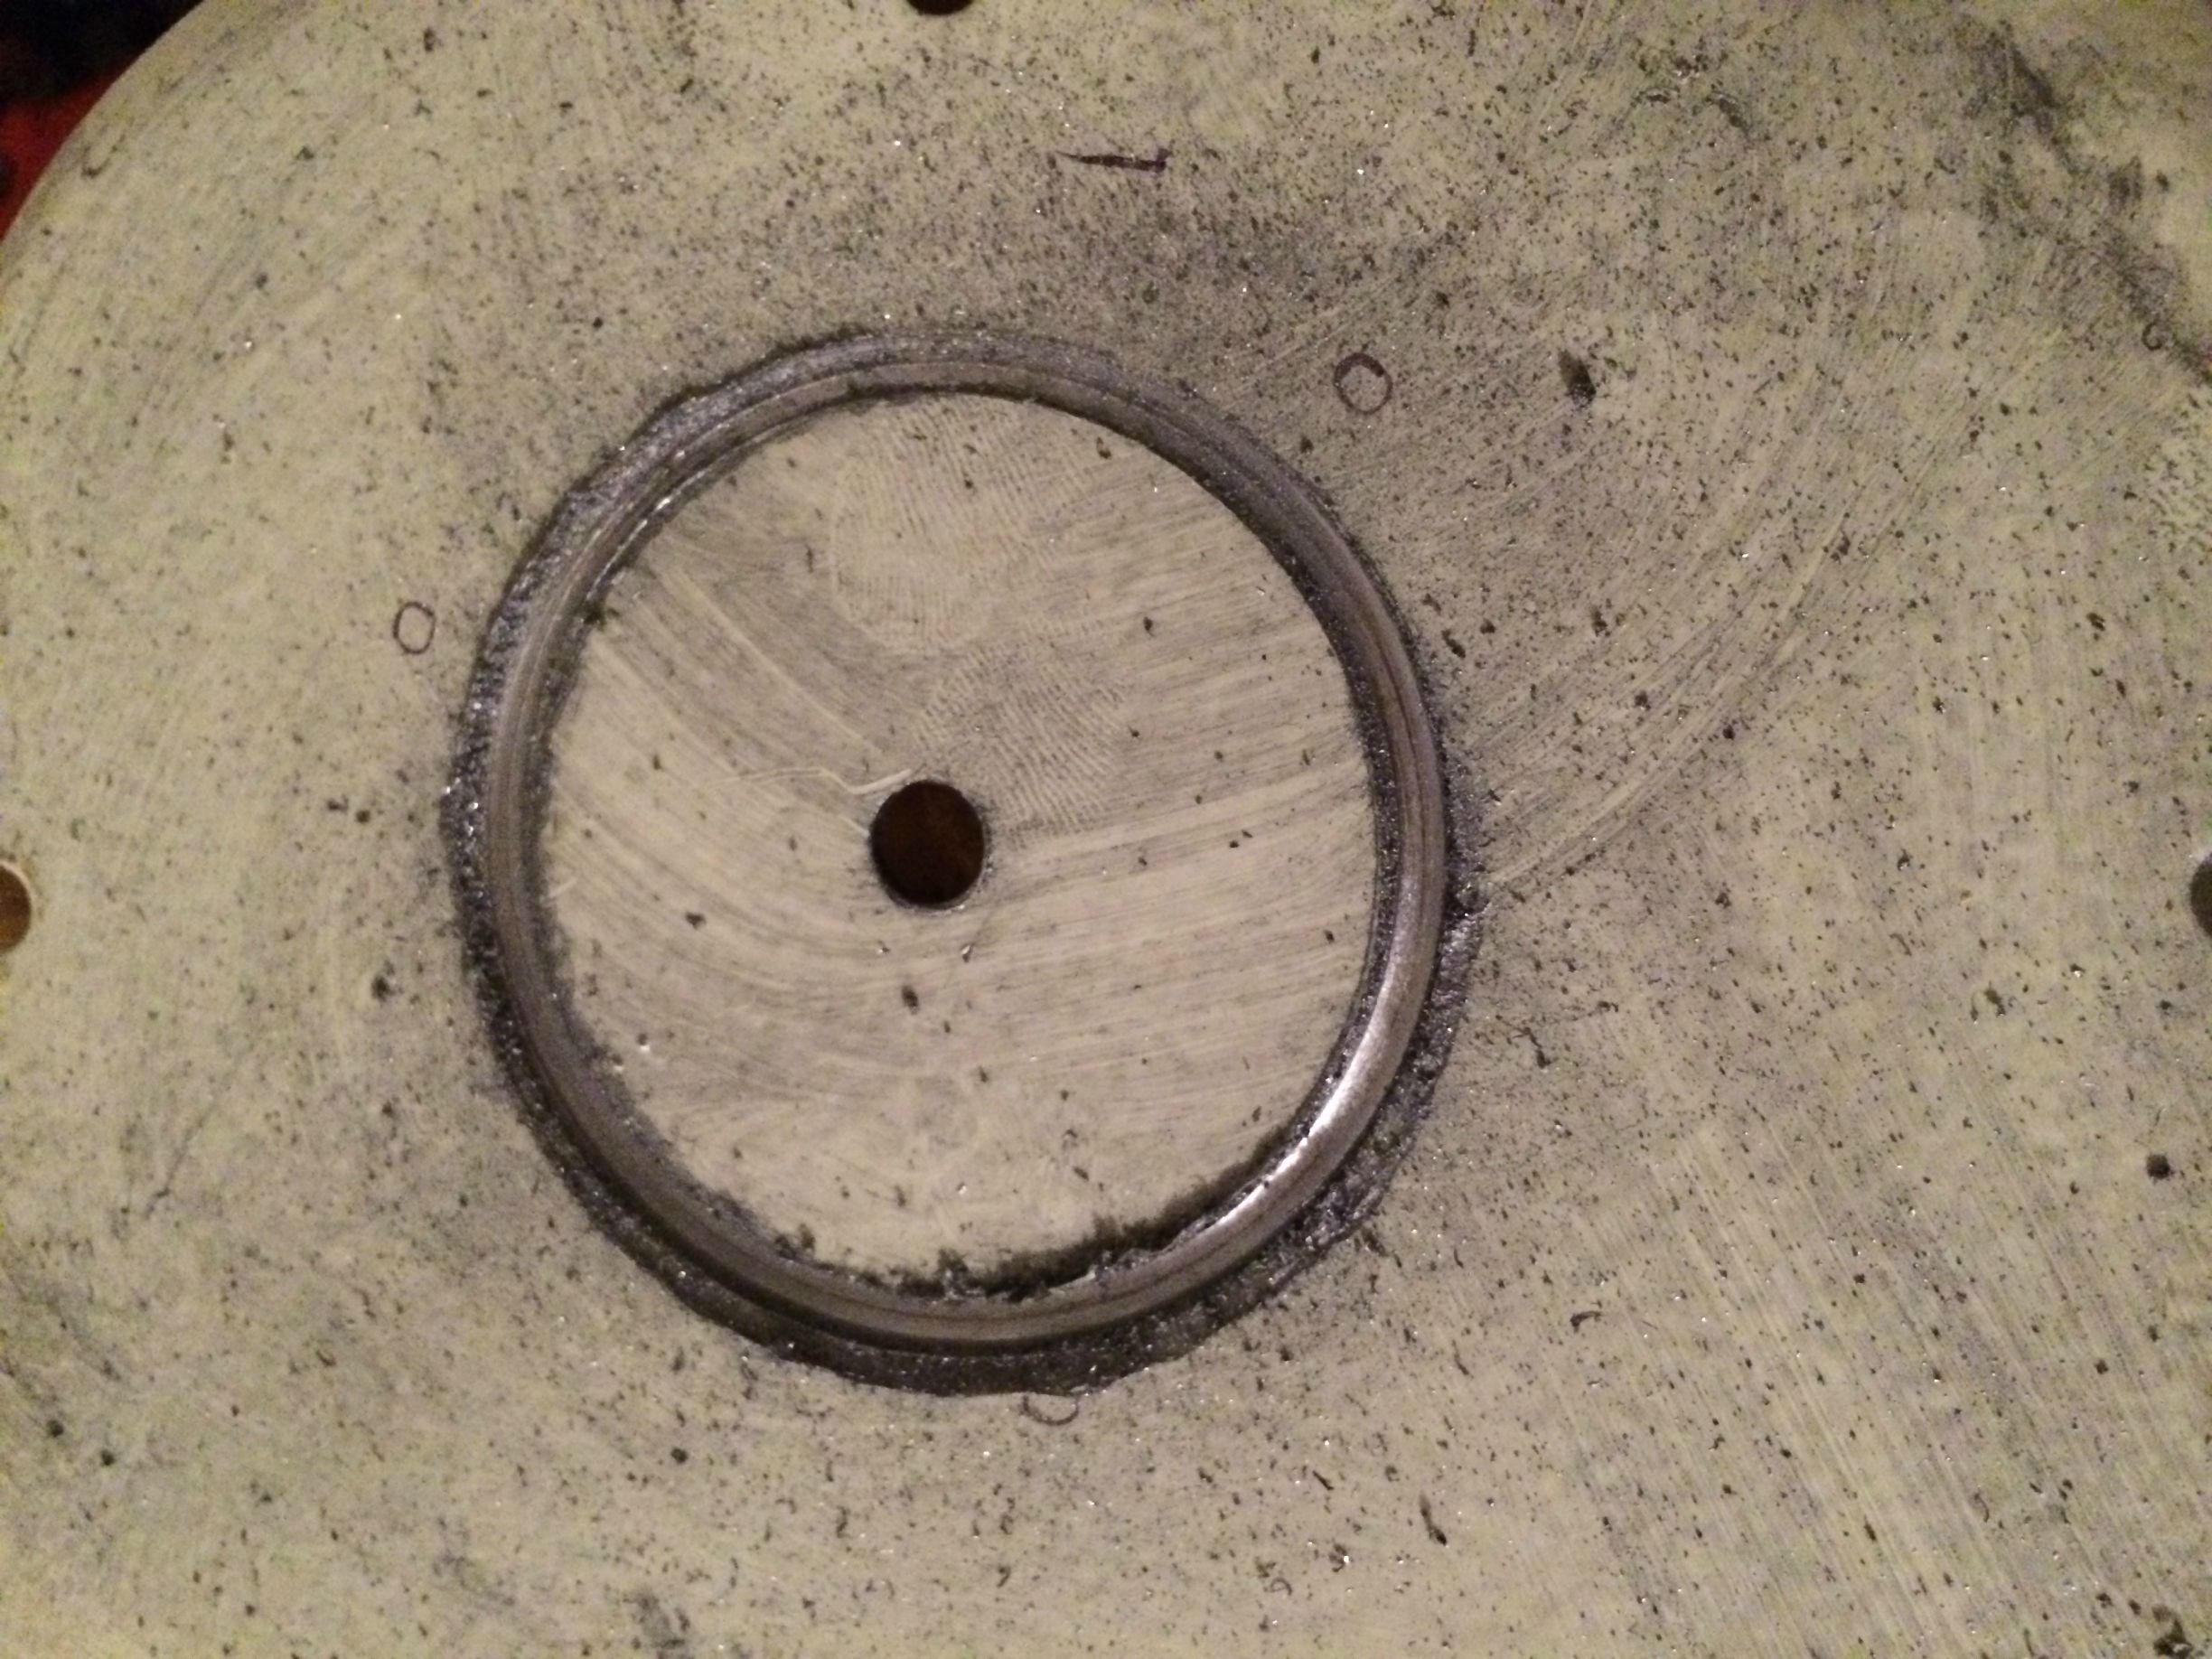
730BB1316 PUNCH UNIT ROUND - $41.96 + $6.96 shipping
http://www.all-spec.com/products/730BB1316.html
Greenlee 1 1/4" Round Radio Chassis Punch #730 with Box ... (310849472462) - $39
Bought used on ebay
GREENLEE 9/16" diameter Knockout Punch with Draw Stud - $18
Bought used on ebay
Kettles
NEW Polished Stainless Steel Stock Pot Brewing Kettle Large w/ Lid Avail in 5 Sz [100 QT] Item # 141115126841 - $337.35 + $30 shipping (total)
http://www.ebay.com/itm/NEW-Polishe...60670823?pt=Cookware&var=&hash=item1e7ddd4067
Herms Coil
Not ordered yet, will order this
http://www.stainlessbrewing.com/Coiled-to-customers-request-035-304304L-Coiled-Tubing_p_30.html
and this I think
http://www.stainlessbrewing.com/12-Bulkhead-Connector-with-Gasket-and-Washer_p_109.html
So as you can tell, nothing extraordinary to see here, I mainly want to use this thread as a build log to keep records for myself. Some parts of it might benefit others too, as I will try to list everything I bought and how much I paid. I didn't cheap out on PID's so, you can probably pay less than I did by choosing other brands like mypid. I'm not including ball valves and quick disconnects because I already have them, however I am switching from kegs to kettles, so I'll put those here as well as I found them to be super cheap.
Lastly, I have no idea how to wire this thing up, specially the volt/amp display
but I will do my best to try and follow Kal's instructions for the rest and hopefully get help from Auber for the timer. I will add pictures as I make advances in the project.
Enclosure
ENCLOSURE 16"(400)W X 16"(400)H X 8"(200)D WITH BACK PLATE. BEIGE COLOR - $79 + 16.49 shipping
http://www.amazon.com/gp/product/B00BR4IJOC/?tag=skimlinks_replacement-20
Sugatsune SWF 650 Stainless Steel Wire Pull Handle, Satin Finish, Threaded Holes, Round Grip, 5" Center To Center, 1-3/8" Projection (Pack of 2) - $15.76
http://www.amazon.com/gp/product/B005FMTURW/?tag=skimlinks_replacement-20
2 of Sugatsune SWF 316 Stainless Steel Wire Pull Handle, Satin Finish, Threaded Holes, Round Grip, 12" Center To Center, 1-3/8" Projection (Pack of 1) - $12.50
http://www.amazon.com/gp/product/B005FMTUOK/?tag=skimlinks_replacement-20
Krylon 69322 Rust Protector Hammered Paint, Charcoal Gray Hammer - $9
http://www.amazon.com/gp/product/B008PPVMOK/?tag=skimlinks_replacement-20
PlastiKote T-235 Gray Sandable Primer Enamel - 12 Oz. - $7.84
http://www.amazon.com/gp/product/B000CPAA3A/?tag=skimlinks_replacement-20
Power cables, connectors and elements
Carol 10 AWG 3C SJOOW Power Cable 25 ft. - $37.92 + $9.61 shipping
http://www.amazon.com/gp/product/B000PH83WU/?tag=skimlinks_replacement-20
PETRA 90-2028 10-Foot 4-Wire Dryer Cord - $ 17.98
http://www.amazon.com/gp/product/B0014KO11O/?tag=skimlinks_replacement-20
Arrow Hart NEMA L14-30 30 AMP 125/250V 3 Pole 4 Wire Flanged Inlet - $28.99
http://www.ebay.com/itm/121130342104?ssPageName=STRK:MEWNX:IT&_trksid=p3984.m1497.l2649
Leviton 2713 30 Amp, 125/250 Volt, NEMA L14-30R, 3P, 4W, Locking Connector, Industrial Grade, Grounding - Black-White - $21.99
http://www.amazon.com/gp/product/B000FKBZ5O/?tag=skimlinks_replacement-20
2 of Leviton 2621 30 Amp, 250 Volt, NEMA L6-30P, 2P, 3W, Locking Plug, Industrial Grade, Grounding - Black-White - $13.15 each
http://www.amazon.com/gp/product/B00002NARX/?tag=skimlinks_replacement-20
2 of Leviton 2620 30 Amp, 250 Volt, Flush Mounting Locking Receptacle, Industrial Grade, Grounding, V-0-MAX, Black - $15.95
http://www.amazon.com/gp/product/B00002NAT9/?tag=skimlinks_replacement-20
2 of Camco 02962/02963 5500W 240V Screw-In Lime Life Ripple Water Heater Element - Ultra Low Watt Density $28.72 each
http://www.amazon.com/gp/product/B000BPG4LI/?tag=skimlinks_replacement-20
2 of Hubbell Bell 5345-0 Two Gang 5-3/4-Inch Outlets Weatherproof Box, Gray - $11.16 each
http://www.amazon.com/gp/product/B00004WZ2V/?tag=skimlinks_replacement-20
4 of Master Electrician 2BC Weatherproof 2 Gang Blank Cover - $6.22 each
http://www.amazon.com/gp/product/B00ARCH6VW/?tag=skimlinks_replacement-20
2 of 18-8 Stainless Steel Round Shim, Unpolished (Mill) Finish, Annealed, Hard Temper, ASTM A666, 0.075" Thickness, 1-1/2" ID, 2-1/4" OD - $ 2.88 each
http://www.amazon.com/gp/product/B006U241XY/?tag=skimlinks_replacement-20
217 Silicone O-Ring, 70A Durometer, Red, 1-3/16" ID, 1-7/16" OD, 1/8" Width (Pack of 25) - $6.34 each
http://www.amazon.com/gp/product/B000FMYSEM/?tag=skimlinks_replacement-20
2 of Type 304 Stainless Steel Threaded Pipe Fitting, 1 Pipe Size, Locknut, 150 PSI - $6.66 each
http://www.mcmaster.com/nav/enter.asp?partnum=4464K586
2 of Standard Straight Cord Grip, Aluminum, 3/4" NPT Trade Size, .50"-.63" Cord Diameter - $7.90 each
http://www.mcmaster.com/nav/enter.asp?partnum=7529K533
External enclosure components
Digital AC 300V 100A Blue Lcd Dual Panel Volt Amp Combo Meter+CT(Shunt) 110-220v - $9.88
http://www.ebay.com/itm/230974573262?ssPageName=STRK:MEWNX:IT&_trksid=p3984.m1497.l2649
3 of 1/16 DIN PID Temperature Controller (SSR control output) Item # SYL-2352 - $46.50 each
http://www.auberins.com/index.php?main_page=product_info&cPath=1&products_id=3
Timer for Beer Brewing, Multi-Events Item # JSL-73A - $42.32
http://www.auberins.com/index.php?main_page=product_info&cPath=16&products_id=356
AC 220V Red LED Power Indicator Pilot Single Light Lamp 22mm - $2.52
http://www.amazon.com/gp/product/B00DUW2NSC/?tag=skimlinks_replacement-20
AD16-22SM AC 220V 22mm Flash Light Red LED Active Buzzer Beep Indicator - $4.87
http://www.amazon.com/gp/product/B00EDKICFI/?tag=skimlinks_replacement-20
2 of Amico 22mm Panel Mounted Hole Yellow LED Indicator Signal Light 220VAC - $3.66 each
http://www.amazon.com/gp/product/B00DUW2MGA/?tag=skimlinks_replacement-20
2 of Amico AC 220V Green LED Power Indicator Pilot Single Light Lamp 22mm - $3.68 each
http://www.amazon.com/gp/product/B00DUW2LO8/?tag=skimlinks_replacement-20
Amico AC 220V Blue LED Power Indicator Pilot Single Light Lamp 22mm - $3.70
http://www.amazon.com/gp/product/B00DUW2LVQ/?tag=skimlinks_replacement-20
6 of XB2BD21C NO 2 Positions Maintained Select Selector Switch - $3.29 each
http://www.ebay.com/itm/280793575996?ssPageName=STRK:MEWNX:IT&_trksid=p3984.m1497.l2649
XB2BJ33C 2N/O 3Positions Maintained Extended Lever Selector Switch - $3.29
http://www.ebay.com/itm/280793953483?ssPageName=STRK:MEWNX:IT&_trksid=p3984.m1497.l2649
XB2BG21C 1N/O 2Positions Maintained Key Select Selector Switch - $4.59
http://www.ebay.com/itm/281094978632?ssPageName=STRK:MEWNX:IT&_trksid=p3984.m1497.l2649
Internal components
2 of 40A SSR Item # MGR-1D4840 - $19 each
http://www.auberins.com/index.php?main_page=product_info&cPath=2_30&products_id=30
2 of Amico Aluminum Heat Sink for Solid State Relay SSR Small Type Heat Dissipation - $5.90
http://www.amazon.com/gp/product/B005D6145G/?tag=skimlinks_replacement-20
3 of 110VAC 30A DPDT Power Relay Motor Control Silver Alloy - $8.32 each
http://www.ebay.com/itm/280701739196?ssPageName=STRK:MEWNX:IT&_trksid=p3984.m1497.l2649
2 of Install Bay BVST6 Spade Terminal Vinyl Connector 16/14 Gauge #6, Blue (100-Pack) - $4.38 each
http://www.amazon.com/gp/product/B005HQ4QTI/?tag=skimlinks_replacement-20
100 pc YELLOW RING TERMINALS 12-10 GAUGE WIRE 3/8" STUD $9.49
http://www.ebay.com/itm/380212700533?ssPageName=STRK:MEWNX:IT&_trksid=p3984.m1497.l2649
Gino 5 Pcs Screw Type 22 AWG Wire 5 x 20mm Inline Fuse Holder - $5.68
http://www.amazon.com/gp/product/B0094DFECI/?tag=skimlinks_replacement-20
100Pcs Glass Fuse 5X20mm Current 7A 250V Quick Blow Glass Fuse - $5.59
http://www.ebay.com/itm/190978809868?ssPageName=STRK:MEWNX:IT&_trksid=p3984.m1497.l2649
100Pcs Glass Fuse 5X20mm Current 7A 250V Quick Blow Glass Fuse - $5.59
http://www.ebay.com/itm/190978809868?ssPageName=STRK:MEWNX:IT&_trksid=p3984.m1497.l2649
Probes
2 of Liquid tight RTD sensor, 1.5 inch, 1/2 NPT Thread Cable Option: 8 ft Deluxe Cable with mating connector/cable Item # PT100-L401/2NPT - $43 each
http://www.auberins.com/index.php?main_page=product_info&cPath=20_15&products_id=249
Liquid Tight RTD Sensor, 2� Probe, Weldless Fitting*** Cable Option: 8 ft Deluxe Cable with mating connector/cable
Item # PT100-L50M14 - $46
http://www.auberins.com/index.php?main_page=product_info&cPath=20_3&products_id=84
Miscellaneous
10 Feet XScorpion 3/4 Inch Black Heat Shrink Tubing - $5.25
http://www.ebay.com/itm/310794907281?ssPageName=STRK:MEWNX:IT&_trksid=p3984.m1497.l2649
Sil-Bond Clear BBQ smoker RTV adhesive sealant Hi temp - $7.99
http://www.ebay.com/itm/171091964787?ssPageName=STRK:MEWNX:IT&_trksid=p3984.m1497.l2649
100 PCS Pack 6" inch Black Network Cable Cord Wire Ties - $2.94
http://www.ebay.com/itm/291025903945?ssPageName=STRK:MEWNX:IT&_trksid=p3984.m1497.l2649
2M Spiral Wire Wrap Tube Manage Cord - $2.09
http://www.ebay.com/itm/19097650282...eName=STRK:MEWNX:IT&_trksid=p3984.m1497.l2649
Thermal Grease Paste Compound Silicone for CPU Heat Sink $1.99
http://www.ebay.com/itm/400271236963?ssPageName=STRK:MEWNX:IT&_trksid=p3984.m1497.l2649
Stainless Steel Flat Washers #6 Qty 100 - $2.75
http://www.ebay.com/itm/251057755559?ssPageName=STRK:MEWNX:IT&_trksid=p3984.m1497.l2649
Stainless Steel Machine Screw Hex Nuts #6-32 Qty: 100 - $3.75
http://www.ebay.com/itm/360529266495?ssPageName=STRK:MEWNX:IT&_trksid=p3984.m1497.l2649
Monoprice Cable tie mounts 25x25(mm), 100pcs/Pack - white - $5.67
http://www.amazon.com/gp/product/B003L16ZYU/?tag=skimlinks_replacement-20
Techflex PTN0.50BK25 Flexo PET General Purpose 1/2-inch Braided Cable Sleeve, Black - 25 Foot - $13.94
http://www.amazon.com/gp/product/B004UHQNUU/?tag=skimlinks_replacement-20
Neiko 01924A Ultimate Self-Adjusting Wire and Cable Stripper - $17.69
http://www.amazon.com/gp/product/B000IYTCG6/?tag=skimlinks_replacement-20
2 of Momentive/GE Silicone Sealant, RTV108, 2.8-oz Tube, Semi-Clear - $6 each
http://www.mcmaster.com/nav/enter.asp?partnum=7545A471
730BB1316 PUNCH UNIT ROUND - $41.96 + $6.96 shipping
http://www.all-spec.com/products/730BB1316.html
Greenlee 1 1/4" Round Radio Chassis Punch #730 with Box ... (310849472462) - $39
Bought used on ebay
GREENLEE 9/16" diameter Knockout Punch with Draw Stud - $18
Bought used on ebay
Kettles
NEW Polished Stainless Steel Stock Pot Brewing Kettle Large w/ Lid Avail in 5 Sz [100 QT] Item # 141115126841 - $337.35 + $30 shipping (total)
http://www.ebay.com/itm/NEW-Polishe...60670823?pt=Cookware&var=&hash=item1e7ddd4067
Herms Coil
Not ordered yet, will order this
http://www.stainlessbrewing.com/Coiled-to-customers-request-035-304304L-Coiled-Tubing_p_30.html
and this I think
http://www.stainlessbrewing.com/12-Bulkhead-Connector-with-Gasket-and-Washer_p_109.html
Last edited by a moderator:


.jpg")
.jpg")
.jpg")


.jpg")
.jpg")