My usual off flavors would surely mask any off flavors coming from the etching.
You are using an out of date browser. It may not display this or other websites correctly.
You should upgrade or use an alternative browser.
You should upgrade or use an alternative browser.
How to add permanent volume markings to a kettle (illustrated)
- Thread starter itsgus
- Start date

Help Support Homebrew Talk - Beer, Wine, Mead, & Cider Brewing Discussion Forum:
This site may earn a commission from merchant affiliate
links, including eBay, Amazon, and others.
Doed
Belching Dog Brewery
My usual off flavors would surely mask any off flavors coming from the etching.
Now that is funny.

MaxOut
Well-Known Member
Sanitation is a non issue on the Hot side of the brewery. This thread refers specifically to etching a kettle. General cleaning will be more than enough. If you plan on etching anything used in the Cold side then proper use of sanitizer will be sufficient. I wouldn't recommend putting volume marks on the inside of your stainless fermenter but if you clean and sanitize it well I doubt you would have any issues.
MaxOut Brewstationle
MaxOut Brewstationle
heckels
Well-Known Member
If I etch blichmann on the front would that make me cool or just a poser?
Sent from my SAMSUNG-SGH-I747 using Home Brew mobile app
That is awesome. That just took me back to my "auto tuner" days when kids would add ridiculous stickers/emblems to their cars that were completely contradictory or unrelated.
Sent from my iPhone using Home Brew
I'm defiantly going to give this a try.
A quick search on the google machine shows some kits that can be purchased to do this, that is if you are too good for the DIY approach, personally I like the idea of a Qtip, wire, 9v batt, and some kitchen supplies to etch stainless.
Sent from my iPad using Home Brew
A quick search on the google machine shows some kits that can be purchased to do this, that is if you are too good for the DIY approach, personally I like the idea of a Qtip, wire, 9v batt, and some kitchen supplies to etch stainless.
Sent from my iPad using Home Brew
rgauthier20420
Well-Known Member
- Joined
- Sep 20, 2012
- Messages
- 771
- Reaction score
- 70
Could this method be done on a larger scale....say for the whole exterior of a keg? For instance, what about attached both the red and black wires to the keg and then using a spray bottle to apply the mixture. Then while wearing rubber gloves, rub the mixture off with a rag?
I know essentially you'd be electrifying the whole keg I think, but as long as your safe this could be an effective way of sort of refurbishing a once gross keg without spending 3 days with a sander.
I know essentially you'd be electrifying the whole keg I think, but as long as your safe this could be an effective way of sort of refurbishing a once gross keg without spending 3 days with a sander.
You could do it if you submerge the keg in electrolytic fluid and have another chunk of metal at the opposite side of the tank, one wire connected to each.
Could this method be done on a larger scale....say for the whole exterior of a keg? For instance, what about attached both the red and black wires to the keg and then using a spray bottle to apply the mixture. Then while wearing rubber gloves, rub the mixture off with a rag?
I know essentially you'd be electrifying the whole keg I think, but as long as your safe this could be an effective way of sort of refurbishing a once gross keg without spending 3 days with a sander.
The current must travel out through the acid solution. By attaching both leads to the keg, you short circuit and the current simply travels through the keg ignoring the acid. It will accomplish nothing.
However, if you mixed up a big tub of the acid solution and attached the positive lead to the keg, dipped the entire keg into the tub, and had a negative lead elsewhere in the solution, then it would etch any part of the keg that wasn't covered by some sort of non-conductive material such as a stencil.
For more information, I suggest you look up info on electroplating. Just make sure you pay attention to which direction the dissolved metal travels and have the polarity correct for what YOU are doing.
roastquake
Well-Known Member
Yep now I gotta do this.
MaxOut
Well-Known Member
Could this method be done on a larger scale....say for the whole exterior of a keg? For instance, what about attached both the red and black wires to the keg and then using a spray bottle to apply the mixture. Then while wearing rubber gloves, rub the mixture off with a rag?
I know essentially you'd be electrifying the whole keg I think, but as long as your safe this could be an effective way of sort of refurbishing a once gross keg without spending 3 days with a sander.
If you connect both wires to the keg you would just have a short between them. Electricity takes the shortest path to ground. You could scale up the Q-tip to a foam paint brush, the power source to a variable output DC power supply and cover a larger area. Not sure of the limitations but should work.
Sent from my iPhone using Home Brew
rgauthier20420
Well-Known Member
- Joined
- Sep 20, 2012
- Messages
- 771
- Reaction score
- 70
The current must travel out through the acid solution. By attaching both leads to the keg, you short circuit and the current simply travels through the keg ignoring the acid. It will accomplish nothing.
However, if you mixed up a big tub of the acid solution and attached the positive lead to the keg, dipped the entire keg into the tub, and had a negative lead elsewhere in the solution, then it would etch any part of the keg that wasn't covered by some sort of non-conductive material such as a stencil.
For more information, I suggest you look up info on electroplating. Just make sure you pay attention to which direction the dissolved metal travels and have the polarity correct for what YOU are doing.
Ok. So that method isn't the best then. How about one those sponge stain brushes? You'd still be able to attach the wire to that and you'd be able to cover a larger surface area with the brush.
Ok. So that method isn't the best then. How about one those sponge stain brushes? You'd still be able to attach the wire to that and you'd be able to cover a larger surface area with the brush.
Absolutely!
rgauthier20420
Well-Known Member
- Joined
- Sep 20, 2012
- Messages
- 771
- Reaction score
- 70
Absolutely!
Sweet. I might have to give this a try when I breakdown my keggle before fittings get welded.
Perzellbrewing
Active Member
Gave you some props on our FB page itsgus.
https://www.facebook.com/barleymob/posts/10202572235498853
https://www.facebook.com/barleymob/posts/10202572235498853
Stealthcruiser
Well-Known Member
For those of ya' just dyin' to electroplate something vs. etching, check these folks out. D I Y kits.........I know lots of car restoration folks who have used their kits with good results to do small parts, hardware, etc.....
http://www.caswellplating.com/
http://www.caswellplating.com/
Perzellbrewing
Active Member
Here are a couple of shots of what it looks like on aluminum. Sorry for the poor camera work, but I don't claim to be a photographer. Cheers!


Safa
Well-Known Member
Here are a couple of shots of what it looks like on aluminum. Sorry for the poor camera work, but I don't claim to be a photographer. Cheers!
Thanks for the photos! Will be trying it on my aluminium kettle this weekend!
Sent from my iPhone using Home Brew
Scubadude918
Well-Known Member
^^ As will I. Thanks for the photos!
____________________________
Primary: DFH 90 Clone
Primary: Murphy's Stout Clone
Secondary: Cider
____________________________
Primary: DFH 90 Clone
Primary: Murphy's Stout Clone
Secondary: Cider
Bigscience
Well-Known Member
I like the mash paddle logo idea. Next up, a Delorean. '1.21 Jiggawatts' on the hood.
Sent from my iPhone using Home Brew
Sent from my iPhone using Home Brew
dlaramie08
Well-Known Member


Success! I'll add the numbers and 1/2 gallon graduations later. As you can see the previous graduations were way off. No wonder I've had trouble hitting volumes.
Sent from my iPhone using Home Brew
IvanTheTerribrew
Well-Known Member
Just did this to mine today. Needed to add about 1 -2 tsp of salt to get it to work quickly. Came out great! Thanks for posting this.
- ISM NRP
- ISM NRP
dlaramie08
Well-Known Member
Mine worked best when the salt solution was saturated. It's cheap stuff anyway, so it's not like it was a real waste.
Sent from my iPhone using Home Brew
Sent from my iPhone using Home Brew

Not perfect, but it'll do! I may tweak it some tomorrow.
Sent from my iPad using Home Brew
BBL_Brewer
Well-Known Member
Very cool. Thanks for posting.
MaxOut
Well-Known Member
I practiced on my SS spoon and I keep getting blotchy and/or discolored marks. What causes this and how might I fix it?
pic
What voltage did you use? What was your salt to vinegar ratio? The commercial kits I've seen for etching use 4.5 volts for steel and 1.5 volts for silver so apparently specific voltage plays a role. They also say to thoroughly clean surface with acetone. Mine was a little splotchy too but I thought it gave it character.
Sent from my iPhone using Home Brew
ClaudiusB
Well-Known Member
I practiced on my SS spoon and I keep getting blotchy and/or discolored marks. What causes this and how might I fix it?
pic
What I found was how long I stayed at the same location and how wet my sponge was at a given amps effected the discoloration.
I went over the darker spots a few times to get the correct shade I liked.
Over 3 Amps at 30 VDC the color came out dark.
I never measured my salt to acid ratio.
I did it different, removed stainless around the letters to get a nice raised effect.

foodplusbeer
Well-Known Member
well done sir.
cheesehed007
Well-Known Member
If I etch blichmann on the front would that make me cool or just a poser?
Sent from my SAMSUNG-SGH-I747 using Home Brew mobile app
I'd do Venkman and use the same font as blichmann..
Sent from my van, down by the river.
What voltage did you use? What was your salt to vinegar ratio? The commercial kits I've seen for etching use 4.5 volts for steel and 1.5 volts for silver so apparently specific voltage plays a role. They also say to thoroughly clean surface with acetone. Mine was a little splotchy too but I thought it gave it character.
Sent from my iPhone using Home Brew
I used a 9V battery. When I started to etch the keggle, the liquid kept turning yellow, and it never seemed to get a very strong etch.
dlaramie08
Well-Known Member
I used a 9V battery. When I started to etch the keggle, the liquid kept turning yellow, and it never seemed to get a very strong etch.
How close is your bare wire? I found mine worked best if my bare wire wrapped around the q tip was touching the metal.
Sent from my iPhone using Home Brew
You guys are great! The feedback has been amazing. I really enjoy how many of you have shared your etchings!
Because you've been so cool, I thought I would follow up with a brew day shot of a Black IPA with the etchings.
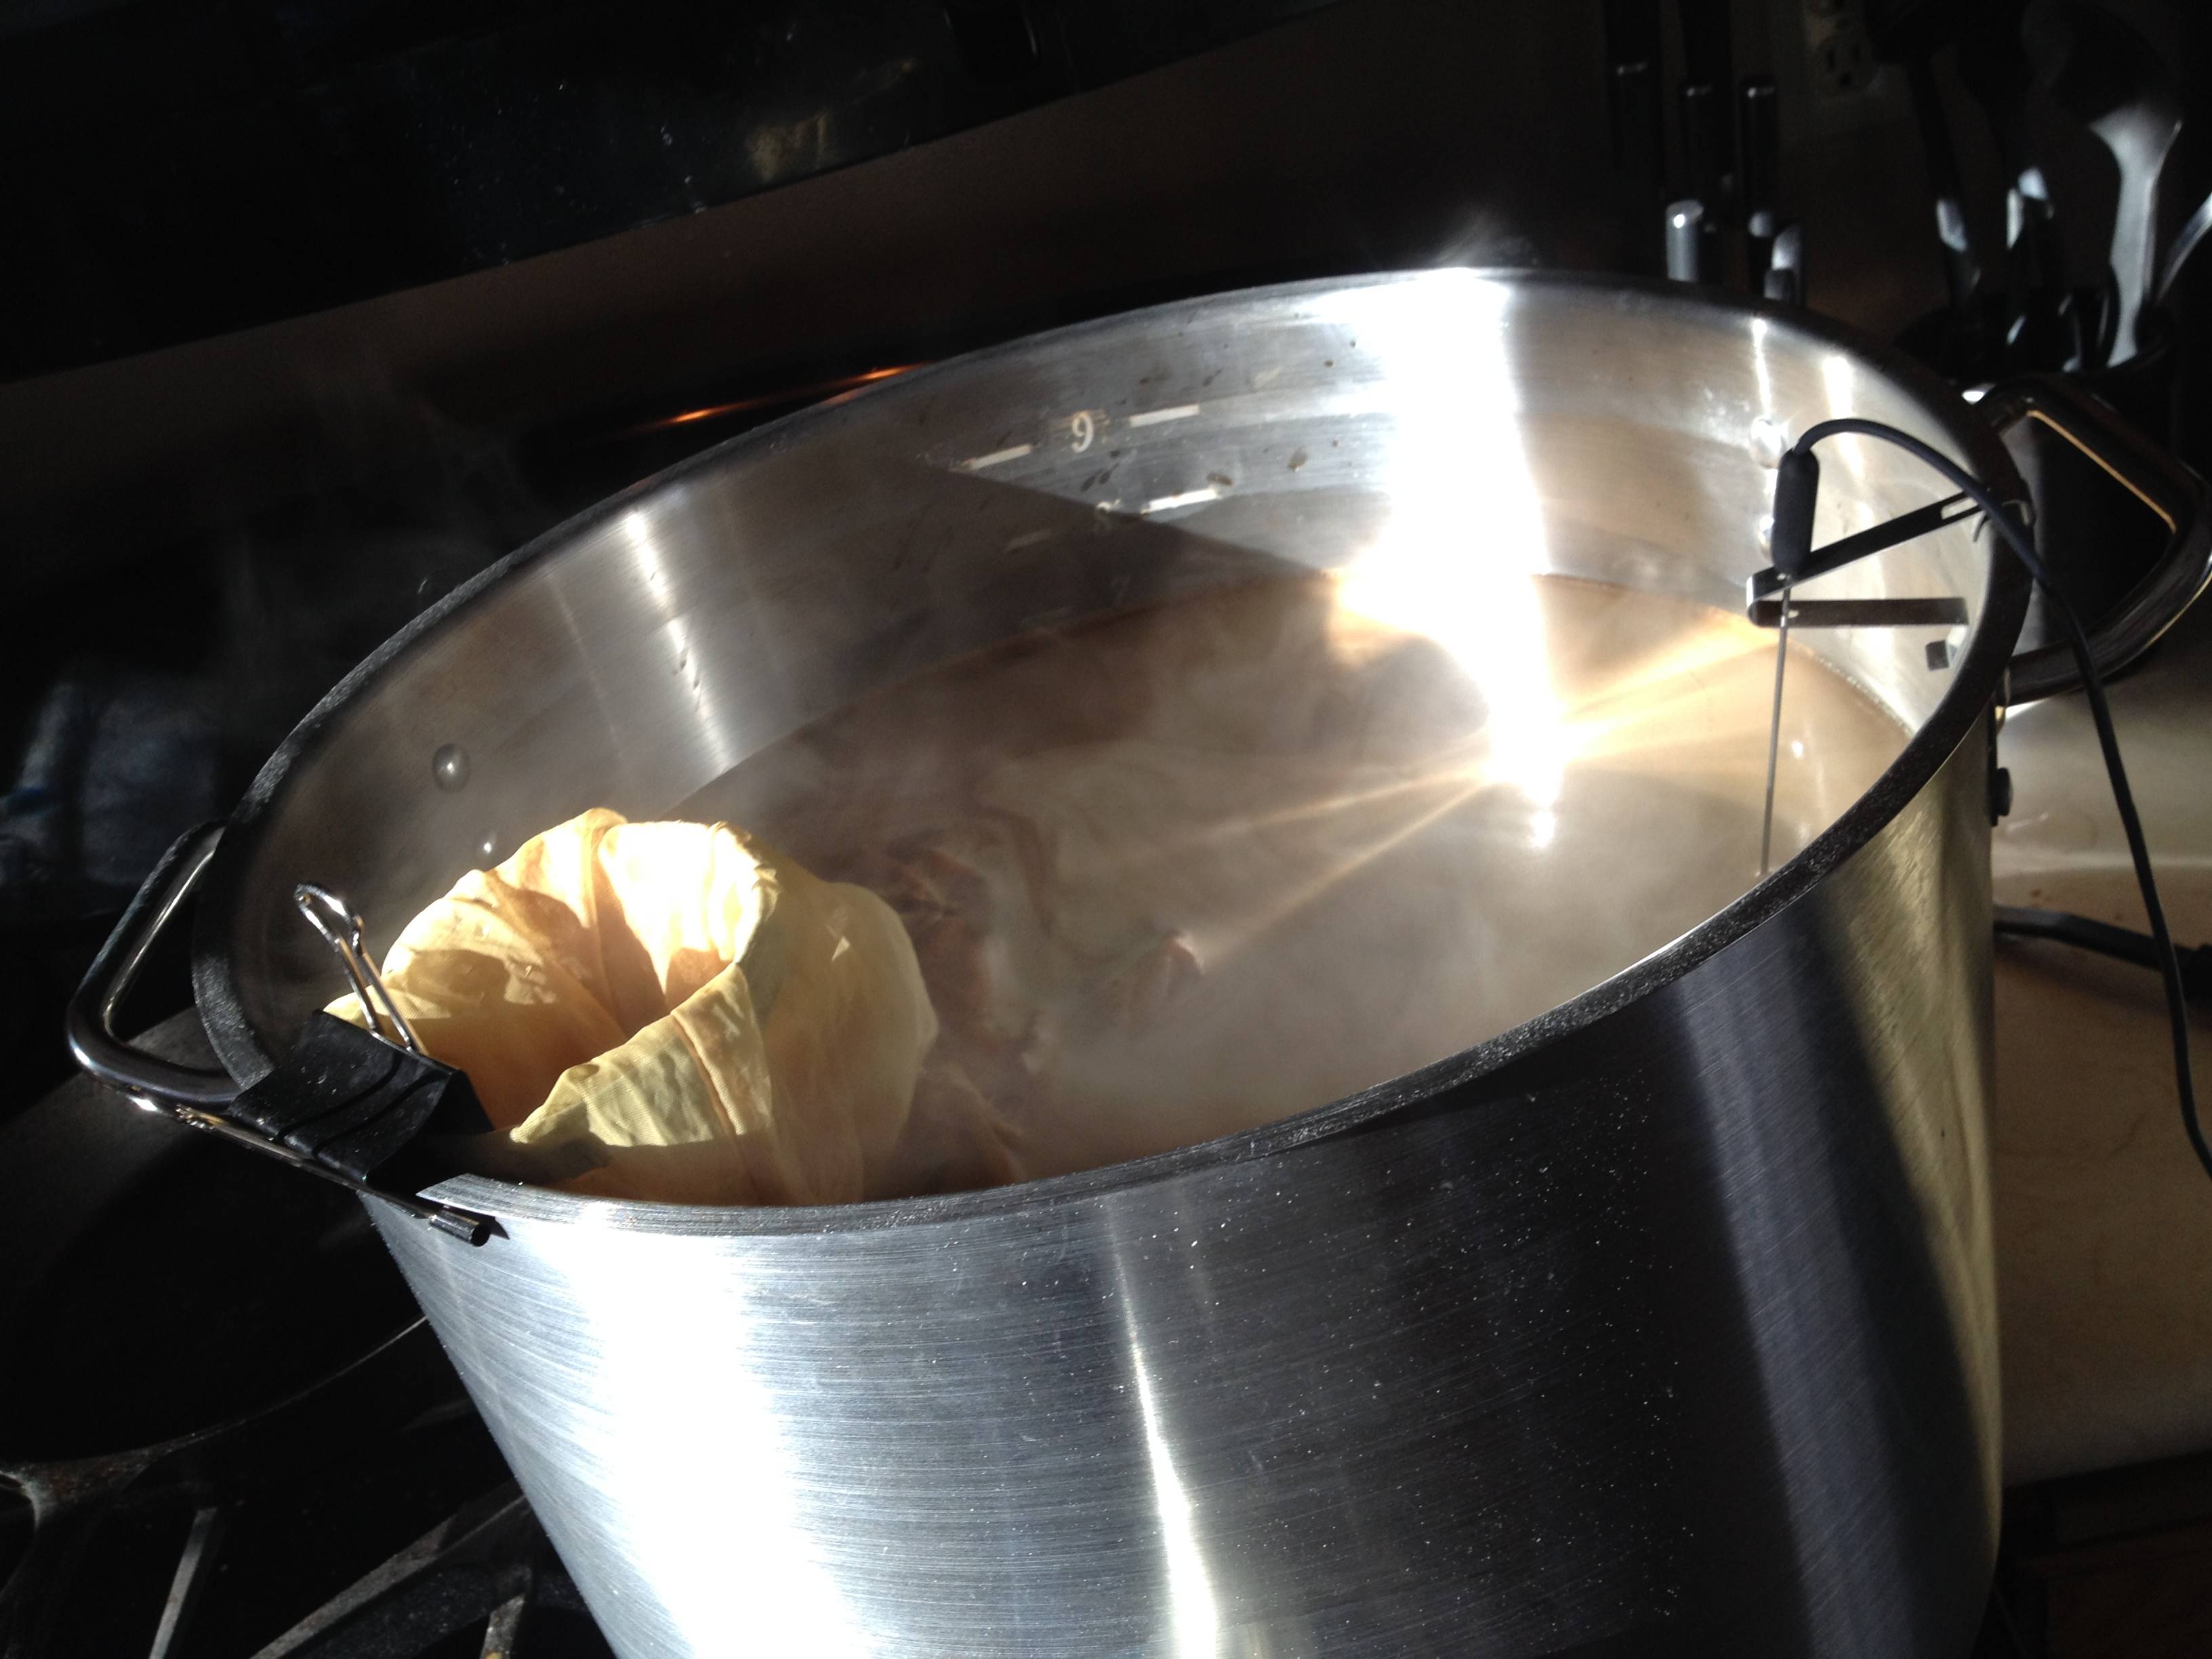
Because you've been so cool, I thought I would follow up with a brew day shot of a Black IPA with the etchings.
Sbarnard80
Well-Known Member
This is very cool! Am going to try a crayon to mark the spots and see if that works.

My battery didn't last very long, but I had this charger laying around and it works like a champ.
Sent from my iPad using Home Brew
View attachment 184896
My battery didn't last very long, but I had this charger laying around and it works like a champ.
Sent from my iPad using Home Brew
How did you hook up the charger? Just split the wires and hook up the same as the battery?
I wasn't getting good results with my battery so I went the charger route as well. Yeah you hook it similar to the battery, positive to the kettle and negative to the Q-tip. I had a computer fan laying around that I'm going to use to make another stir plate so I hooked up the wires to figure out which wires from the charger were positive and negative. If the fan runs it's correct if not switch them. There might be an easier way to figure it out, but I'm no expert. I didn't get any pictures yet but it came out pretty good.
^ yup, what he said. Negative to the Q-tip, Positive to the kettle. On my charger the negative side had dashes along the cord.
Sent from my iPad using Home Brew
Sent from my iPad using Home Brew
^ yup, what he said. Negative to the Q-tip, Positive to the kettle. On my charger the negative side had dashes along the cord.
Sent from my iPad using Home Brew
Is this like a regular cell phone charger?
JonGrafto
Well-Known Member
I found another way to transfer your images to your kettle. I had a hard time finding stencils but had tons of number stickers.
What I did was place the sticker where I wanted it and then I painted nail polish over the top of the sticker and beyond the sticker.
I then peeled the sticker off of the pot and was left with a "stencil" number. Tape off around the nail polish and then etch as the OP has suggested.
Then all you have to do is take nail polish remover to the area and you should be set.
Nice way to stencil in if you have stickers already handy or possibly a logo!!
Edit: Also, if you are leery about doing this on your kettle first, you can do a trial run on your lid (if you have one)
Similar threads
- Replies
- 29
- Views
- 2K
- Replies
- 4
- Views
- 956
