
Welcome to my home bar/ keg chamber / fermentation chamber build.
Introduction:
My friend started brewing mid 2012 and it piqued my interest because I am pretty big into DIY. I wanted to taste his beers before I got myself started into brewing. After all, why would I want to spend money on this hobby just to get a crappy product? After I tasted his first brew I found it very tasty a little astringent due to no temp control, but still very tasty. I decided to jump in head first and use my tax return to buy a deluxe starter kit from northern brewer. I brewed my first extract batch in March 2013 and I was immediately hooked. After brewing my first batch (a partial boil extract with steeping grains, Northern brewers Caribou Slobber) I was hooked. I immediately went out and bought a turkey fryer with a 7 gallon pot so that I could do full boils. A year later I upgraded to a 15 gallon pot and did my first all grain loved it! My next project .Temperature control.
I decided that once I got my tax return back in march (2014), I was going to build myself a fermentation chamber. I had many iterations of ideas of how to achieve this. I started out wanting to build small single carboy vessels cooled with peltier devices this didnt really pan out as peltier devices are not too efficient and they are only good for keeping temperatures to about 10 degrees below ambient, unless you have superb cooling for the hot side. You have to put a lot of work into these to get them to work well. Next I decided on a chest freezer, but I wanted to hide it under a counter. After some research I found that for the size of freezer I wanted, my counters are not deep enough to hide them the way I wanted. So I finally decided on building my own fermentation cabinet using either a mini fridge or a window ac unit. Lucky for me the basement in my house was set up as kind of a mother-in-law apartment. It has a kitchen with stove hook up and washer and dryer hook ups in the bathroom. The kitchen has really worked out great as small basement brewery. One wall of the kitchen has some small shelves attached to the ceiling. Underneath is where you would put the stove and maybe a fridge. This is where I decided to build my cabinet. Since the wall is about 10ft long I decided to use the whole space for my cabinet which I decided to build it into a bar/ fermentation chamber/ keg chamber. For the size of it I decided against the mini fridge and started designing it with a window AC as the cooling unit.
The Build:
It took a lot of planning and designing as I have never done a big project like this before. A lot of research and constant changes It probably took about 2 or 3 months to plan this before I started building. I believe I started building this past June .and still building. I almost have the cabinet and chambers done. I decided to use Cedar as my finished wood because it looks nice and its cheaper than a lot of other wood. The only caveat is that its soft so it dents and damages easily. I applied Tung oil to the cedar to make the grain pop then put 2 layers of shellac over top to seal it.
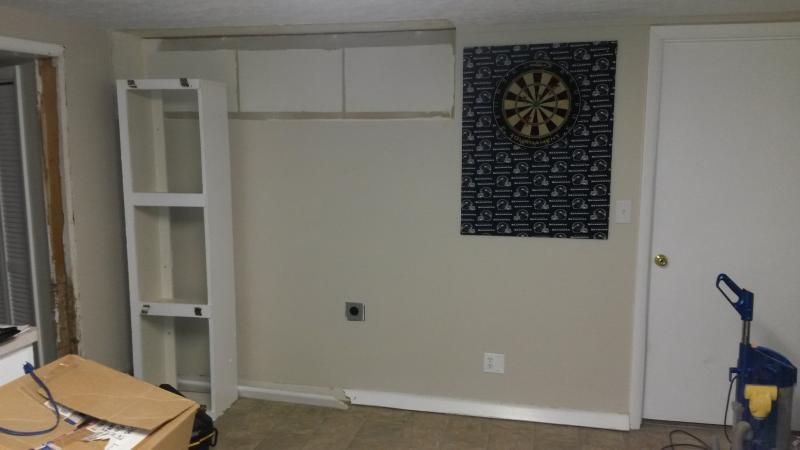
Took the shelf off the wall
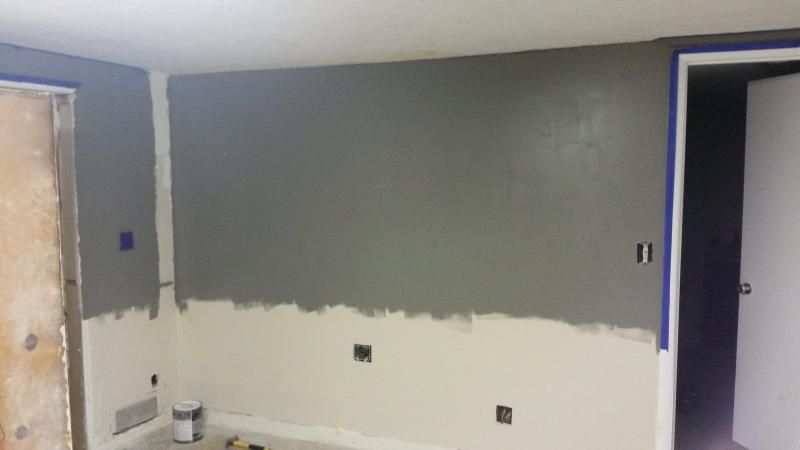
Painted the wall
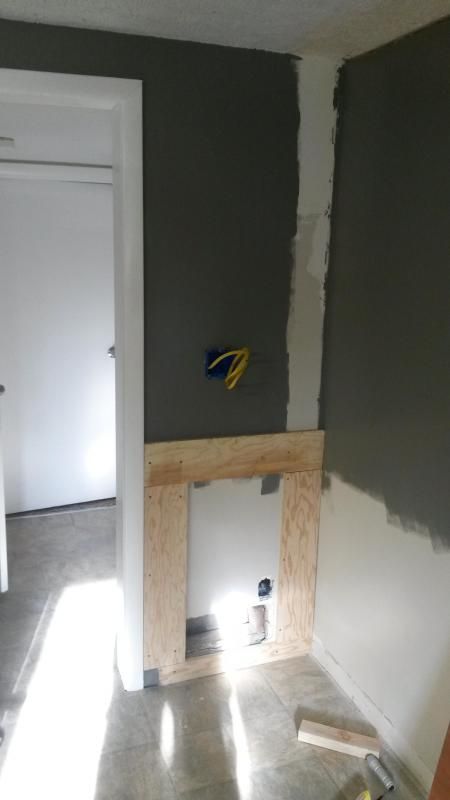
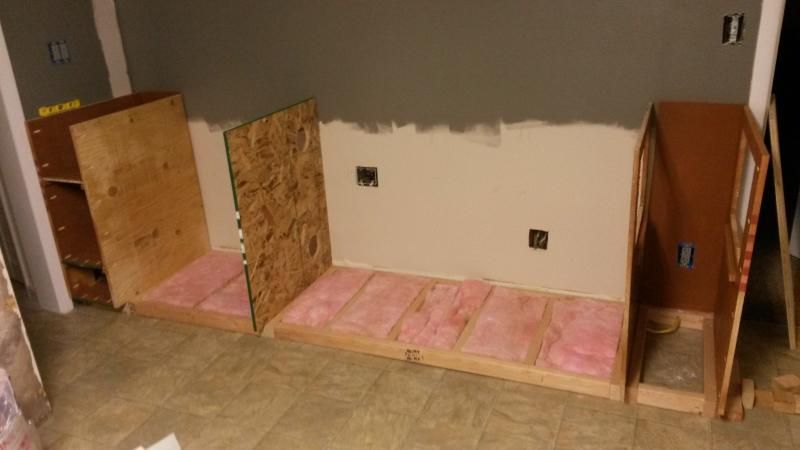
Got some of the new electric wire pulled and the first piece of the bar built. The hole in the wall is the air return. I had to build around this.

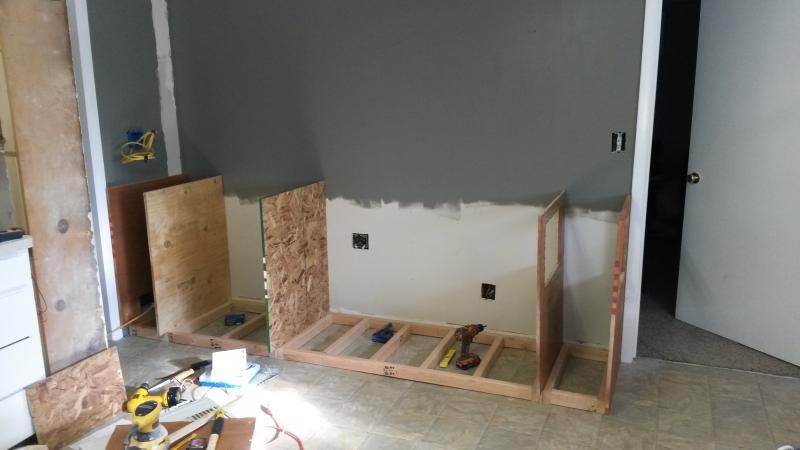
Its all coming starting to come together

The piece on the left was cut from the piece on the right. I applied tung oil to it looks good


Put 4 electrical outlets in here to power various things ( temperature controller, fans for fermentation chamber, lighting anything else I decide to add
The left chamber is the ferm chamber. Temps will be controlled with a cheap version of the brewpi fermentation controller that I found in this thread: https://www.homebrewtalk.com/f51/howto-make-brewpi-fermentation-controller-cheap-466106/
Two PC fans will blow the cold air from the keg chamber into the ferm chamber to cool it. I found a small cheap heater at Walmart.

Put on the cedar face frame and kickplate and stapled some reflectix to the inside
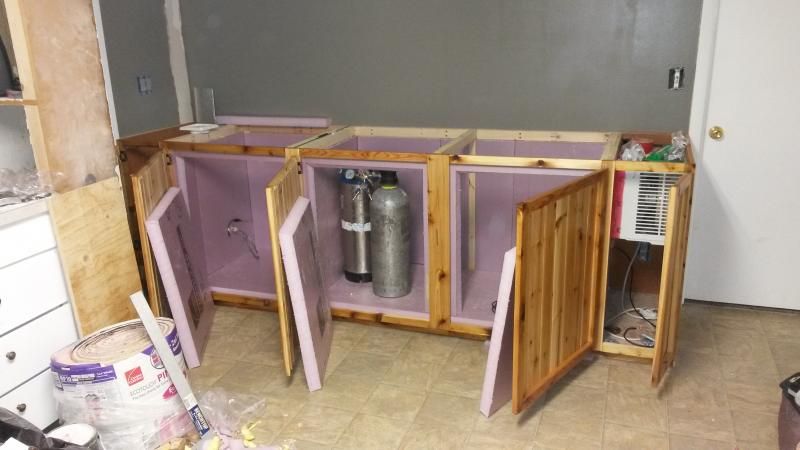
Put in some 2 rigid insulation from HD and my cheap window ac unit off of craigslist
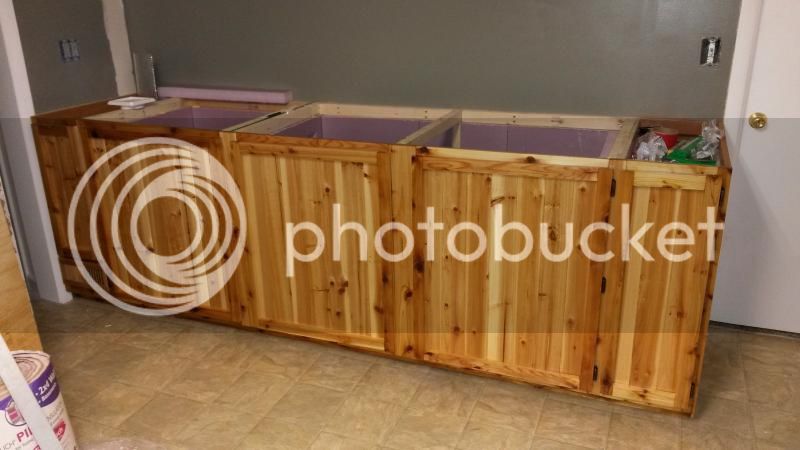
And the cabinet doors
I put the top on yesterday and the AC brought the chamber down to 35 degrees in less than 5 minutes. Time to caulk/great stuff and reflectix tape the seams.
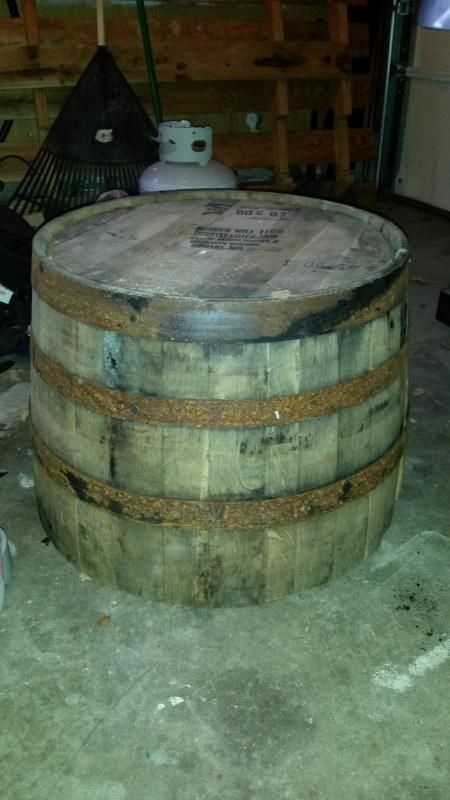
Found this on craigslist, I will be mounting this to the wall and have my keg taps coming out of the front.
Introduction:
My friend started brewing mid 2012 and it piqued my interest because I am pretty big into DIY. I wanted to taste his beers before I got myself started into brewing. After all, why would I want to spend money on this hobby just to get a crappy product? After I tasted his first brew I found it very tasty a little astringent due to no temp control, but still very tasty. I decided to jump in head first and use my tax return to buy a deluxe starter kit from northern brewer. I brewed my first extract batch in March 2013 and I was immediately hooked. After brewing my first batch (a partial boil extract with steeping grains, Northern brewers Caribou Slobber) I was hooked. I immediately went out and bought a turkey fryer with a 7 gallon pot so that I could do full boils. A year later I upgraded to a 15 gallon pot and did my first all grain loved it! My next project .Temperature control.
I decided that once I got my tax return back in march (2014), I was going to build myself a fermentation chamber. I had many iterations of ideas of how to achieve this. I started out wanting to build small single carboy vessels cooled with peltier devices this didnt really pan out as peltier devices are not too efficient and they are only good for keeping temperatures to about 10 degrees below ambient, unless you have superb cooling for the hot side. You have to put a lot of work into these to get them to work well. Next I decided on a chest freezer, but I wanted to hide it under a counter. After some research I found that for the size of freezer I wanted, my counters are not deep enough to hide them the way I wanted. So I finally decided on building my own fermentation cabinet using either a mini fridge or a window ac unit. Lucky for me the basement in my house was set up as kind of a mother-in-law apartment. It has a kitchen with stove hook up and washer and dryer hook ups in the bathroom. The kitchen has really worked out great as small basement brewery. One wall of the kitchen has some small shelves attached to the ceiling. Underneath is where you would put the stove and maybe a fridge. This is where I decided to build my cabinet. Since the wall is about 10ft long I decided to use the whole space for my cabinet which I decided to build it into a bar/ fermentation chamber/ keg chamber. For the size of it I decided against the mini fridge and started designing it with a window AC as the cooling unit.
The Build:
It took a lot of planning and designing as I have never done a big project like this before. A lot of research and constant changes It probably took about 2 or 3 months to plan this before I started building. I believe I started building this past June .and still building. I almost have the cabinet and chambers done. I decided to use Cedar as my finished wood because it looks nice and its cheaper than a lot of other wood. The only caveat is that its soft so it dents and damages easily. I applied Tung oil to the cedar to make the grain pop then put 2 layers of shellac over top to seal it.

Took the shelf off the wall

Painted the wall

Got some of the new electric wire pulled and the first piece of the bar built. The hole in the wall is the air return. I had to build around this.


Its all coming starting to come together

The piece on the left was cut from the piece on the right. I applied tung oil to it looks good


Put 4 electrical outlets in here to power various things ( temperature controller, fans for fermentation chamber, lighting anything else I decide to add

The left chamber is the ferm chamber. Temps will be controlled with a cheap version of the brewpi fermentation controller that I found in this thread: https://www.homebrewtalk.com/f51/howto-make-brewpi-fermentation-controller-cheap-466106/
Two PC fans will blow the cold air from the keg chamber into the ferm chamber to cool it. I found a small cheap heater at Walmart.

Put on the cedar face frame and kickplate and stapled some reflectix to the inside

Put in some 2 rigid insulation from HD and my cheap window ac unit off of craigslist

And the cabinet doors
I put the top on yesterday and the AC brought the chamber down to 35 degrees in less than 5 minutes. Time to caulk/great stuff and reflectix tape the seams.

Found this on craigslist, I will be mounting this to the wall and have my keg taps coming out of the front.


