Working to a plug-n-play and easy retrofit solution to upgrade original grinfather controller with
Smartpid and need some suggestions and ideas from GF community
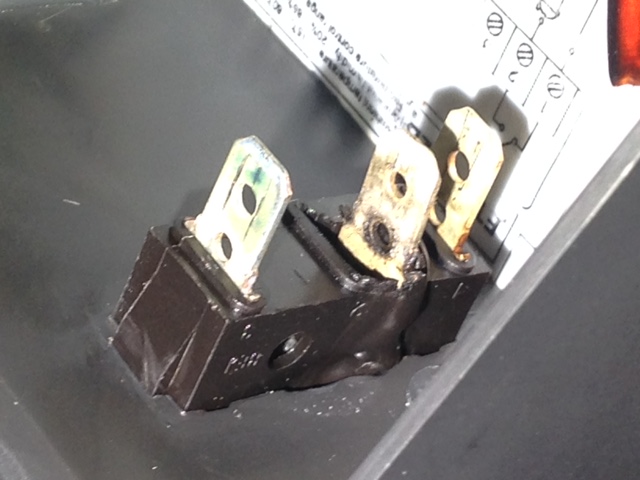
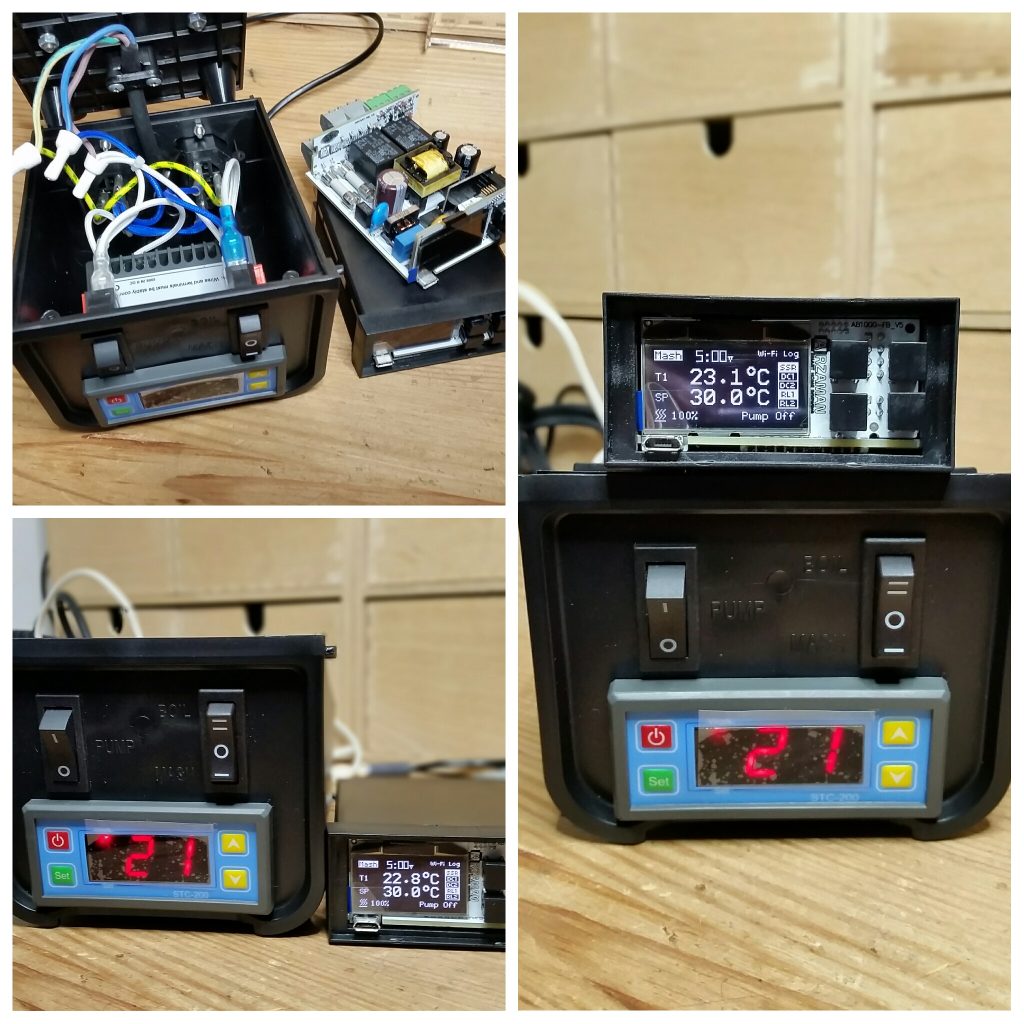
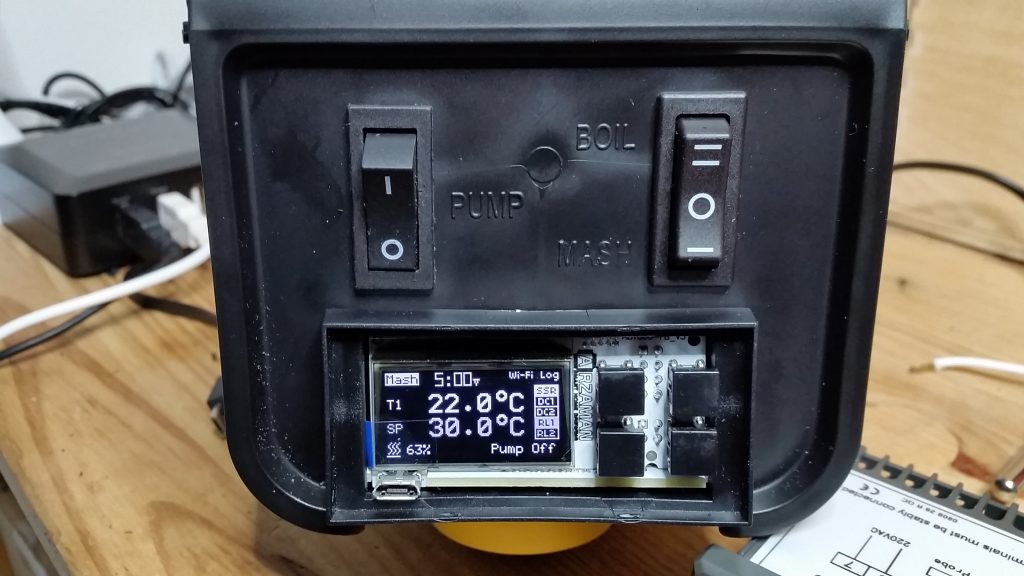
The idea is to keep the original case and switches, just removing STC200 and rewiring Smartpid in order to get full process automation, recipe management, wifi data log, OLED graphical display, USB, etcetc.. and basically there a two options
1) connect heating element to relay 1 , connect pump to relay 2 in parallel to switch, connect temperature probe to one of the two control channel. Just two wires for pump and a screw driver !
You can benefit all the smart PID automation feature (including pump cycle automation) but the temperature control during step mash will be performed ON/OFF (with hysteresis) since is not advisable to use PID /PWM algorithm with mechanical relay output
Also during boil you lose the nice feature to control power via PWM 0-100%
2) insert in the case a solid state relay (10A minimum) to control heating elements, pump control and temperature probe as option 1
Little bit of extra work and a need of suitable SSR with heat sink to fit in the small spare space inside the case but you can benefit full PID + PWM solution either in mashing or in boiling
there is also a 3rd option more invasive that need to work on the base of GF separating 2 heating element now in series in order to control them separately (500W by PID during mashing, 1500 W by relay during mash in/out and boil)
what option do you prefer ? Any other suggestion ?
arzaman
http://smartpid.com