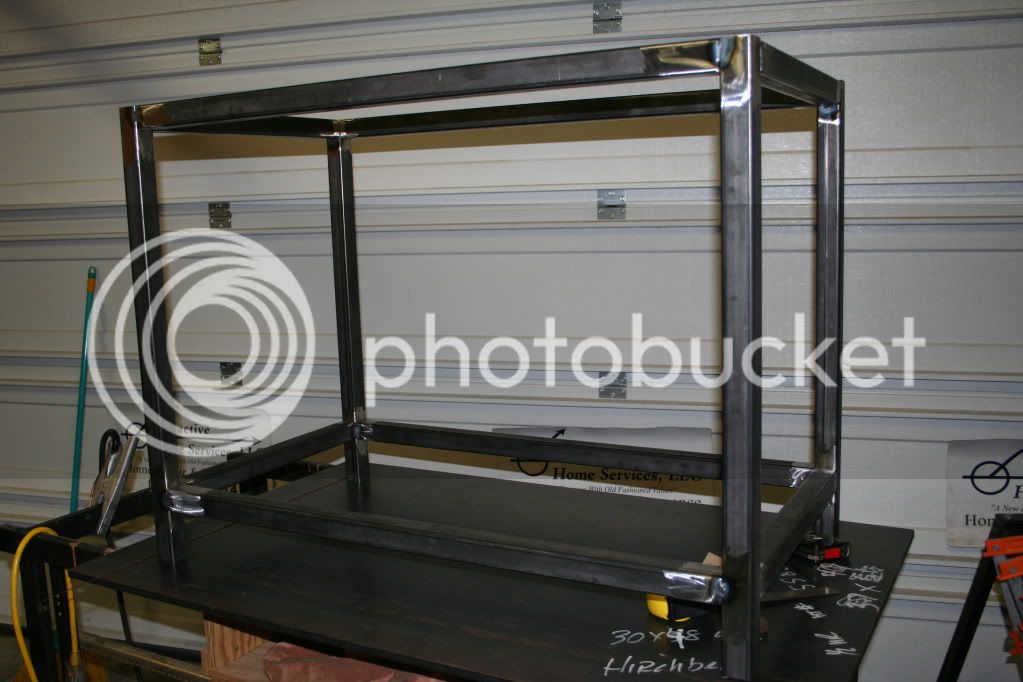
I might get ambitious and try to flatten the top at some point, but for now I think I'll just live with it. Do you think I can bend the 1/2" plate with the 1/8" wall square tubing?
I have not attached plates for grounding, for now I think I can just attach the work clamp to the top.
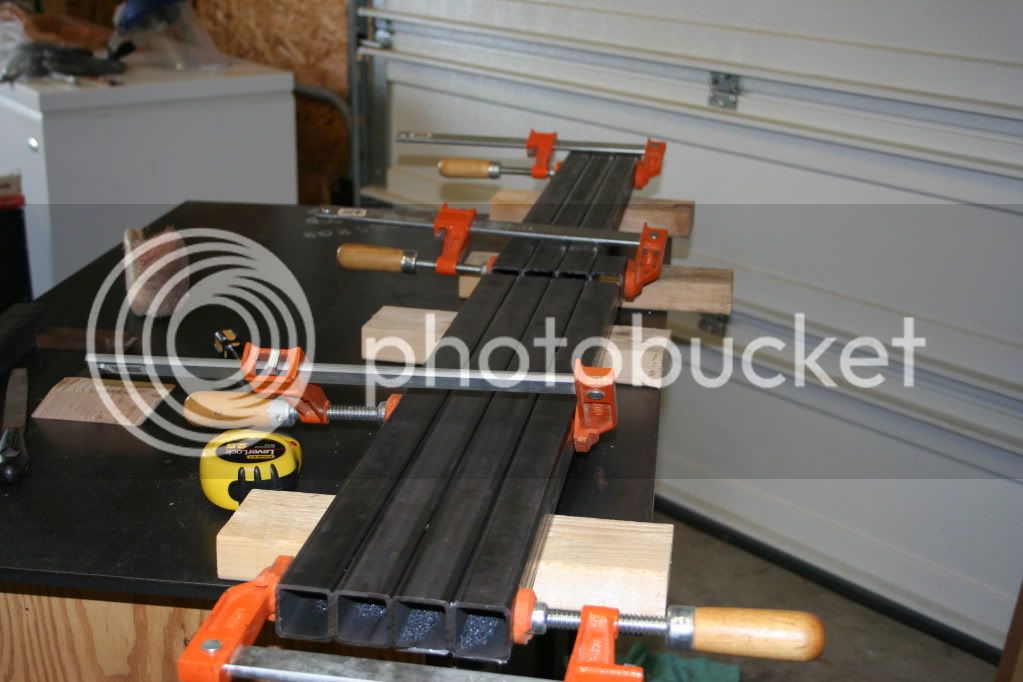
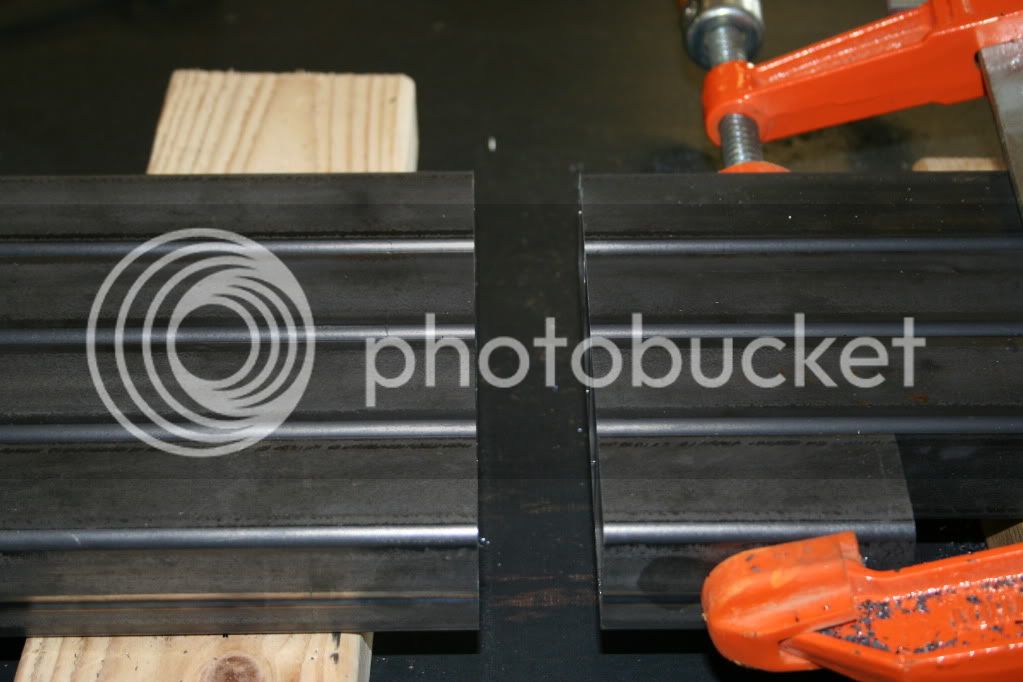
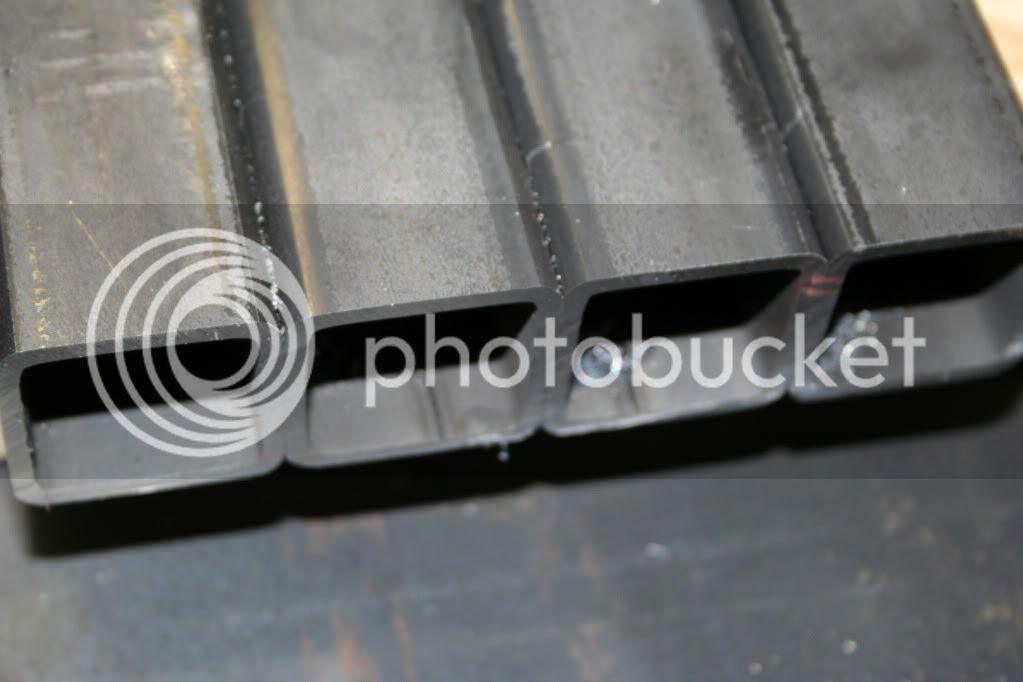
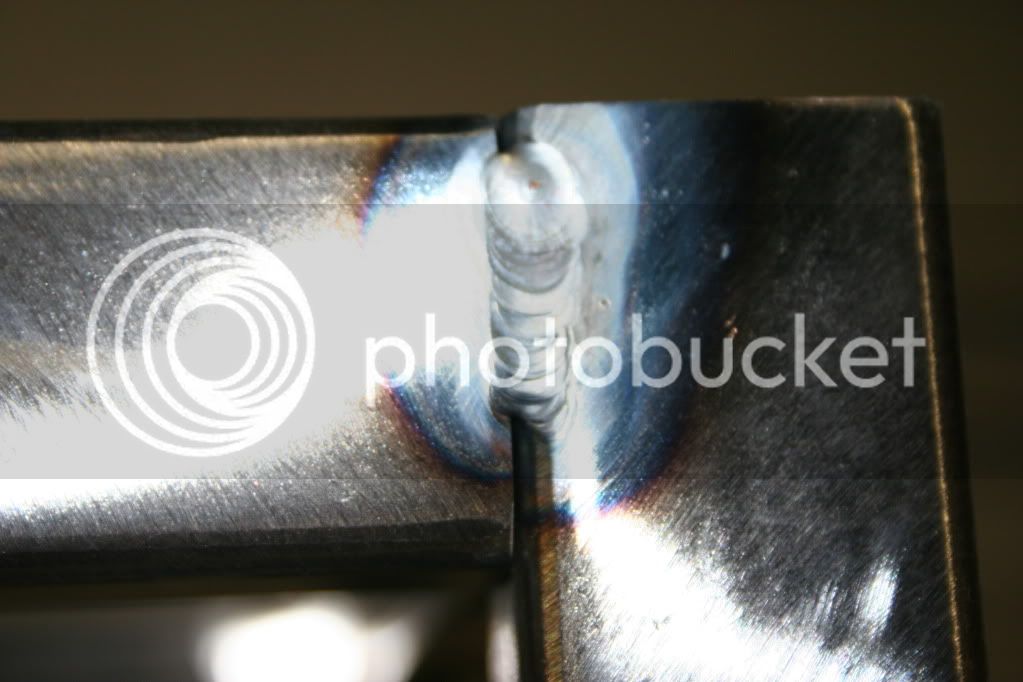
I used my Thunderbolt 225 to tack the top on (I didn't feel like taking the tig torch off) so the 1/4" plate is as thick as I've touched with the 250. I'm wondering just how far I can push the 250 on the 50amp breaker it is on... I had it at about 175amps when I welded the 1/4" plates and it was pretty sweet.
First attempt at welding the 1/4" plate I forgot to turn on the argon bottle and melted the tungsten. I assume you turn off the gas at the bottle when you are finished?
Kind of interesting dragging the pedal around, using both feet and torch in both hands and in awkward positions. I GOTTA get a cover for the torch hoses. What do you think of this one (it's about half the cost of the nylon ones I've seen):
http://cgi.ebay.com/Soft-Leather-TI...730?pt=LH_DefaultDomain_0&hash=item563dc6d2d2
I'll get some pictures for ya soon, I promise.
Now I gotta start thinking about the next project...
Ed

") ?
?