Finally Built a Keezer ....

Homebrew Talk - Beer, Wine, Mead, & Cider Brewing Discussion Forum

Help Support Homebrew Talk - Beer, Wine, Mead, & Cider Brewing Discussion Forum:

This site may earn a commission from merchant affiliate links, including eBay, Amazon, and others.

pvpeacock

Supporting Member
HBT Supporter
Joined
Mar 20, 2013
Messages
2,284
Reaction score
1,800
Location
Palos Verdes Estates
I have been using a two tap kegerator for many years, but wanted the ability to cold crash kegs, keep untapped kegs cold and even carbonate kegs before they were tapped. As a result, after reading many, many posts, I decided to finally build a keezer.

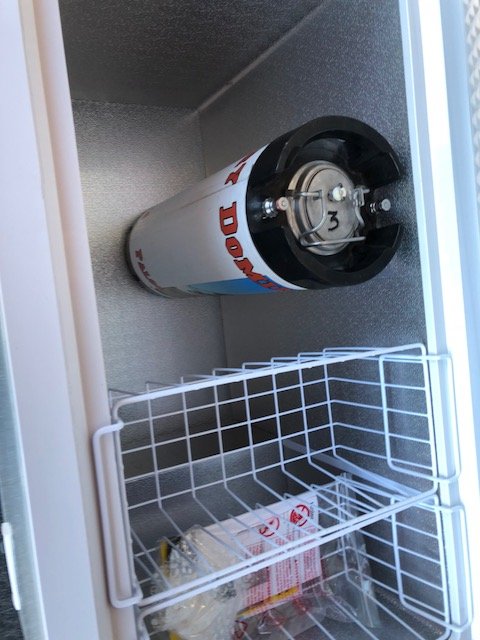
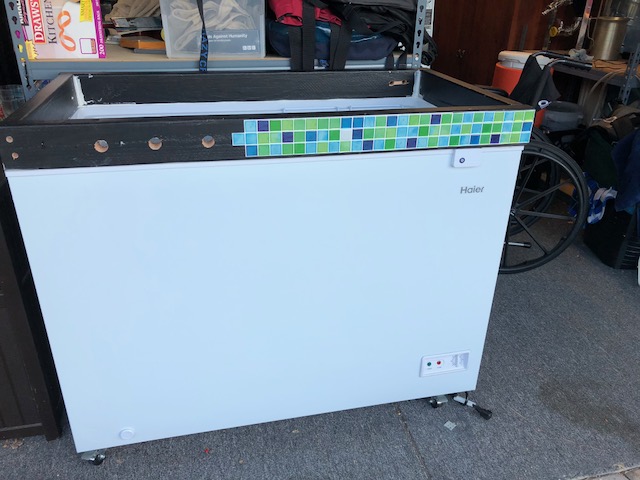
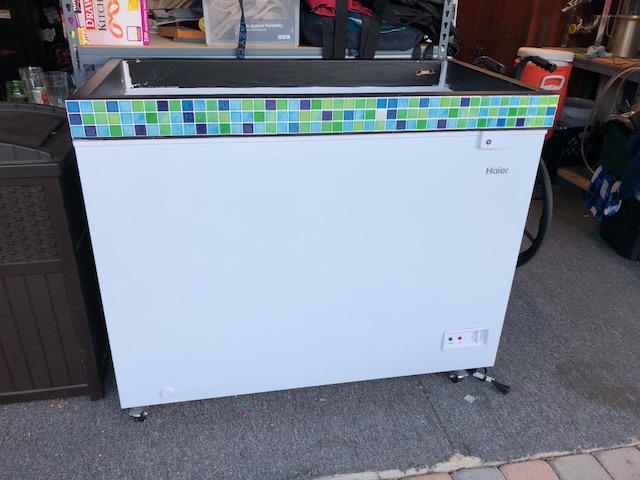
After doing quite a bit of research, I chose a Haier 9.2 cubic foot freezer for $299.99 on Quill.com with free shipping. What I liked about this freezer was that it already came with casters on the bottom and had a light in the lid. In addition it was big enough for six 5 gallon ball lock corny kegs and two additional 2 1/2 or 3 gallon kegs on the hump.
IMG_1261.jpg
IMG_1263.jpg
 
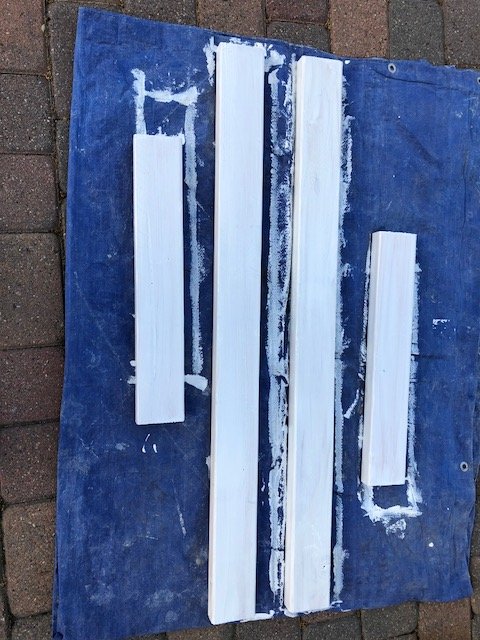
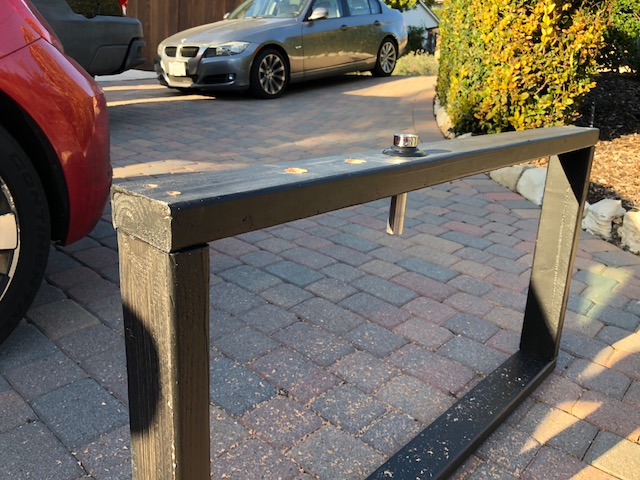
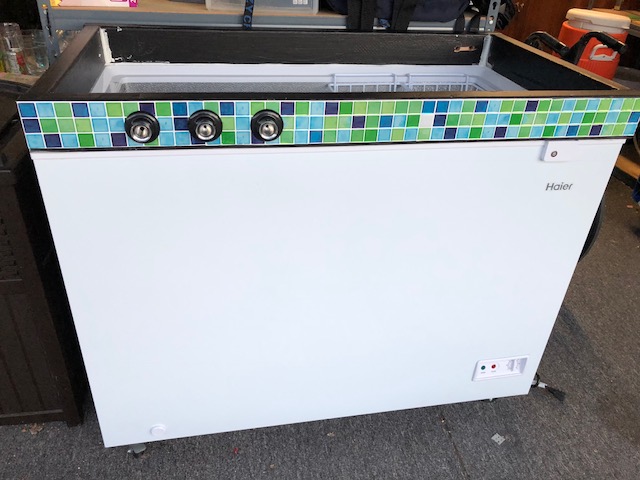
I screwed the 2x4's together with 2 1/2 inch wood screws and then drilled 3 holes on the front for the beer shanks and 2 holes in the back for the gas lines. If I had to do this over, I would have drilled the holes BEFORE I screwed the collar together. In addition, I would have thought about the where the hinges were before I drilled the holes in the back. As it turned out, one of the holes was covered by the hinge, so I had to fill the old hole and drill a new one.
IMG_1274.jpg
IMG_1275.jpg
 
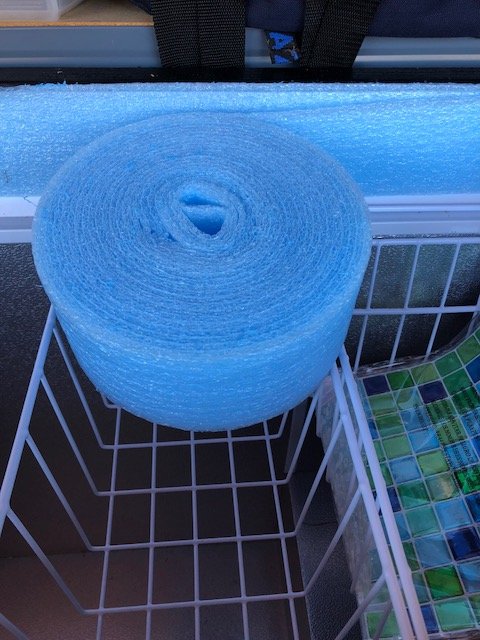
Then I glued the frame/collar to the top of the freezer, weighted it down with a few kegs and waited for it to dry. After that, I lined the collar with insulation. I found a roll of insulation at the hardware store, so I just used a staple gun to staple it down. I made three layers total by just unrolling it and stapling it. When I reached
the shanks, I just used scissors to cut holes.
IMG_1283.jpg
 
Last edited:
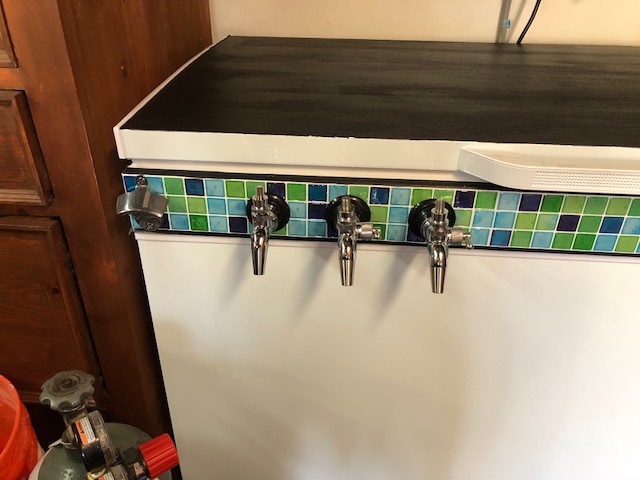
I was trying to figure out if I should leave the collar black or if I should try to cover it with something. After a lot of digging, I found these fake vinyl tile sheets and thought I would give them a try. Just measure, cut with scissors, remove the backing and stick it to the collar. Then, after I finished, I cut holes for the beer shanks with an xacto knife. I think it came out very nice.
IMG_1276.jpg

IMG_1277.jpg
IMG_1278.jpg
IMG_1279 - Copy.jpg
 
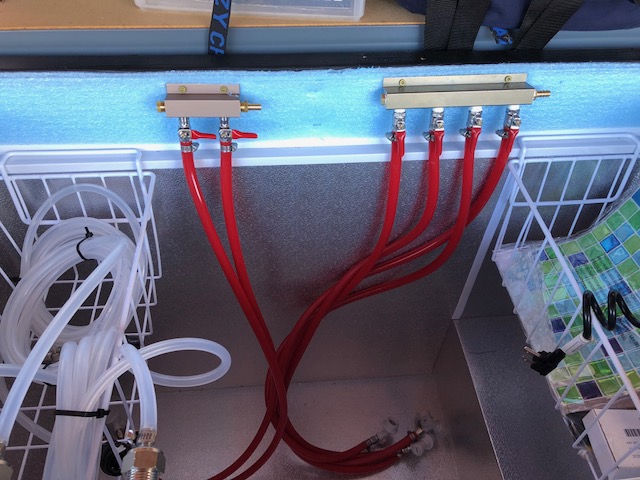
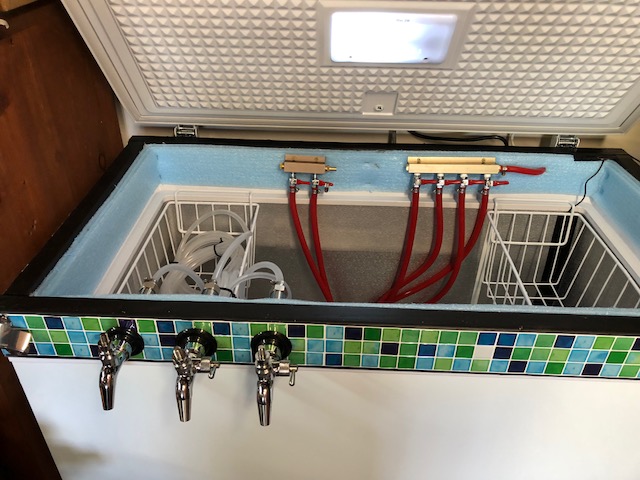
Oops, I guess I put in the insulation after I tiled it. Oh well. Finally, I added 2 gas distributors and all the hoses and ball lock connects and the faucets. I have a dual regulator on a 20 lb. CO2 tank. So my plan is to have one set at serving pressure (approx. 12-15 psi) and the other at 35 psi. The serving pressure hose will go to the 4 way distributor and the 35 psi will go to the 2 way distributor. The serving pressure lines will be used for most beers being served. The 35 psi line will be used to serve soda water (always have 5 gallons of that around) and to carbonate new kegs for the first 24 hrs. before they get switched to the serving pressure lines.
IMG_1286.jpg
IMG_1291.jpg
IMG_1292.jpg
 
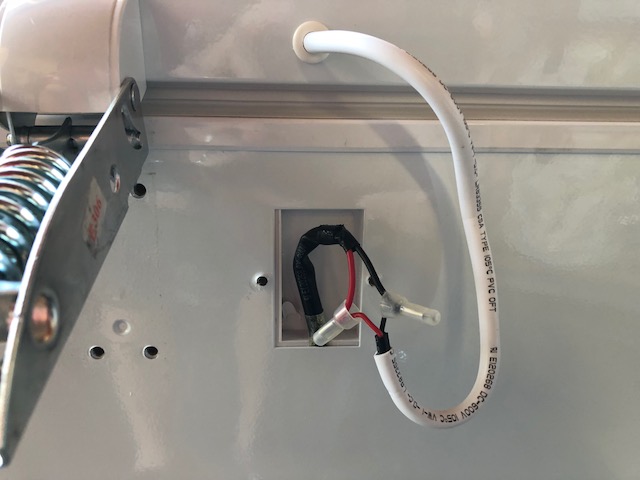
The one thing I had not anticipated is that the temperature controller is actually turning on and off the power of the Keezer. As a result, the light only works if the freezer is running. I'm waiting for my tap handles and trying to figure out what to do for a drip tray. Then it will be good to go. Eventually, I plan to add a 4th tap, but that can wait. Thanks to everyone who has posted their own keezer build stories here. It was invaluable to me. In addition, thanks to Northern Brewer for having a great video on how to build a keezer on their website. It also helped tremendously.
 
The one thing I had not anticipated is that the temperature controller is actually turning on and off the power of the Keezer. As a result, the light only works if the freezer is running.[...]

Assuming the light switch is part of the lid, you could easily disconnect the lid power from the chassis (as you did before) and wire in a pigtail to a plug. Plug that directly into a wall outlet and your lid light is good to go. I did this on my keezer as the light is handy to have working...

Cheers!
 
Great build! I love your simple, straight-forward approach. Your insulation idea is awesome, I'll definitely do the same with mine but maybe add some foil tape to prevent air exchange between the layers. The tile idea is awesome, there are so many options with backsplash tiling, etc. I've been agonizing over what size freezer to buy, I think a 9-footer looks pretty convenient!!
 
Nice build. If you do wire the light separately, consider adding a small fan to circulate the air and keep condensation to a minimum.
 
Great idea, but I fear the light is low voltage and don’t know where the converter is— before or after the wiring shown in my first photo

Hey there, Awesome job with your build. I would think your light bulb runs on the same voltage that the freezer does. I like the recommendation of adding a power cord for just the light and also adding a circulation fan ( ;
 
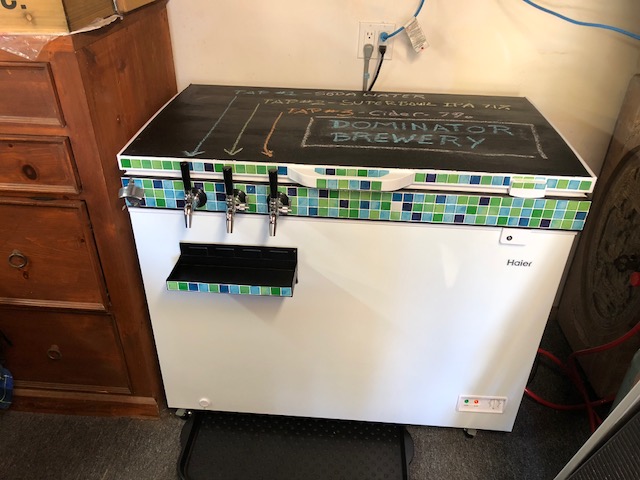
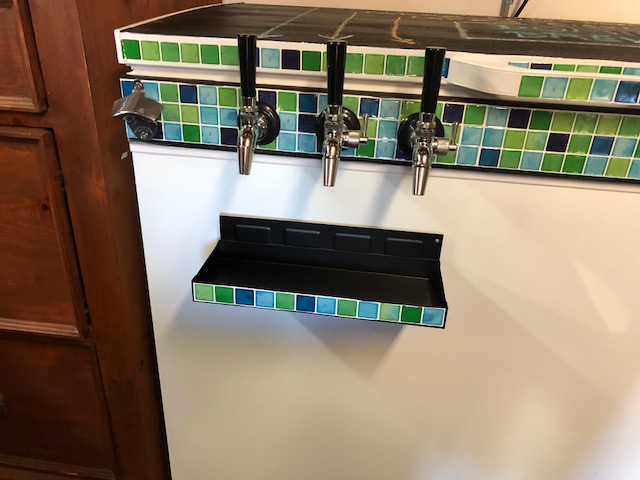
I have been looking for a drip tray that won't break the bank and found this great magnetic tool tray on amazon: https://www.amazon.com/gp/product/B01MY4LV7D/?tag=skimlinks_replacement-20 Works great and was under $20. Fit perfectly under my 3 taps even with the 2 flow control taps that stick out farther.
IMG_1311.jpg
IMG_1311.jpg
IMG_1312.jpg

The magnets are padded and don't scratch the front of the keezer which is nice. I put two mason jars 1/2 full of pellet hops in the tray and it didn't move at all. I'll test it with a pint glass full of IPA tonight.

I still haven't installed a fan, but everything seems to be working fine without it.
 
Last edited by a moderator:
Back
Top