kal
Well-Known Member
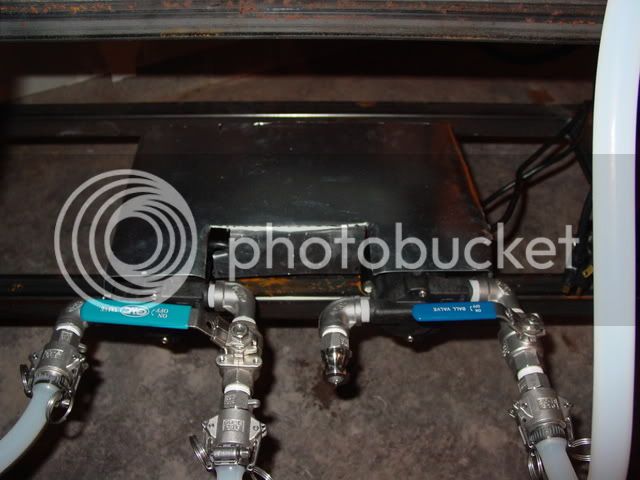
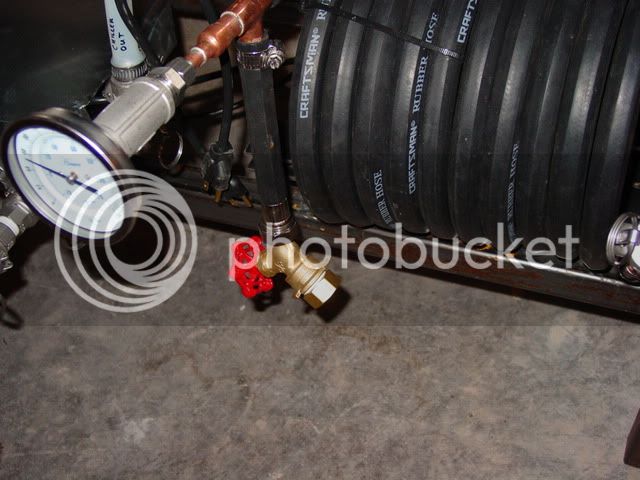
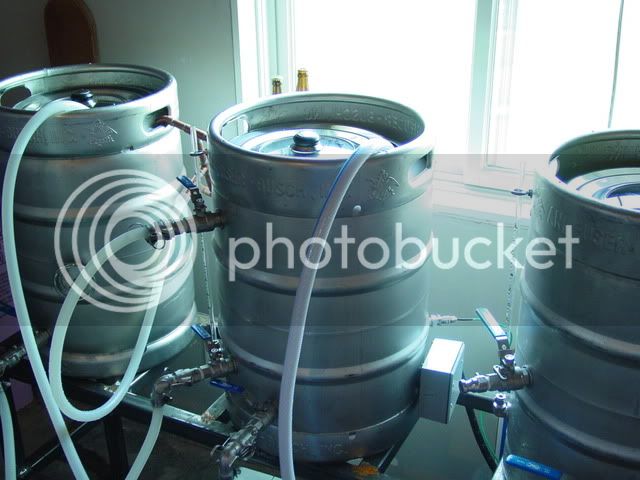
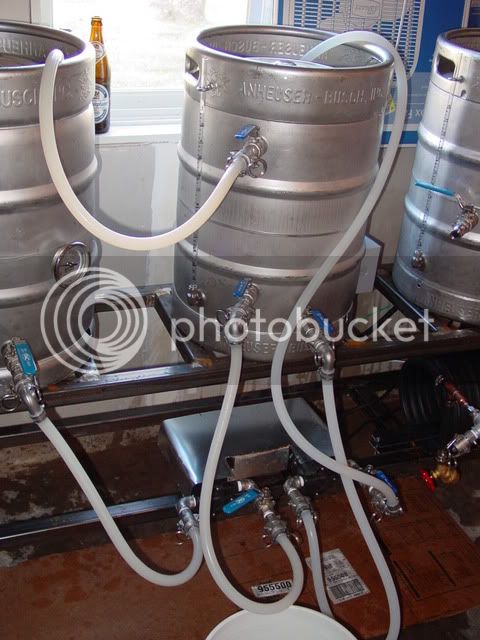
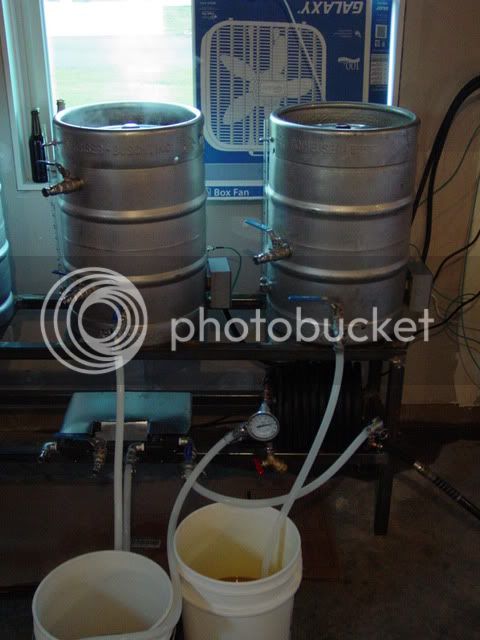
I haven't followed the whole thread, but this NPT to silicone hose connection you're doing is only for testing or something right? You're not going to leave it this way correct?
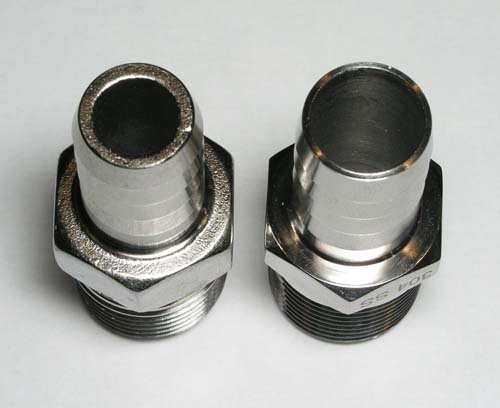
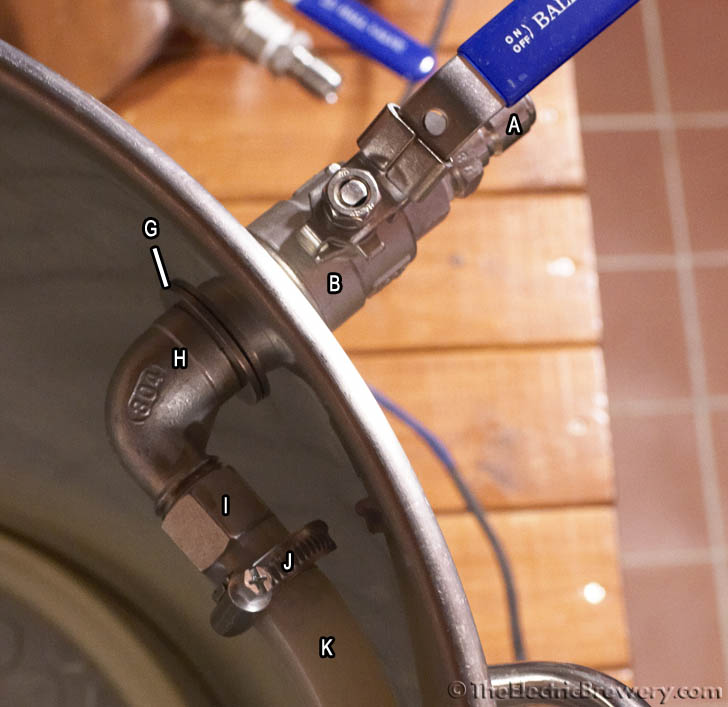
If that's the intent, you really need a NPT to barb fitting and hose clamp. Put the silicone hose on the barb fitting and secure it with the hose clamp (preferably a smooth band clamp as silicone hoses are fragile) and then use some teflon tape and screw the fitting to to the assembly.
Something like this:
The way you have it there is just an accident waiting to happen if ever the pressure builds up.
Kal
")