NorthRiverS
Well-Known Member
Here's my attempt at a homemade tap handle. Nothing special. Cost less than $10. I think it turned out nice....
NRS


NRS


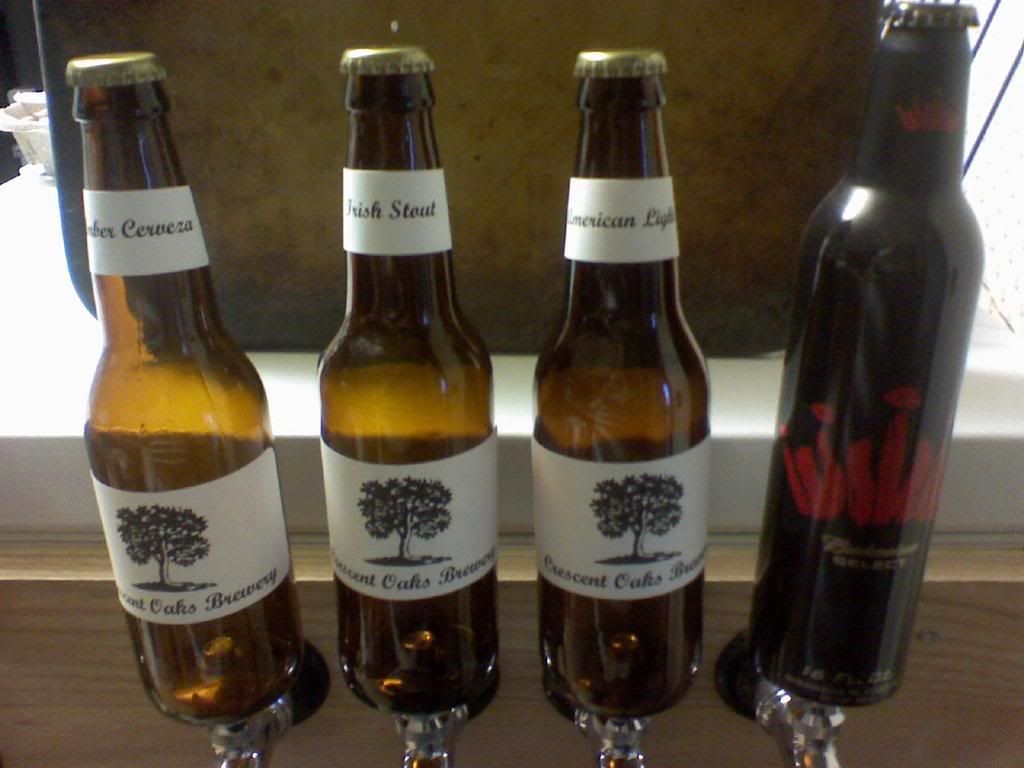
Here's how I got rid of a few of my bottles once I started kegging.
Quilyn
My father carved these many years ago. I am going to make tap handles out of some of them.
Sorry they are sideways.


View attachment 248463
Sort of lame compared to all yours but the left one is a hammer handle and the right one was part of a railing spindle. Both are carved with a root zip and wood burnt
Here's my attempt at a homemade tap handle. Nothing special. Cost less than $10. I think it turned out nice....
NRS

So I have these little guys
I am trying to use them in 2X2X10 oak. I pre-drill with 1/2" drill bit and try to insert them however I am struggling with getting them to go in straight. Additionally, I dont think they are actually screwing in rather they are just boring out the hole. Perhaps oak is to hard for these? Just use a softer wood?
Yes oak is too hard if you are trying to screw them in with a flat head. Use a bolt that threads into it with two nuts to lock it on. Then use a power drill or impact drill gun to drive it in. I've done it into oak and hickory. It is still hard to get straight though.
Yes oak is too hard if you are trying to screw them in with a flat head. Use a bolt that threads into it with two nuts to lock it on. Then use a power drill or impact drill gun to drive it in. I've done it into oak and hickory. It is still hard to get straight though.
I've used those inserts a couple of times. Oak is hard to get them into. The last tap handle I made split. I glued it back together, drilled the hole oversize and glued the threaded insert in place.
Next time I will drill out to just barely smaller than the insert, and maybe even try beeswax on the threads.
Maybe try an actual tap rather than rely on cutting threads with them? I would think a tap would be a better tool for hard wood.
Maybe try an actual tap rather than rely on cutting threads with them? I would think a tap would be a better tool for hard wood.
Assuming you meant thread the oak tap handle to screw right onto the faucet, I tried that and it didn't work very well. The handles had too much play and wiggled around. I think there are threaded inserts with male machine threads...it might work on those.
When I made mine I ended up filing the first few coarse threads on the brass inserts. If I remember correctly I used the sanding drum on my Dremel. I only removed a little bit of material but it really helped to get the insert started. Then also use the bolt plus jam nuts method.
The insert should go in with the slotted end first, the slot is there to help cut the threads clear the chips.
https://www.youtube.com/watch?v=tIhEqoKE8Dc&feature=player_embedded


Enter your email address to join:


