I'm bumping this because the pictures are no longer being shared. OP, @Sellick, is it possible to repost the pictures?
You are using an out of date browser. It may not display this or other websites correctly.
You should upgrade or use an alternative browser.
You should upgrade or use an alternative browser.
Danby DAR044A6BSLDB Kegerator Cabinet Build
- Thread starter Sellick
- Start date

Help Support Homebrew Talk - Beer, Wine, Mead, & Cider Brewing Discussion Forum:
This site may earn a commission from merchant affiliate
links, including eBay, Amazon, and others.
Sellick
Well-Known Member
I'm bumping this because the pictures are no longer being shared. OP, @Sellick, is it possible to repost the pictures?
LINK TO ALL BUILD PHOTOS HERE
Unfortunately, I can't go back and edit the original posts with new links to the images! Maybe an admin could help?? Calling an admin!!
There's no way I'm paying photobucket $400/year to relink all those images, so I'm kinda stuck with a broken build thread at the moment.
 Sorry guys.
LINK TO ALL BUILD PHOTOS HERE
Unfortunately, I can't go back and edit the original posts with new links to the images! Maybe an admin could help?? Calling an admin!!
There's no way I'm paying photobucket $400/year to relink all those images, so I'm kinda stuck with a broken build thread at the moment.
Thank you! No worries, these are great. Much appreciated.

Sellick
Well-Known Member
And now its done.
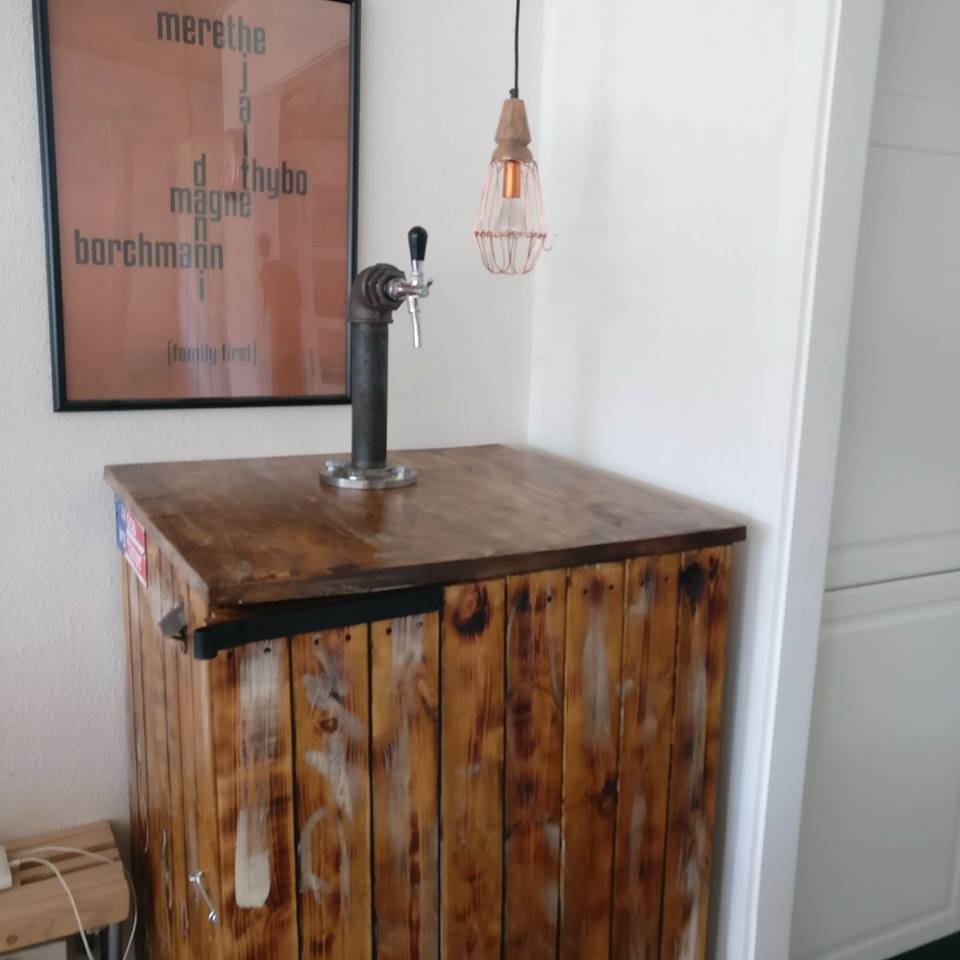
Nice! Almost did something similar to that cage light you've got hanging over it. Thanks for sharing.
Love seeing other takes on this idea!
DrunkenCanuck
Well-Known Member
- Joined
- Aug 12, 2015
- Messages
- 90
- Reaction score
- 8
@Sellick That looks amazing. Do you happen to have a guide on how to do that thermostat mod? I really want to get mine done up like that because the dial sucks!
Sellick
Well-Known Member
@Sellick That looks amazing. Do you happen to have a guide on how to do that thermostat mod? I really want to get mine done up like that because the dial sucks!
Seriously, had a number of times where I accidentally turned it the wrong direction. Facepalm. Post #26 is my write up of installing the Inkbird. Obviously the issue is that the pictures are no longer working, but you might be able to reference the photo album and figure it out.
Unknown99
Member
- Joined
- Sep 7, 2016
- Messages
- 15
- Reaction score
- 4
Nice! Almost did something similar to that cage light you've got hanging over it. Thanks for sharing.
Love seeing other takes on this idea!
hehe.. thanks to you for putting it up, giving out inspiration. I did some modification to the tower though. Its water cooled.
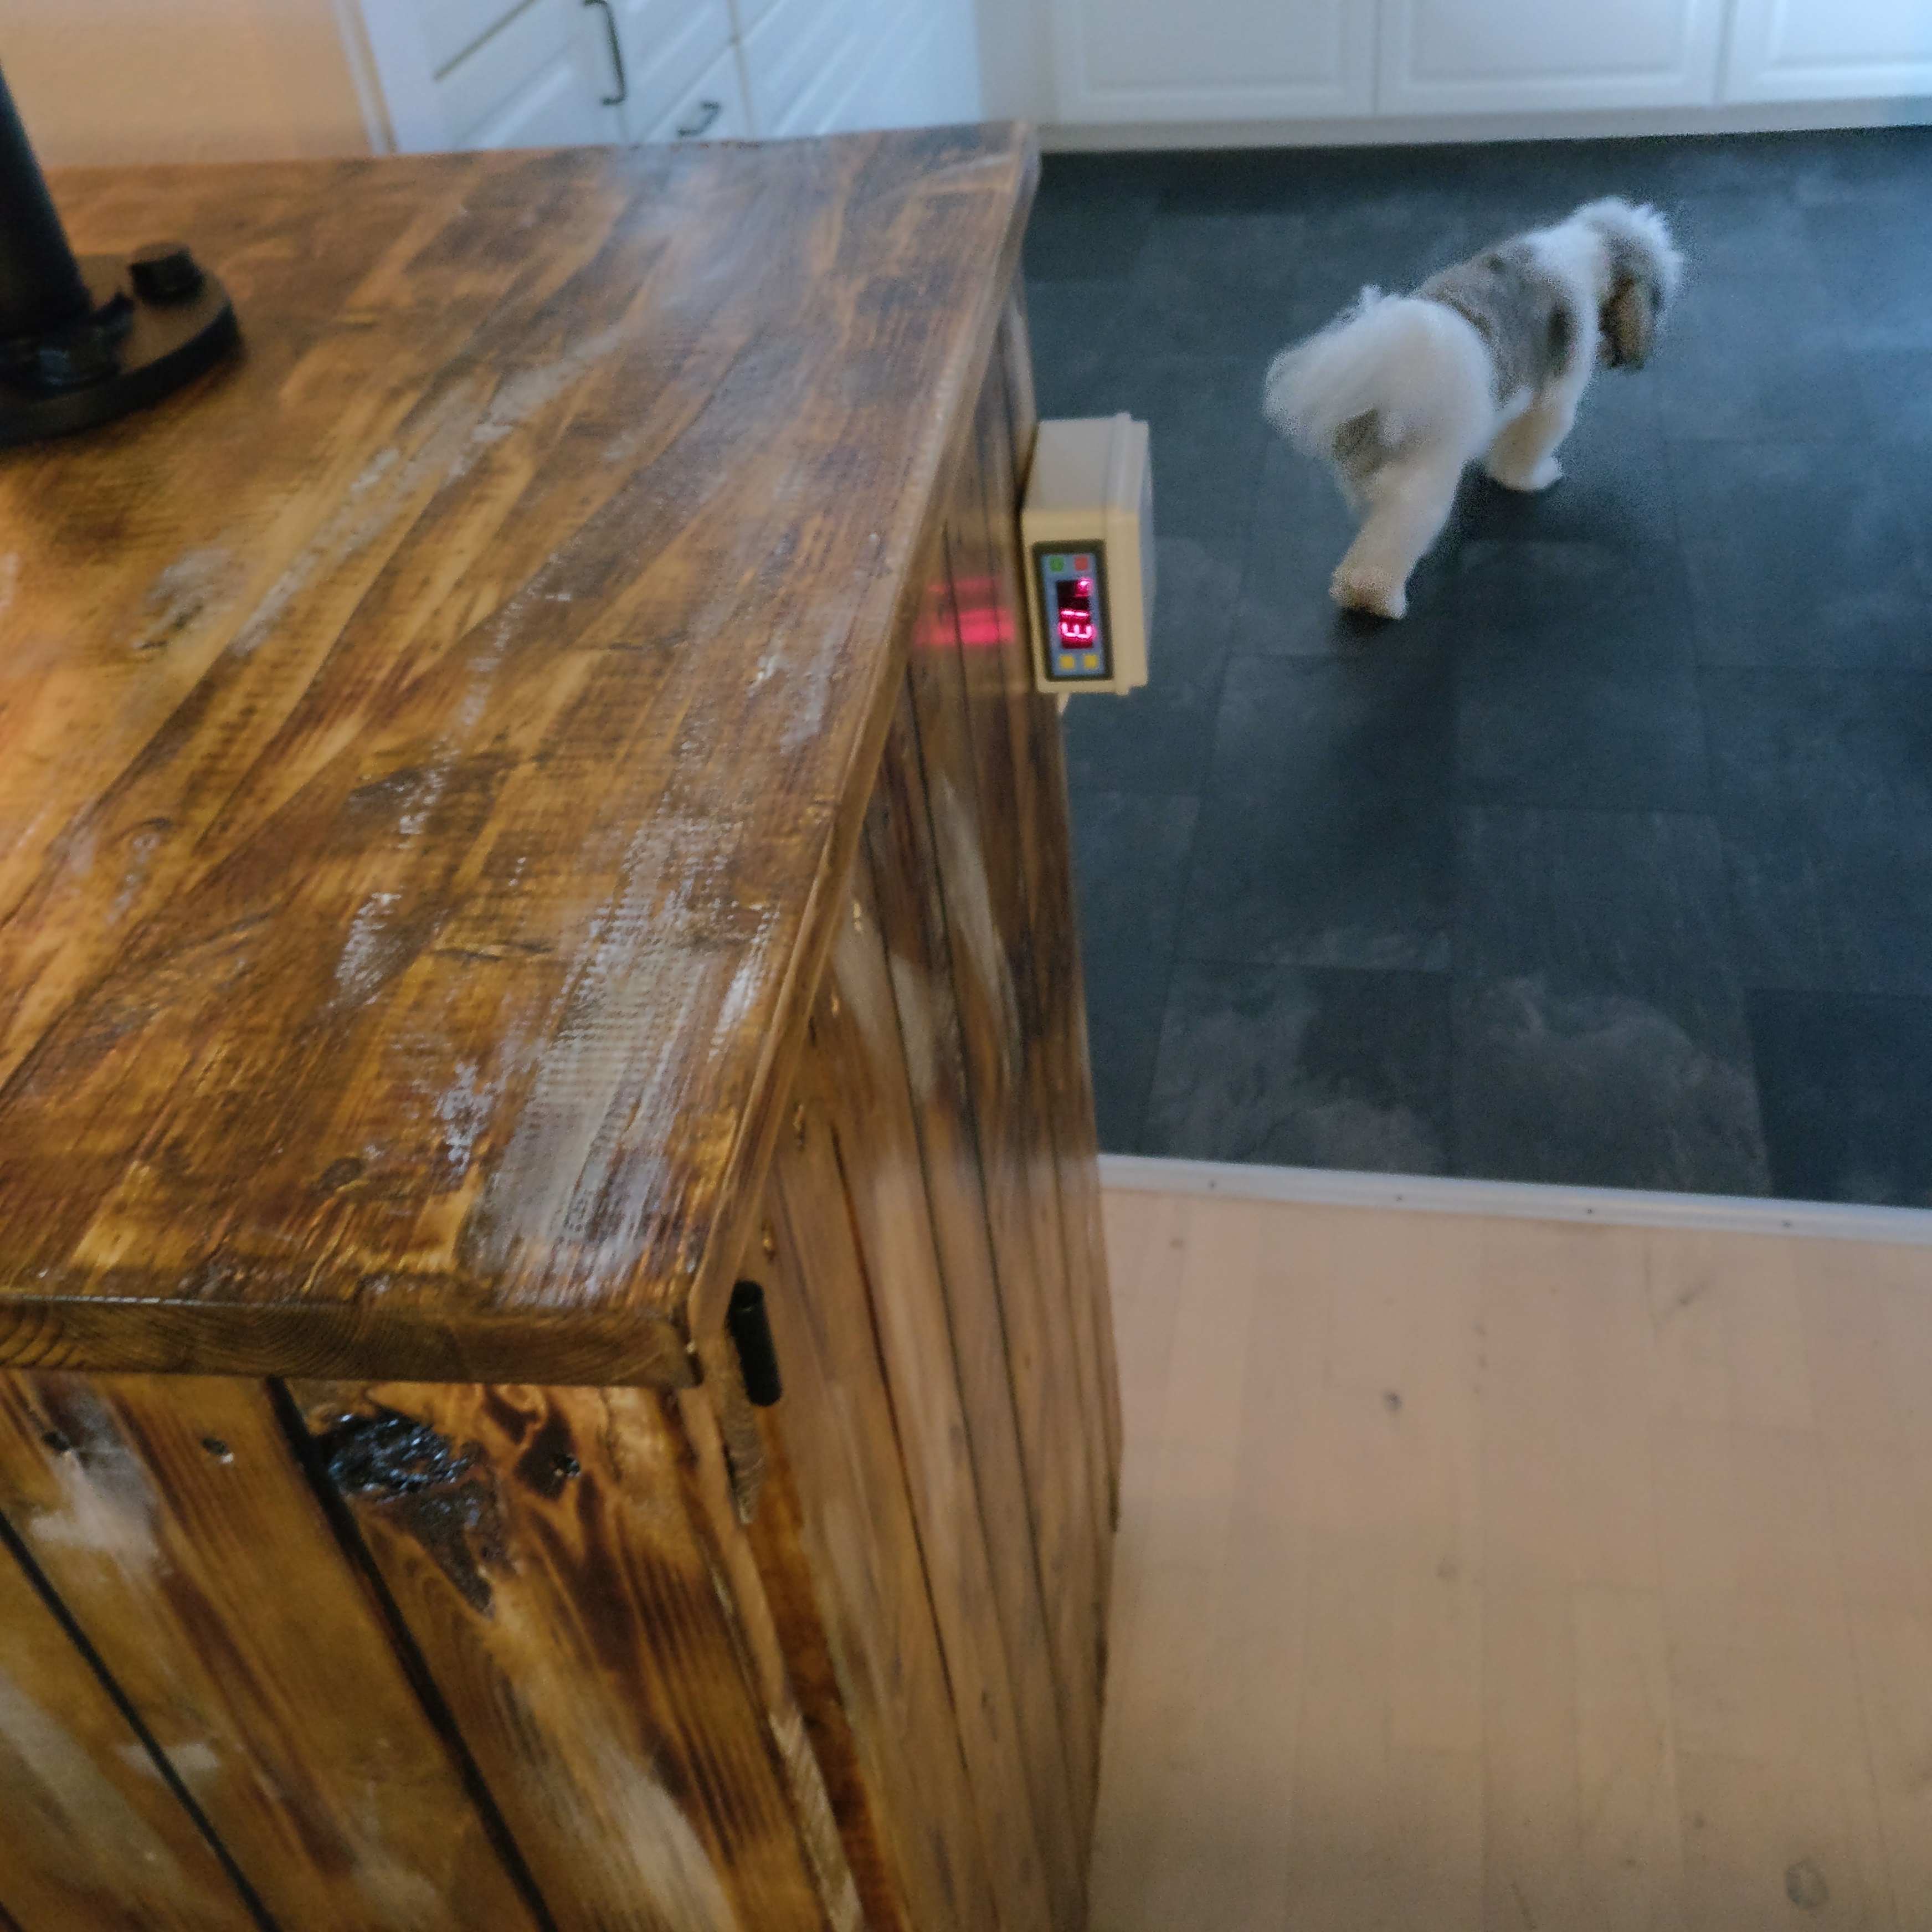
the inkbird measures the temperature in the tower, and when it hits above 5 degrees celcius it turns on.
heres a picture of the fridge. 
benjamminsince85
New Member
- Joined
- Jul 11, 2017
- Messages
- 3
- Reaction score
- 2
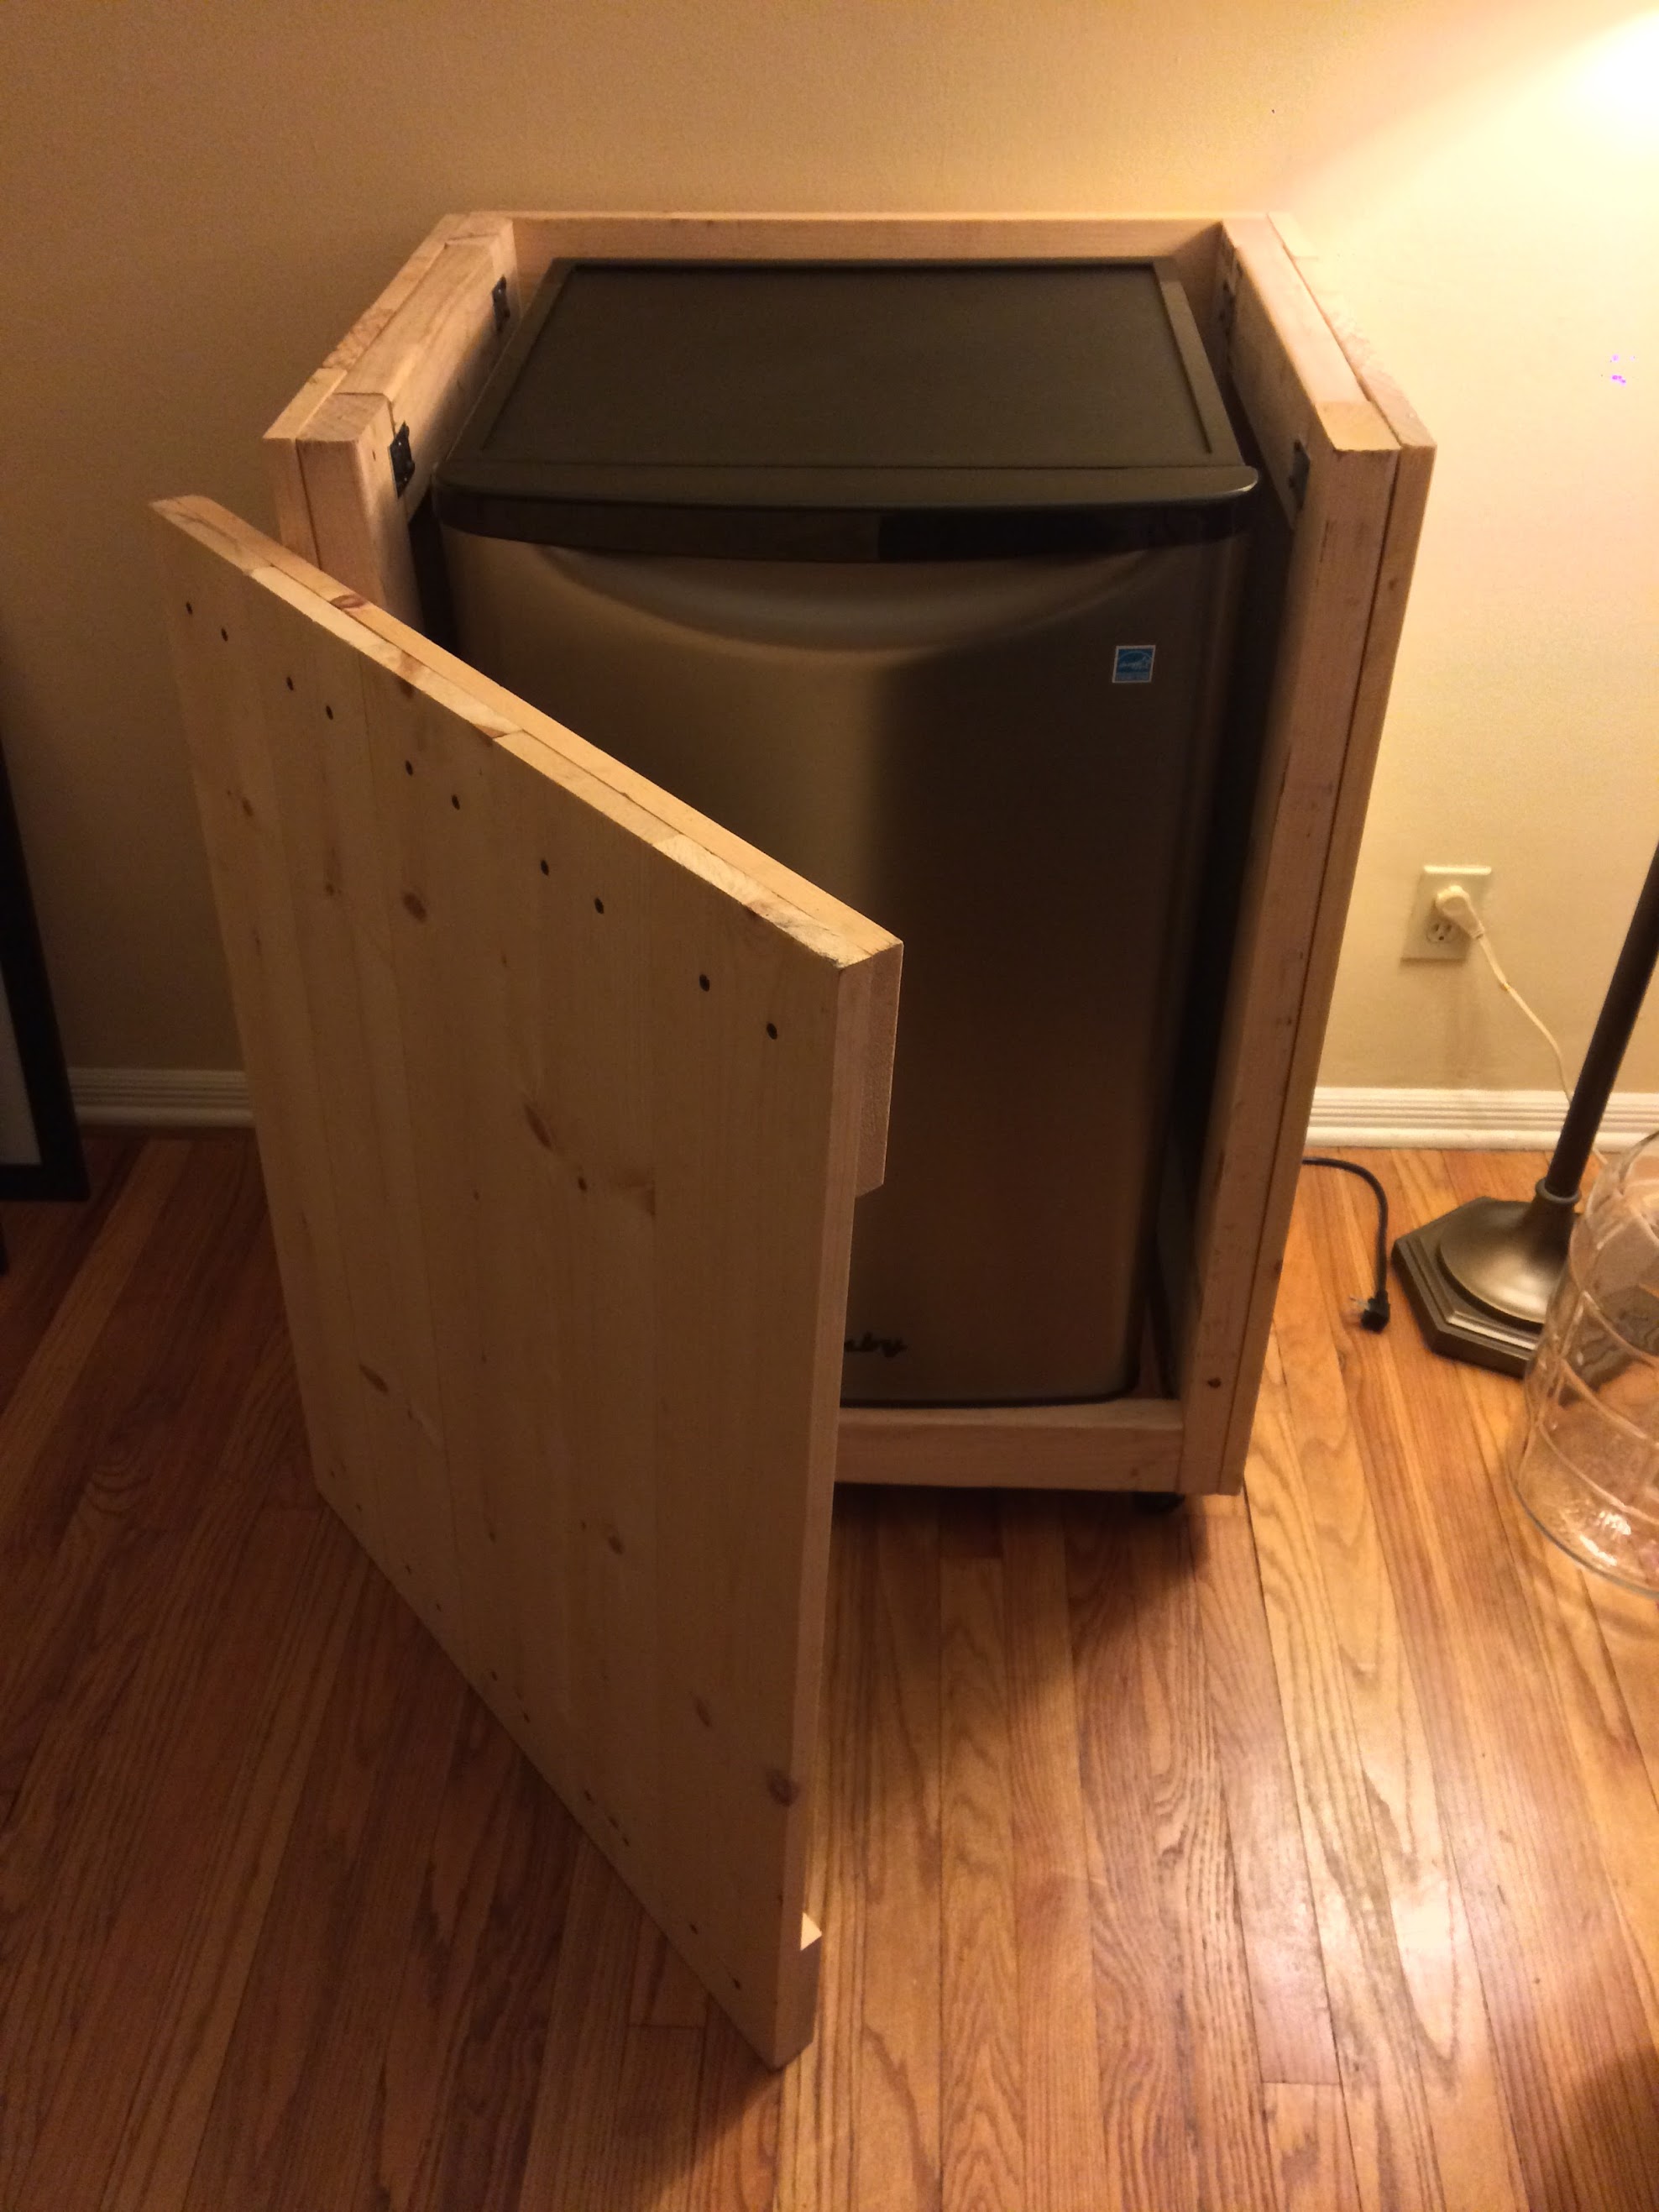
Adding my completed version of this awesome project. I made a few modifications, but much is the same.


Sellick
Well-Known Member
Adding my completed version of this awesome project. I made a few modifications, but much is the same.
Love that dark finish and the contrast with the tower! Pictures are showing up sideways, can you flip them for us?
benjamminsince85
New Member
- Joined
- Jul 11, 2017
- Messages
- 3
- Reaction score
- 2
No idea how that happened. Made no changes to the pictures, re-uploaded and now they aren't sideways...
I like the dark stain, but if I had to do it again i wouldn't use a stain and poly mix. Not super happy about the finish.
I like the dark stain, but if I had to do it again i wouldn't use a stain and poly mix. Not super happy about the finish.
DrunkenCanuck
Well-Known Member
- Joined
- Aug 12, 2015
- Messages
- 90
- Reaction score
- 8
@Sellick
What did you do with the white and yellow/green wires when you put in the controller?
What did you do with the white and yellow/green wires when you put in the controller?
Sellick
Well-Known Member
@Sellick
What did you do with the white and yellow/green wires when you put in the controller?
Yellow/Green wire can be ignored, no longer needed. You can see in the photo, I just have it loose inside the box
White wire is what provides the power to the Inkbird. I spliced another wire (red in picture) from it to the #2 (correct me if I'm wrong here) terminal on the Inkbird.
Does that help?
DrunkenCanuck
Well-Known Member
- Joined
- Aug 12, 2015
- Messages
- 90
- Reaction score
- 8
Yellow/Green wire can be ignored, no longer needed. You can see in the photo, I just have it loose inside the box
White wire is what provides the power to the Inkbird. I spliced another wire (red in picture) from it to the #2 (correct me if I'm wrong here) terminal on the Inkbird.
Does that help?
I was asking about the big ground wire that is was soldered to the old controller, sorry if that confused you.
Sellick
Well-Known Member
I was asking about the big ground wire that is was soldered to the old controller, sorry if that confused you.
Haha We've got this conversation happening in two threads now... yeah, realized what you were referring to after my response. That's not a ground, it goes back to the temp probe. No longer needed.
DrunkenCanuck
Well-Known Member
- Joined
- Aug 12, 2015
- Messages
- 90
- Reaction score
- 8
Haha We've got this conversation happening in two threads now... yeah, realized what you were referring to after my response. That's not a ground, it goes back to the temp probe. No longer needed.
No worries. Did you trip a fuse plugging it in the first time?
Sellick
Well-Known Member
No worries. Did you trip a fuse plugging it in the first time?
No, definitely did not... sounds like something is very wrong if your mini fridge pulled enough power to throw a fuse. That or you had the microwave and a hairdryer on at the same time.
Bighoss219
New Member
- Joined
- Jan 12, 2018
- Messages
- 1
- Reaction score
- 0
Good morning! Looking forward to this project. How did you attach the top to the cabinet?
Sellick
Well-Known Member
The cabinet top is screwed into and sets on top of the fridge, but that's the only thing it's actually connected to. What you could do is attached one half of a flat bracket to the top of each vertical, corner 2x4. Then with the cabinet top on, you could screw into the underside of it.
Picture is for reference to the vertical 2x4s I'm speaking of. I don't actually have the brackets on mine.
Picture is for reference to the vertical 2x4s I'm speaking of. I don't actually have the brackets on mine.
I know this is super late in the post but I'm trying to piece together all of the components I need for a kegerator I'm making. HOw did you all remove the freezer components from from the mini fridge? Do you have any specific models or brands you can suggest? I'm super worried about damaging the cooling lines and ruining the whole unit. Any advice/suggestion will be super appreciated!!
gnor
Well-Known Member
- Joined
- Aug 23, 2014
- Messages
- 120
- Reaction score
- 15
If you buy a mini fridge with freezer compartment, you bend it slowly downwards, just don't kink the line.
People use this specific model of Danby mini fridge because it has no freezer compartment. If you have a Costco nearby, you can buy a Hisense mini fridge, which also doesn't have a freezer compartment. It is black in color though.
People use this specific model of Danby mini fridge because it has no freezer compartment. If you have a Costco nearby, you can buy a Hisense mini fridge, which also doesn't have a freezer compartment. It is black in color though.
Sellick
Well-Known Member
You can search for ways to make sure you’re avoiding the lines when drilling through. I saw someone else’s build with this exact model (model is in the thread title), so wasn’t worried when drilling into mine, just followed where they drilled.
Similar threads
- Replies
- 9
- Views
- 2K
- Replies
- 9
- Views
- 966
- Replies
- 4
- Views
- 949
