
I took some pictures of the touchscreen while I was getting familiar with the system, thought some folks might be interested.
I got the touchscreen (which they call a PLC) as an upgrade for my Nano Brewer Home system. It appears to support functions that are not part of the Nano, like automatic water filling. Tim at CBS said that it is possible to add the required hardware, which is cool.
Be aware that if you get a Co Brew Systems rig with the PLC, the control panel will be built as UL listed. This means that the power supply will be one normal 120V line and one 3-conductor 240V line. Without the PLC, they said you should get a 4-wire 240V outlet, which can power the whole thing.
On to the pics...
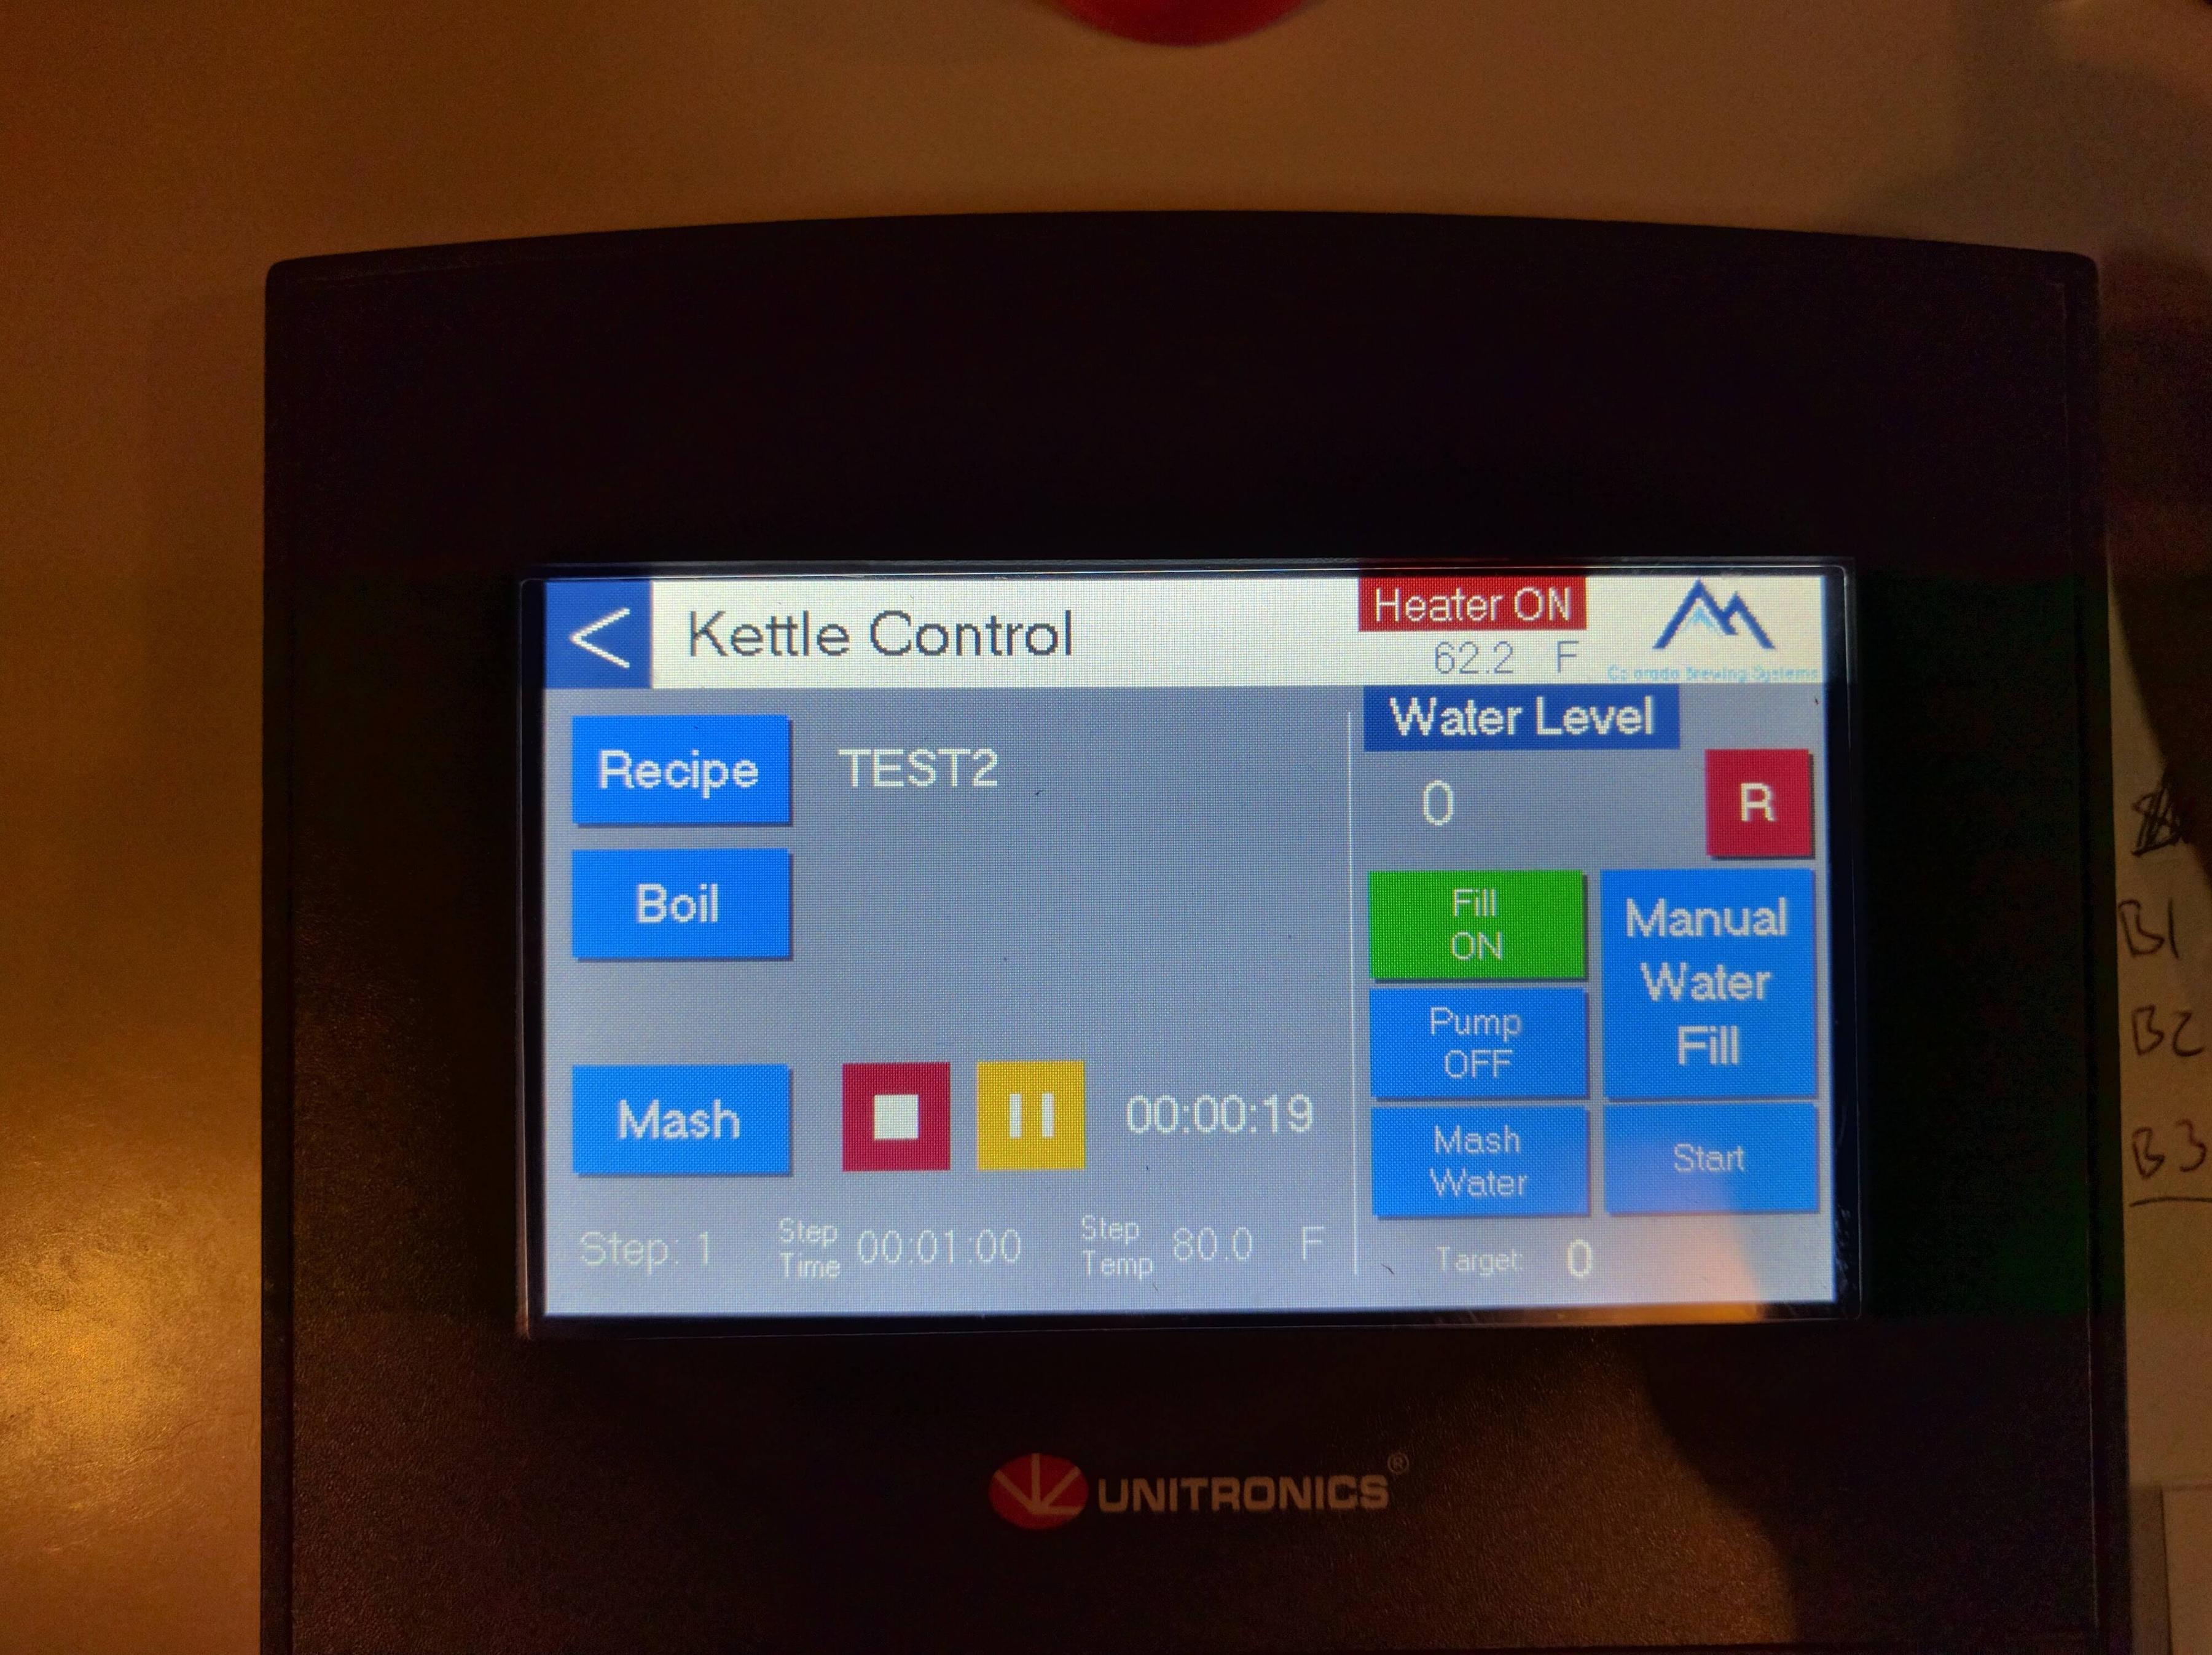
Main menu, showing the mash running. Main menu view has water fill controls on the right, and on the left are the recipe select, start boil, and start mash buttons. (Operation notes: When the mash is running, if the temperature probe is not hooked up, timer steps run without delay in between. With the temp probe connected, timers don't start until you hit the target temperature. Also, if you edit the current recipe, those changes won't be applied here until you touch the Recipe button and re-select it.)
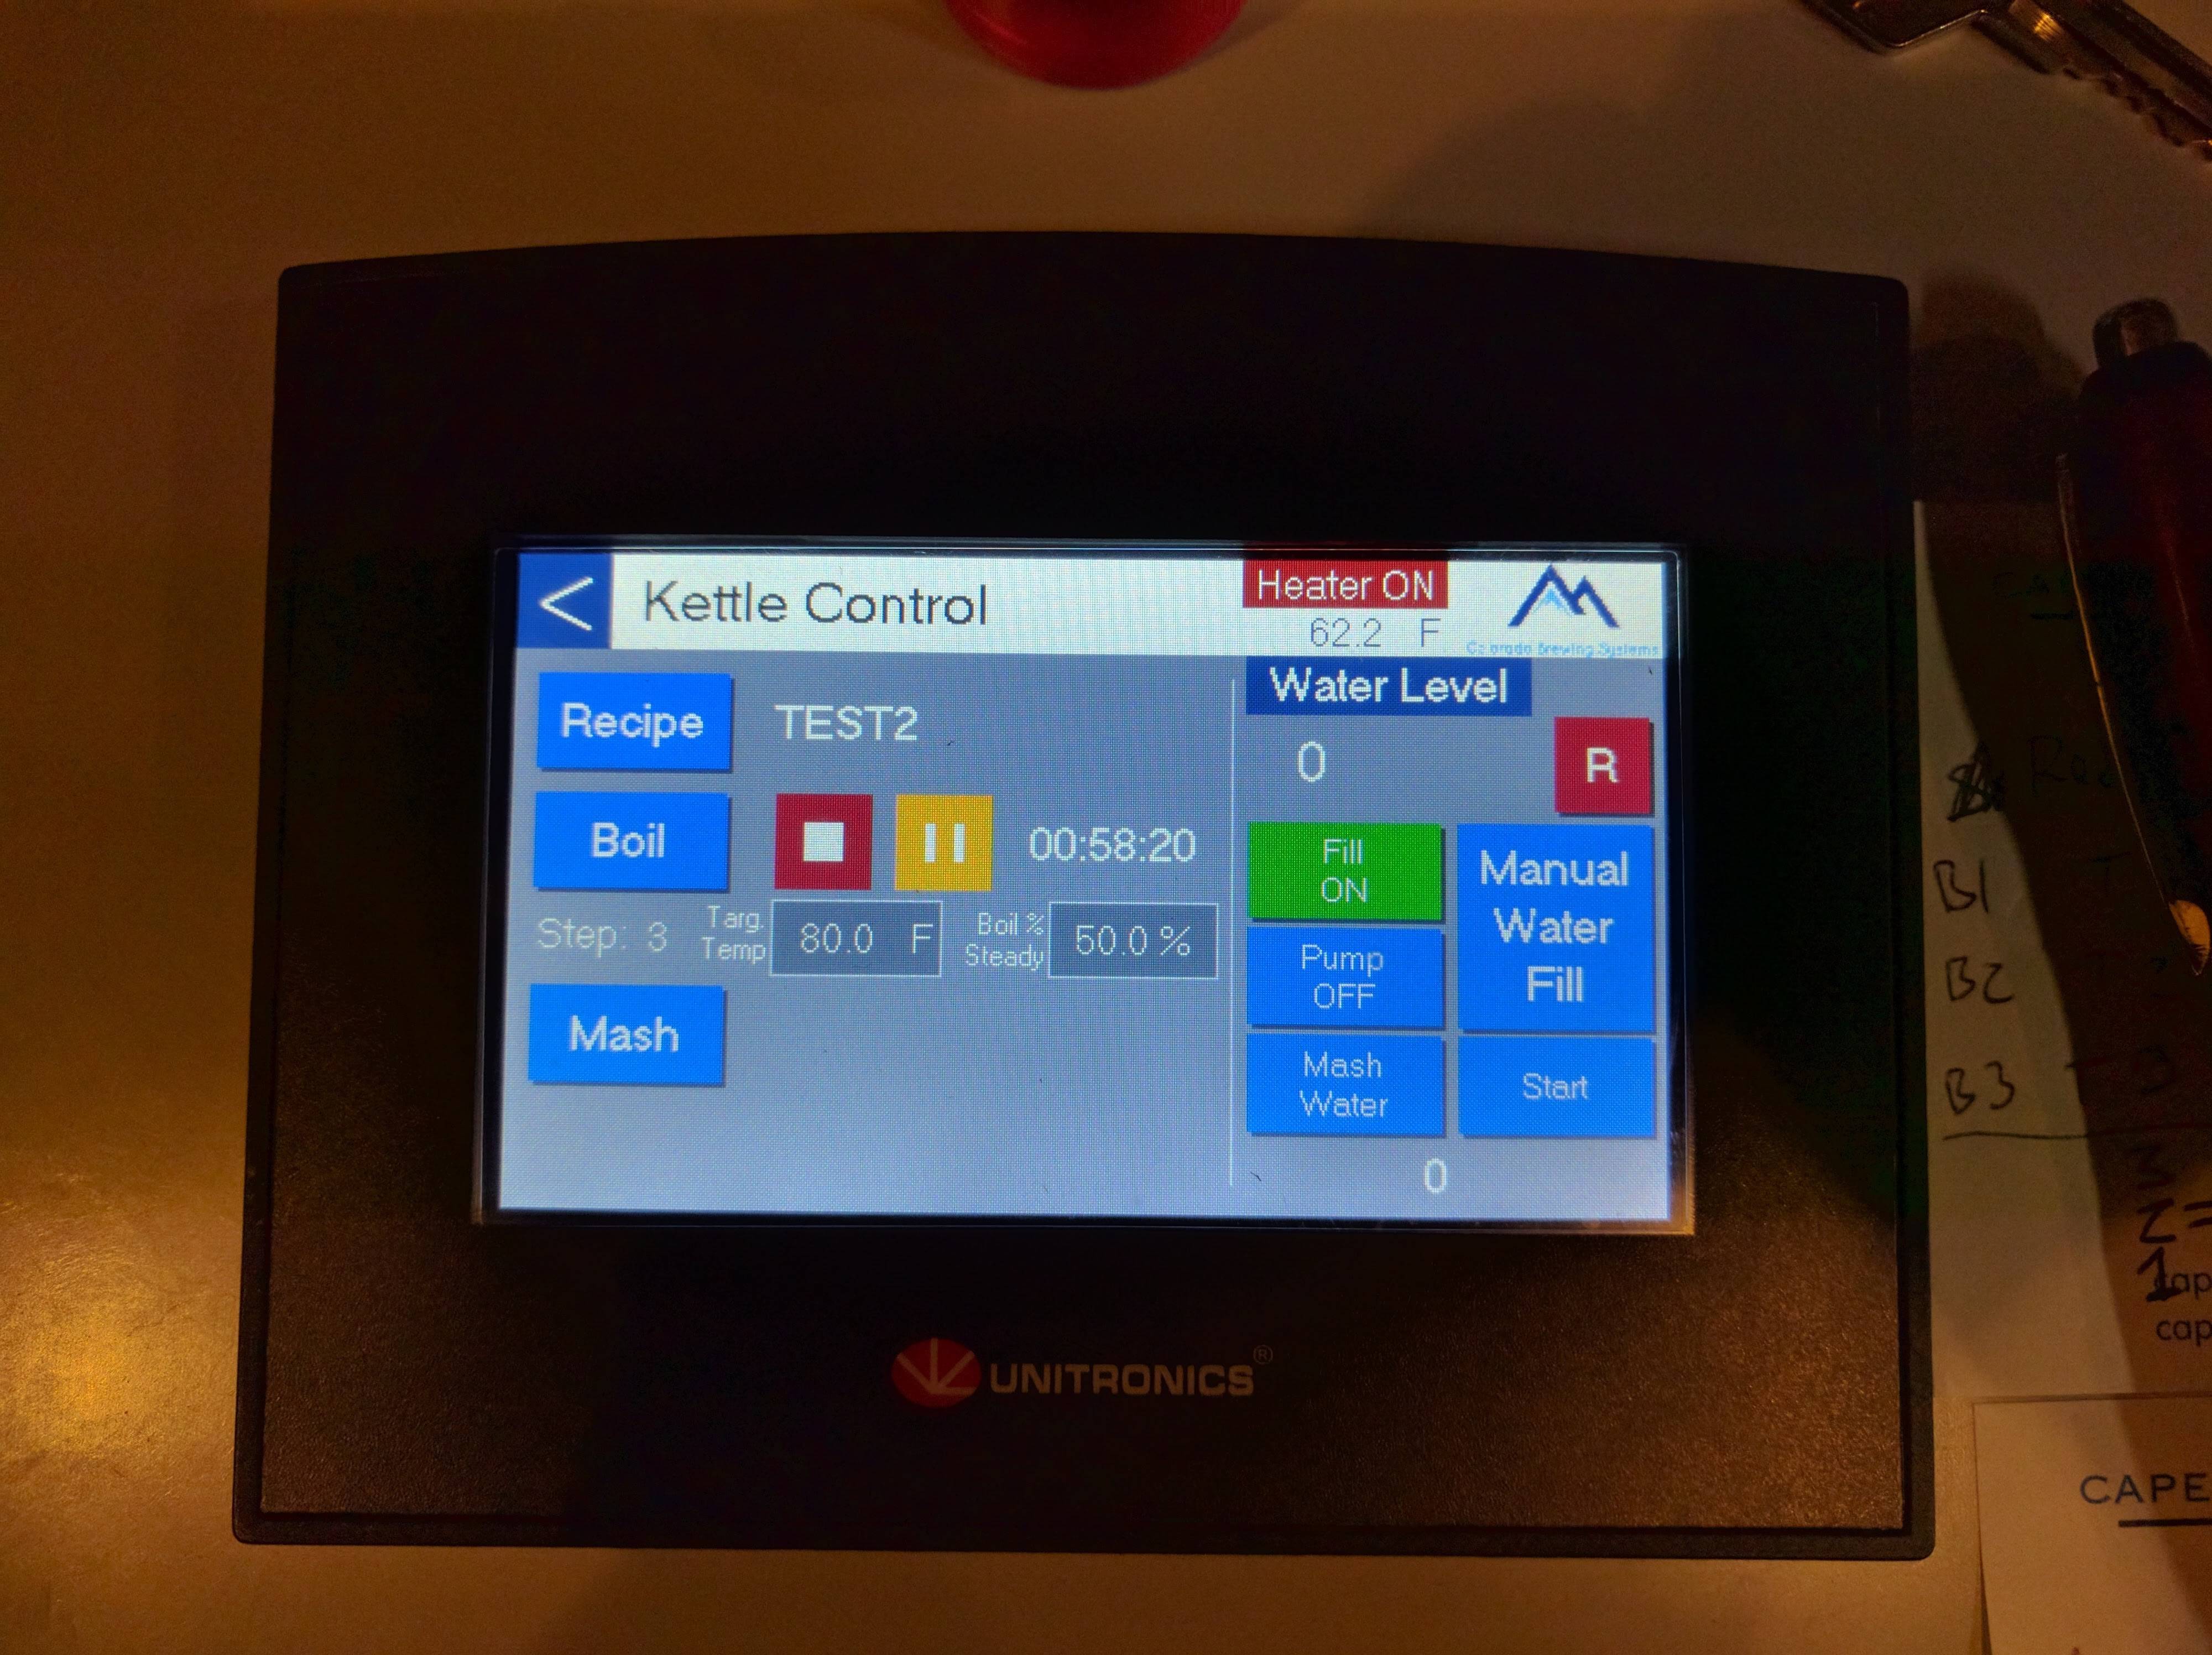
Main menu, boil selected. You can enter the boil temperature and element power. I am not sure but I THINK that once you hit boil, it automatically reduces element power from 100% to the value listed here. (Still haven't gotten the system wet.)
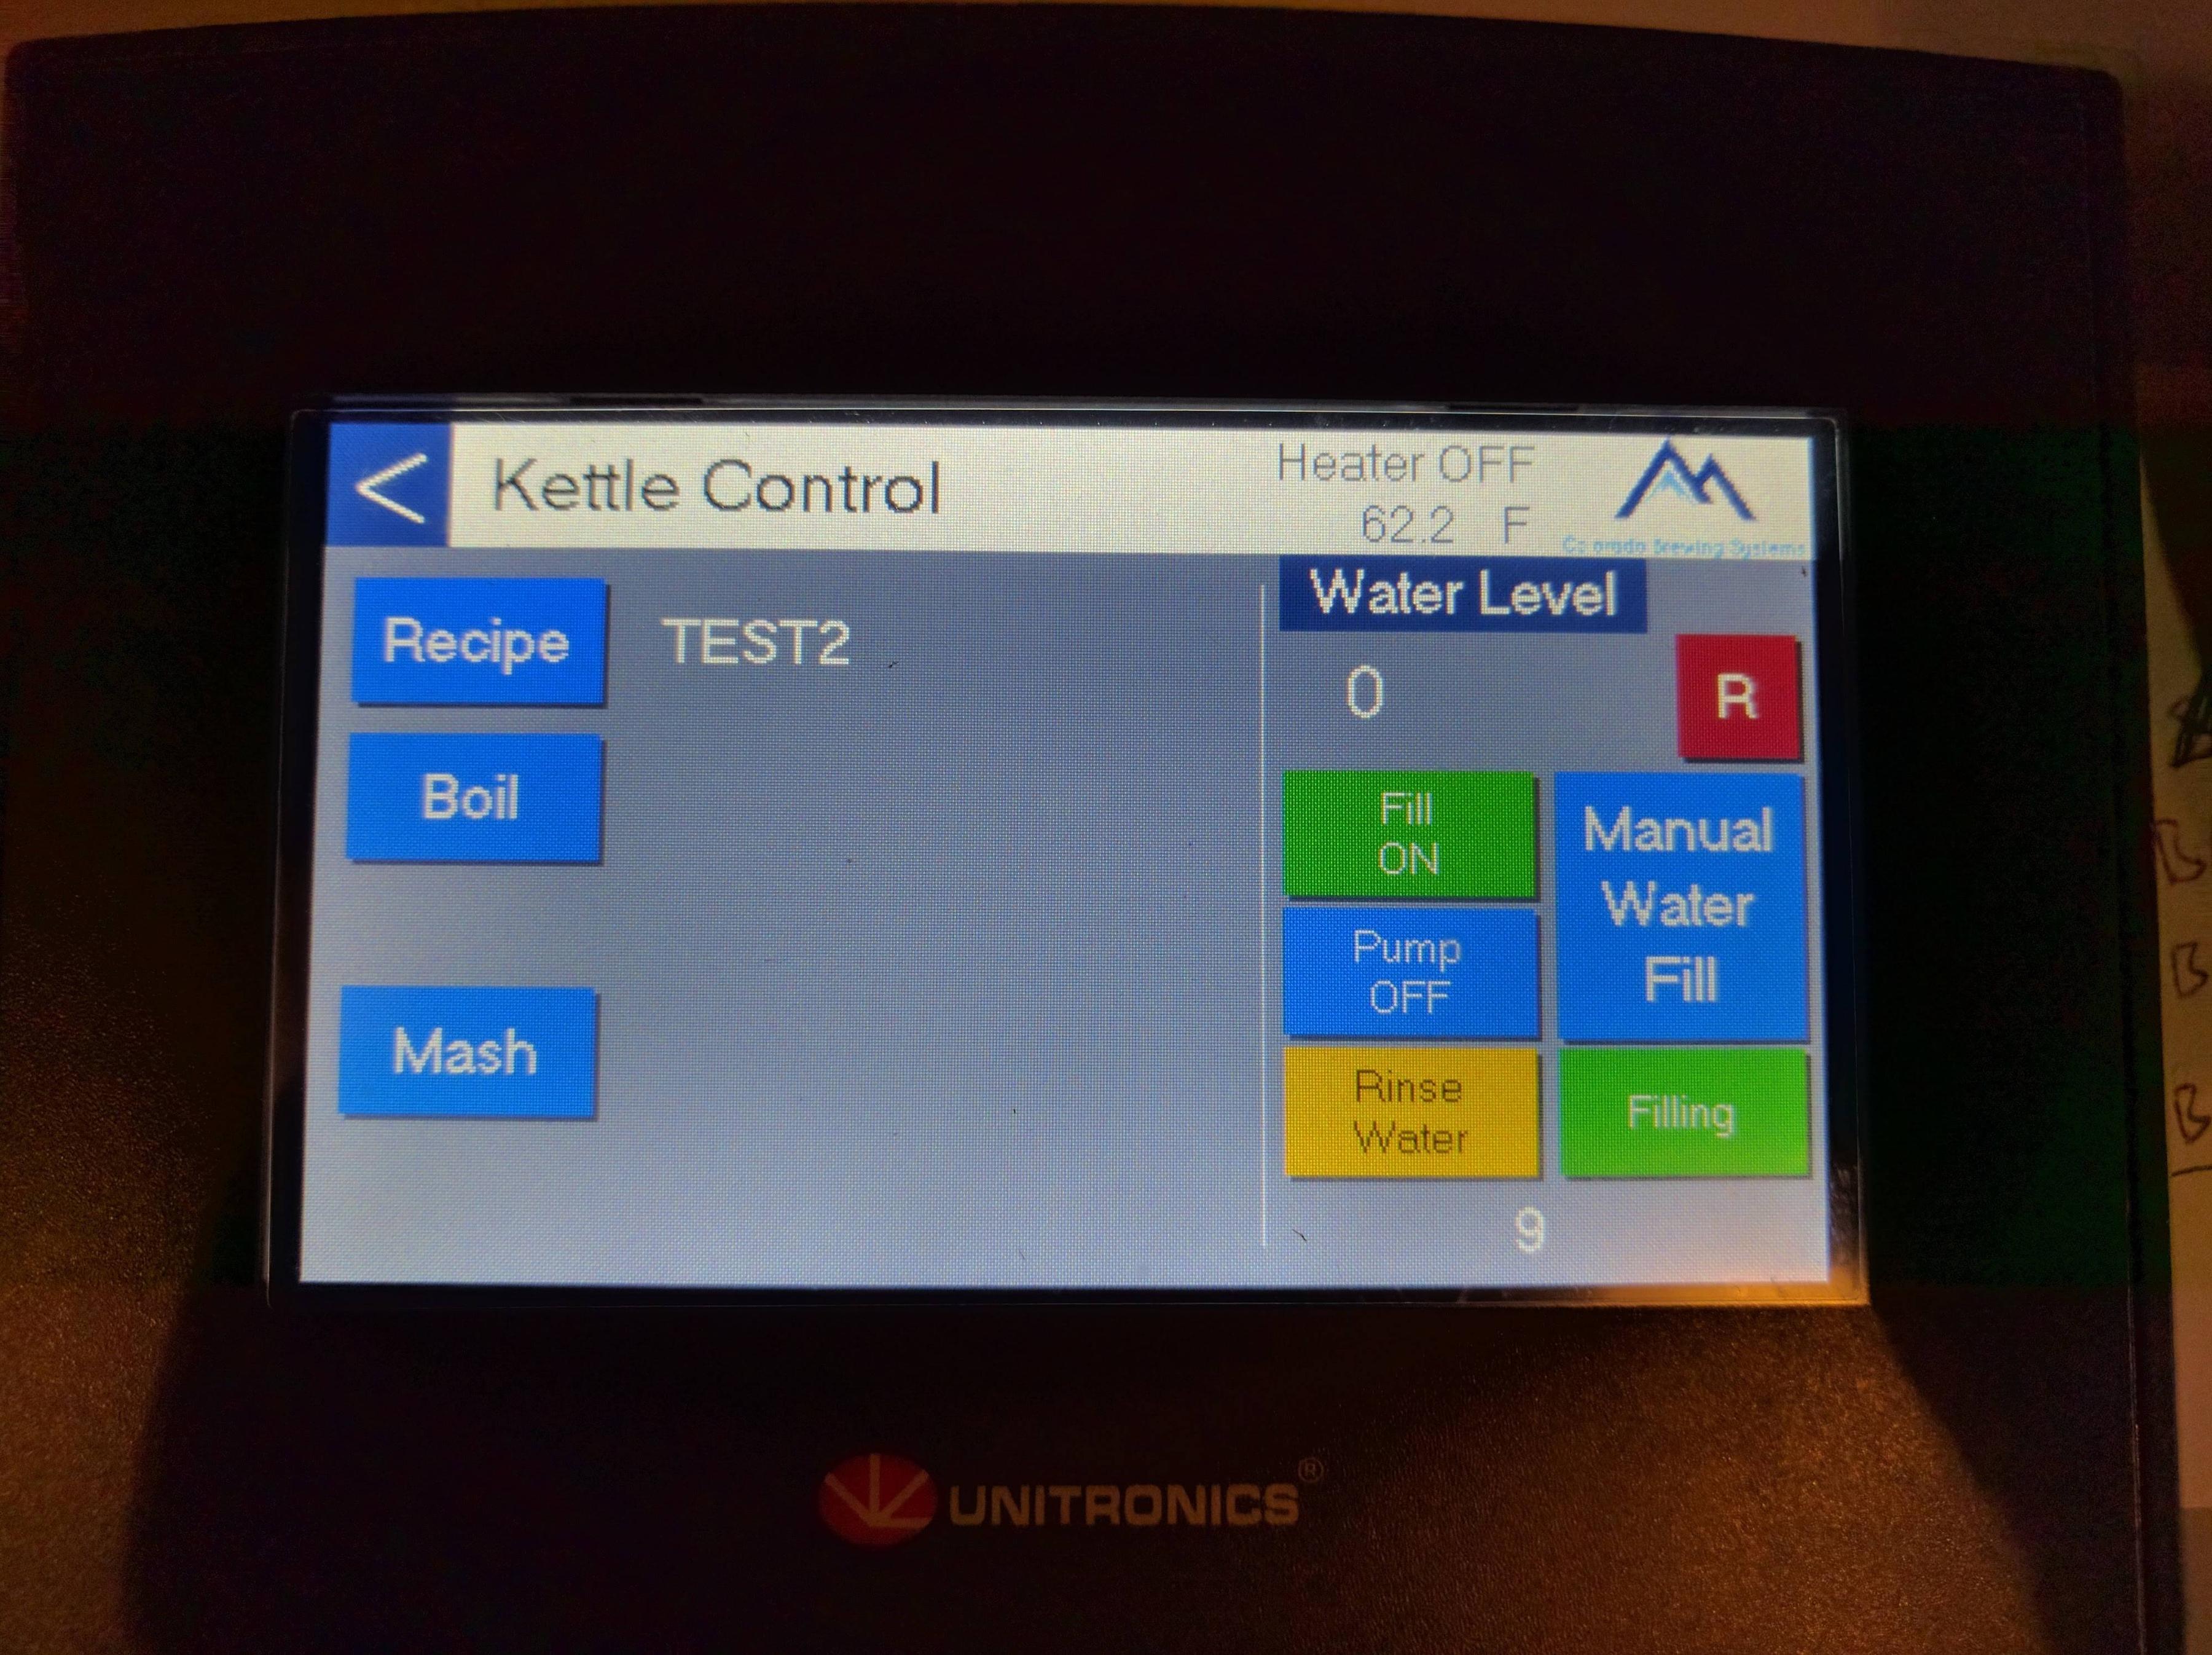
Now it shows that it's filling the rinse water, which my Nano can't actually do. (BTW, the Rinse Water button toggles between Rinse and Mash water.)
This is a Recipe main screen. You can enter mash temp/time steps and water volumes. The water volumes are used by the fill controls on the main screen.
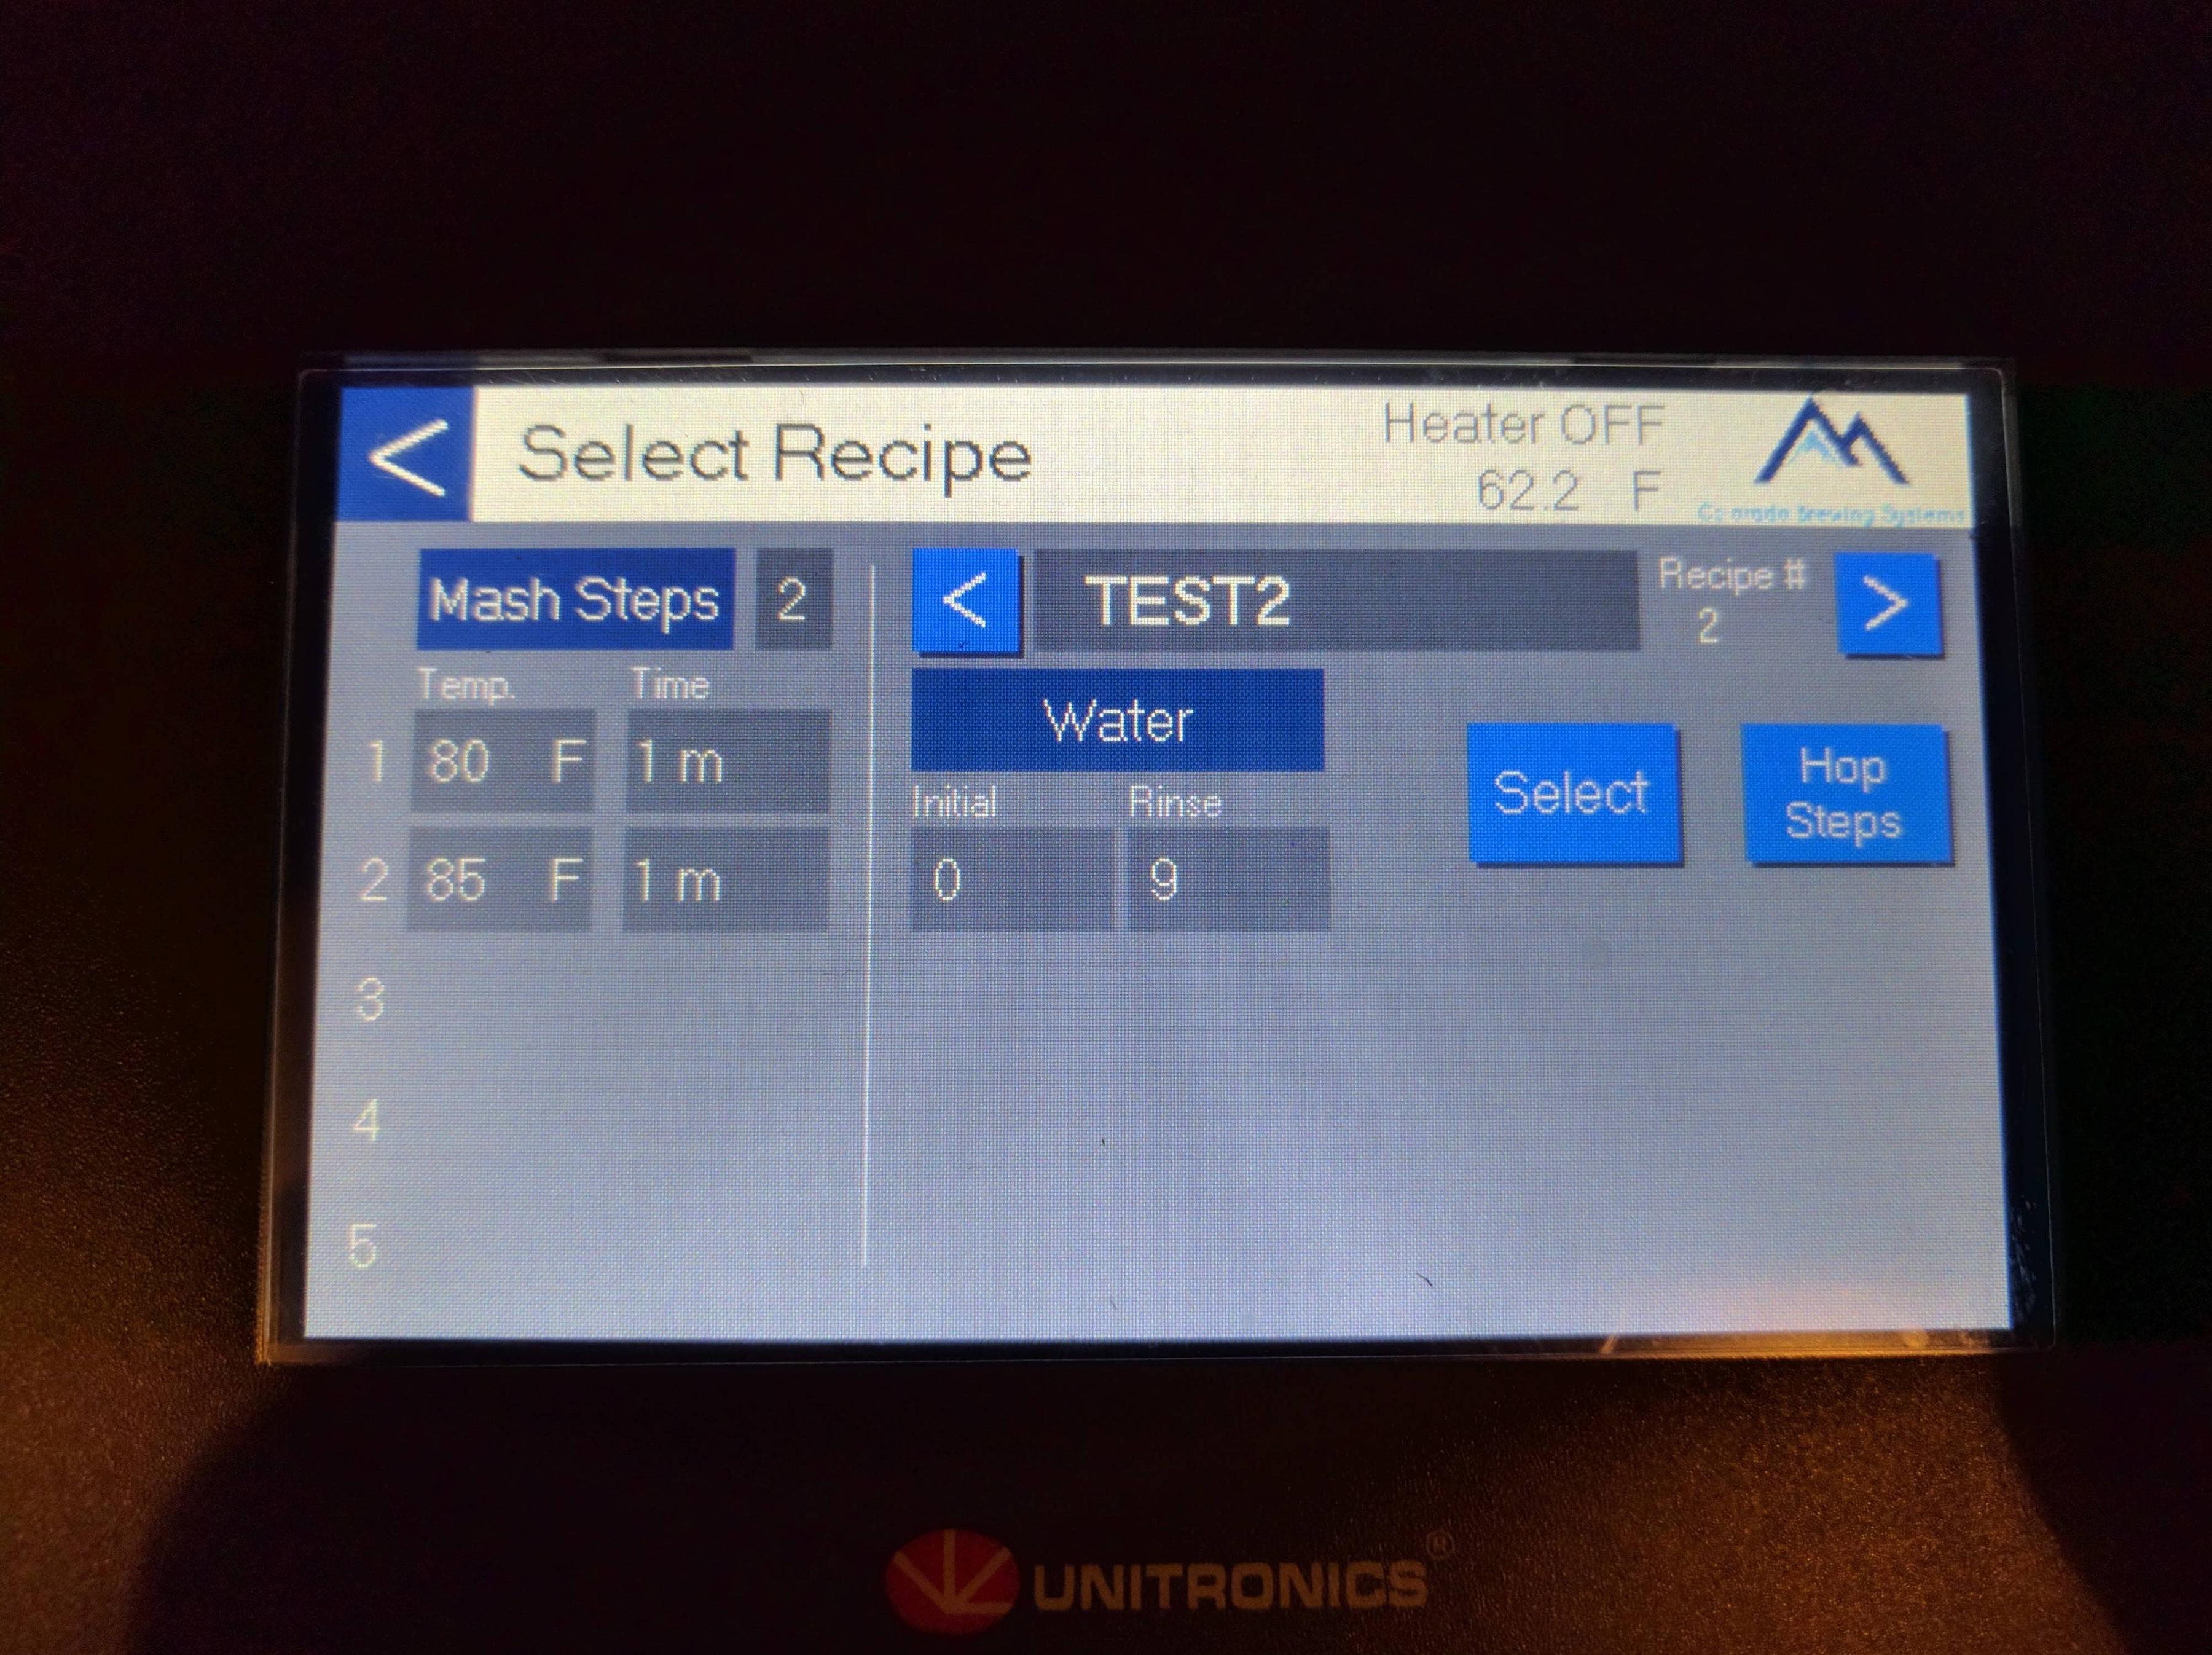
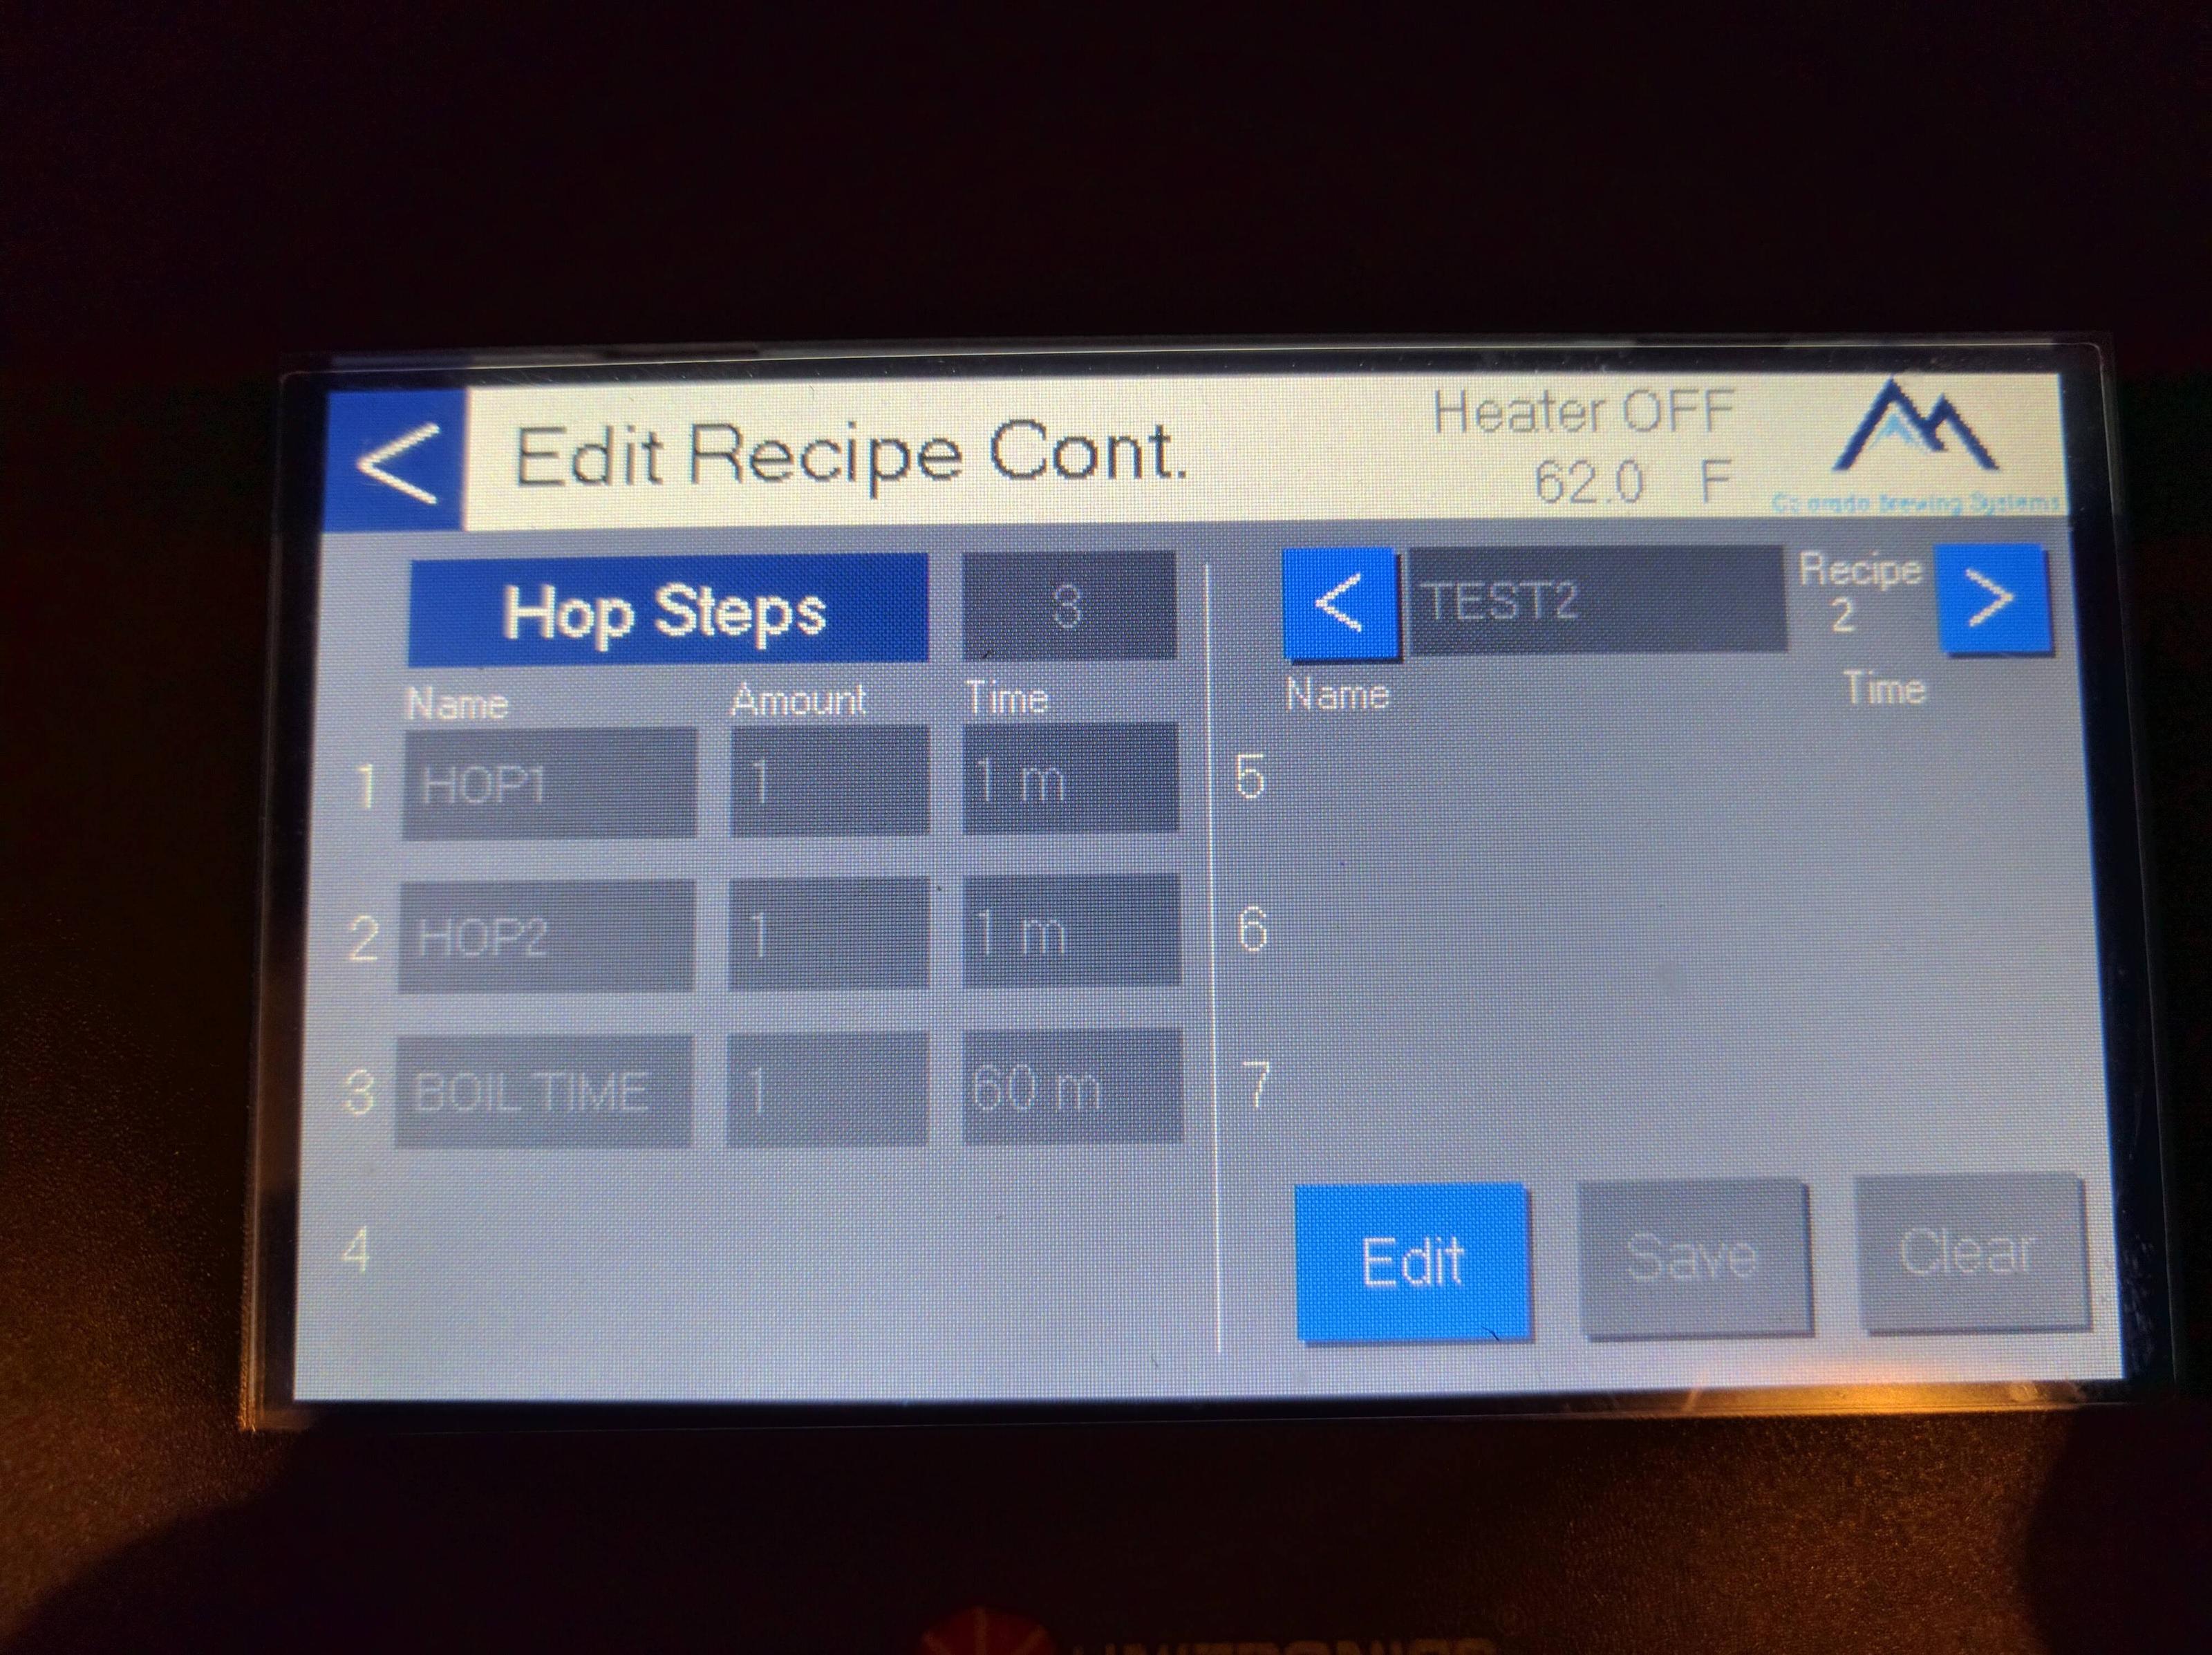
Also in a recipe, you can input names, times, and amounts for hop additions. The mash timer has some quirks. It appears that all time values are countdown timers that run in parallel. However, I had problems unless the steps were sorted by time, from smallest to largest.
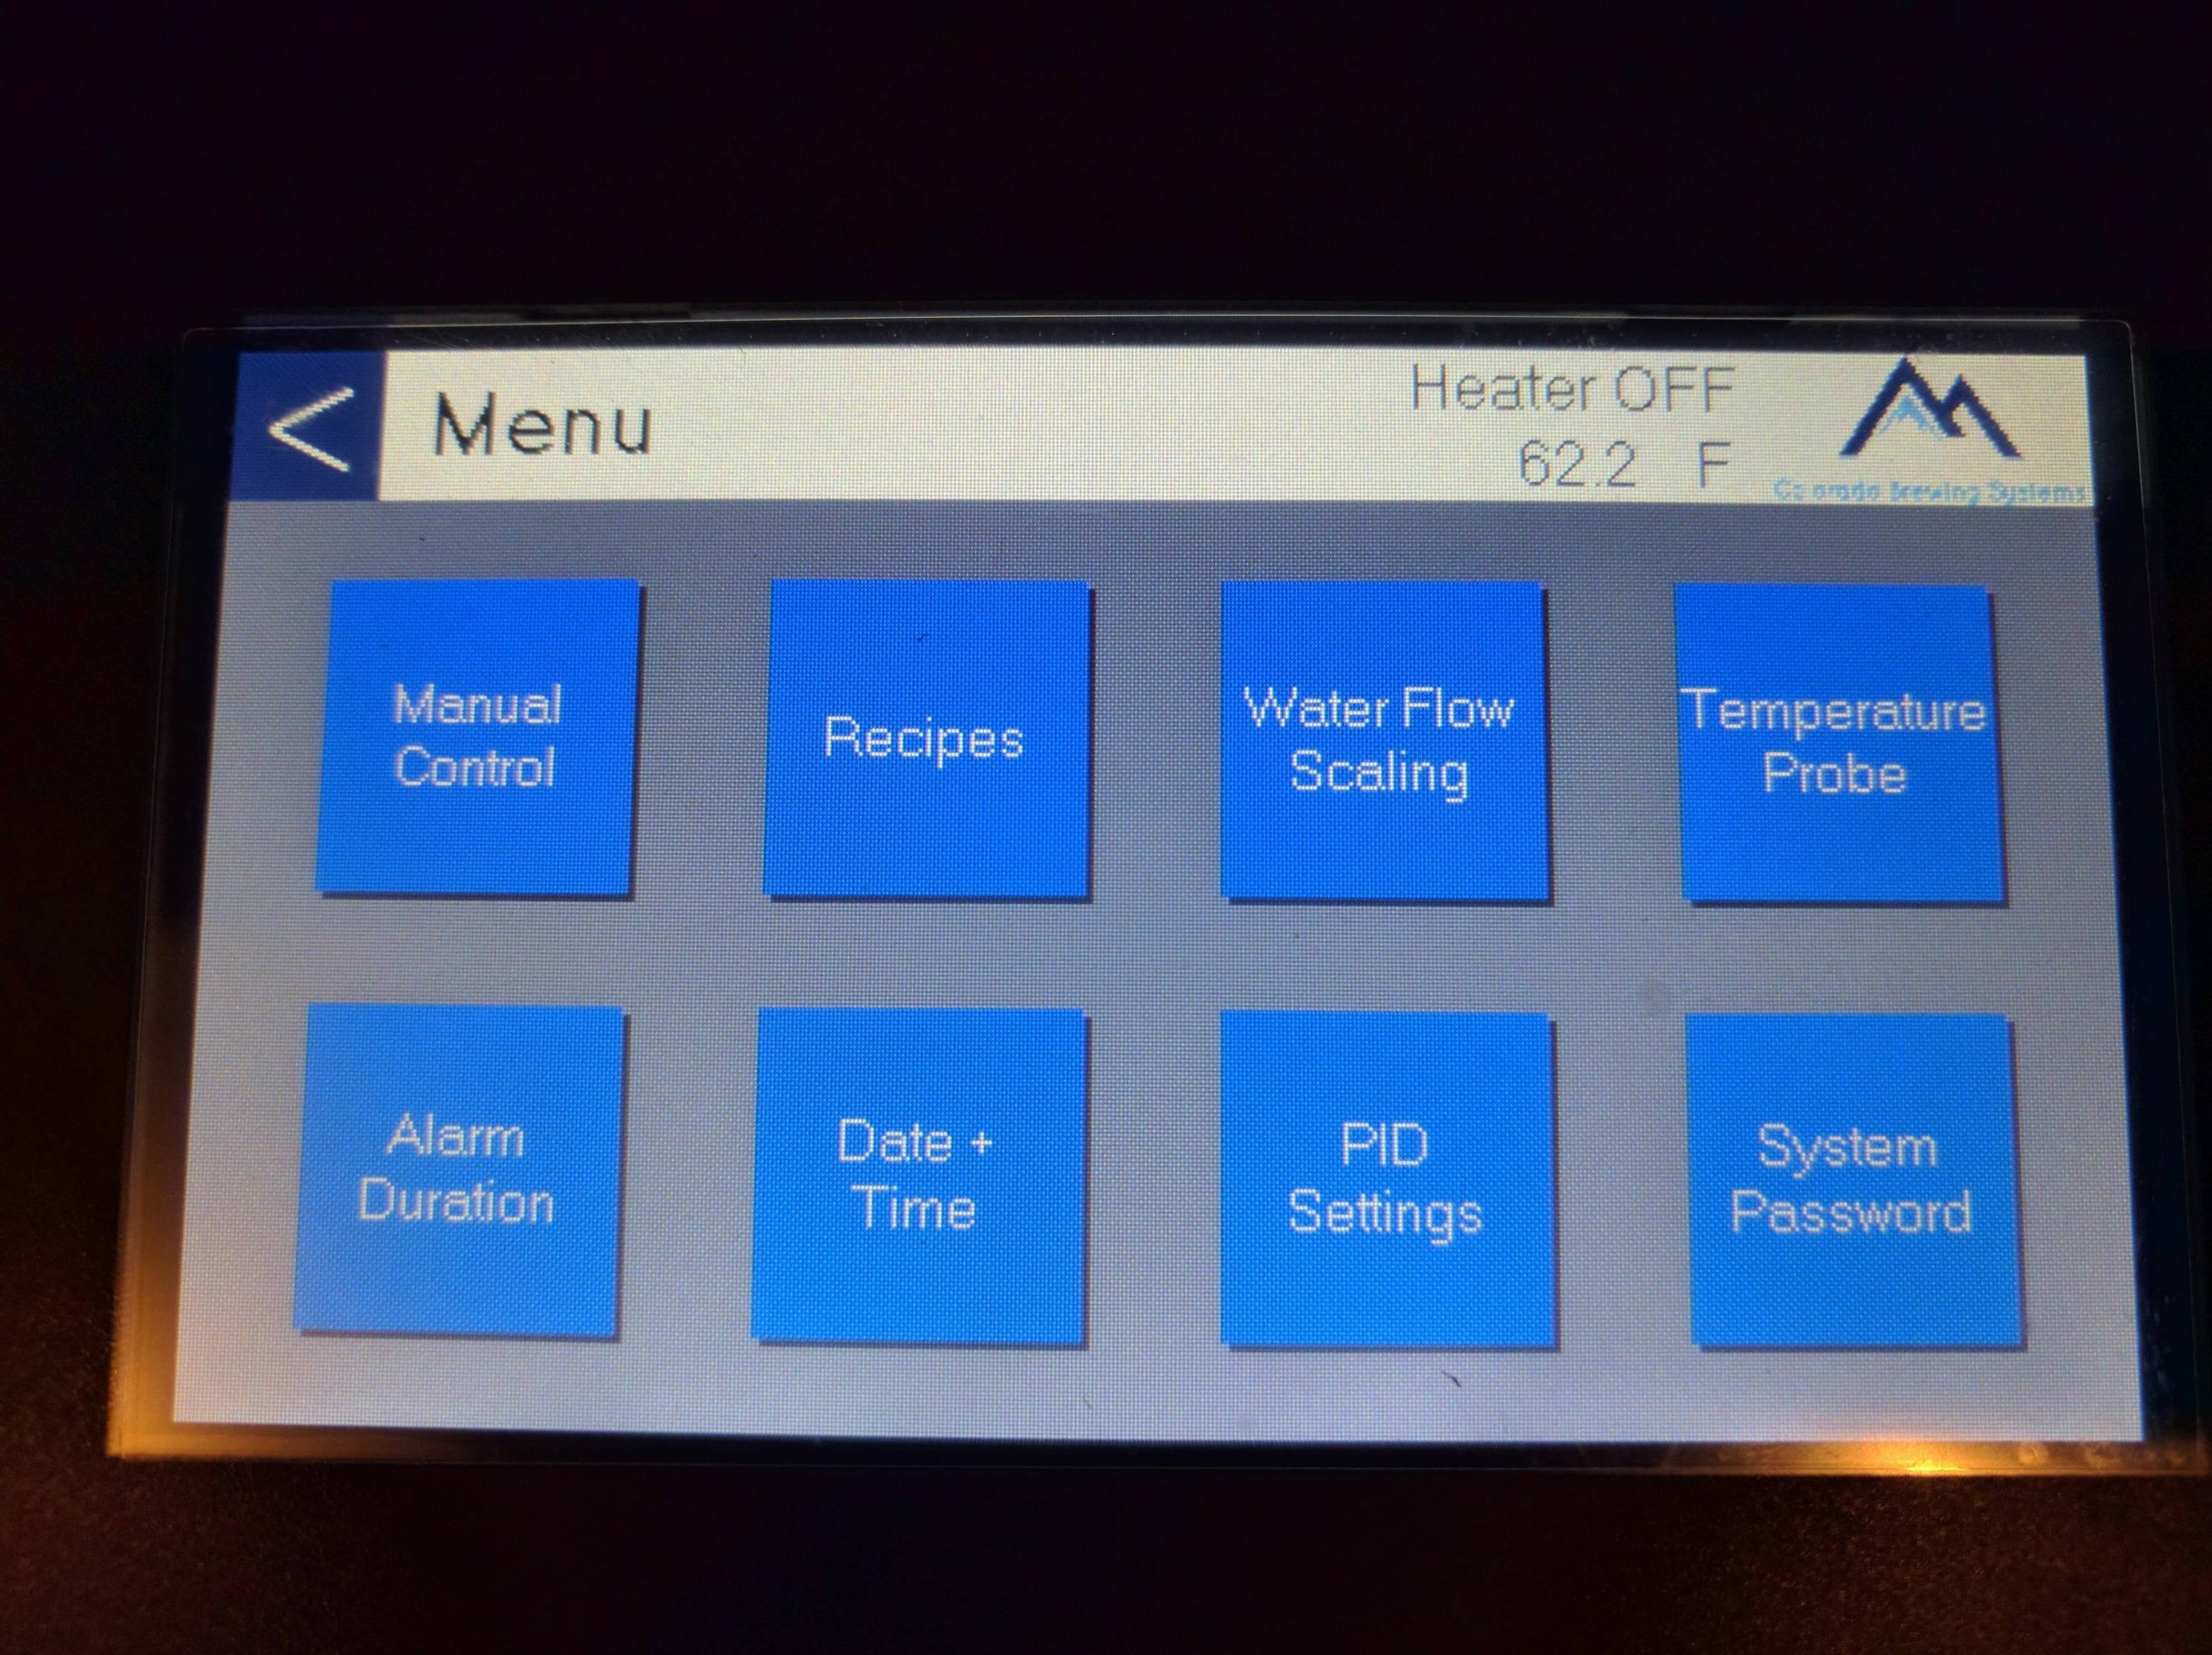
Settings menu.
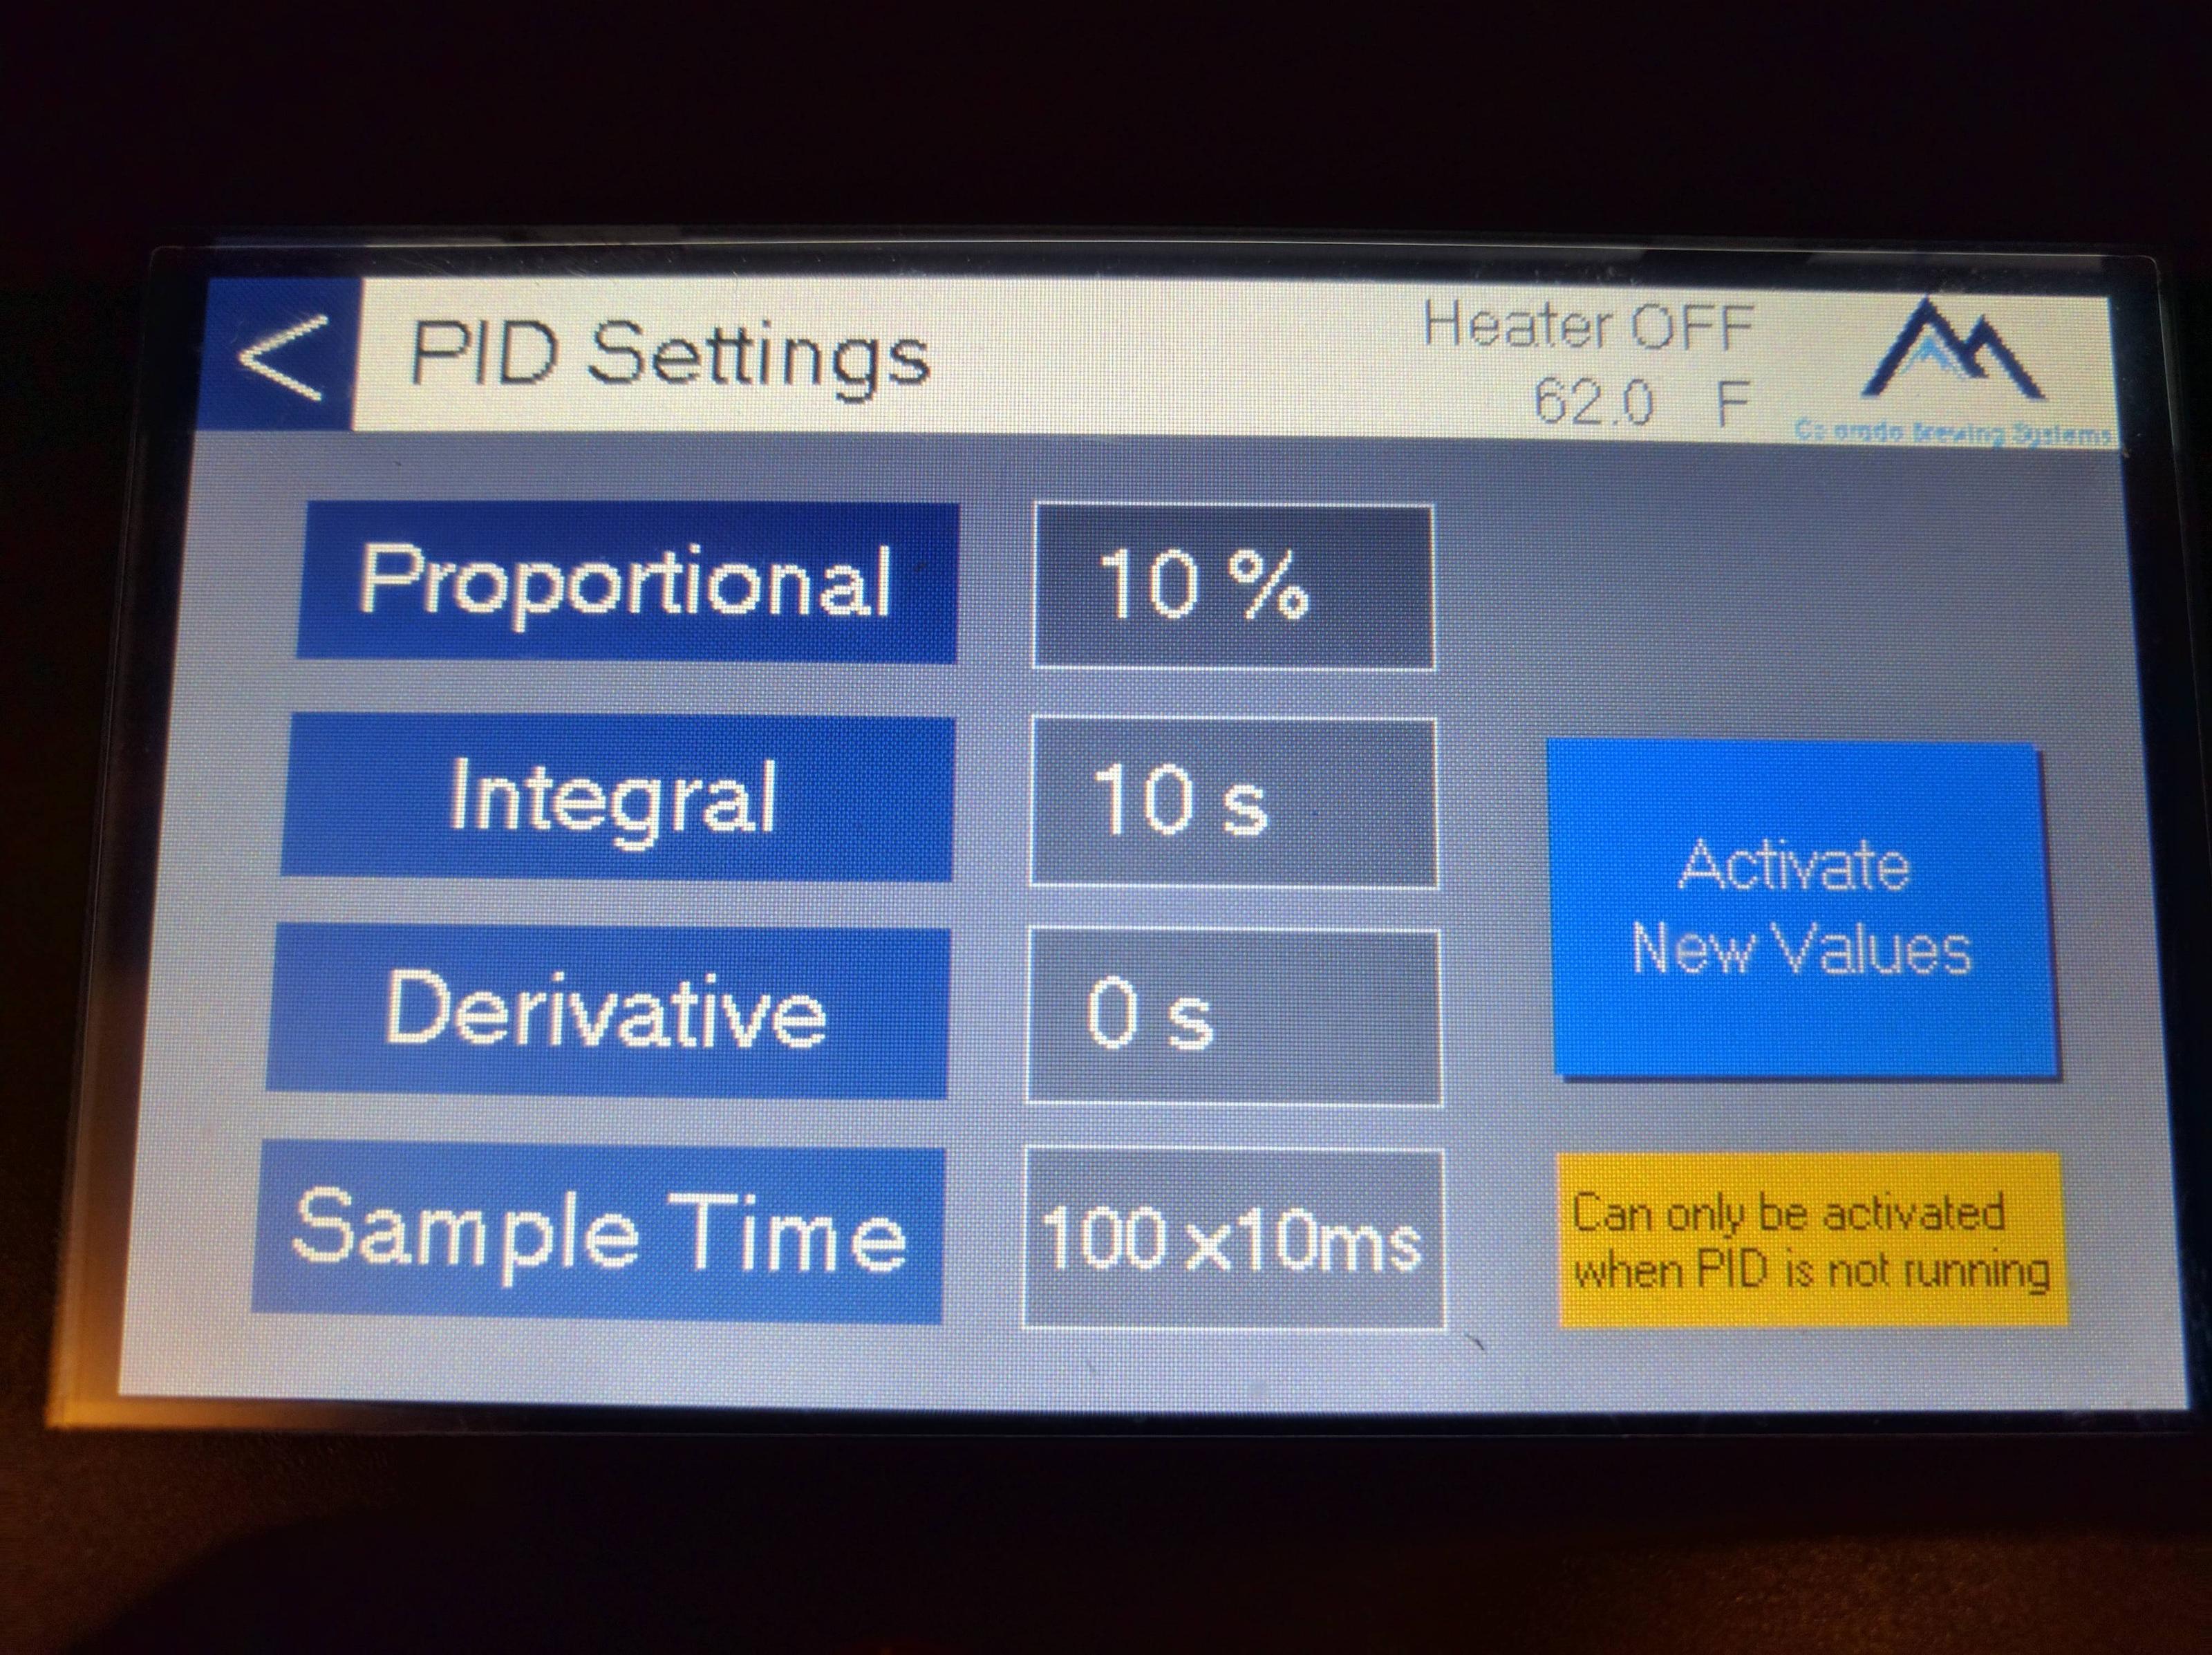
PID settings.
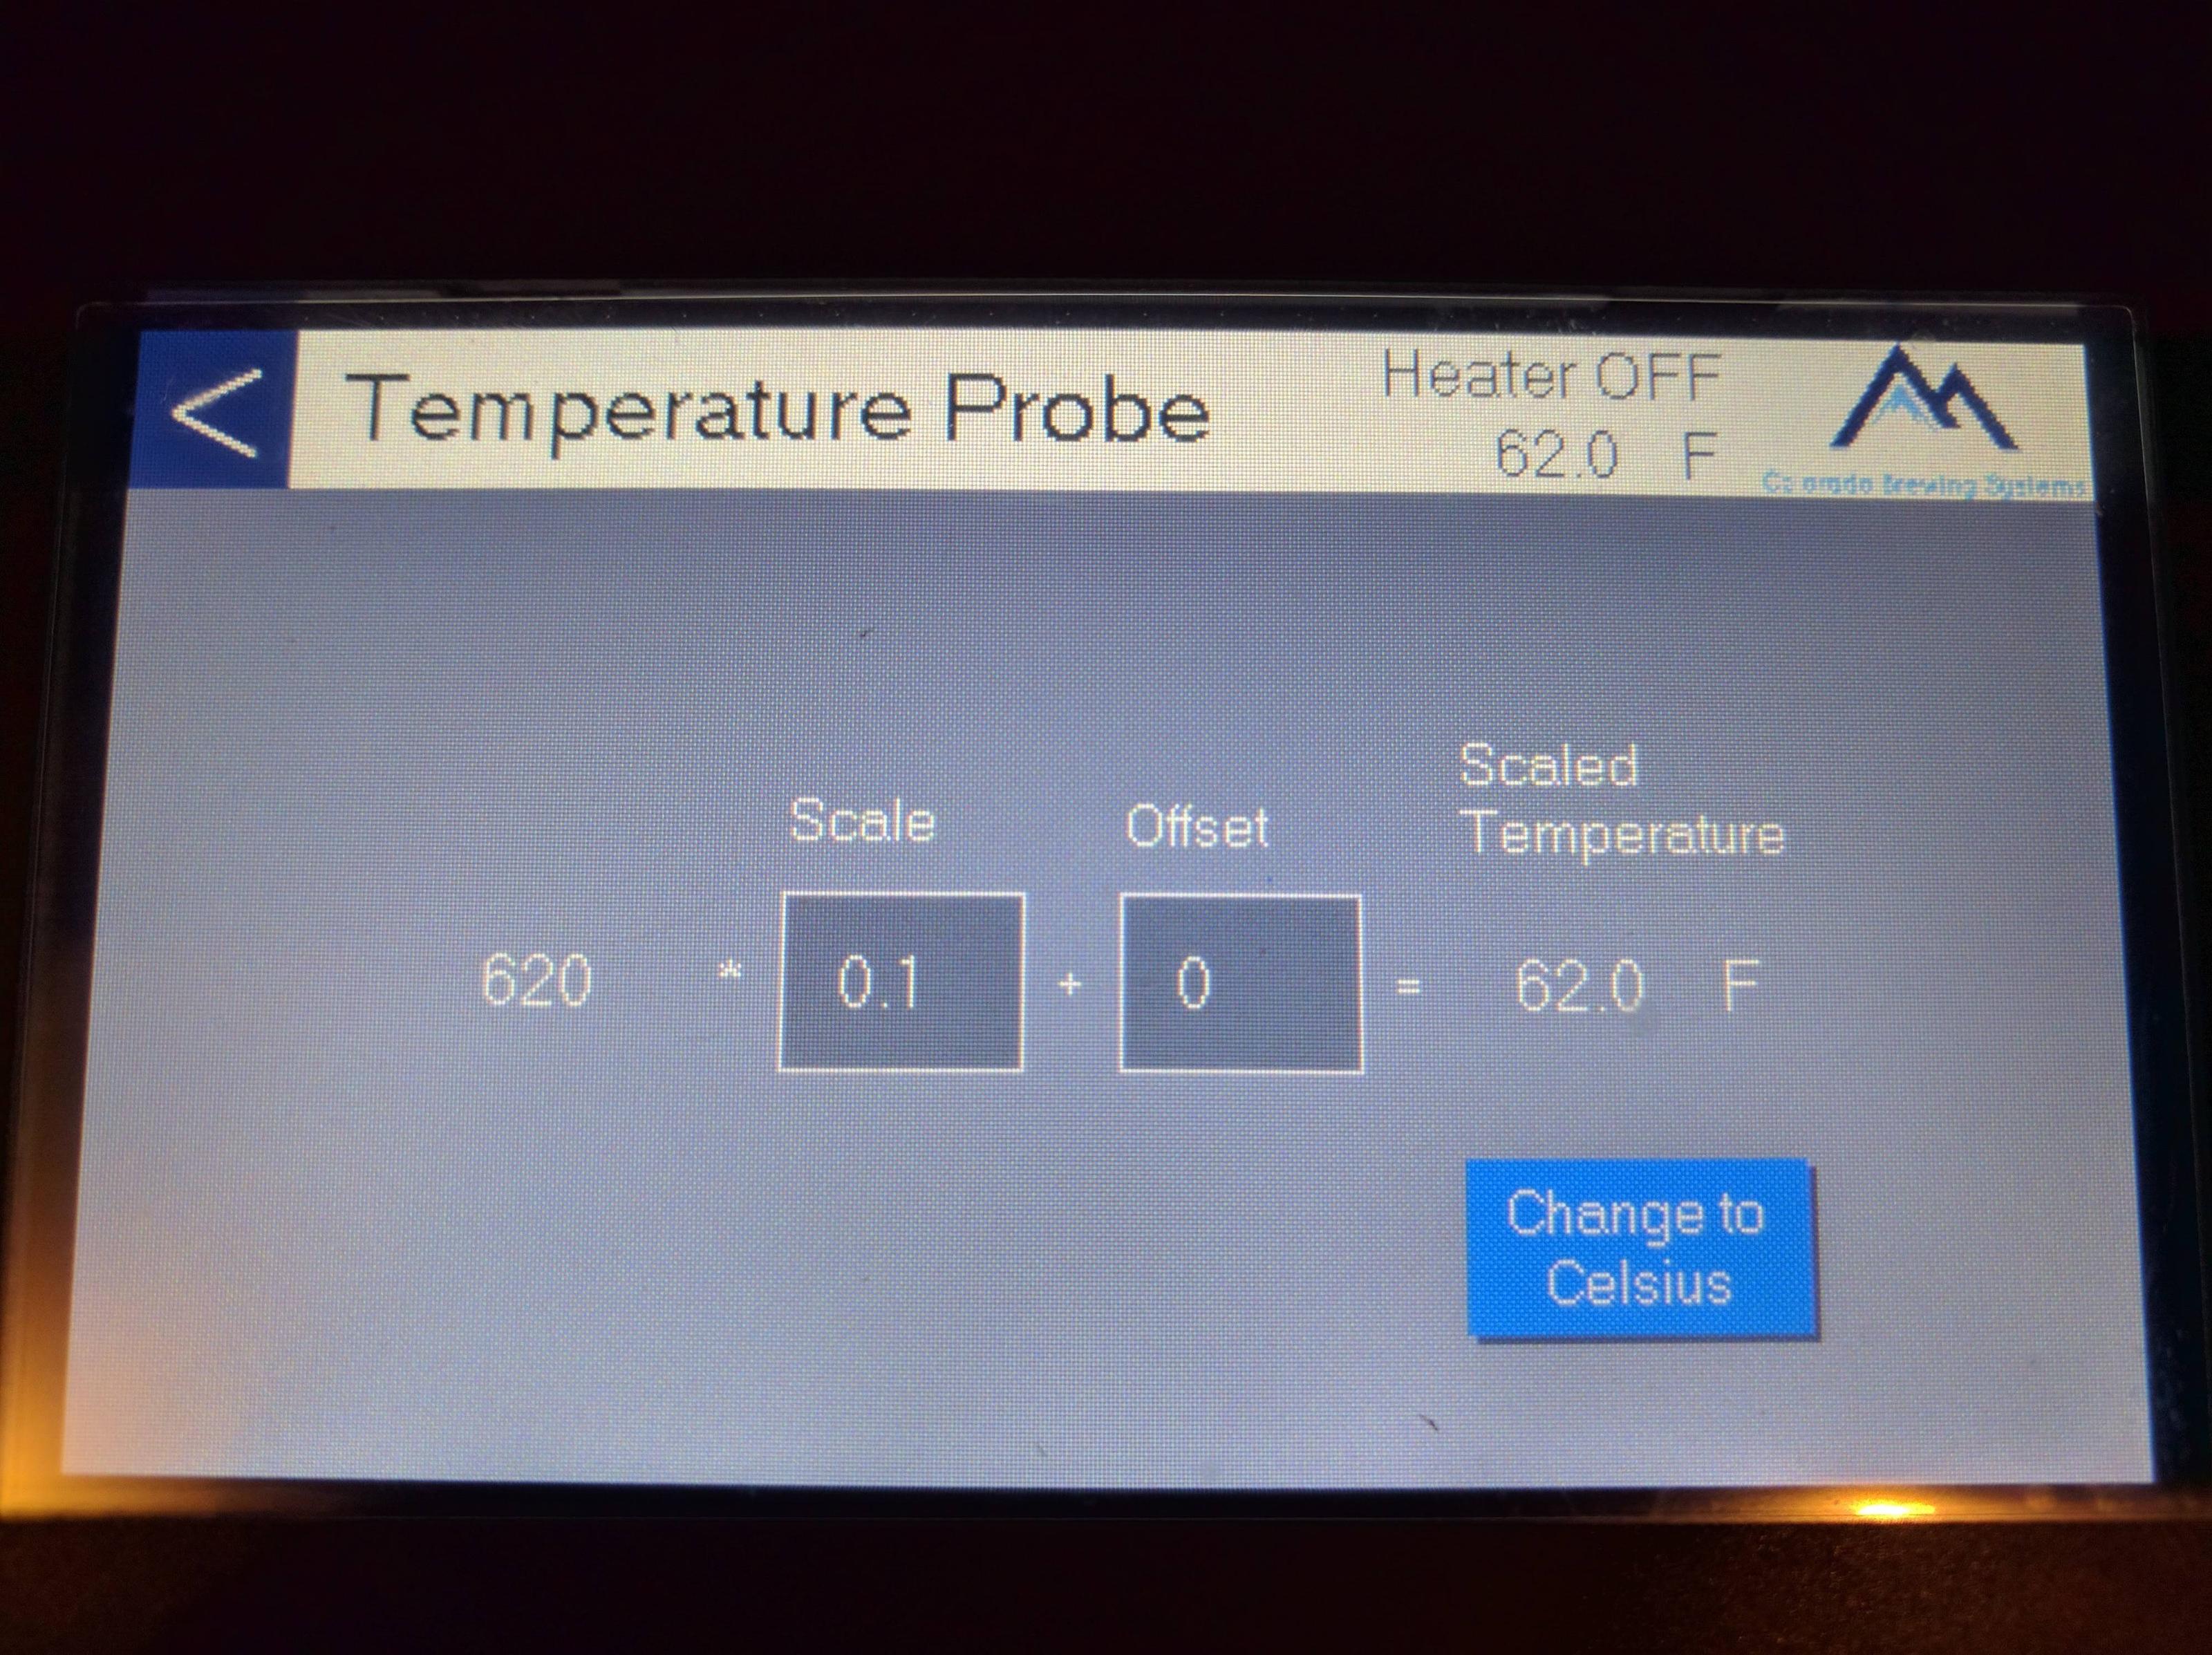
Temperature settings. Looks like you can use the Offset to calibrate.
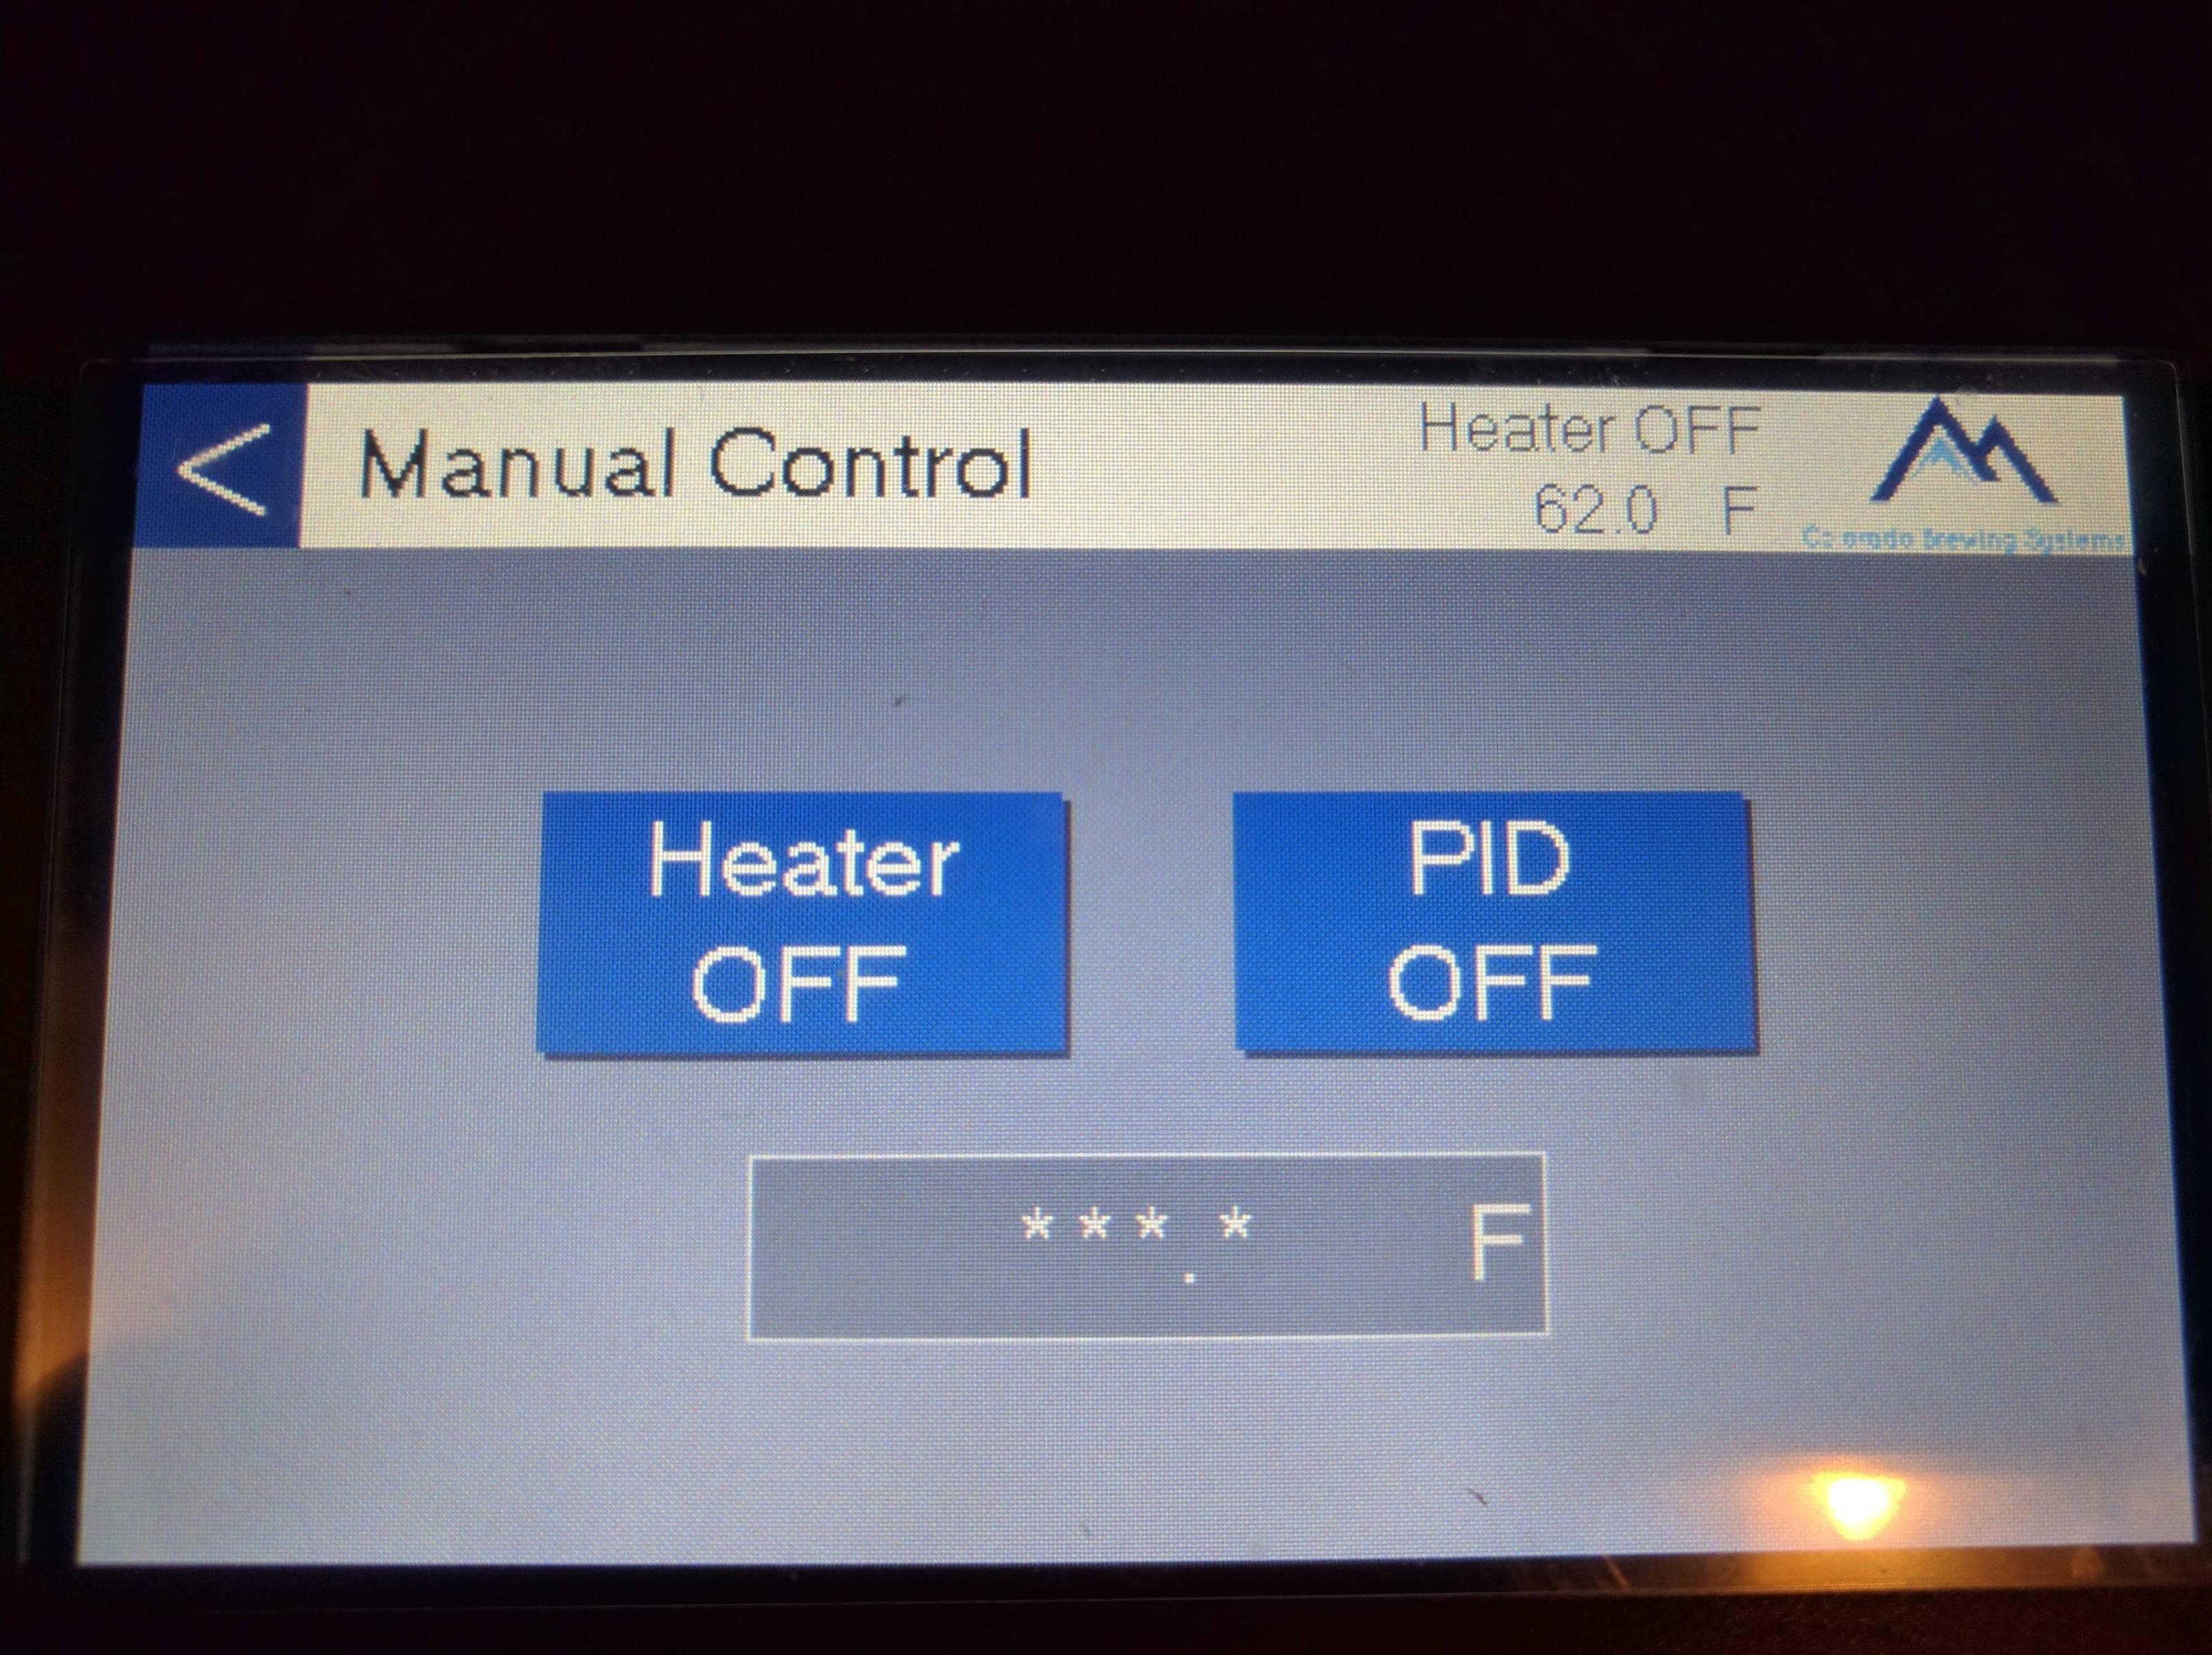
Manual controls page. (Pump control is on the main screen. Element controls are part of the Mash and Boil functions on the main screen.)
That's it!
I got the touchscreen (which they call a PLC) as an upgrade for my Nano Brewer Home system. It appears to support functions that are not part of the Nano, like automatic water filling. Tim at CBS said that it is possible to add the required hardware, which is cool.
Be aware that if you get a Co Brew Systems rig with the PLC, the control panel will be built as UL listed. This means that the power supply will be one normal 120V line and one 3-conductor 240V line. Without the PLC, they said you should get a 4-wire 240V outlet, which can power the whole thing.
On to the pics...
Main menu, showing the mash running. Main menu view has water fill controls on the right, and on the left are the recipe select, start boil, and start mash buttons. (Operation notes: When the mash is running, if the temperature probe is not hooked up, timer steps run without delay in between. With the temp probe connected, timers don't start until you hit the target temperature. Also, if you edit the current recipe, those changes won't be applied here until you touch the Recipe button and re-select it.)
Main menu, boil selected. You can enter the boil temperature and element power. I am not sure but I THINK that once you hit boil, it automatically reduces element power from 100% to the value listed here. (Still haven't gotten the system wet.)
Now it shows that it's filling the rinse water, which my Nano can't actually do. (BTW, the Rinse Water button toggles between Rinse and Mash water.)
This is a Recipe main screen. You can enter mash temp/time steps and water volumes. The water volumes are used by the fill controls on the main screen.
Also in a recipe, you can input names, times, and amounts for hop additions. The mash timer has some quirks. It appears that all time values are countdown timers that run in parallel. However, I had problems unless the steps were sorted by time, from smallest to largest.
Settings menu.
PID settings.
Temperature settings. Looks like you can use the Offset to calibrate.
Manual controls page. (Pump control is on the main screen. Element controls are part of the Mash and Boil functions on the main screen.)
That's it!
")
