Bogus PIDs and SSRs?

Homebrew Talk - Beer, Wine, Mead, & Cider Brewing Discussion Forum

Help Support Homebrew Talk - Beer, Wine, Mead, & Cider Brewing Discussion Forum:

This site may earn a commission from merchant affiliate links, including eBay, Amazon, and others.
So, I've heard various opinions on FOTEK SSRs, and recall seeing somewhere a tutorial on identifying "real" FOTEKs from knockoffs.
Lately the theme has been to slam all Ebay FOTEKs as junk. Now I find myself wondering if a "real" FOTEK actually exists, including the half dozen I've already picked up during one of my acquisition phases.
Anybody seen a real one?

Real Fotek SSR must be exists (that's the reason why a lot of copies).

BTW I really want to see that tutorial.:)
 
Thanks. I think I'll stick with my design that uses two DPST contactors for the high/low power selection. Cost isn't that much different.

Brew on :mug:

I think I already commented... be careful doing this. In fact I would strongly warn against it. Remember that while to you the relays switch instantaneously, these will not switch at the same time. Inductive coils do not unload quickly, so the OFF relay may physically switch after the ON relay switches. Therefore, for a brief instant, and remembering that electrons travel at 186,000 miles/sec, you may be connecting a hot leg to neutral leg. So make sure your output is off before you switch Hi/Low or vice versa (like I noted I do).
 
I think I already commented... be careful doing this. In fact I would strongly warn against it. Remember that while to you the relays switch instantaneously, these will not switch at the same time. Inductive coils do not unload quickly, so the OFF relay may physically switch after the ON relay switches. Therefore, for a brief instant, and remembering that electrons travel at 186,000 miles/sec, you may be connecting a hot leg to neutral leg. So make sure your output is off before you switch Hi/Low or vice versa (like I noted I do).

I remember. Maybe I'll look at putting some interlock relays in the switching circuit. Kind of like a safe start interlock relay.

I think we should stop hijacking this thread.

Brew on :mug:
 
Real Fotek SSR must be exists (that's the reason why a lot of copies).

BTW I really want to see that tutorial.:)

There is another fotek thread started last week by alphaomega with some links and a video on the foteks and clones.

I googled it and found the tutorial with photos and details about the fakes vs the real ones. One sure way to tell at least some of the clones is whether it says "made in Taiwan" on the decal, the fakes dont. The other is the beveled lower right corner of the decal. Some of the fakes dont have this.

I must be one lucky SOB. I've got both kinds of FONEY FOTEKS. Two without the Taiwan and four without the beveled corner.
 
I must be one lucky SOB. I've got both kinds of FONEY FOTEKS. Two without the Taiwan and four without the beveled corner.

Mine are all fake as well... most of the lower cost "foteks" are fake from the article I read..
Mine have worked ok but over the years here I have read far more failed fotek ssr reports than anything else here.
 
Not to go further off-topic, but here are a few articles about fake FOTEKs:

http://www.instructables.com/id/The-inner-workings-of-Counterfeit-FOTEK-SSRs/

http://www.prnewswire.com/news-rele...cognition-mark-release-13pn-52-242919311.html

Seems they're not "fakes" but lower current ones relabeled as high current. Ie: 10-12A ones labelled as 25A units. So they overheat/fry if used up to the specified current rating.

Kal
Unless I missed it the links you provided do in fact all support the claim that they are counterfiet? Yes they are well designed as a lower power 12Assr but I have found no evidence they were made by fotek or in Taiwan... The fakes are all coming out of china. this info was known when I bought mine 3 years ago except the recent tear down and reverse engineering and the guy that did that has yet to tear a real one down to compare.
 
How have your phonies preformed?

Kind of embarrassed to say it, but I have no idea.
Built single tier propane/electric "Brutus" stand, but have only brewed as manual propane so far. BCS and rest of the panel fell victim to other projects and still reside here:

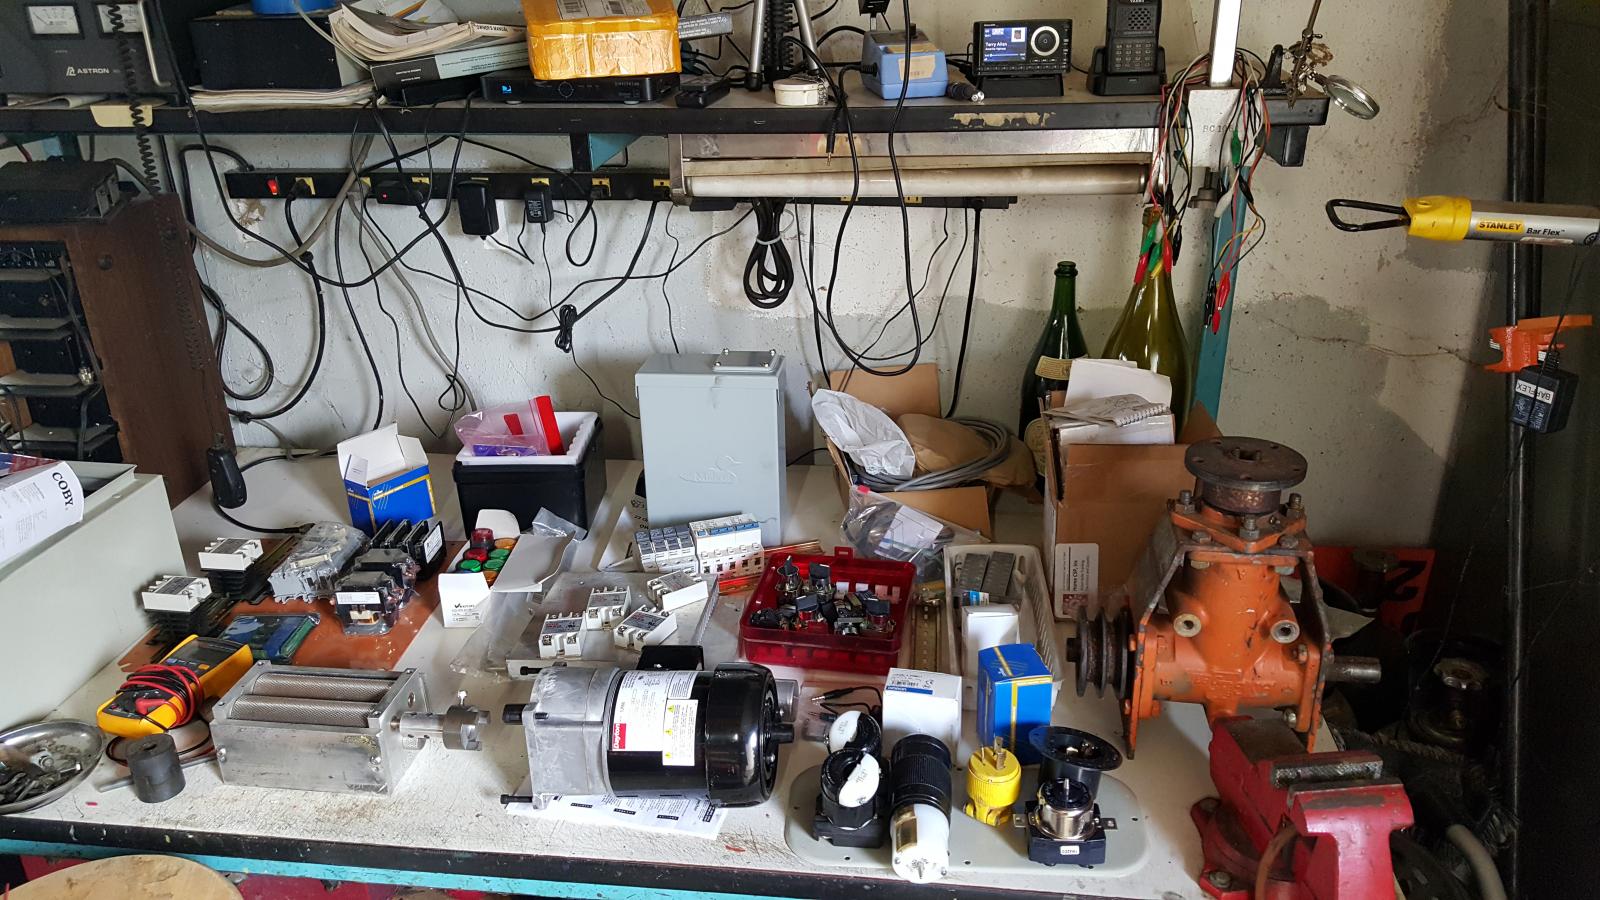
bench.jpg
 
Hang in there man and keep working on it! I'm just glad you didn't say that they didn't work, but it was somehow your own fault because you didn't spend more money.

BTW, an update on my purchase, the eBay vendor who I so unfairly "dinged" with a negative review, has sent me 5 eMails asking me to arbitrarily change the review to a positive one, yet refuses to address a method for return or exchange of the mis-manufactured thermocouple. Seems my first read might have been spot on.

Yesterday I welded up a few heavy aluminum plates for a poor man's junkyard heatsink. I sure as heck won't be mounting the SSRs that came with the rest of the garbage PID package on it.

I still don't understand how you're supposed to be able to judge the quality of a component you can't see until it arrives based solely on price of the product. Especially when I have the example of picking up stainless steel fittings for 1/3 of what they'd cost me locally and they are perfectly prepared for welding. An even harder thing to get my mind around, is that somehow or other I am just supposed to accept this fact that some of the components I buy for this project will just end up "in a pile in the garage", without attempting to help others see through this, or "whining about it" on a forum. Has the American consumer really become that much of a powerless simpleton?
 
Unless I missed it the links you provided do in fact all support the claim that they are counterfiet? Yes they are well designed as a lower power 12Assr but I have found no evidence they were made by fotek or in Taiwan... The fakes are all coming out of china.
Good point. I don't know. It's not something I researched in depth.

Kal
 
Hey Matt,

They are very inexpensive neoprene impeller 120v sprinkler pumps I found at Northern tool.

http://www.northerntool.com/shop/tools/product_200635534_200635534

They have garden hose attach fittings rather than NPT attachments, so I had to purchase some GHT to 1/2" hose barb fittings. The heads are chromed bronze castings and they are not thick enough to machine so it's GHT or nothing. Because they need to be cleaned thoroughly, as the heads are not sanitary, I took them apart last time after using them. Clean in place might work. Unlike a higher quality pump that has magnetic coupling, they are direct A.C. motor drive so grain in the pump might cause a clog or impeller damage. Here's the good news, I found them on sale at the store and if I remember, they were about $54 each.

The first one is dedicated just for HLT water circulation. It's perfect for that use, but the wort pump bogs a little bit as the wort thickens. Not really a problem, but I'd like to see more output. I have yet to build a false bottom, so part of the issue may be the limited percolation I get around the intake screen at the bottom of the MT. I plan to work on a much larger false bottom even yet today. At least an upside down colander holding more grain off the screen tube but I may break down and order some perforated SS mesh or build bigger screen. I'll let you know, but I expect improved flow from that addition. I can always bail and spring for a march pump. Even with just the pick up screen the pump output is still around 2 GPM as the wort thickens. I may even dampen it to that output rate anyhow, but I suspect it will improve with a larger liquid cavity near the pick up in the MT.
 
Awesome Augie.

If I ever have one fail that would be a great replacement. It looks like the exact same housing and pump size, only with a plastic rather than bronze pump.
 
Awesome Augie.

If I ever have one fail that would be a great replacement. It looks like the exact same housing and pump size, only with a plastic rather than bronze pump.

They also sell a stainless head for it... you can try buying just the stainless head upgrade if you think its the same motor.. the Bronz will turn black and nasty quickly... plus theres the higher lead content which you may or may not be concerned with, its not a problem with water but acidic wort can draw it out I believe.
 
Brewed a shake down batch today on the new system. A double batch of more beer's American Brown Ale.

Mixed reviews, as a few problems manifested themselves just prior to and during the brew session. I think the beer will be good enough, but being my first 10+ gallon batch, only time will tell.

First off I had some issue with an electrical connection. That caused one of the thermocouple feeds not to register. Ended up taking several components out and back in, which must have pulled something else loose. Even though all the high load connections are soldered ring terminals, for some reason all the jostling caused a loss of control over one of the elements. Eventually swapped the SSRs around on the heat sink - out then back in again, where I next paid dearly for not using wire labels during construction! Had to waste some time with the continuity tester. A few hours down the drain. It's all working again.

Once I started to brew too late in the day, I way under estimated just how much water I'd loose through absorption with the bigger grain bill of this batch. In typical fashion, I next added too much chlorinated garden hose water, since I didn't have enough R.O. water, to bring the volume up. With no original plan to do so and no way to measure volume anywhere in the system yet, I conducted a second running after I'd mashed out the first batch with way too much added water. I'd so poorly planned the brew session, I figured that running a second batch might save the day, but overcompensated once again. It ended up working out to about 14 gallons total pre boil, rather than the 12.25 I was shooting for. Poor headwork and even poorer execution. No rest for the weary - I corespondingly also got to experience my first boil over. One bright spot was the much higher efficiency which still had me in the target OG range.

Had to resort to boiling using the propane, because as I suspected and read about here many times, the 4500 watt element is way too much heat once 14 gallons reaches a boil. I'll be swapping out the boil controller for one with direct manual control before I brew again.

I find that my hoses all make figure 8s in most configurations. As if we need yet another illustration of poor planning. Should have chosen to put the keg ports on the other side in both cases. Not too damning, since the pumps haven't been bolted to their mounts just yet. It's going to looks silly with the pumps facing backwards.

On the positive side, the 5500 watt HLT element is a nice way to get rapid temp changes. It brings a lot of water to temp quickly. Fantastic to be able to manipulate temp with push button ease and accuracy!

Love having pumps to move the beer! No more lifting 6 gallons at a shot, nor relying on gravity. Dough in from the bottom & whirlpooling are nice new concepts too.

Gotta brew again soon while all of this is fresh in mind, but there are still a few parts to be completed. Fun and very rewarding project!
 
Congrats on the maiden voyage! Most of us have an issue or two (or several) when using our systems for the first time. It will take a few brew sessions to dial it in. I had a heck of a time with one of my pumps when mashing and sparging on my first run with my system. Ended up buying center inlet heads for my pumps and it solved the issue right away. I have a 5500 watt element and I only have it set at 75 % when I boil, or it is way to strong. At 75 % for my system I get a very good rolling boil and I only boil off one gallon an hour. Keep plugging away at it. Bottom line, you still made some beer!

John
 
I also had a "Fotek" SSR fail. I tore it apart and, sure enough, it had an underrated TRIAC in it. This was another counterfeit. I did some research to see if there is a way to tell the real ones from the fakes. It appears UL has an article about it from 2014: http://www.ul.com/newsroom/publicnotices/ul-warns-of-solid-state-relay-with-counterfeit-ul-recognition-mark-release-13pn-52/ I have another one in my system that did NOT fail and it matches the real label in that article. Too bad we can't catch the bastards giving Fotek a bad name.
 
Last edited by a moderator:
Mager SSRs from eBay. They are available from a seller in Georgia if you want fast shipping, or on the slow boat from China
 
Are you talking to me?

I believe he is. Mager's are what Auber rebrands and sells. I bought Mager MGR-1D4840's (40A) from ebay. I've not seen any reports of counterfeit Mager's, unlike the Fotek's.

Brew on :mug:
 
What about this PID? Should I be looking at something else?

MYPIN TD4
That is a popular PID that is used by many electric brewers around these parts. It's the one called out in the design I posted here.

If you're not trying to save every last penny on your build, I suggest you look at the Auber DSPR110 controller. It has a mash temp controller function (but uses something other than a PID algorithm) and a knob based boil power control in a single unit. It also has a built in timer. I posted a simple control panel design using the DSPR110 here.

Brew on :mug:
 
Last edited by a moderator:
That is a popular PID that is used by many electric brewers around these parts. It's the one called out in the design I posted here.

If you're not trying to save every last penny on your build, I suggest you look at the Auber DSPR110 controller. It has a mash temp controller function (but uses something other than a PID algorithm) and a knob based boil power control in a single unit. It also has a built in timer. I posted a simple control panel design using the DSPR110 here.


Brew on :mug:


That sounds nice.. Not quite as sexy looking, but I can make that up with some colored lights and blinking things... ;)

(unless it's physically 'bigger?')

Only about 10 bucks more, so we're still not talking about a bunch of money...

Is there a difference between them in regards to quality of construction and reliability?
They are both "1/16 DIN size" which is about 2" x 2", although depth might be a little different.

Both are made in China, and I have no info on construction quality or reliability. MyPins apparently have pretty good quality, as you don't see them being bad mouthed for early failures. Most of the issues are choice of incorrect model, or not knowing how to operate them, or tune them. The DSPR110 is really new, so not enough time to get reliability reports. At least Auber gives you a US based supplier to beat up if there are quality/reliability/warranty issues, not that there is any reason to suspect that there will be.

Edit: Not sure I buy the higher "bling factor" for the MyPin. I think the Auber has a more professional, industrial look.

Brew on :mug:
 
I posted a simple control panel design using the DSPR110 here.

Brew on :mug:

You're missing the other hot in that circuit... It's a 230v system being supplied with 115.. Or is that what you were intending?

I like the simplicity.. I'd just have to add another fuse, switch, light, and receptacle for the pump circuit... and then I'm good to go... and maybe one of those snazzy blue volt/amp LED DROs I see on everybody's boxes... ;)

Having a hard time finding the pt100 probe I need though...

I need a 4" long one, with 1/2" threads (or 1/4" with a reducer) so that I can insert it through the BH sight glass...

You're correct. It's hard to keep the details of all my designs sorted out. This was designed for a European brewer (Ireland) where the 230V mains are just a hot and neutral, not 2X 120V hots, 180˚ out of phase, plus neutral. The controllers don't care, as they operate anywhere from about 90V - 260V AC. To modify for 120V/240V, change the neutral to hot 2, and add a neutral line to give you 120V for the pumps, etc.

Brew on :mug:
 
That controller is really sweet.. Now I want that instead...

and they got lots of sexy switches and
and that blue volt/amp DRO I was asking about ;)

and they have the probe I need.. a bit pricey, but it is disconnectable too!

:mug:
 
You're correct. It's hard to keep the details of all my designs sorted out. This was designed for a European brewer (Ireland) where the 230V mains are just a hot and neutral, not 2X 120V hots, 180˚ out of phase, plus neutral. The controllers don't care, as they operate anywhere from about 90V - 260V AC. To modify for 120V/240V, change the neutral to hot 2, and add a neutral line to give you 120V for the pumps, etc.

Brew on :mug:


Thanks for the tip about auberins...

That looks to be the source of the last pieces I need to put this all together... That place is gonna jump the price of my build up about a 100 bucks, but six months from now, I'll never feel it.. lol

Definitely gonna get that controller and the probe I need from them... Gonna add a few other goodies to my order which means I'll have to wait till next week to order, when I can add some moola to my budget...

But I just found a great deal on a 2P 50A gfci breaker, so that reduces the hit some..

:mug:

A 50A GFCI breaker may not be such a bargain. You need to wire with 6AWG for 50A vs. 10AWG for 30A. To use 10AWG wiring with a 50A breaker, you need to have a 30A breaker upstream of the 50A'er (in which case the 50A device is only being used for the GFCI functionality.)

Brew on :mug:
 
Back
Top