kvgros
Member
- Joined
- Sep 7, 2014
- Messages
- 10
- Reaction score
- 11
About a year ago the wife and I decided to dive into some home renovations we've been planning and putting a bar in the basement was on the list. As a home brewer and a frequent troll on these forums I started flagging ideas for setting up a behind wall keezer and having 4 taps in the bar. I was, prior to the bar, bottling everything and knew very little about kegs, beer line temperature/length/pressure, and everything else that would ultimately go into it. I did know this place was a great resource and I absorbed all I could from dozens of posts.
That said, the idea grew, construction started, and we are very happy with result (both with the bar itself and with the keg/tap setup). Last night we had a kickoff party with about 70 people over (it got a little out of hand I had 5 kegs ready (4 tapped). I had a NB Kolsch and a MoreBeer Pliny clone (which everyone LOVED and is causing a TON of headaches today thanks to the fact that it's 8%. I even warned everyone who kept coming back for more). I also had a NB IPA ready in the wings. My other two tapped beers were commercial kegs (Schlafly Pale Ale and a Blue Moon).
After learning so much on here I've been gathering some pics to share and some info on what I did that worked.
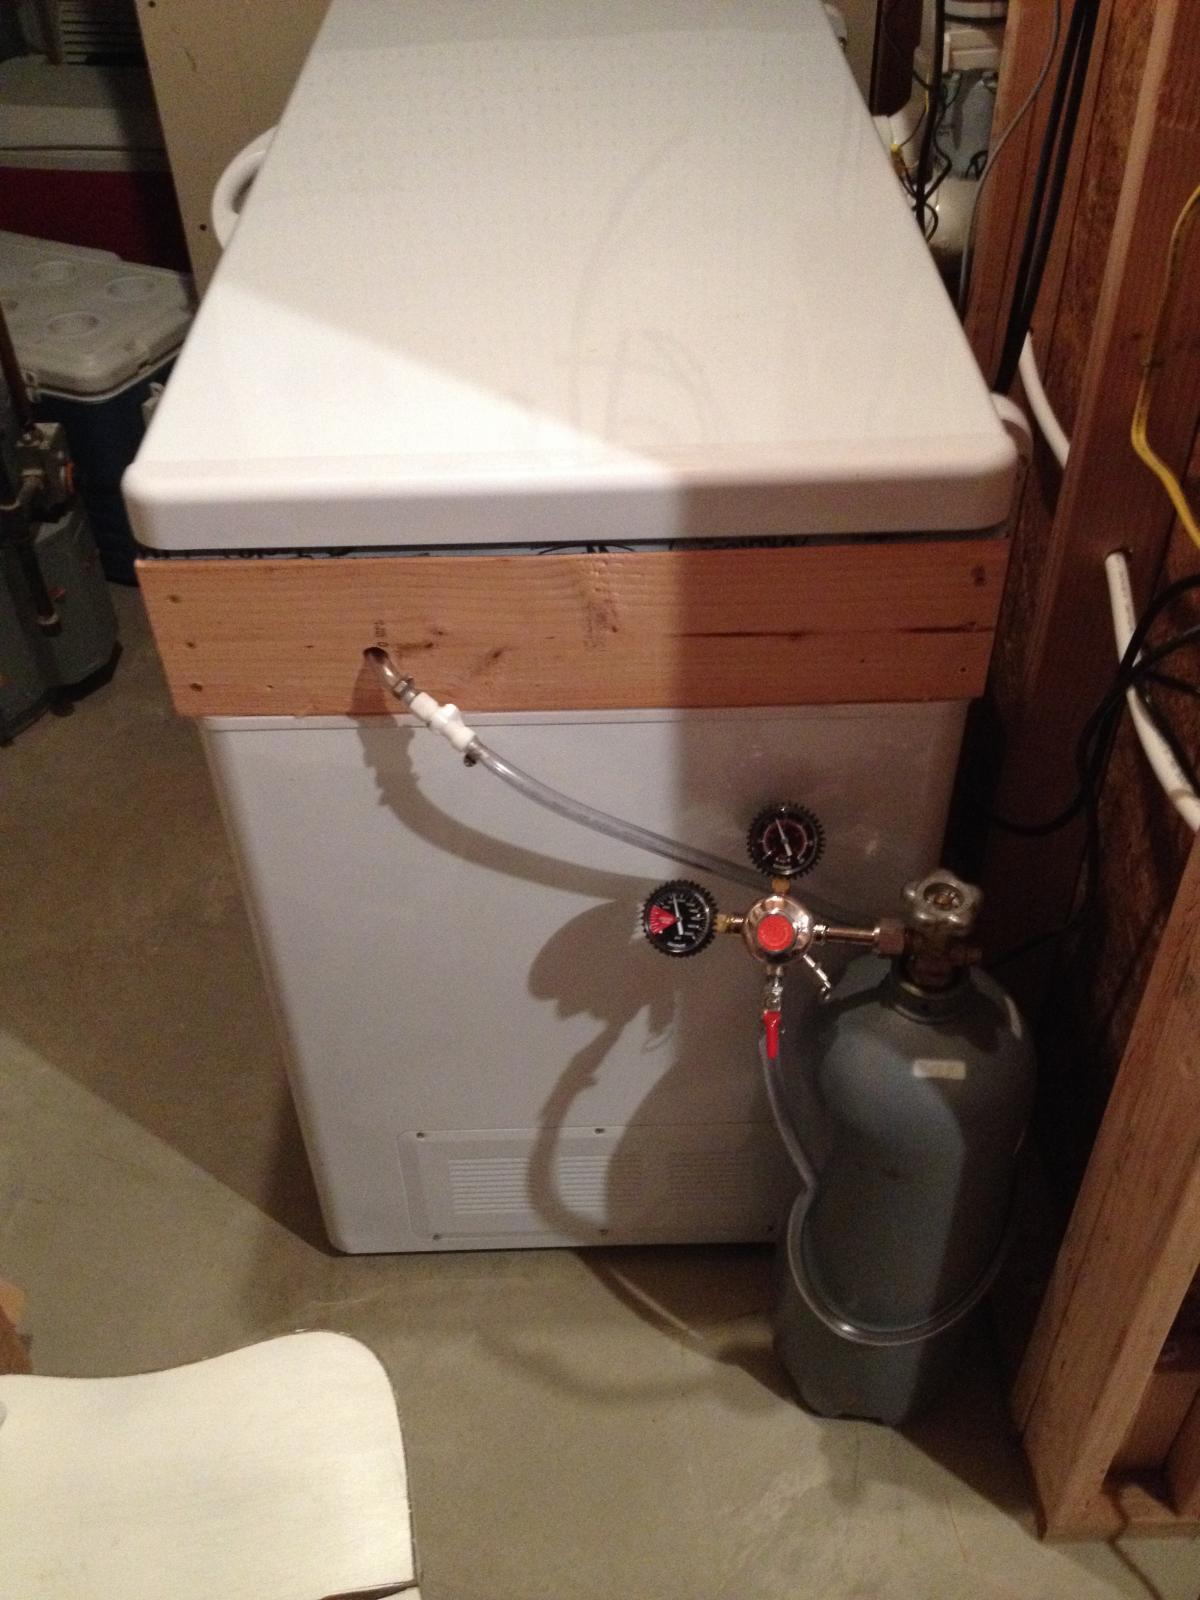
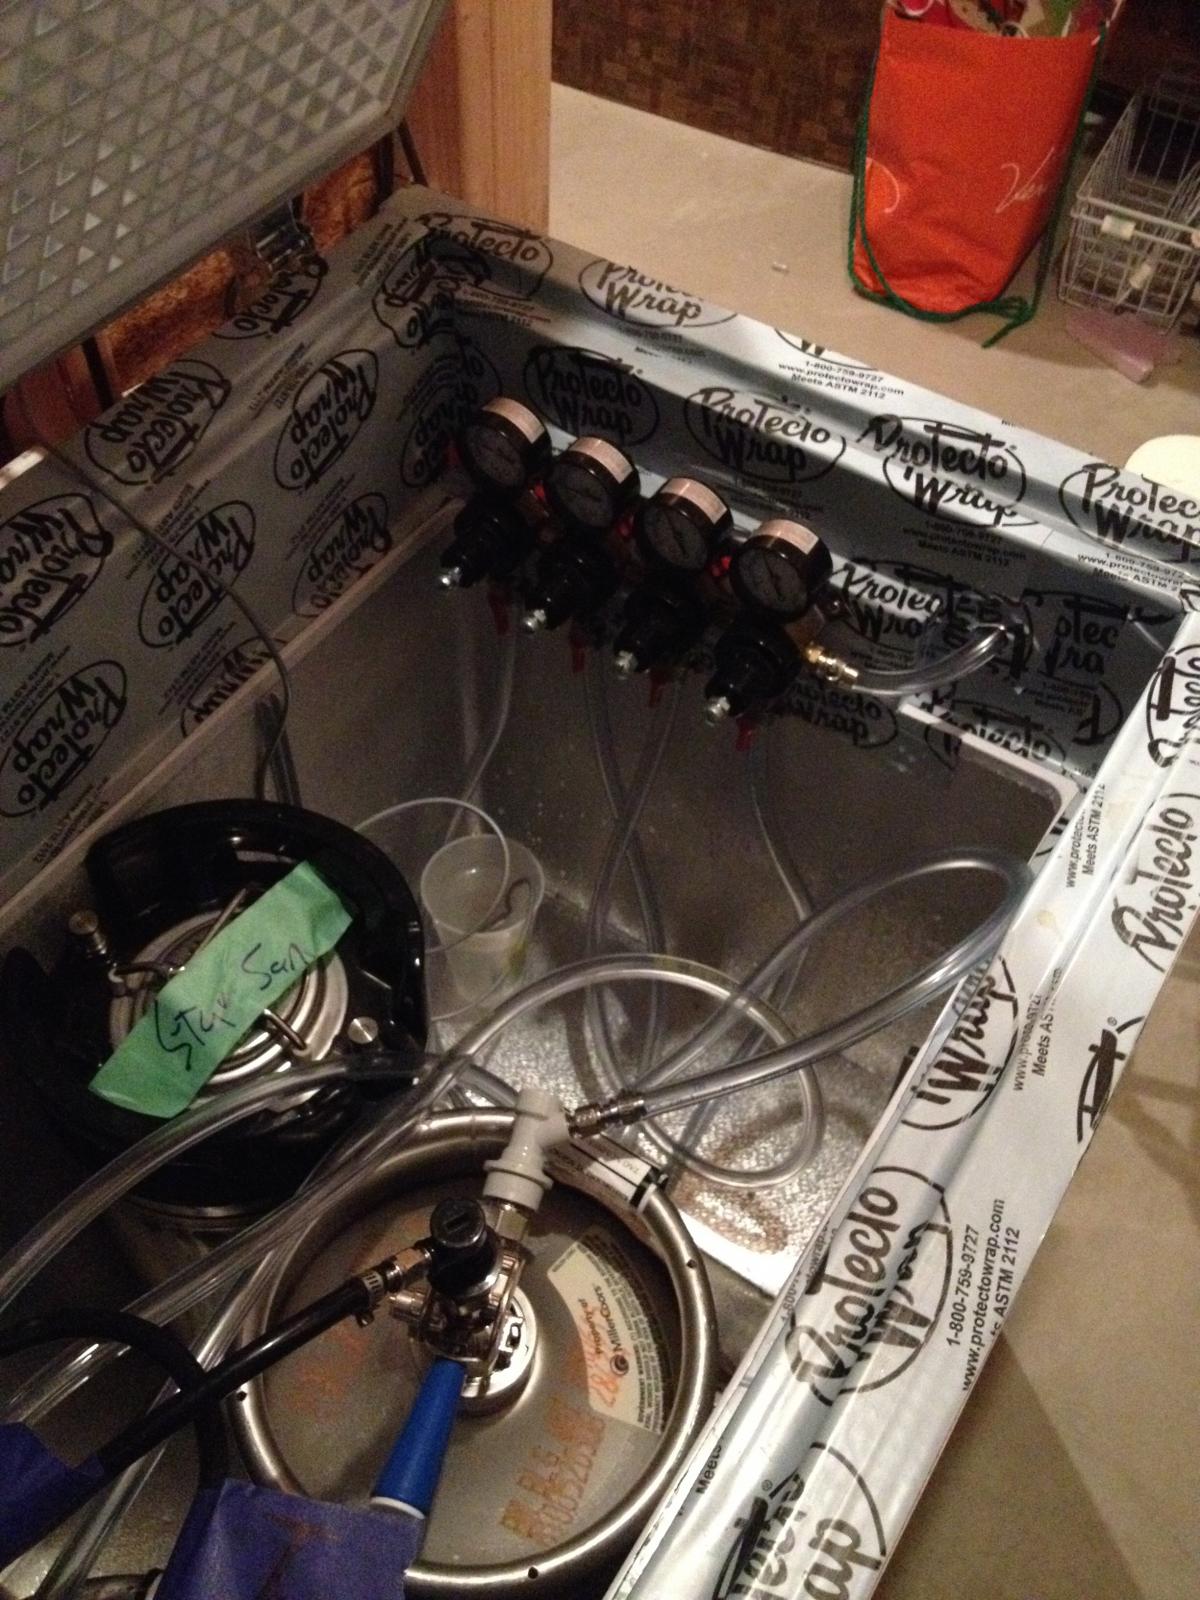
We built a pretty standard keezer with a 6" collar. As it was behind the wall we didn't spend too much time on making it pretty and went for solid construction and a very insulated interior. We used a Northern Brewer Governor for the primary regulator on a 20# tank. I got a 4 way secondary CO2 regulator from KegWorks (along with a bunch of other smaller pieces like shanks, tubing, ball lock connectors, etc). To make managing cables easier I also invested in a number of quick disconnects from MoreBeer and these have been a great addition and have made my life easy in terms of switching things around and cleaning lines.
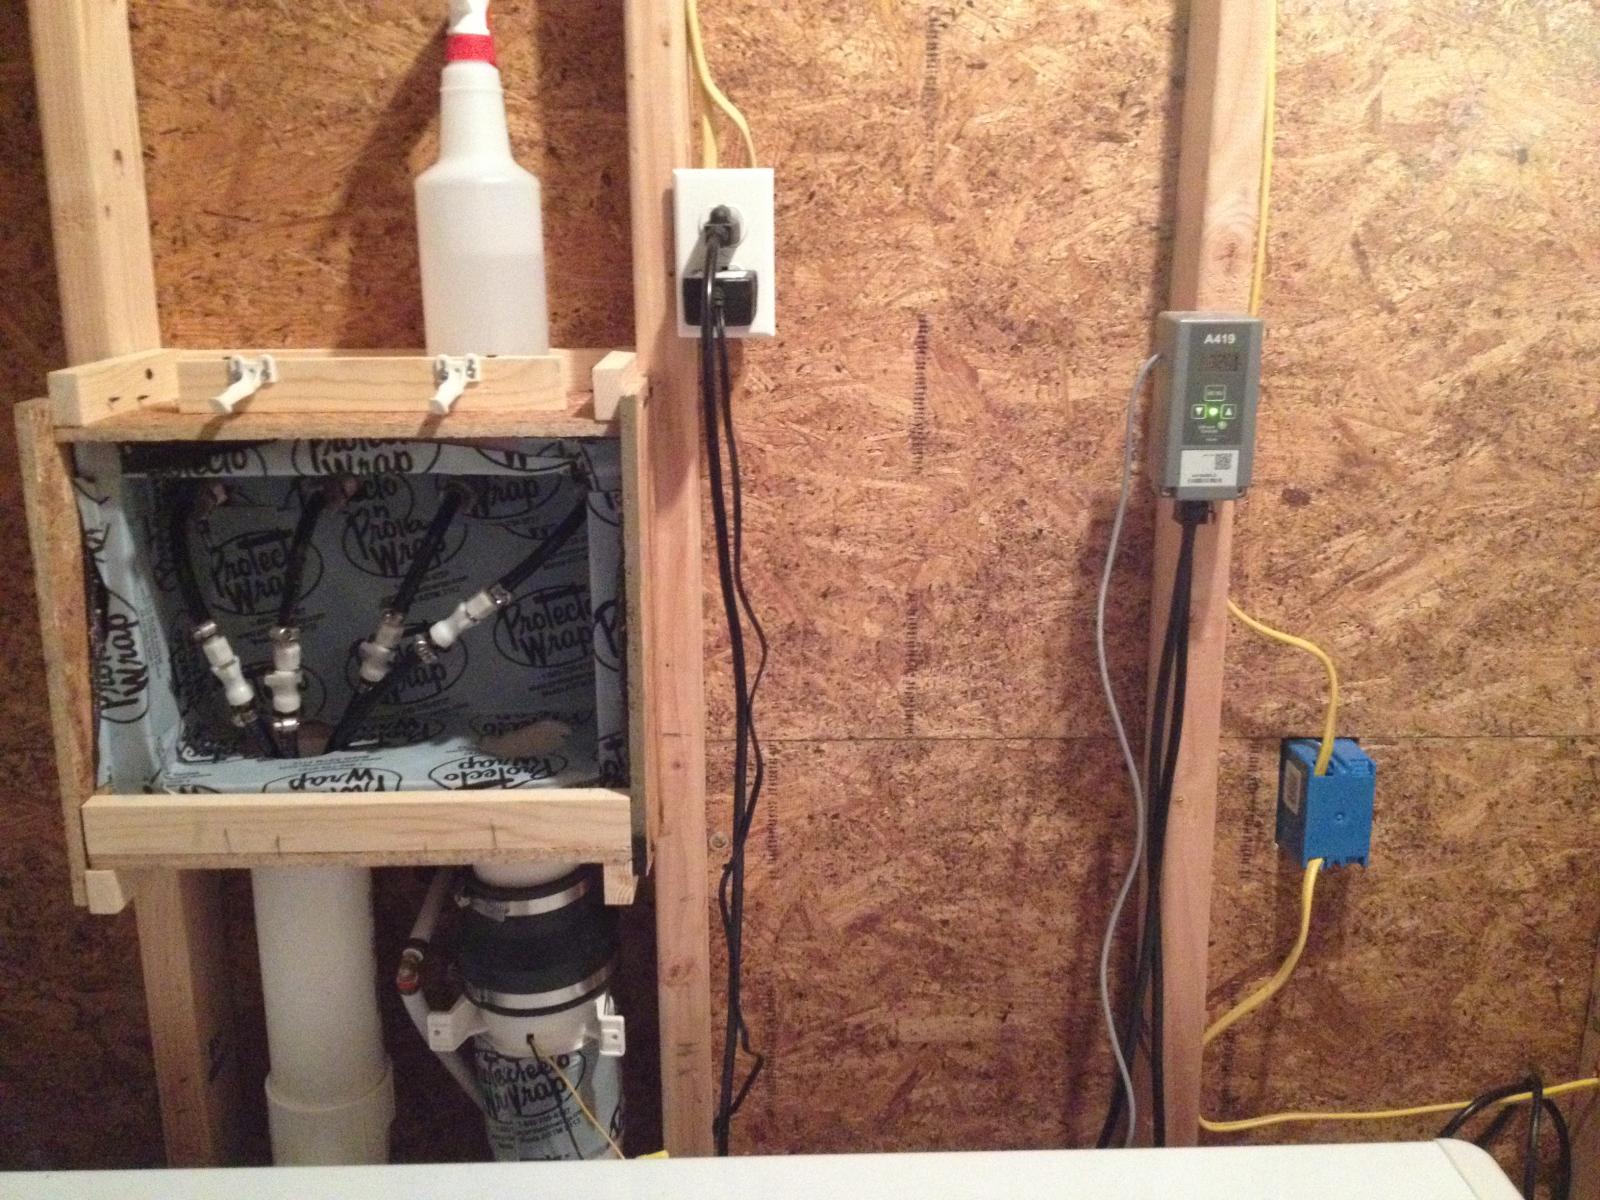
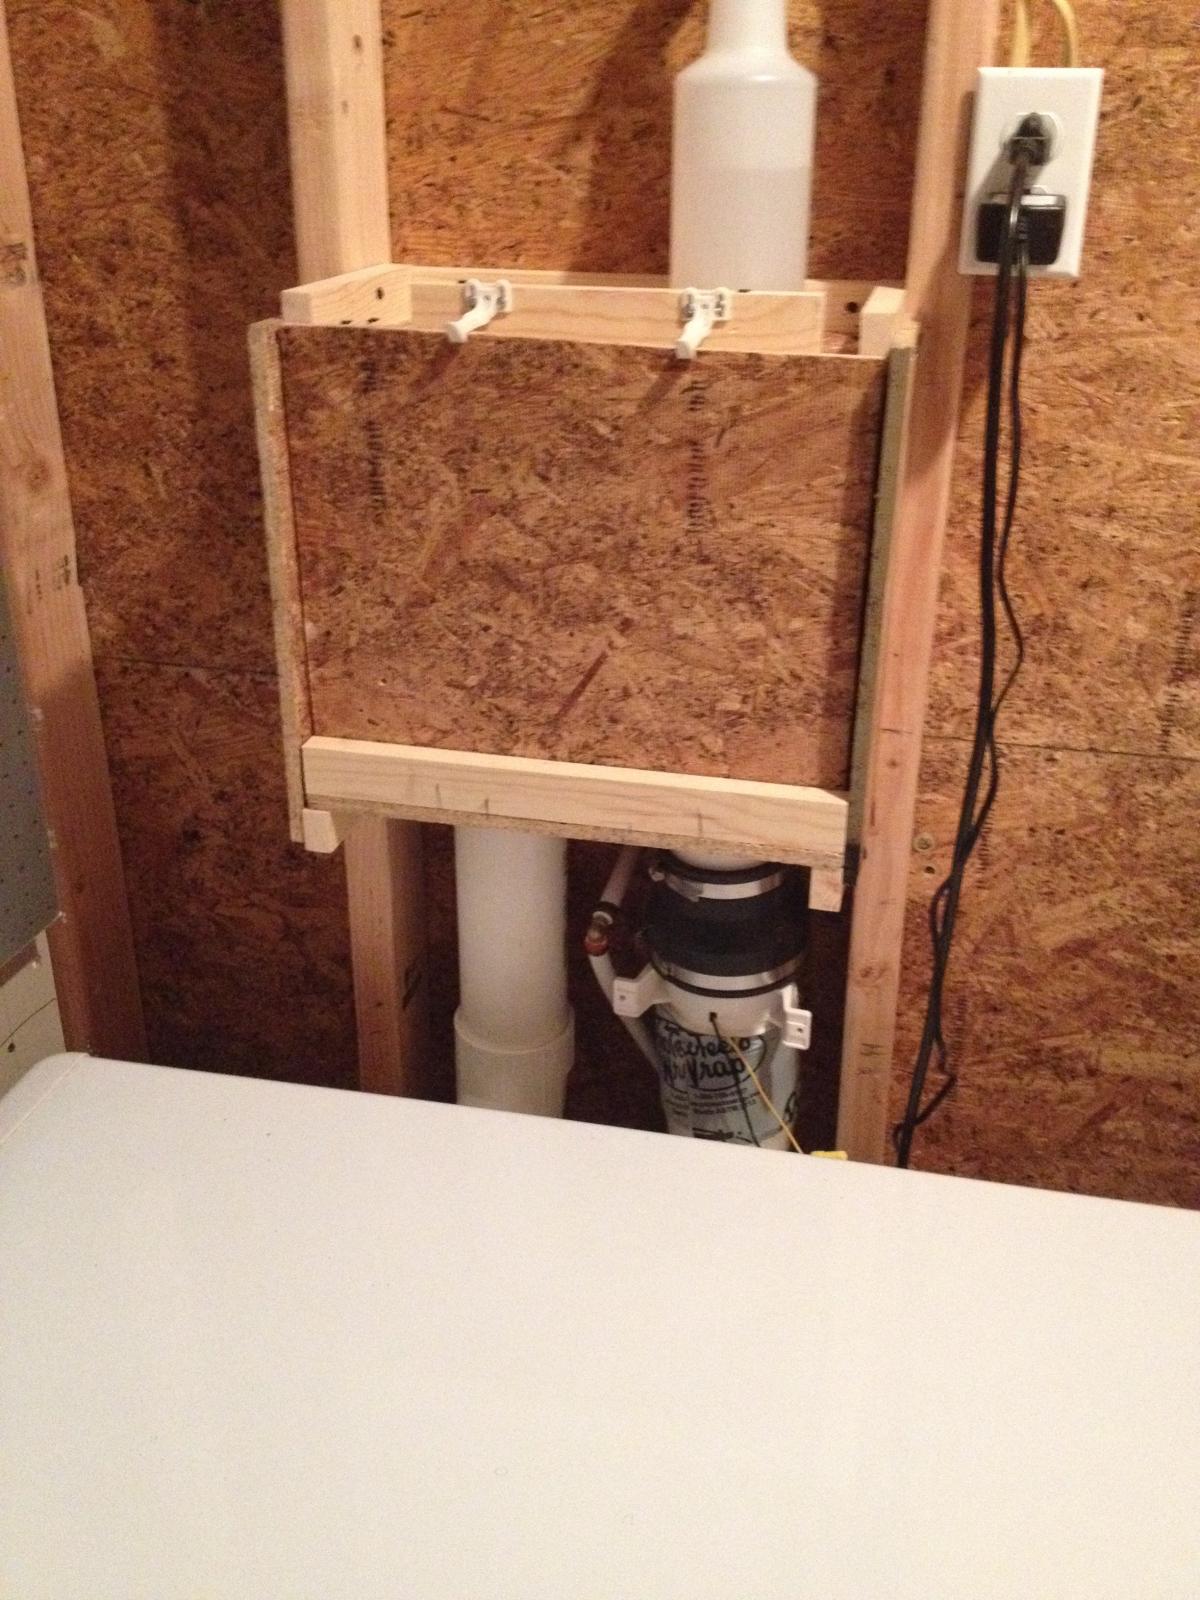
I control the temp of the keezer with a Johnson A419 and, per one of the designs I saw from a fellow member here, we built an insulated box in the wall behind the taps. This box connects to the keezer via 4" PVC pipe and we ran two pipes to circulate air and keep the lines cold. All beer lines run up to the tap box through one PVC route and the second PVC route houses a boat bilge pump (another idea off here) that blows air down into keezer (and thus pulls air through the first pipe into the insulated box and regulates the temperature. For the bilge pump we used an Attwood Quiet Blower and, per another poster here, was pointed to this power supply.
As I'm mixing ball lock Corny kegs for my home brews and commercial kegs I needed to be able to easily support Sanke taps. To do this I got a couple Sanke taps and Ball Lock Conversion kits from corneykeg.com. These have made this process extremely easy.
We went with brass taps and a drip tray due to the aesthetic of the rest of the bar. Should brass not last very long everything is very easy to swap out. With the drip tray we got a custom piece of wood and this brass drip tray from KegWorks.com. We routed the wood out to set the tray flush and to hold the drain pipe which we routed through the wall and into a drain pump shared by an ice maker.
I did spend a lot of time using the various input and calculators I could find to put in the optimum length of beer lines given the line sizes, height of tap to keg, etc. I think I have it pretty close.
Beyond the taps we put in a 50 bottle wine cooler, dishwasher, 25lb ice maker, beverage cooler, etc. At this point I have no reason to leave my basement
Anyway, thought I'd share the pictures of my setup and some of the ideas we found on here and put to use. As everyone was kind enough to share their own builds to give me ideas I wanted to do the same. I'd be happy to answer any questions you might have if it helps someone else save some time in doing something similar.
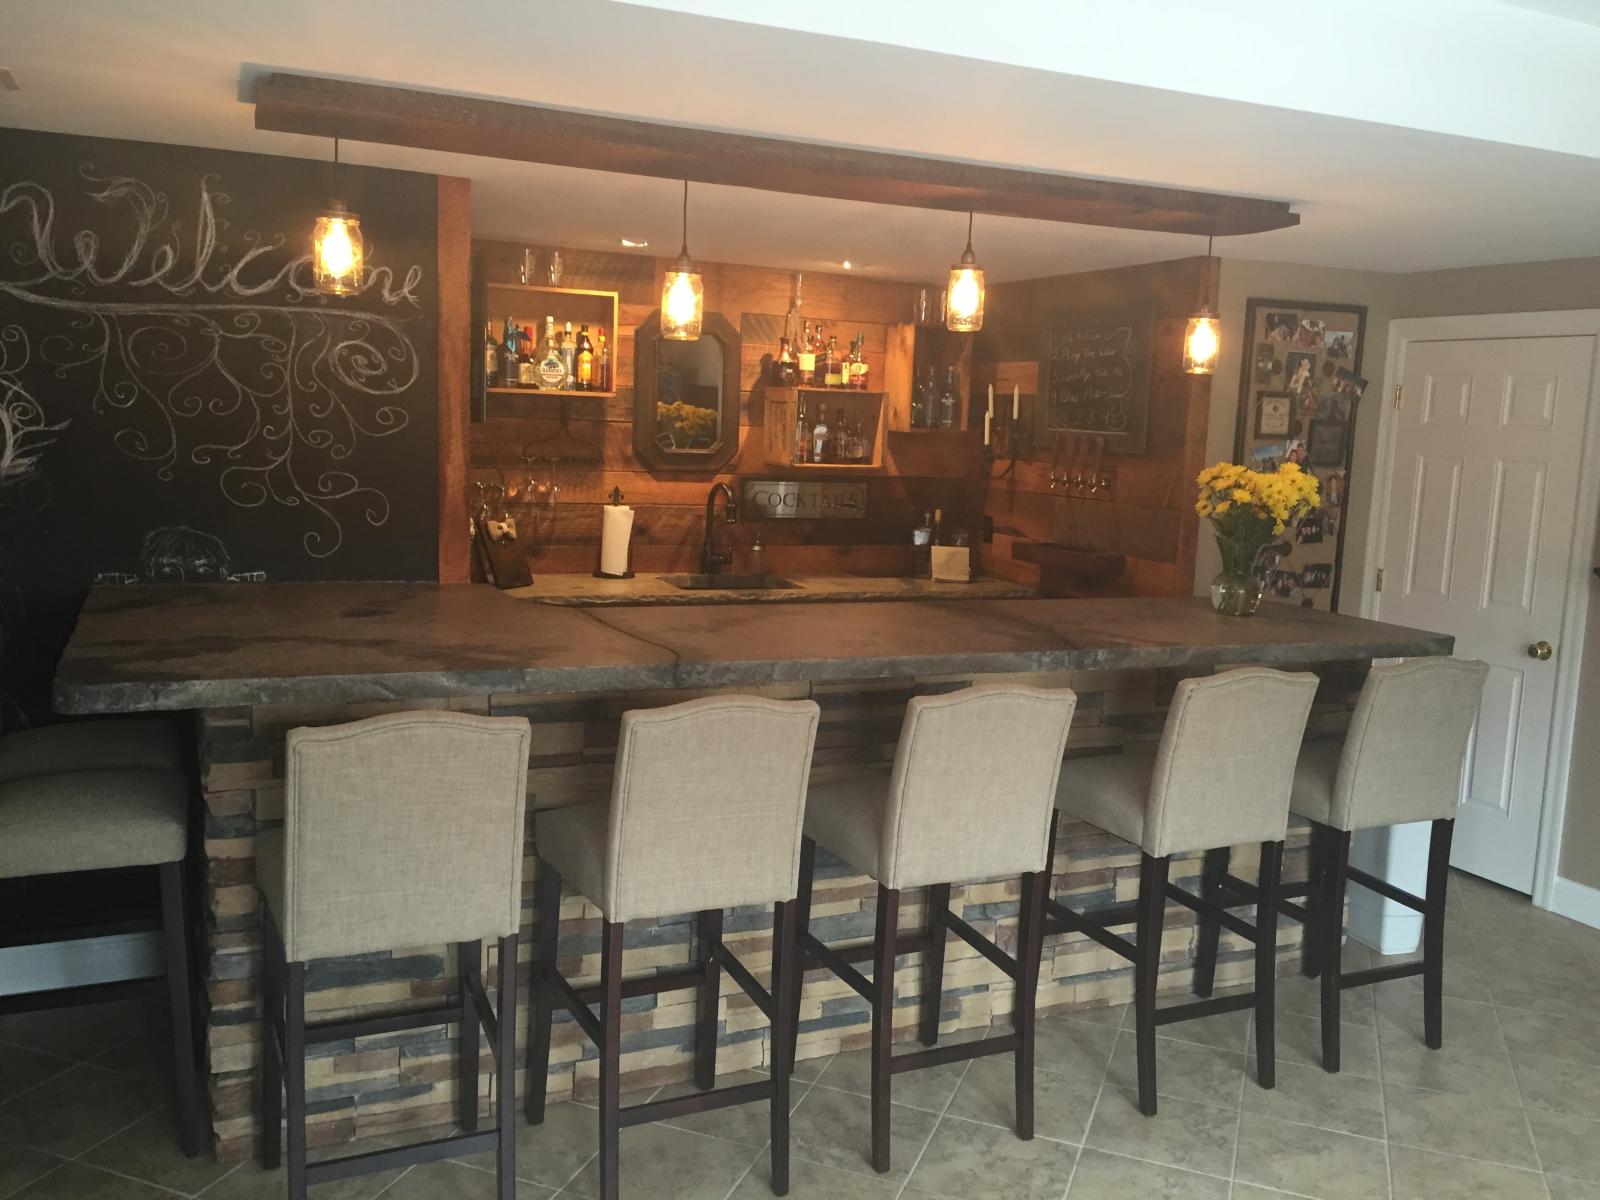



That said, the idea grew, construction started, and we are very happy with result (both with the bar itself and with the keg/tap setup). Last night we had a kickoff party with about 70 people over (it got a little out of hand
After learning so much on here I've been gathering some pics to share and some info on what I did that worked.
We built a pretty standard keezer with a 6" collar. As it was behind the wall we didn't spend too much time on making it pretty and went for solid construction and a very insulated interior. We used a Northern Brewer Governor for the primary regulator on a 20# tank. I got a 4 way secondary CO2 regulator from KegWorks (along with a bunch of other smaller pieces like shanks, tubing, ball lock connectors, etc). To make managing cables easier I also invested in a number of quick disconnects from MoreBeer and these have been a great addition and have made my life easy in terms of switching things around and cleaning lines.
I control the temp of the keezer with a Johnson A419 and, per one of the designs I saw from a fellow member here, we built an insulated box in the wall behind the taps. This box connects to the keezer via 4" PVC pipe and we ran two pipes to circulate air and keep the lines cold. All beer lines run up to the tap box through one PVC route and the second PVC route houses a boat bilge pump (another idea off here) that blows air down into keezer (and thus pulls air through the first pipe into the insulated box and regulates the temperature. For the bilge pump we used an Attwood Quiet Blower and, per another poster here, was pointed to this power supply.
As I'm mixing ball lock Corny kegs for my home brews and commercial kegs I needed to be able to easily support Sanke taps. To do this I got a couple Sanke taps and Ball Lock Conversion kits from corneykeg.com. These have made this process extremely easy.
We went with brass taps and a drip tray due to the aesthetic of the rest of the bar. Should brass not last very long everything is very easy to swap out. With the drip tray we got a custom piece of wood and this brass drip tray from KegWorks.com. We routed the wood out to set the tray flush and to hold the drain pipe which we routed through the wall and into a drain pump shared by an ice maker.
I did spend a lot of time using the various input and calculators I could find to put in the optimum length of beer lines given the line sizes, height of tap to keg, etc. I think I have it pretty close.
Beyond the taps we put in a 50 bottle wine cooler, dishwasher, 25lb ice maker, beverage cooler, etc. At this point I have no reason to leave my basement
Anyway, thought I'd share the pictures of my setup and some of the ideas we found on here and put to use. As everyone was kind enough to share their own builds to give me ideas I wanted to do the same. I'd be happy to answer any questions you might have if it helps someone else save some time in doing something similar.


Last edited by a moderator:


