Glare or not, that is a beauty JonW! 
John
John

")
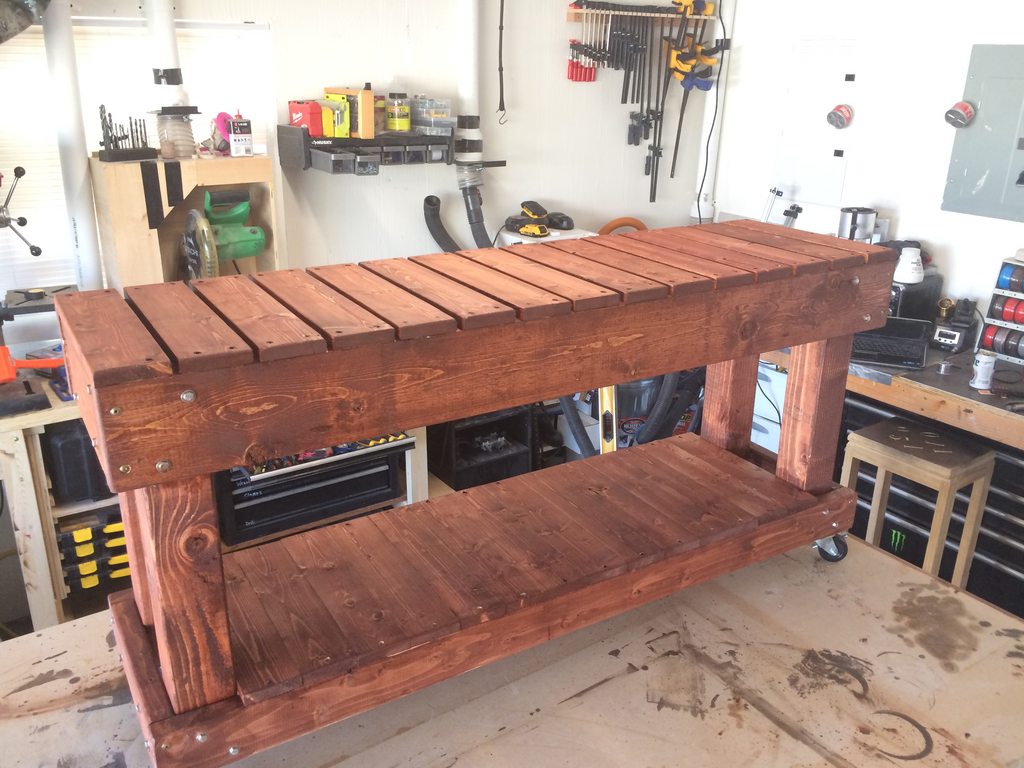
Built this guy last week. Love having a dedicated stand now. Still need to plum it with my Chugger but otherwise it works very well with my 3 vessel setup.
are you a Howell native? i used to live in Brighton/Pinkney when i was younger. nice Stand! #GoBlue


Sorry I don't know how to resize
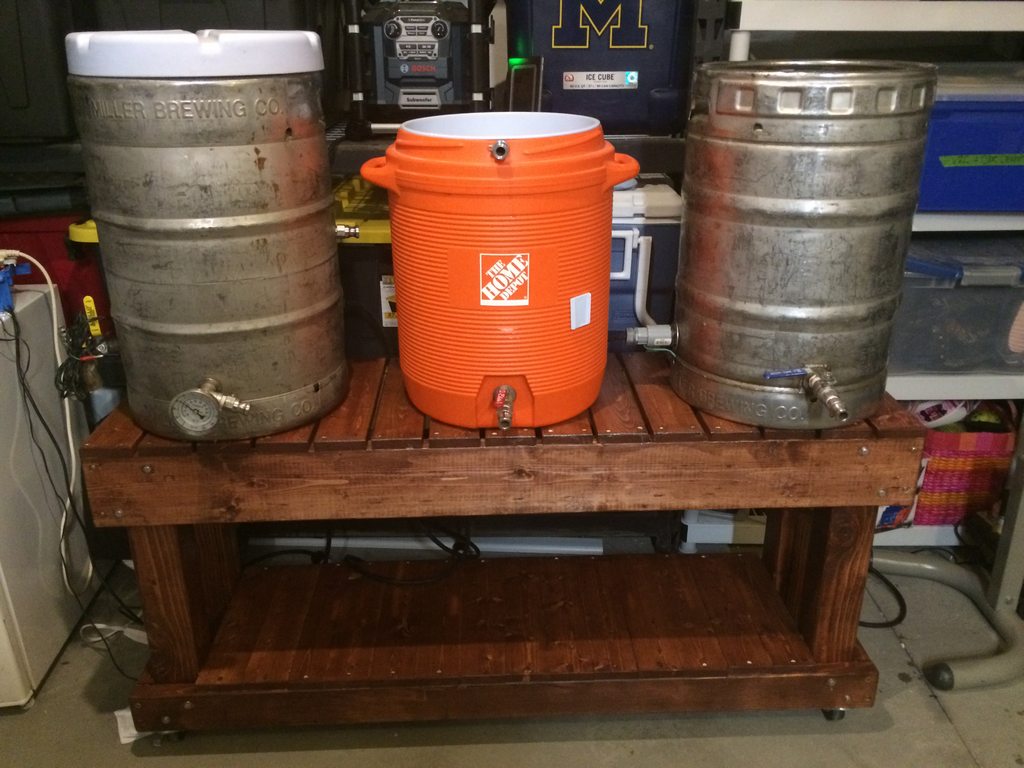
I'm just using the picture, as it's the first one I saw that illustrates my question. When the temp gauges are that high up, and you heat you mash water, isn't the water level below the probe? Mine is lower than this, and if I have a volume of water under about 4.5gal, it doesn't quite get up to the probe. Makes doing smaller beers a bit of a hassle.
Quite possibly, I'm missing something obvious.
Cheers!
You're not missing anything, most people try to keep their thermometers mounted low so that they can occasionally do small batches. If you only ever brew one size, then you can just put the probe wherever you want.


Don't laugh.

I Tried... honest I did. But come on.
It's a Sausage Table.
Dude... I need to know more about this touch screen control panel!? What is it? How much?
i was scratching my head as to why tri clovers were used for electrical conduit and not plumbing
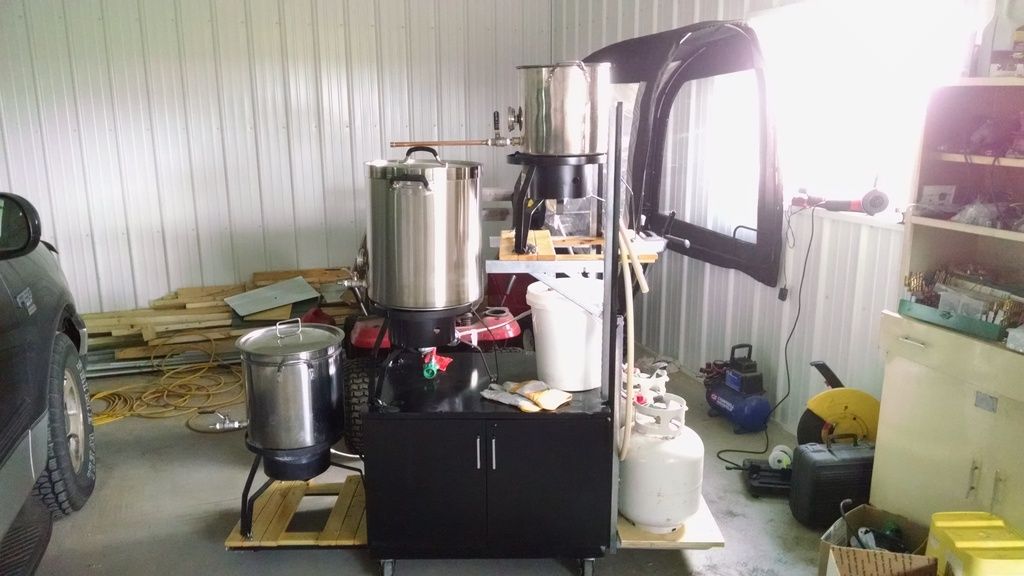
It's a morebeer brew sculpture with the digital control package: https://www.morebeer.com/products/rider-digital-brewsculpture-v4.html
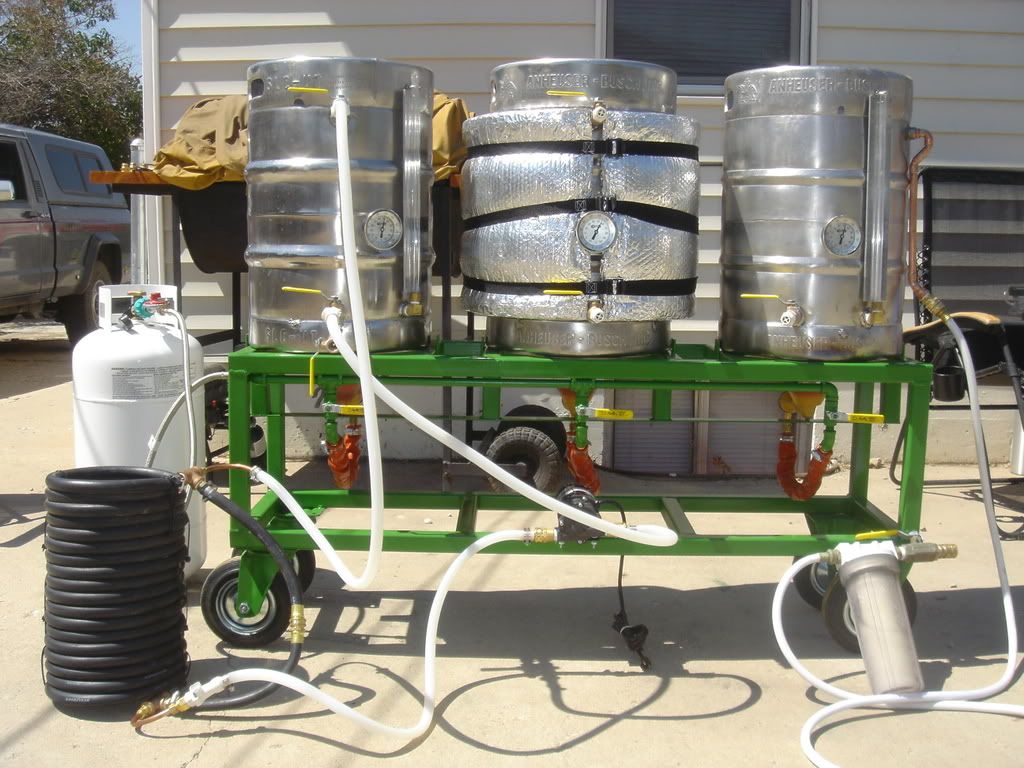
Well, here's to all of the ideas I stole from you guys to get this done. I works great, you could do this setup with one pump but I like having a backup just in case. Cheers to you guys!
The heat shields in the front are awesome and don't restrict the airflow at all. The pilot lights are just a straight shot off the gas line with 1/4" copper tubing and a homemade orifice. You have to be there at all times with this setup to monitor the pilot lights. You can hear the gas valves click on and if you don't see flames you know your pilot light went out. 99% of the time they work like a charm. I've only had one brew when I had a hard time keeping them lit and that was the first time I brewed after changing over to natural gas. I forgot to enlarge the orifice on the pilot lights.Great looking stand. Do those wind shields have any affect on the burner flame? looks like they pretty much close off half the air on the front side of the keggles.
How are you doing the pilot light?
You remember where you picked up those casters and what the part number was?


This is our current HERMS-system before the upgrade. (25l/25l/36l) Currently working on rebuilding the control-box to the new system that will be of 100l capacity.
Enter your email address to join: