I've tried this several different ways - sparge ring sitting on grain bed, curved copper return tube, sprinkler, vinyl hose, etc. They all work fine for batch sparging and recirculating the mash. Some disturb the grain bed less than others (sprinkler and sparge ring) and some will argue they are better suited for fly sparging. In truth, with fly sparging you should have a little water above the grain bed anyway so it should really make any difference.
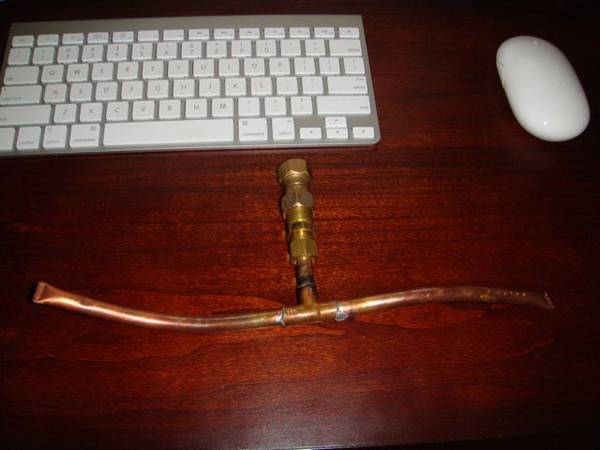
Right now in my setup I've got the curved tube connected to a fitting on the top of the keg wall. The outside fitting is a QD for my pump so I can move the hoses around easily. The return tube inside does disturb the top of the grain bed a little, but it doesn't seem to be a problem and the runnings from the bottom of the MLT are extremely clear. I don't think you'll be disappointed going this route. It's a very clean design, and there's no messing around with hoses and things down in the MLT. I'd show some pics, but I don't have them loaded up on my website yet.

")

