AugustDerleth
Well-Known Member
Probably a stupid question. Is the yeast from a secondary fermenter viable for washing?

Probably a stupid question. Is the yeast from a secondary fermenter viable for washing?
Probably a stupid question. Is the yeast from a secondary fermenter viable for washing?
why do you let is settle out and use just the slightly-yeasty-water instead of just scooping out the mucky yeasty goodness??? curious. Thanks for the great thread
Part of the muck is proteins which might degrade over time and cause off flavors.why do you let is settle out and use just the slightly-yeasty-water instead of just scooping out the mucky yeasty goodness??? curious. Thanks for the great thread
On a side note; I have found in order to get the muck to settle out first and save only the yeasty water, the solution MUST be really thinned out.

whew, 82 pages and I'm finally done reading.
Post #815, mine all mine ...
It's not actually any of my business, but I'm curious as to what you just read that was 82 pages..??

heh. errr. This post is 82 pages as of right now?

...Yours must be (default) set to 10 posts per page. I prefer to have more posts per page. Makes for easier reading on these massive threads.


subscribe
 Or you could just click the arrow next to the "Thread Tools" link near the top of the page, then select "Subscribe to this thread."
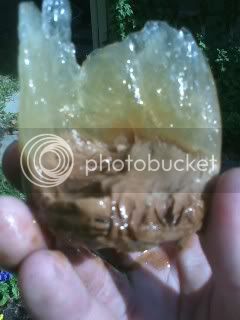
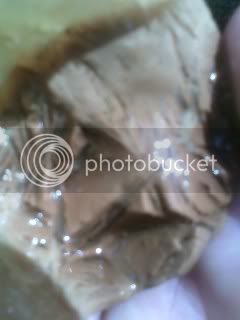
Them yeastys is dead pardner!Aaaaaaand this is what happens when you don't check the temp of your mini-fridge and don't use glycerin because you aren't actually intending to freeze your yeast.
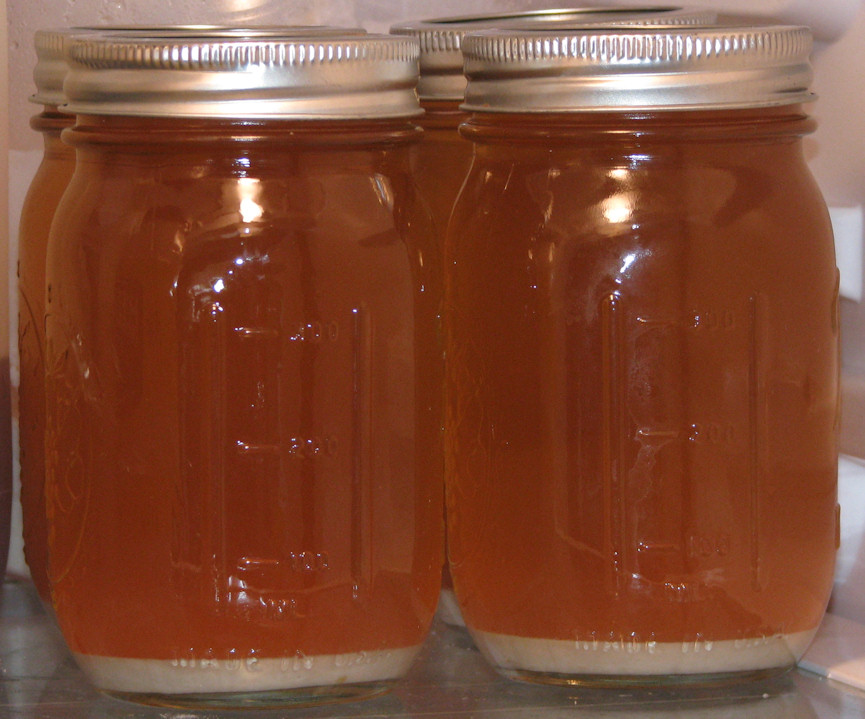
It could be the perspective of the photos or it could be a different issue, but it seems like you're using much larger (mason instead of jelly/jam) jars than the OP and myself. So you're spreading the yeast thinner over each jar. This potentially COULD explain why you are seeing such a thin layer on the bottom of each jar. Just my thoughts.
I assume.. you know what that does.. your referring to my post.. i think i used the same final sized jars. plus my color is not quite but almost a pale straw color i can take a pic tomorrow and post up..
Wait what? I don't actually understand the first part of your message. "You know what that does.." Know what what does? And I was actually referring to EvilHomer's post, though if you are using mason jars as well, it is very possible that it is what is causing your problem of thin layers of yeast as well.
ah. Well I actually was not referring to your post, hence the quoting "evilhomer"you missed the "I assume" part .. thats what that does.. ass u and me but mostly me in this case..
I would still wash/decant twice. I also use a mesh bag to remove the hops and hot break material prior to fermentation. However, the trub is more than hops, it also contains dead yeast and other crap. Despite using the mesh bag, I have rushed washing my yeast before and ended up with quite a bit of useless trub in the jars... So the moral of the story is: Take your time, and wash/decant twice and pour slowly like Bernie suggests!
Enter your email address to join:
