purplehaze
Well-Known Member
- Joined
- Mar 2, 2011
- Messages
- 398
- Reaction score
- 27
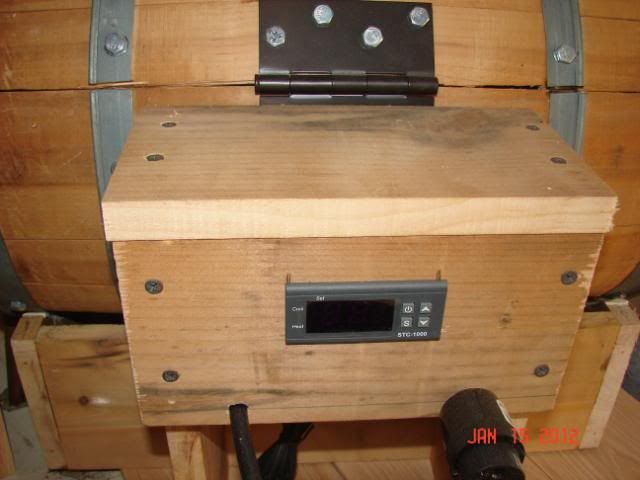
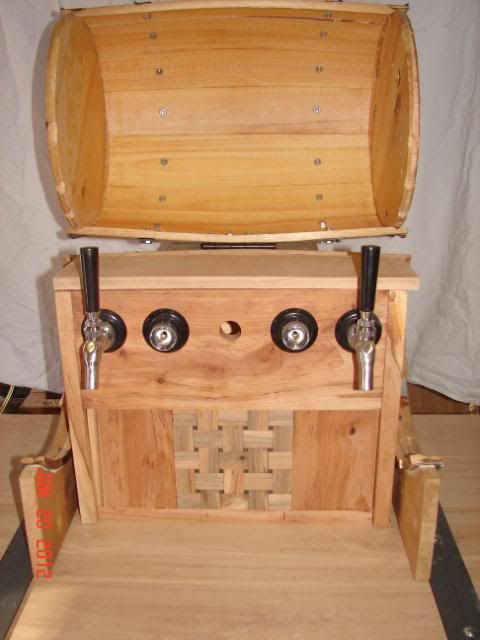
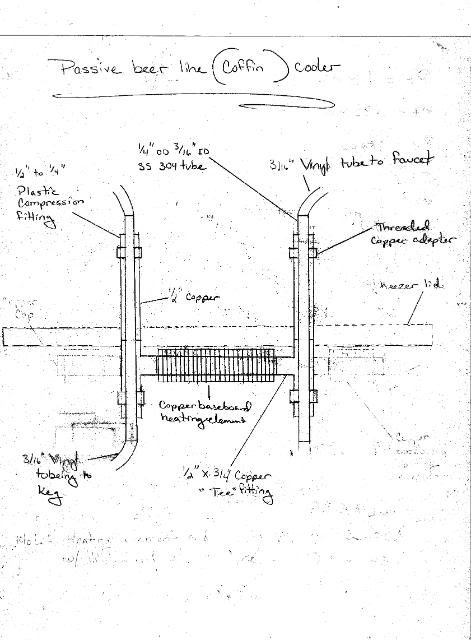
Look Ma no fans Coffin Cooler
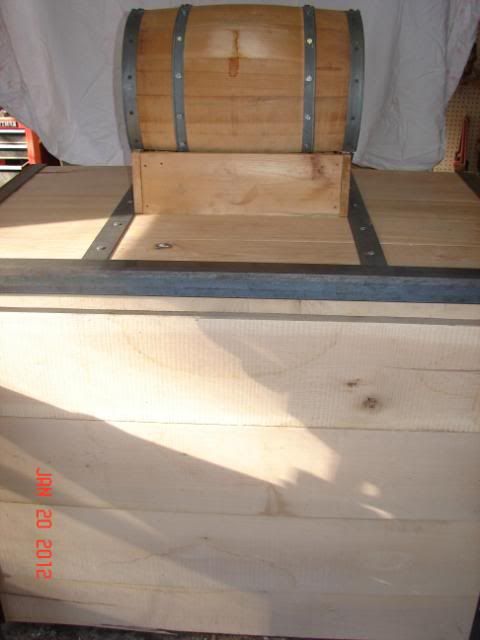
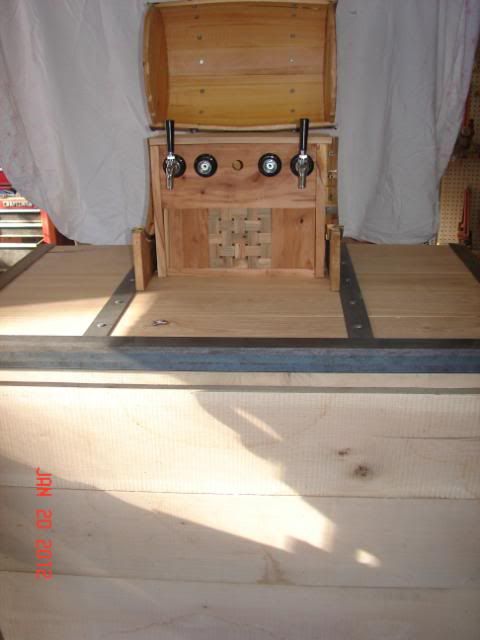
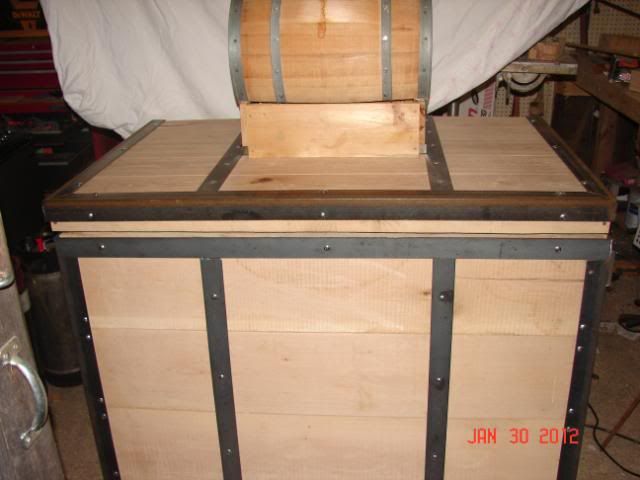
This is a work in progress and I will post pics as go. I already have a two keg kegerator that uses copper pipe extended from the fridge to just below the taps. For me this works great for eliminating first pour foam, but I needed more variety. So I am building a similar but larger version. The heart of the build is a Kenmore 15cf chest freezer off of Craigslist for free. Its quite old but thats why it was free.
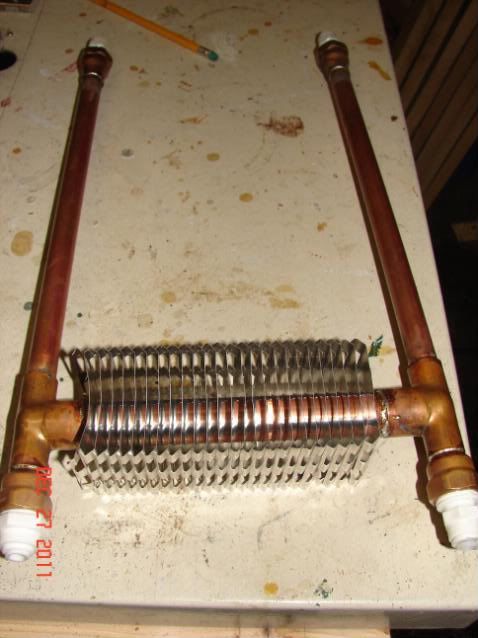
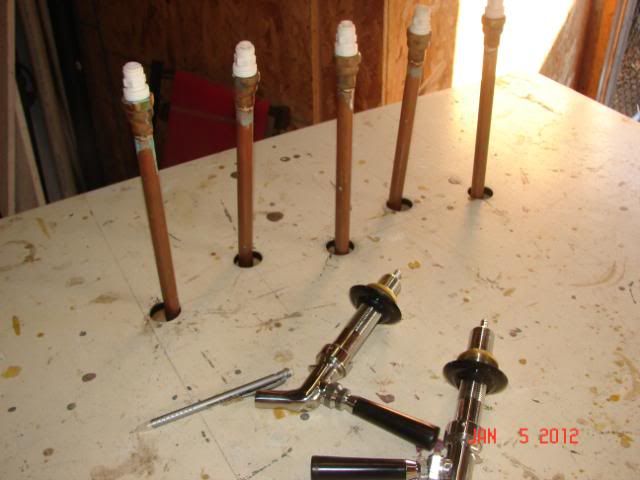
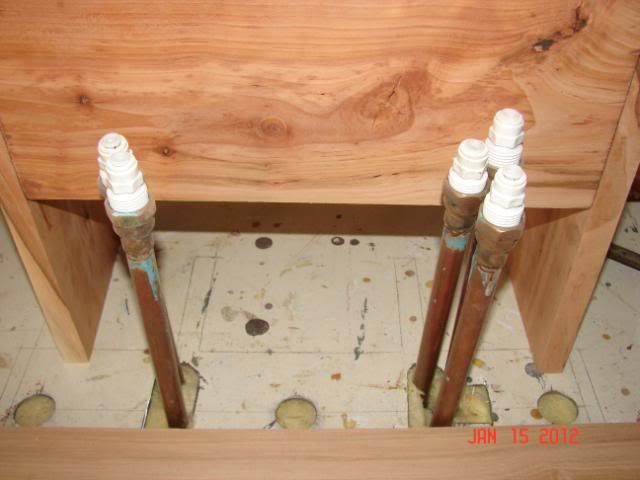
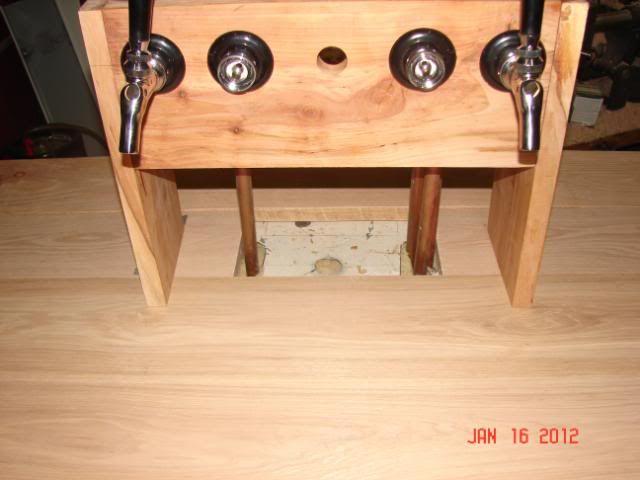
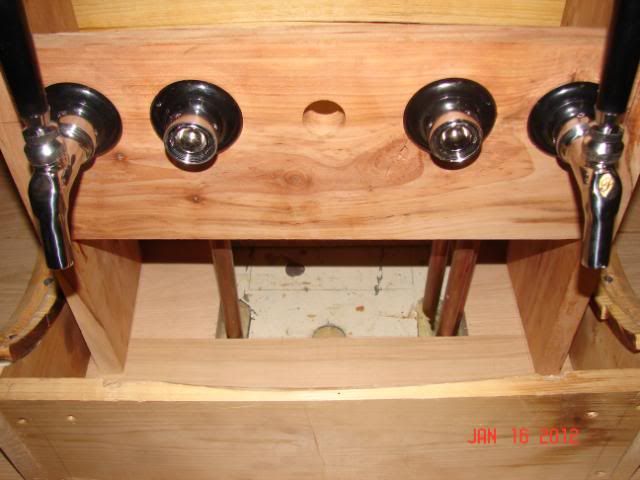
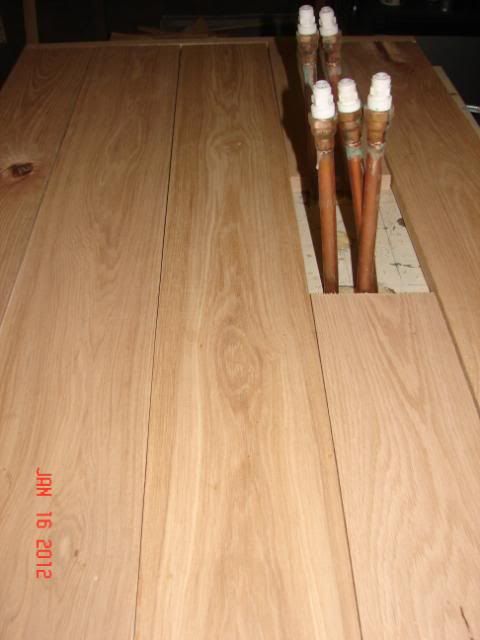
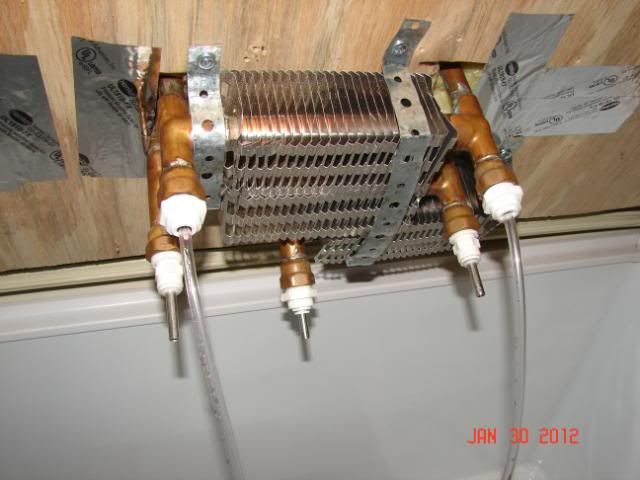
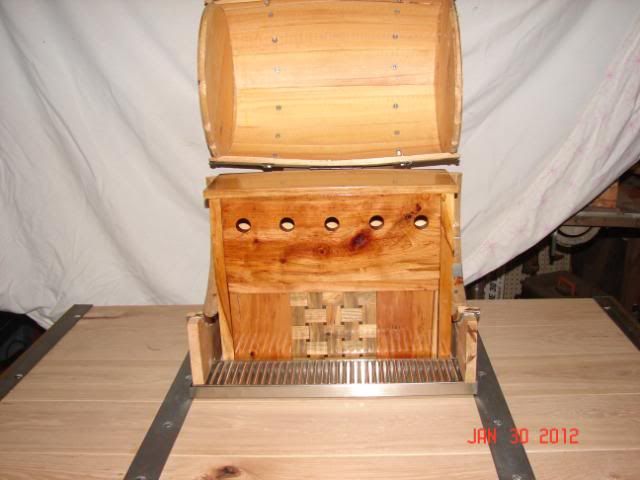
I have already changed plans several times so feel free to post suggestions and I may change things again. I will use pieces of copper baseboard element for more surface area that will be attached to the underside of the lid. Copper extensions will go up into the coffin. The baseboard element will be filled with water and the beer line will pass through the copper pipe through a compression fitting. I thought surrounding the beer line with cold water would be more efficient than cold air. Originally I was going to use the vinyl tubing and push it through the compression fitting but I may go with some SS tubing instead for better conduction. The original plan was to hold it 0together with Cross fittings but due to availability and price I had to switch to Tee fittings. The scan of my drawing came out terrible since it was done in pencil and I had darken it up quite a bit but you can get the point.
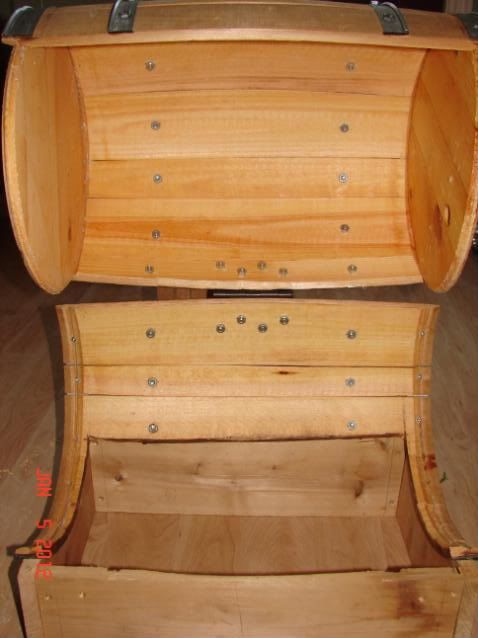
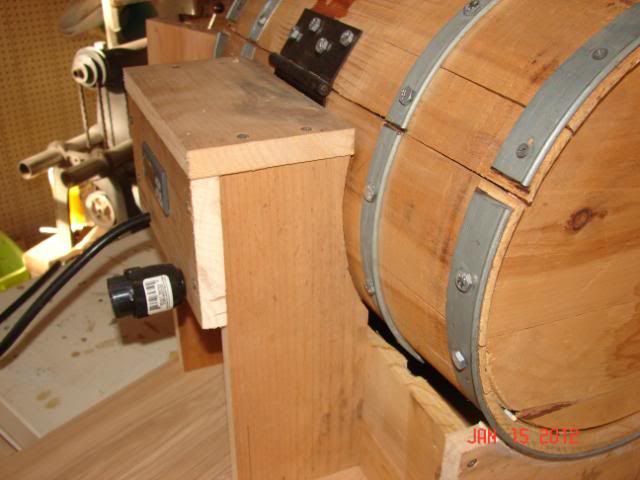
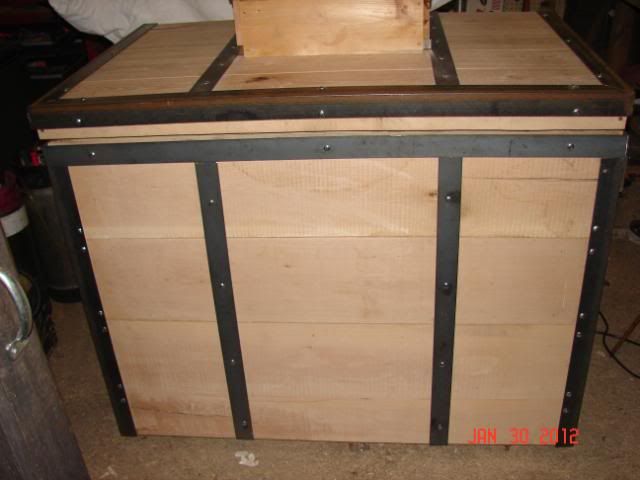
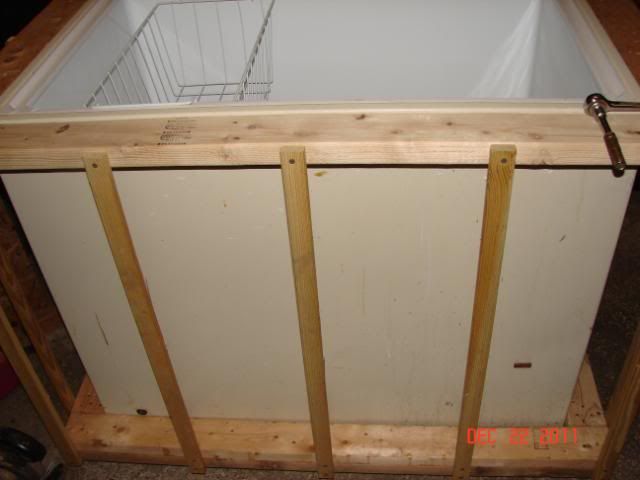
On a side note I have wondered why people use 2x4s to construct the walls around keezers, it seems like overkill to me. I had some extra strapping lying around and it seems to be strong enough, well see.
This is a work in progress and I will post pics as go. I already have a two keg kegerator that uses copper pipe extended from the fridge to just below the taps. For me this works great for eliminating first pour foam, but I needed more variety. So I am building a similar but larger version. The heart of the build is a Kenmore 15cf chest freezer off of Craigslist for free. Its quite old but thats why it was free.
I have already changed plans several times so feel free to post suggestions and I may change things again. I will use pieces of copper baseboard element for more surface area that will be attached to the underside of the lid. Copper extensions will go up into the coffin. The baseboard element will be filled with water and the beer line will pass through the copper pipe through a compression fitting. I thought surrounding the beer line with cold water would be more efficient than cold air. Originally I was going to use the vinyl tubing and push it through the compression fitting but I may go with some SS tubing instead for better conduction. The original plan was to hold it 0together with Cross fittings but due to availability and price I had to switch to Tee fittings. The scan of my drawing came out terrible since it was done in pencil and I had darken it up quite a bit but you can get the point.
On a side note I have wondered why people use 2x4s to construct the walls around keezers, it seems like overkill to me. I had some extra strapping lying around and it seems to be strong enough, well see.