camiller
Well-Known Member
I'll skip the obvious stuff that is covered in multiple threads already. If you haven't already read Anthony's excellent https://www.homebrewtalk.com/f51/my-stirplate-cheap-easy-build-86252/
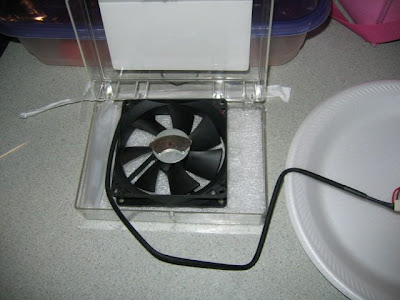
First is my fan in the enclosure I selected. The box contained these foam'ish inserts from it's previous life. During my testing the fan ran pretty good without even being attached, I just hot glued it to the foam") Heck elmers glue would probably work. This configuration left the magnet about 0.5 below the top of the box when closed, which seems to work pretty good for my stirbar.
Heck elmers glue would probably work. This configuration left the magnet about 0.5 below the top of the box when closed, which seems to work pretty good for my stirbar.
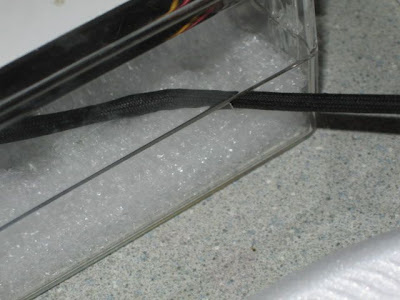
I dremeled out a notch for the cable from the fan when the box is closed. Could have easily used a wood file, or less easily a fingernail file. Or for that matter heated a nail on a stove burner and burned the notch.
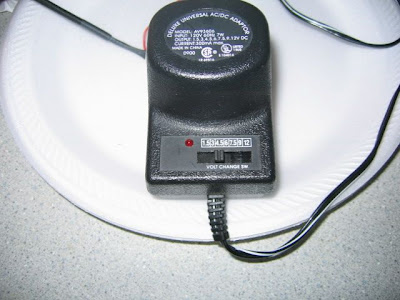
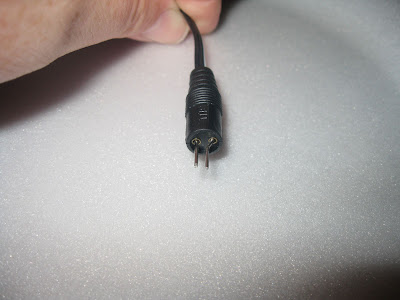
I opted to use a variable power supply I had laying around. Voltage is switchable from 1.5-12 volts in 1.5 volt increments (excluding 10.5v).
Looking at the tip of the power supply I realized that the pin diameter was about the same as the pin in the molex connector on the fan so...
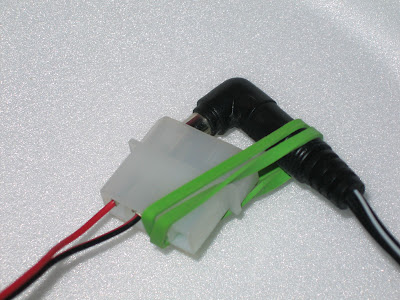
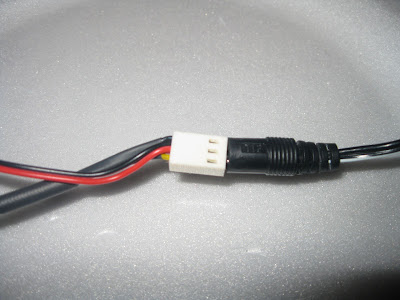
The rubber band pulls the connector over to make contact with the next connector completing the circuit. I wasn't really satisfied with the rubber band solution though and since the tip is removable (the power supply originally came with a variety of tips) and the fan also had the standard three pin motherboard connector so version two of the connection was born
It requires a little fineness with a pair of pliers and a couple bits cut from a paperclip. There are small kinks in the wires to make them snug in the larger openings of the power supply and a bend in one of the wires to make it line up with the middle wire on the fan connector. Obviously with exposed wires hanging out of the end of the power supply like that you won't want to plug it into the wall unless it is plugged into the fan first.
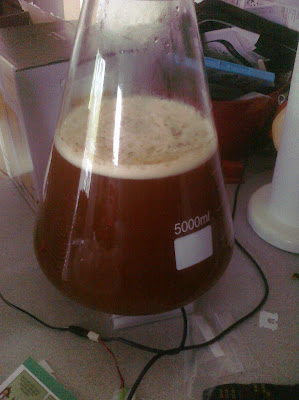
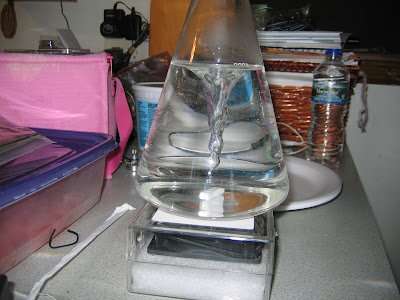
And the money shot. This is running at 9v (stirbar gets thrown at 12v) when I run it at 3v it pulls the dimple down about one inch. At 1.5v the fan stalls out.
If you made it this far thanks for taking the time to read.
First is my fan in the enclosure I selected. The box contained these foam'ish inserts from it's previous life. During my testing the fan ran pretty good without even being attached, I just hot glued it to the foam
Heck elmers glue would probably work. This configuration left the magnet about 0.5 below the top of the box when closed, which seems to work pretty good for my stirbar.
I dremeled out a notch for the cable from the fan when the box is closed. Could have easily used a wood file, or less easily a fingernail file. Or for that matter heated a nail on a stove burner and burned the notch.
I opted to use a variable power supply I had laying around. Voltage is switchable from 1.5-12 volts in 1.5 volt increments (excluding 10.5v).
Looking at the tip of the power supply I realized that the pin diameter was about the same as the pin in the molex connector on the fan so...
The rubber band pulls the connector over to make contact with the next connector completing the circuit. I wasn't really satisfied with the rubber band solution though and since the tip is removable (the power supply originally came with a variety of tips) and the fan also had the standard three pin motherboard connector so version two of the connection was born
It requires a little fineness with a pair of pliers and a couple bits cut from a paperclip. There are small kinks in the wires to make them snug in the larger openings of the power supply and a bend in one of the wires to make it line up with the middle wire on the fan connector. Obviously with exposed wires hanging out of the end of the power supply like that you won't want to plug it into the wall unless it is plugged into the fan first.
And the money shot. This is running at 9v (stirbar gets thrown at 12v) when I run it at 3v it pulls the dimple down about one inch. At 1.5v the fan stalls out.
If you made it this far thanks for taking the time to read.