android
Well-Known Member
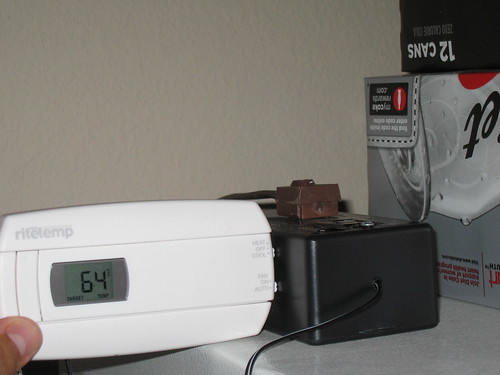
EDIT: the project is now finished and you can find the pictures of the completed project on page 3.
well, after much deliberation, i decided to just build a temp controller myself... i know there are probably benefits from just getting a love/johnson/ranco, but i like building stuff, so that was justification enough for me to give it a whirl. i based the project off this persons plans.
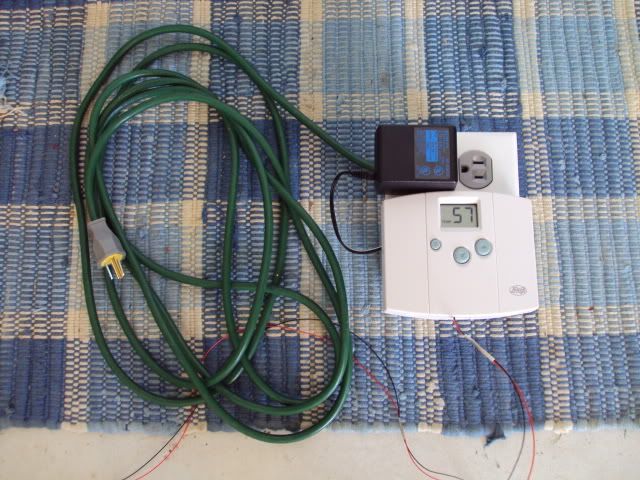
all i have left to do is wait for the SSR from ebay to arrive and i will be able to hook up the wires, plug in the fridge and go. i will update with more photos of the SSR hookup when it comes.
parts list:
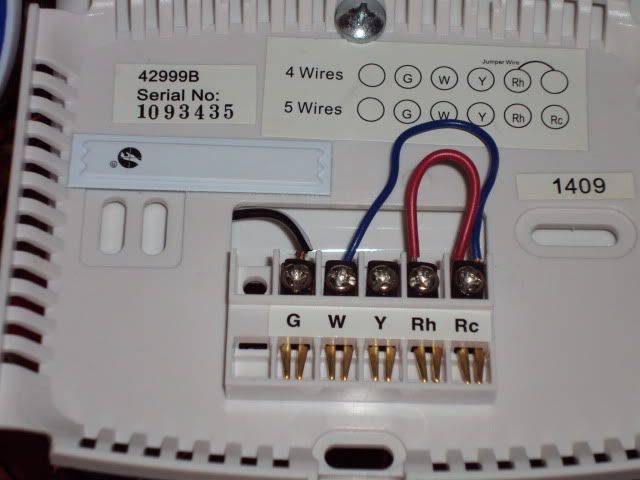
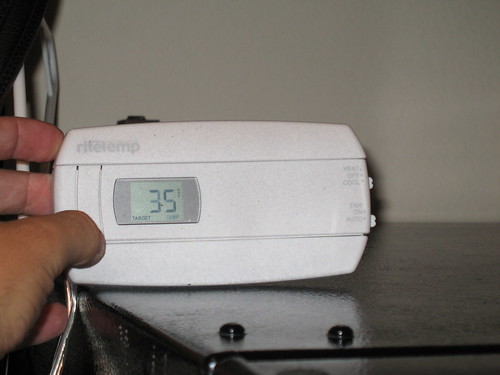
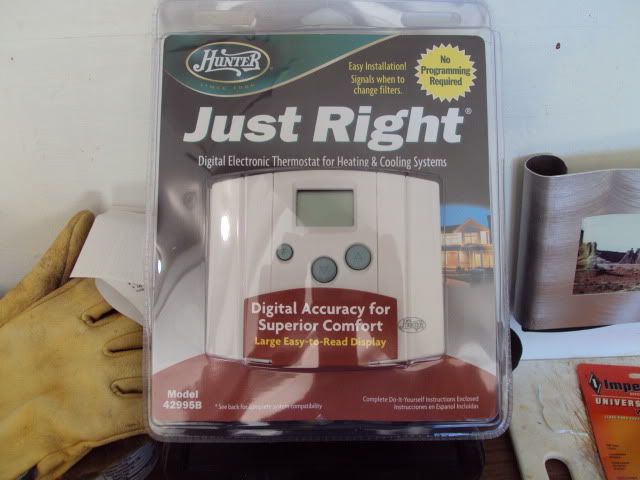
1 hunter thermostat - $20 (walmart)
1 spool soldering wire - 3$ (radioshack)
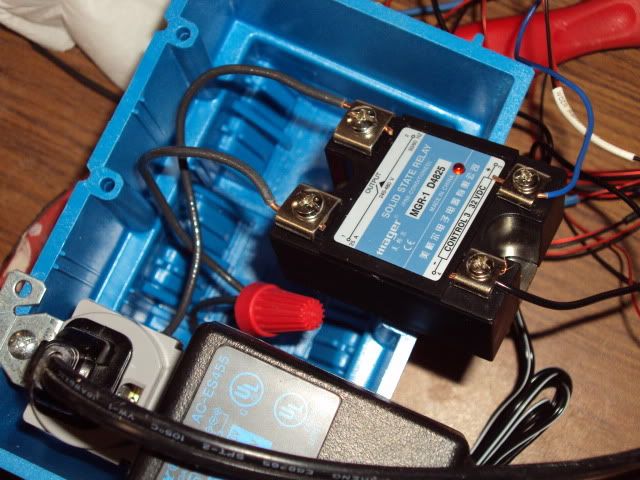
1 solid state relay - $7 (ebay)
- min 10A, mine is 25A
- 3-32 vdc supply
- 24-480V AC load
1 pack heat shrink tubing - $2 (lowes)
old telephone cord
old extension cord - plug part
small piece of thermostat wire
old DC converter plug from who knows what (3-32 vdc)
job box - $3 (lowes)
cover plate - $1 (lowes)
15A receptacle - $2 (lowes)
approximately $38 if you have some extra stuff lying around, maybe even less if you do it right.
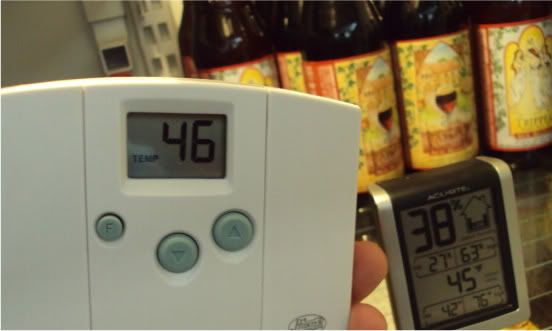
here's the thermostat i got:
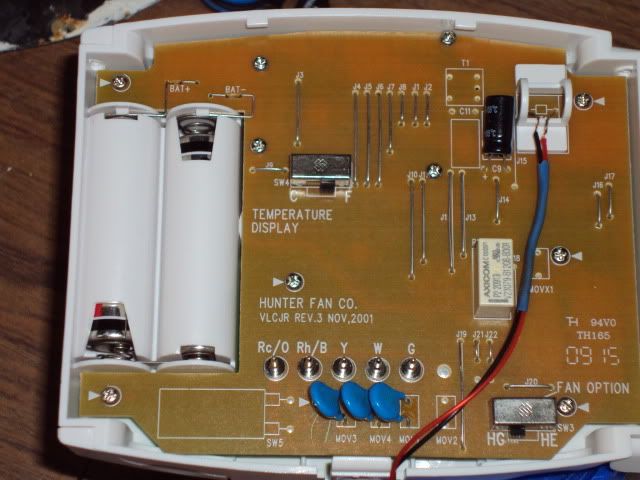
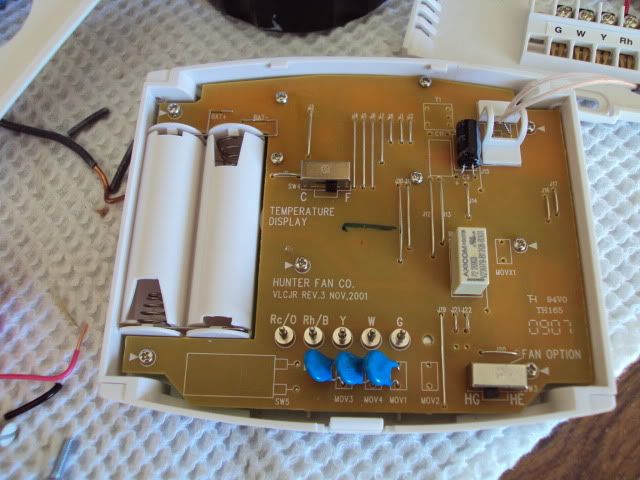
step #1: take off back, finagle out the circuit board by removing all screws with an arrow next to them and freeing battery terminals with a screwdriver or something small. there is one screw hiding beneath the furthest left little circular blue resistors or whatever they are
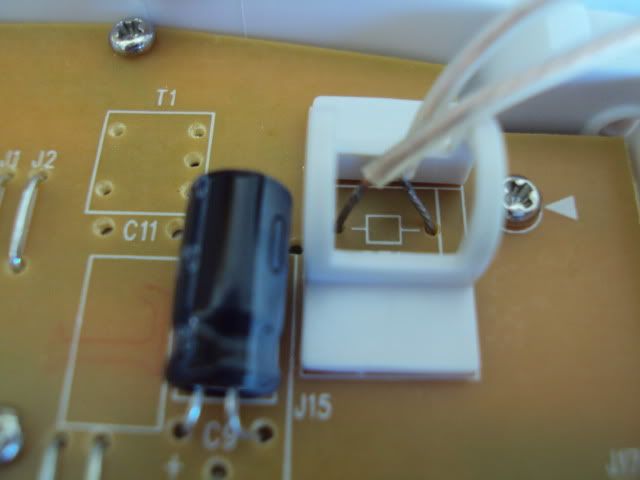
step #2: use soldering iron to desolder the thermistor (just hold the solder end up to the tip of your gun until it liquefies and you can pull out the wire one side at a time) i was pretty worried about the fragility of the thermistor but it turns out they are pretty tough (DAMHIKT). then, solder a piece of speaker wire or telephone wire into where the thermistor used to be. now, solder the thermistor on the end of the wire lead. use some heat shrink on each individual thermistor wire and then a larger piece on top of the separate wires, it'll look something like this when done:
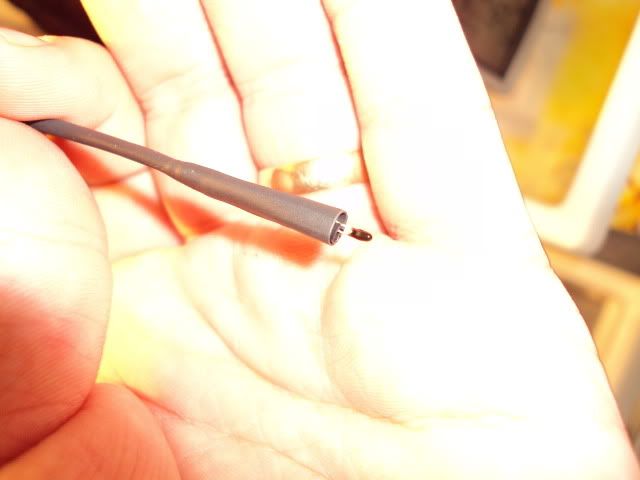
continued...
well, after much deliberation, i decided to just build a temp controller myself... i know there are probably benefits from just getting a love/johnson/ranco, but i like building stuff, so that was justification enough for me to give it a whirl. i based the project off this persons plans.
all i have left to do is wait for the SSR from ebay to arrive and i will be able to hook up the wires, plug in the fridge and go. i will update with more photos of the SSR hookup when it comes.
parts list:
1 hunter thermostat - $20 (walmart)
1 spool soldering wire - 3$ (radioshack)
1 solid state relay - $7 (ebay)
- min 10A, mine is 25A
- 3-32 vdc supply
- 24-480V AC load
1 pack heat shrink tubing - $2 (lowes)
old telephone cord
old extension cord - plug part
small piece of thermostat wire
old DC converter plug from who knows what (3-32 vdc)
job box - $3 (lowes)
cover plate - $1 (lowes)
15A receptacle - $2 (lowes)
approximately $38 if you have some extra stuff lying around, maybe even less if you do it right.
here's the thermostat i got:
step #1: take off back, finagle out the circuit board by removing all screws with an arrow next to them and freeing battery terminals with a screwdriver or something small. there is one screw hiding beneath the furthest left little circular blue resistors or whatever they are
step #2: use soldering iron to desolder the thermistor (just hold the solder end up to the tip of your gun until it liquefies and you can pull out the wire one side at a time) i was pretty worried about the fragility of the thermistor but it turns out they are pretty tough (DAMHIKT). then, solder a piece of speaker wire or telephone wire into where the thermistor used to be. now, solder the thermistor on the end of the wire lead. use some heat shrink on each individual thermistor wire and then a larger piece on top of the separate wires, it'll look something like this when done:
continued...