My Keezer Build....

Homebrew Talk - Beer, Wine, Mead, & Cider Brewing Discussion Forum

Help Support Homebrew Talk - Beer, Wine, Mead, & Cider Brewing Discussion Forum:

This site may earn a commission from merchant affiliate links, including eBay, Amazon, and others.

centex99

Supporting Member
HBT Supporter
Joined
Nov 30, 2011
Messages
205
Reaction score
4
Location
Buda
So... even before brewing my first batch, I had decided to build a keezer... Holiday brand 7cuft that I scored for $75... How I wish that was my total cost, but its gotten quite high, but I picked high end stuff to go in it... So on to the build....

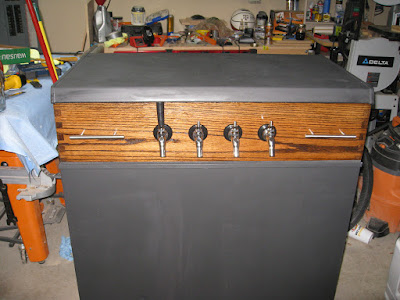
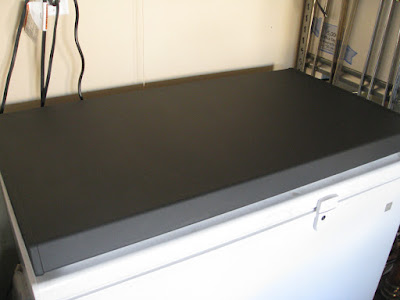
First step, I painted the freezer (except the back) with chalk board paint... I did so with a smooth foam roller. I didn't prime or scuff up or anything... it came out fairly nice, but seems to chip somewhat easily... we'll see over time. Interesting thing is, its not super smooth... slight texture like most appliances even though the appliance was originally smooth.

IMG_4375.JPG


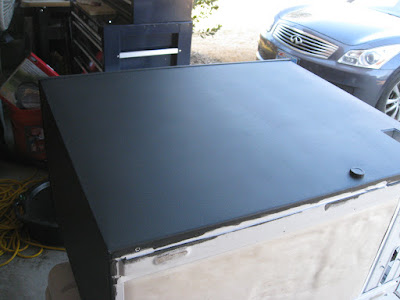
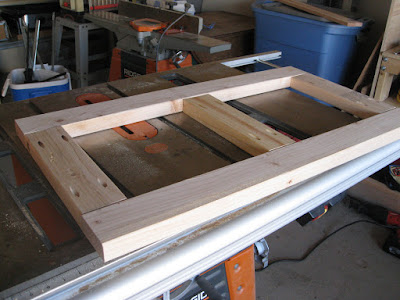
Picture of the lid painted sitting on top of my deep freezer...
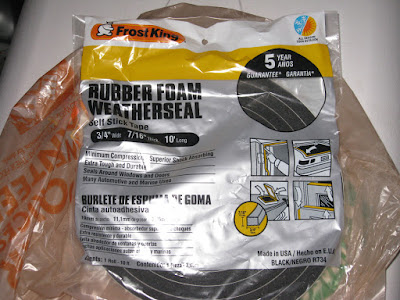
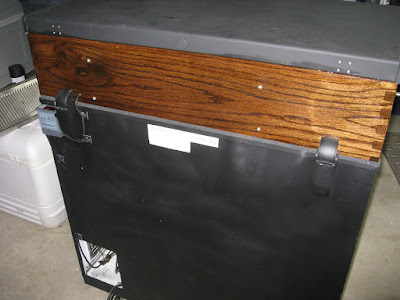
In regards to the gasket, I cut it off and ended up breaking part of the plastic in the process, so cut most of the plastic that held the gasket off from the inside of the lid... I plan to just add a little extra caulk/silicone when I attach the lid to the collar.

IMG_4374.JPG


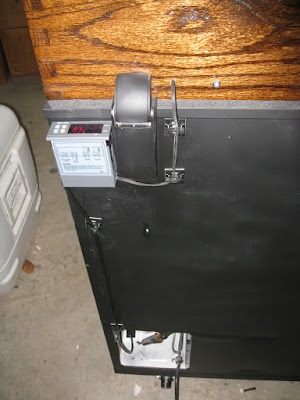
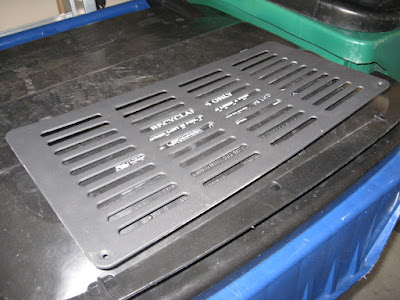
Even painted the grill and control panel...

IMG_4373.JPG


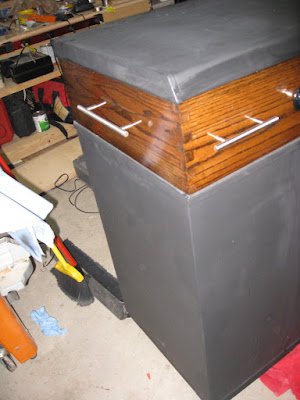
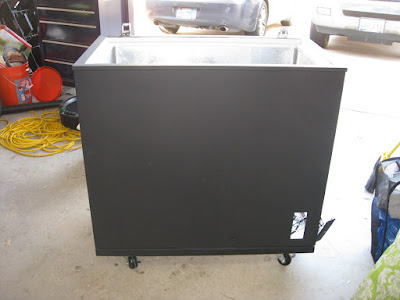
Next I built a wood base. Made out of 2x4s, painted with a can of flat black spray paint, and attached 4 (2 locking) 2.5" casters... I screwed it together with pocket screws to help keep it as low profile as possible.

IMG_4372.JPG


Picture of the freezer sitting on the base.

IMG_4376.JPG


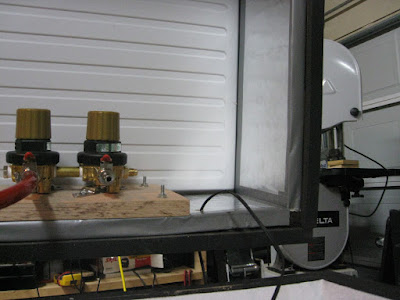
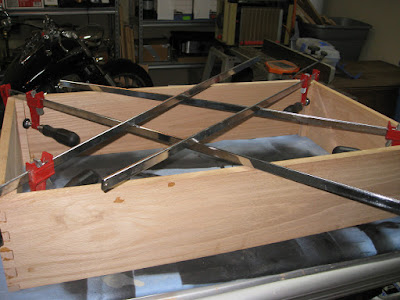
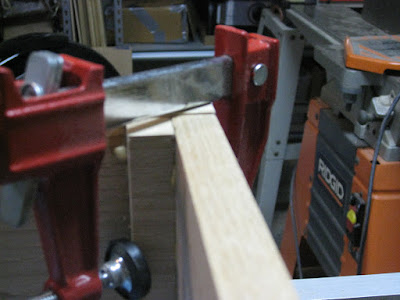
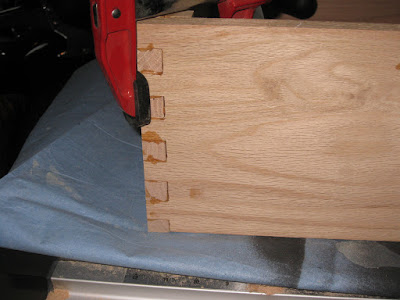
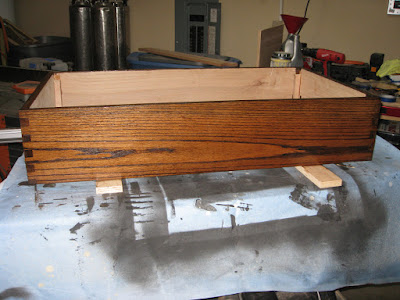
Next on to the collar. I had 8" (7.5 actual) red oak already, so I used it... I cut the boards to length, and box jointed the ends together...

IMG_4379.JPG


IMG_4380.JPG


IMG_4378.JPG


Next I sanded things down to fit, added two coats of dark walnut stain and am currently starting the poly (went with glossy to contrast the mat black of the freezer).

IMG_4381.JPG


IMG_4382.JPG
 
I plan to attach the lid to the collar using this:

IMG_4384.JPG


Then for a gasket from the collar to the freezer using this:

IMG_4383.JPG


Now on to the good stuff... the inside pieces...
I plan to have 3 pressures available... may run water in there as well, so this will help. Plan is primary regulator with Y splitter, to secondary dual regulator... one output going to a 3 way splitter. 3x at 1 pressure, 1x at two others... All valves are check valves for extra security.

IMG_4386.JPG


I picked up some standard 5/16" red air hose, and 3/16" bev-seal line for the beer.

IMG_4385.JPG


Next onto the beer side... standard plastic disconnects for now, but with MFL connections. On the air source and beer destination (shank), Ive used barbed connections, but at the keg, I've used MFL for both gas/beer. I went with all stainless pieces.
Will have 4 taps with 4" stainless shanks and stainless Perlick 525 faucets...

IMG_4387.JPG


I also picked up 8 5 gallon single handled ball locks for $25 each + shipping... Thats my progress so far, but plan to finish this up by this weekend...

I've ordered a temperature controller and a replacement thermostat as I ended up breaking the thermostat trying to put it back together after I had to take it apart after the screw came out trying to adjust the temperature... I'm not sure if I'll install the replacement thermostat or just use the ebay controller in its place yet.
 
Secondary Regulators with MFL connector for input.
IMG_4392.JPG


Primary regulator with Y and 1 3' and 1 6' lead both with FFL connectors...
IMG_4393.JPG


Secondary regulator panel mounted between foam and collar on the inside of freezer. This spaces it out far enough to not hit the freezer.
IMG_4394.JPG
 
Shanks and faucets from inside with foam insulation... I used the taped insulation and added duct tape around the edges to keep the foam in better and clean it up. Its all attached with double side tape...
IMG_4395.JPG


Picture of the foam with temperature sensor coming into keezer...
IMG_4396.JPG


Outside with faucets and handles...
IMG_4397.JPG


Side panel with additional handle/towel rack...
IMG_4398.JPG


Rear of freezer... I painted this with flat black spray paint...rest of black was chalkboard paint... the flat black spray paint is smooth.. the rest has a slight texture to it.
IMG_4399.JPG


Ebay temperature controller and wiring...
IMG_4400.JPG
 
Beverage Elements... I had originally ordered 4... then I was well... lets get 4 more... now they're OOS... they may still have some broken handle (full circle) ones for $20 though....
The ones I got were a bit banged up here and there, but still hold pressure... I don't really care what they look like though as long as they work. And at ~$134 for 4 of them shipped, it wasn't too pricey.
 
Thanks... any suggestions on how/where to mount that secondary regulator? I'm not sure it'll fit on my collar... the gas lines going down may hit the freezer side unless I push it out a bit further... I do plan to install some sheet insulation... so perhaps sandwhich wood (outer) + insulation + board and it'd be extended over the kegs more... should work...
Or could possible mount to the lid bottom somehow...
 
Saw rhis in your sig from the bottler thread.... nice build so far.
Don't sweat the gas line contact with the walls of the keezer, they will be fine. Just make sure to keep the beer lines away from the keezer walls and you will be golden. Just out of curiosity, why the primary/secondary regulator configuration instead of having three serving pressures? I have three regs in my keezer which are daiey chained through the high pressure gauge port. This allows me 2 beer pressures and a third regulator with a Y splitter for soda water and Bacardi/Coke premixed.

Ben
 
Well... I can have 1 keg for soda water at high pressure from the primary, then two beer serving pressures from the secondaries... 1 beer at 1 pressure and 3 at the normal 10-12. The primary regulator has a Y on it and only one output goes to the secondary regulators. The input on those was originally a barb, but I changed it over to MFL so I could easily disconnect the primary from the secondary distribution. This also allows me to keep 95% of everything connected hose wise if I want to pull the co2 tank and primary regulator out of the keezer to use it for misc tasks...
I looked up the pricing where I bought the regulators... one of the best prices I could find at that and they offered dual primaries for ~34 additional per primary vs 75 for the dual body secondary... so, I paid within a few dollars the same as going the other route...
 

Latest posts

Back
Top