
First post on HBT after lurking for awhile now. This site has helped me out a lot so far, and I thought i'd share this to help out anyone who is looking into making a fermentation chamber.
Well, after dealing with some wonky summer fermentation temp issues, I decided to go ahead with my fermentation chamber plan. It's been keeping at 68F very well, with minimal movement. I plan on using it to lager very soon as well.
Feel free to ask if you have any questions! I'll be happy to answer. If you have a circular saw, a driver, and minimal tools, you can do this.
Cooling Unit:
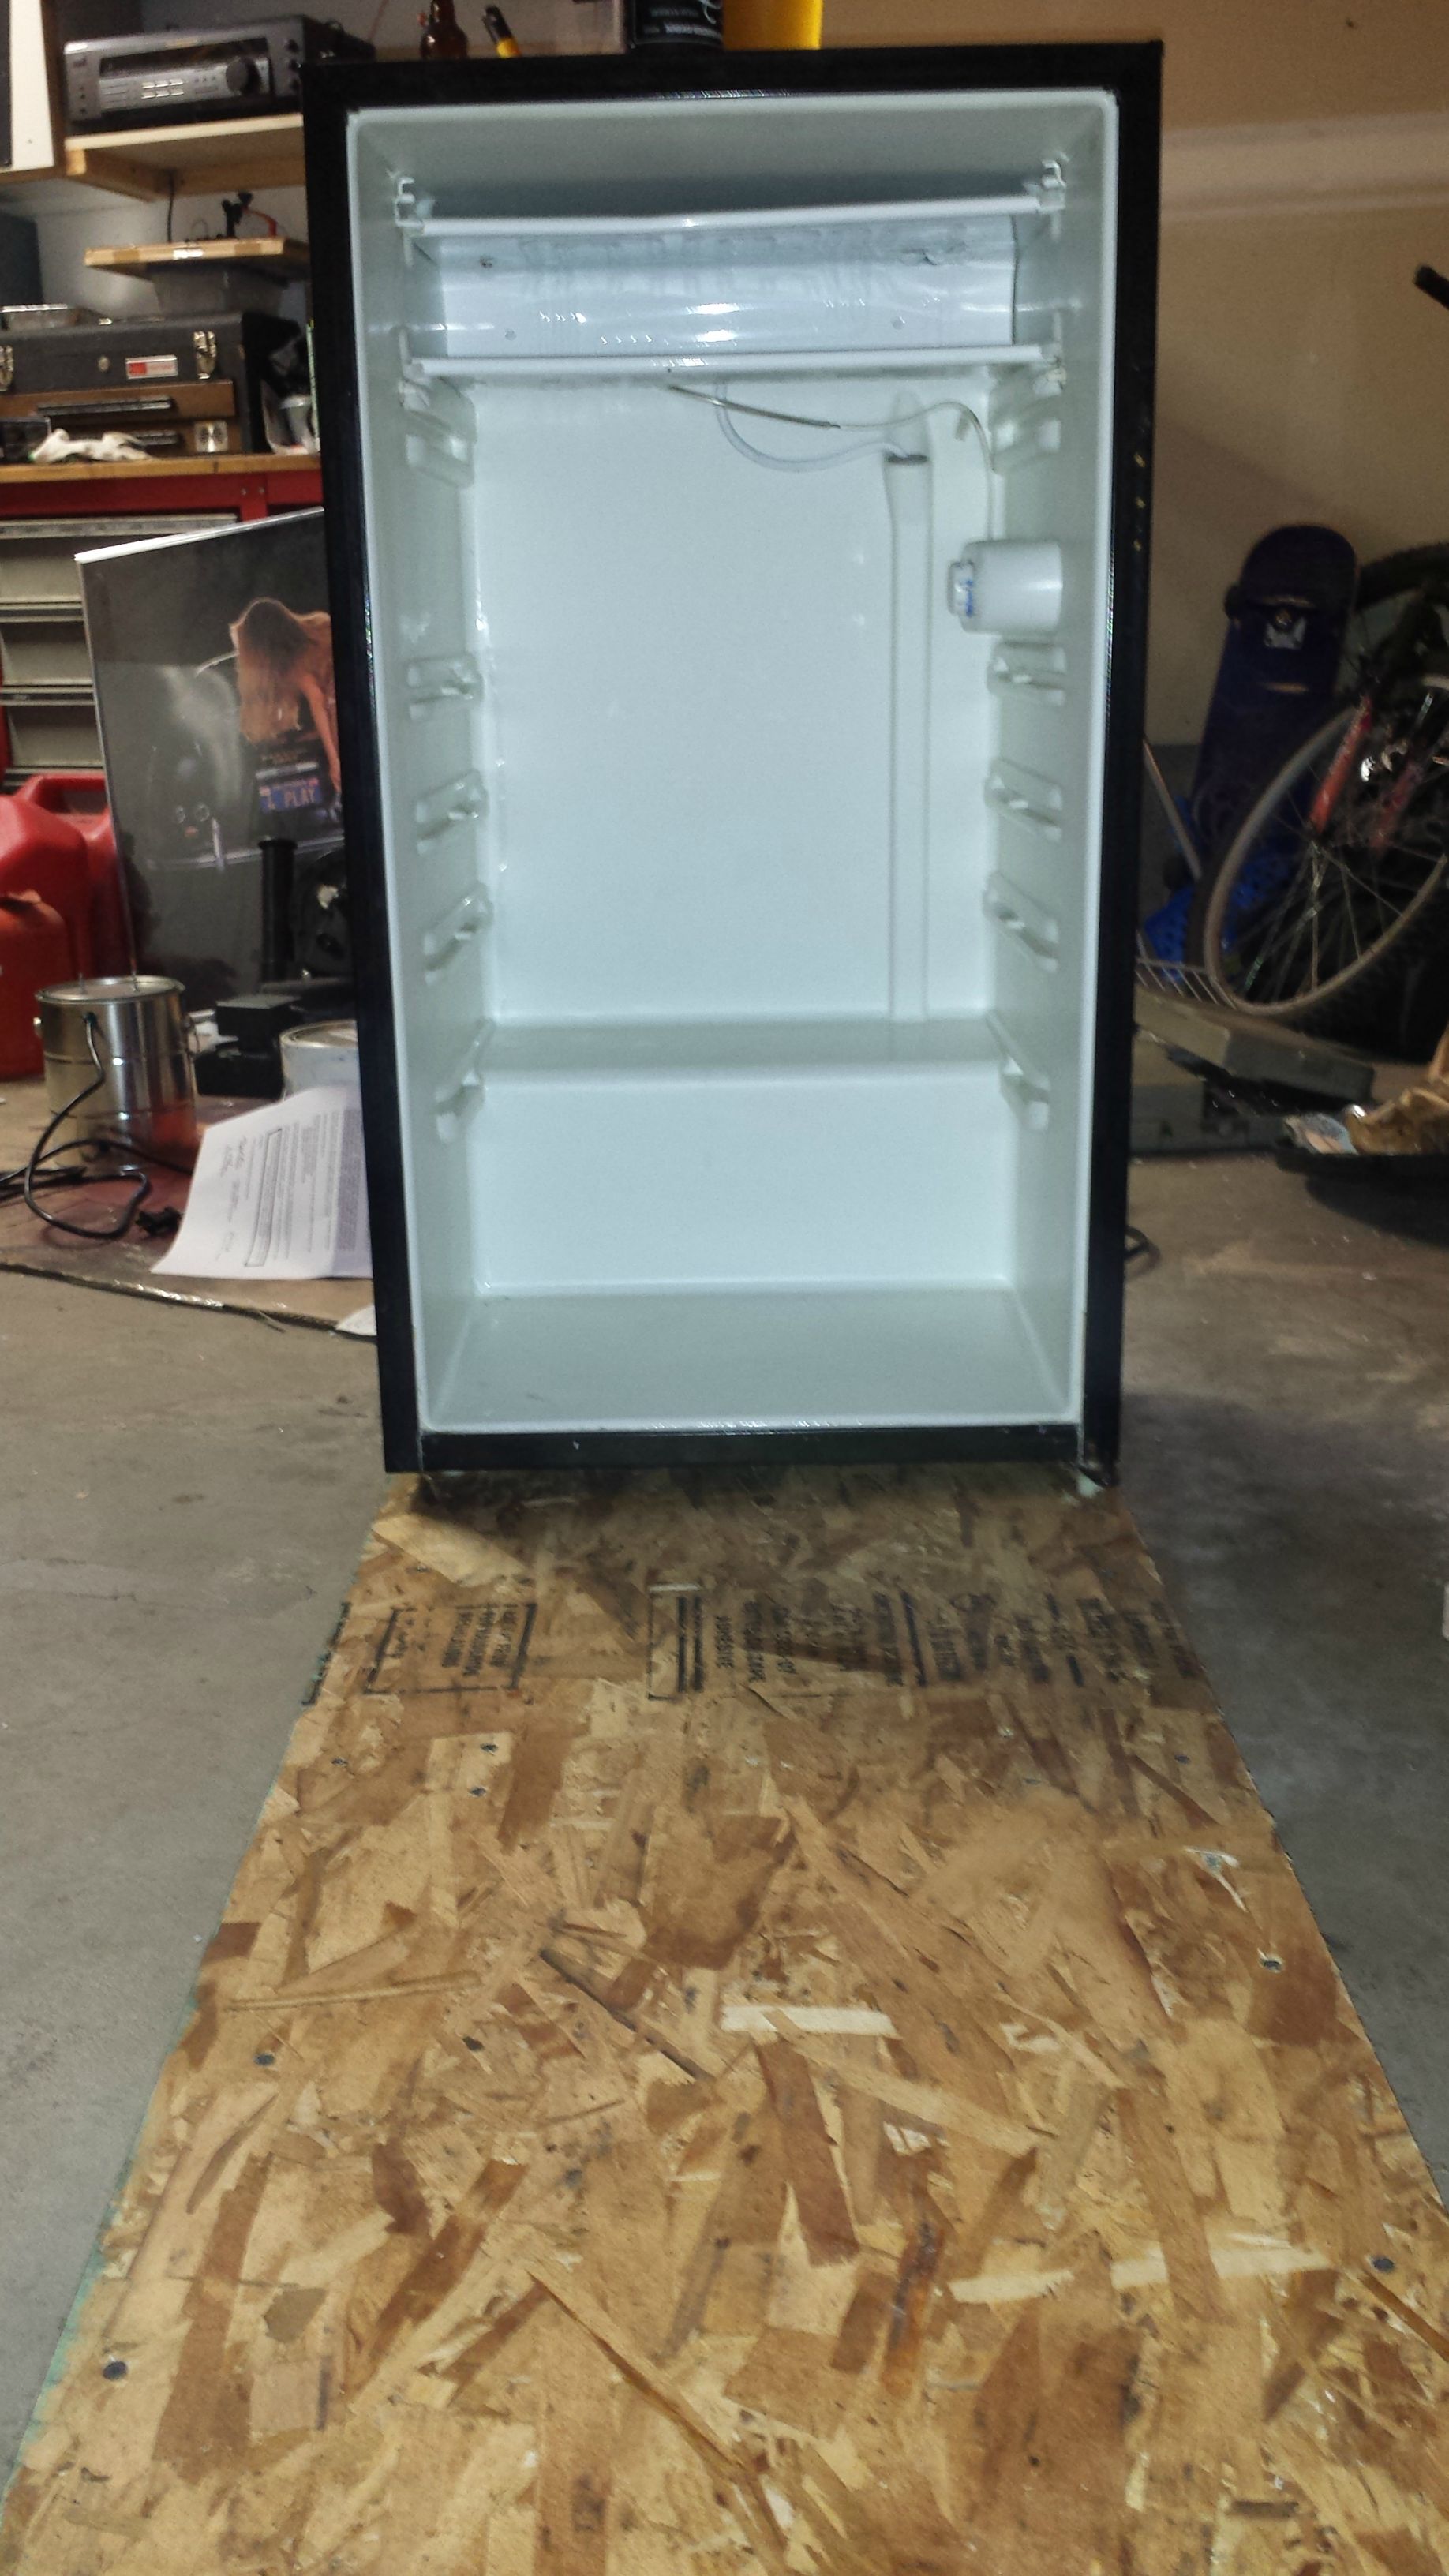
Taller Mini-Fridge. I forget the model. Check the pictures for details.
Heating Unit:
39ft 100w ZooMed Reptile Heating Cable
Temp Controller:
STC1000 based Black Box from BlackBoxBrew
http://www.blackboxbrew.com/
Fan:
AC Infinity AI-120SCX 120mm Speed Control Fan Kit
Lighting:
IKEA DIODER LED 4-piece light strip set
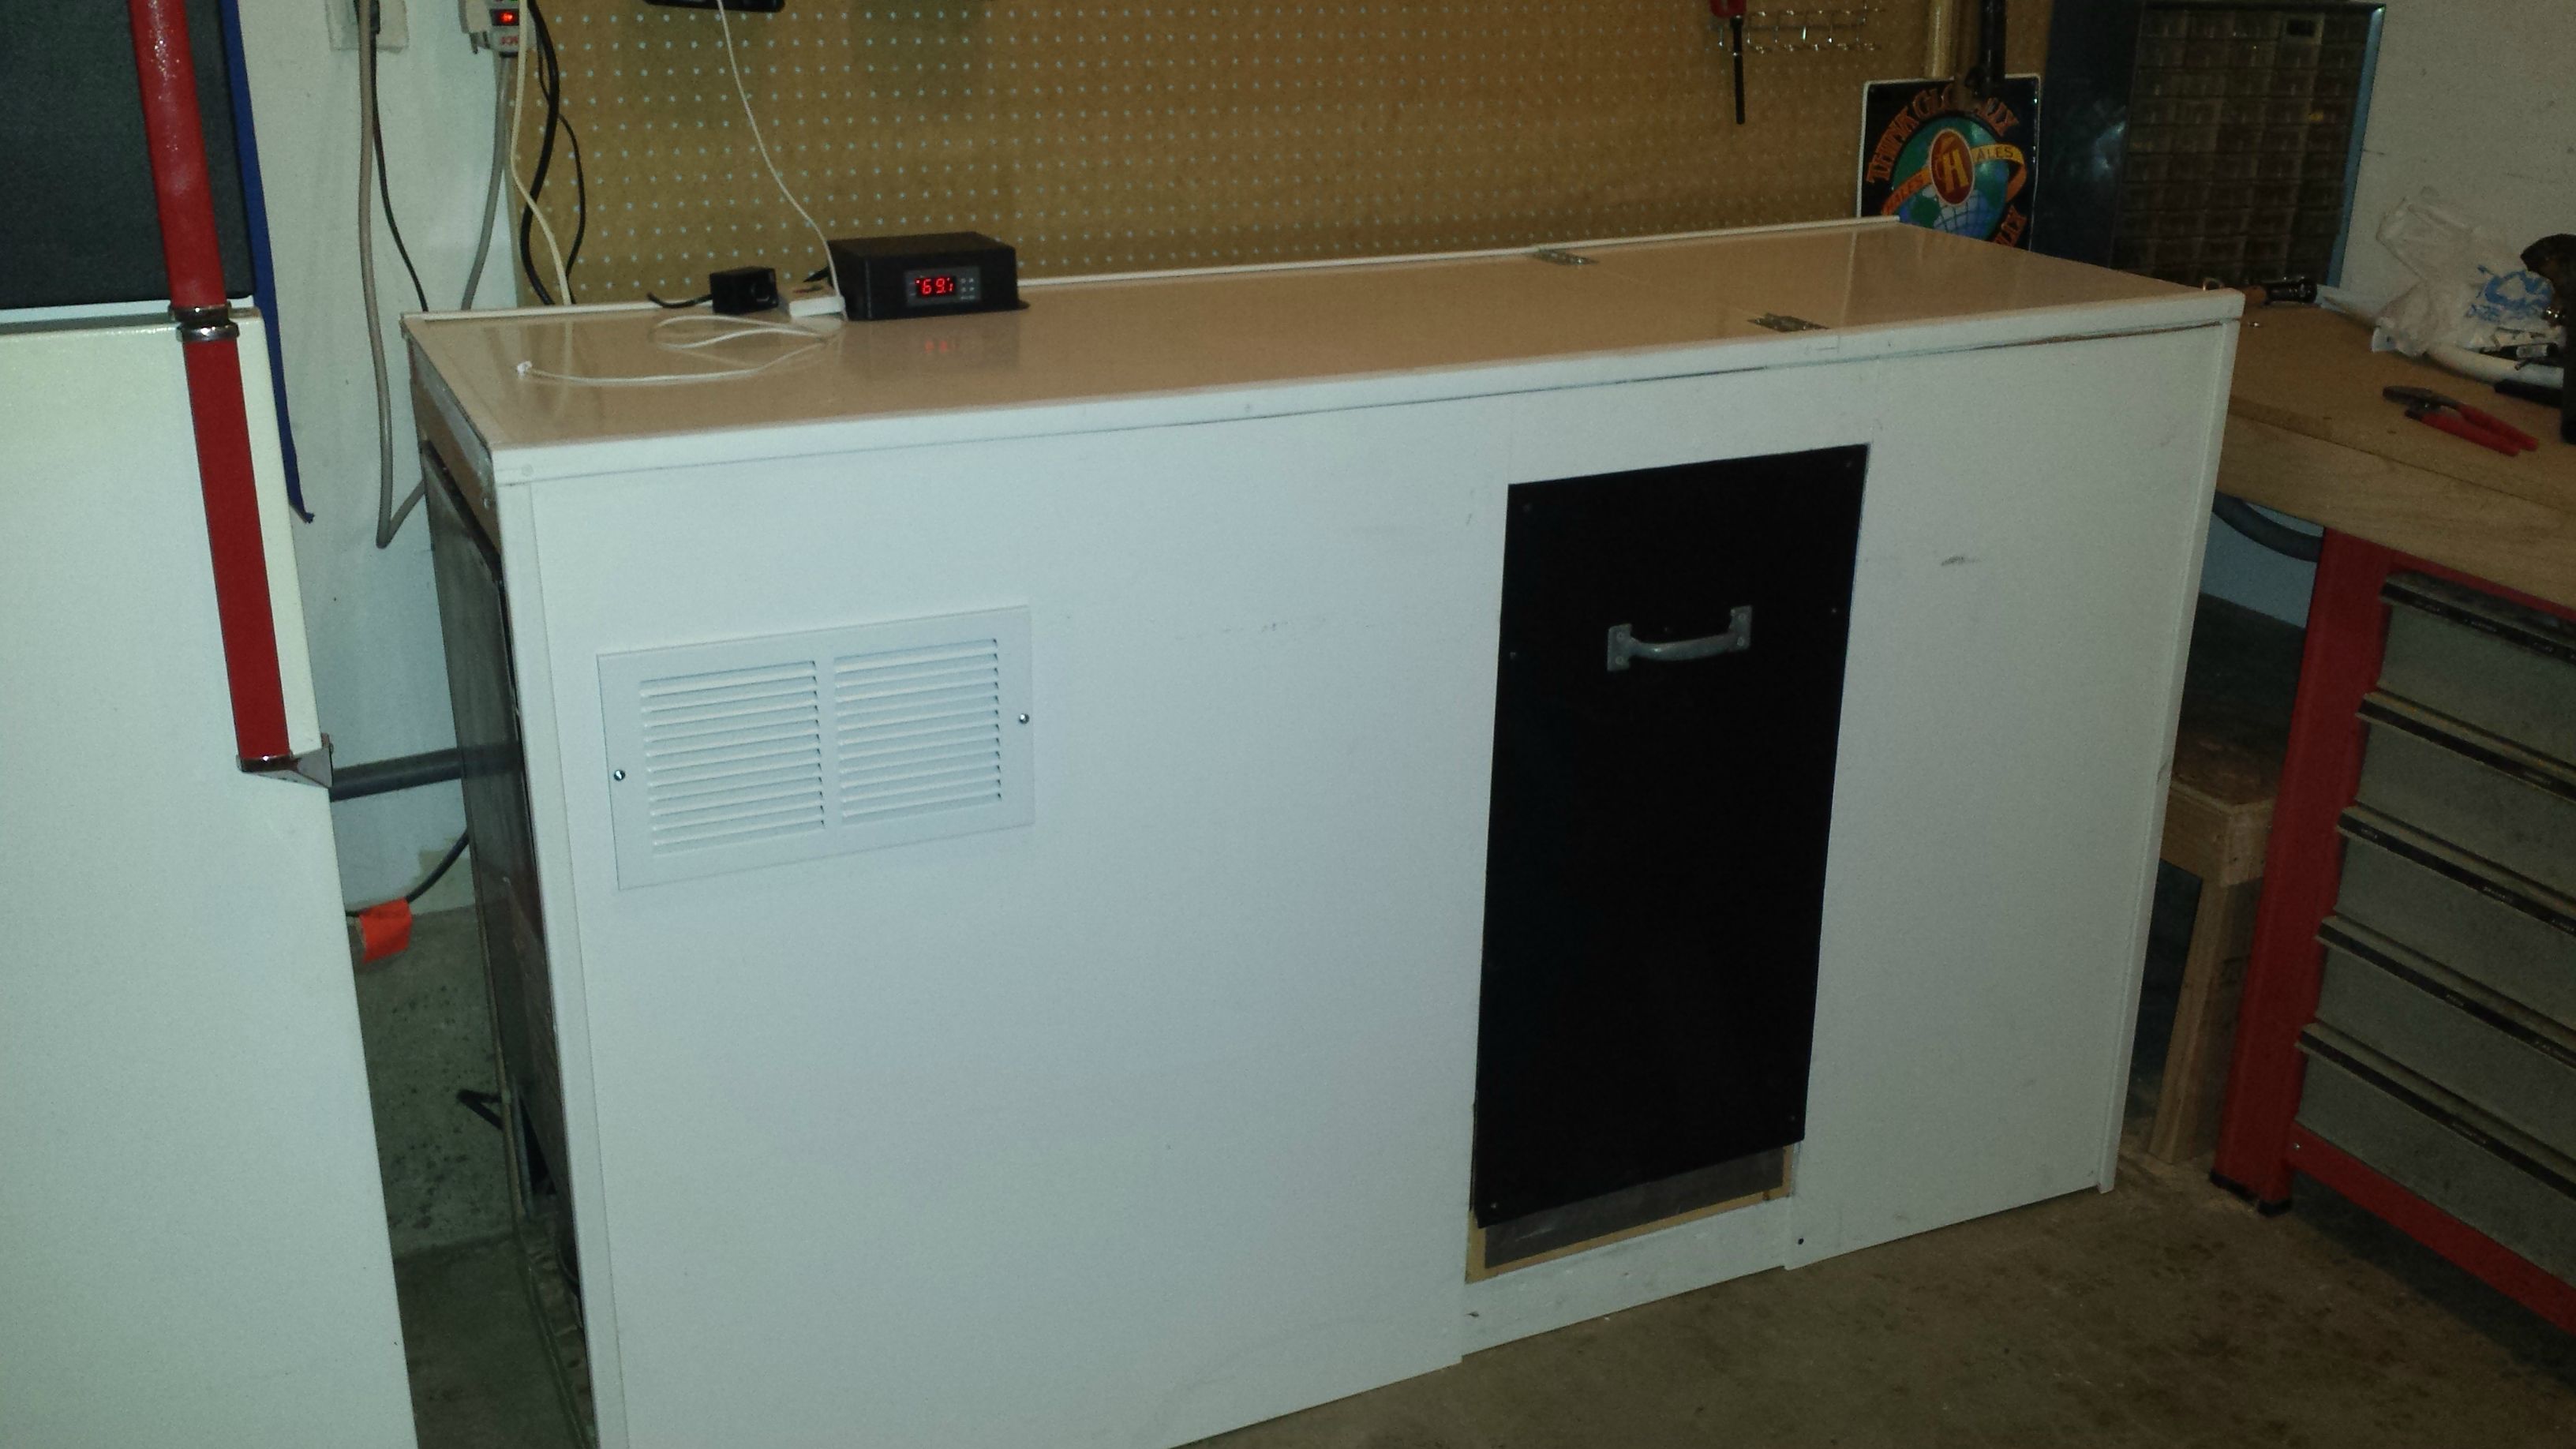
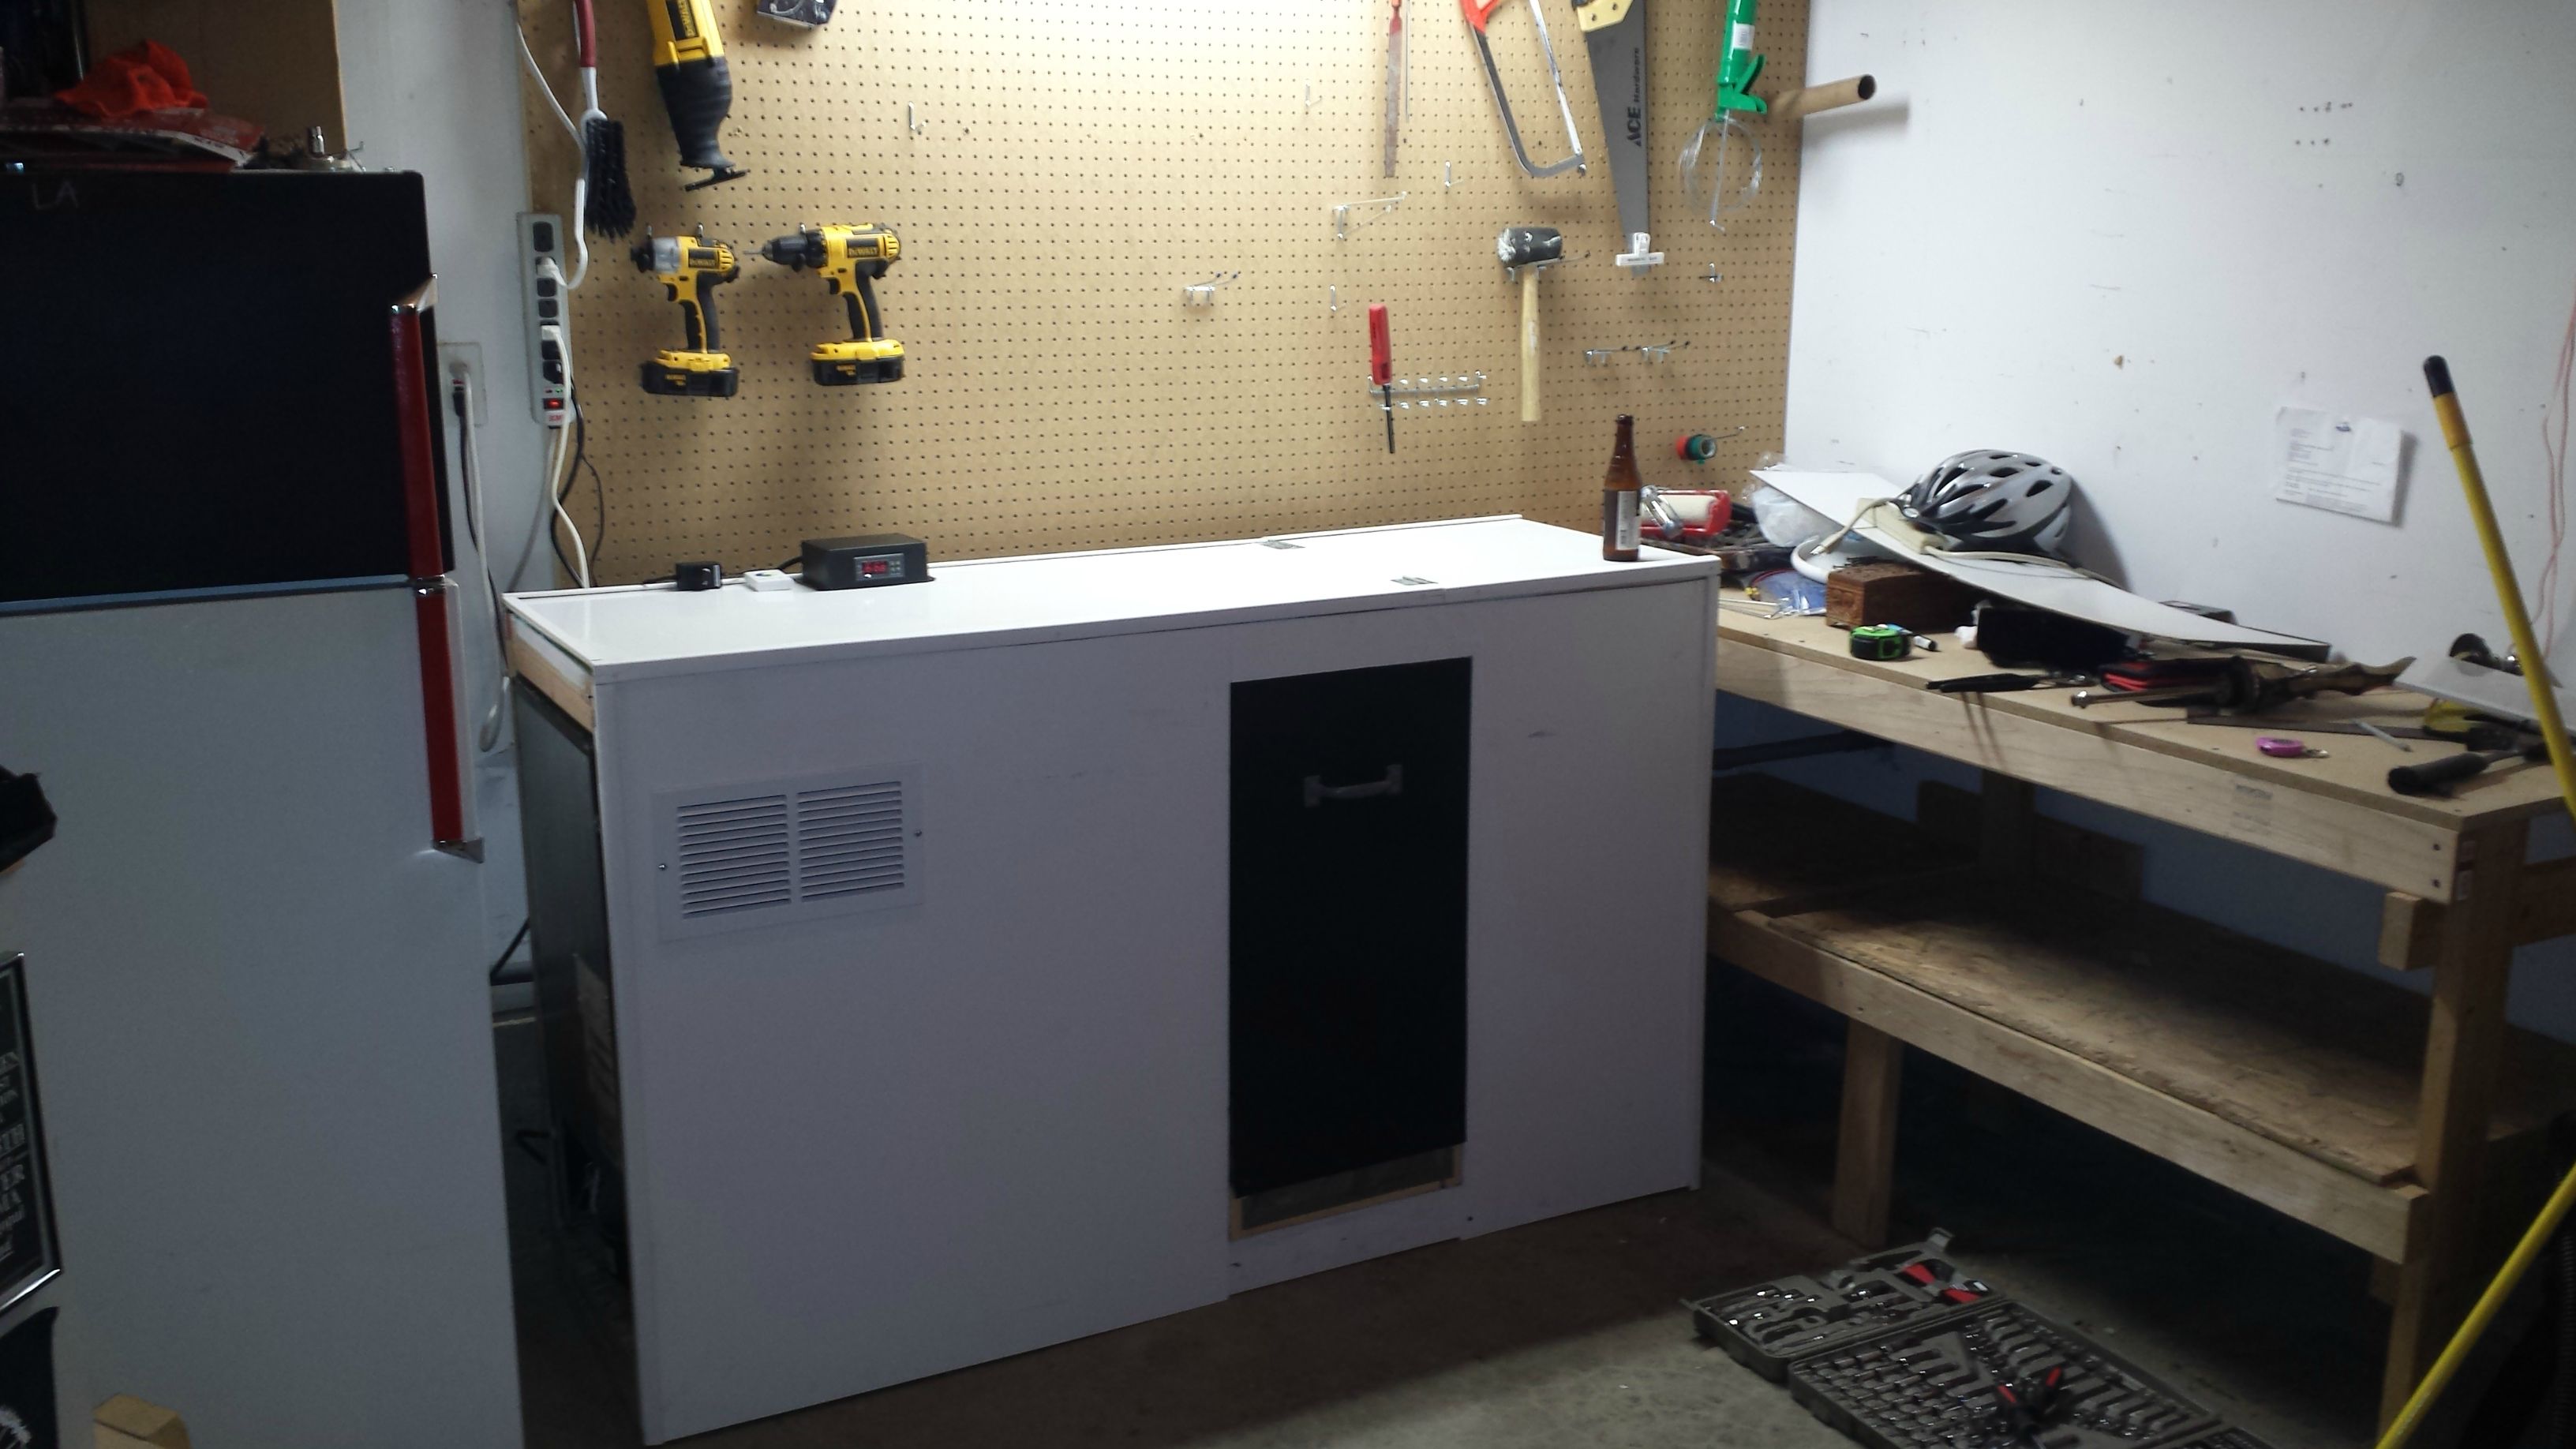
The final product. Ended up buying a Black Box from BlackBoxBrew. I was going to just buy my own STC1000, but I liked what they did with the BB. I dialed in the info on there, and have it holding at around 68 F pretty steadily. As you'll see in the pictures, the cooling source is a taller mini fridge. The heat is from a 100w 39ft reptile heating cable from ZooMed. There is also a computer style fan in there, which I will be adding into the cooling circuit at some point.
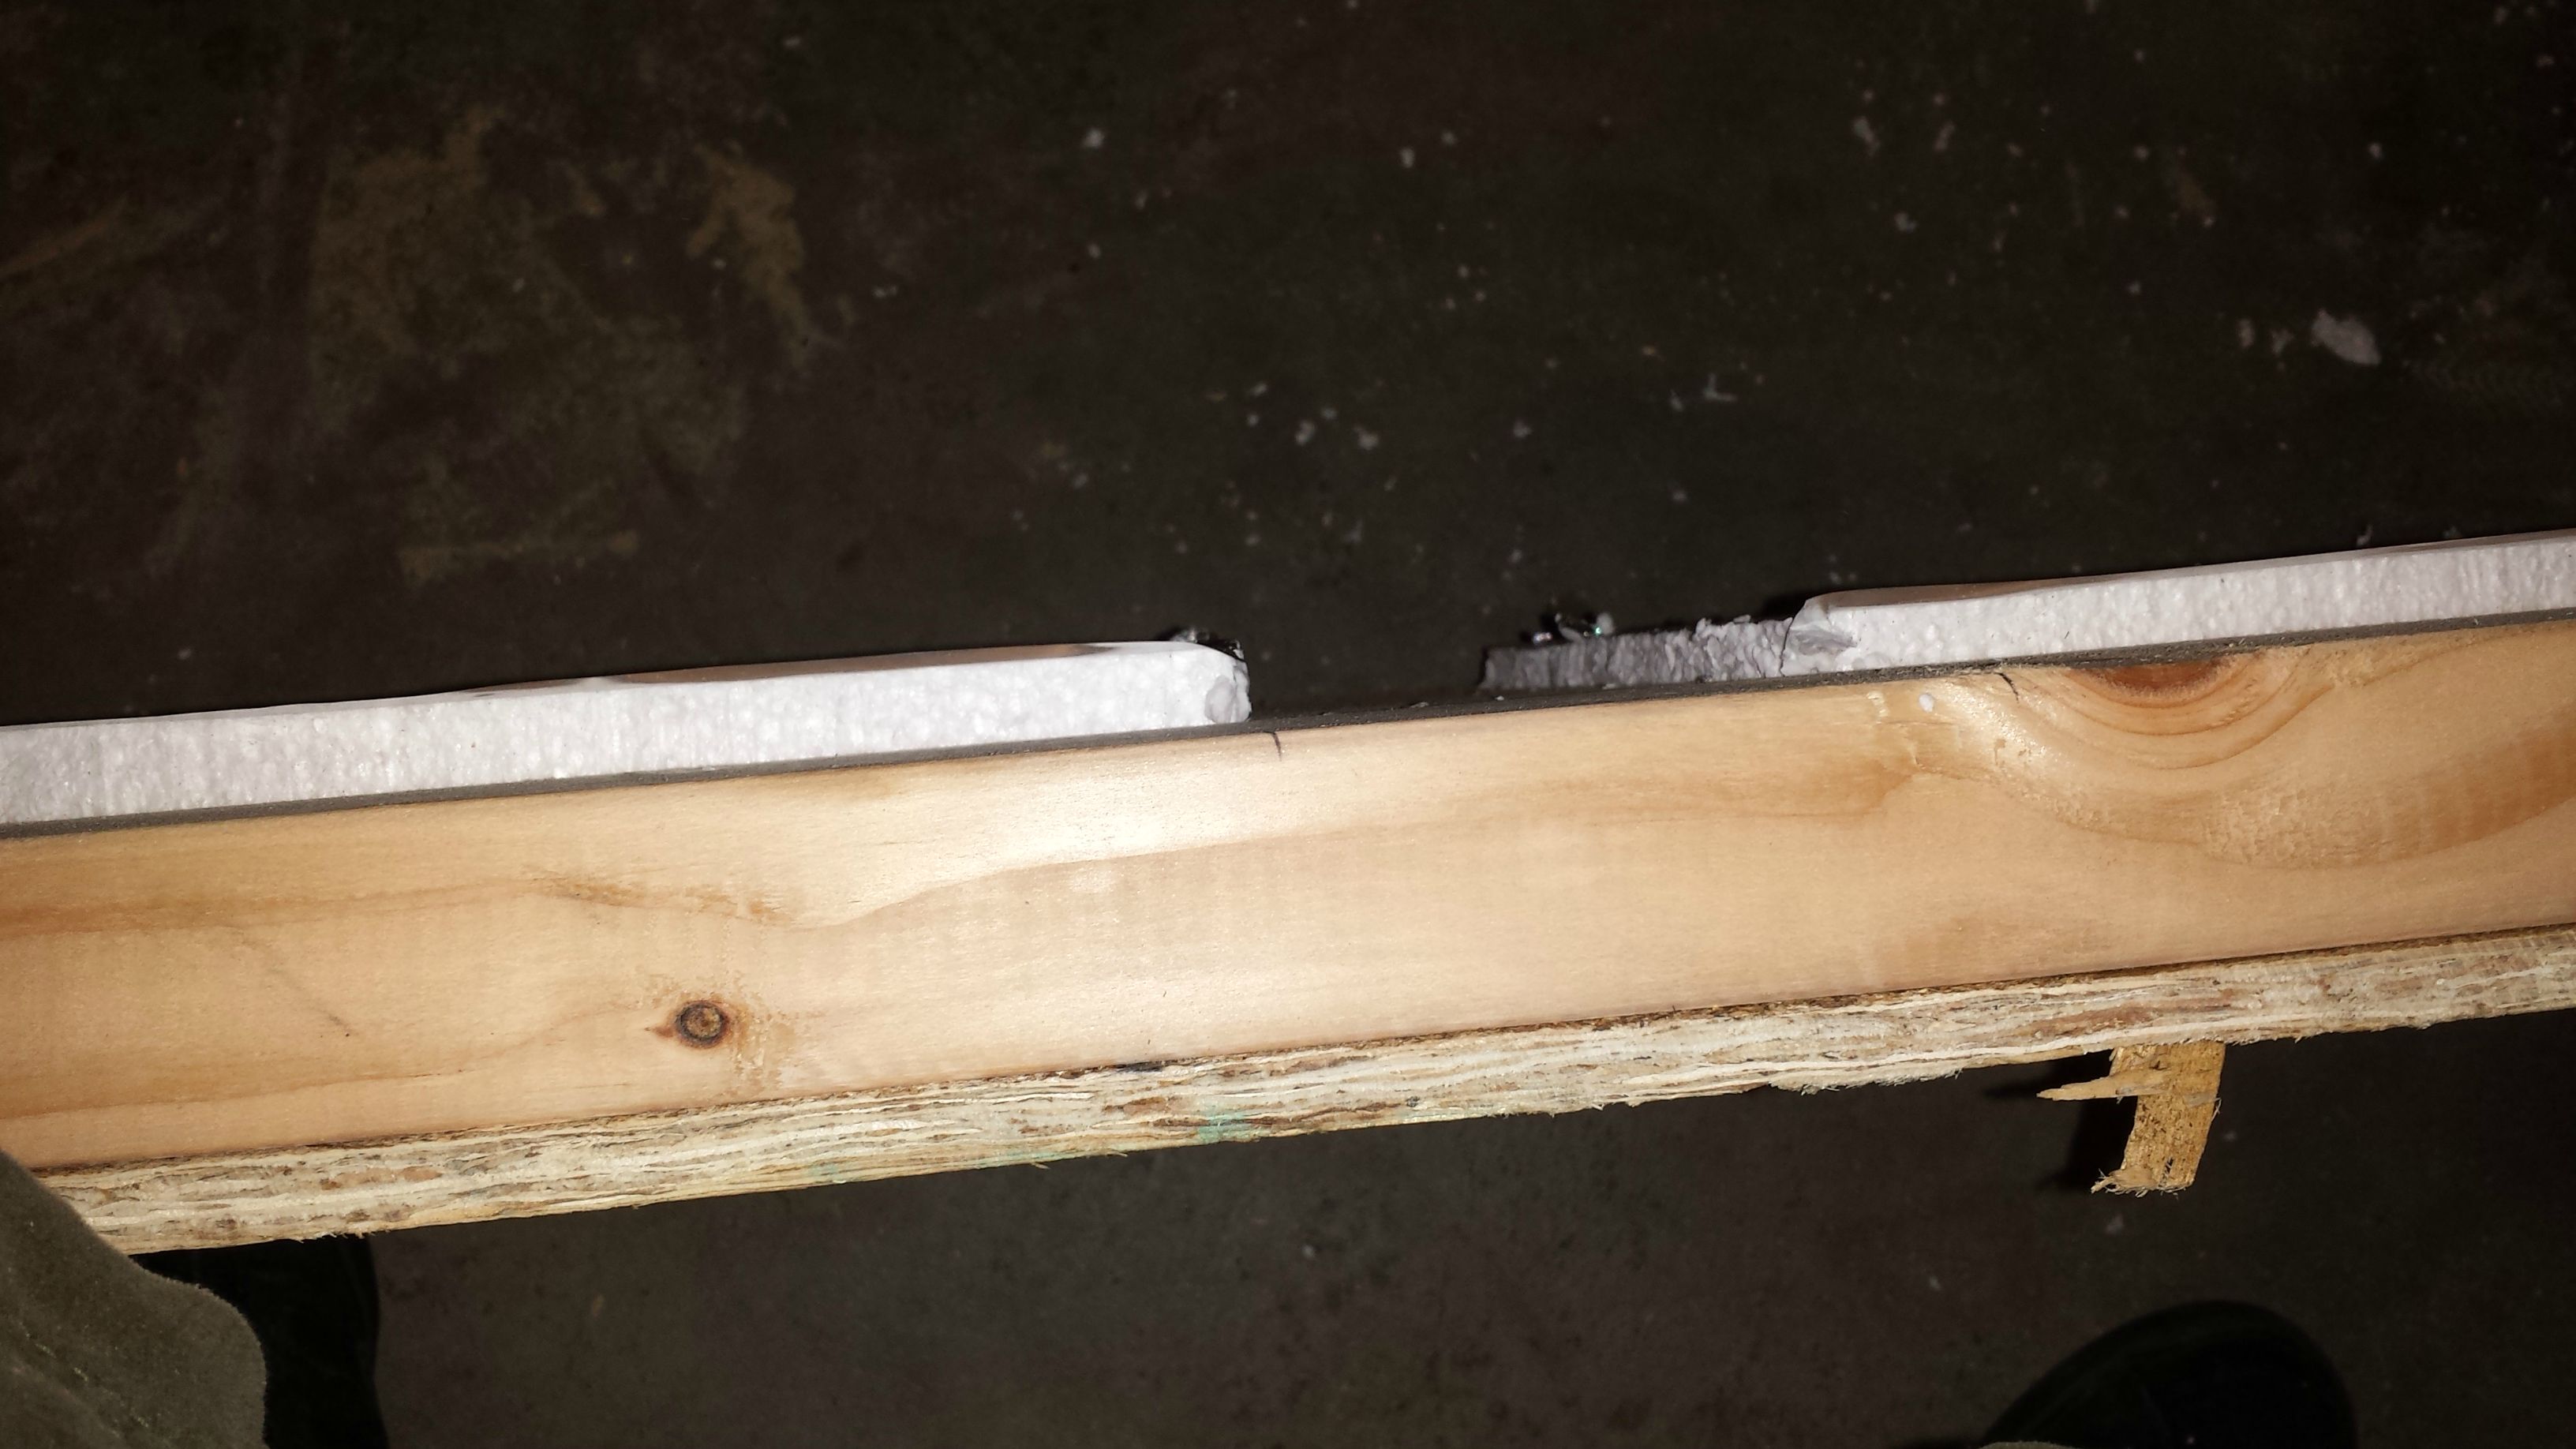
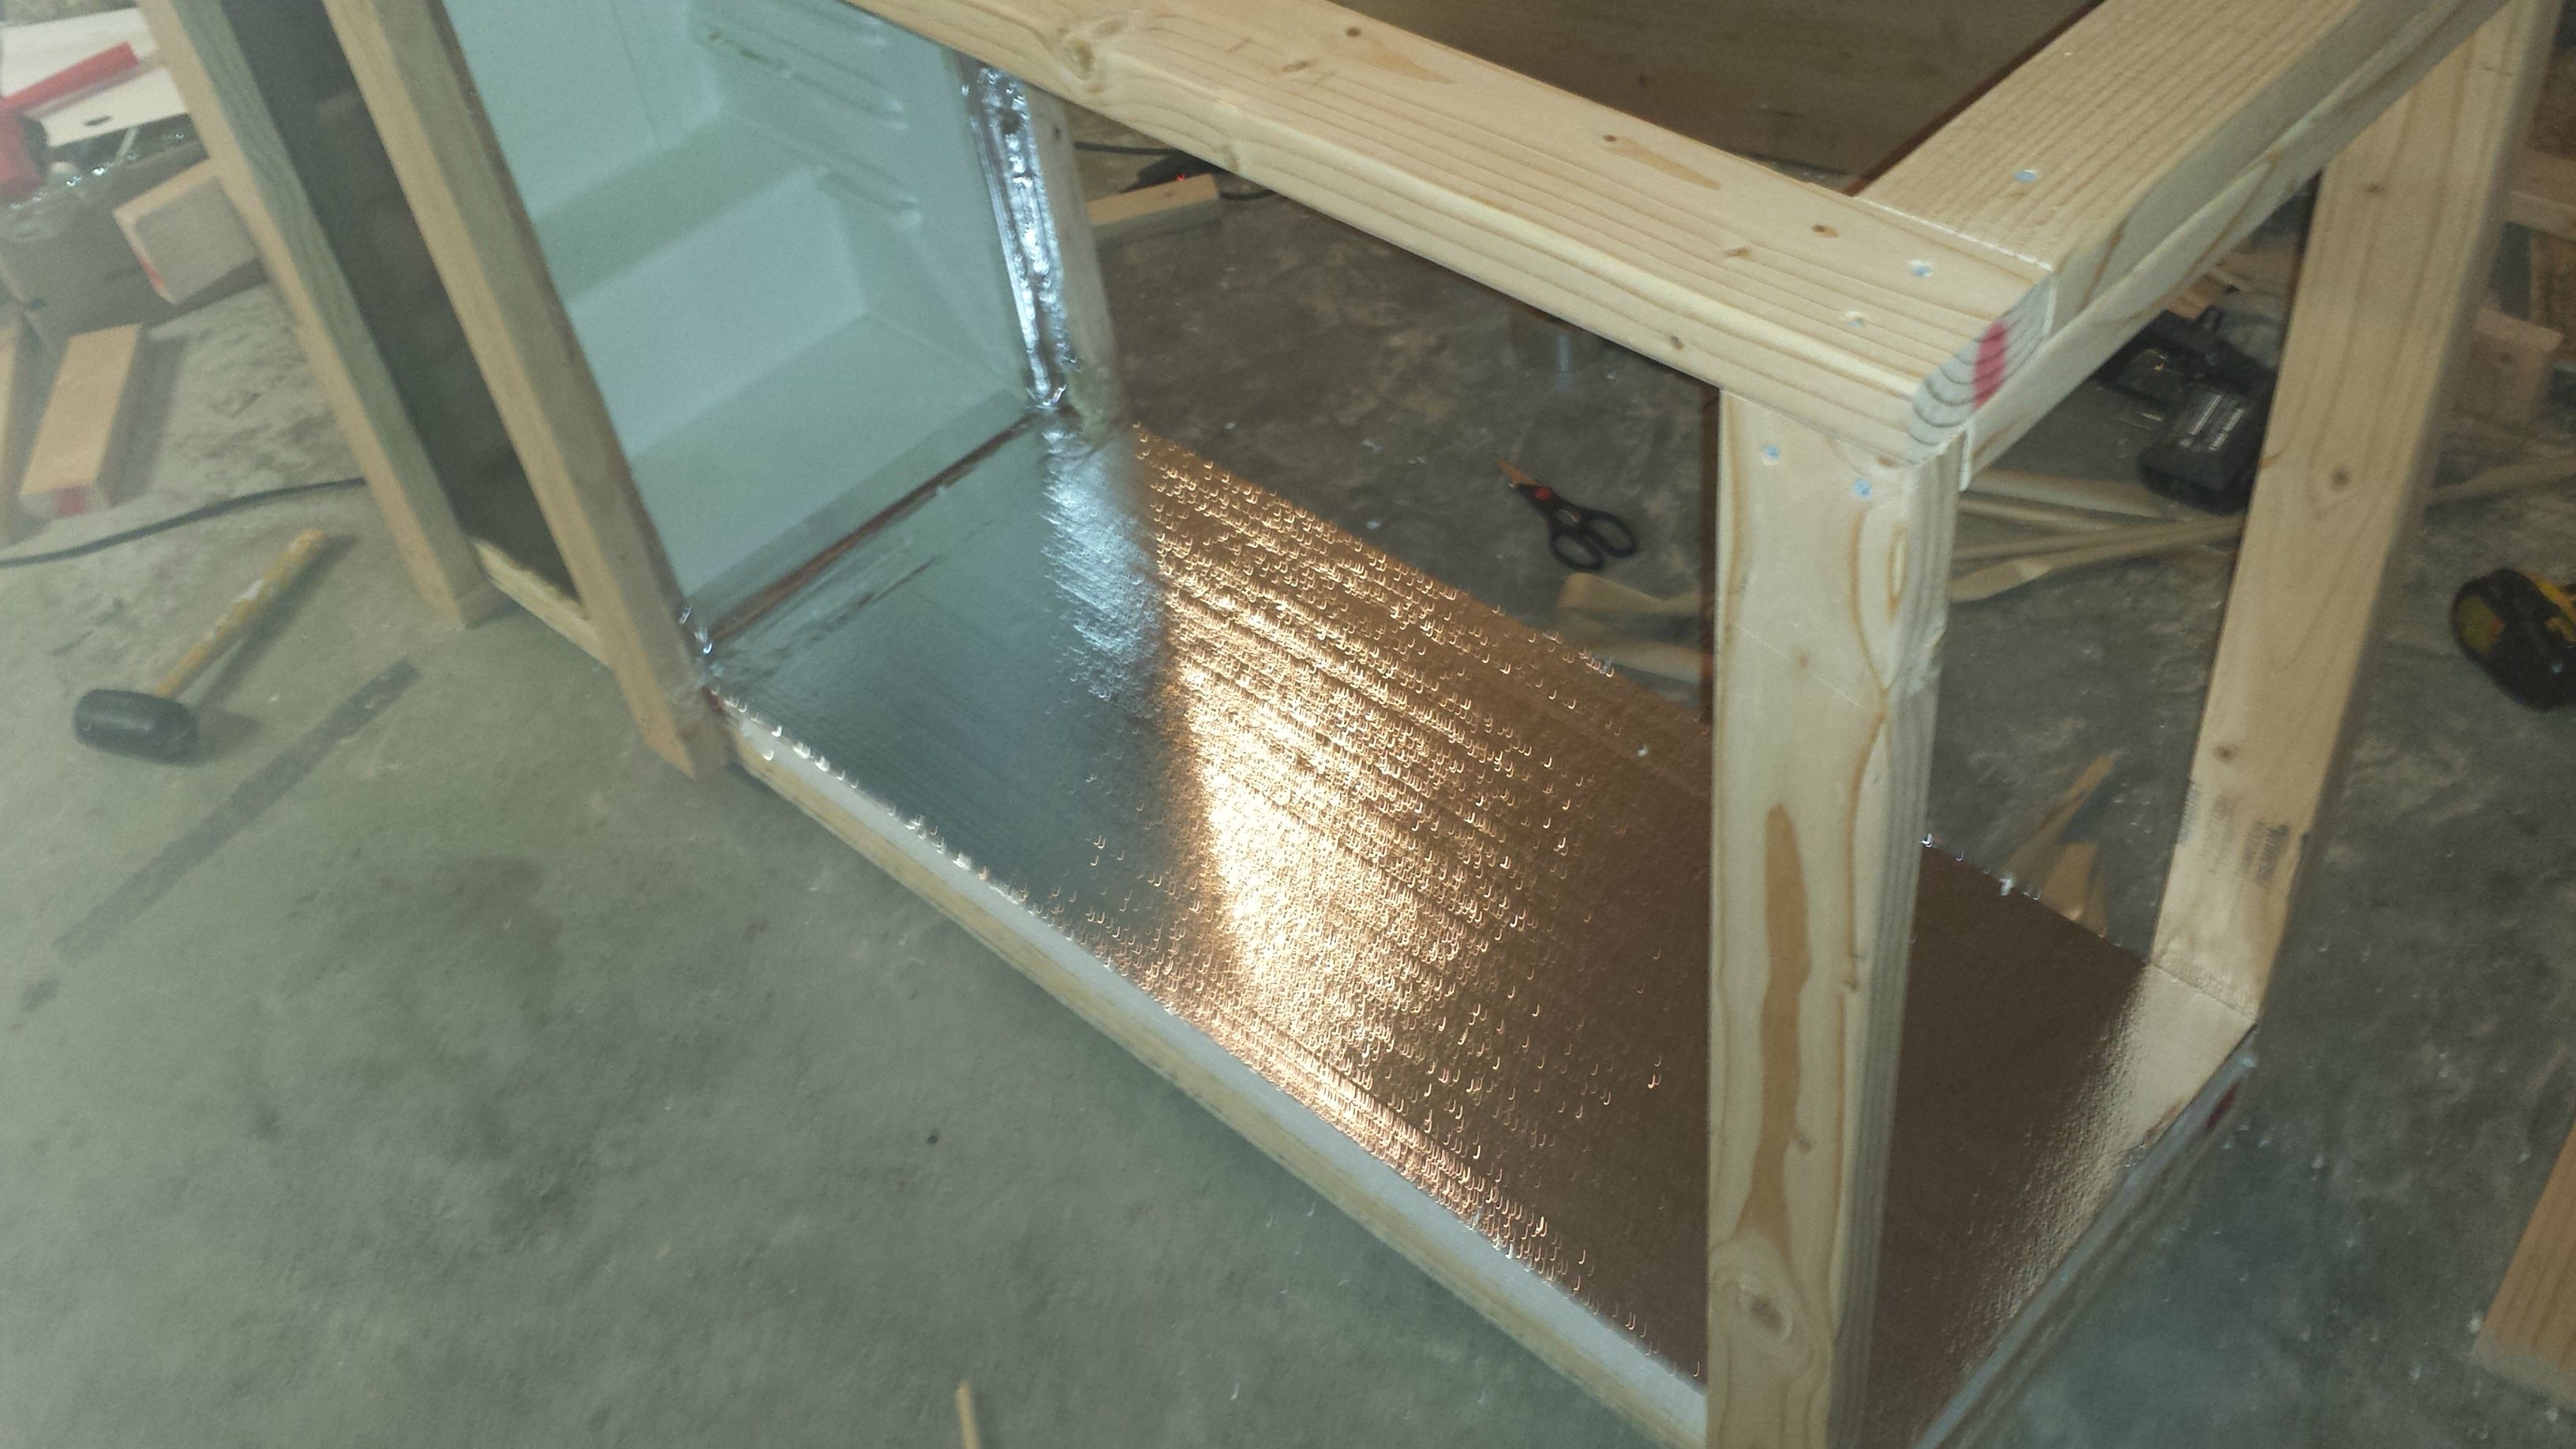
Taped the seam with aluminum duct tape.
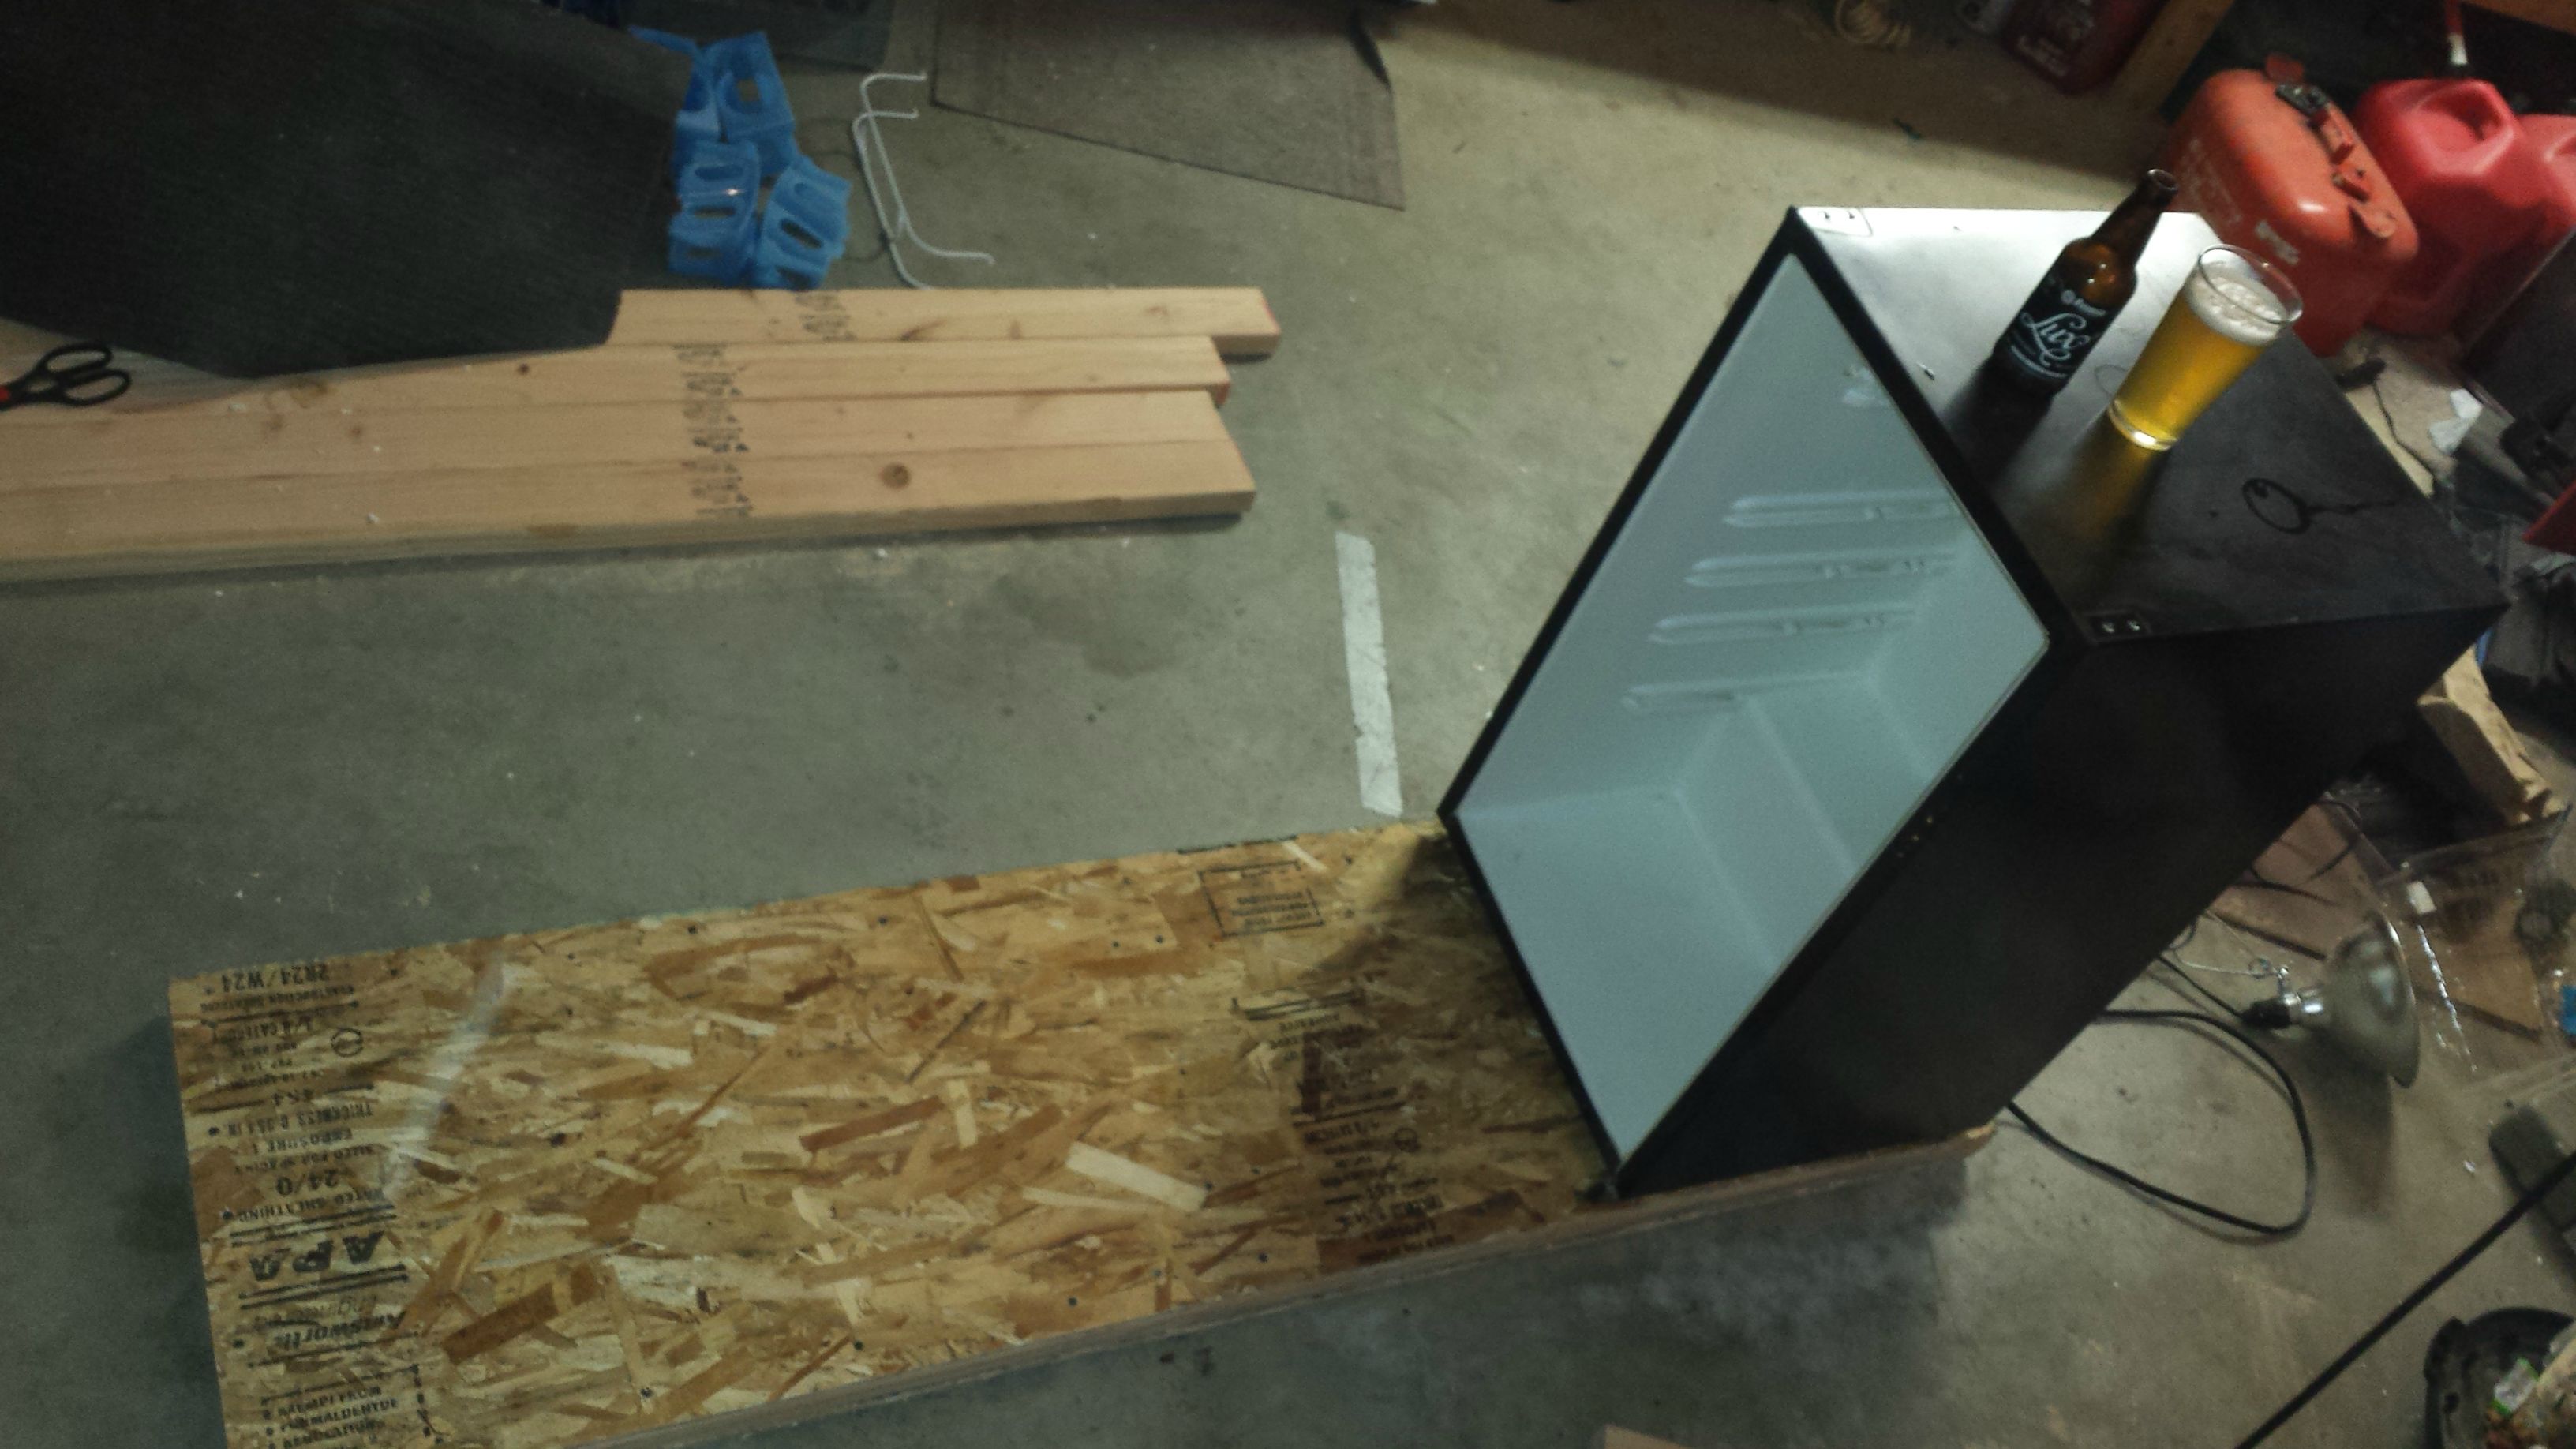
I made a paint can / light heat source, but it feels like a fire waiting to happen. Probably just paranoid, but I scrapped that plan.
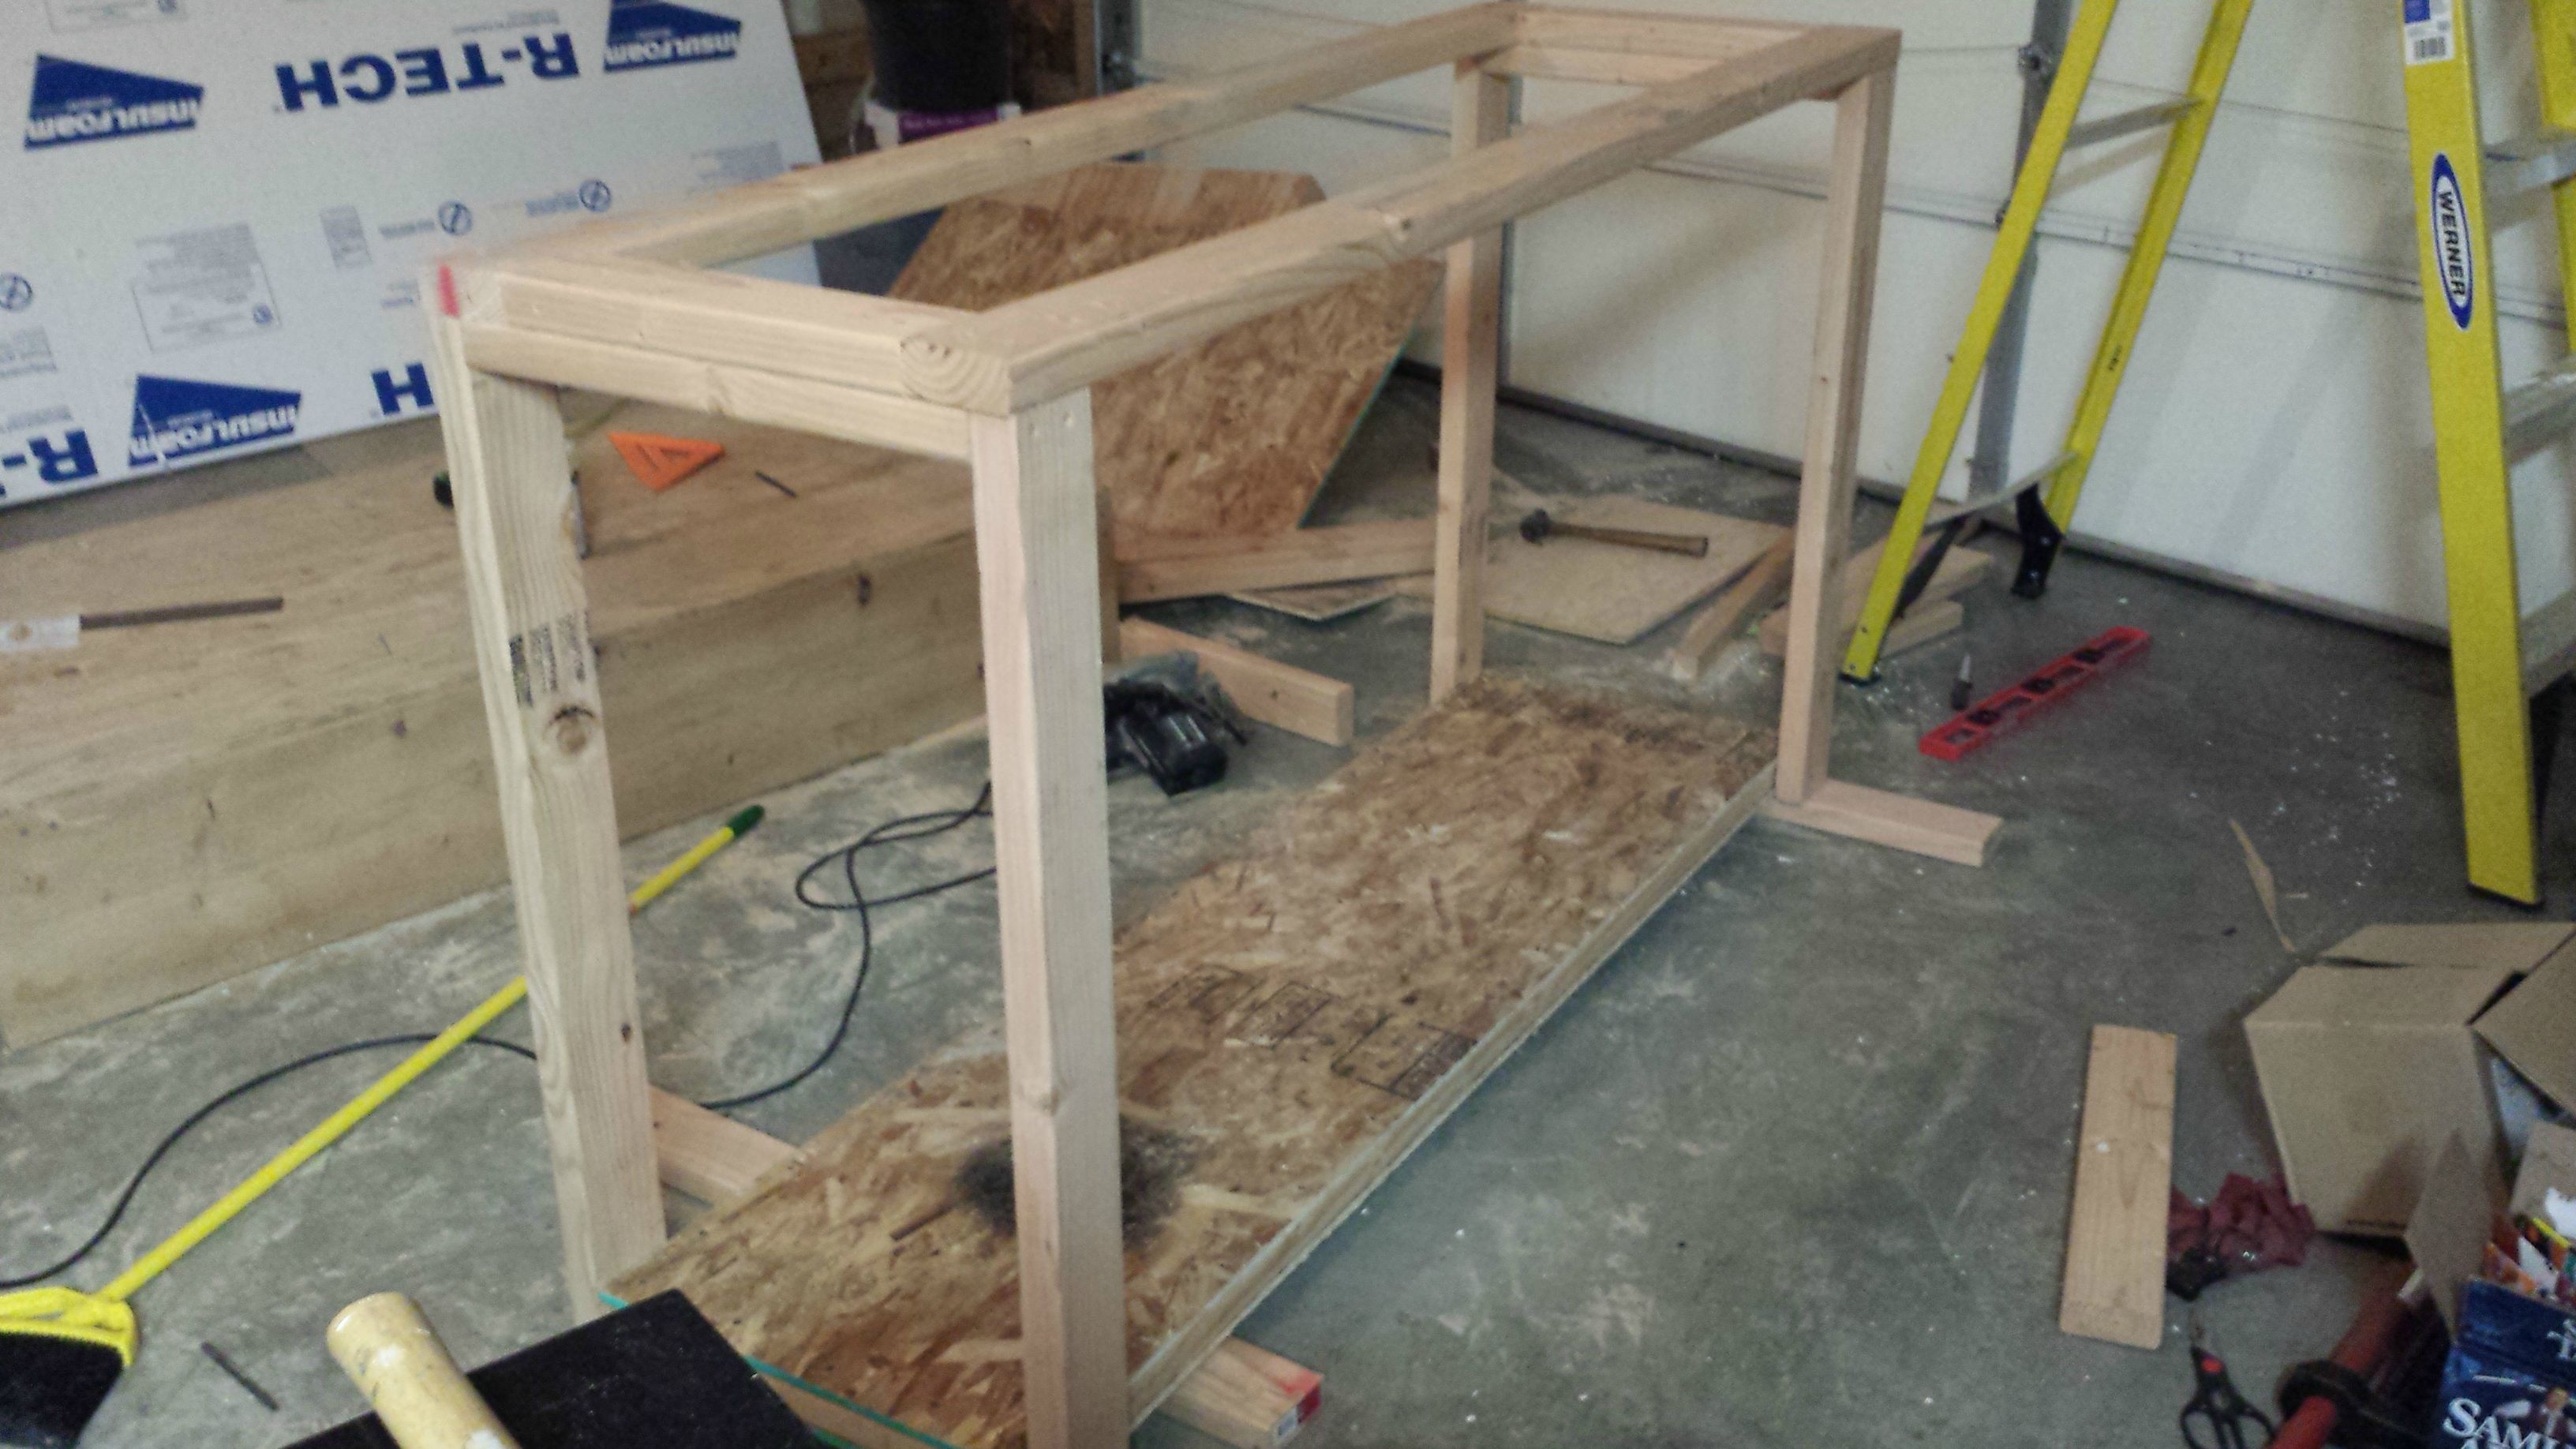
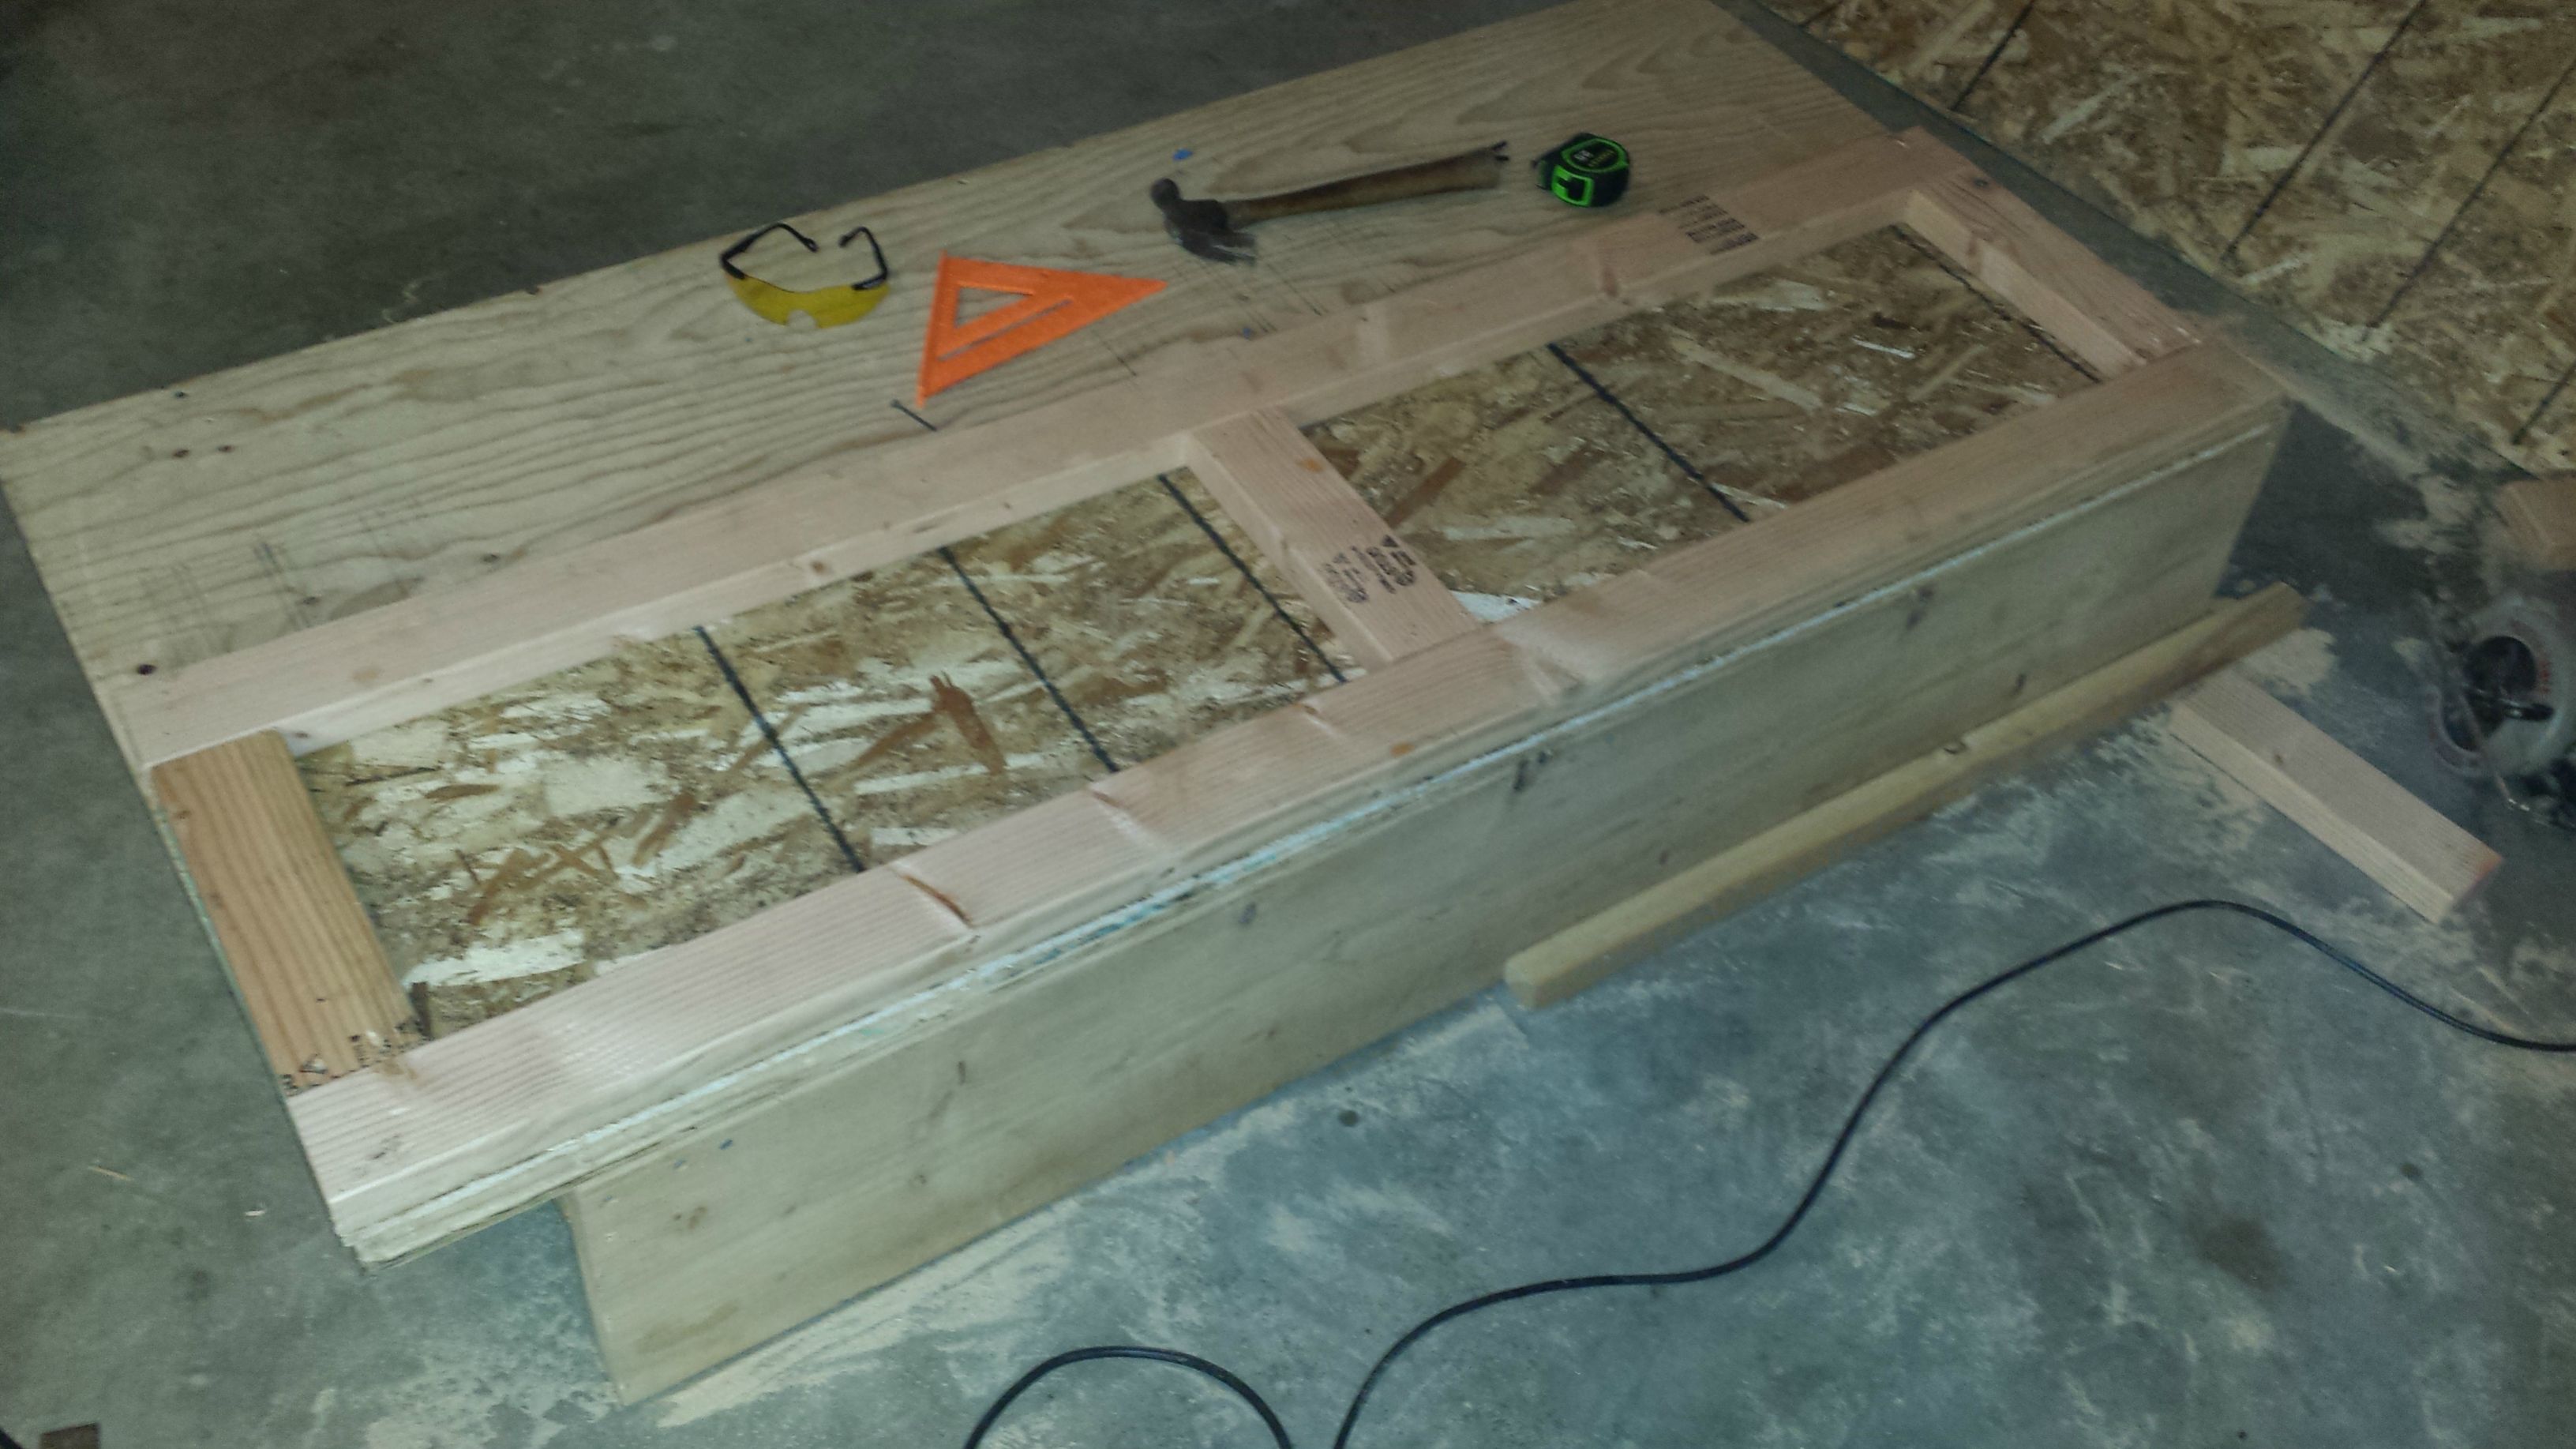
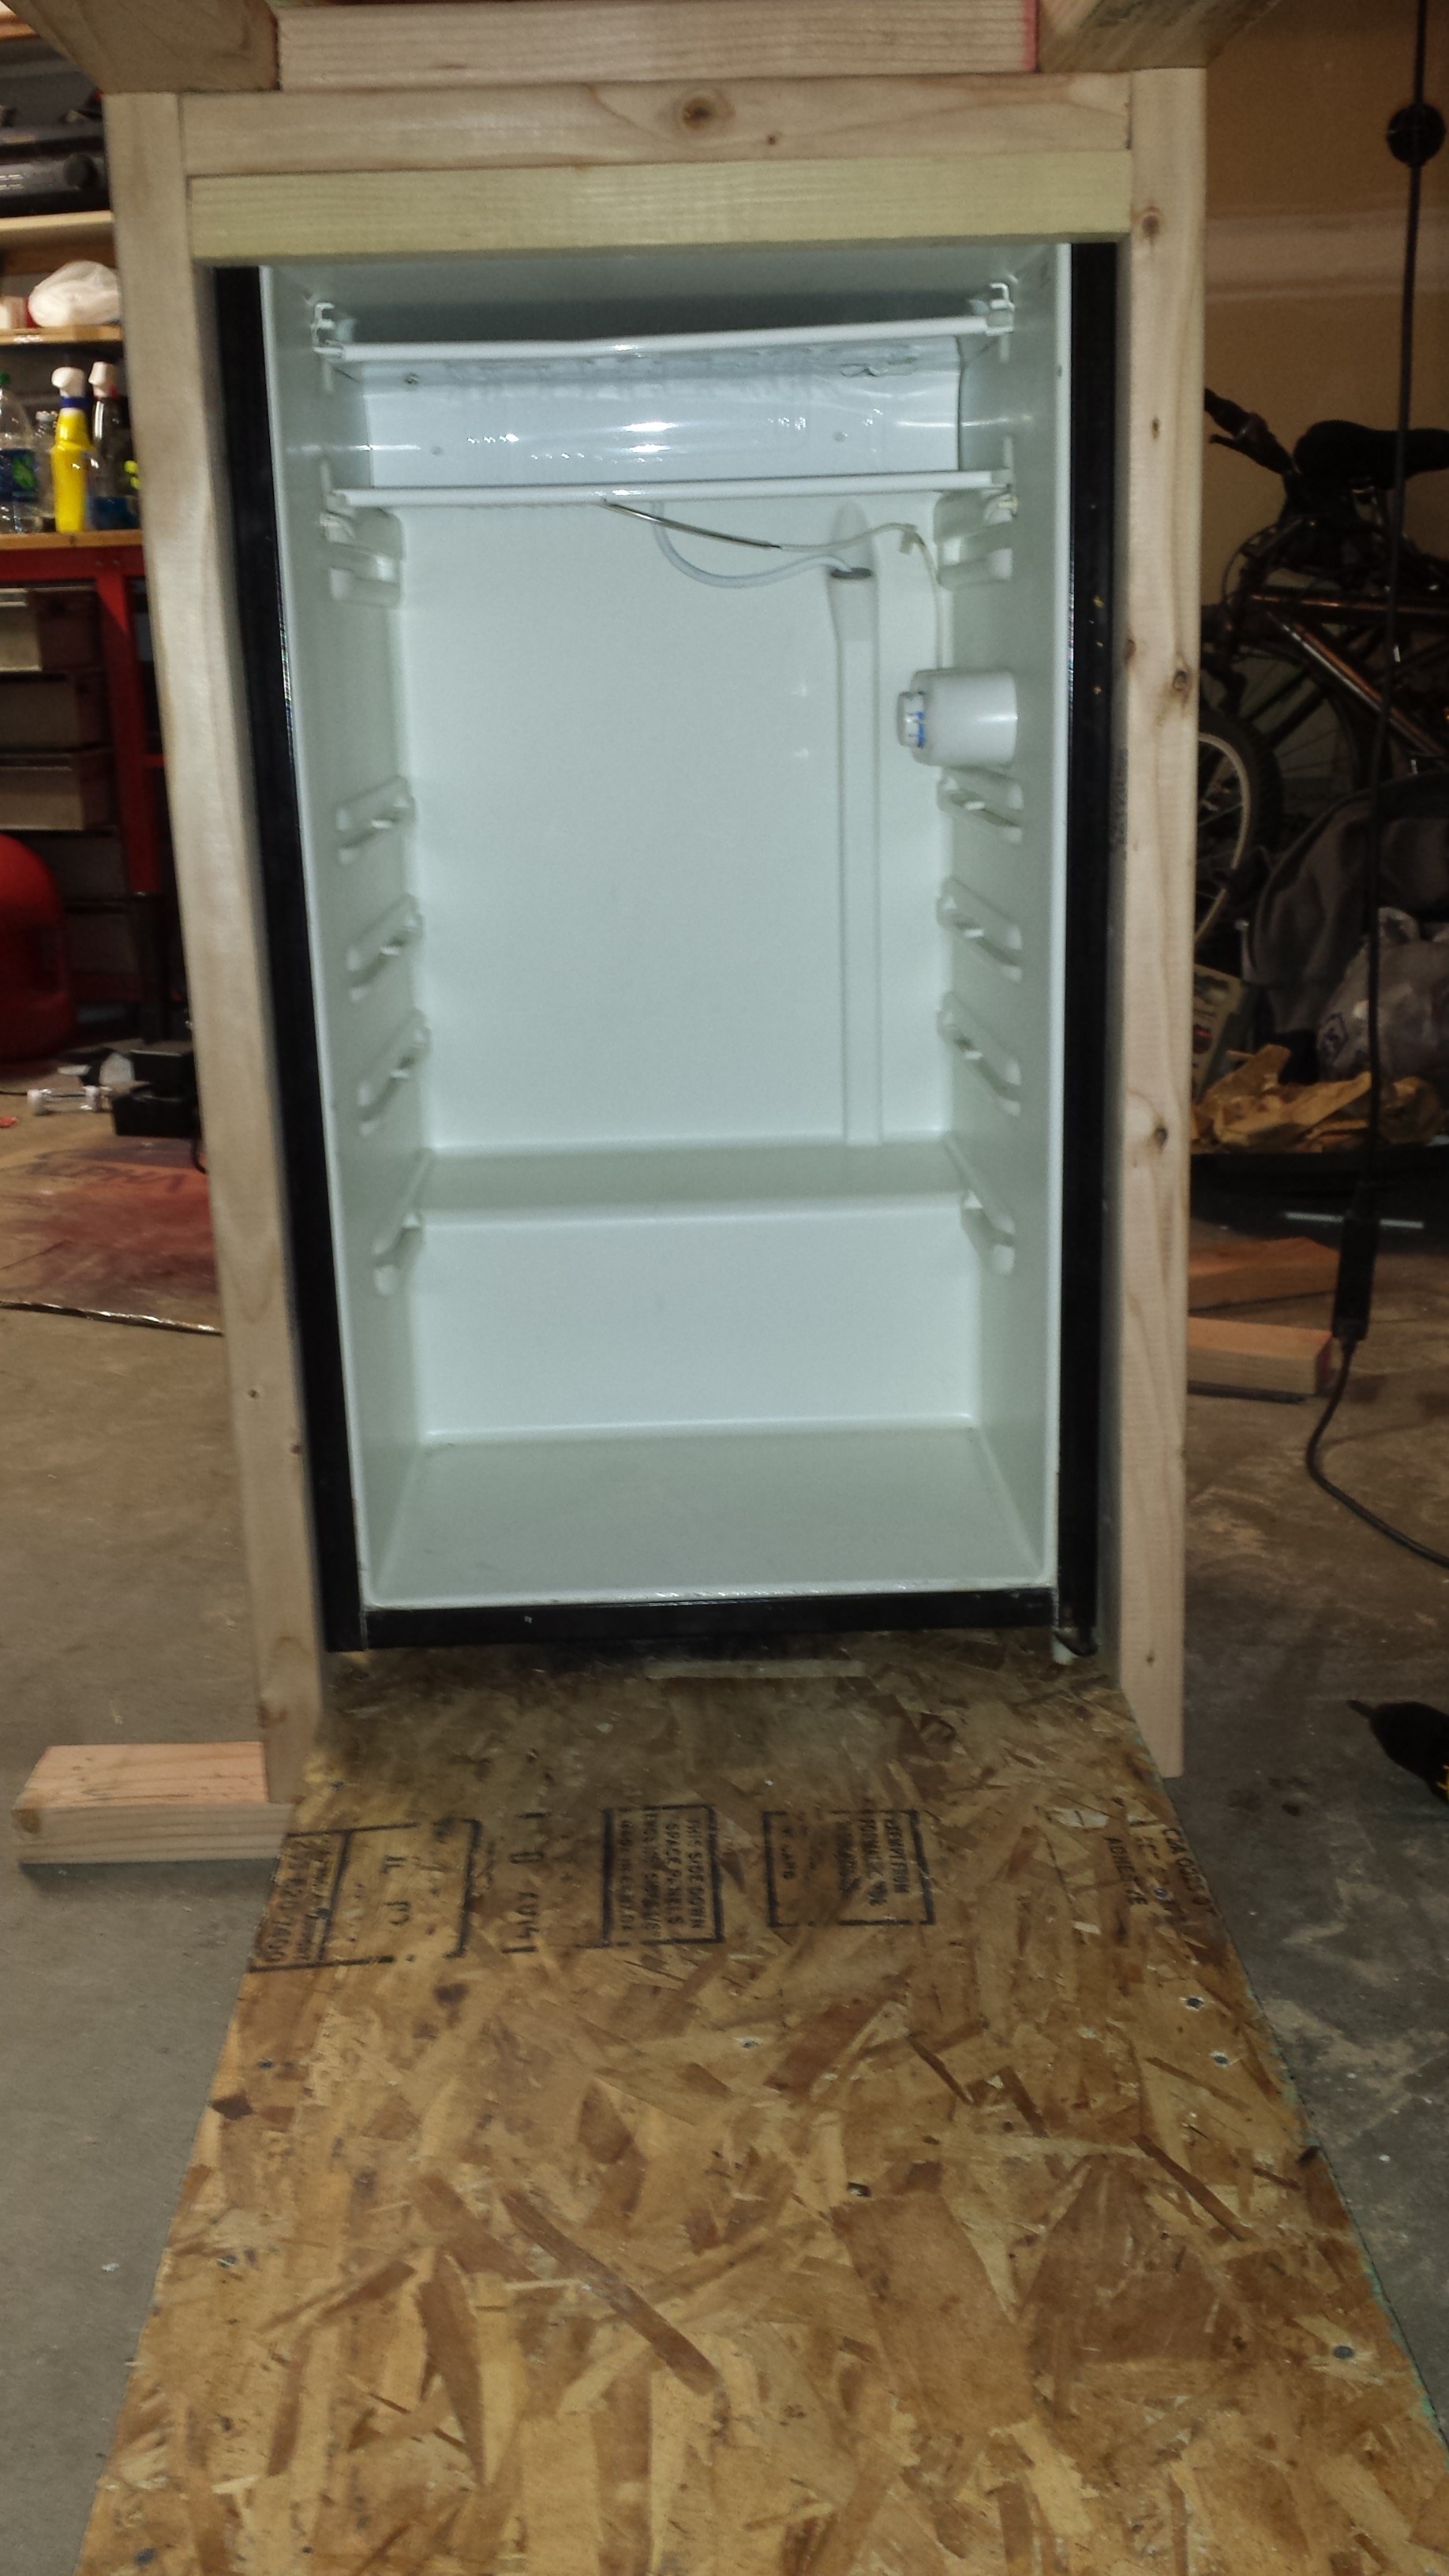
Frame is up...
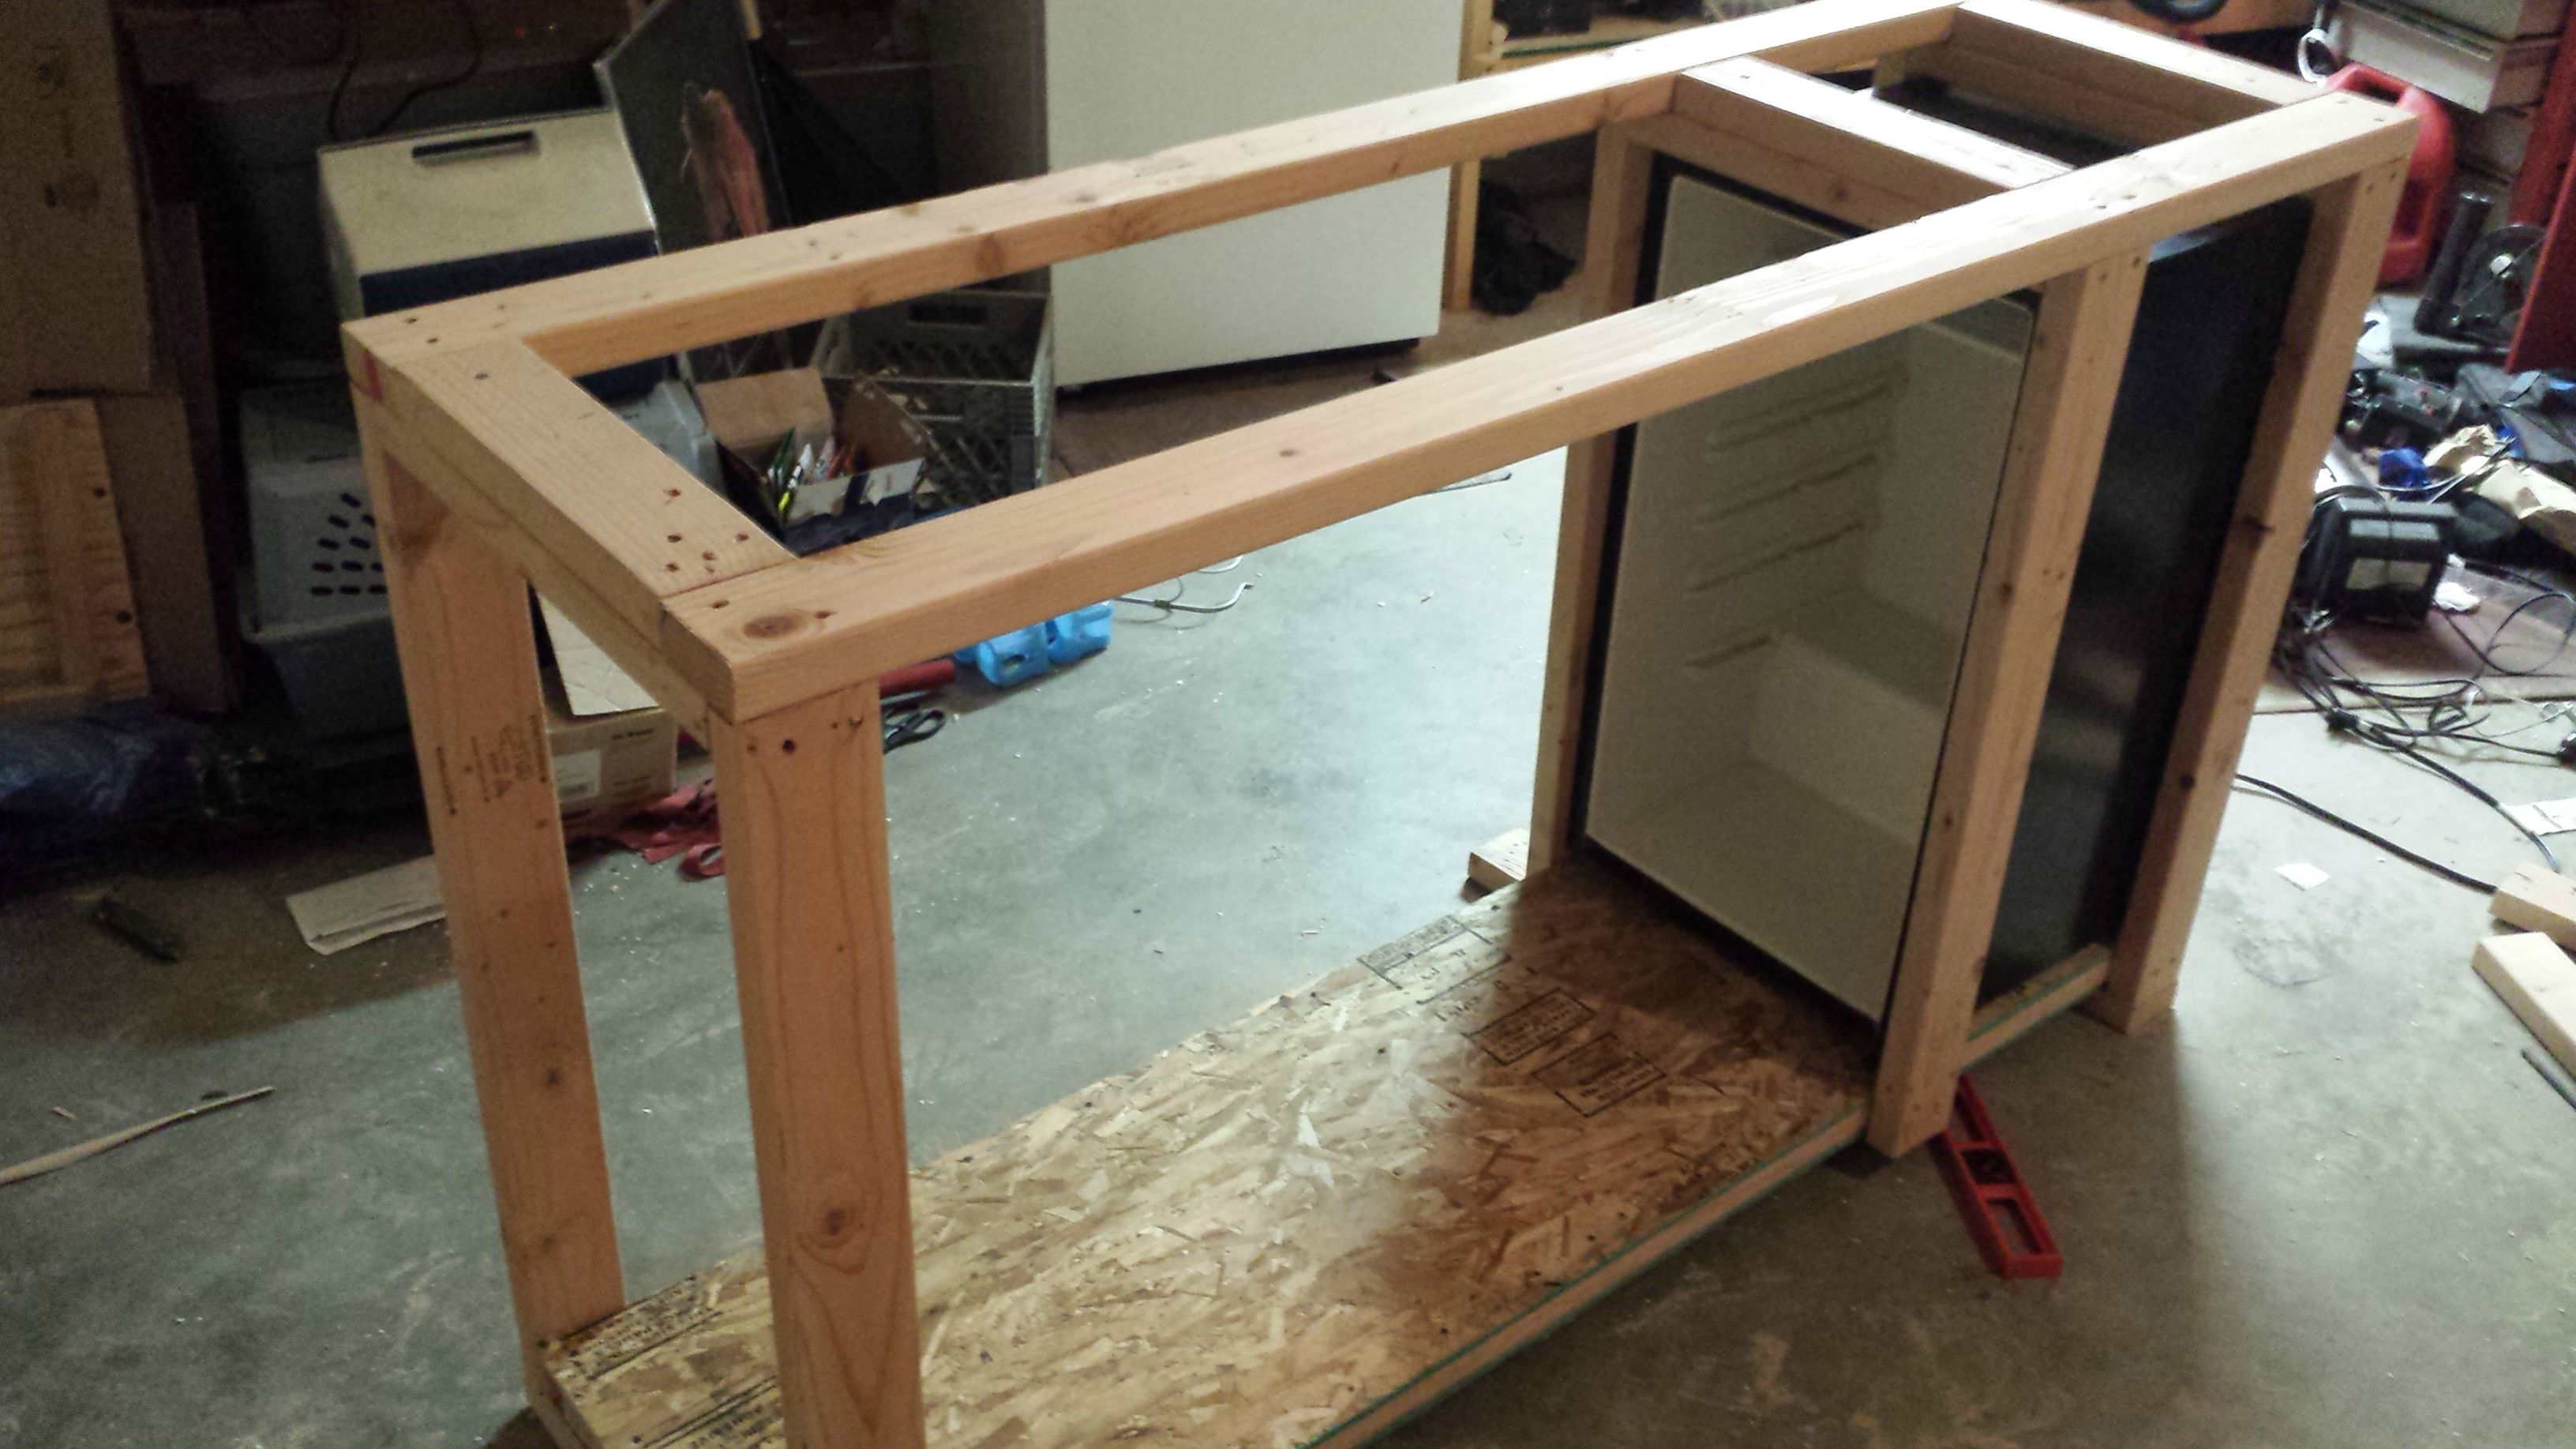
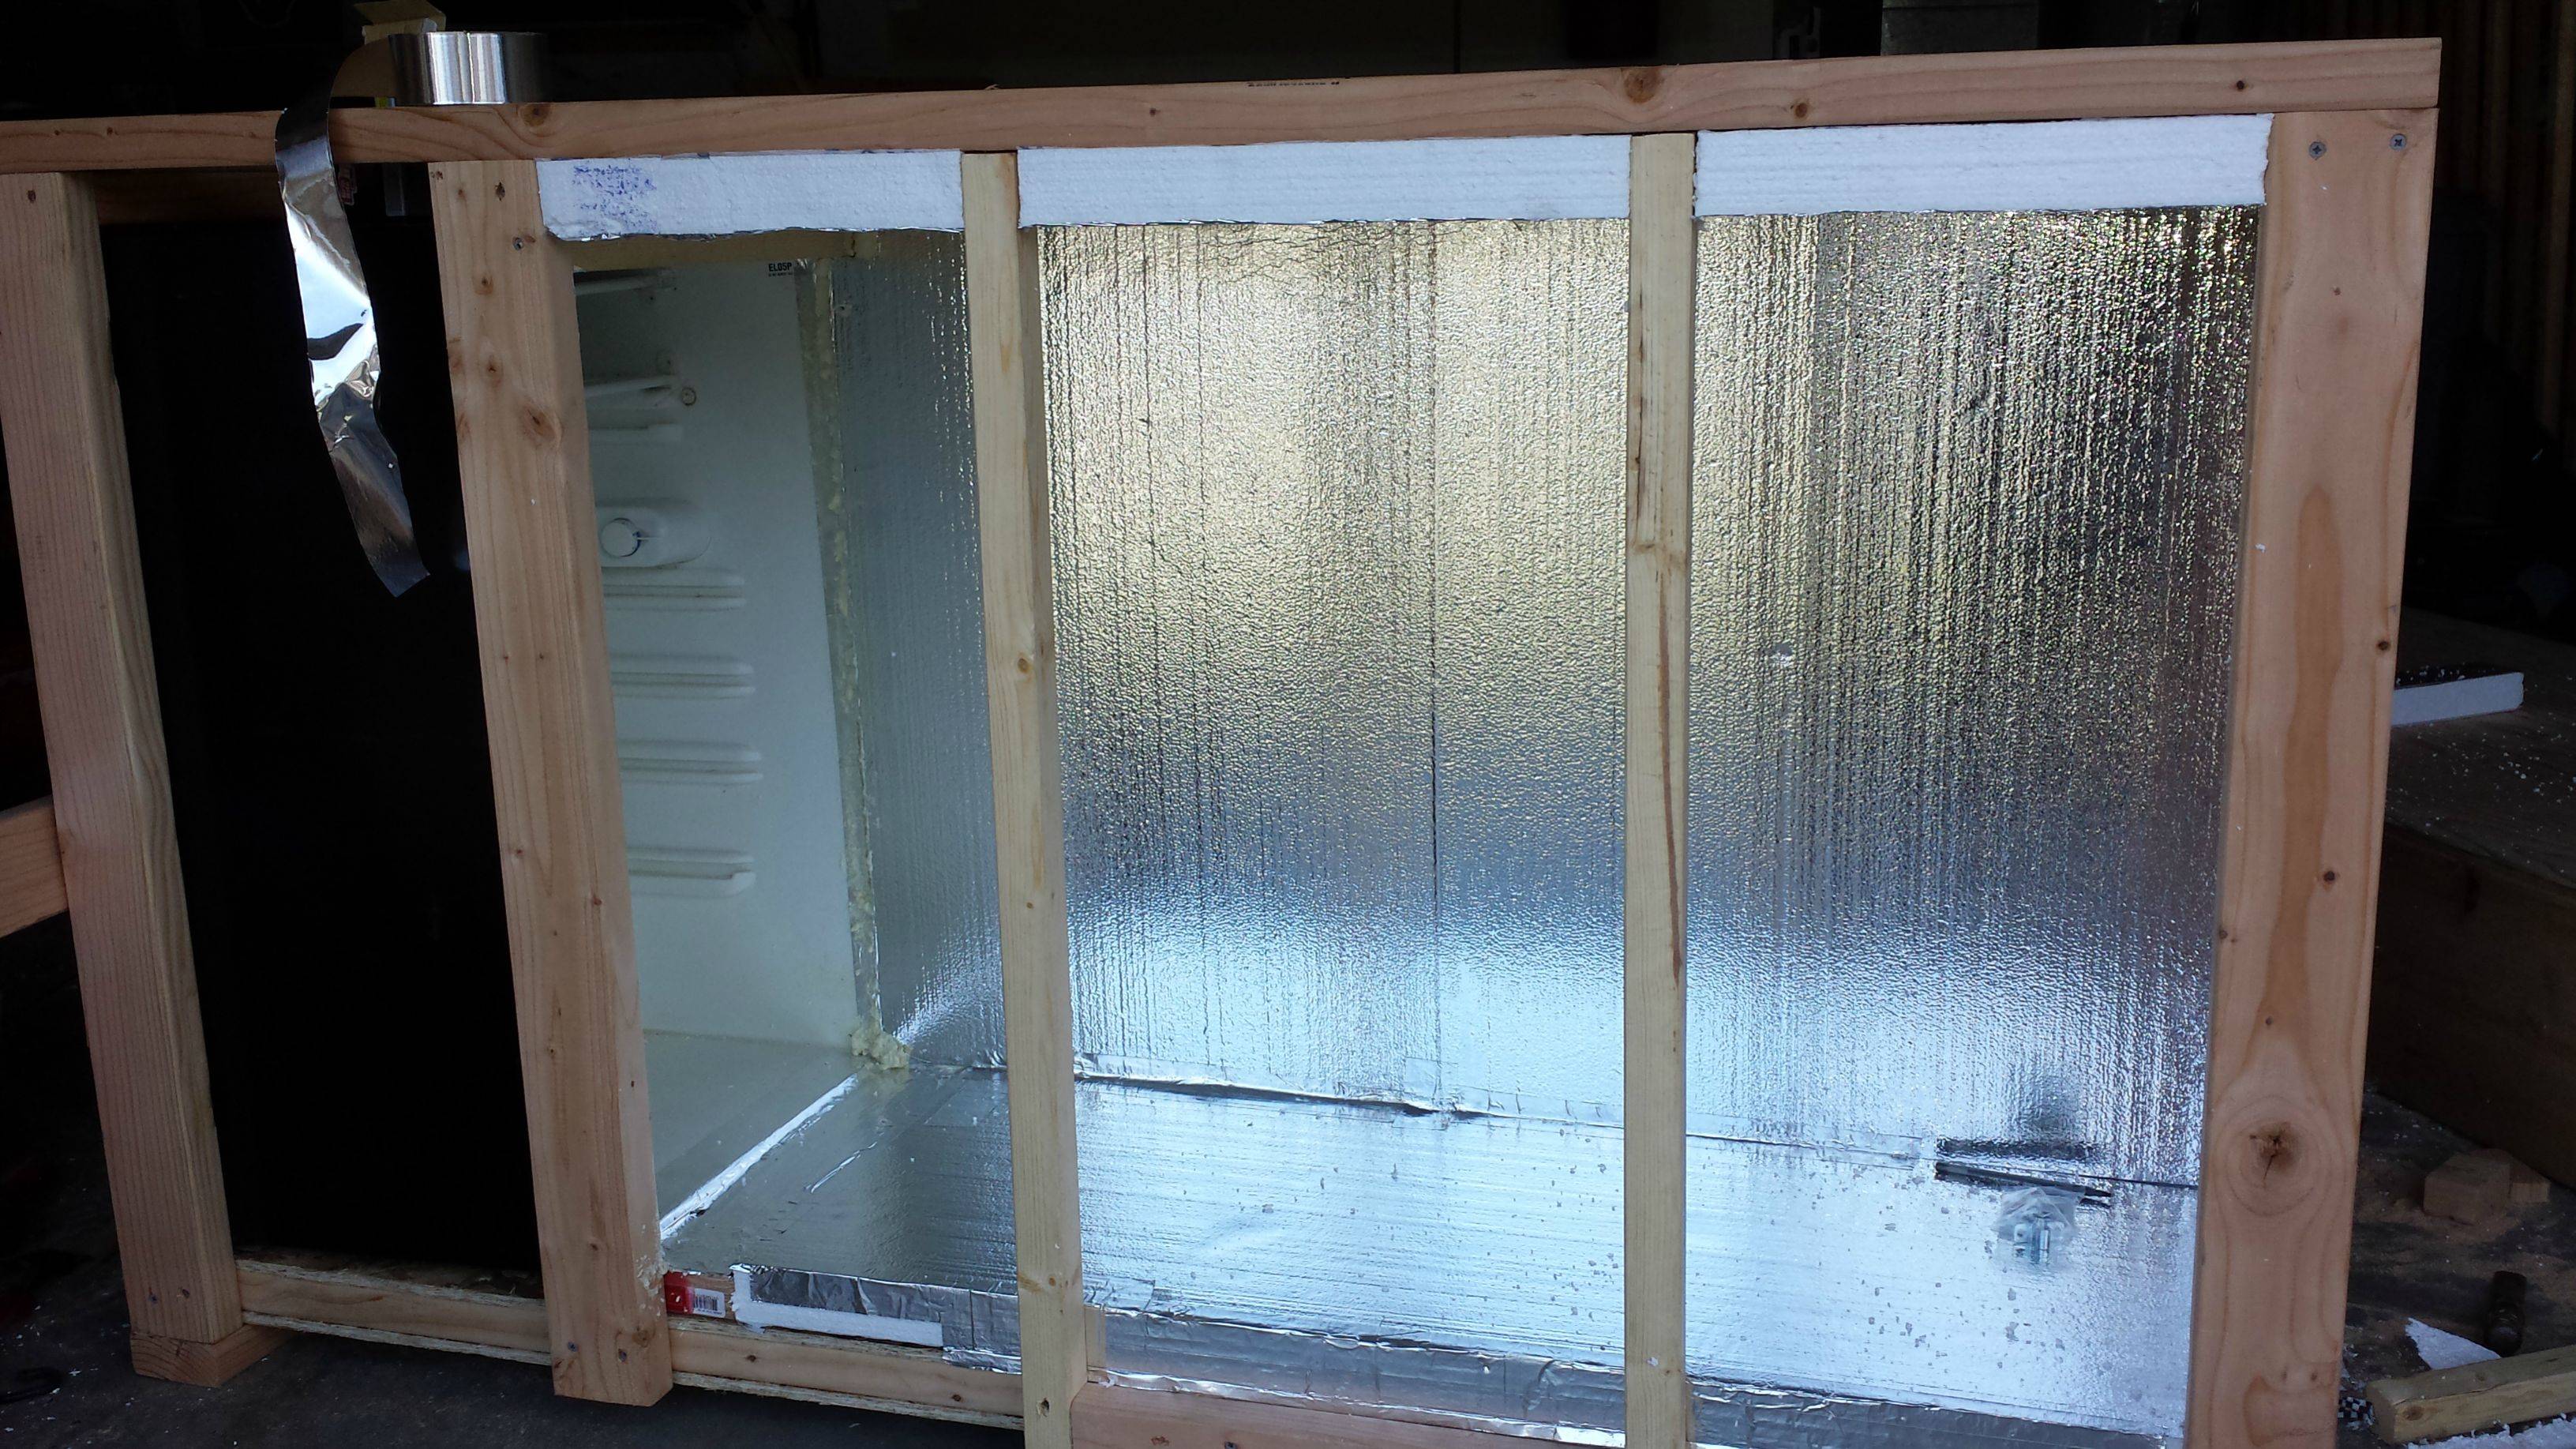
...and the fridge fits like a glove.
I ended up putting foam over the base, which really made the foam in the base itself overkill. Oh well. Lessons learned.
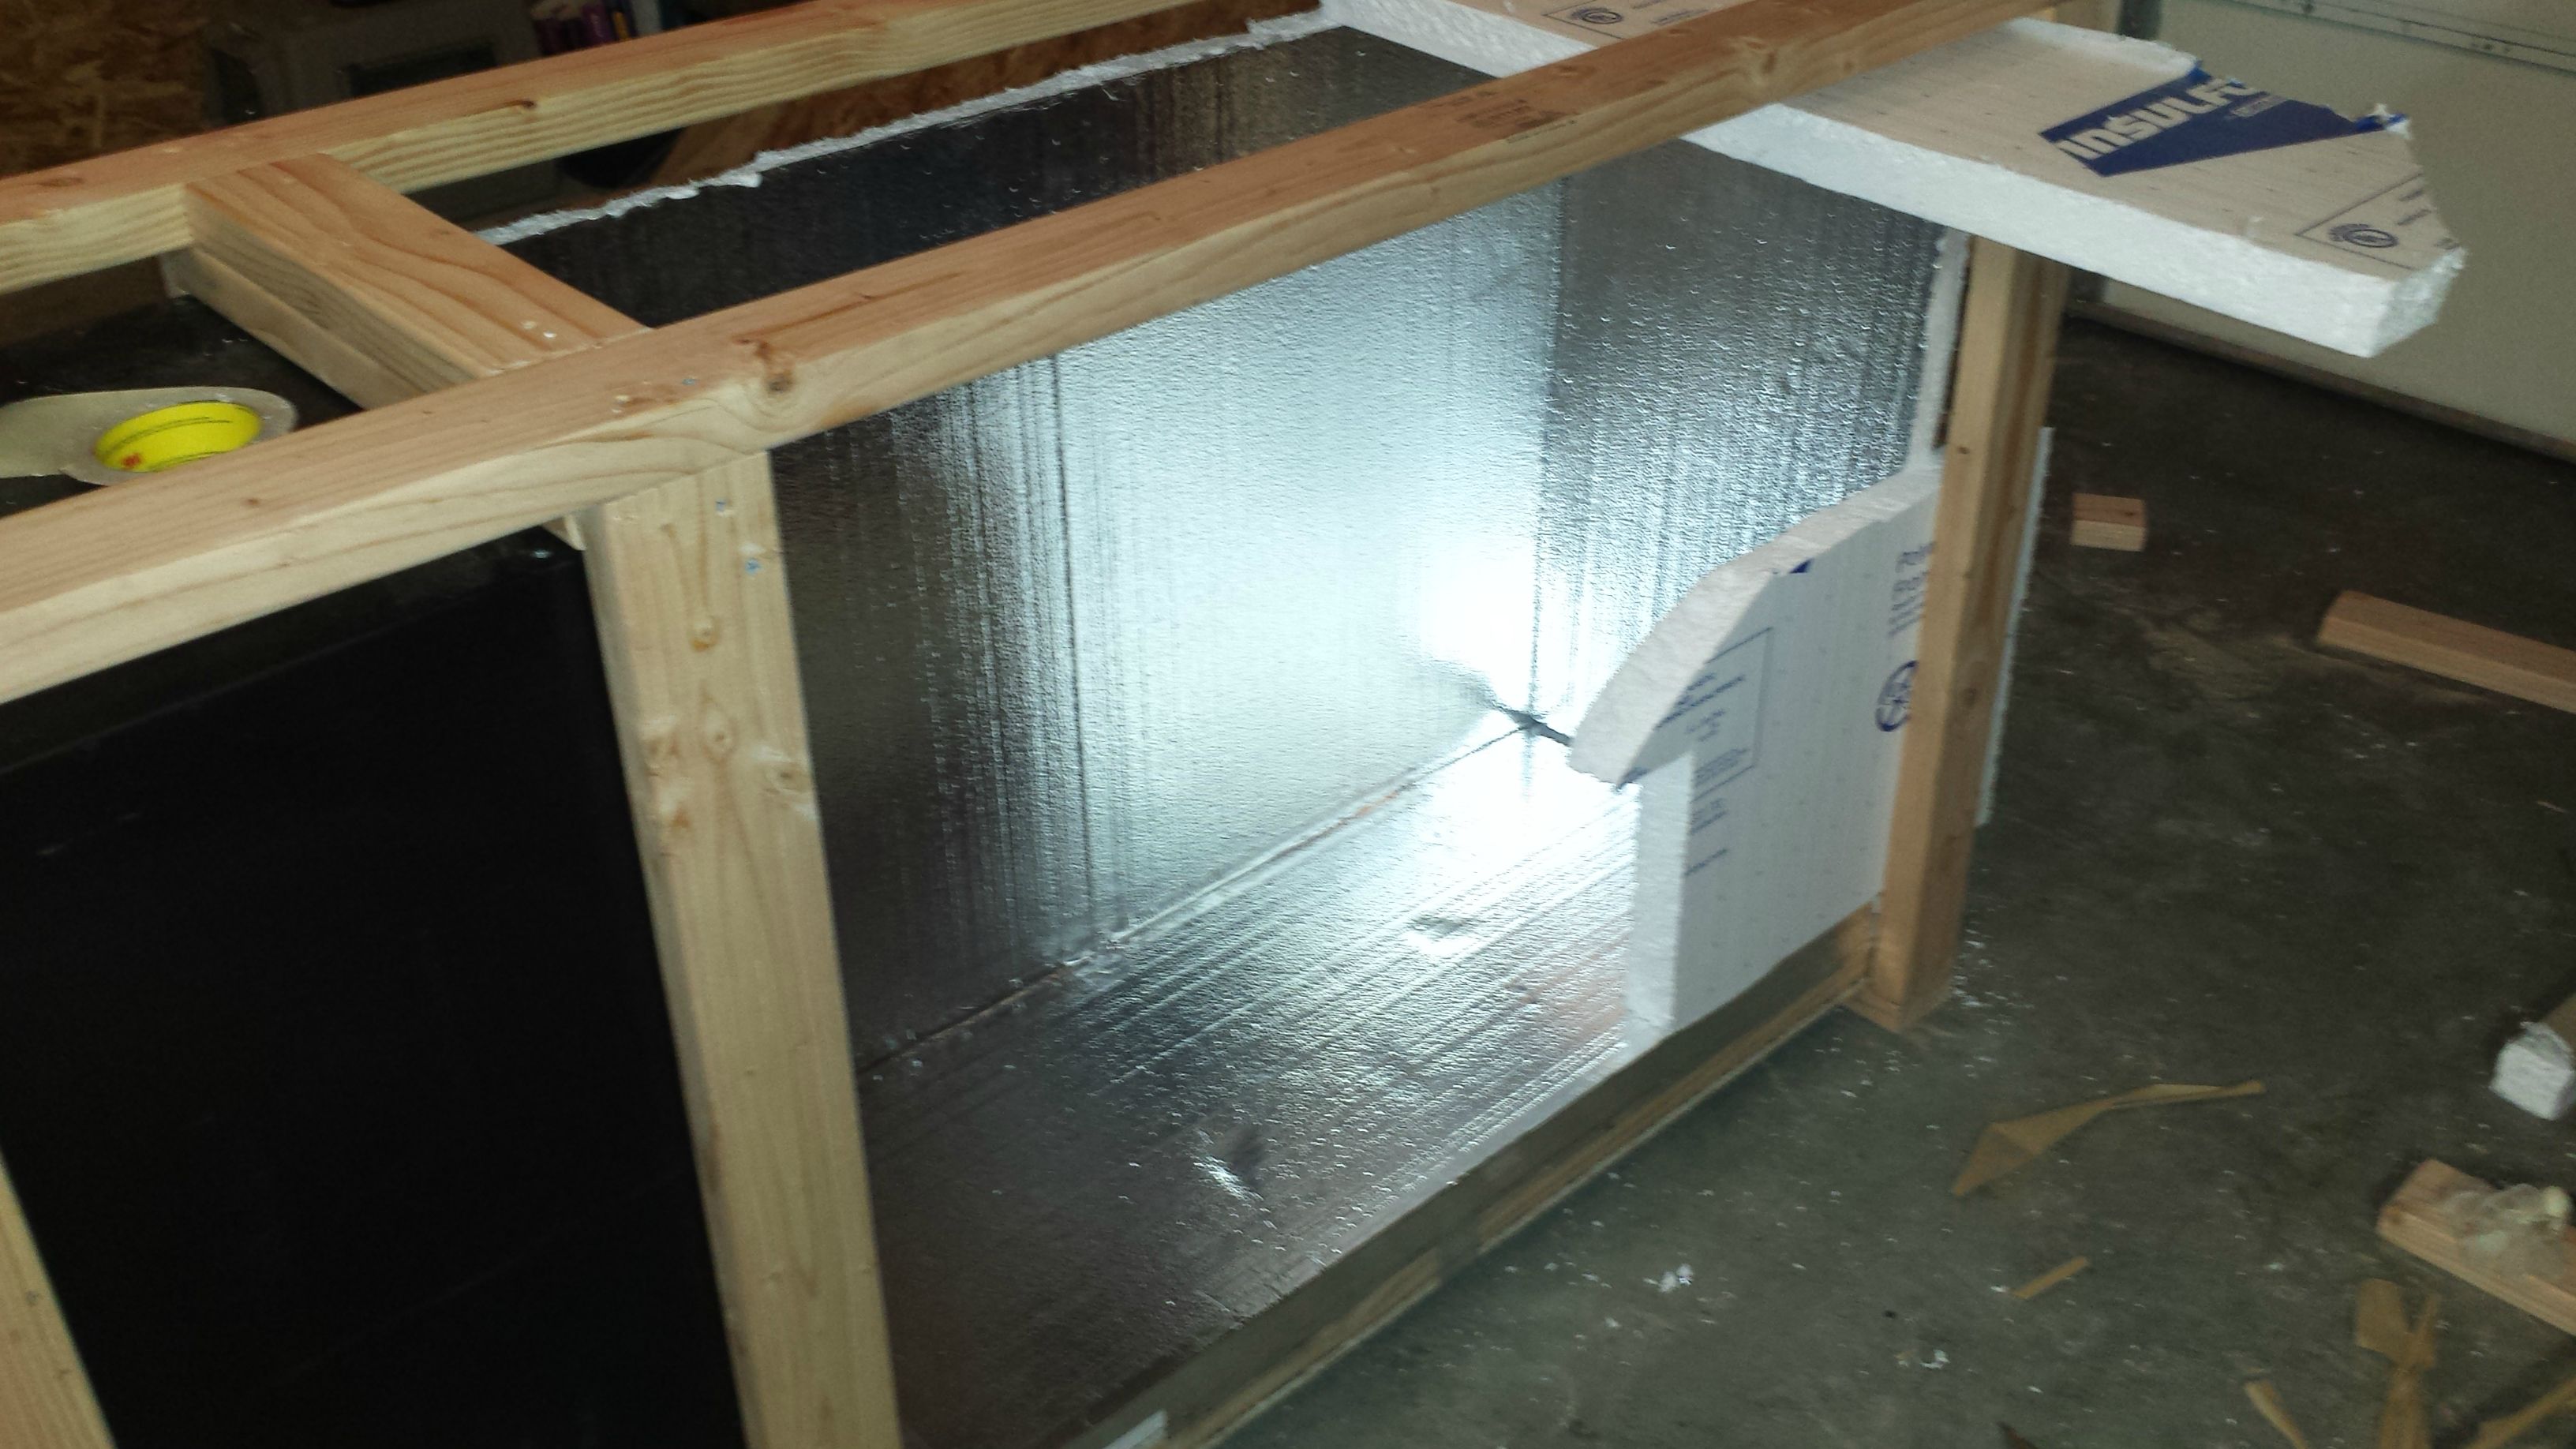
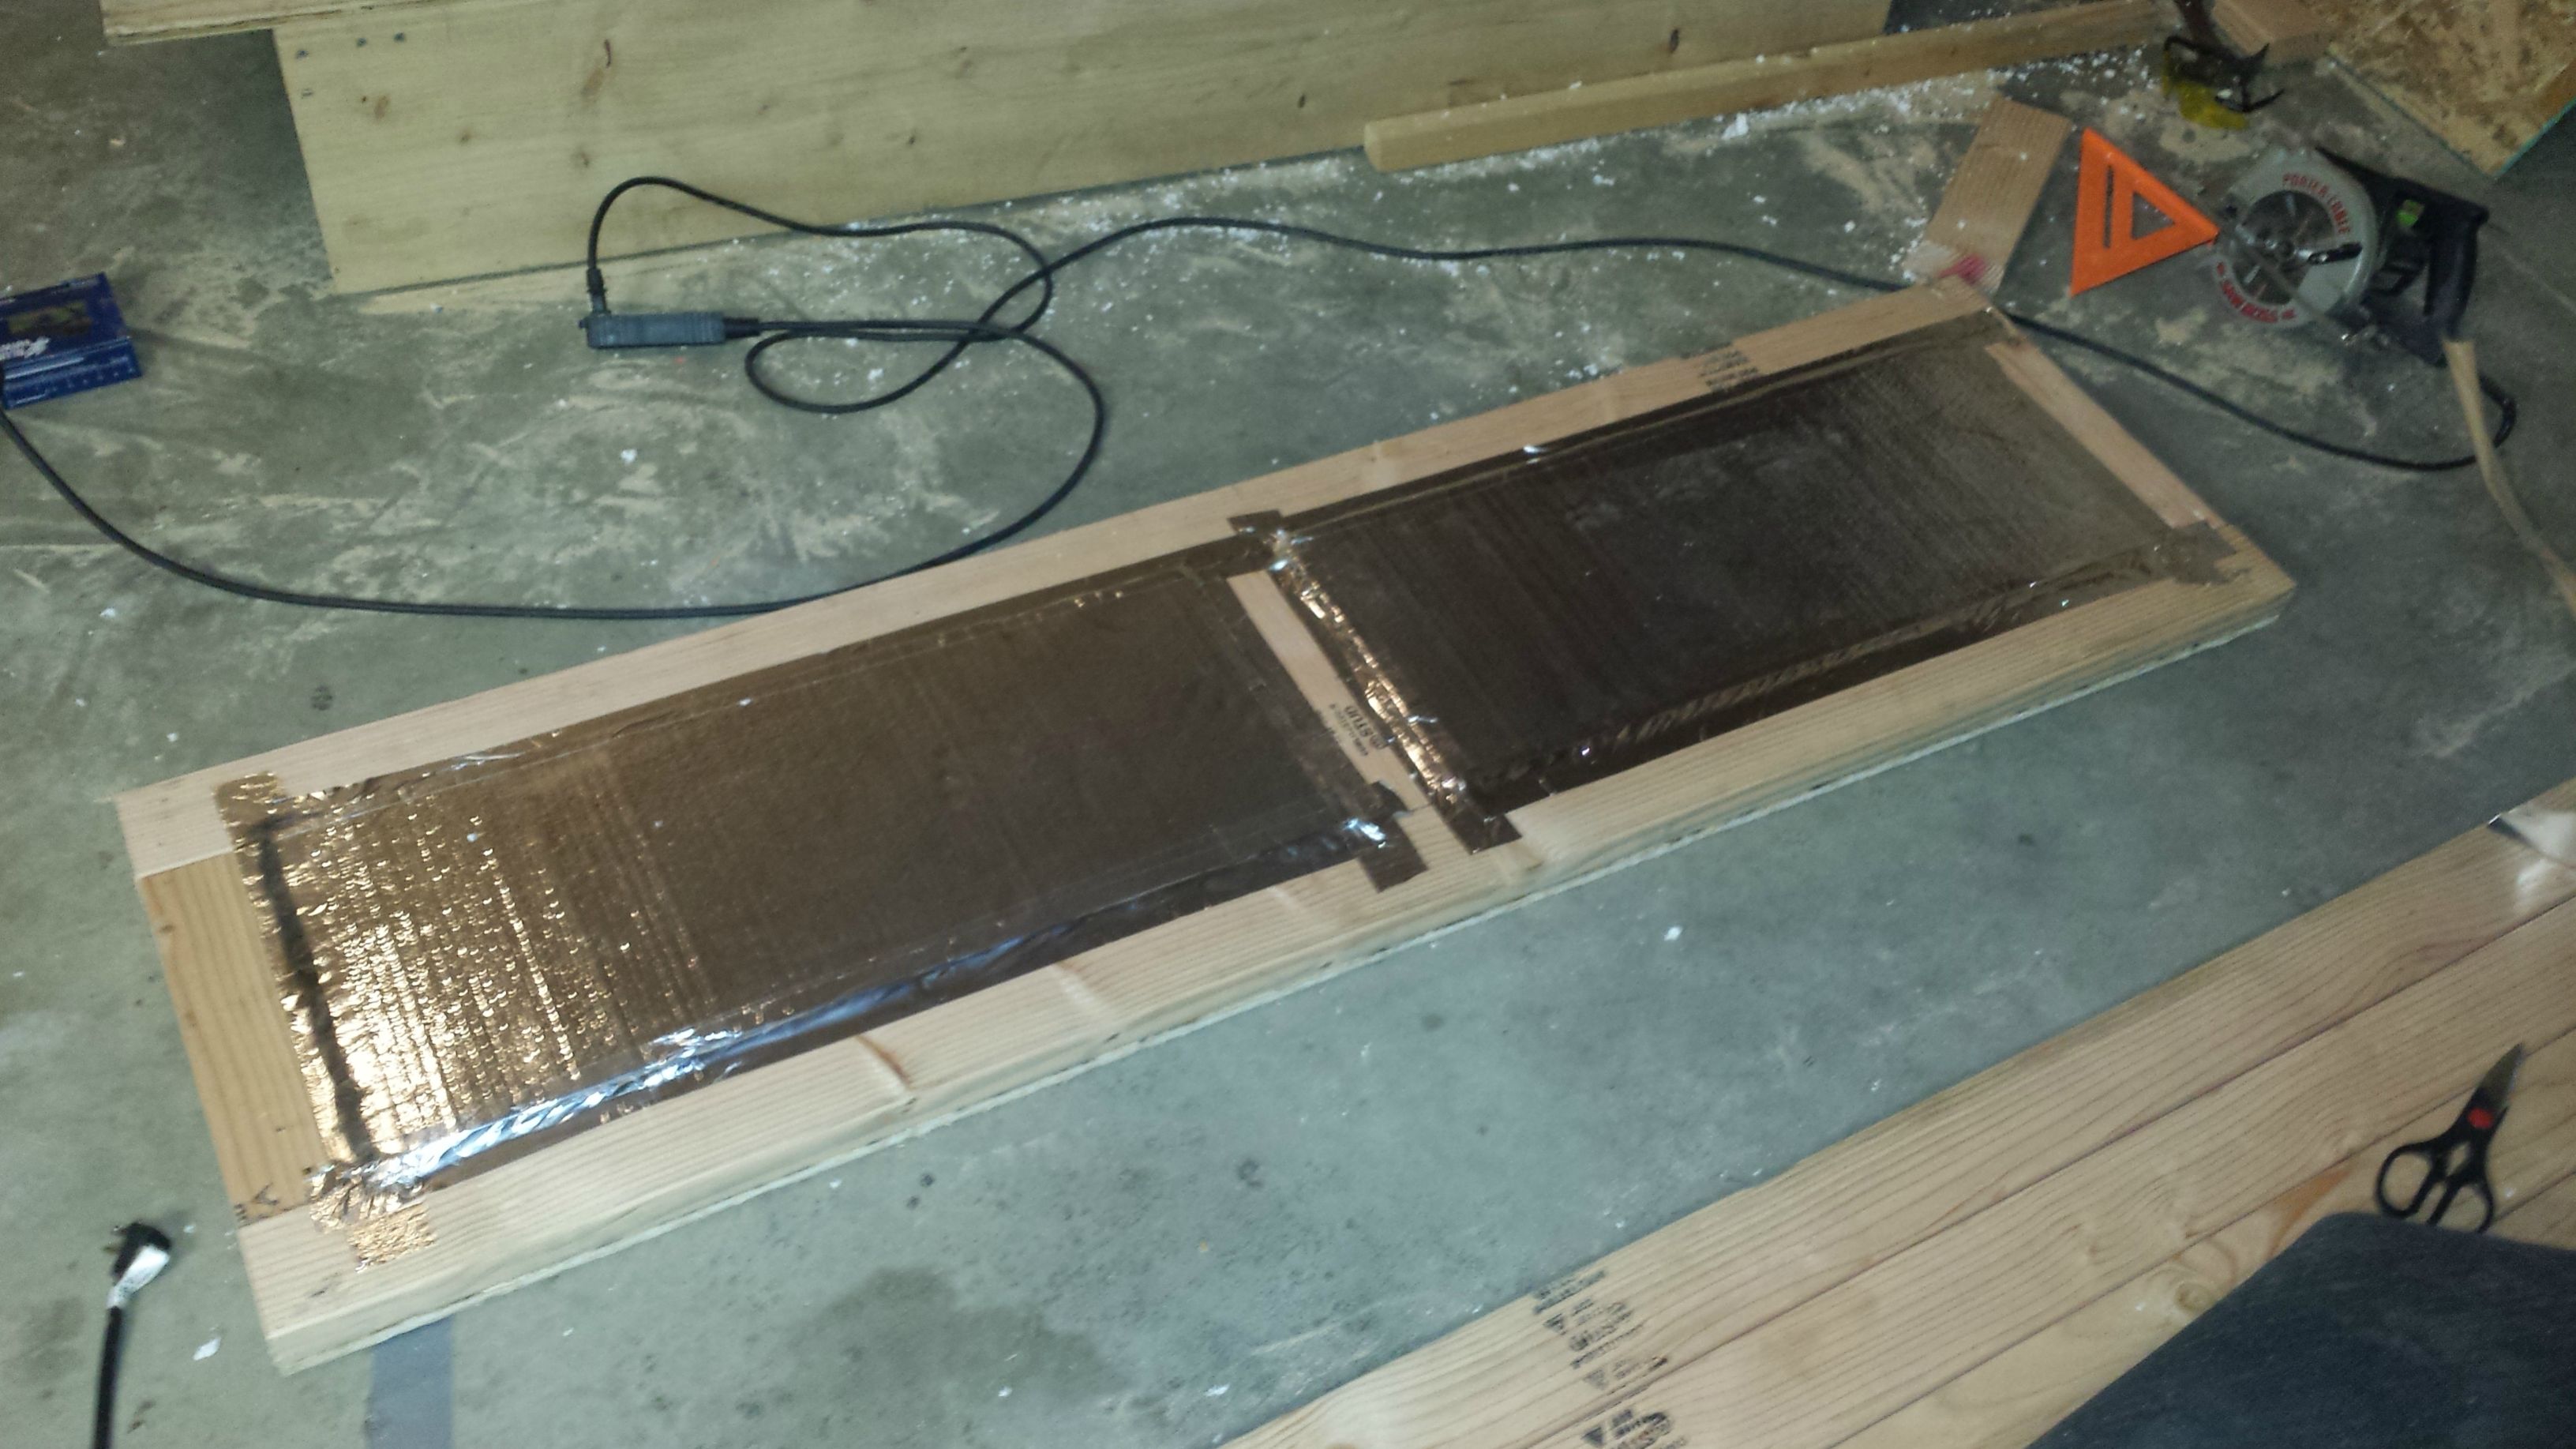
The back wall goes up. I threw some scrap foam in there to see how it would fit.
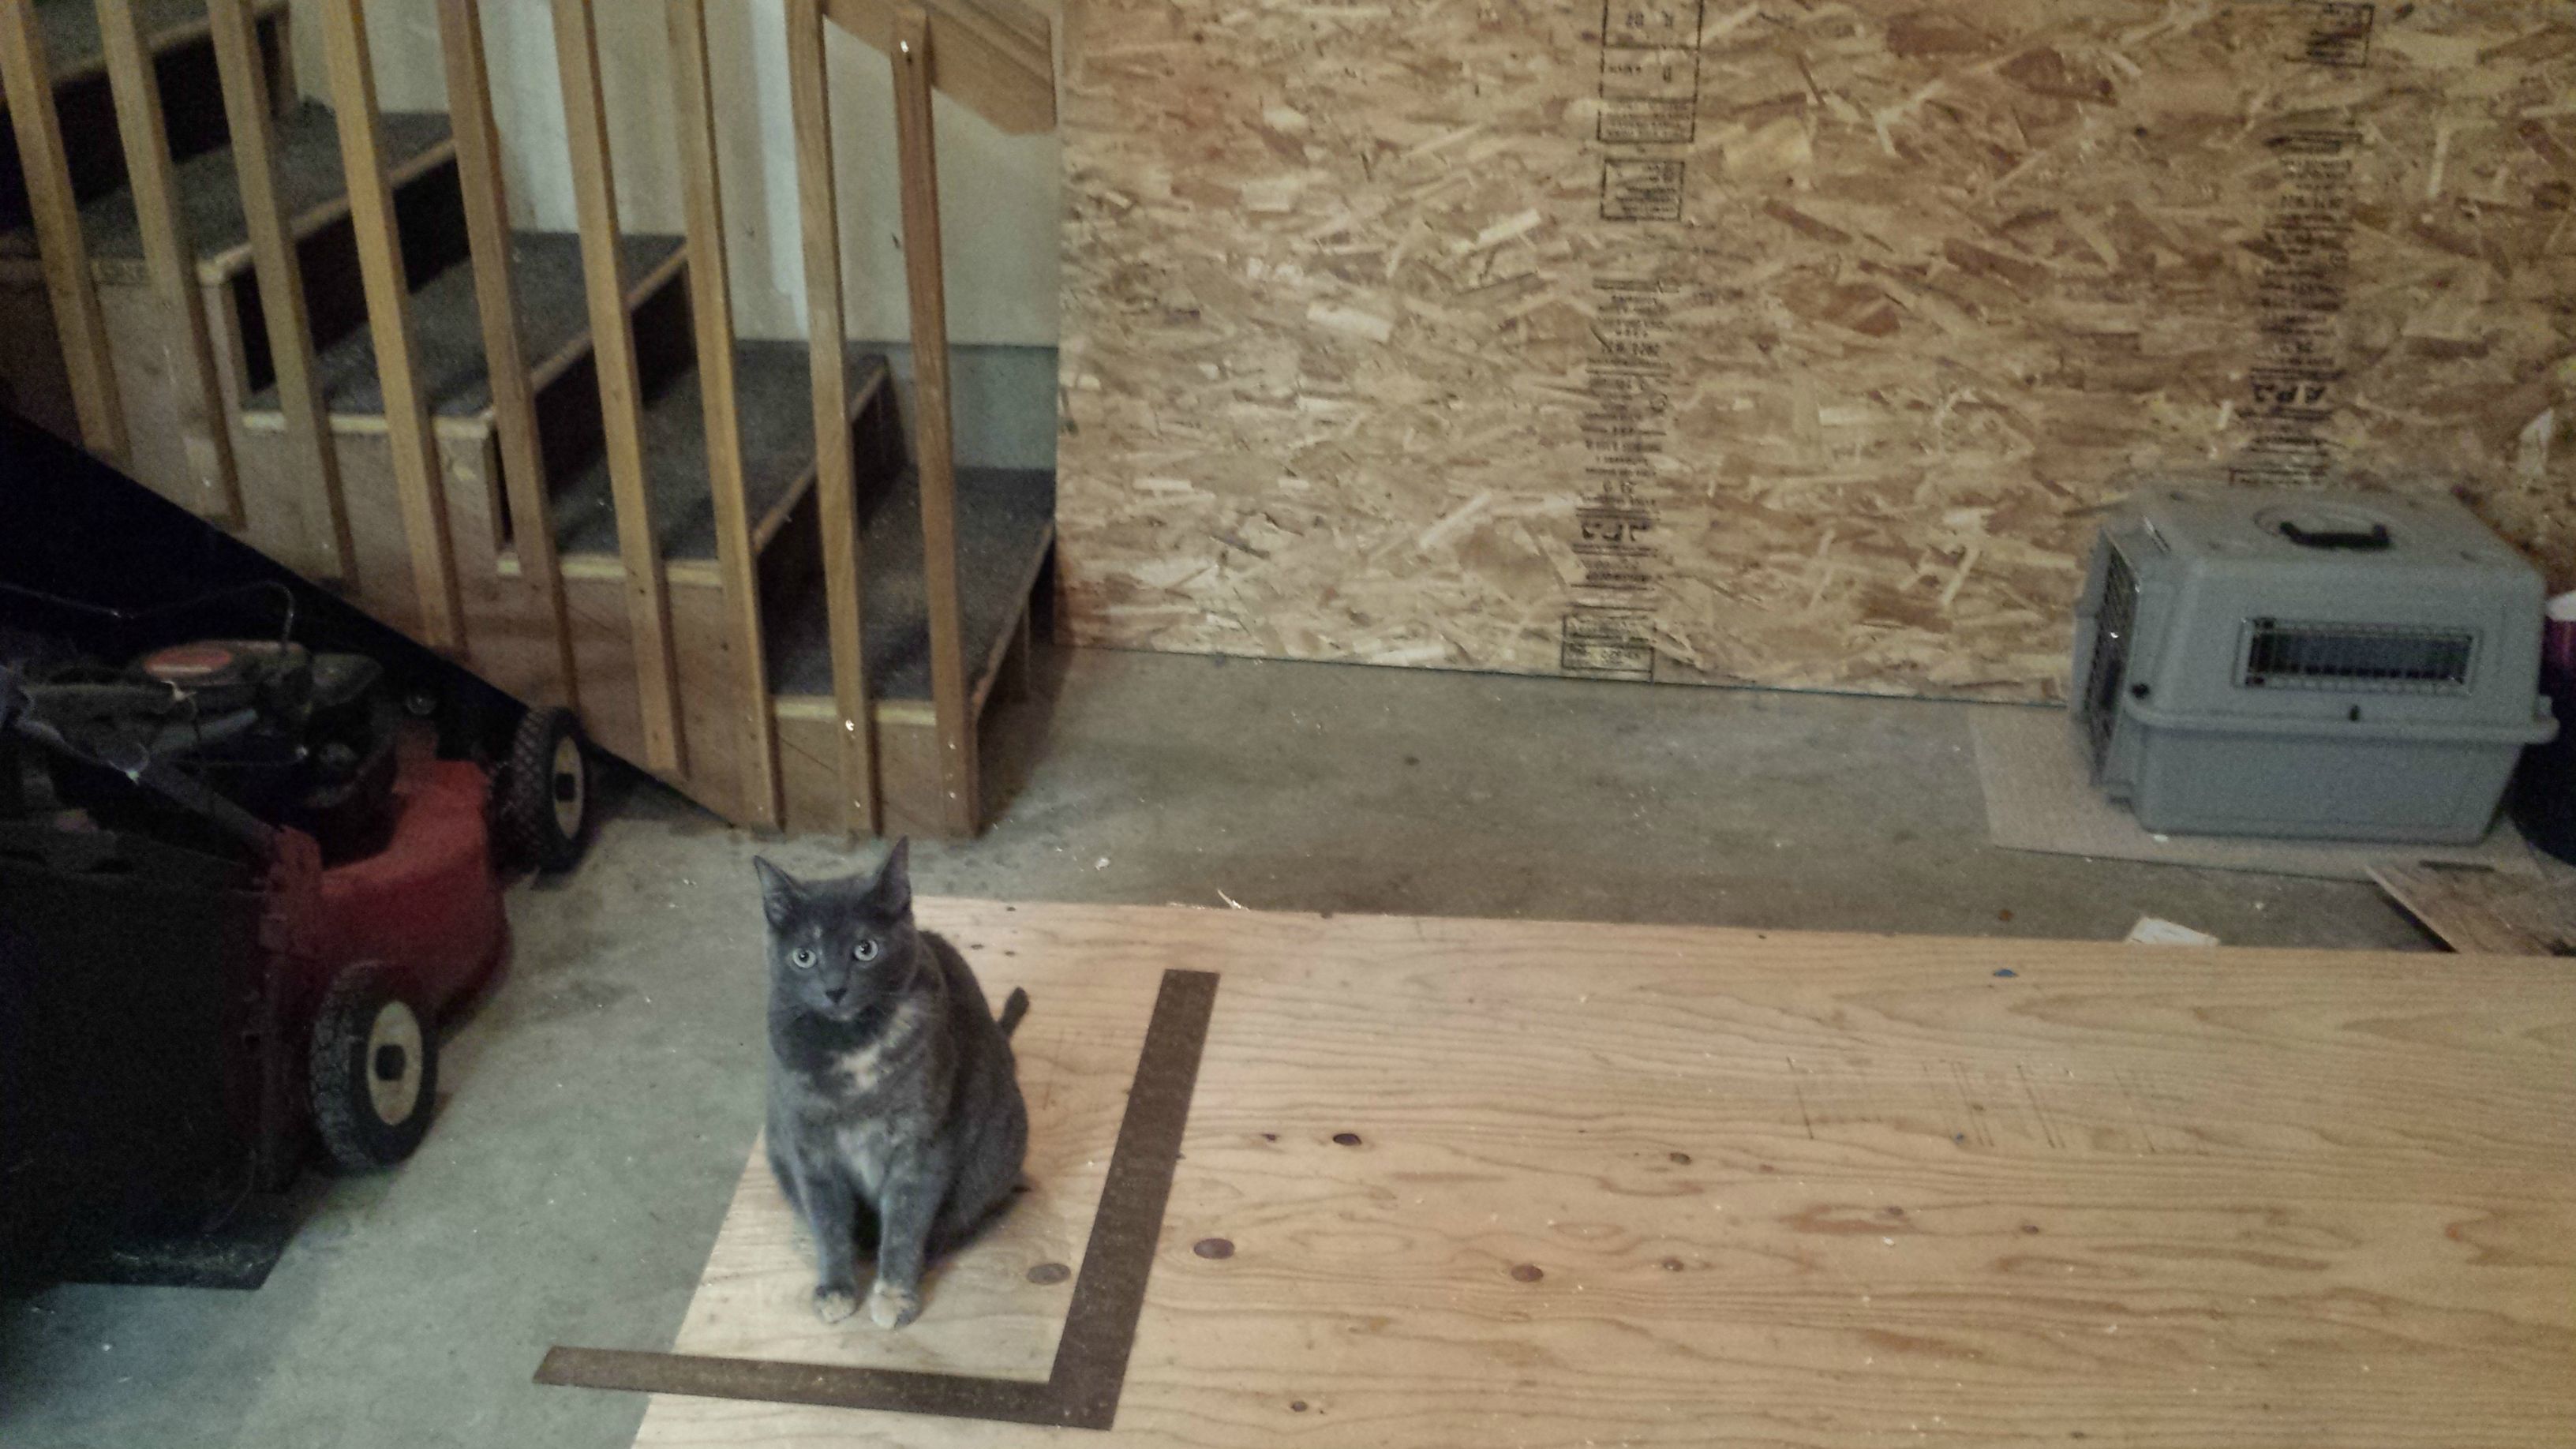
My brew buddy decided to come visit... after I was done making cuts for the night. She hates the circular saw more than she hates the vacuum.
Ceiling installed. Door frame installed.
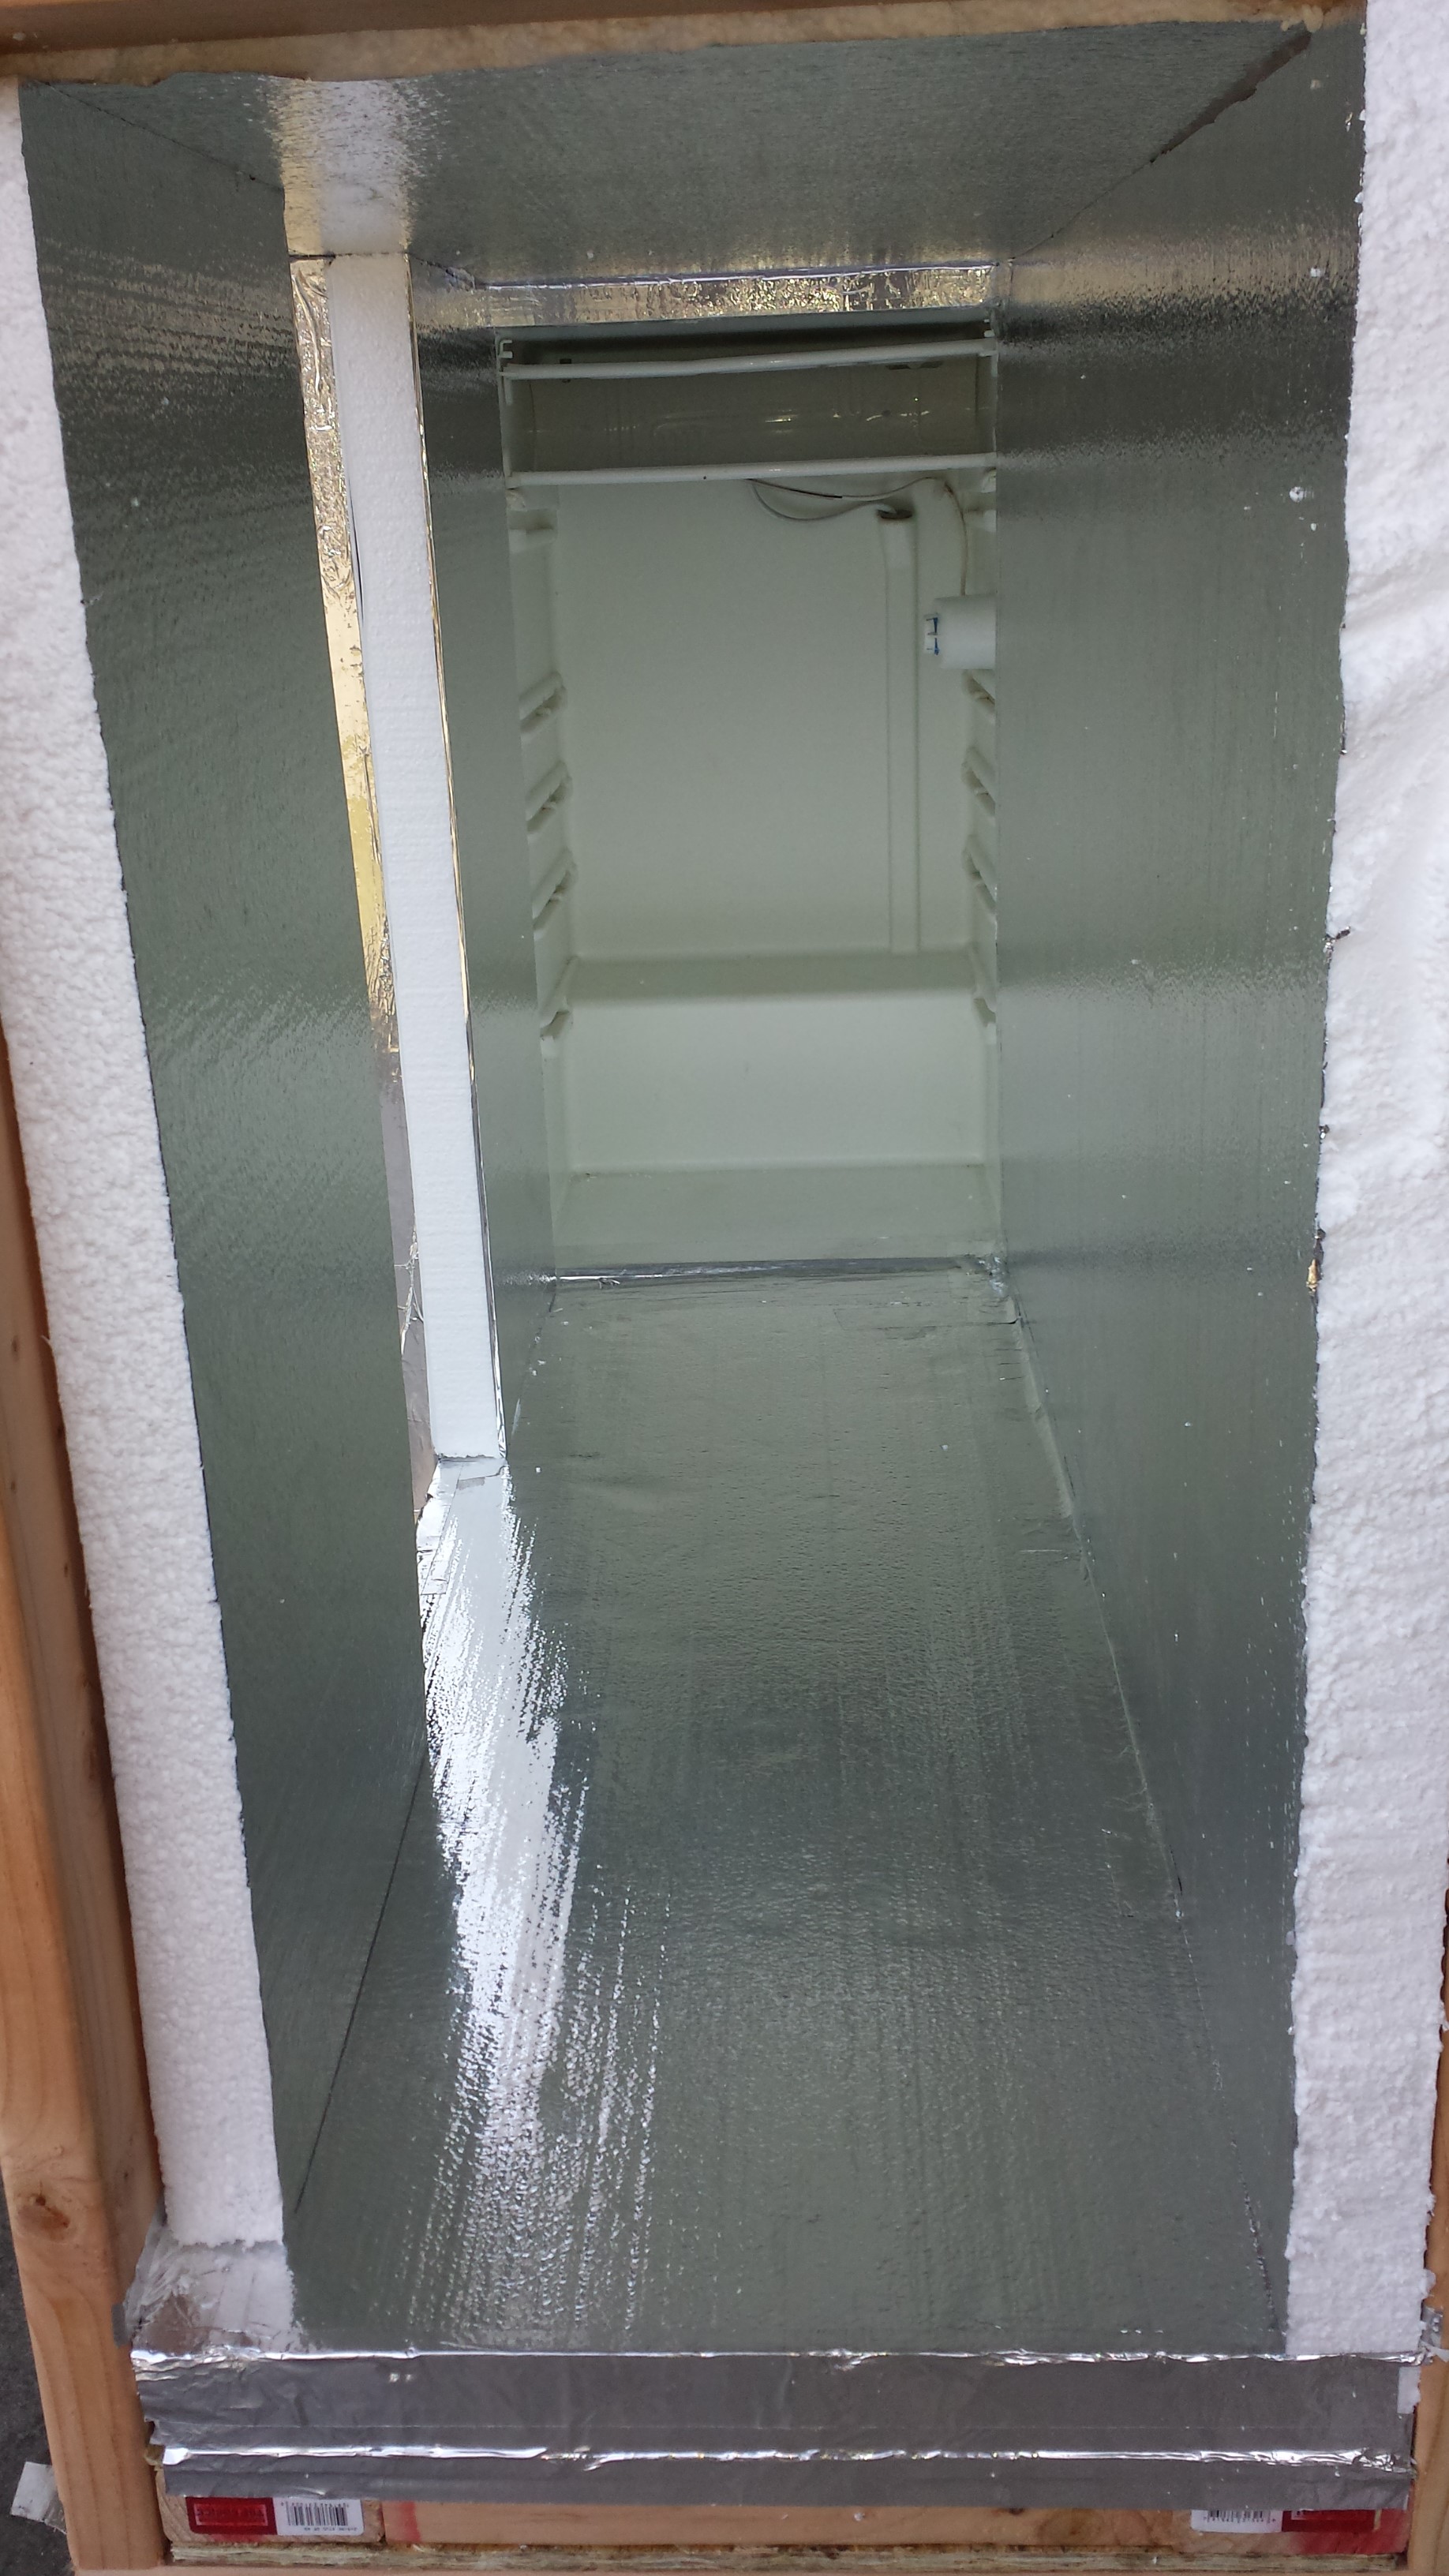
Taped the edge of the fridge up. Also used some of the spray foam insulation to fill some gaps.
View from the end, prior to installing the foam on that side.
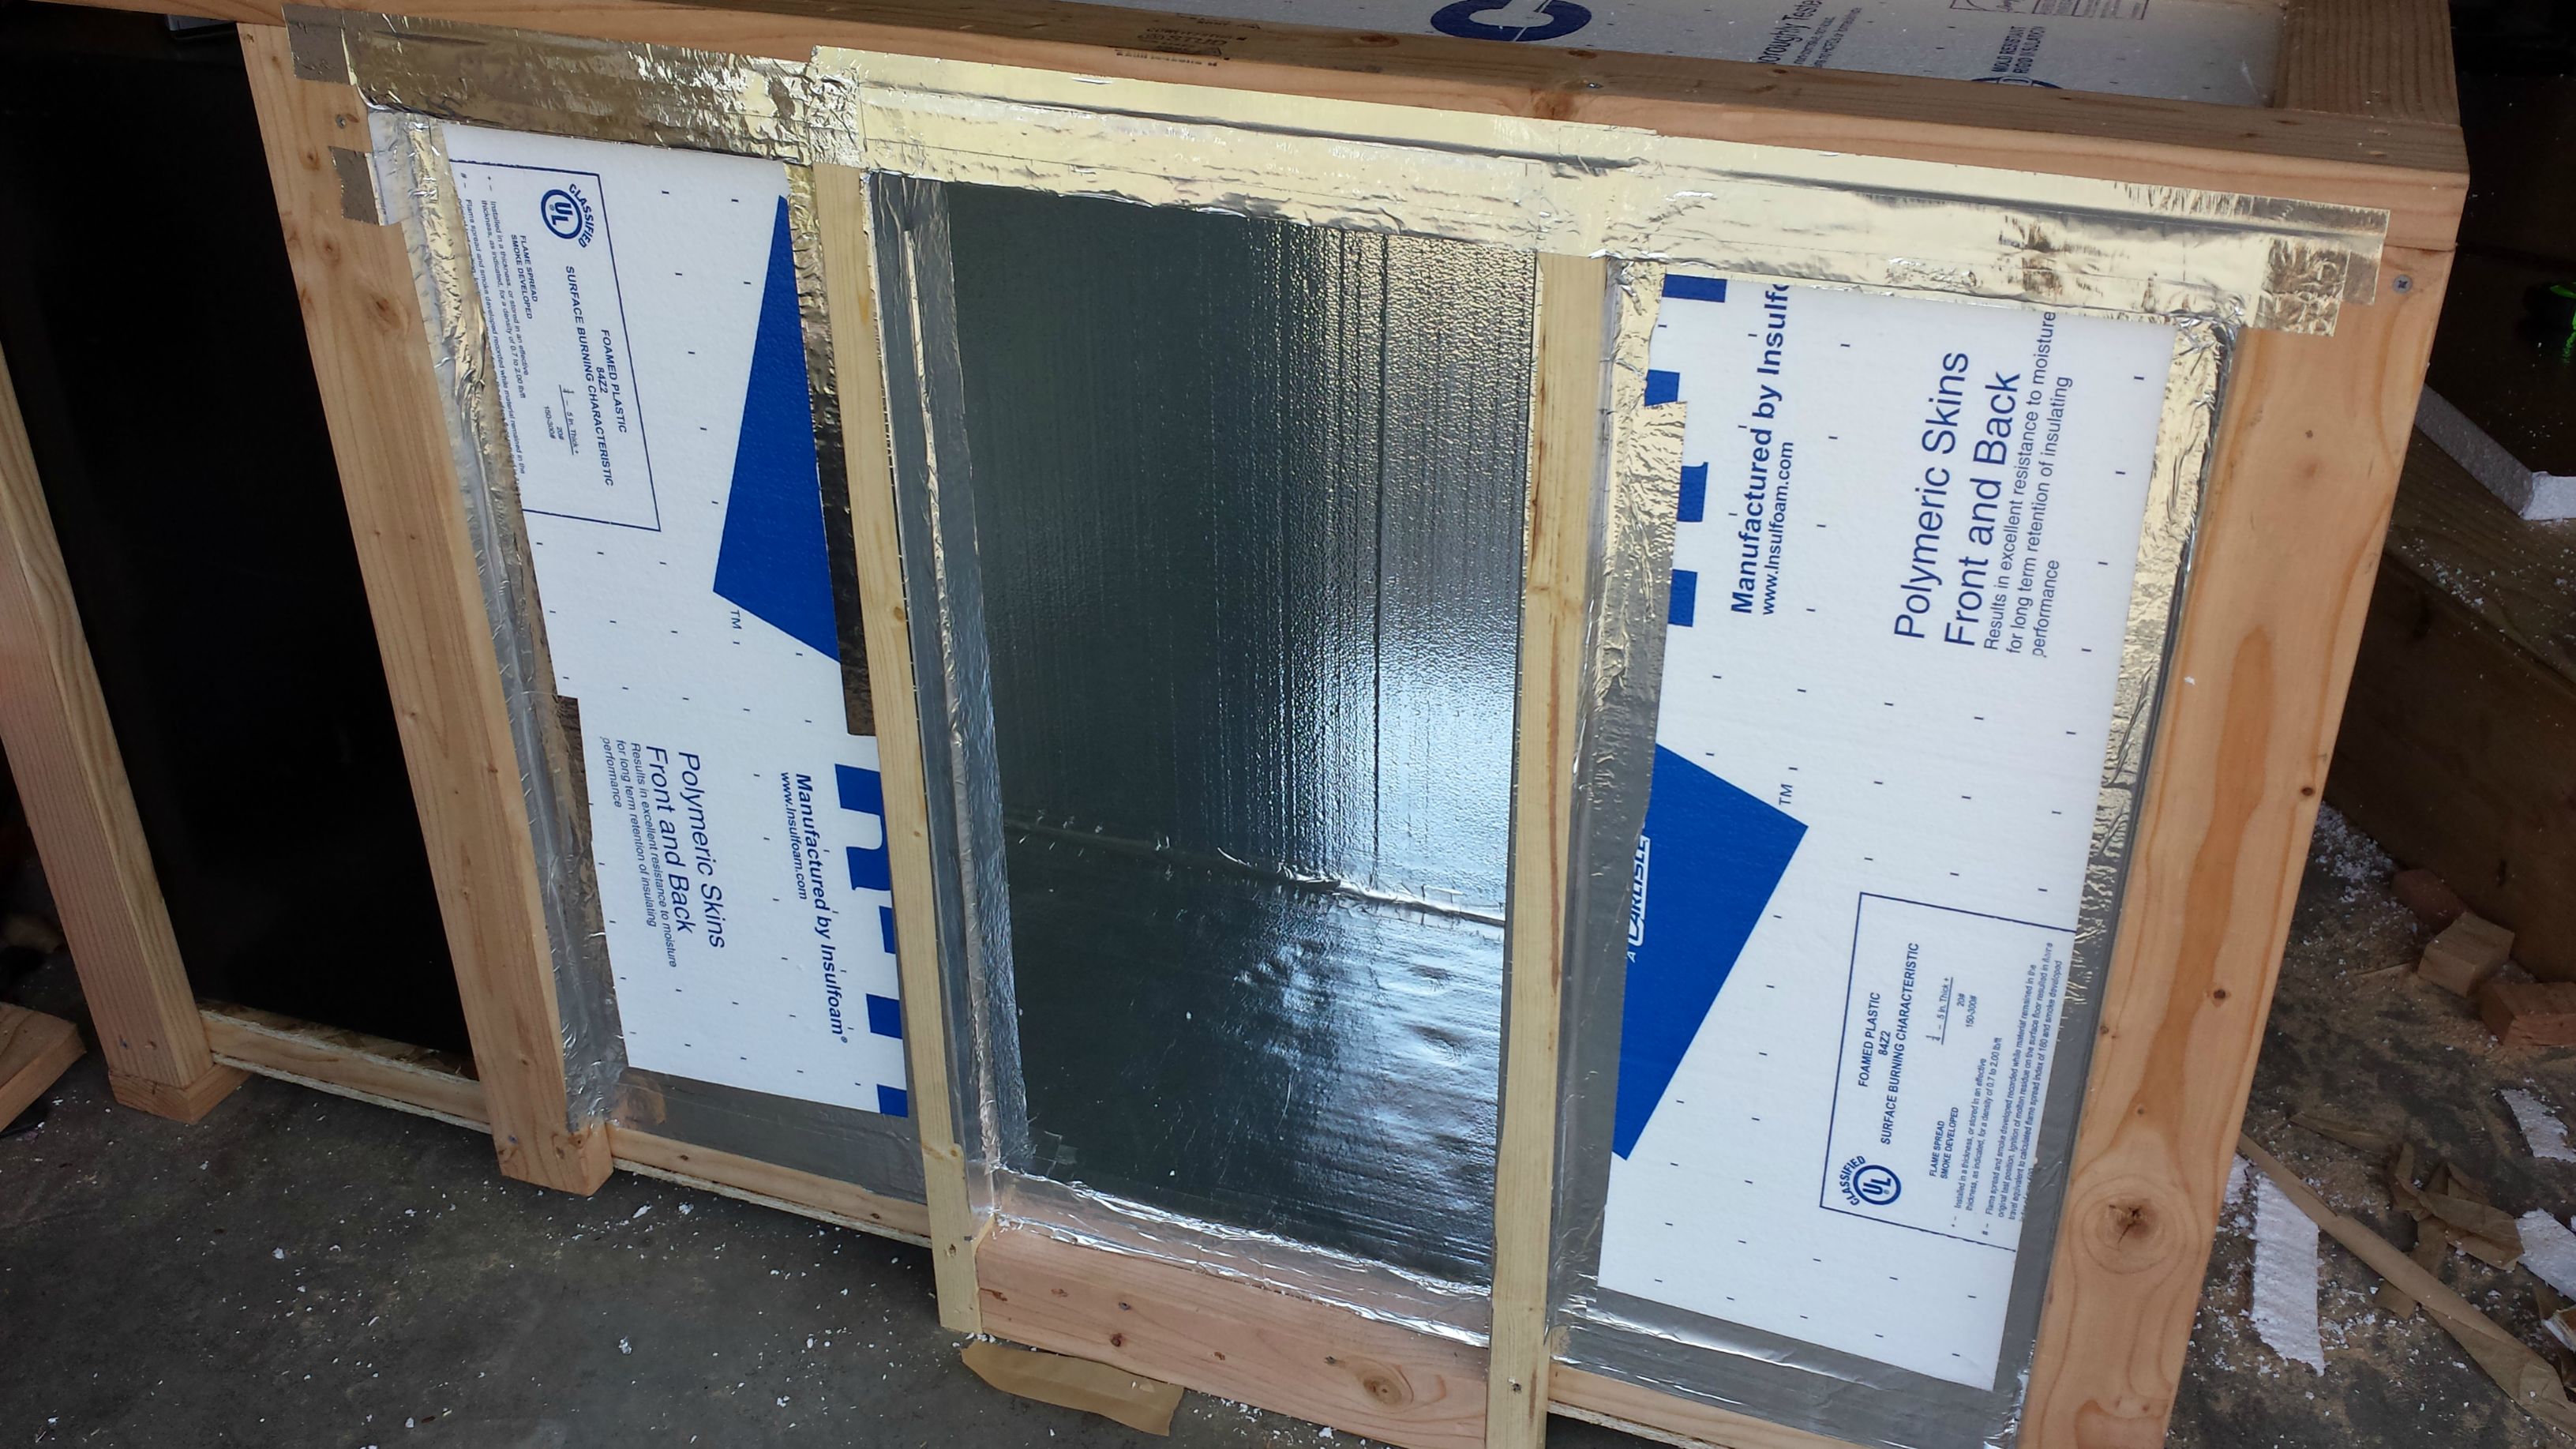
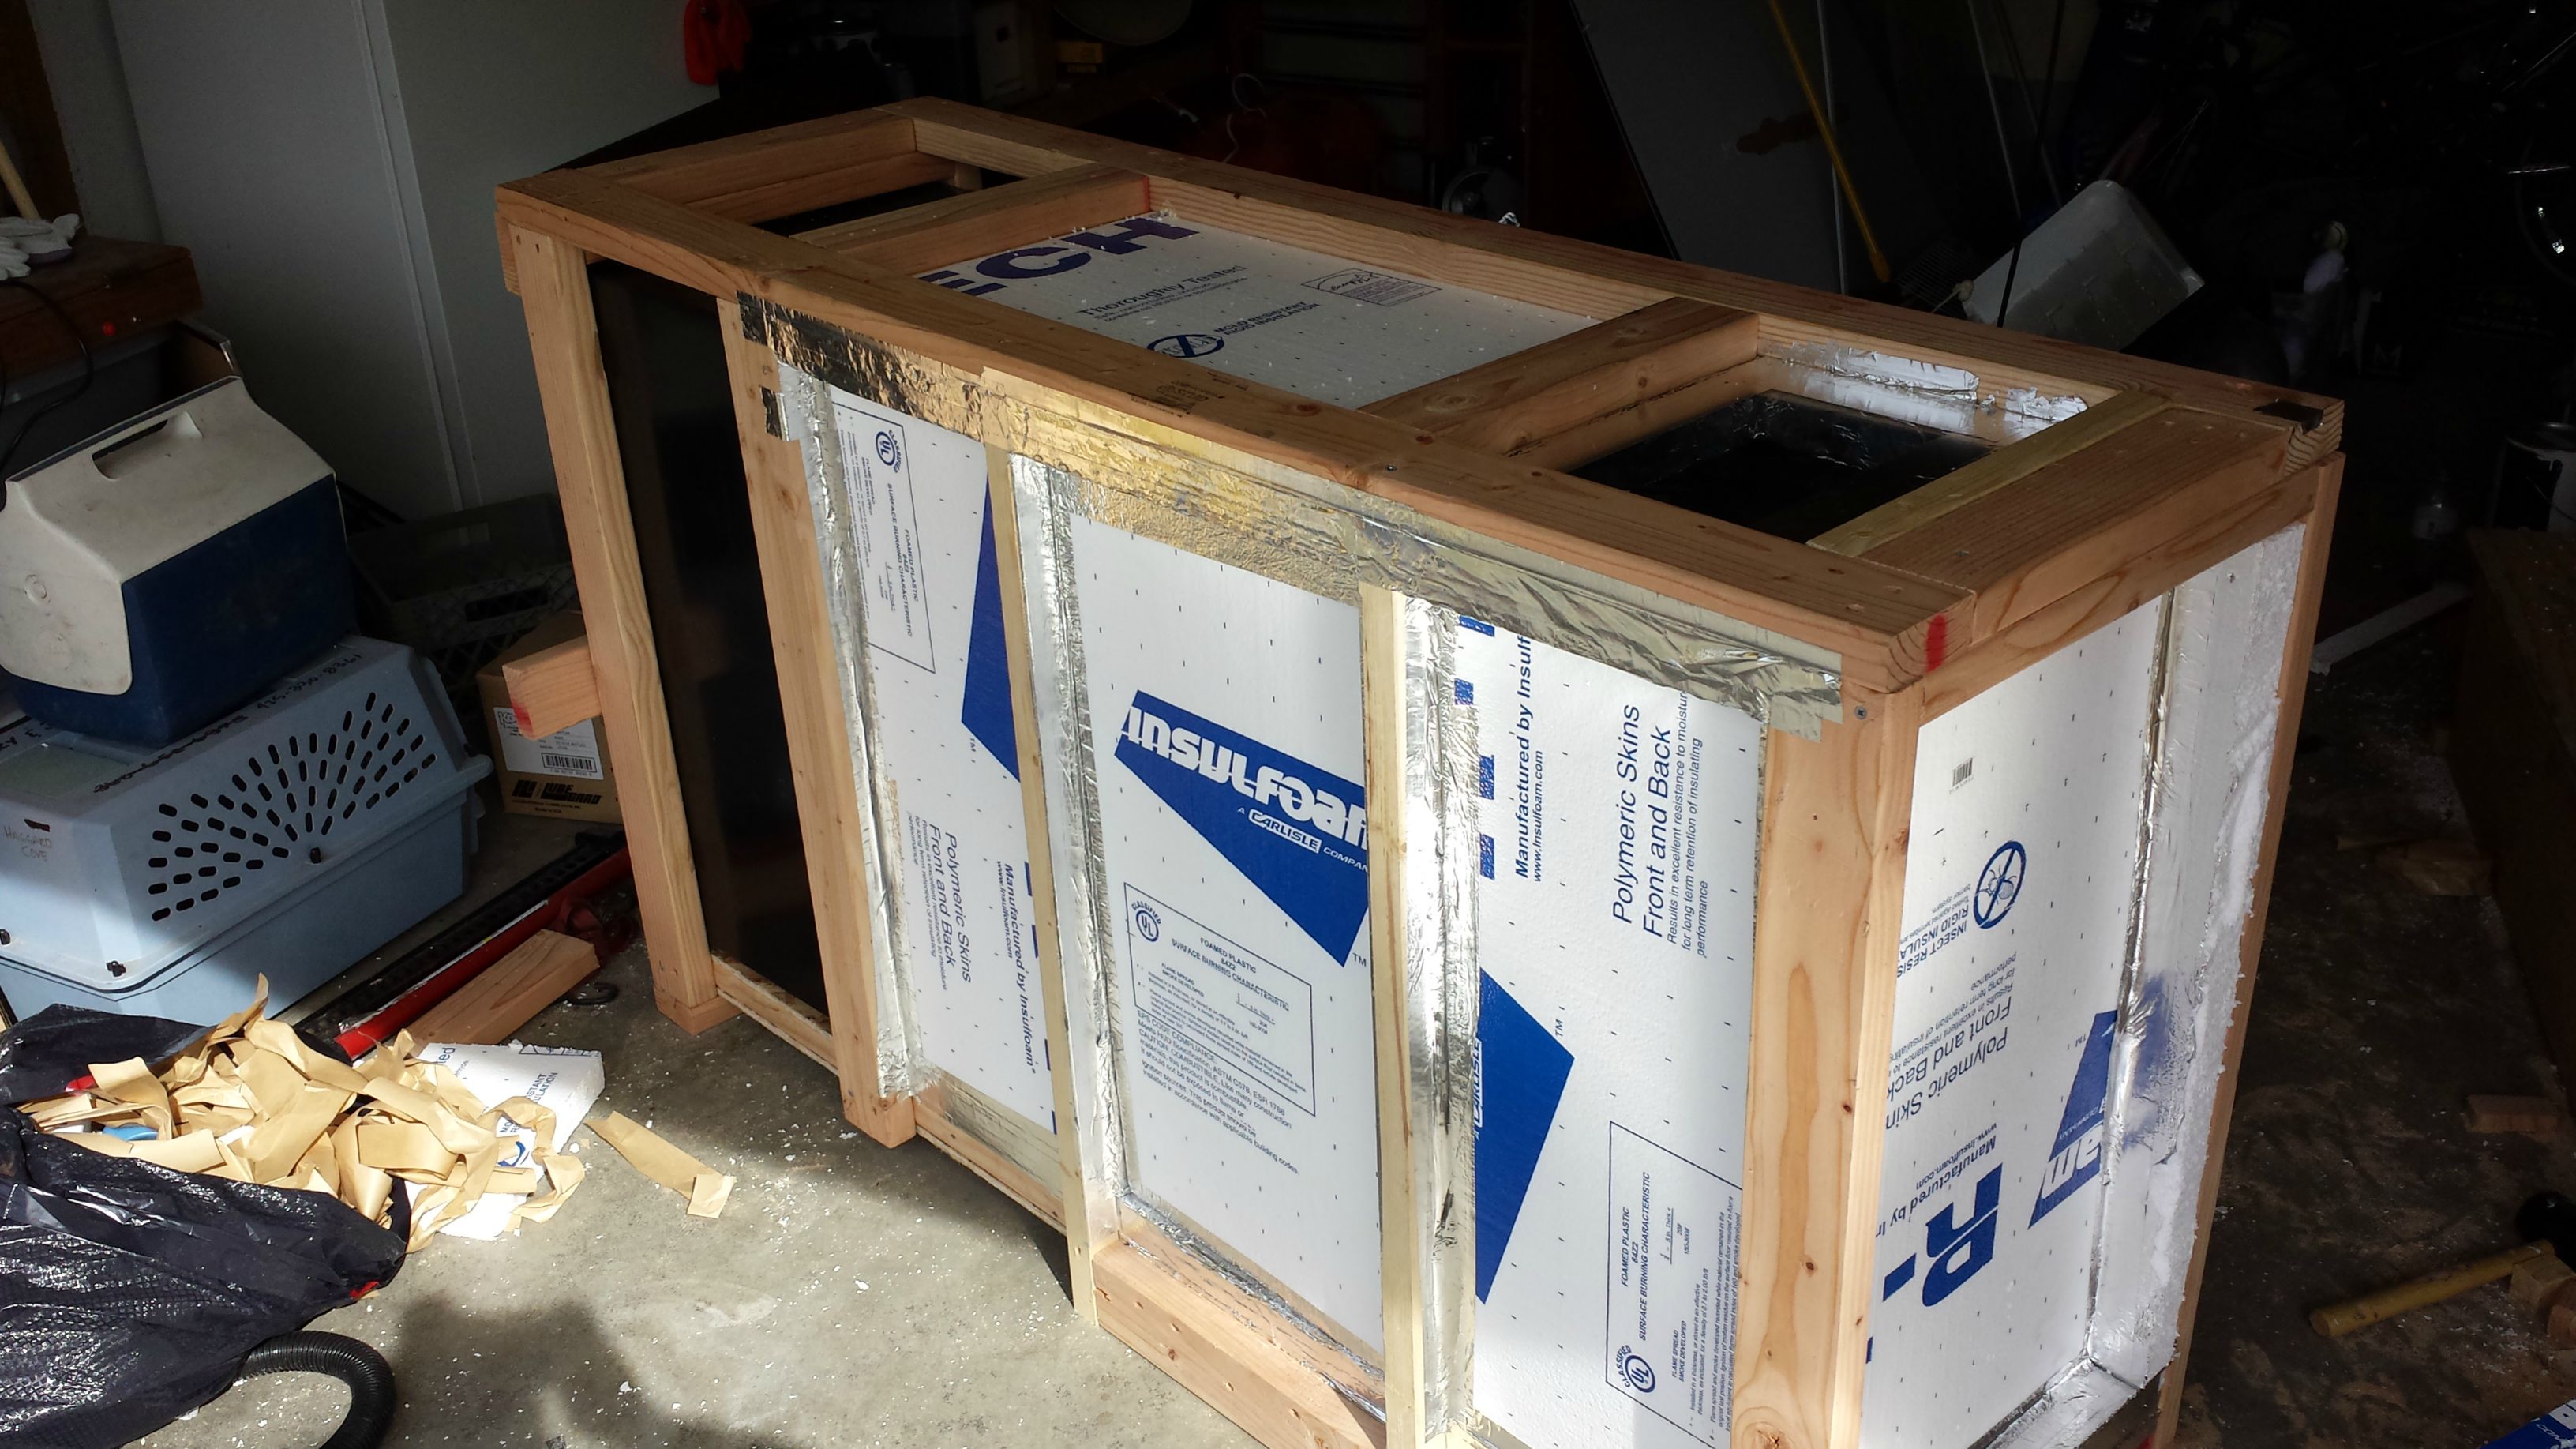
All of the walls are up! Perfect seal all around.
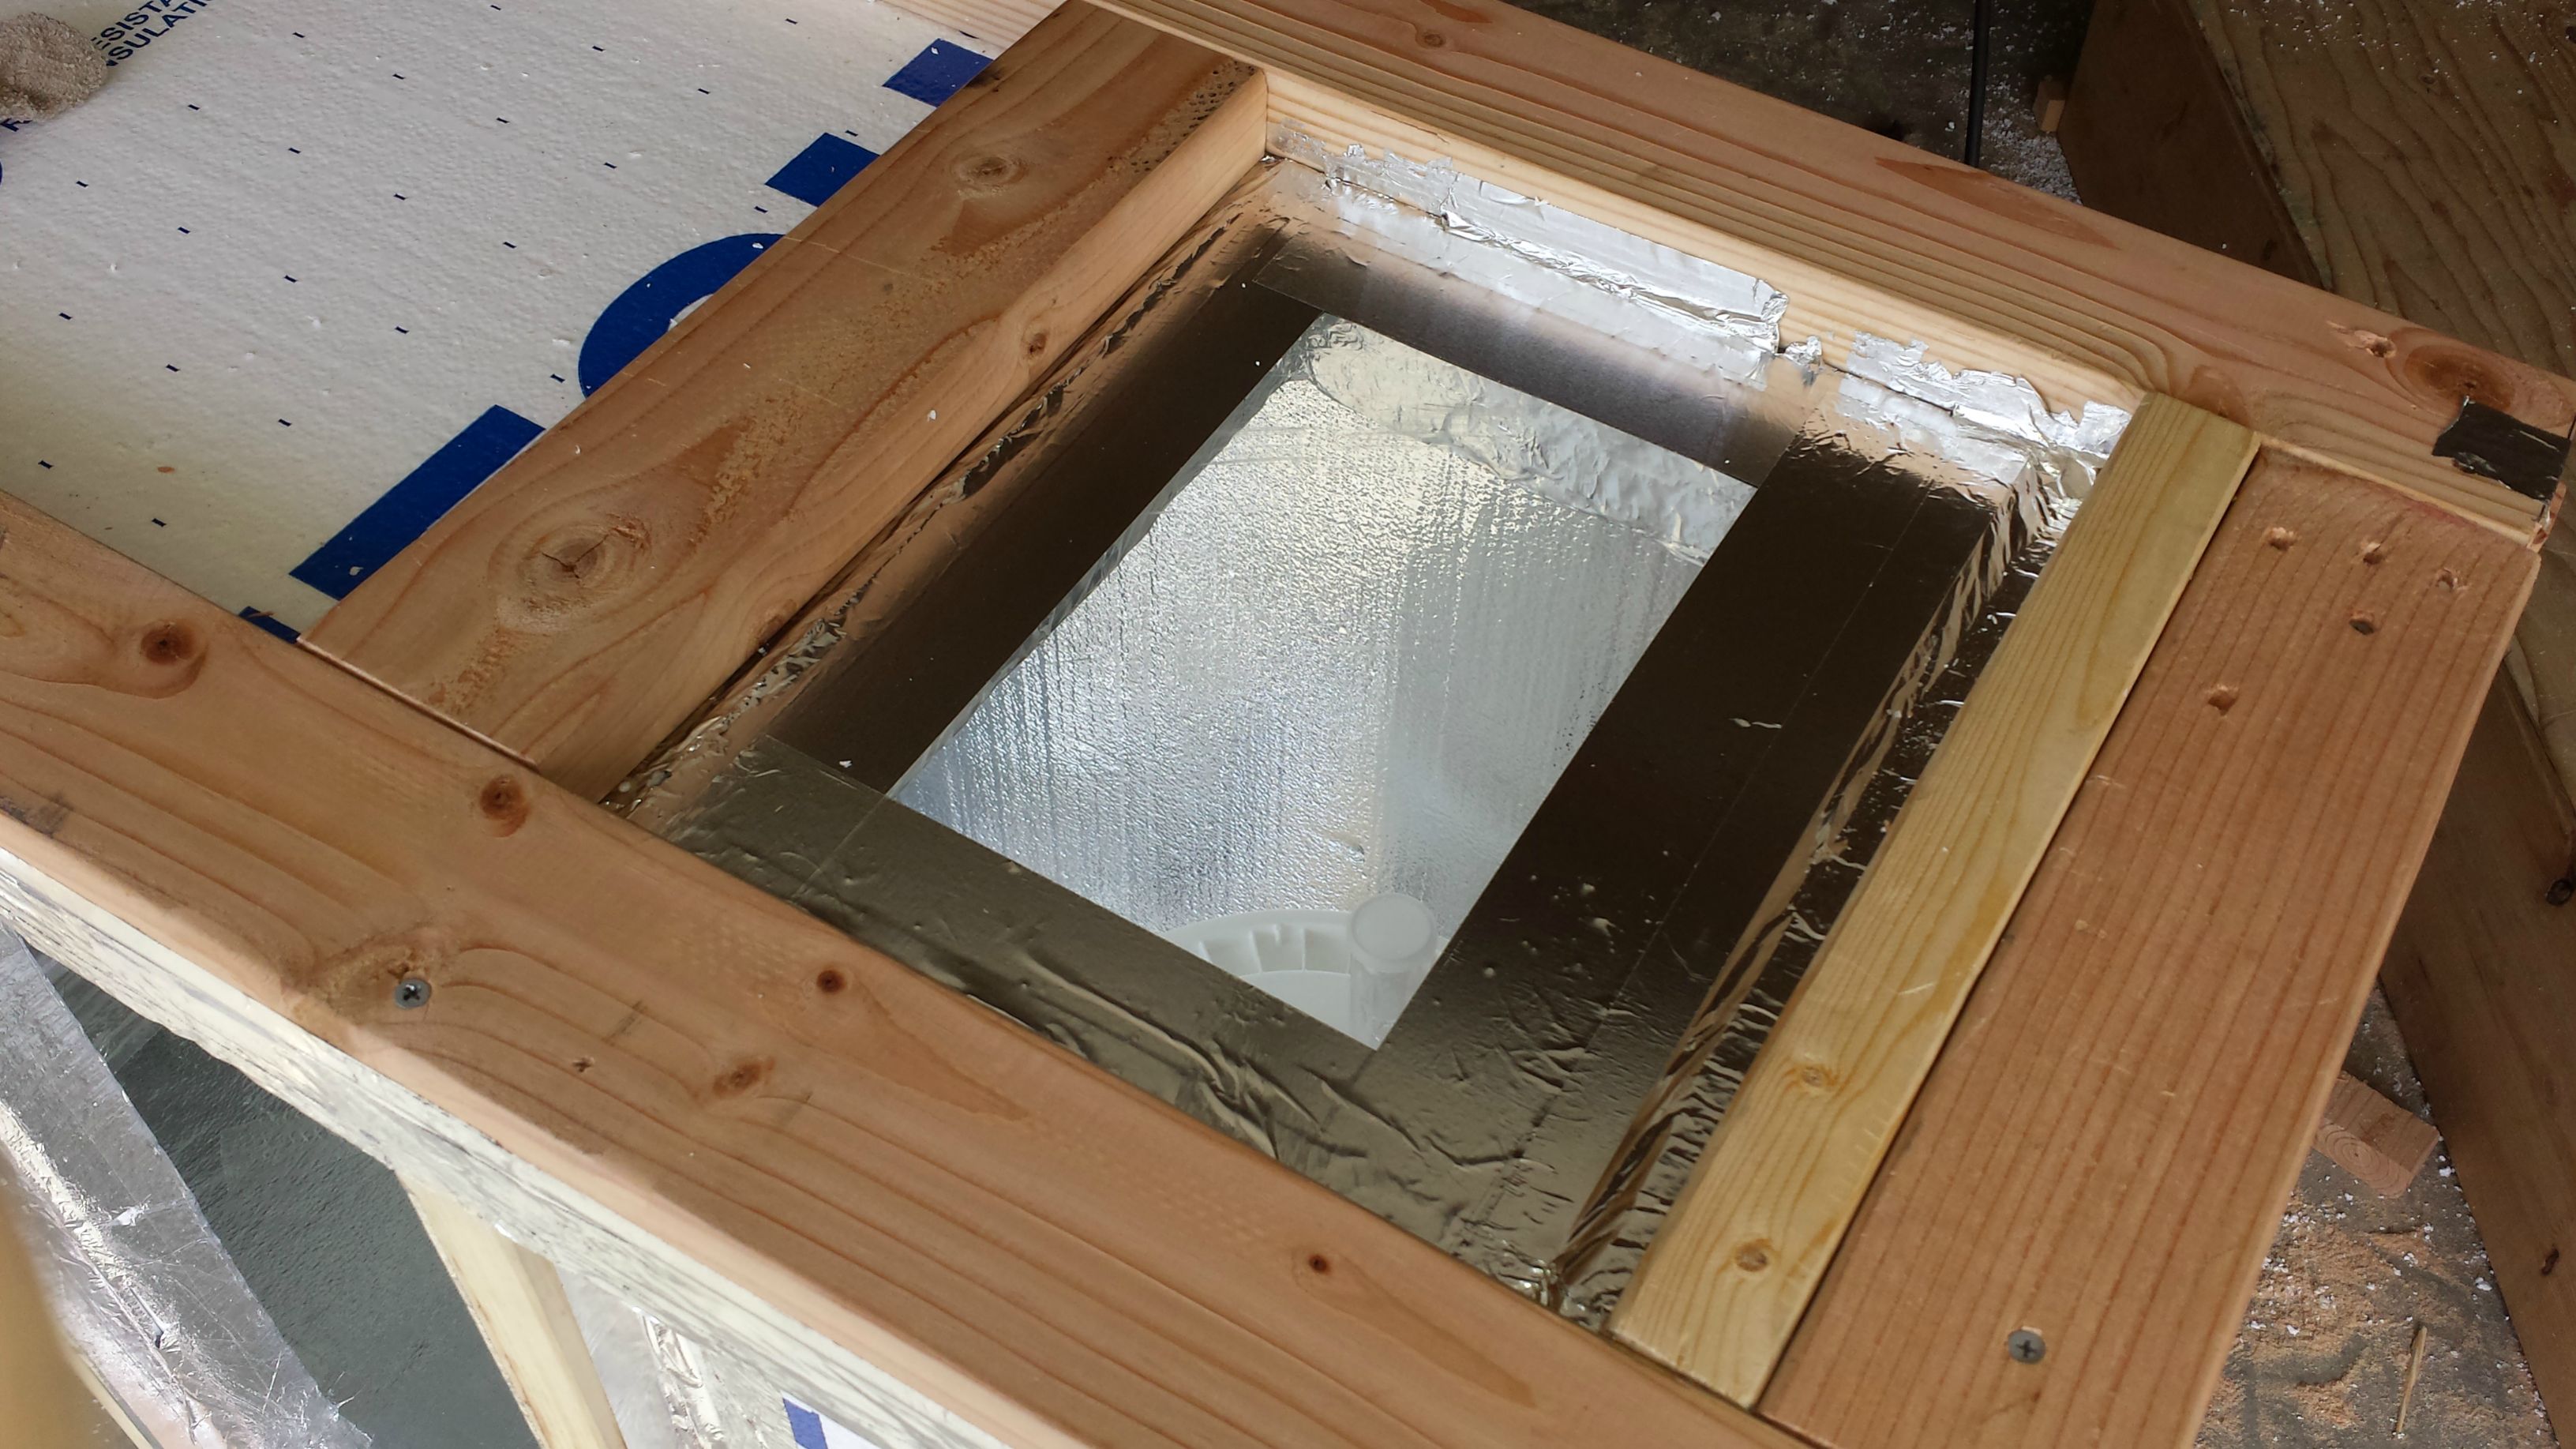
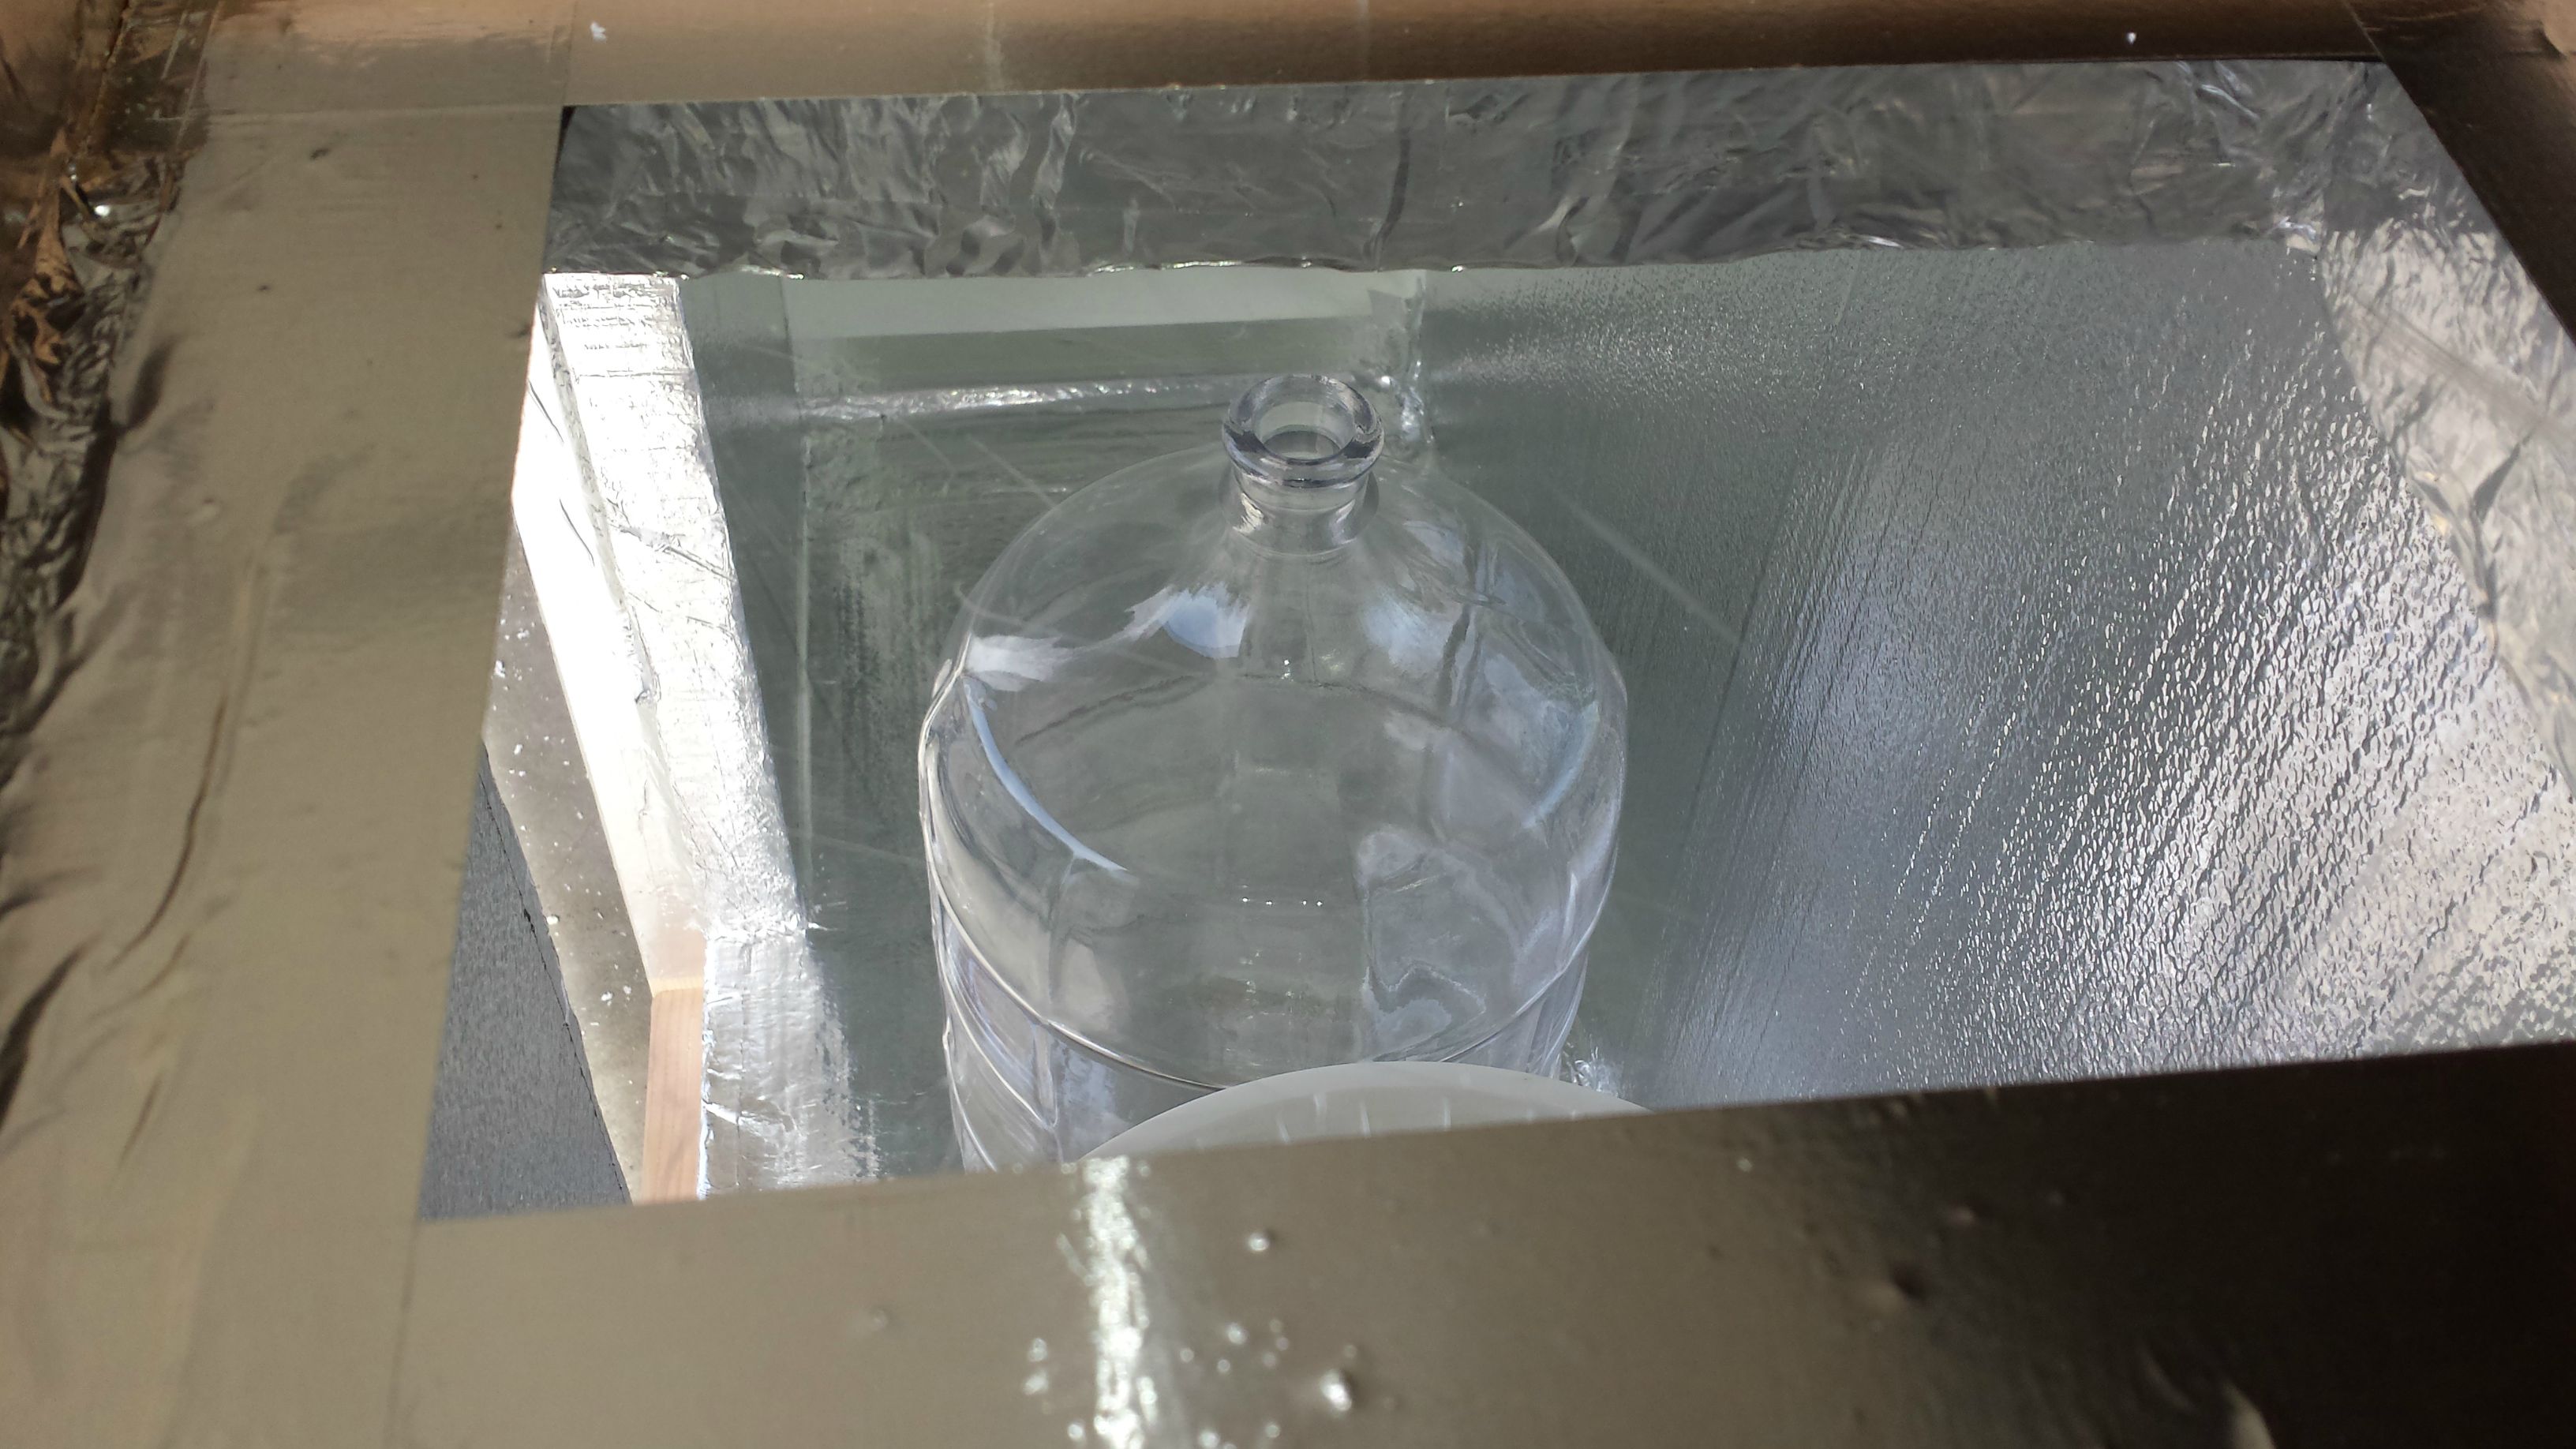
I decided last minute to cut some foam out of the top to make a window. That was I can see the fermentors without having to open the door and mess with the temp inside. Plexiglass, and totally sealed up around the edges.
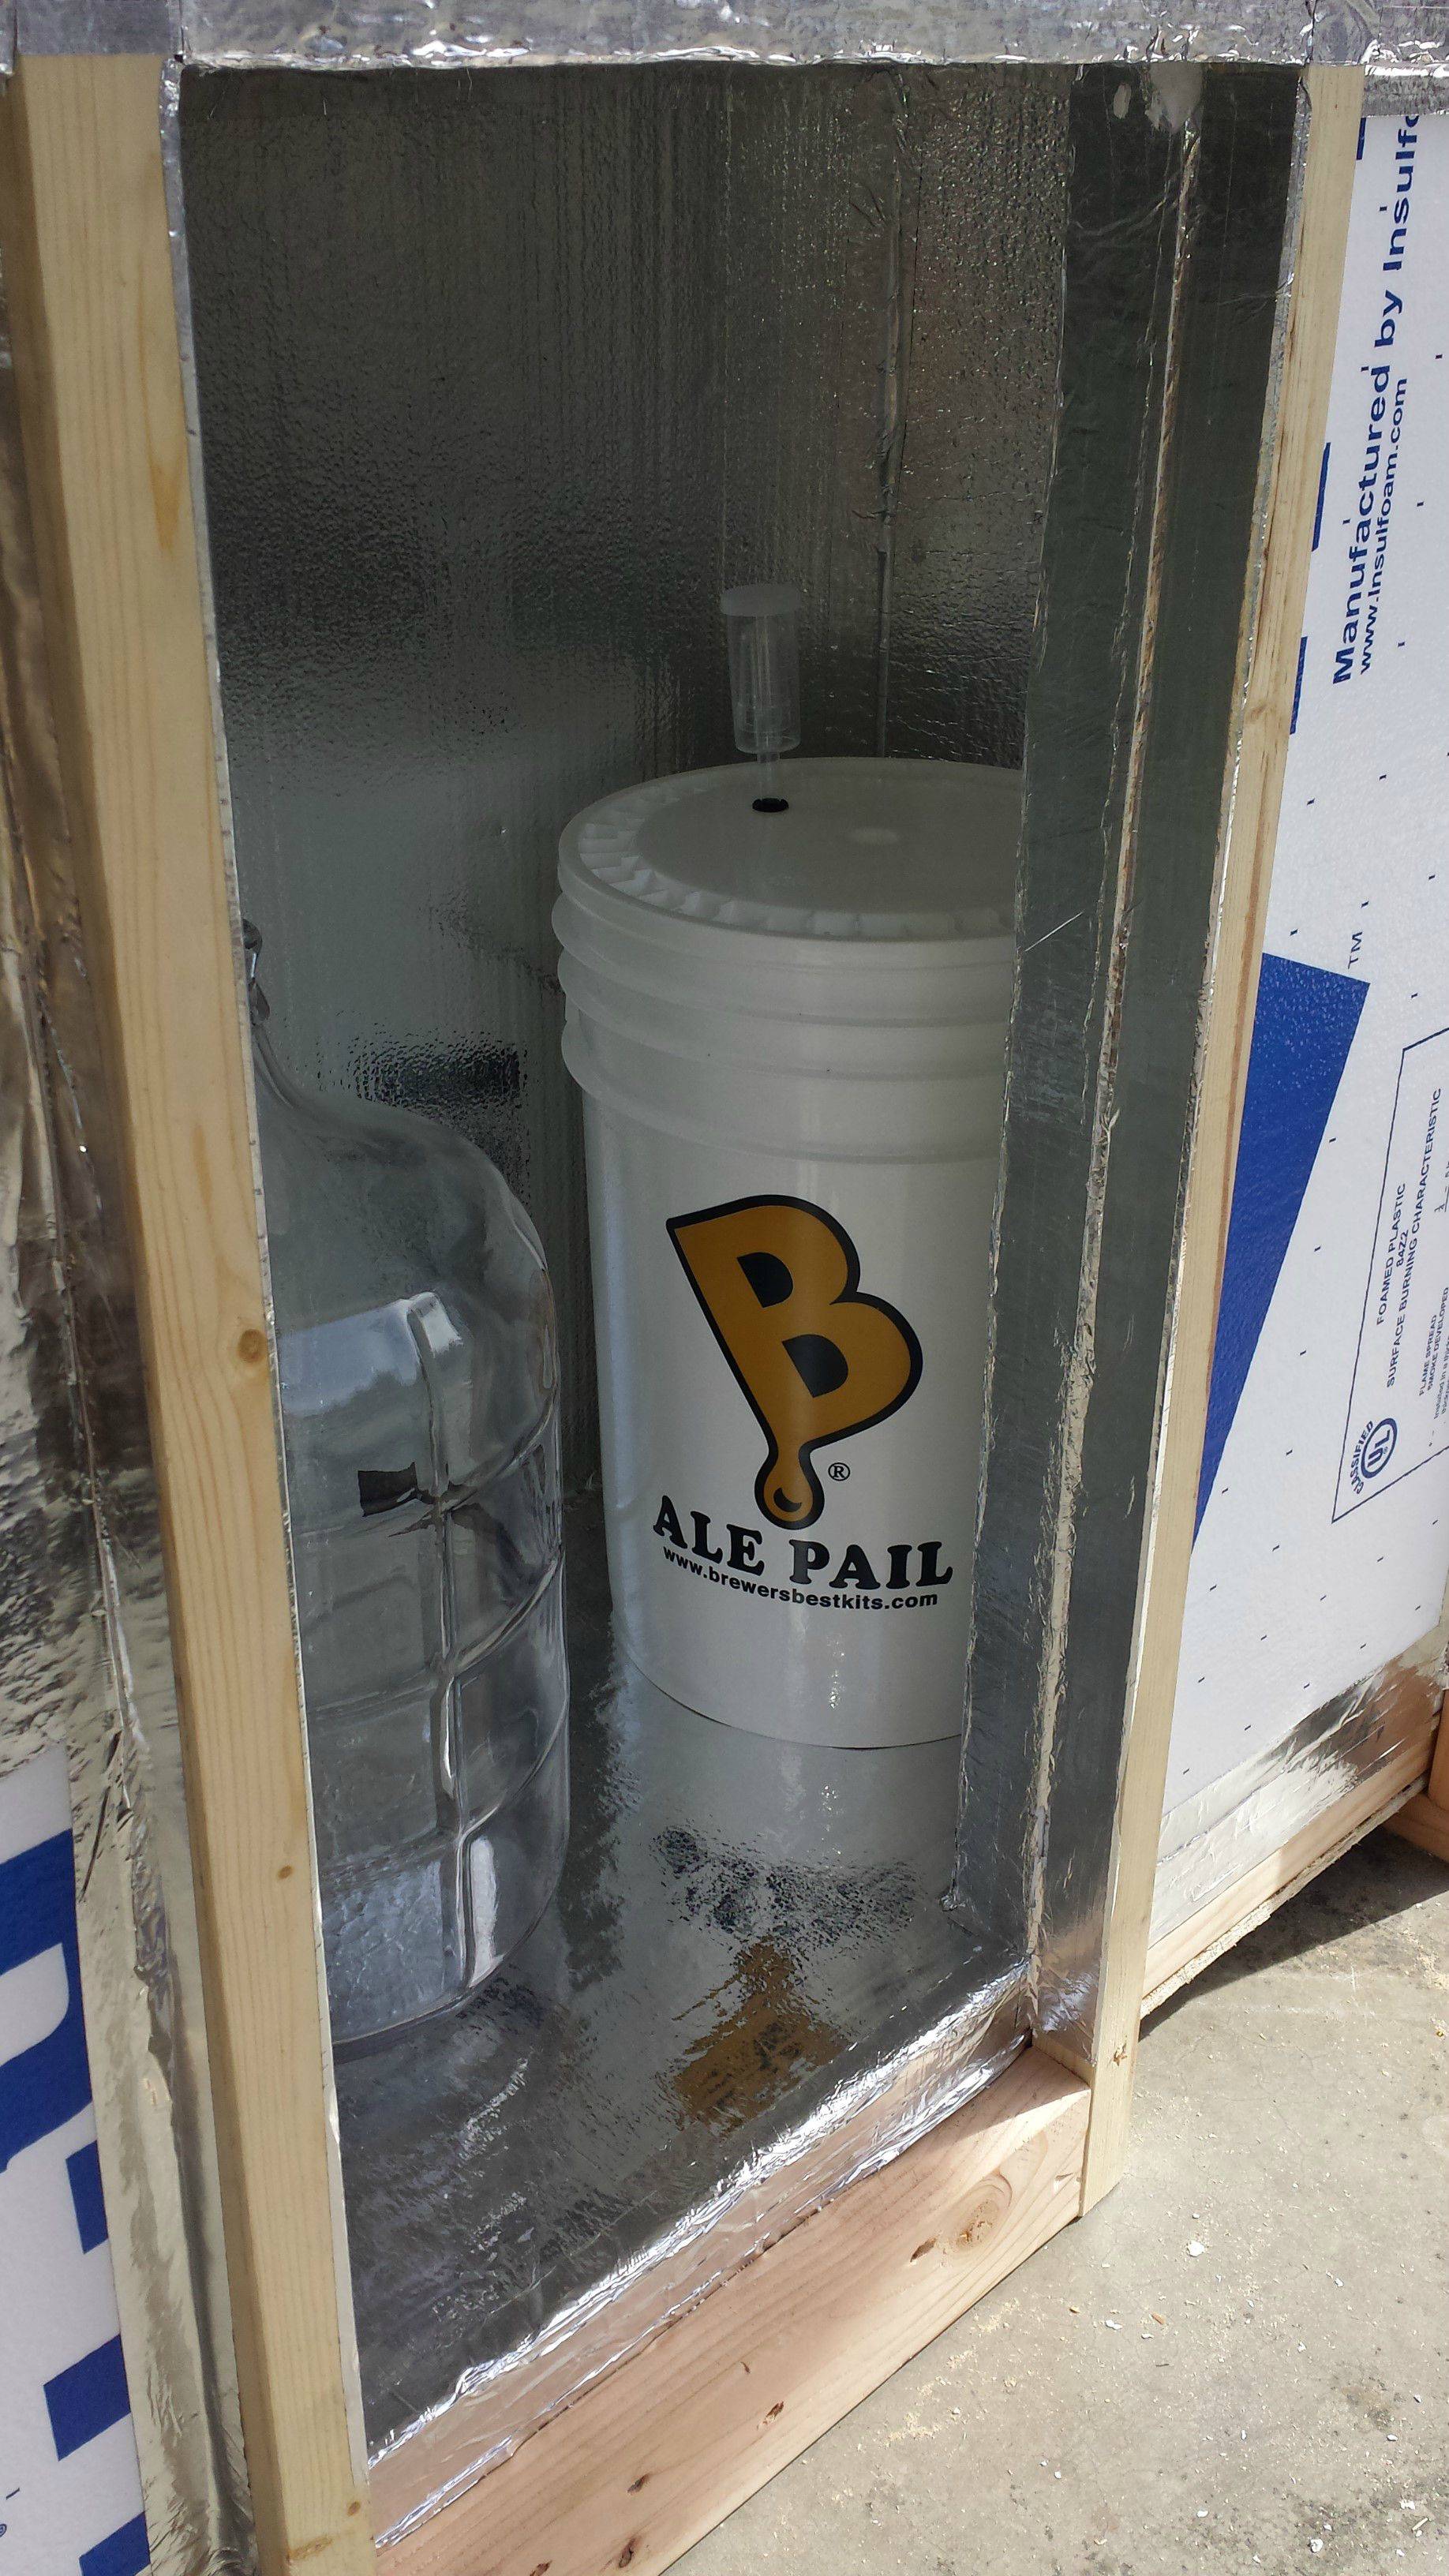
It'll fit up to three carboys/buckets. Two if i'm using blowoffs.
Shot of the fermentors from the door.
Cut the piece of foam from the door. Tight fit.
Got some thin plywood and covered the front and end.
Cut a hole for the heating source, the temp probe, and the lighting. Plugged it up with more foam after the cords were put through.
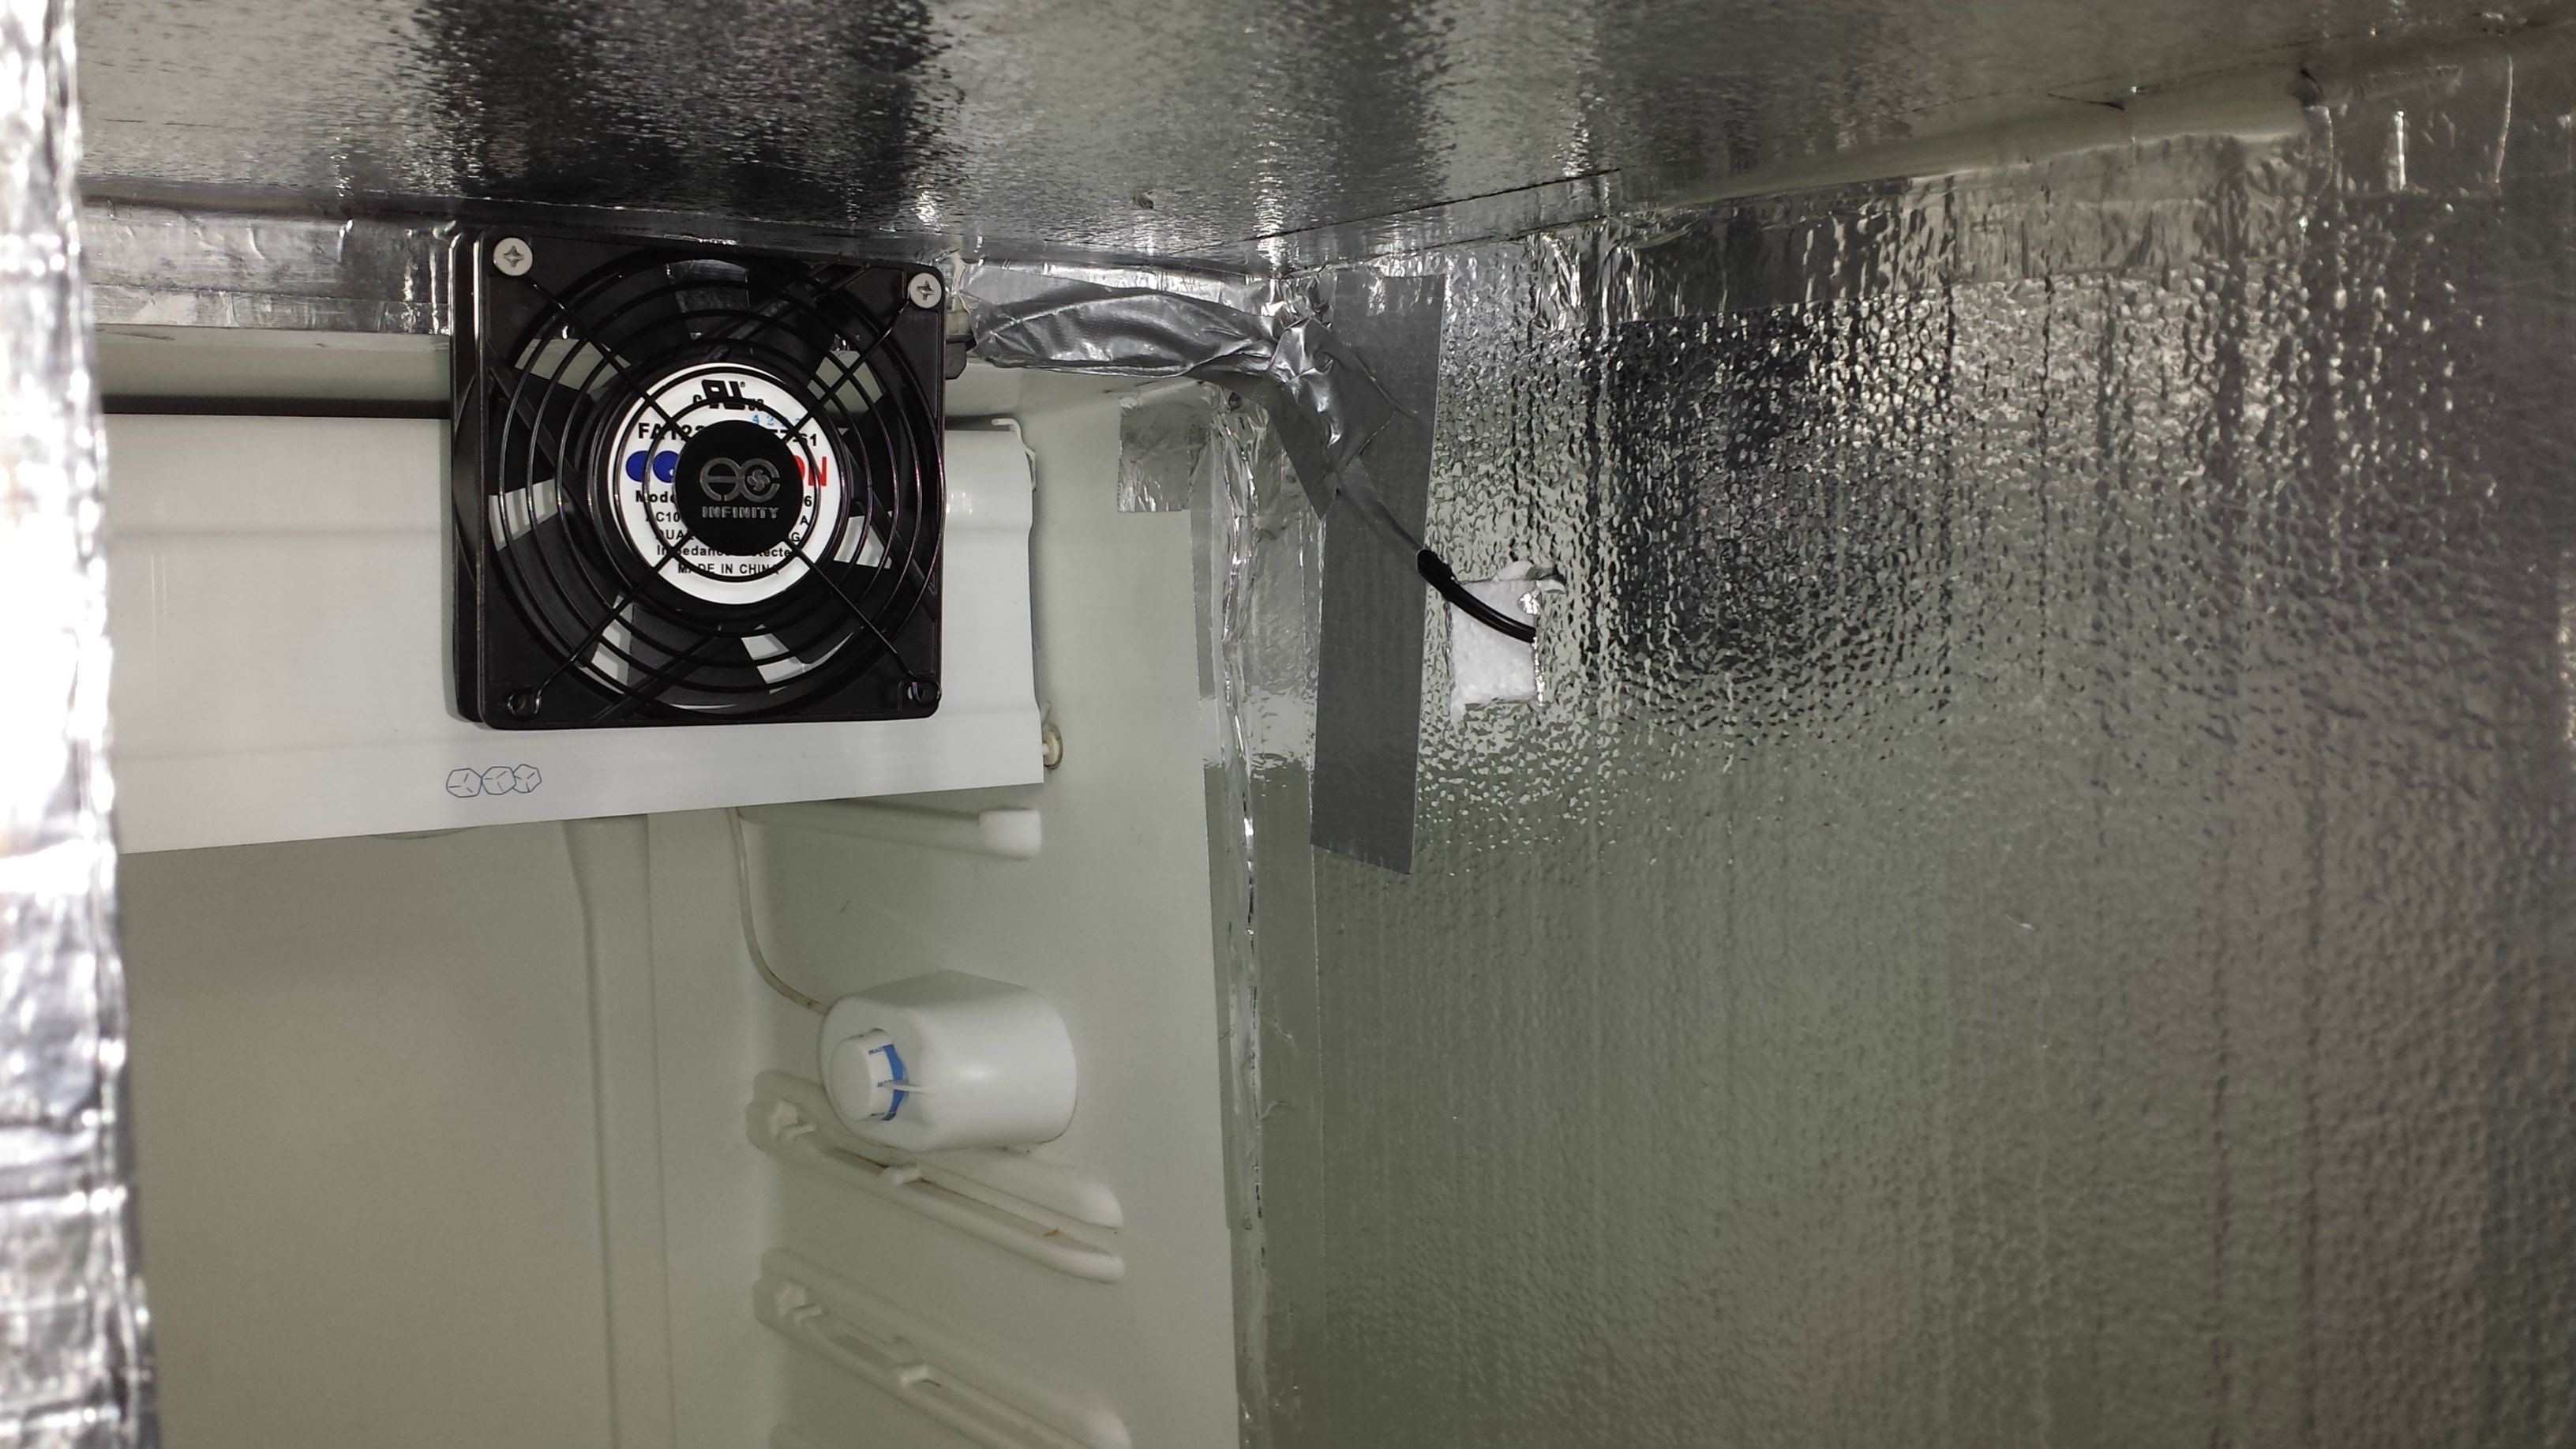
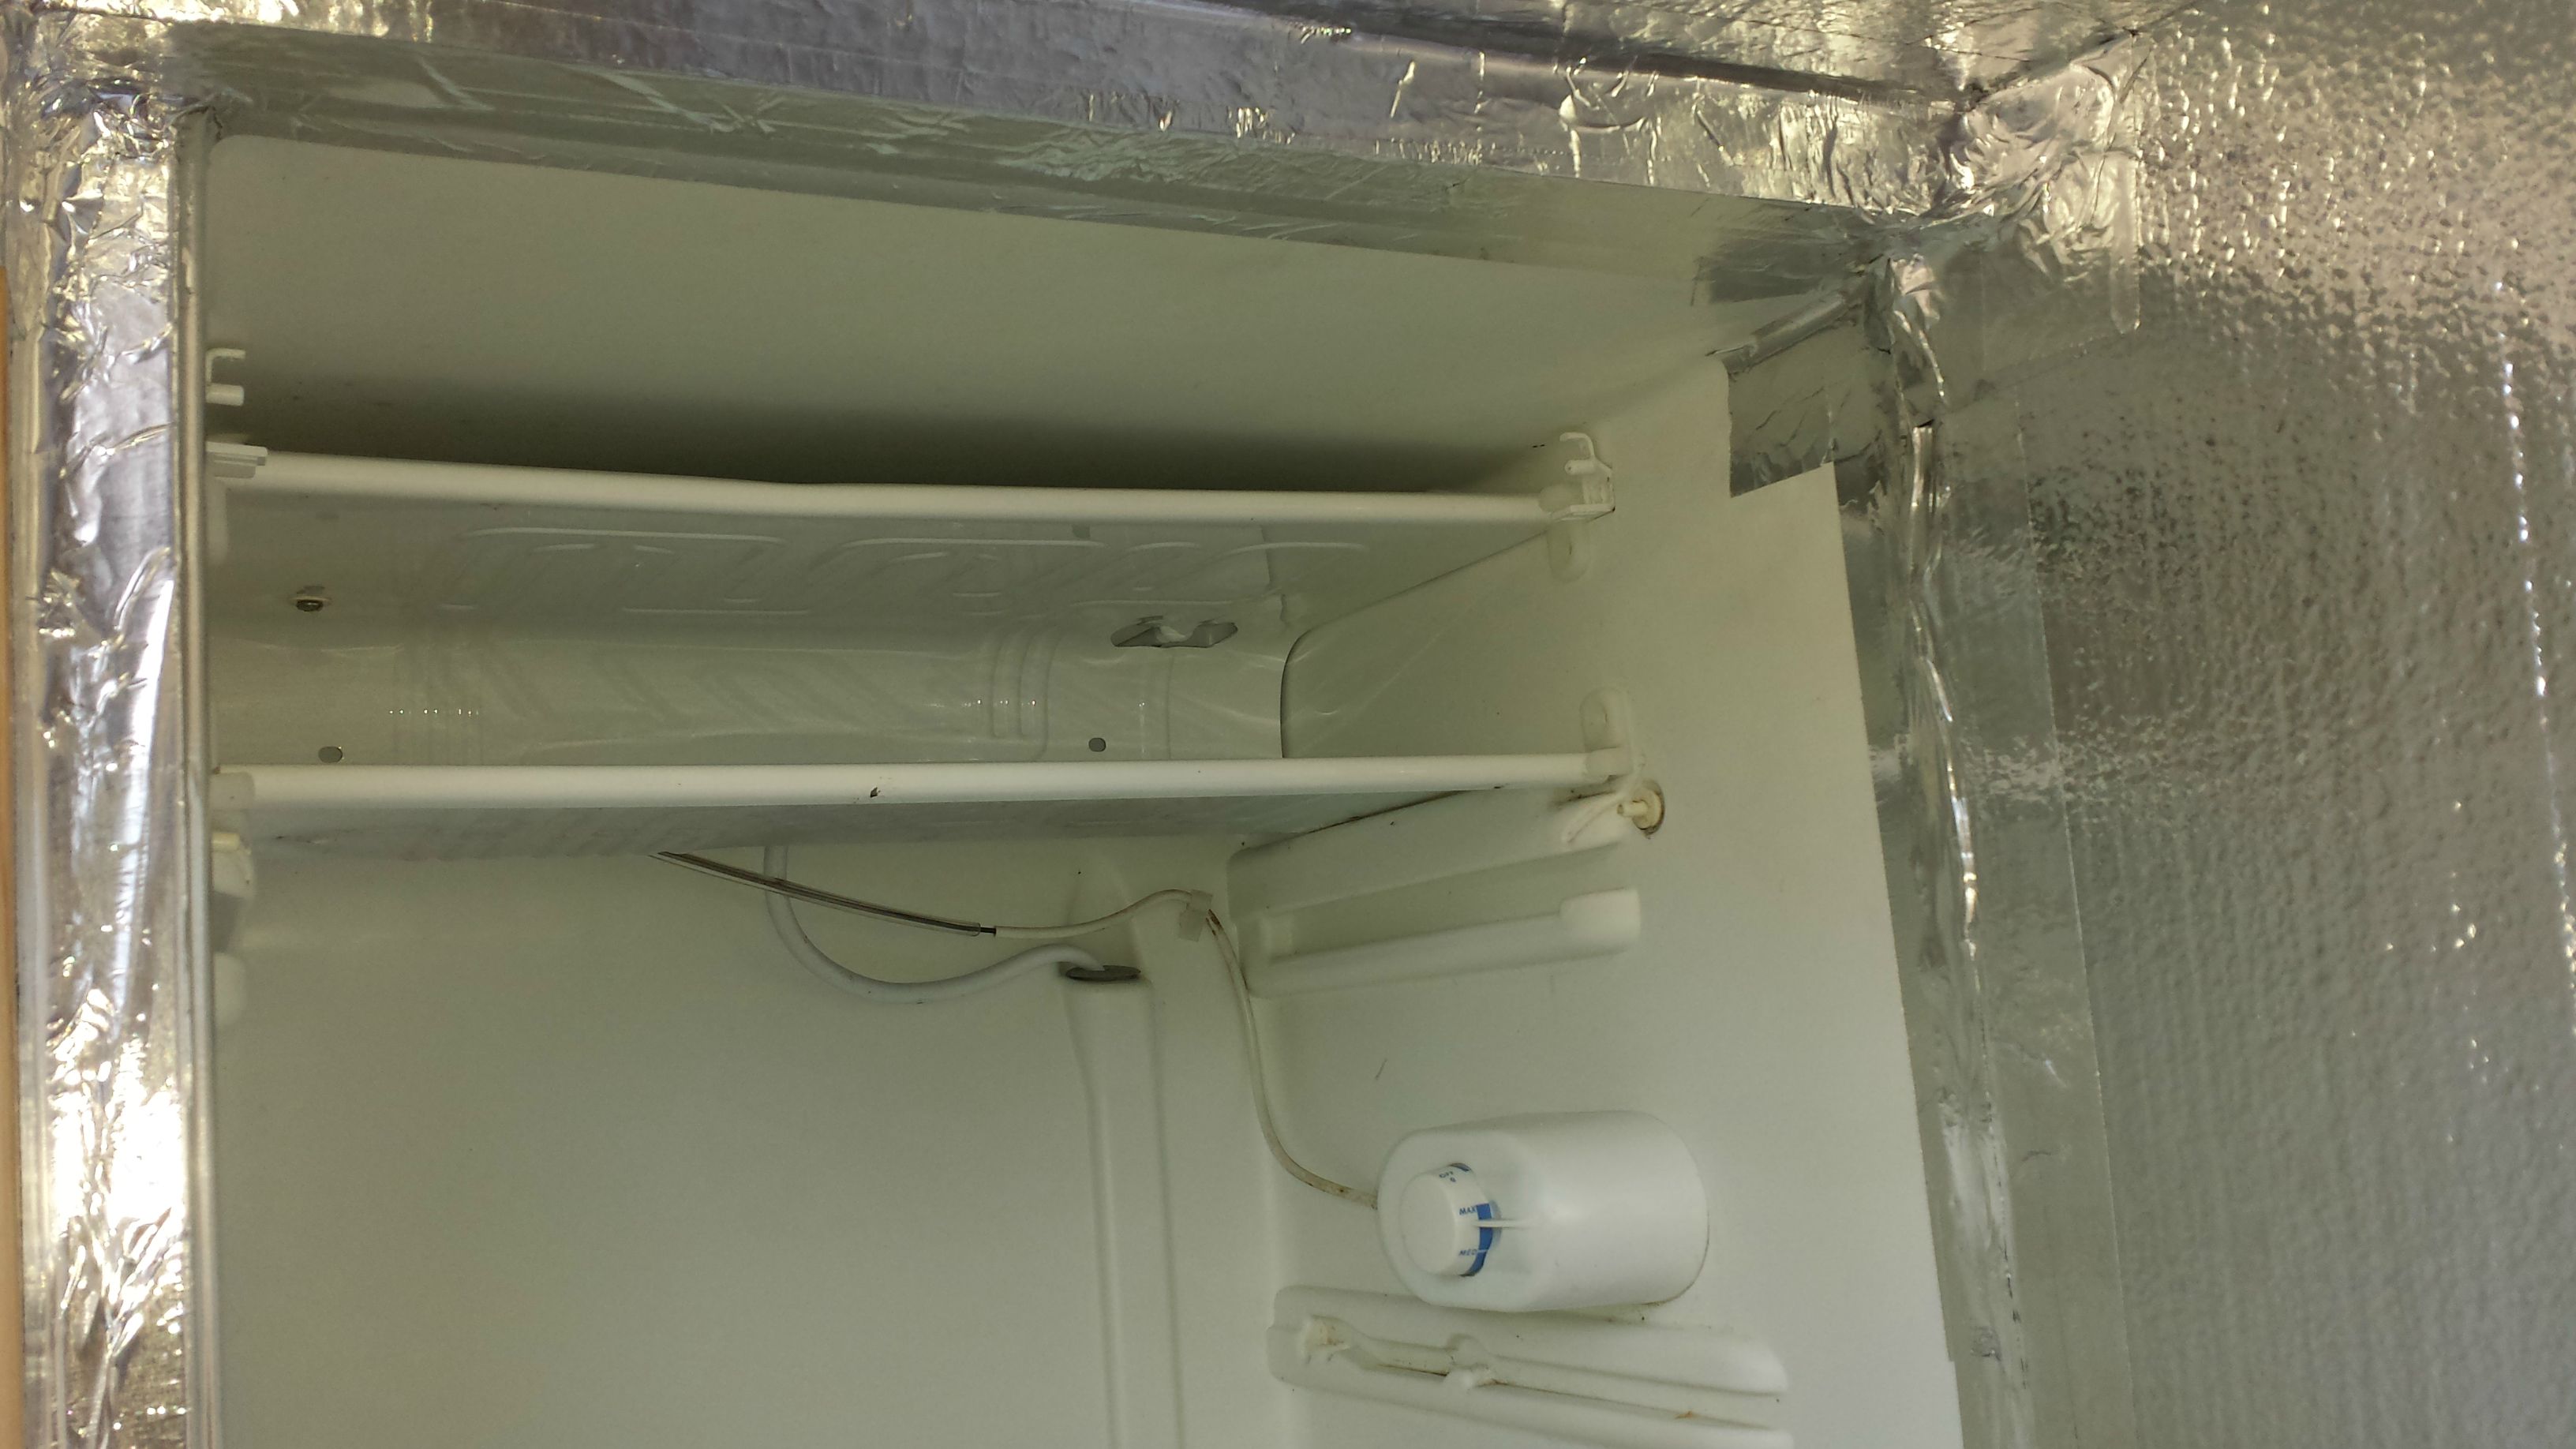
Installed the fan in front of the cooling unit in the fridge. It's a computer styled fan, but is powered by a normal outlet and even has a built in controller unit. I might buy another to build a stir plate.
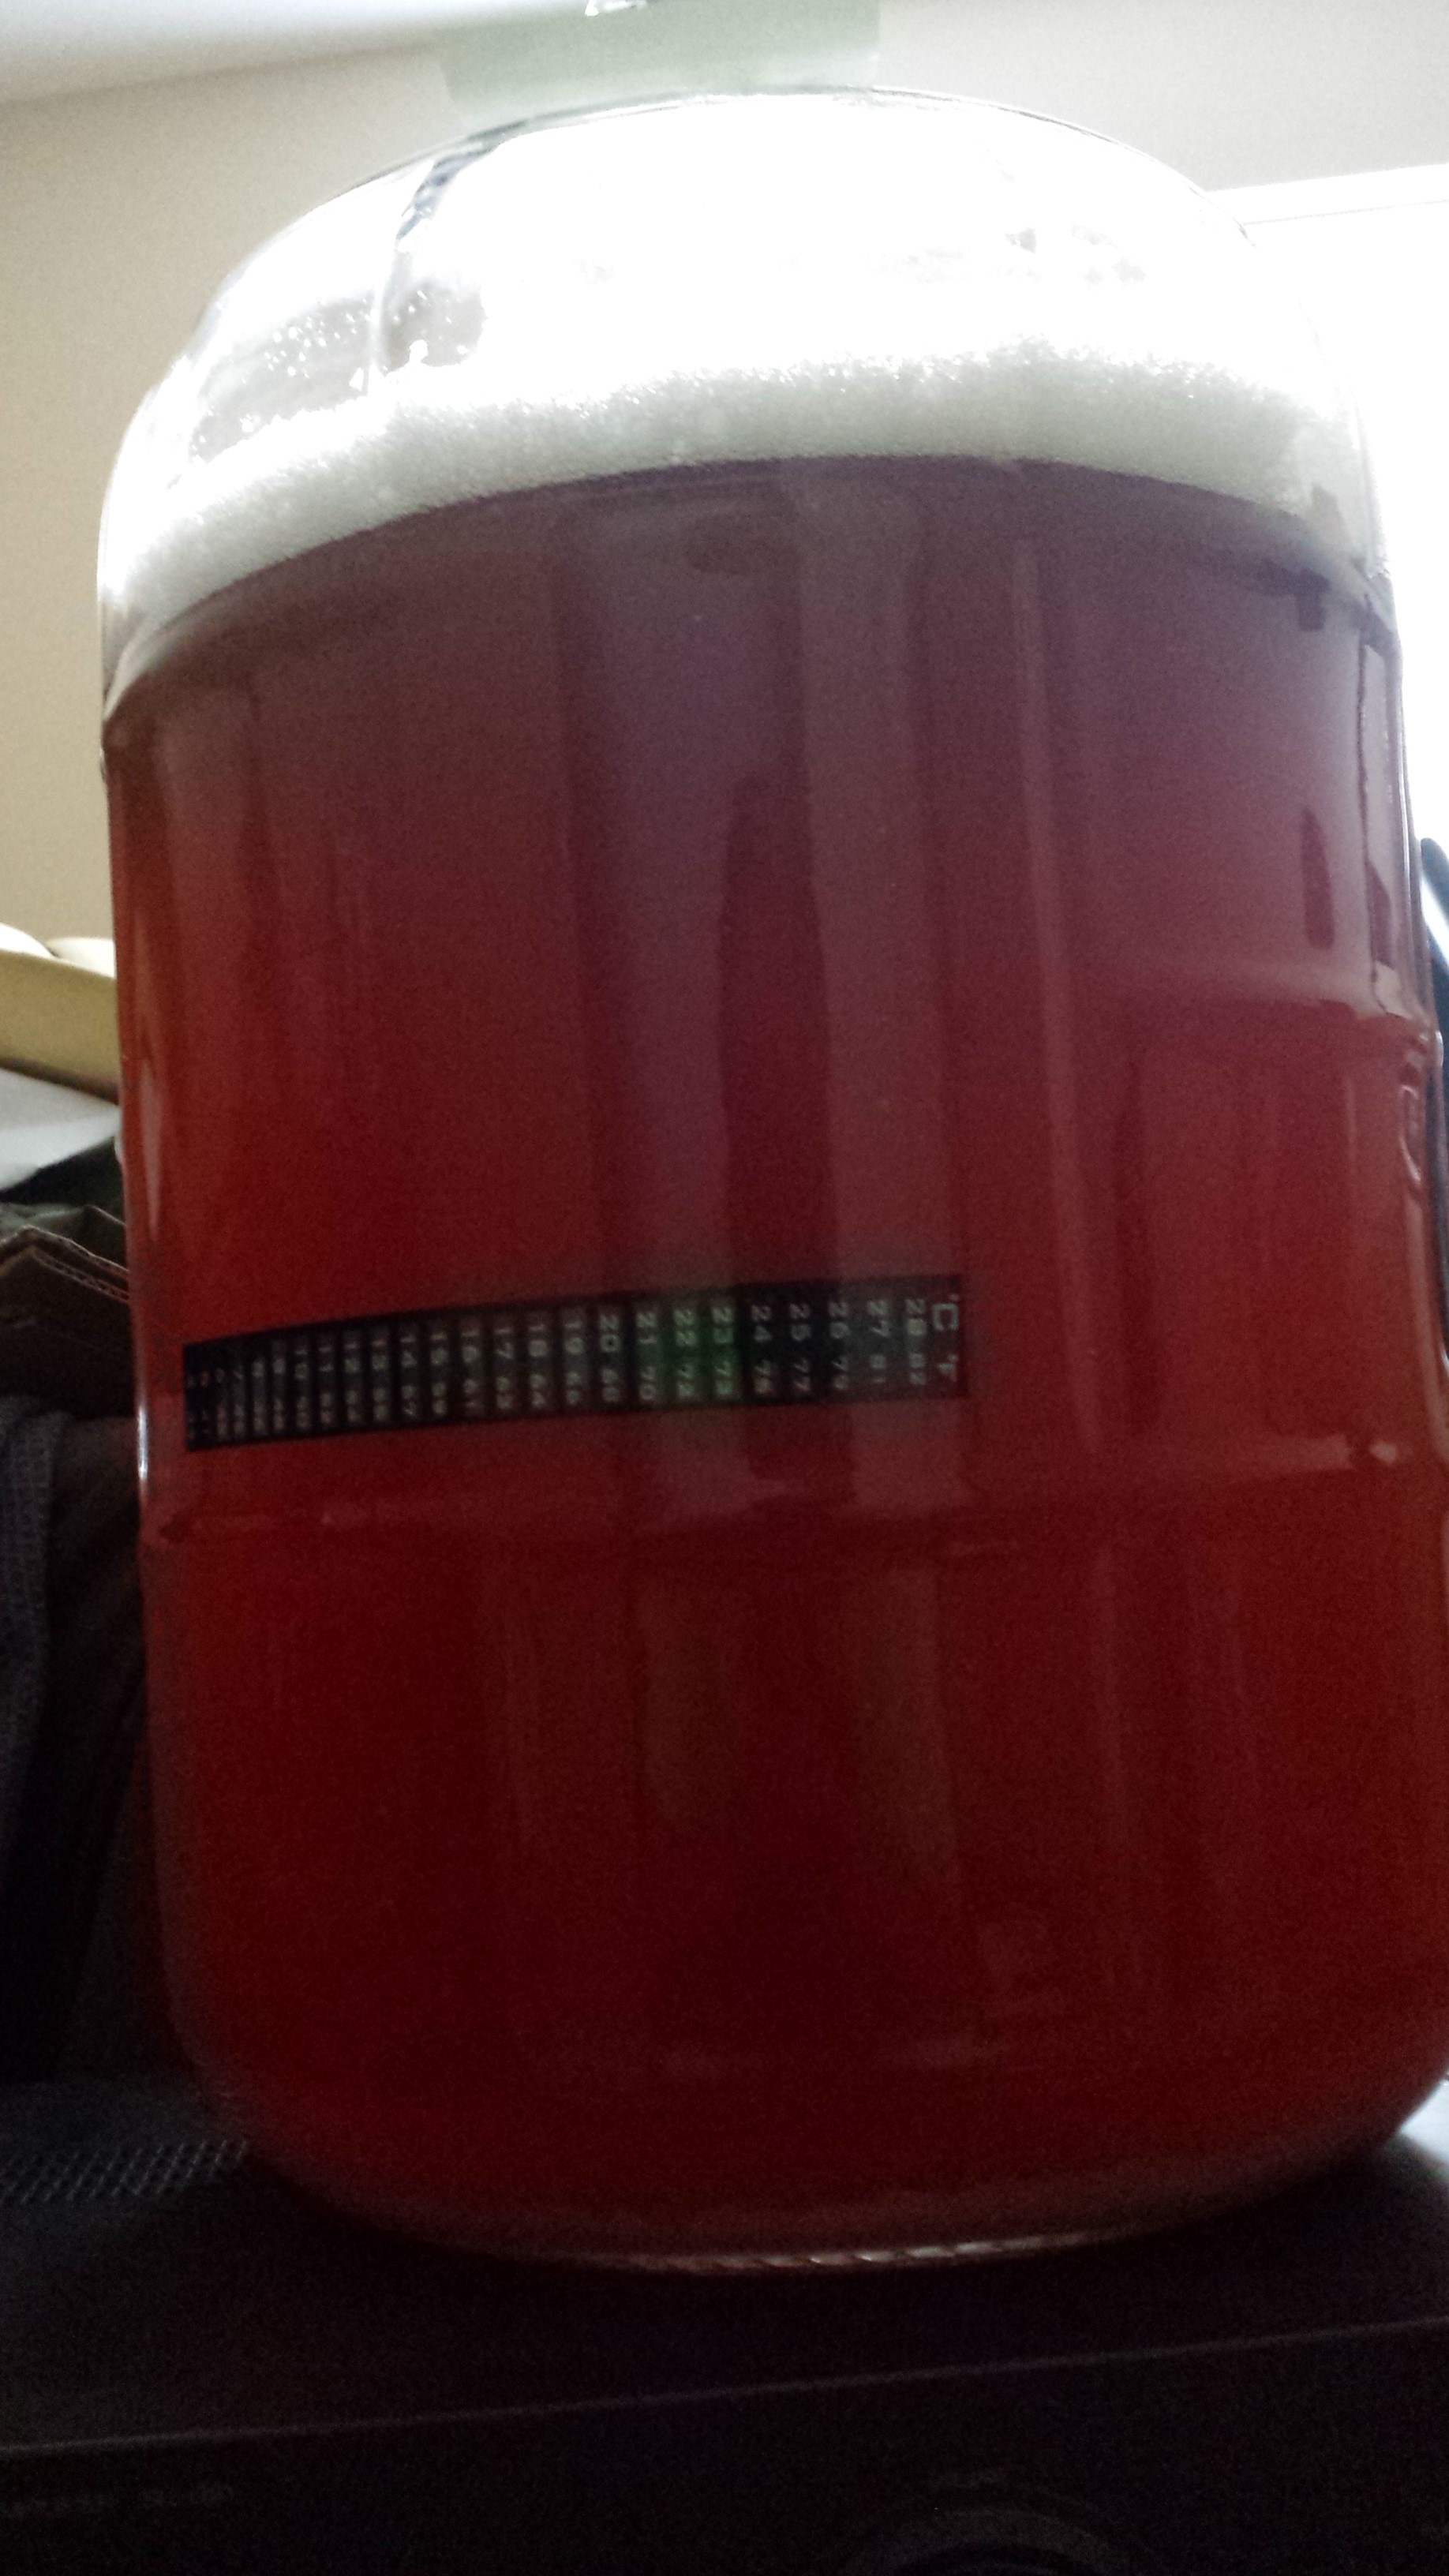
Took a break and made a cider. Since my porter just finished up, I guess I need something to put in this thing!
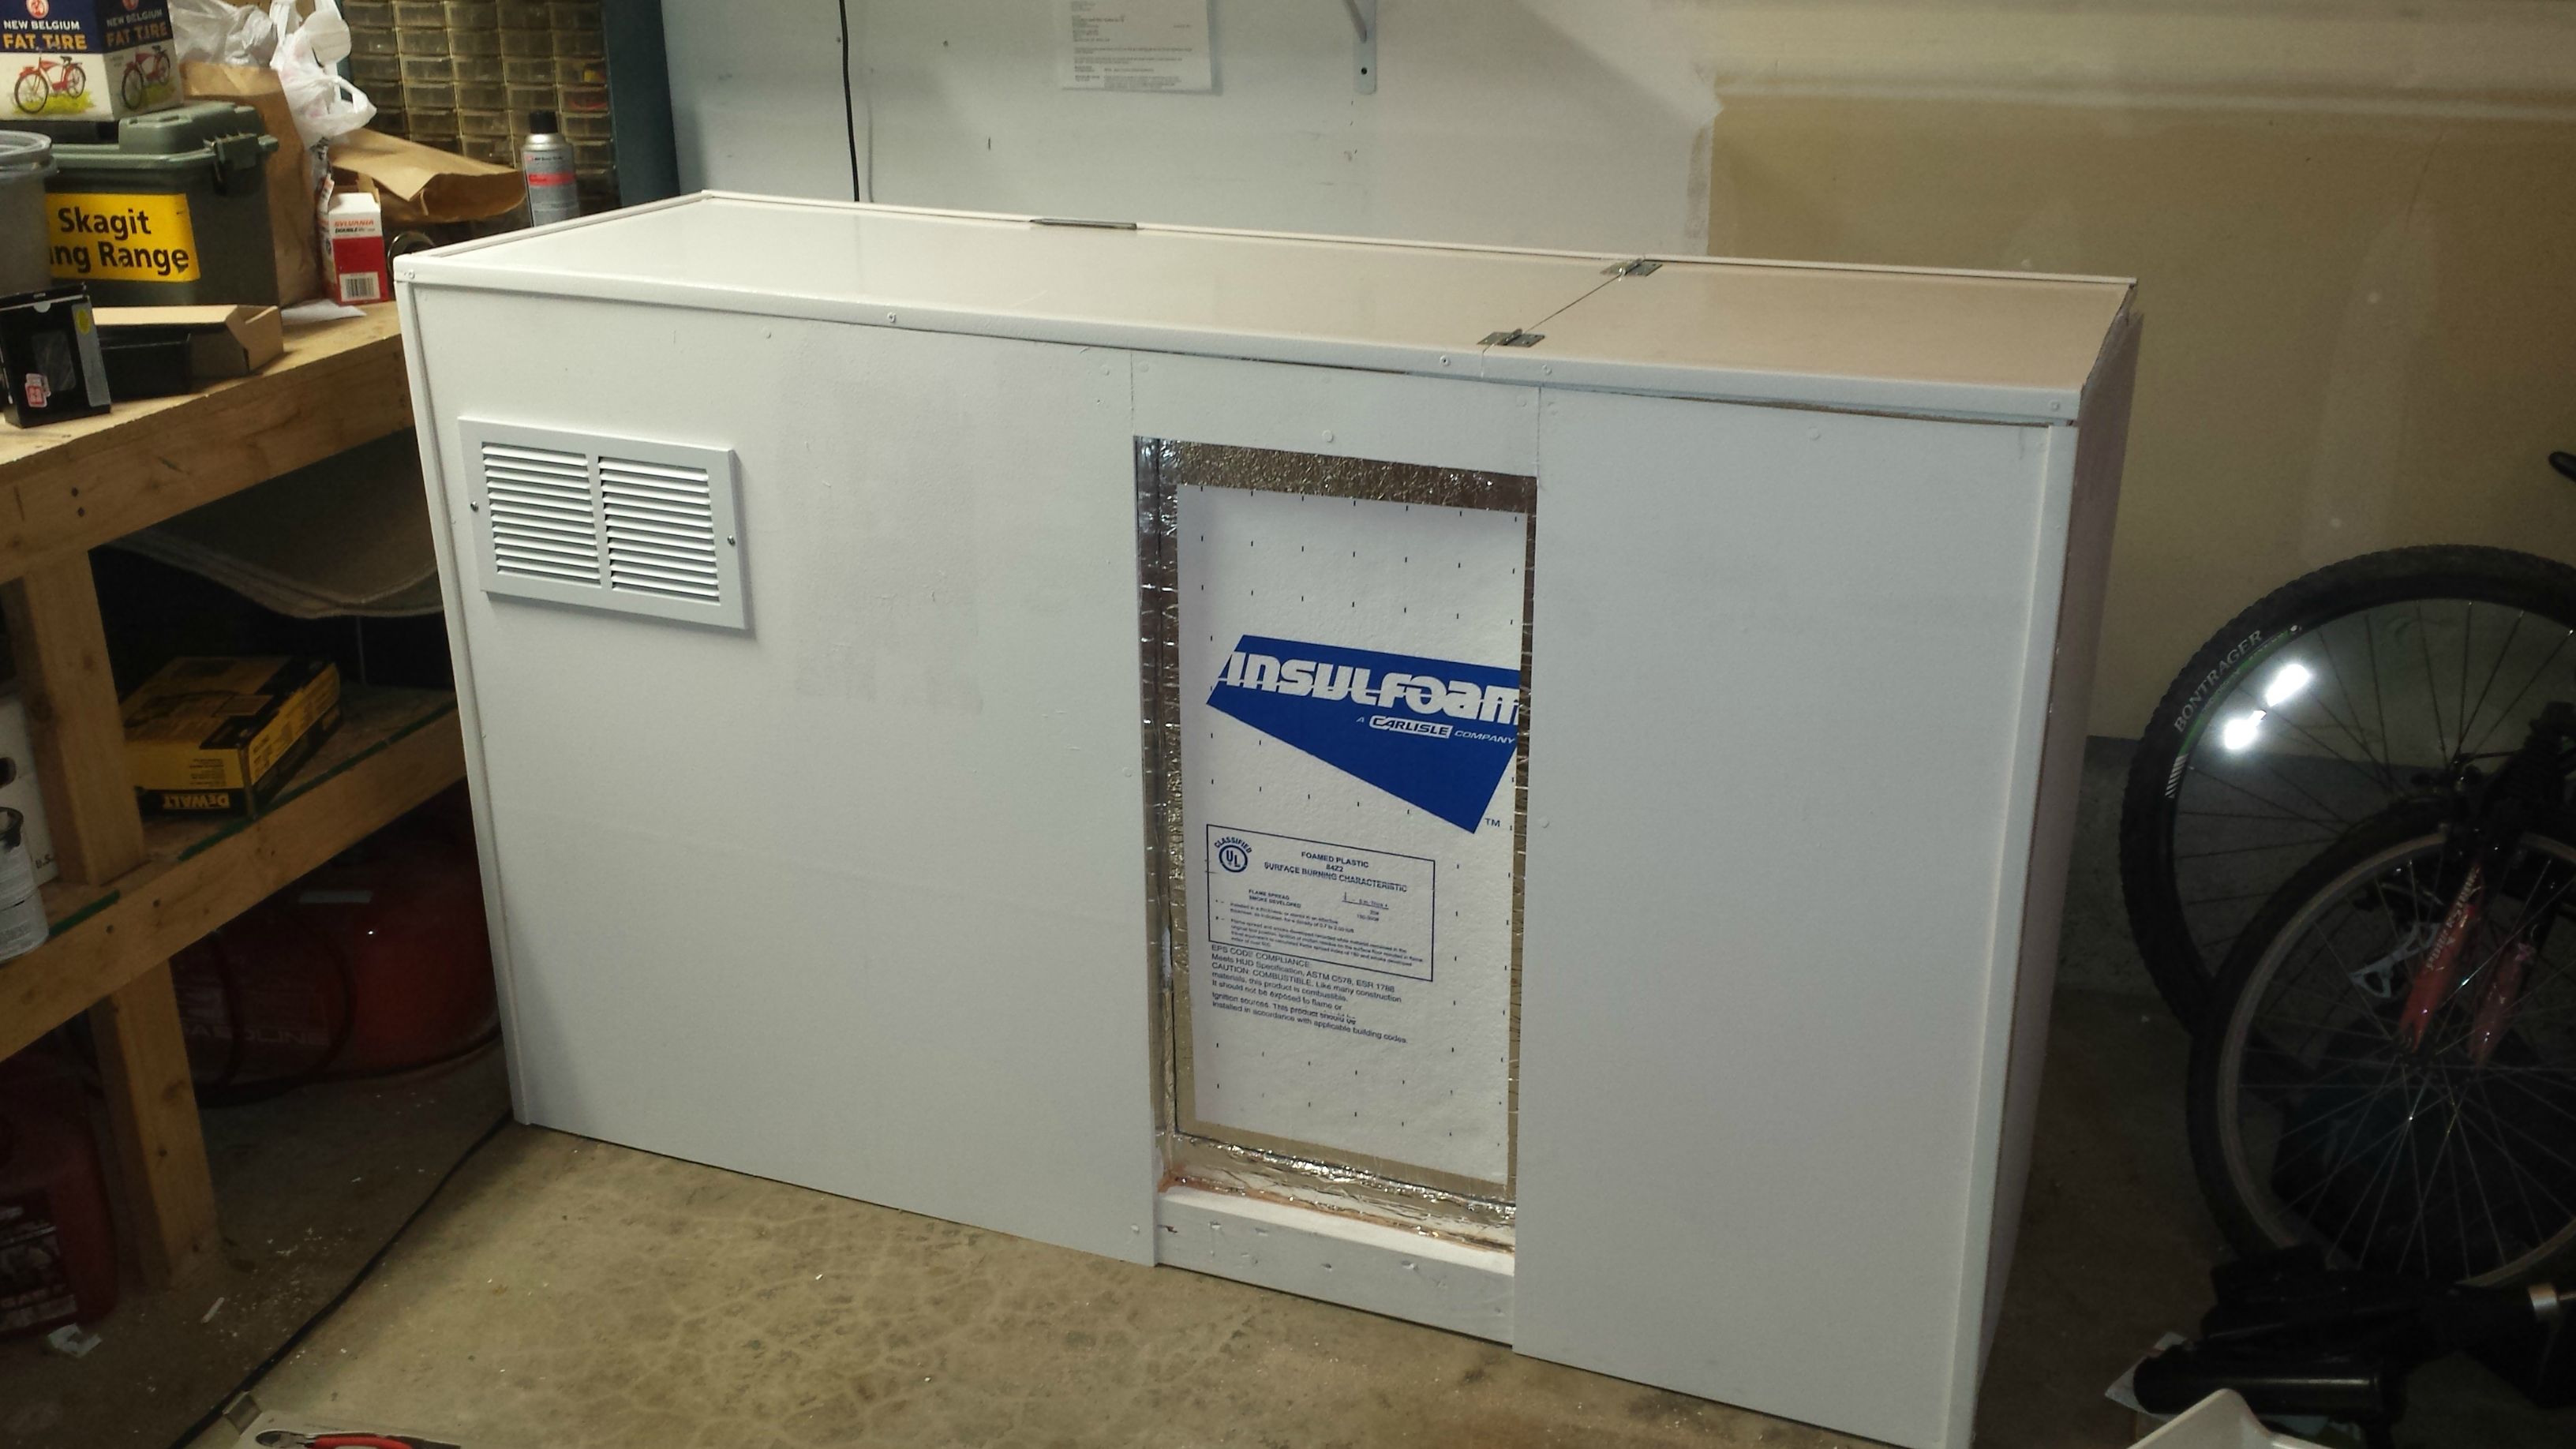
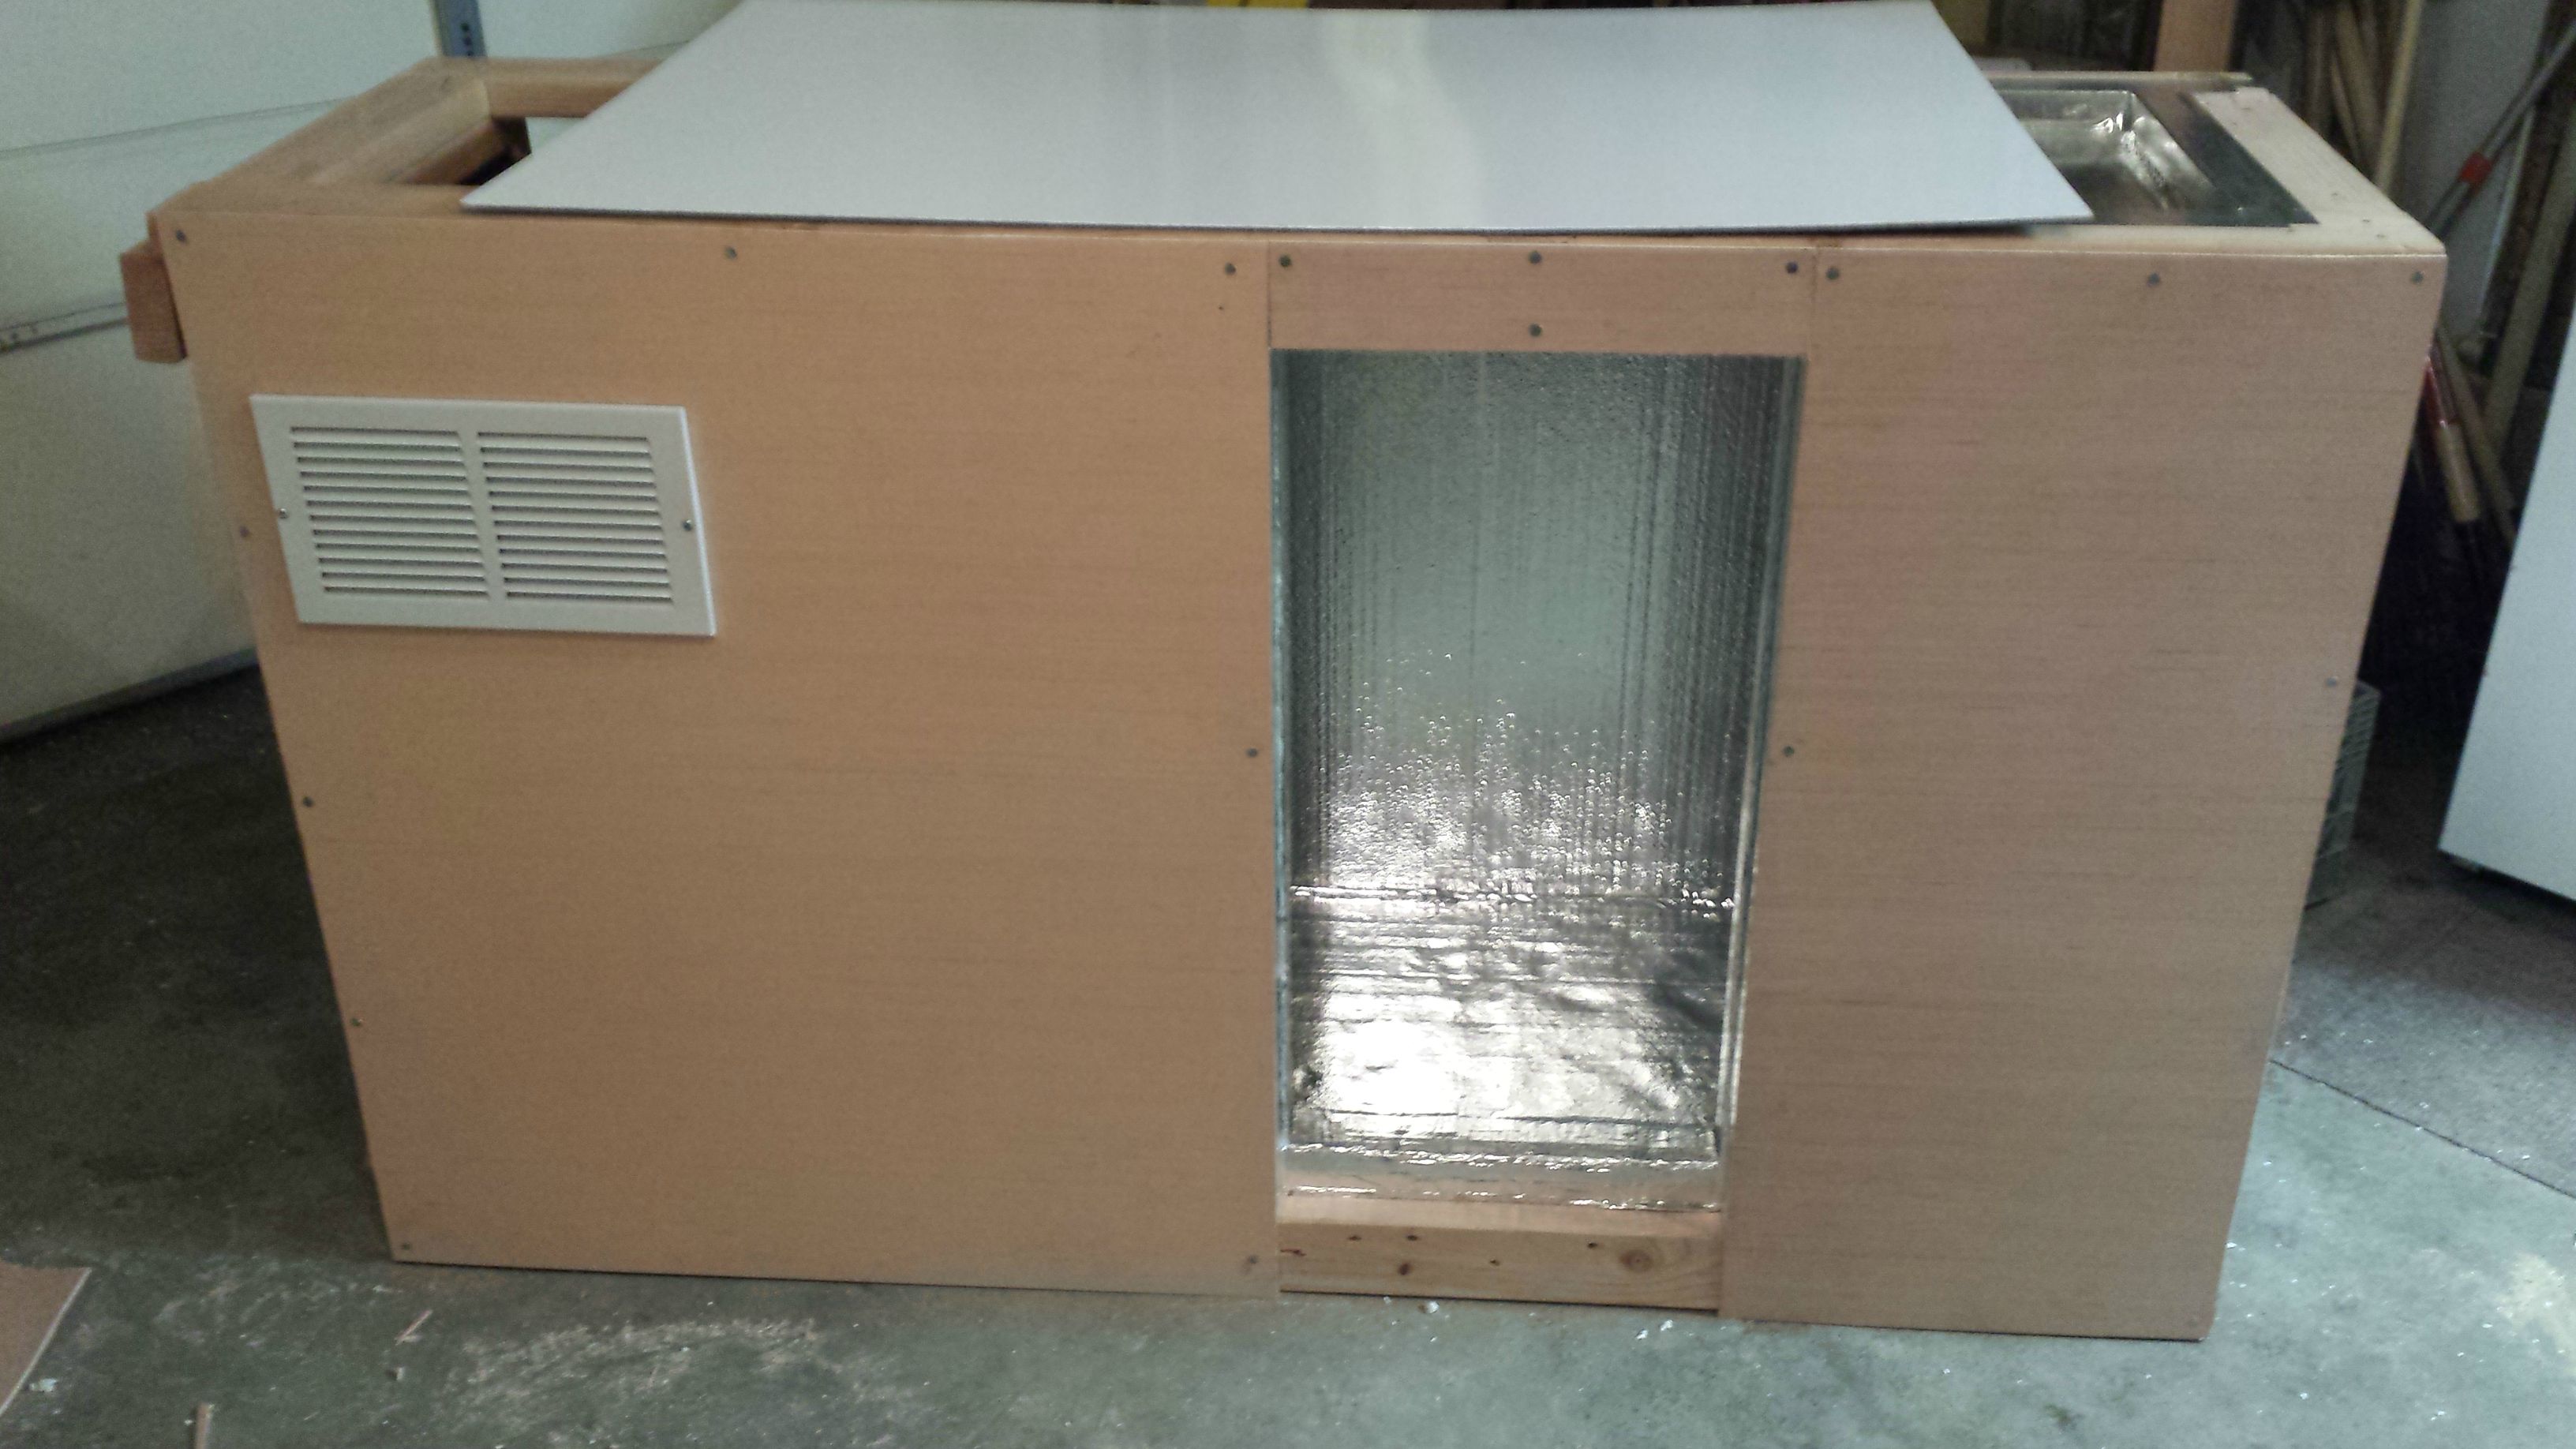
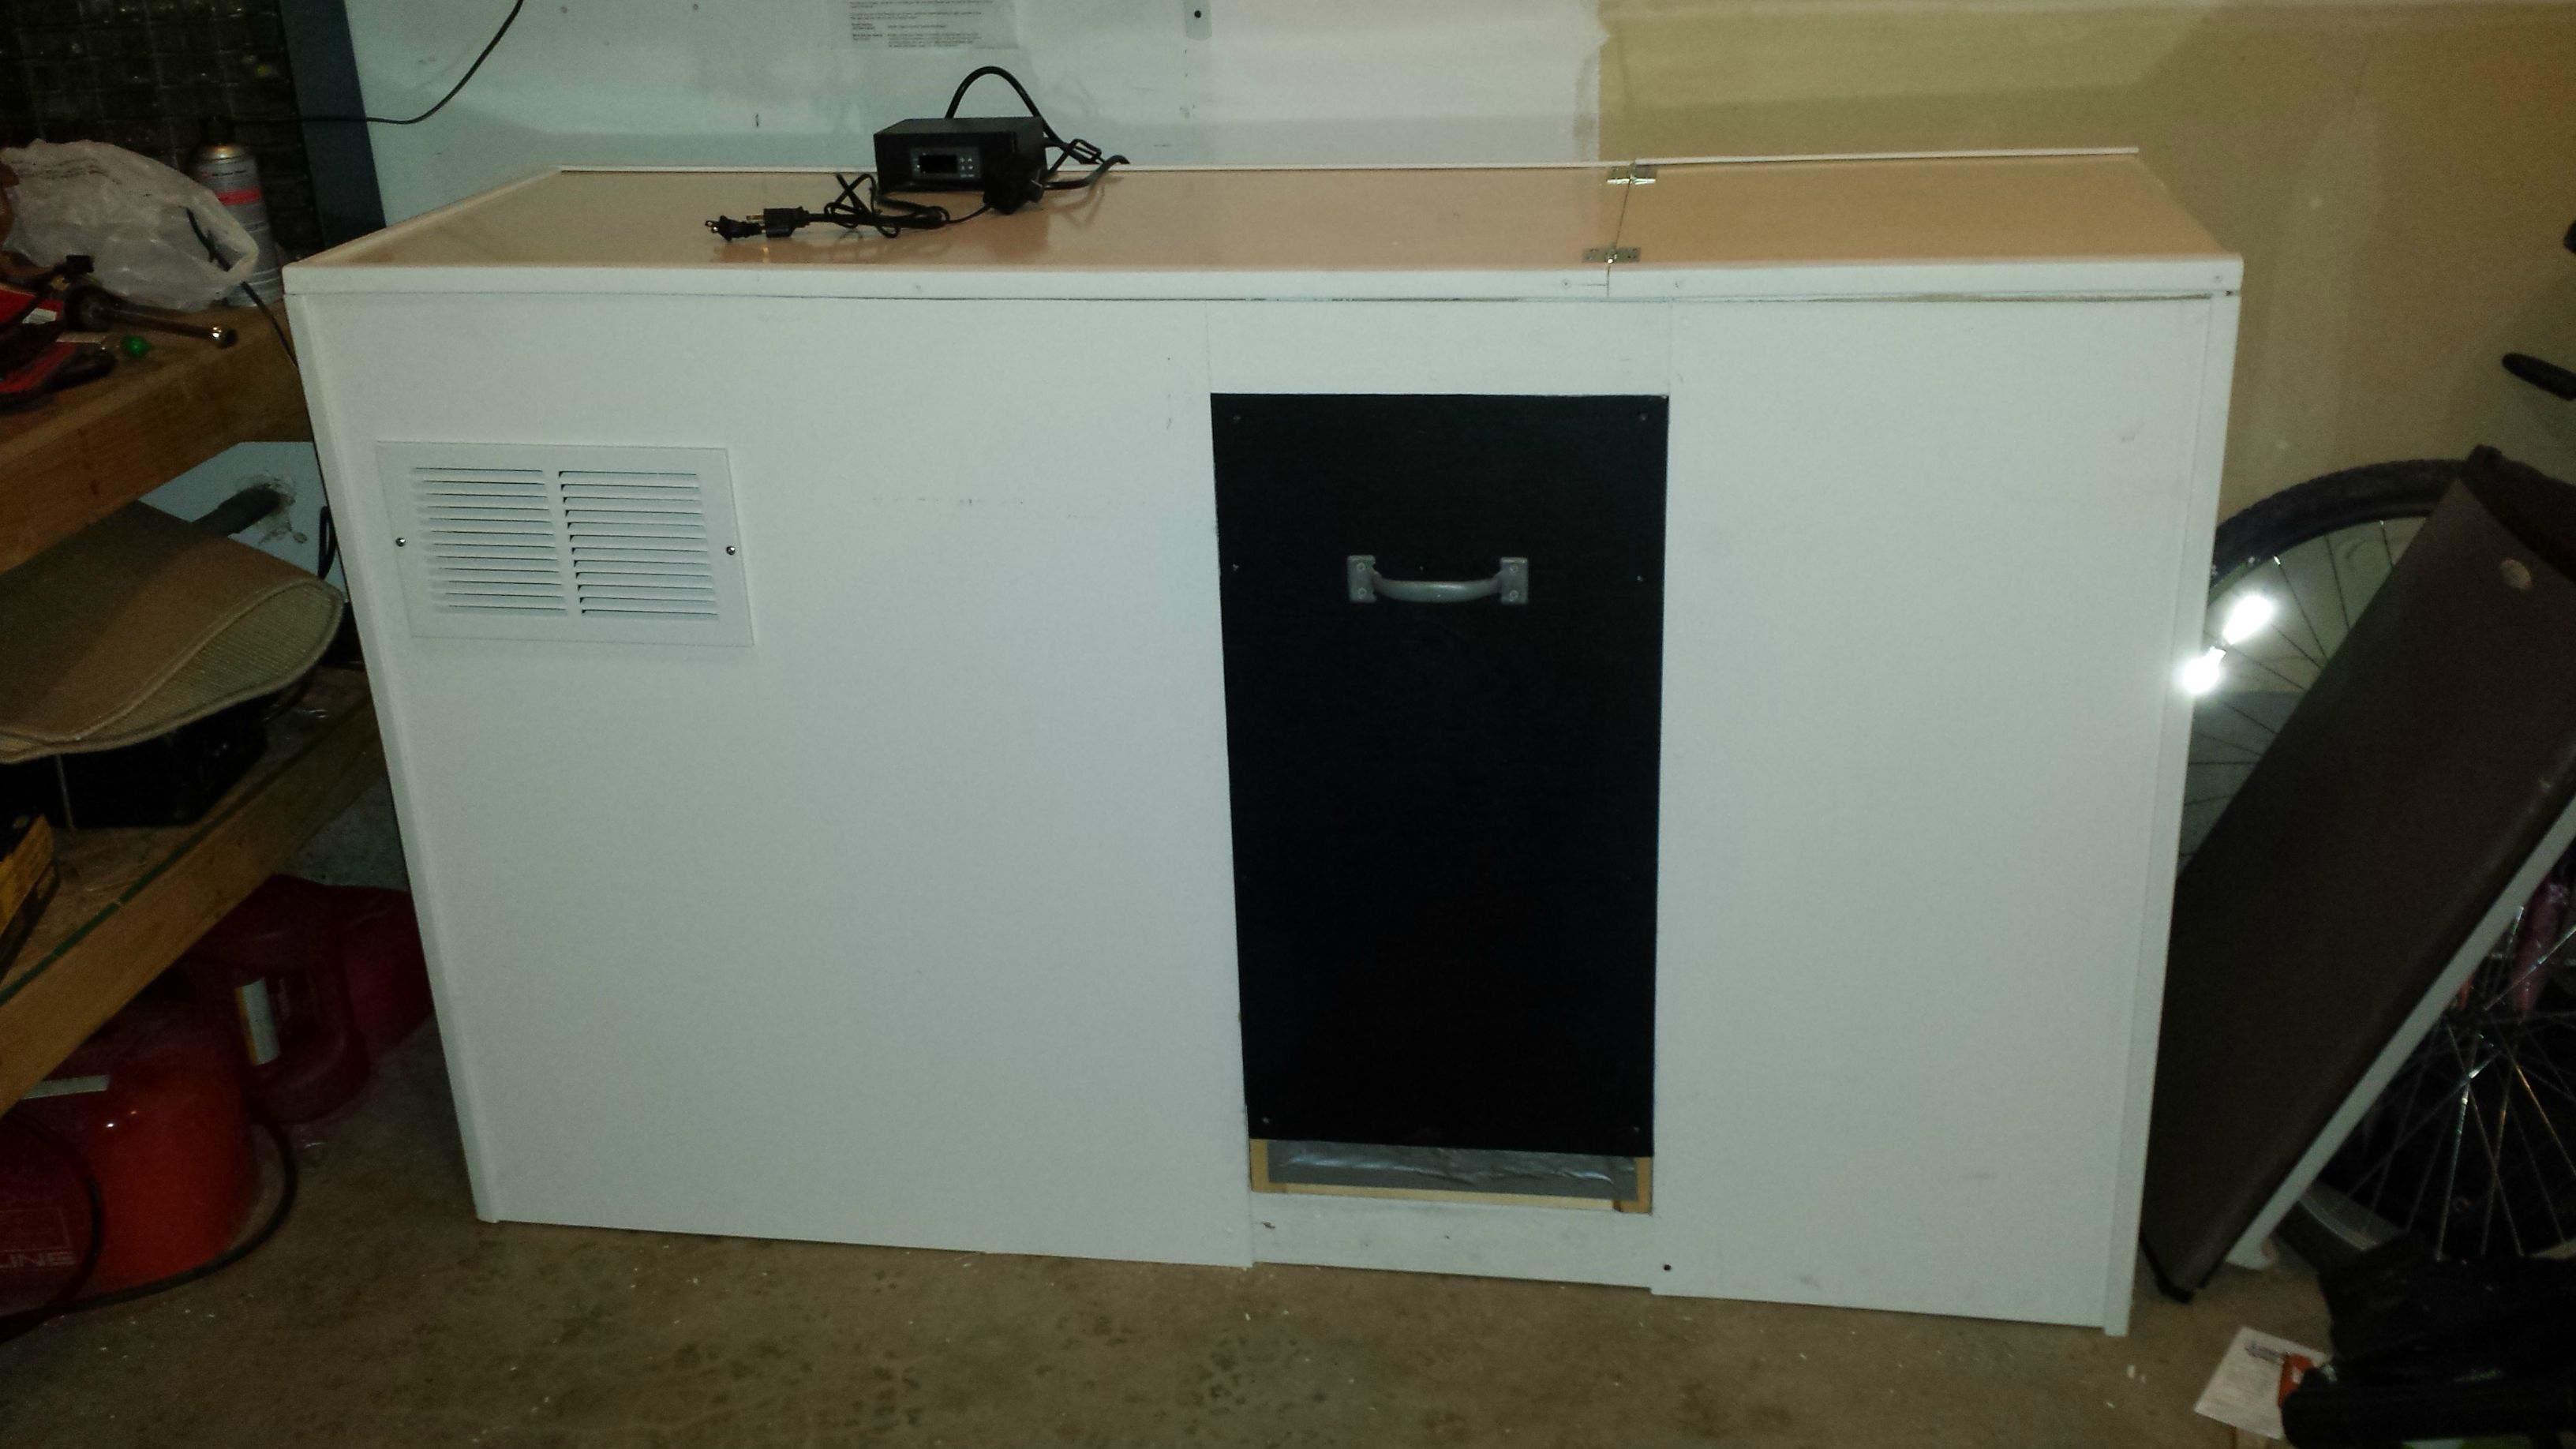
Painted up. I added a top, which was a layer of OSB with some whiteboard material over the top. I also added the vent, so heat from the side of the mini fridge will be able to escape. The back is uncovered, so that side is fine.
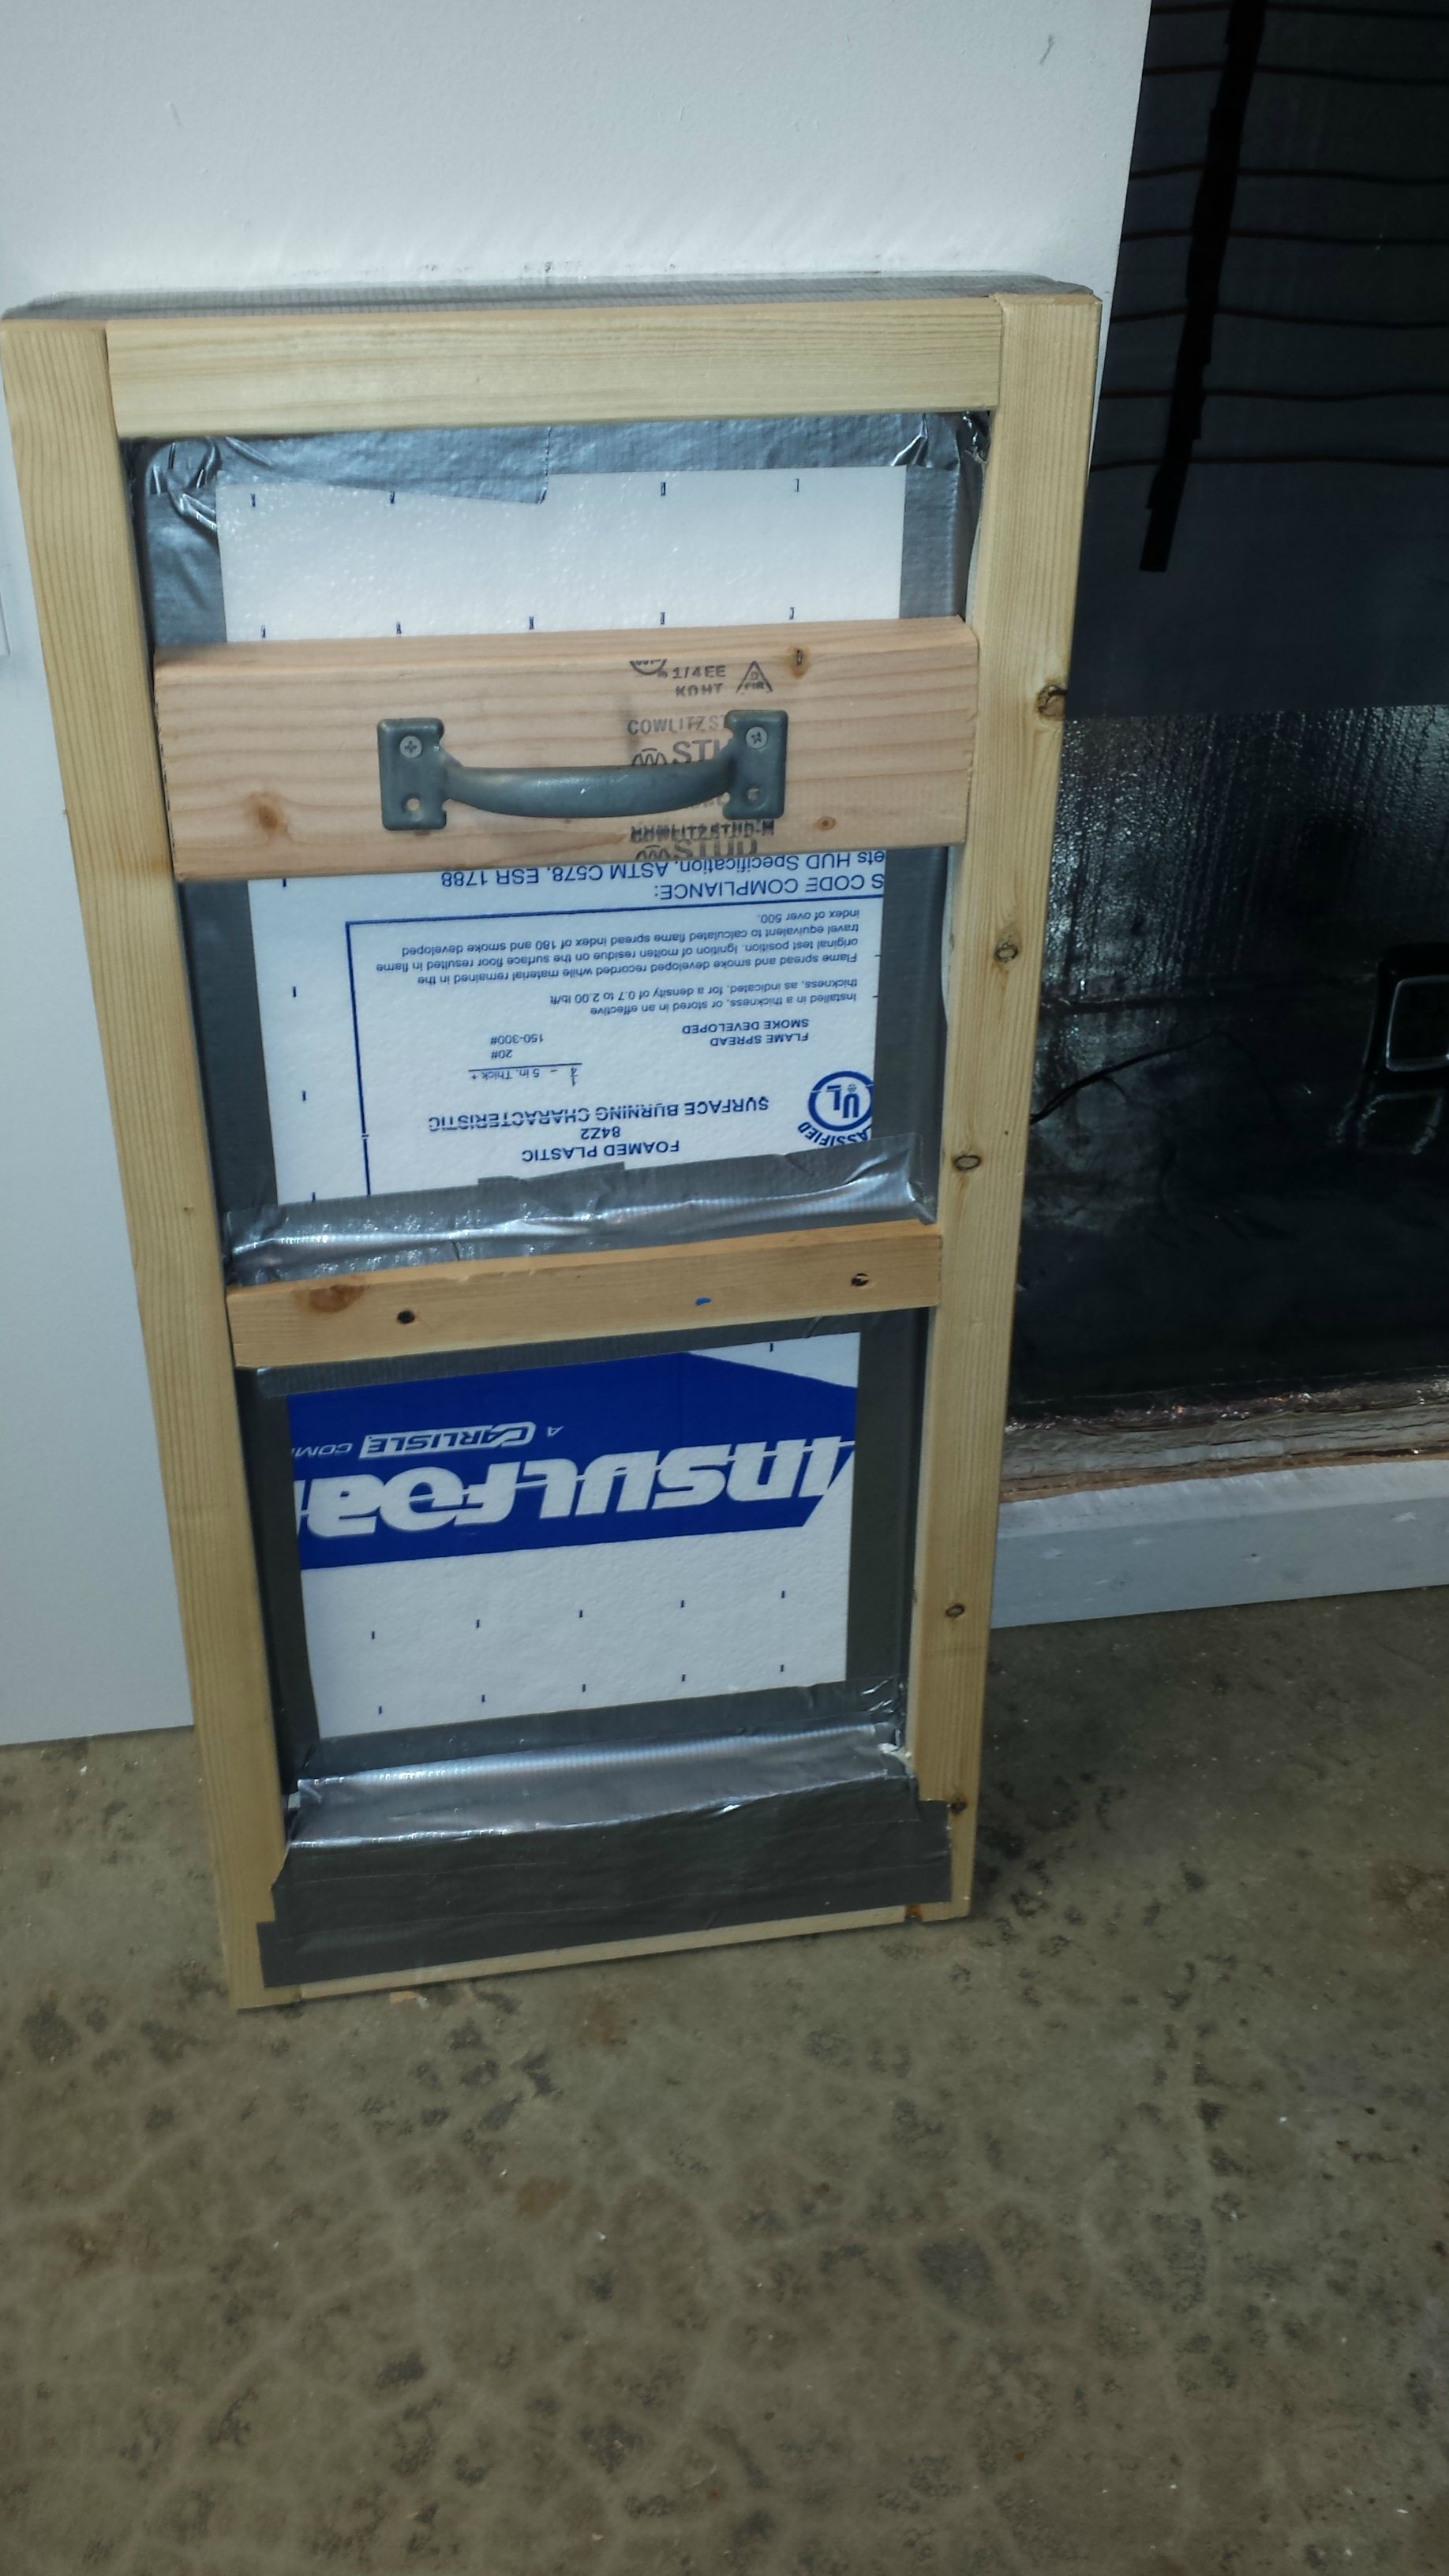
Framed the door up. Taped the **** out of it, so it should hold up just fine.
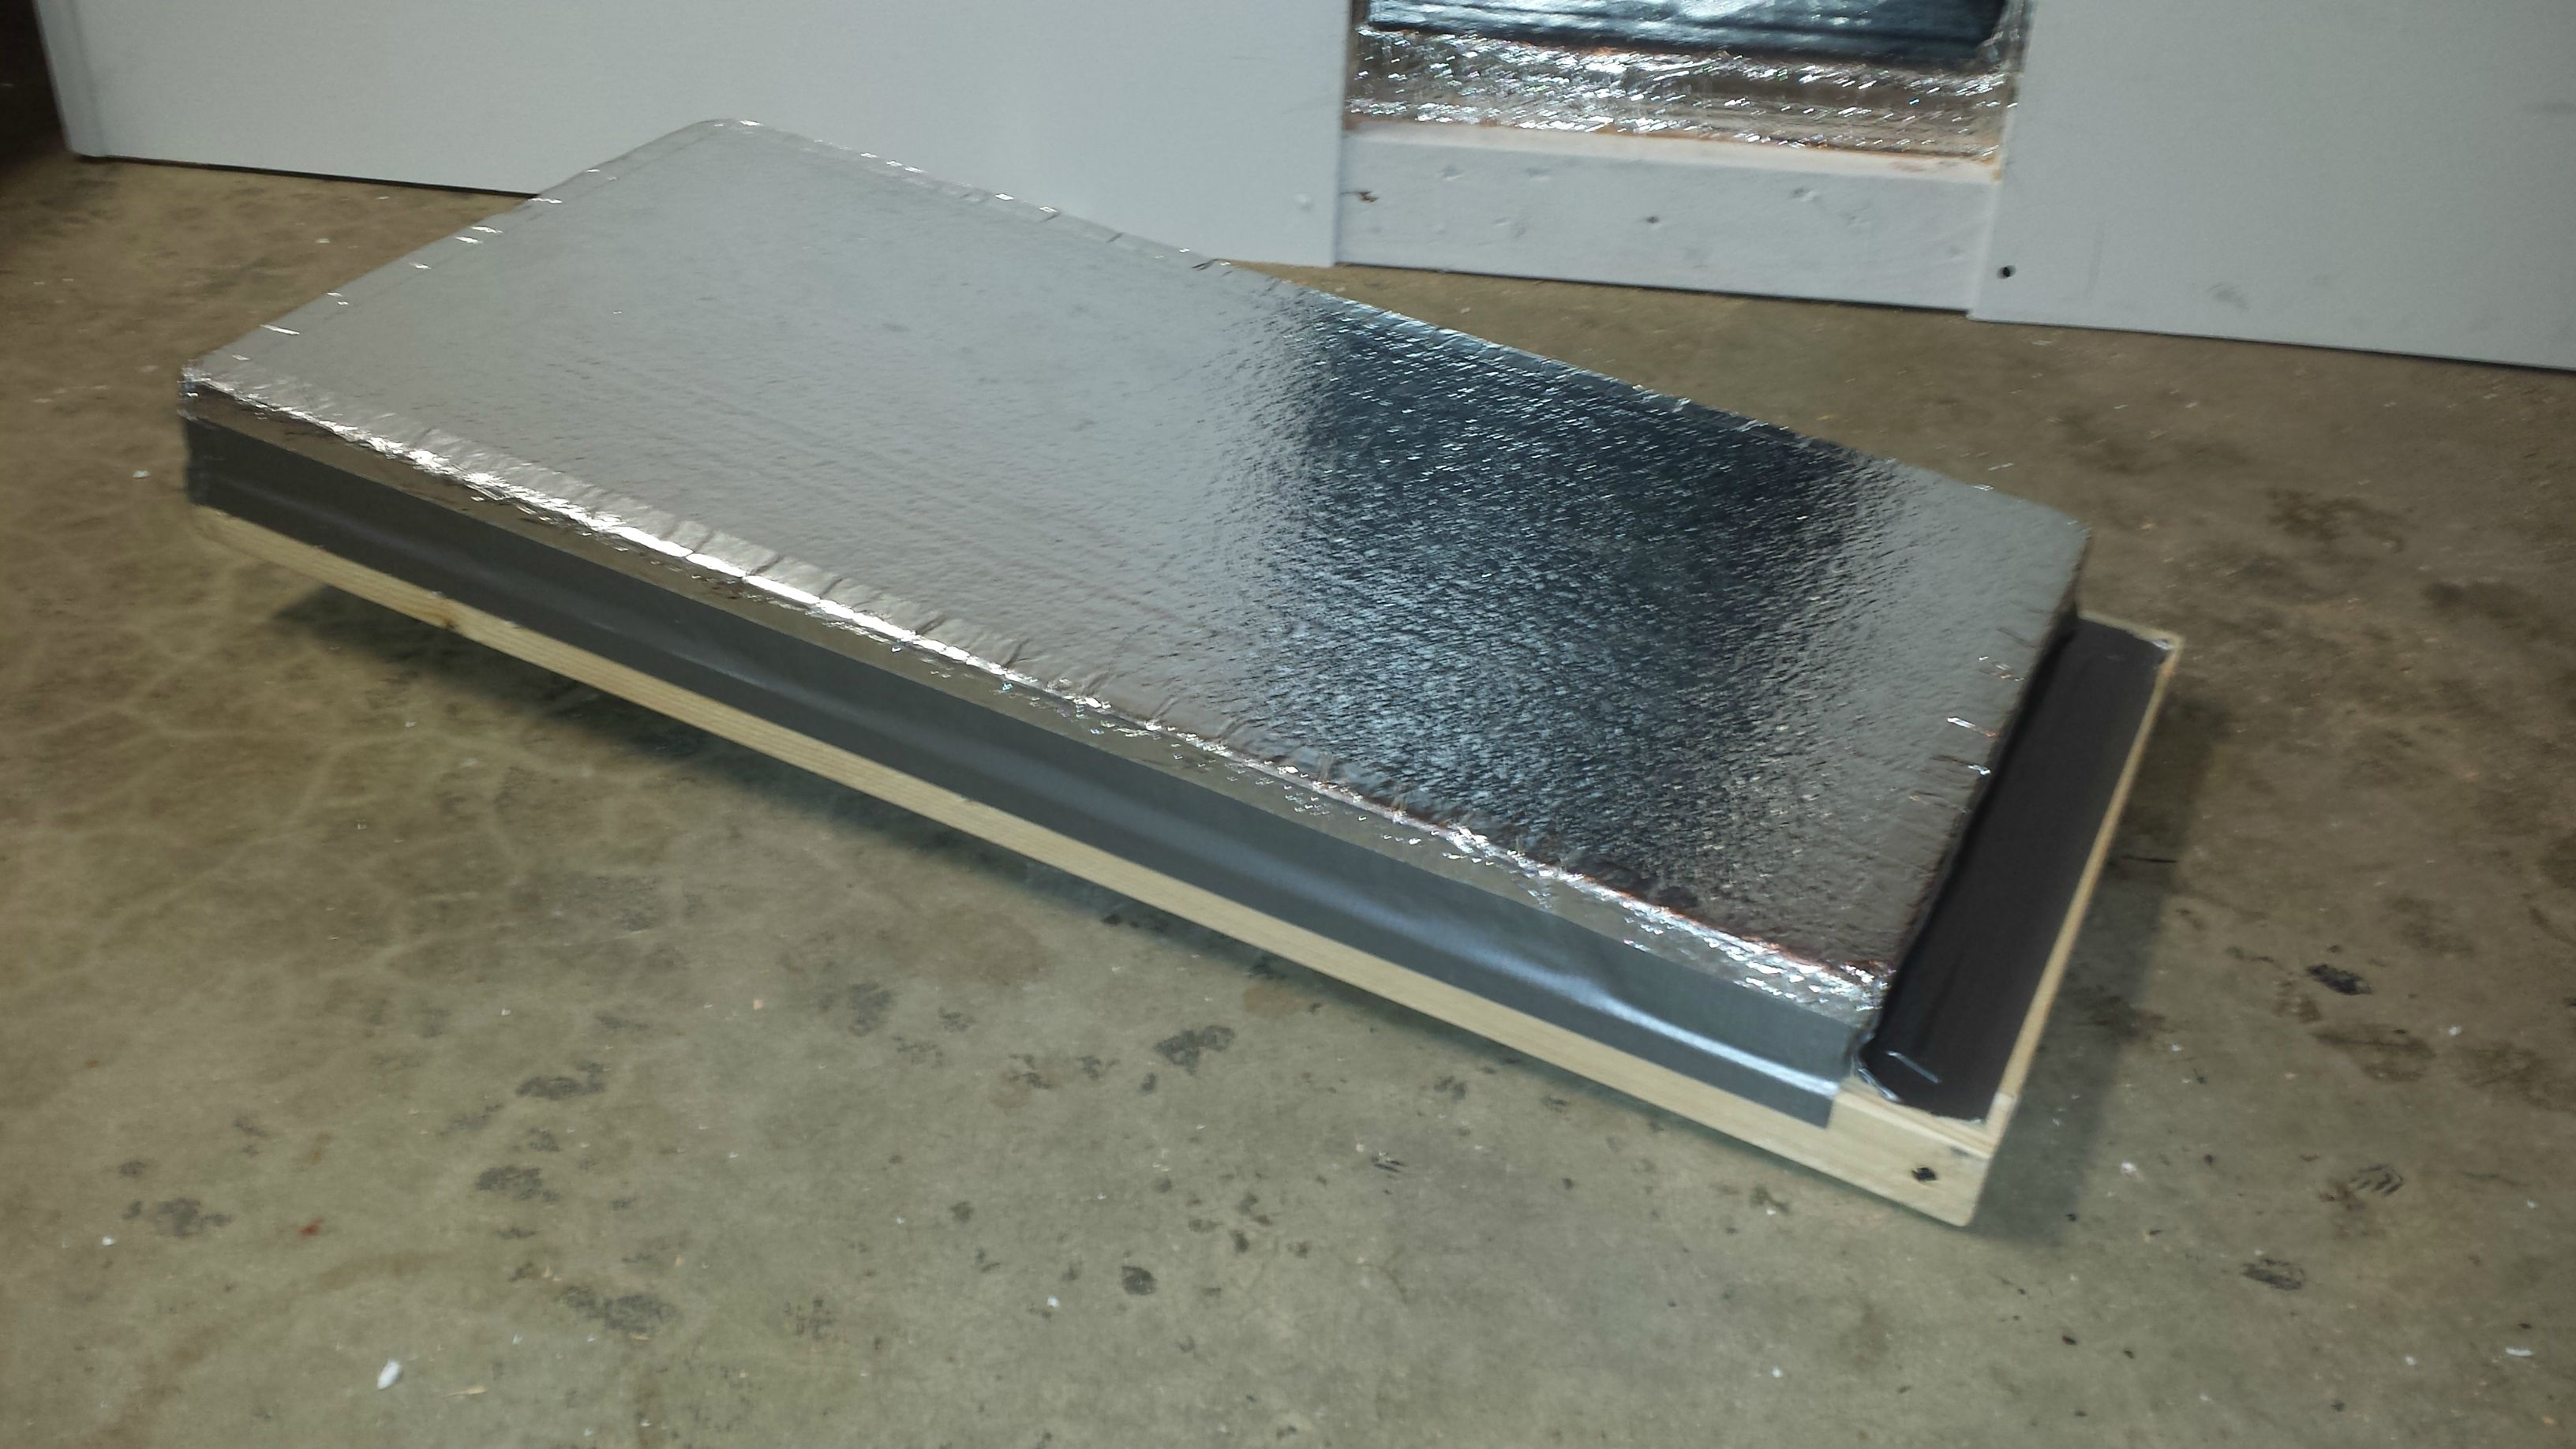
Added some plywood to the door to protect the foam. Its a very tight fit, and is sealed very well.
Shot of the hatch that covers the window. Keeps the light out when I dont want it in there, and gives me some extra bench space.
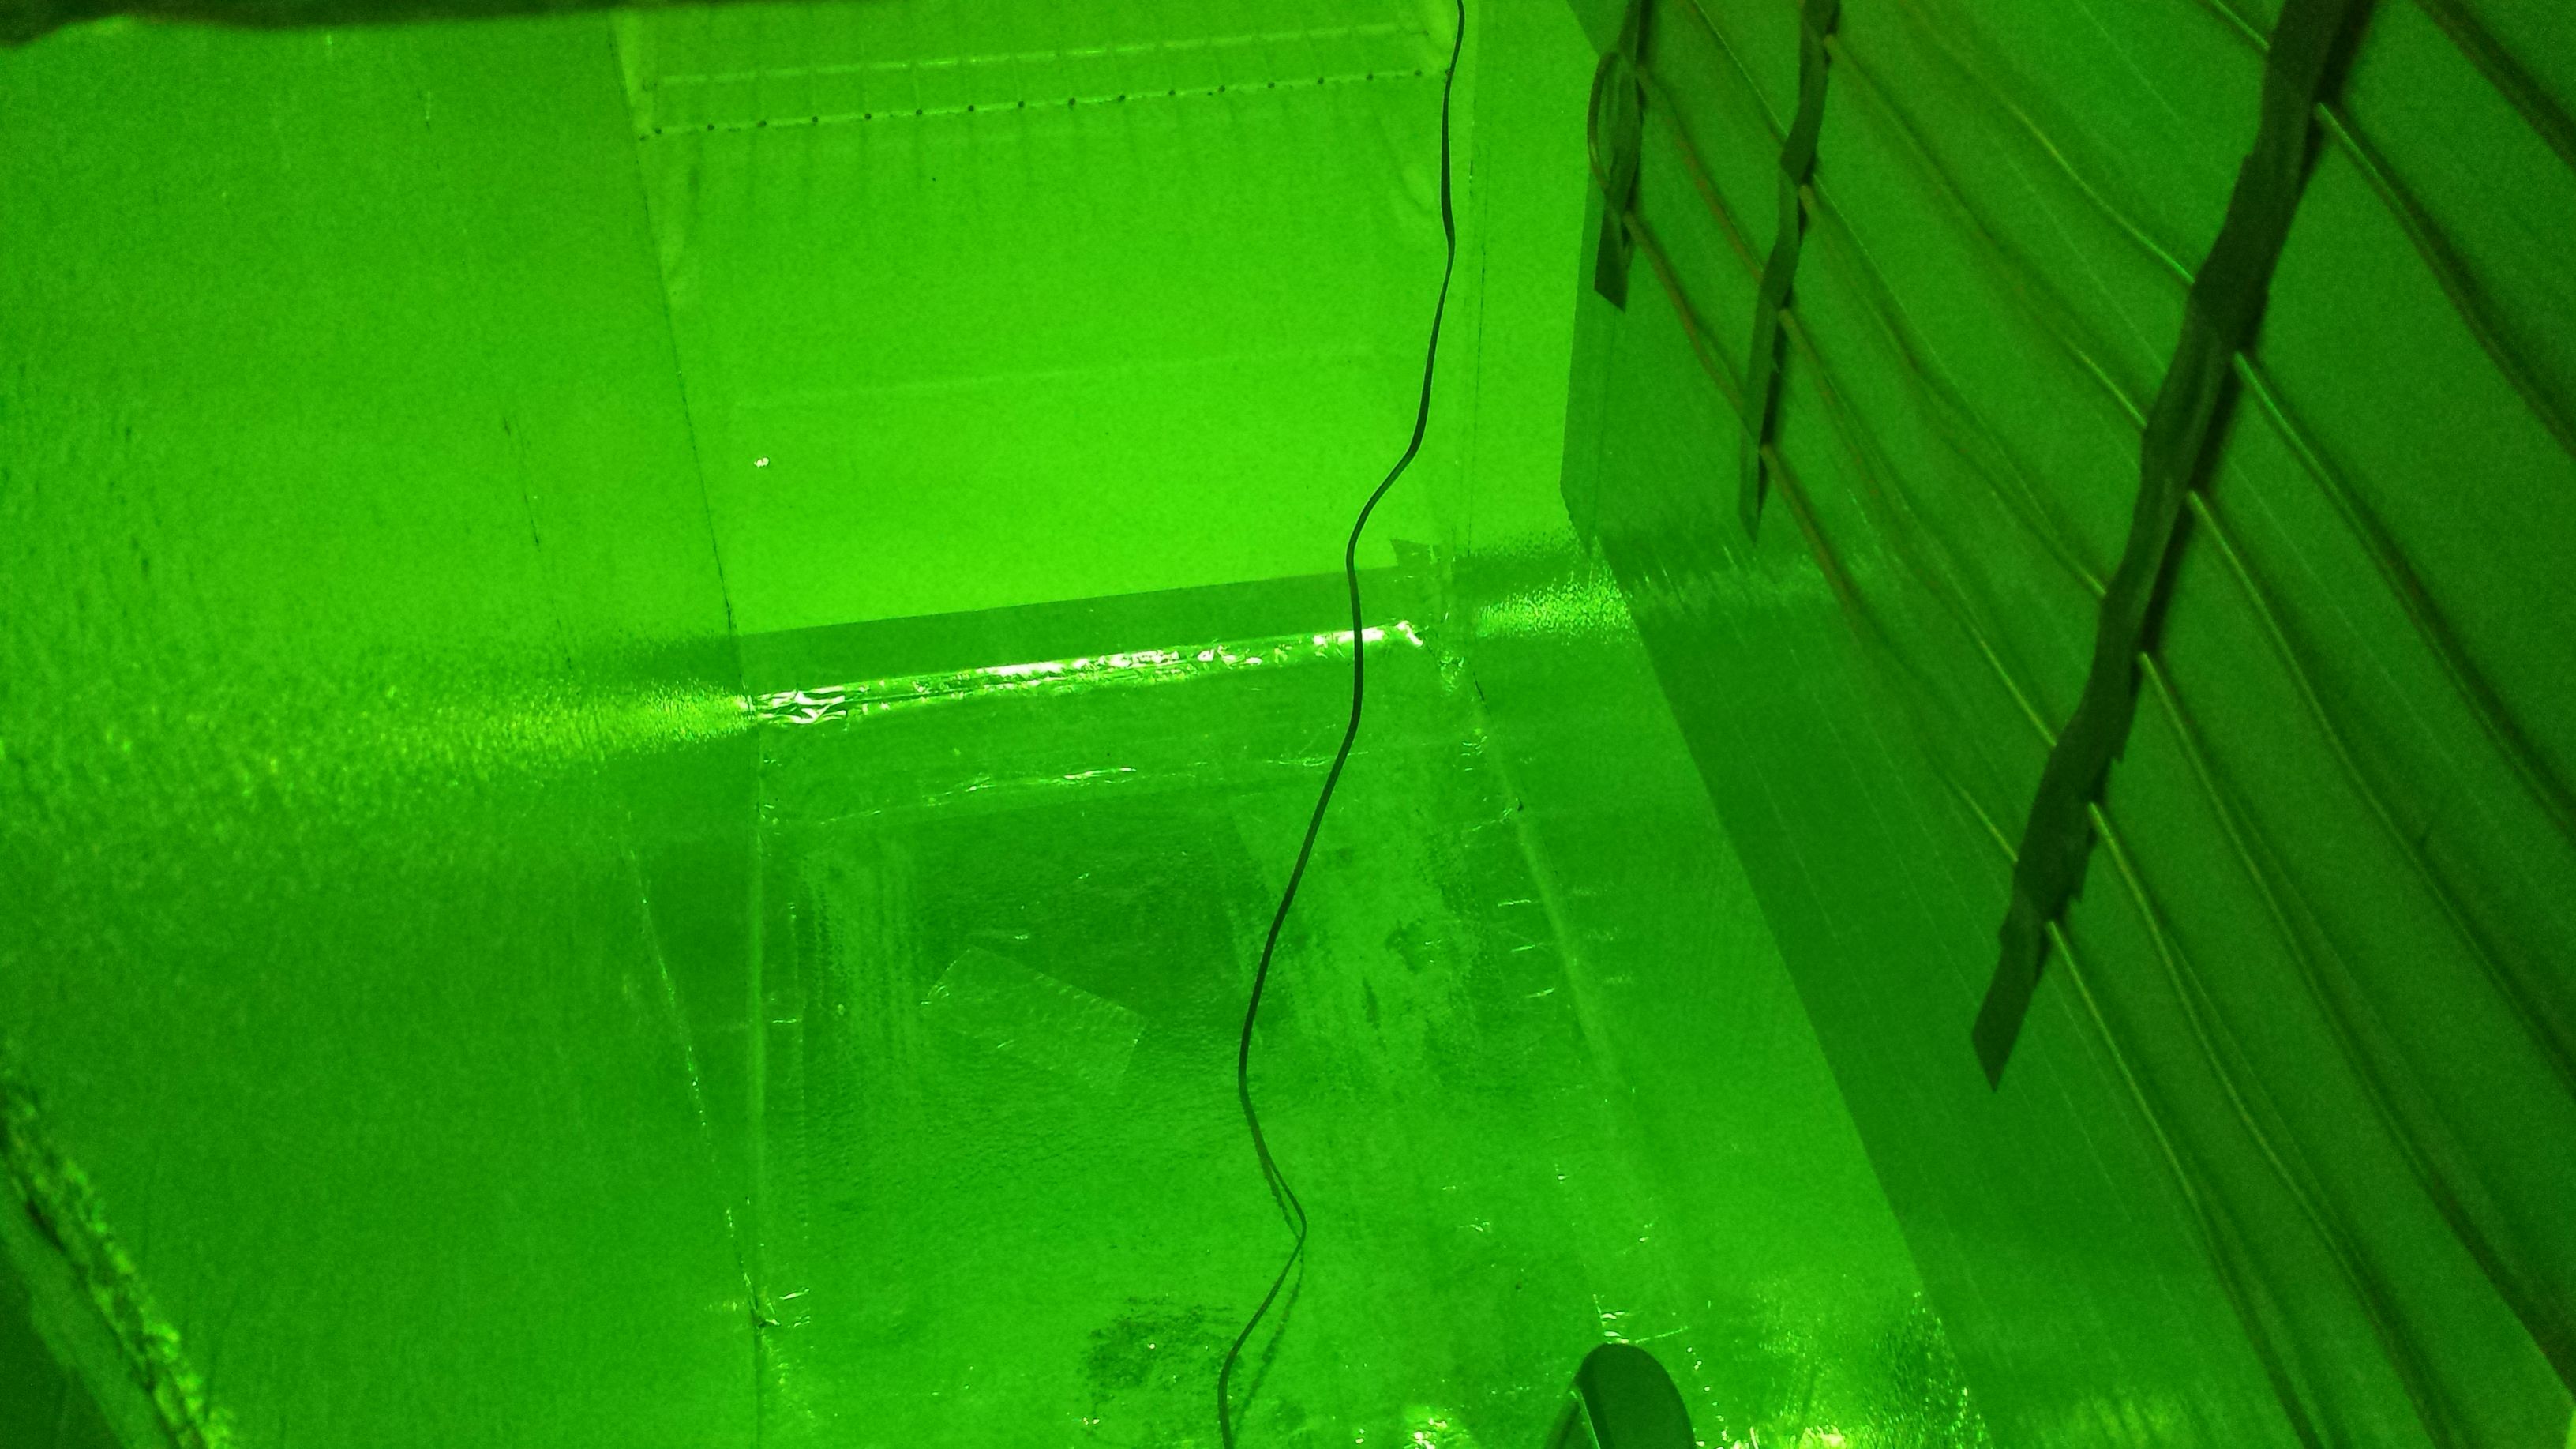
Shot through the viewing window. Installed some extra LED strips I had lying around. The controller allows you to change the color. Fancy.
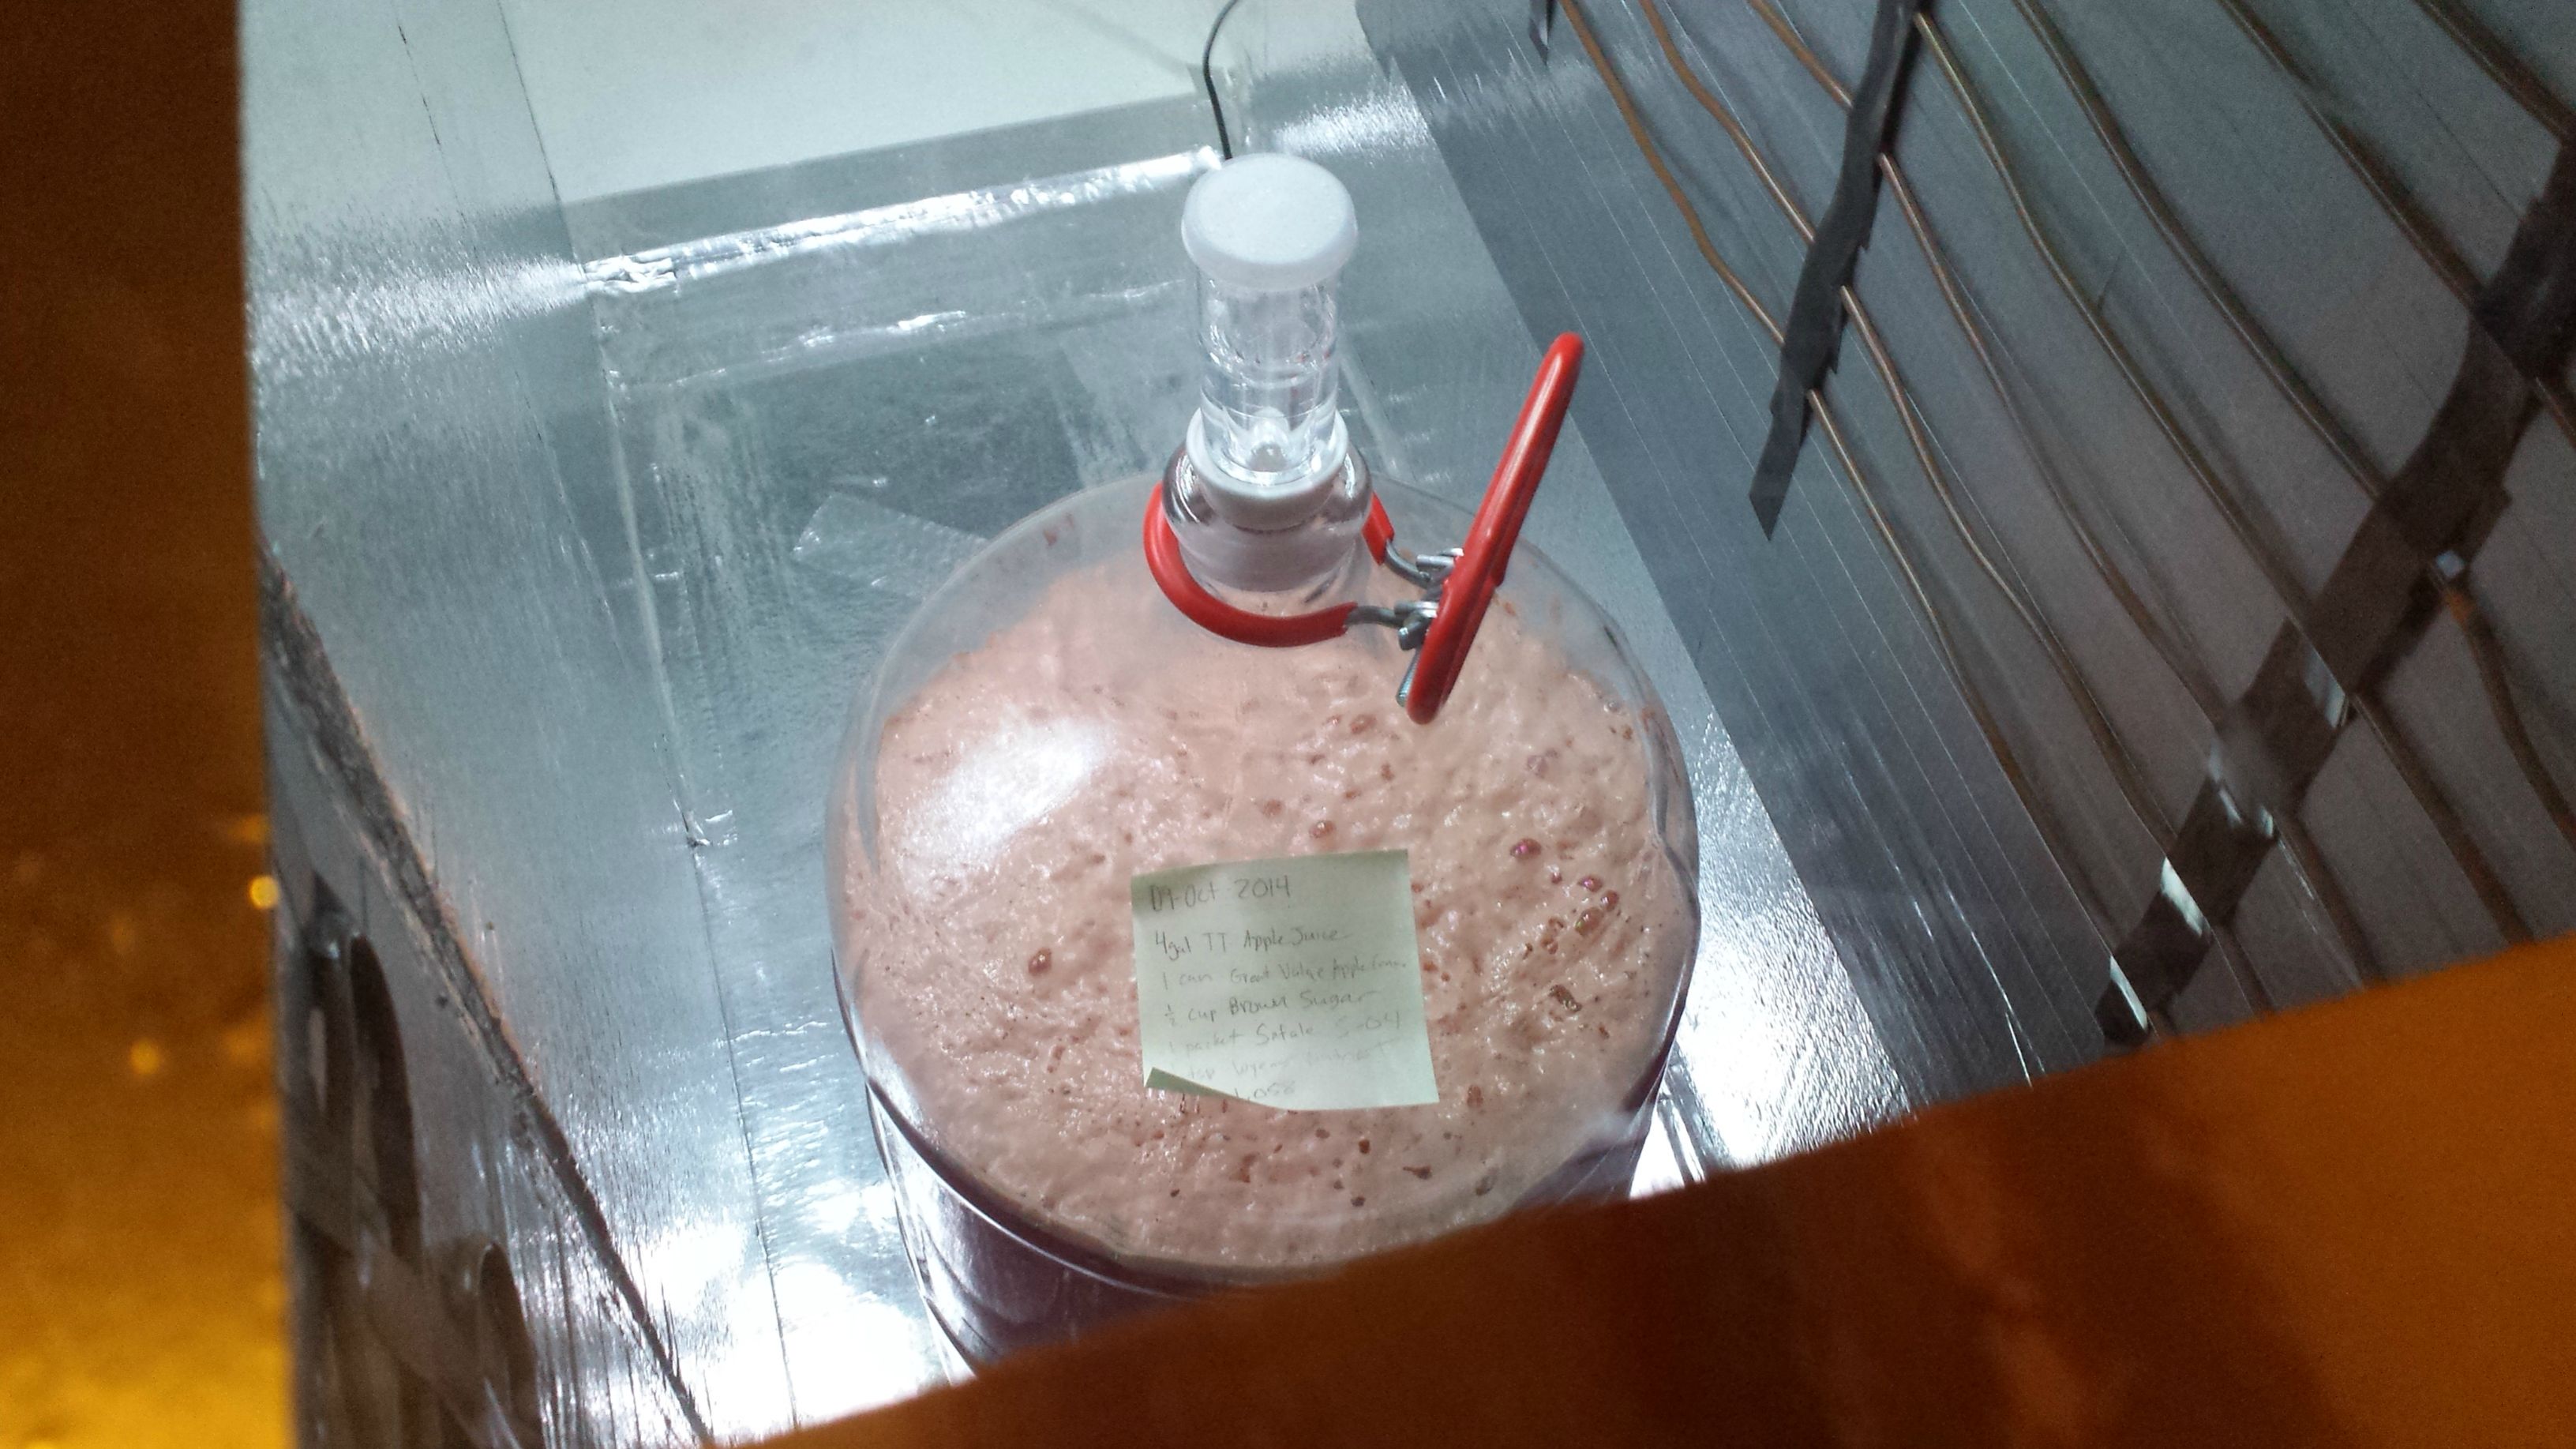
The cider is happy. This is what it looks like with the "normal" setting on the lights. Temp probe from the controller is taped in between the fermenter and a piece of foam.
You can also kind of see the heat cable. I snaked it back and forth along the back side, the end cap, and the space to the right of the door.
Well, after dealing with some wonky summer fermentation temp issues, I decided to go ahead with my fermentation chamber plan. It's been keeping at 68F very well, with minimal movement. I plan on using it to lager very soon as well.
Feel free to ask if you have any questions! I'll be happy to answer. If you have a circular saw, a driver, and minimal tools, you can do this.
Cooling Unit:
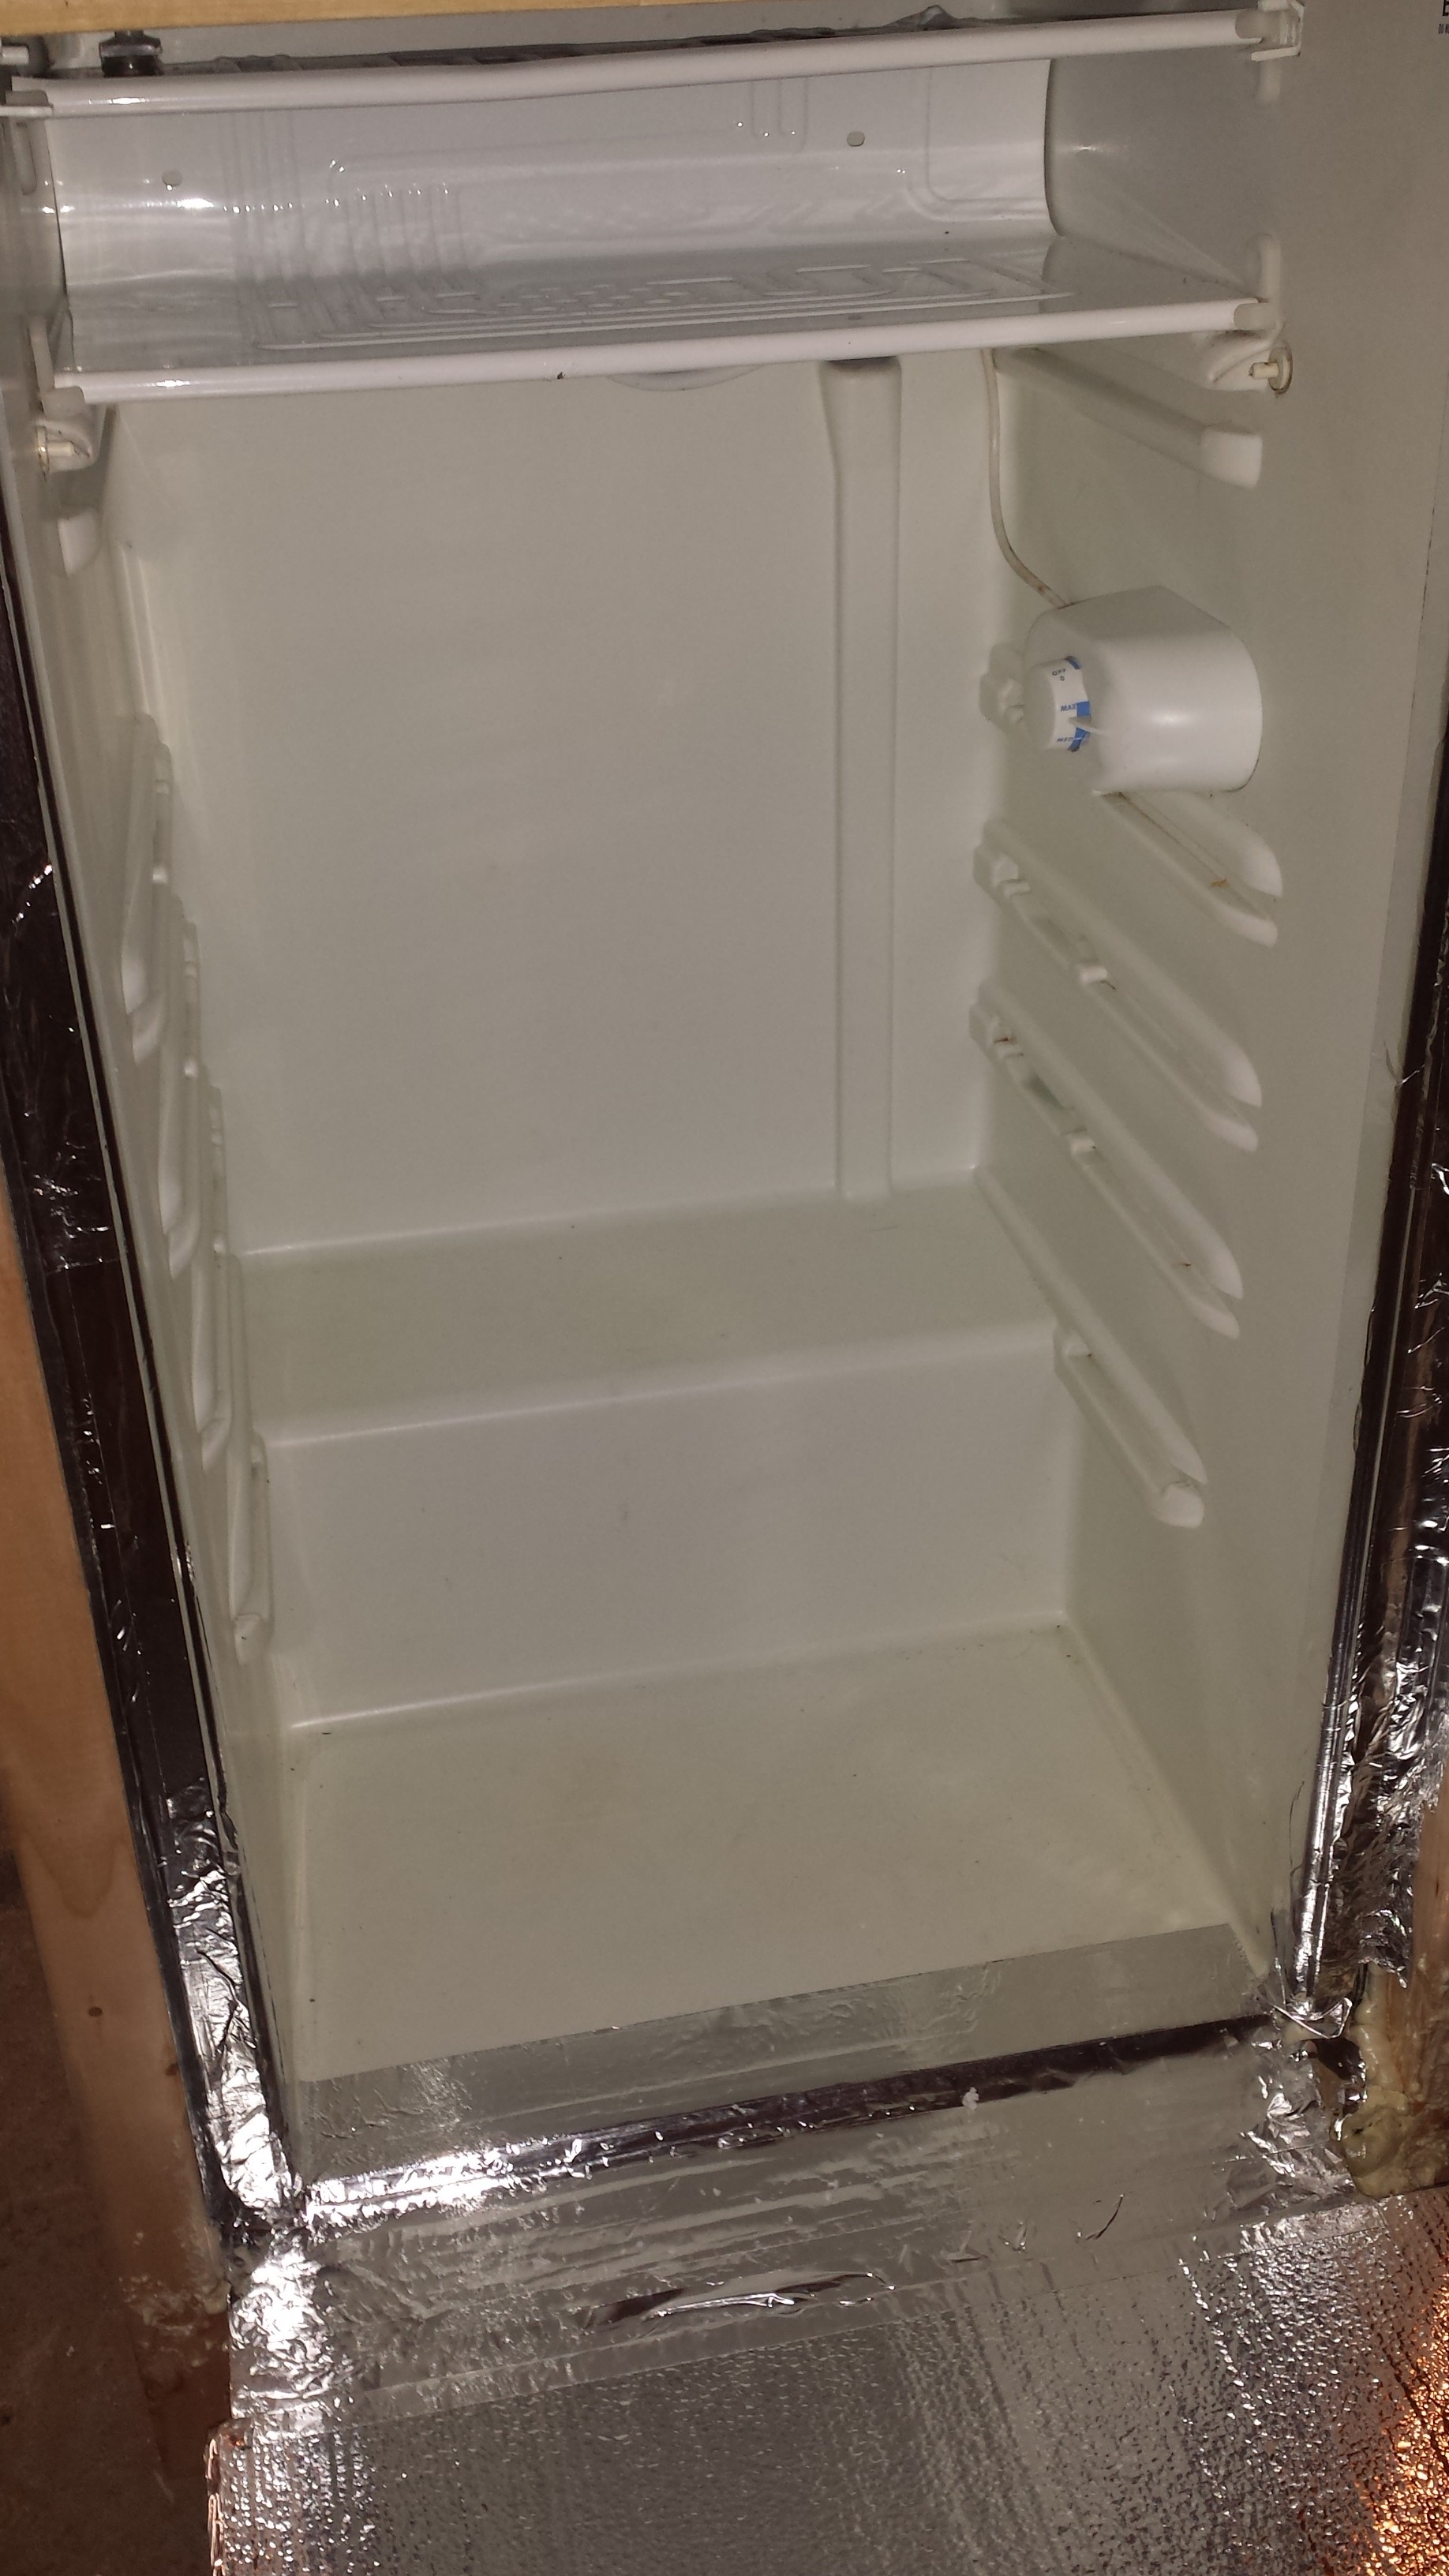
Taller Mini-Fridge. I forget the model. Check the pictures for details.
Heating Unit:
39ft 100w ZooMed Reptile Heating Cable
Temp Controller:
STC1000 based Black Box from BlackBoxBrew
http://www.blackboxbrew.com/
Fan:
AC Infinity AI-120SCX 120mm Speed Control Fan Kit
Lighting:
IKEA DIODER LED 4-piece light strip set
The final product. Ended up buying a Black Box from BlackBoxBrew. I was going to just buy my own STC1000, but I liked what they did with the BB. I dialed in the info on there, and have it holding at around 68 F pretty steadily. As you'll see in the pictures, the cooling source is a taller mini fridge. The heat is from a 100w 39ft reptile heating cable from ZooMed. There is also a computer style fan in there, which I will be adding into the cooling circuit at some point.
Taped the seam with aluminum duct tape.
I made a paint can / light heat source, but it feels like a fire waiting to happen. Probably just paranoid, but I scrapped that plan.
Frame is up...
...and the fridge fits like a glove.
I ended up putting foam over the base, which really made the foam in the base itself overkill. Oh well. Lessons learned.
The back wall goes up. I threw some scrap foam in there to see how it would fit.
My brew buddy decided to come visit... after I was done making cuts for the night. She hates the circular saw more than she hates the vacuum.
Ceiling installed. Door frame installed.
Taped the edge of the fridge up. Also used some of the spray foam insulation to fill some gaps.
View from the end, prior to installing the foam on that side.
All of the walls are up! Perfect seal all around.
I decided last minute to cut some foam out of the top to make a window. That was I can see the fermentors without having to open the door and mess with the temp inside. Plexiglass, and totally sealed up around the edges.
It'll fit up to three carboys/buckets. Two if i'm using blowoffs.
Shot of the fermentors from the door.
Cut the piece of foam from the door. Tight fit.
Got some thin plywood and covered the front and end.
Cut a hole for the heating source, the temp probe, and the lighting. Plugged it up with more foam after the cords were put through.
Installed the fan in front of the cooling unit in the fridge. It's a computer styled fan, but is powered by a normal outlet and even has a built in controller unit. I might buy another to build a stir plate.
Took a break and made a cider. Since my porter just finished up, I guess I need something to put in this thing!
Painted up. I added a top, which was a layer of OSB with some whiteboard material over the top. I also added the vent, so heat from the side of the mini fridge will be able to escape. The back is uncovered, so that side is fine.
Framed the door up. Taped the **** out of it, so it should hold up just fine.
Added some plywood to the door to protect the foam. Its a very tight fit, and is sealed very well.
Shot of the hatch that covers the window. Keeps the light out when I dont want it in there, and gives me some extra bench space.
Shot through the viewing window. Installed some extra LED strips I had lying around. The controller allows you to change the color. Fancy.
The cider is happy. This is what it looks like with the "normal" setting on the lights. Temp probe from the controller is taped in between the fermenter and a piece of foam.
You can also kind of see the heat cable. I snaked it back and forth along the back side, the end cap, and the space to the right of the door.
Last edited by a moderator:
