free2scour
Well-Known Member
Hahahahhahaha, your right......here ya' go!!


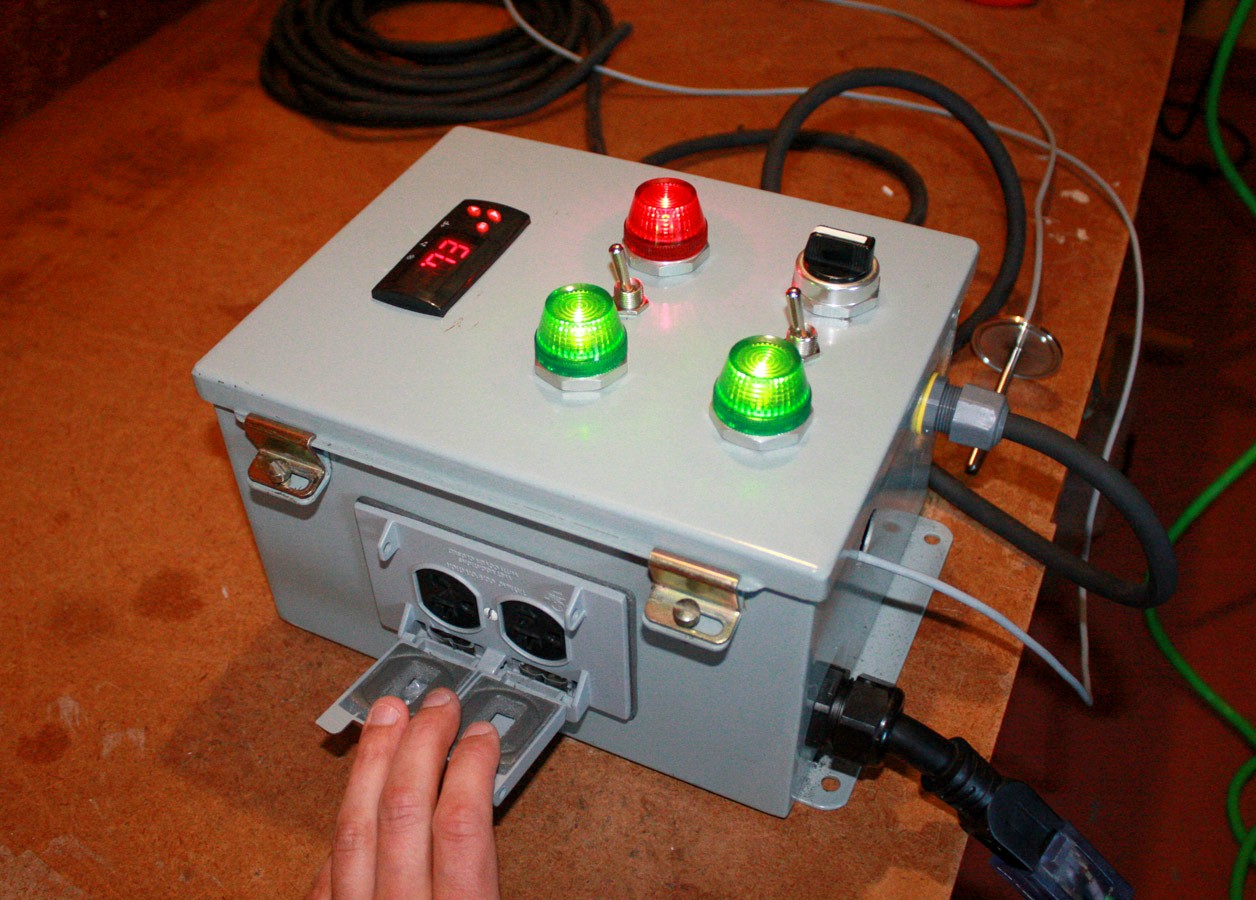
I eventually want to have a RIMS system as well. Any information (or links) you could share on the control panel and the heating element would be greatly appreciated. I'm not sure, but that HE appears to be made from sanke keg parts? Very cool. How do I do that?Just finished my RIMS control panel and I came here looking for Ideas on how/where to mount it.
")
I eventually want to have a RIMS system as well. Any information (or links) you could share on the control panel and the heating element would be greatly appreciated. I'm not sure, but that HE appears to be made from sanke keg parts? Very cool. How do I do that?


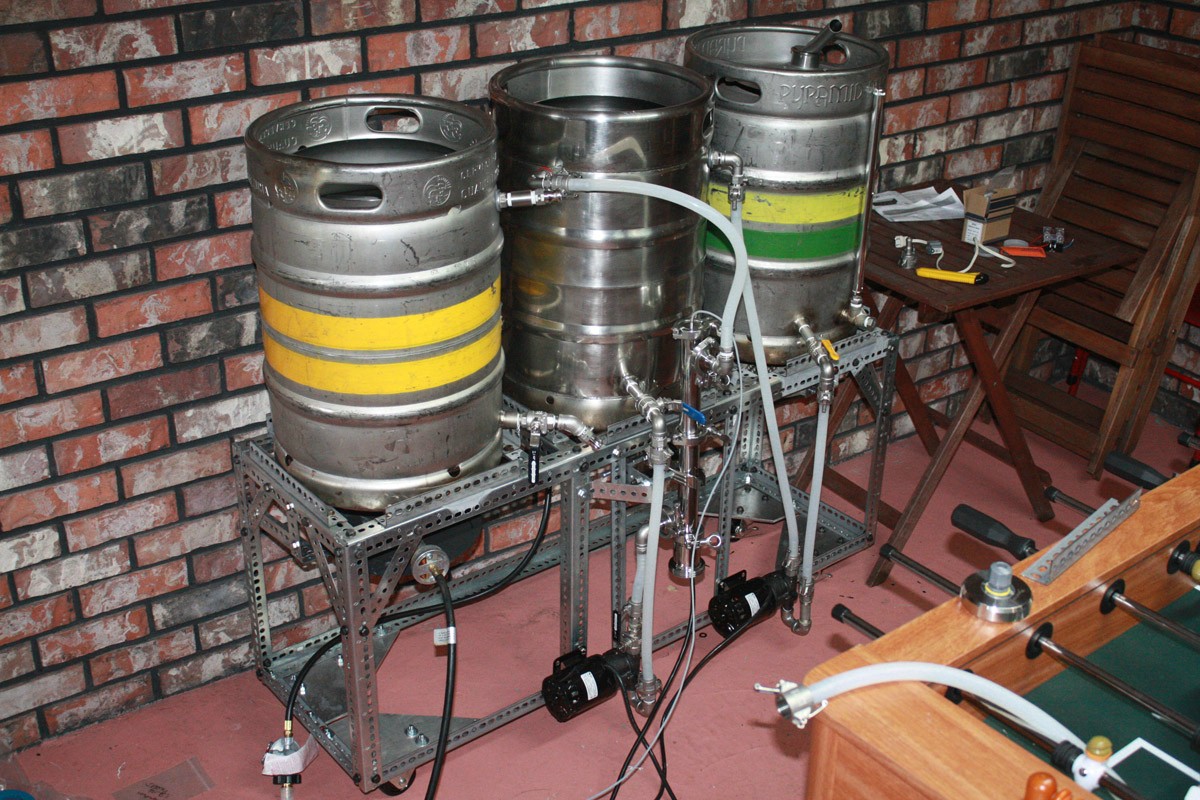
I found a material generally referred to as "strut" (many brand names, including Power Strut, Unistrut, etc) that to me makes a stronger build. The gauge of steel used to make it is over twice as thick as the angle pieces used in these builds, and it's formed in a shape that is very strong. On top of that, it is much less expensive. I called the local electrical supply yesterday and they sell 10' sections of the Power Strut for $9.85. With 4 sticks you would be out the door for right around $40 and that would easily cover a 3 station single tier stand. The angle is over twice as expensive at $11 something for 6'. They make tons of brackets and fittings to connect it, and with some bolts you would also have a weldless stand. They even sell pipe brackets that link into the strut channel and could be used to easily mount a March pump pretty much anywhere on the rig. I'm cutting everything tomorrow and should have it together by the weekend. I'll post some pics of what I'm talking about. Has anyone used this material for a weldless stand?
I found a material generally referred to as "strut" (many brand names, including Power Strut, Unistrut, etc) that to me makes a stronger build. The gauge of steel used to make it is over twice as thick as the angle pieces used in these builds, and it's formed in a shape that is very strong. On top of that, it is much less expensive. I called the local electrical supply yesterday and they sell 10' sections of the Power Strut for $9.85. With 4 sticks you would be out the door for right around $40 and that would easily cover a 3 station single tier stand. The angle is over twice as expensive at $11 something for 6'. They make tons of brackets and fittings to connect it, and with some bolts you would also have a weldless stand. They even sell pipe brackets that link into the strut channel and could be used to easily mount a March pump pretty much anywhere on the rig. I'm cutting everything tomorrow and should have it together by the weekend. I'll post some pics of what I'm talking about. Has anyone used this material for a weldless stand?
![Craft A Brew - Safale BE-256 Yeast - Fermentis - Belgian Ale Dry Yeast - For Belgian & Strong Ales - Ingredients for Home Brewing - Beer Making Supplies - [3 Pack]](https://m.media-amazon.com/images/I/51bcKEwQmWL._SL500_.jpg)


