• Please visit and share your knowledge at our sister communities:
  • If you have not, please join our official Homebrewing Facebook Group!

    Homebrewing Facebook Group

Vintage GE Kegerator

Homebrew Talk

Help Support Homebrew Talk:

This site may earn a commission from merchant affiliate links, including eBay, Amazon, and others.
That's looking great! It looks like you're taking your time and doing it up right! I scored a similar era fridge, but I just did a quick overhaul. Some day I'll do it up right and add a couple more taps. Good luck! Can't wait to see the finished project!
15441_1077756363703_1820090713_160808_5199630_n.jpg
 
What I would do Is hide the C02 tank inside, where you had that grate originally. A 5 pound will fit easily. What I did in my mini fridge was I fashioned a tank holder and hung it up high in the fridge. That way its standing up and has easy access to refill.

P.S.

I only say that because after I saw the fridge that you did, I looked one up and found one near me on Craig's List for 100, and that's what I plan to do with my C02 tank.
 
What I would do Is hide the C02 tank inside, where you had that grate originally. A 5 pound will fit easily.


This model fridge must be smaller than what you've deal with, as I won't be able to fit it above the keg.


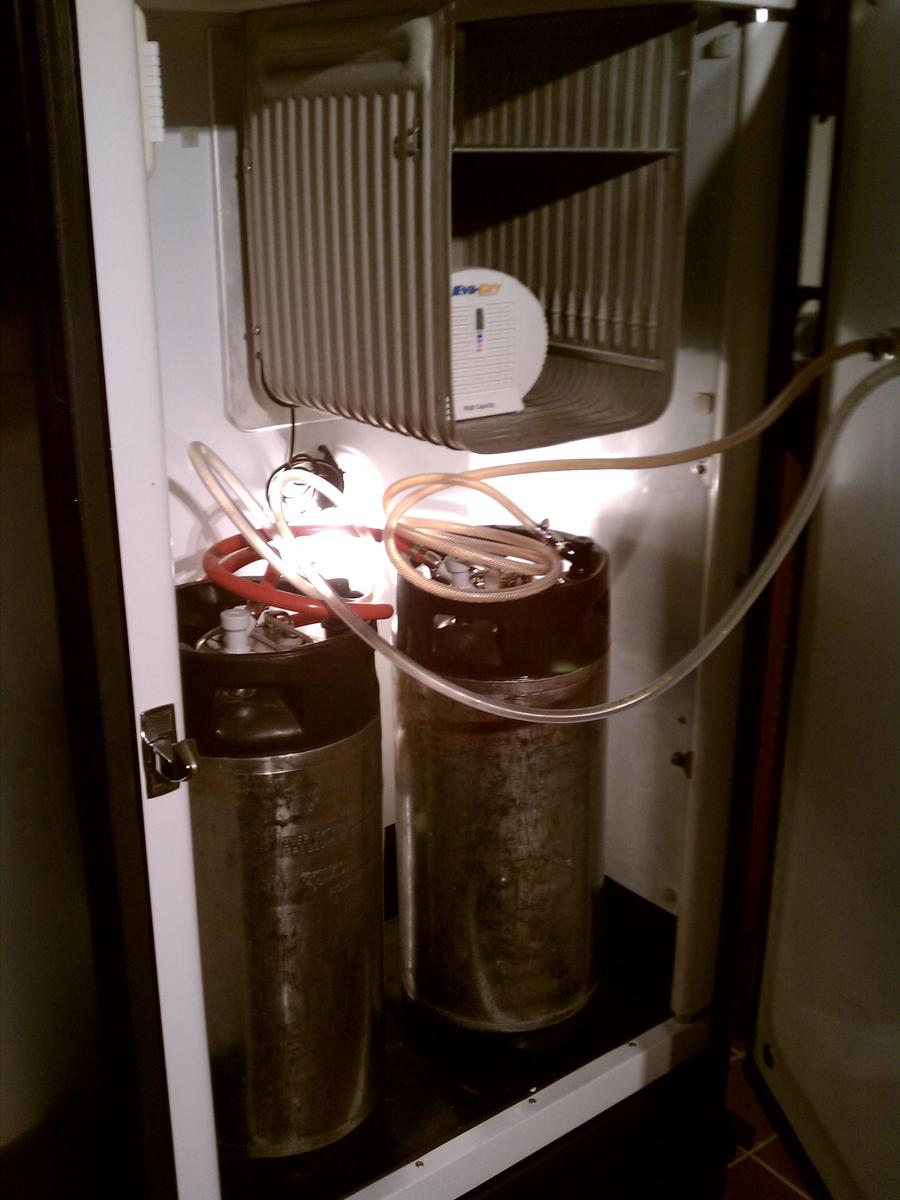
The total height I have to work with in the fridge is ~41". If the converted ball lock corny takes 23" of that (disconnects not included), I've got 18" left. From what I've seen online, a 5lb tank is anywhere from 18-18.5". Unless it's separated with extra line, the regulator will probably add a little on that, as well.

For now, I'm just starting with 2 taps and leaving room in the design for a 3rd. After I have all the parts and can actually mess around with it, I may find a place for the tank that's out of the way enough to fit the 3rd corny inside.
 
well I would probably hang it from the top at a slight angle then, attaching it to the side wall. Kind of like a sleeve. The C02 tank doesn't have to stand completely straight just mostly straight.
 
Work has been crazy and I've been busy, but there has been some progress!


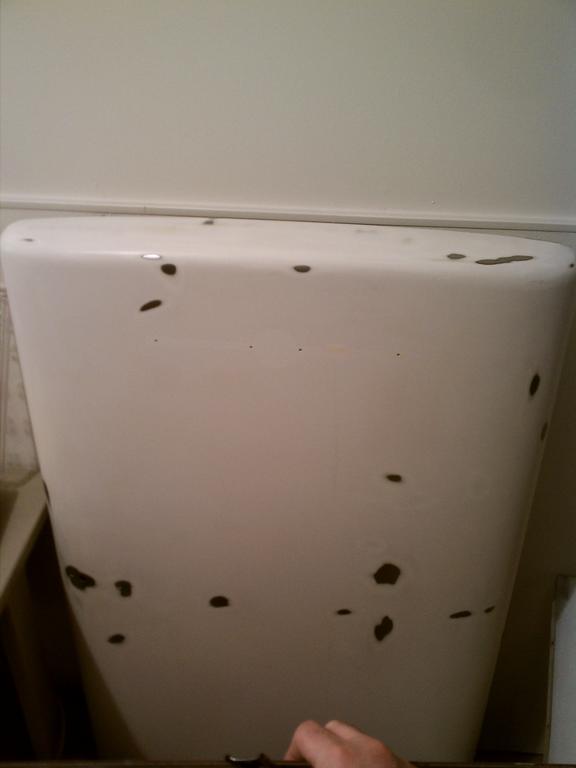
The door has been stripped down and is ready for paint.


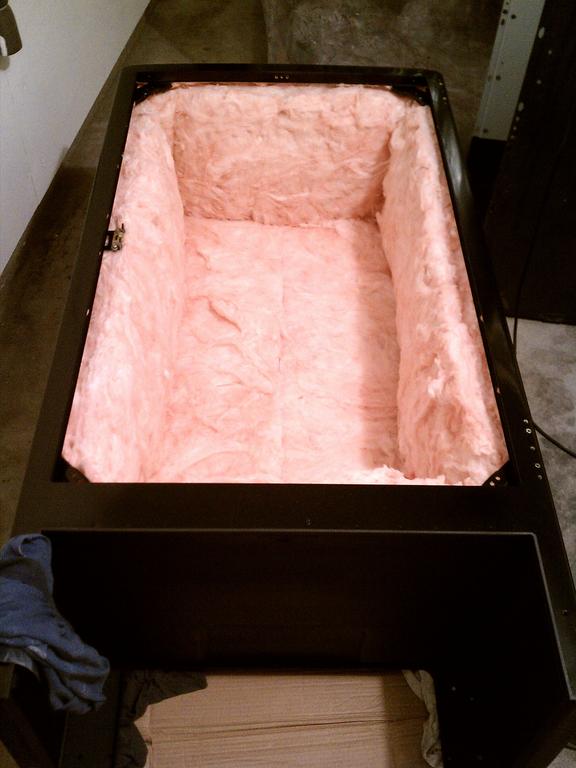
After installing some more of the mounting hardware, I can drop the inside cabinet back in!
 
Looks awesome so far, I have an old philco that will someday get a overhaul.

Where did you get your gasket from? Or if you haven't got it, Do you know where your going to get it from?

I've been trying to find one that fits mine.
 
Where did you get your gasket from? Or if you haven't got it, Do you know where your going to get it from?

I'm not terribly worried about keeping it stock, so I'm going to find some tough weatherstripping at the local home improvement store. It won't hold up as long as a serious gasket, but I won't be opening this like a regular fridge.
 
Nice work so far. You have for sure done much more work to yours than I did. Just stuffed a 3rd keg in mine to cold condition.

image-3381945868.jpg
 
Nice work so far. You have for sure done much more work to yours than I did. Just stuffed a 3rd keg in mine to cold condition.

What kind of energy usage are you seeing from yours? I'm curious how much mine will hurt my electricity bill...
 
You know it's hard to tell right now because my electric pellet stove heater for my house has been running for the last 2-3 months. It really isn't as terrible as you would think for a big hunk of vintage steel. I run mine on one of the aquarium eBay temp controllers and the thing rarely runs.
 
You've made my day. I know the thing works well, but I hadn't tested the energy usage before tearing it apart. At this point, the only thing that could have derailed my enthusiasm is starting it up and having the compressor run constantly.
 
Haha, Yeah I scored mine from some old ladies screen porch and it looked like Henry Ford dropped the thing off. Brought it home and it fired right up.
 
I've read in a few places that the vintage refrigerators tend to use less power than modern fridges. They don't have defrost cycles and the other bells and whistles of modern fridges, plus they tend to be a fair bit smaller. Or so they vintage fridge lobby tells me...
 
Or so they vintage fridge lobby tells me...
That's what I've seen as well. Then again, it seems like I've read just as much about how inefficient they are. Mine has a butter compartment inside with heaters attached to it though, so I've got to wonder how worried about efficiency they were...

The big factors are insulation and the efficiency of the compressor. With the new R19 household insulation, I should be good on that front. When I get it back together I'll plug it into my kill-a-watt and get some real reading to post.
 
A heated butter compartment? That's awesome! But probably not super efficient, I guess.

I have a hard time believing running an old fridge is going to create a significant change in your power bill, though. As long as you disconnect that butter warmer... :D


That's what I've seen as well. Then again, it seems like I've read just as much about how inefficient they are. Mine has a butter compartment inside with heaters attached to it though, so I've got to wonder how worried about efficiency they were...

The big factors are insulation and the efficiency of the compressor. I know I'm good on the insulation with the new R19, but we'll have to see on the compressor.
 
Great documentation, Kerber! How much further along are you now that it's June? I'm about to embark on my own vintage kegerator project and would love to pick your brain or see the rest of your renovation. I bought a 1954 Frigidaire Imperial Climamatic (I love the full name--you just don't get that any more, either) for $100 on Craig's List. If the pics attach properly, you'll see I have a lot more junk in the door to try and contend with. But I'll probably start my own thread for that--don't want to hijack yours!
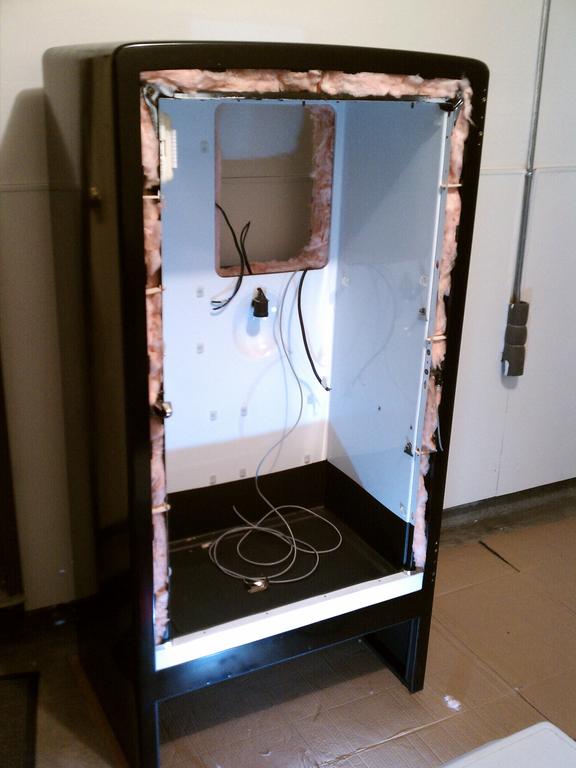
IMG_0585.jpg


IMG_0587.jpg
 
Great find, schmidty65!! That looks like a real beauty.

My fridge has been coming slowly but surely. Work has been nuts and I've been spending a lot of time outdoors, so it's been on the back-burner for a while. All I've really got left is to paint the door, kickplate, and rear condensor panel.

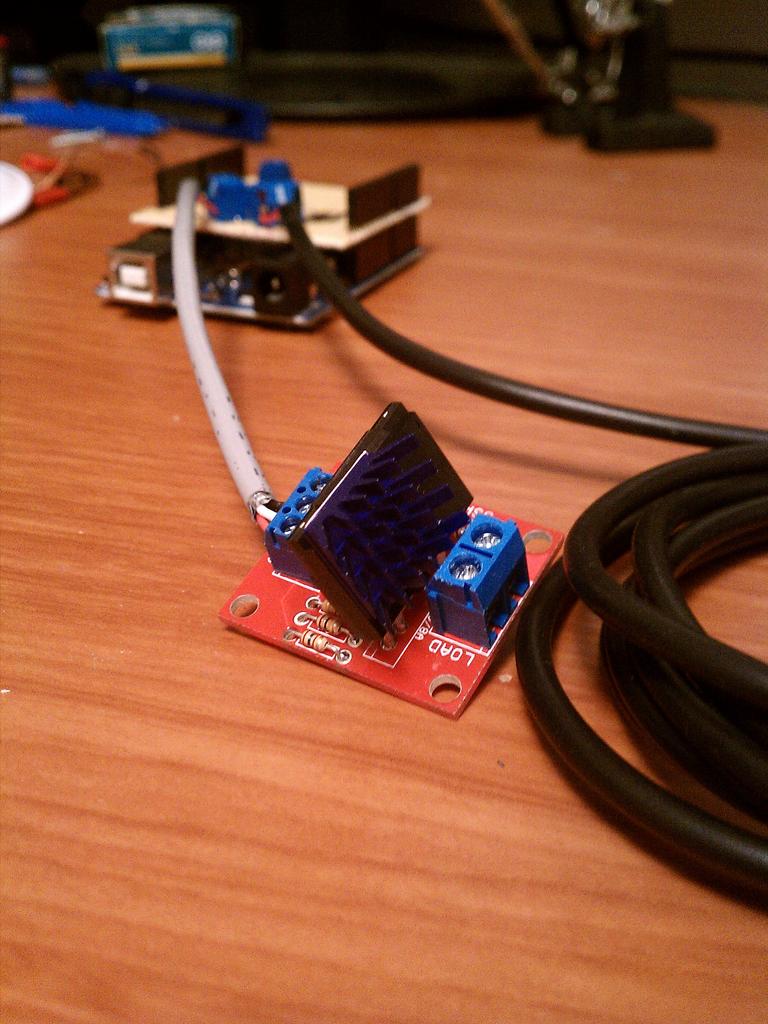
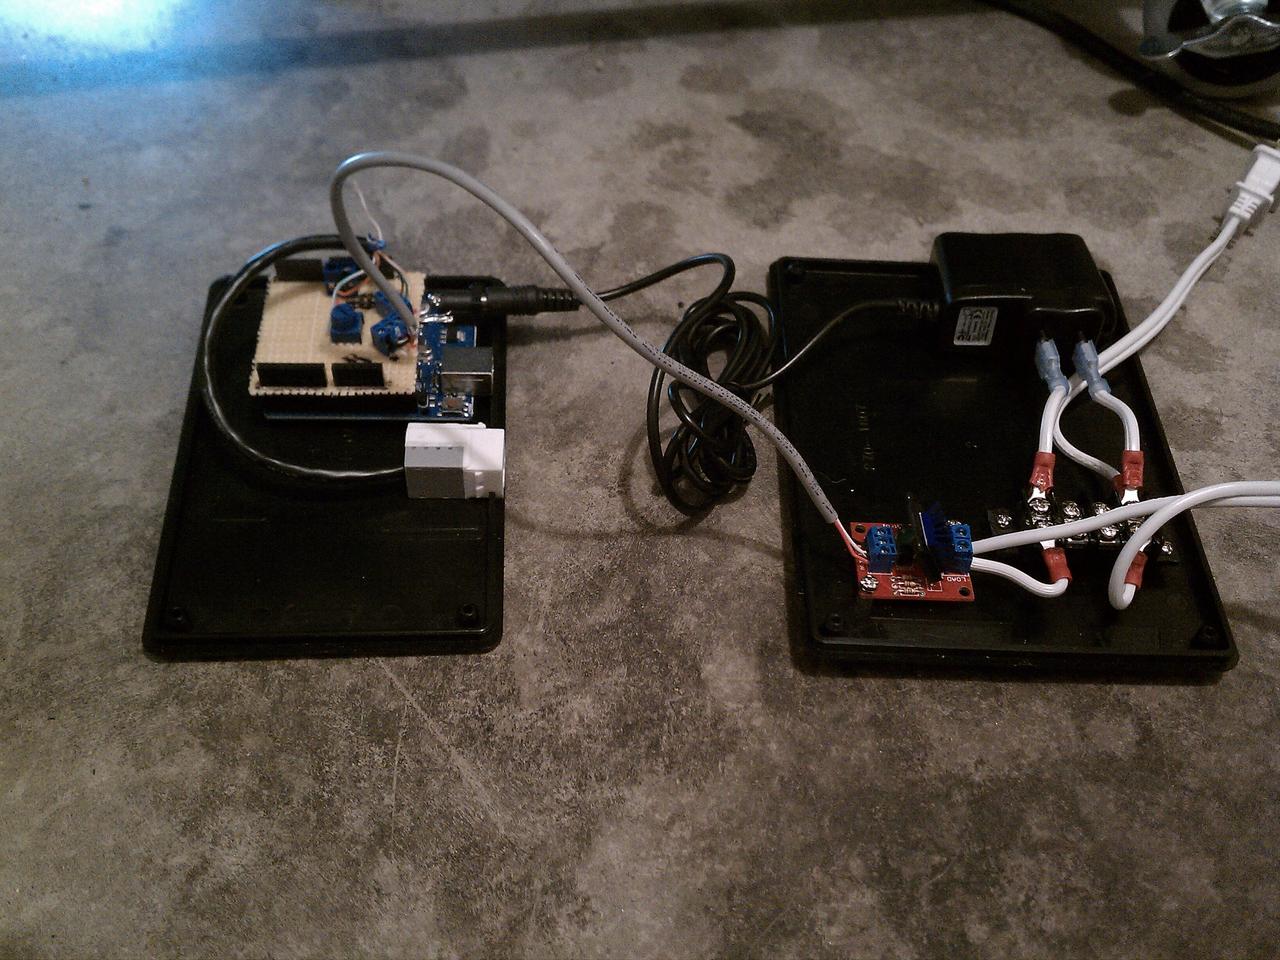
While it's been waiting, I've also been working on rebuilding it's brains. The mechanical thermostat is being replaced with an arduino, temperature probe, and solid state relay. That will be communicating with a server to log data and present a webpage where the temperature can be viewed and set.

Jmx8O.jpg


I picked up that relay without testing the compressor current draw. I'd rather not fry anything, so I've still got to test to make sure it can handle it before completely buttoning it up.

There are a lot more plans on expanded functionality of the arduino/webserver architecture, but I best not get ahead of myself.
 
Well, we just had an offer accepted on a house, so I best try to bring this project to a checkpoint before the move. I finished wiring and testing the electrical this week. Hopefully I can get the door painted and installed in the next couple weeks.


The new brains are all assembled.


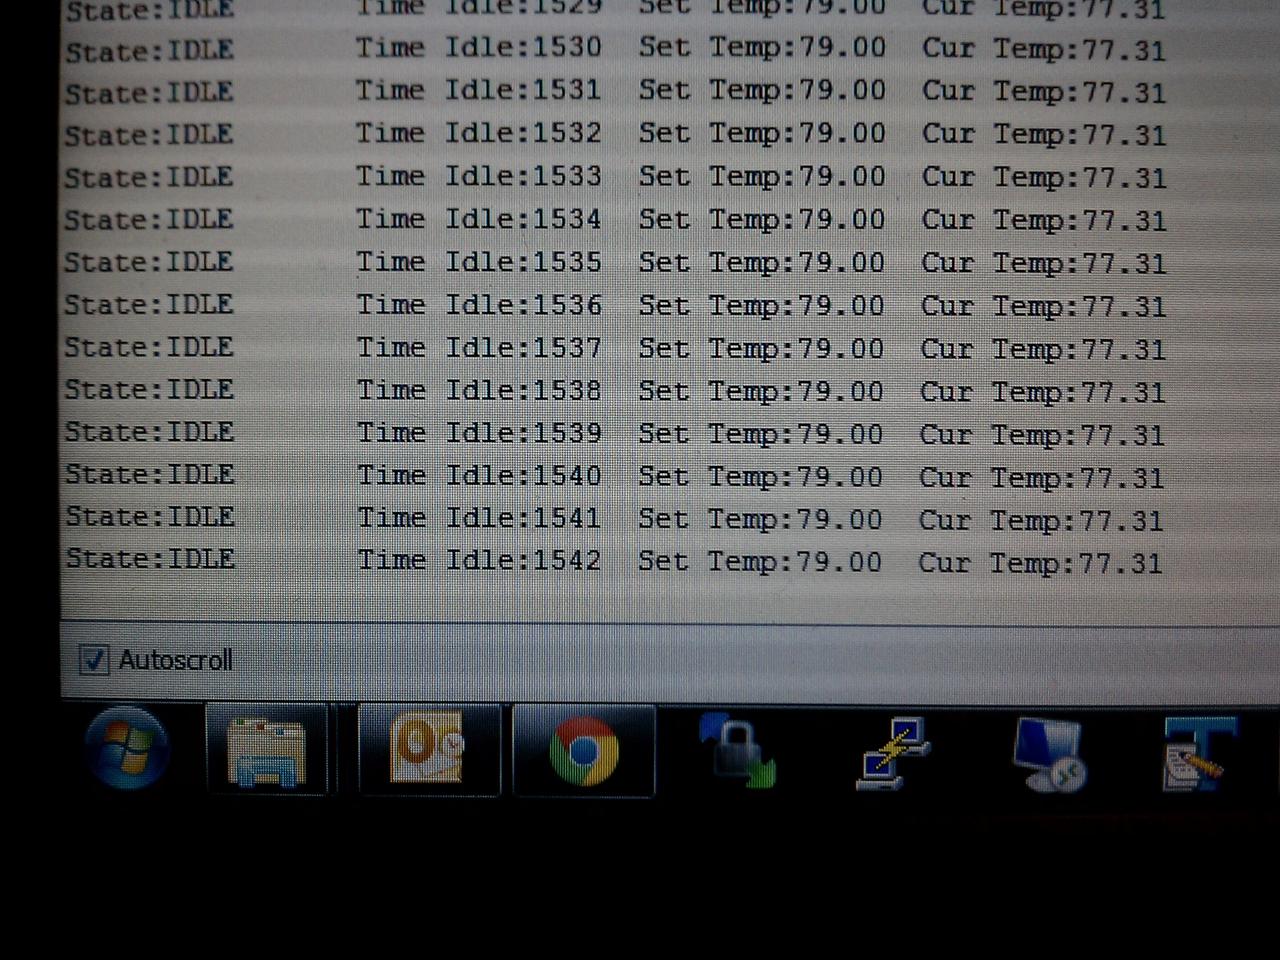
Checking out the arduino via serial monitor.


Final testing.


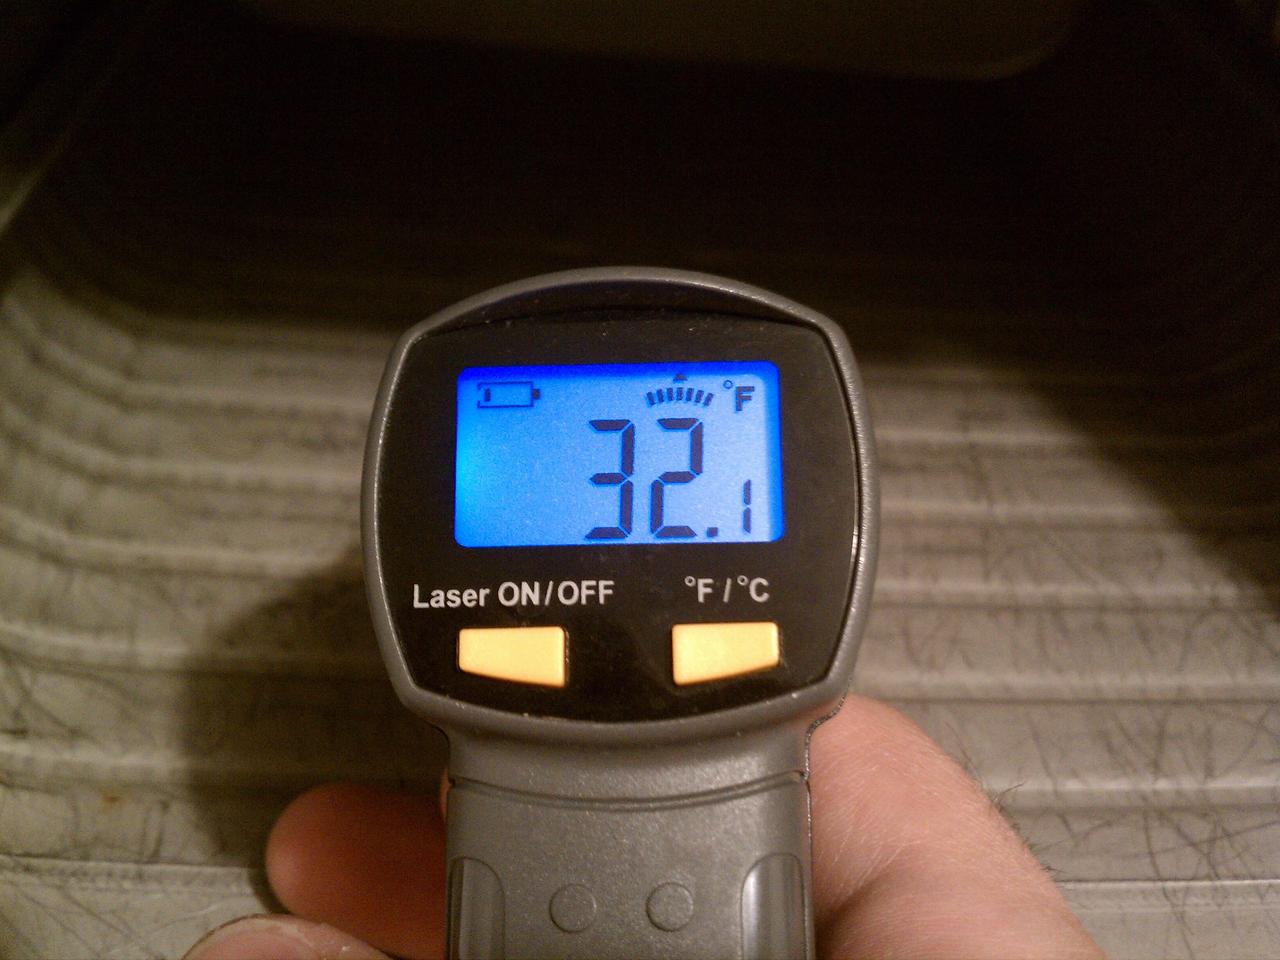
Looks like those coils are doing the trick!


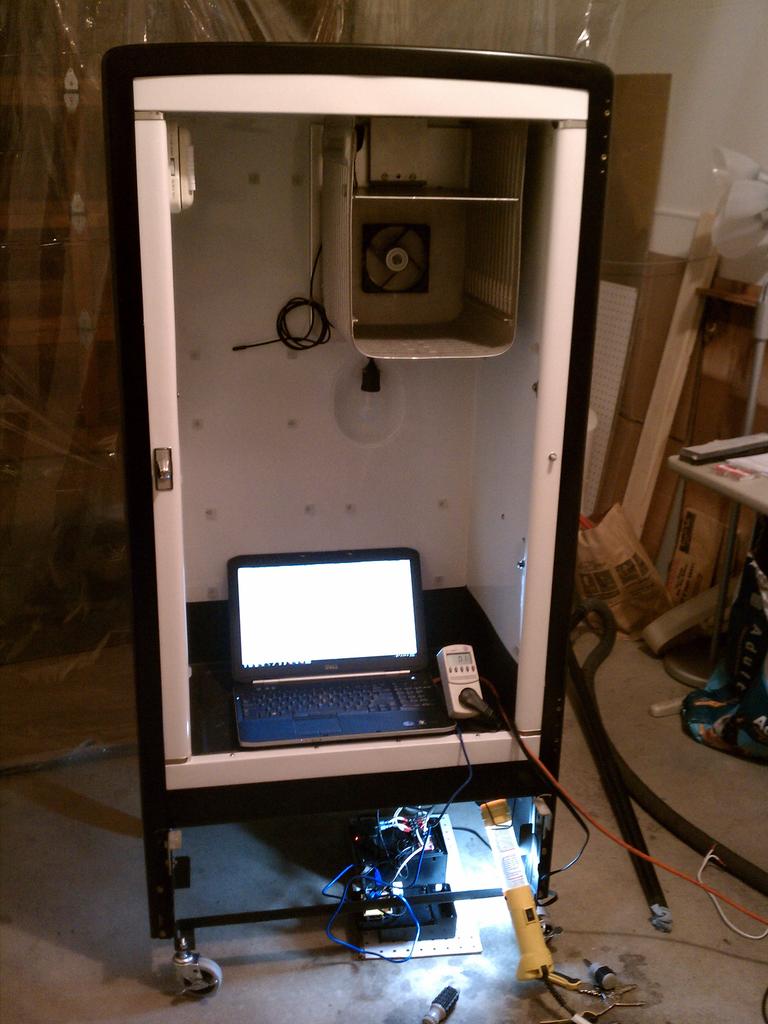
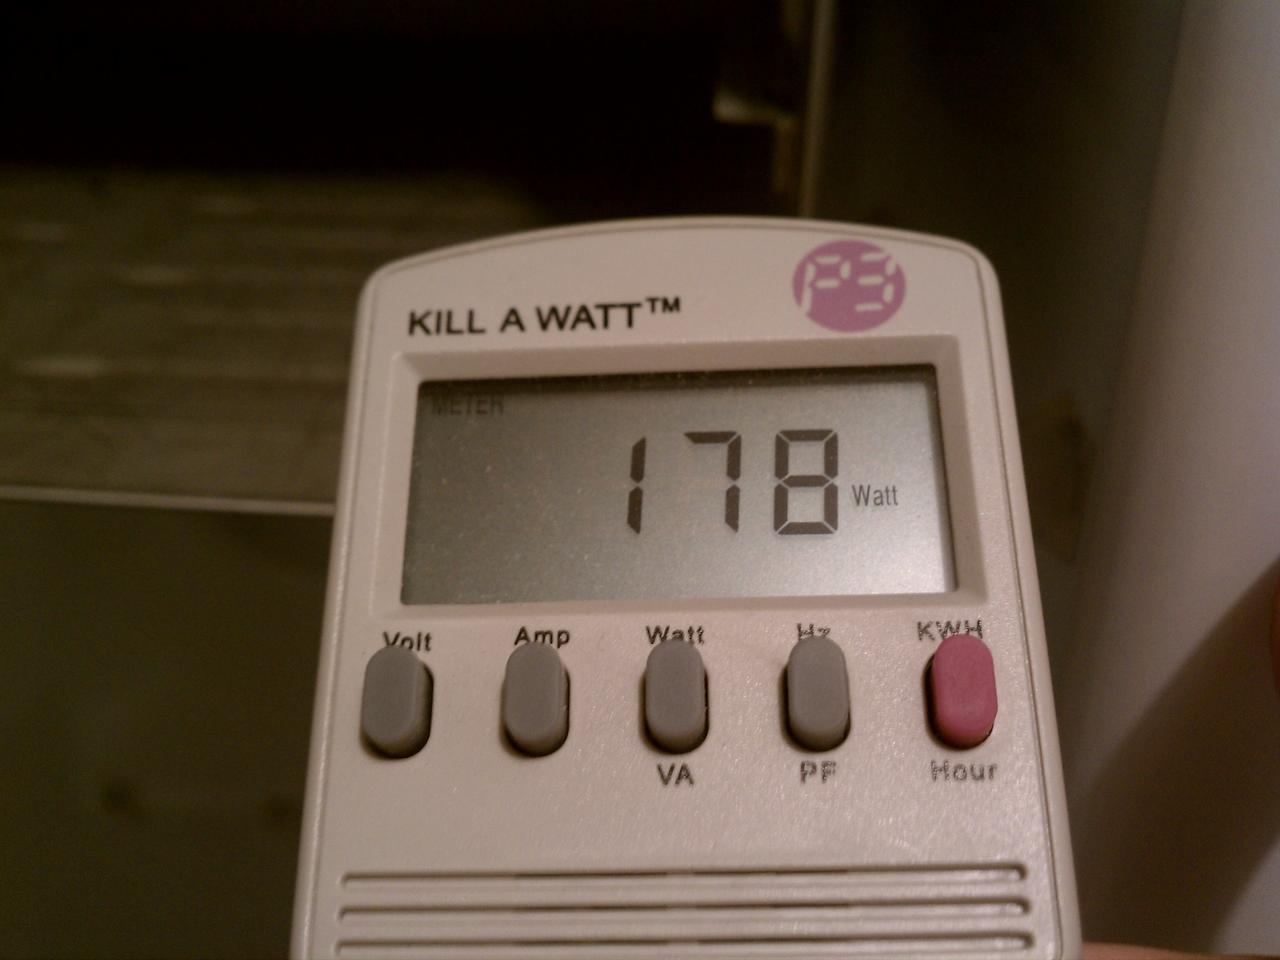
Here's the power consumption while the compressor is running. ~180 watts! With the new insulation and the speed with which the coils cool, I should see some really good efficiency on this.
 
Looking good; jealous of your modernization skills. You'd think I'd have retained more of my Electrical Engineering degree than I did. Use it or lose it, I guess...
Can't wait to see the progress on your door and reassembly!
 
You'd think I'd have retained more of my Electrical Engineering degree than I did.!

If you've never played with an arduino, do it! There are a few vendors out there who make modules that are compatible with it. From www.sparkfun.com, I was able to get the arduino and relay module. From that point, it's just a matter of wiring.

The arduino is arguably overkill for this project, but it leaves a lot of ability to do add-ons. One such upgrade in the (hopefully) near future is keg level monitoring :D
 
Sorry for the radio silence. I'm in the process of buying my first house, so attention has been elsewhere. I've been documenting and planning out all the little projects I'm going to have to do. Can't wait!

As for an update...
Tech:
I've got an old guruplug server from work which is going to be mounted underneath with the arduino. It will handle data logging and serve up the web interface for the fridge. I had seriously considered just having the arduino communicate with my desktop and have that do the web-related tasks, but I want this to be self-contained for now.

Here's the webpage so far. I've just got the logging up, but it's a start.


Painting:
One change I've made on this door is leaving out the priming coat. The appliance epoxy recommends skipping priming, but I didn't notice that warning until after finishing the main cabinet. When I was putting it back together I had issue with a couple spots chipping. Who knows if that was the primer or the cold ND winter temps when it was curing. Either either way, I followed the directions this time. Unfortunately, this means that I'm having to deal with more visible defects in the surface (small dents and the like). On top of that, one of my paint cans had a screwy paint head and spit a bunch of huge gobs of paint onto the door. This past weekend I pulled it outside and got to wet sanding. After that I brought it back in, cleaned it up, and hit it with a good new coat of black epoxy. After it's had it's week to cure, I'm going to decide whether I want to wet sand and finish before painting on the chalk-board accent and putting it back together. I'll post some pictures when I get it ready for the next bit.
 
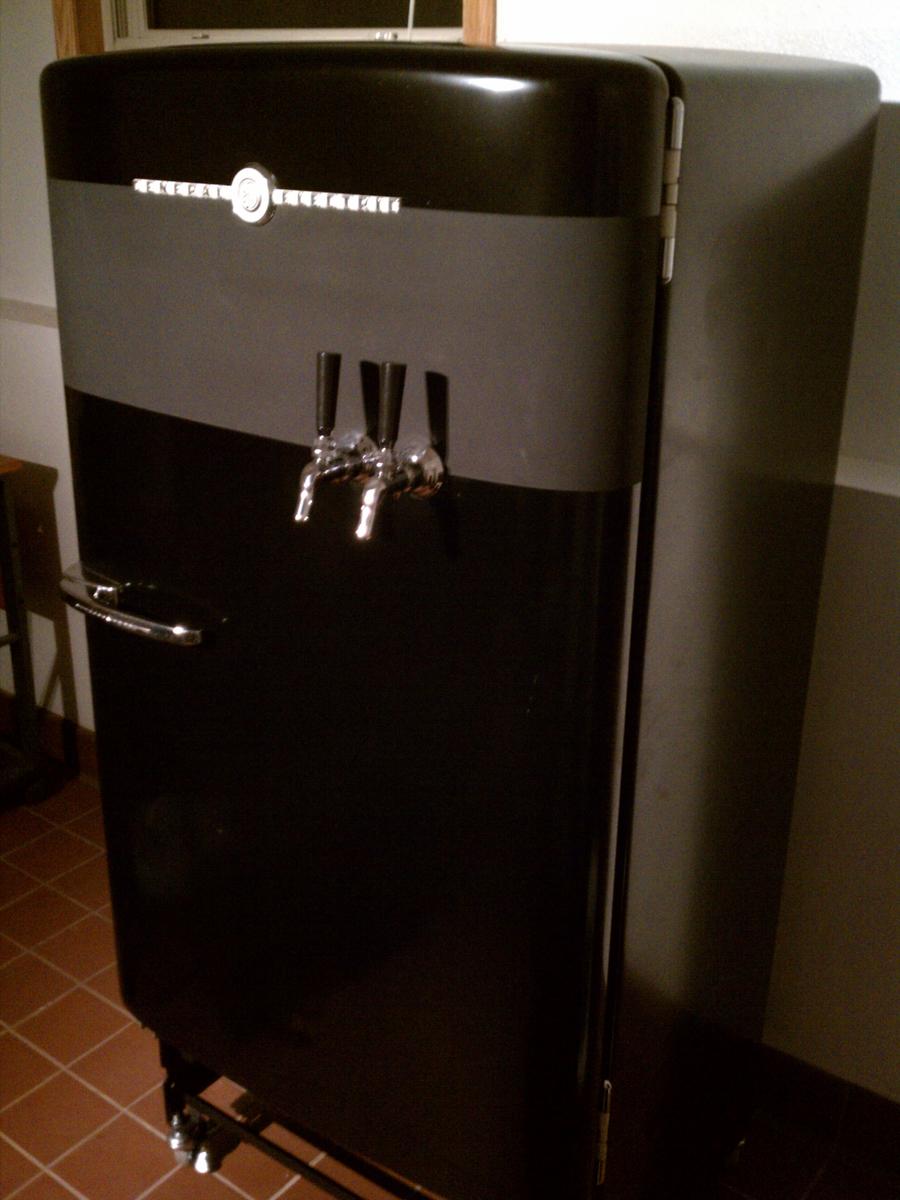
Well, the time is here!


I've still got to paint the front kickplates and do some detail work, but it's up and running!

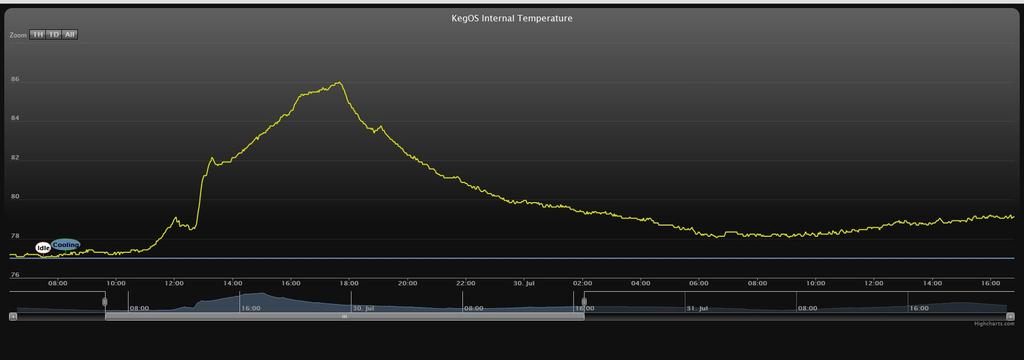
Also, I'm happy to say that this 1950's fridge is incredibly efficient! Here's a 2 hour period of the temperature holding ~45 F


Here's the power consumption breakdown, for those interested in old fridges.
  • 4 watts idling (webserver consumption)
  • 170 watts cooling
  • 2 min running time each cool cycle
  • ~7 min running time per hour

When I get a chance to step away from projects on the new house, I'll be adding all sorts of goodies with keg volume and the like!
 
Looking awesome, Kerber! I've been remiss about getting my pics/info about the drip tray up; maybe I'll try to do that soon.
Are you satisfied with the 45 degrees? I have a little digital thermometer in mine, and it seems to be reading the high/low each day at 45 and 43, respectively. That's with the original old thermostat. I was thinking about ripping into it and replacing with a digital so that I could set it a bit colder...
BTW: Hope that blog on wet sanding was helpful--I know it saved my @$$!
:mug:
 
Thanks! I think it's crazy that we came on the same solution for the drip tray. No way did I want to put more holes in this, so I was planning on mounting with neodynium magnets and felt as well.

Are you satisfied with the 45 degrees?
I really am! I find I much prefer my brews a little warmer, as I get a lot more of the subtle flavors that are lost when you get frosty cold. In fact, I've got an oaky IPA that has some amazing flavor after setting out to warm up a bit. If I'm going to have my beer so cold I can't taste it, then I could just as well be drinking commercial stuff.

Thankfully, the final coat on the door turned out well enough that I didn't feel the need to wet-sand it at all. I might have if it weren't for other projects, but I'm happy with how it looks as it is.
 
this is truly beautiful work!
2 quick questions:
1) did you redo the GE badge on the door? if so, how? it almost looks brand new.
2) i have an old westinghouse fridge that has hinges that looks almost identical to yours. how did you take your hinges apart? i don't want to start prying away at mine and risk ruining them.

again, awesome job!:mug:
 
Back
Top