michaelm
Well-Known Member
waiting for garage sales to start around here myself

")


![Craft A Brew - Safale S-04 Dry Yeast - Fermentis - English Ale Dry Yeast - For English and American Ales and Hard Apple Ciders - Ingredients for Home Brewing - Beer Making Supplies - [1 Pack]](https://m.media-amazon.com/images/I/41fVGNh6JfL._SL500_.jpg)


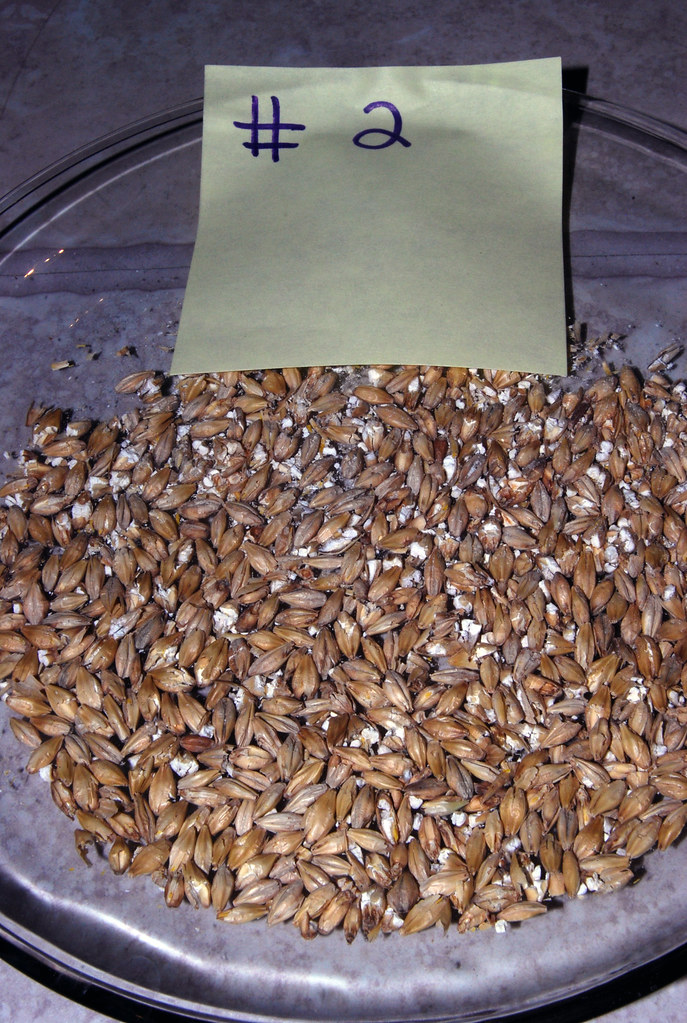
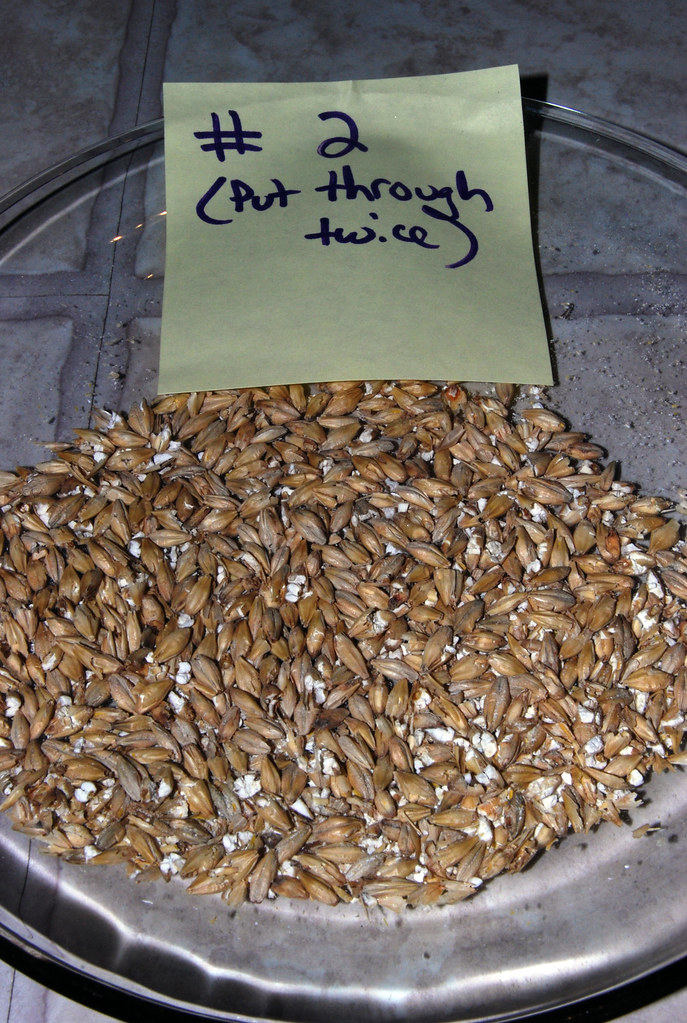
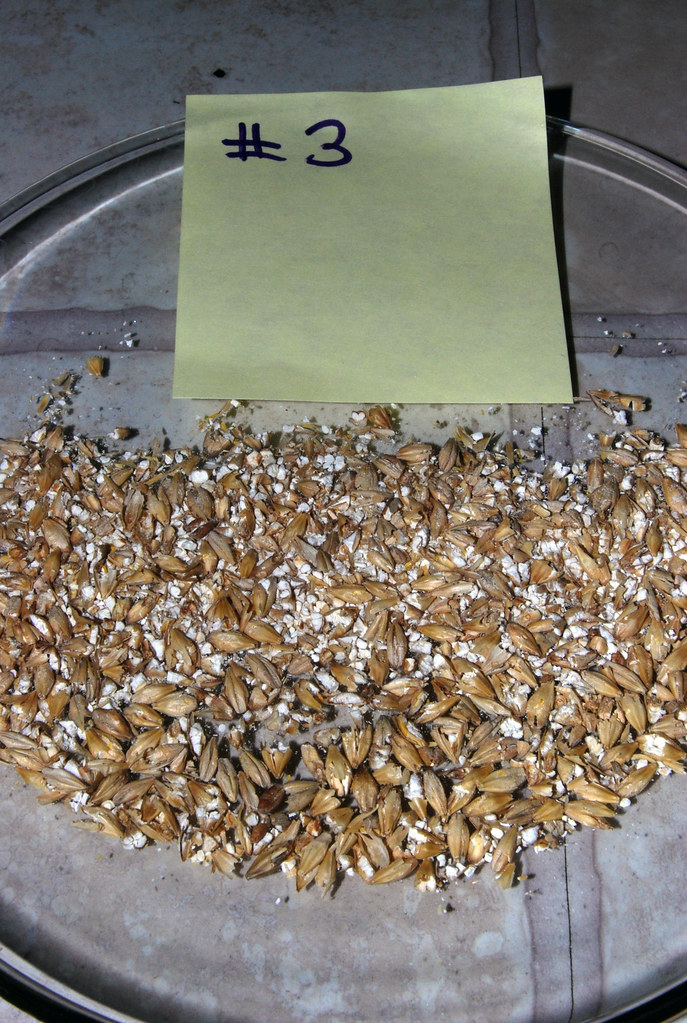
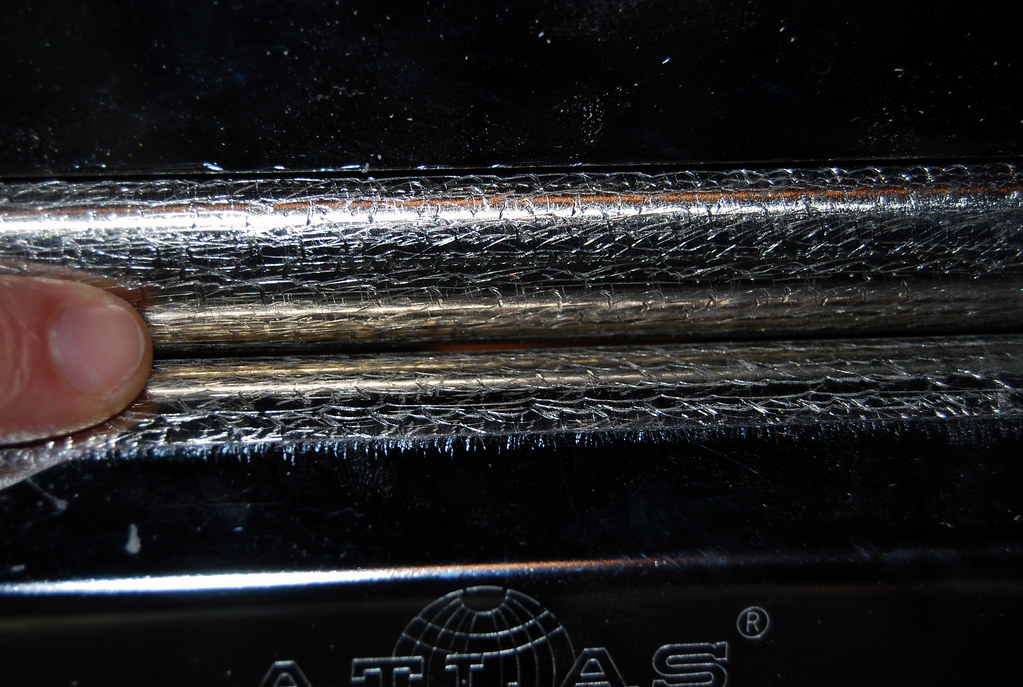
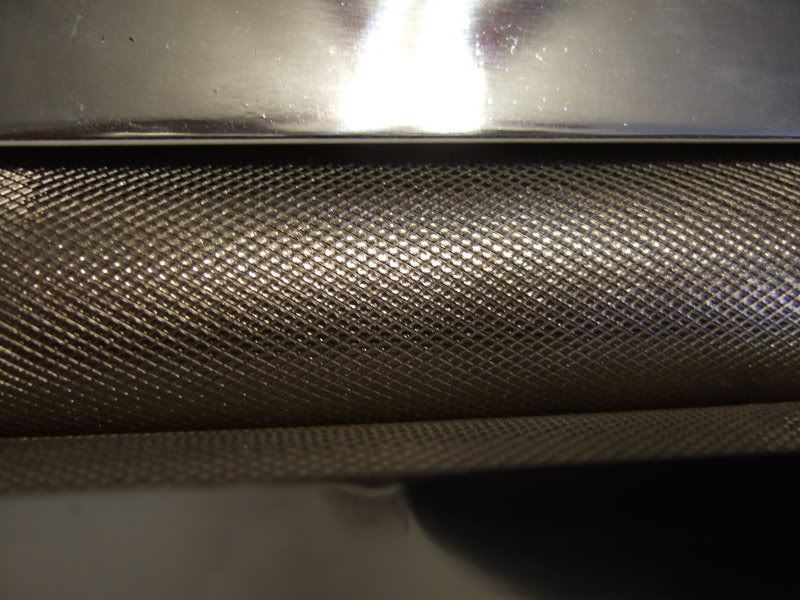
What number setting do you guys think gets the ideal spacing?
Also the hopper thing is just making me crazy. I don't know what to make it out of, how I want it to look, what size I want it...How much grain will the 5G water jugs hold?
Also the hopper thing is just making me crazy. I don't know what to make it out of, how I want it to look, what size I want it...How much grain will the 5G water jugs hold?
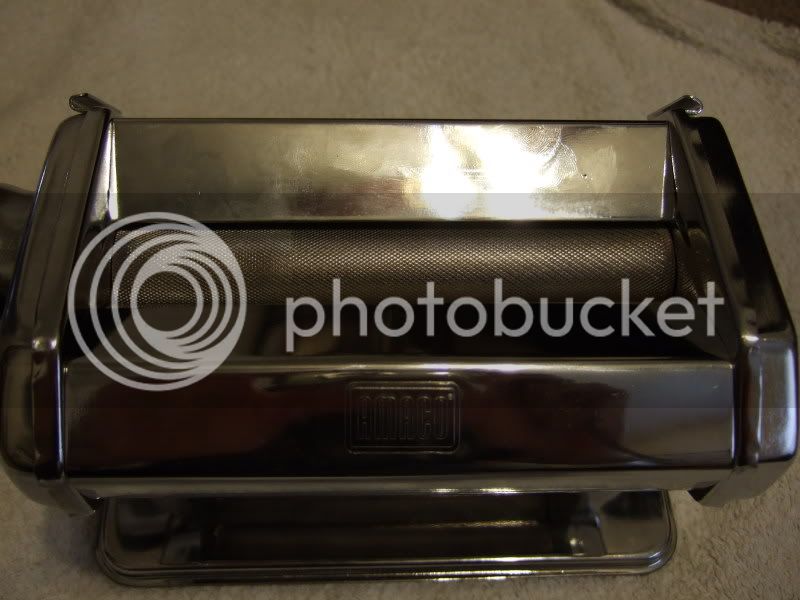
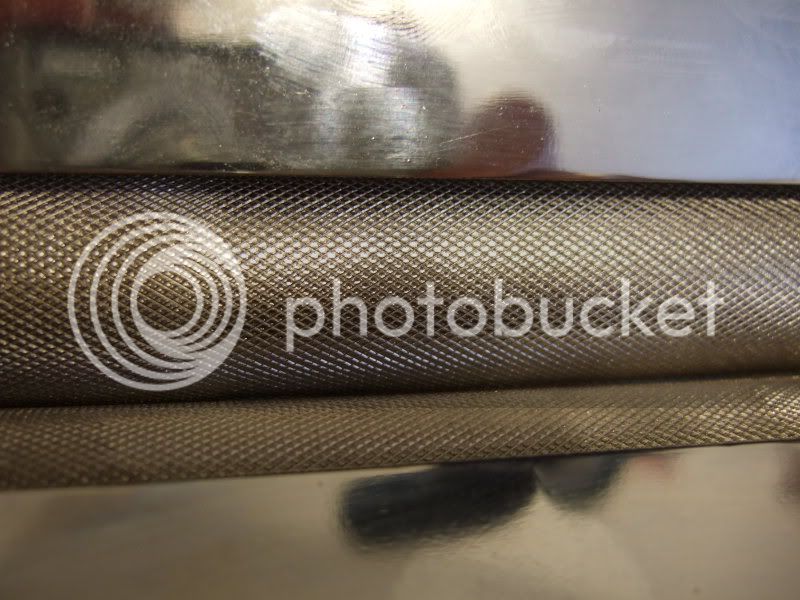
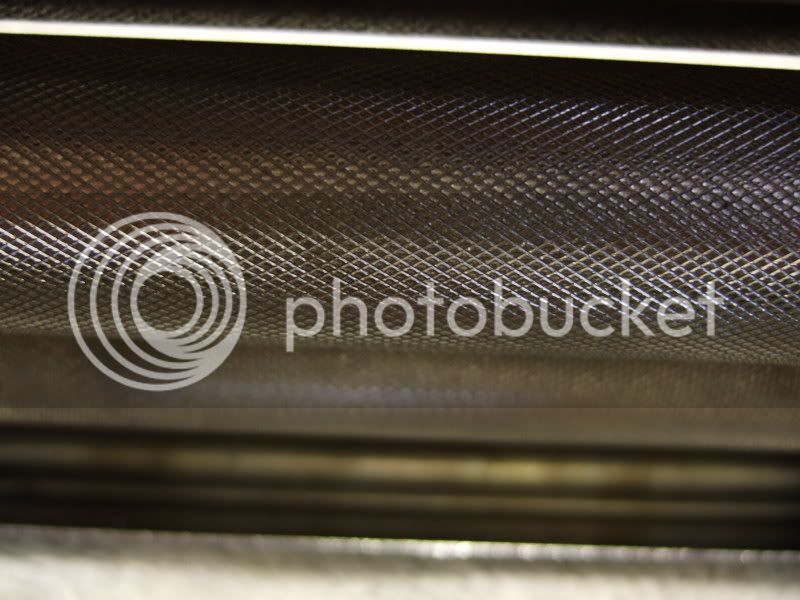
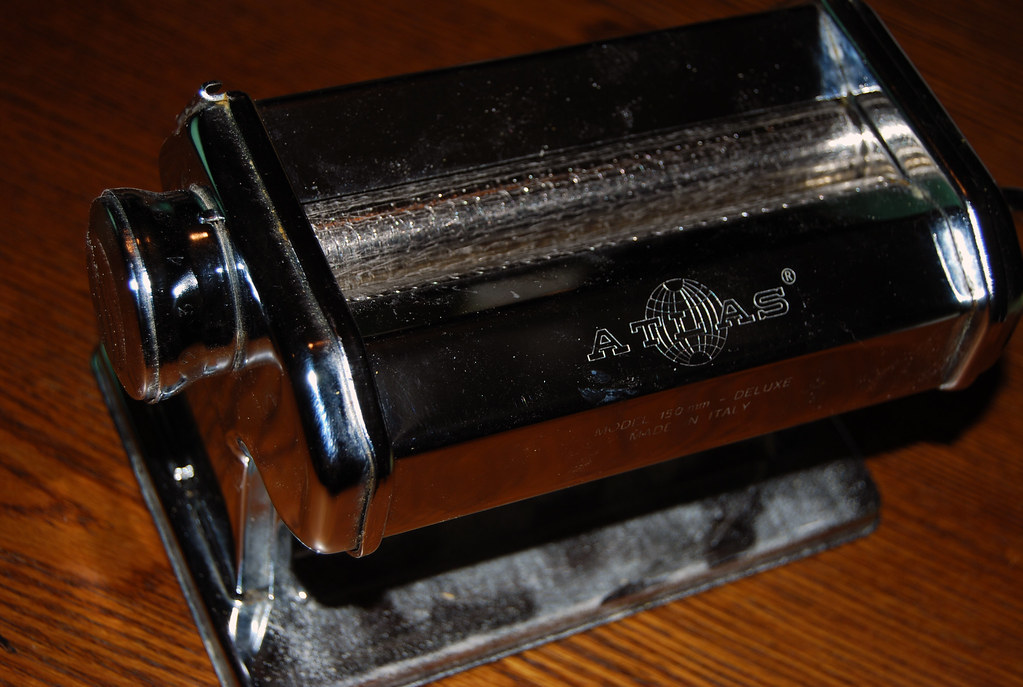
SO how does it work? Send us some pics of your crush.
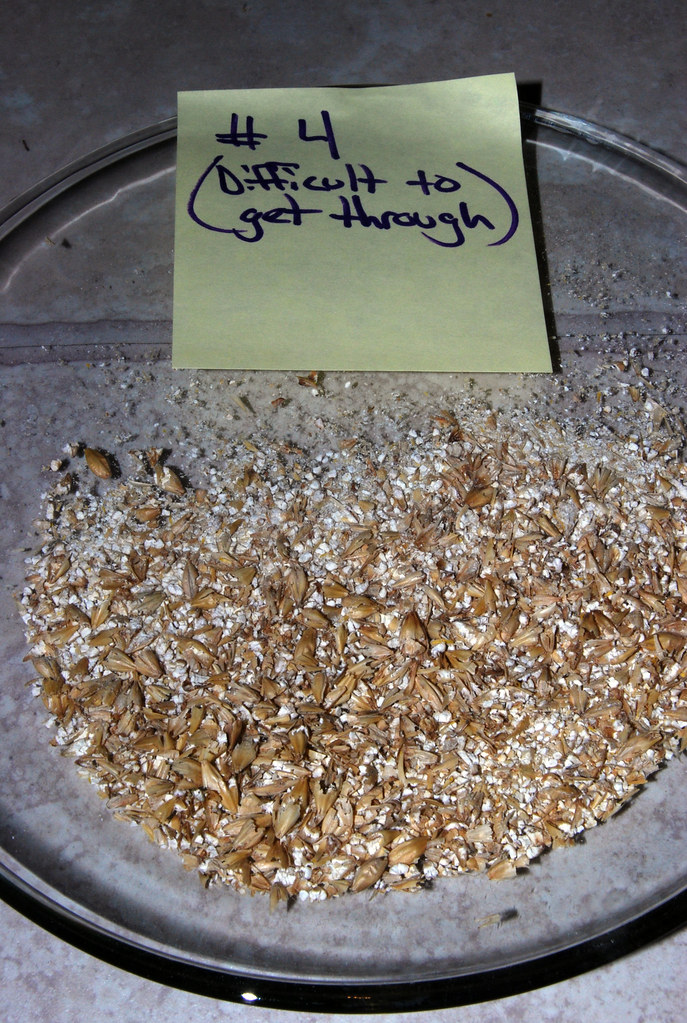
The problem with the #4 setting was that it didnt really want to pull the grains through the rollers.


