Totally Building a Keezer!

Homebrew Talk - Beer, Wine, Mead, & Cider Brewing Discussion Forum

Help Support Homebrew Talk - Beer, Wine, Mead, & Cider Brewing Discussion Forum:

This site may earn a commission from merchant affiliate links, including eBay, Amazon, and others.

Totally

Well-Known Member
Joined
Feb 11, 2016
Messages
249
Reaction score
86
Location
Vancouver
Following in the footsteps of great keezer builds here on HBT I have started my own.

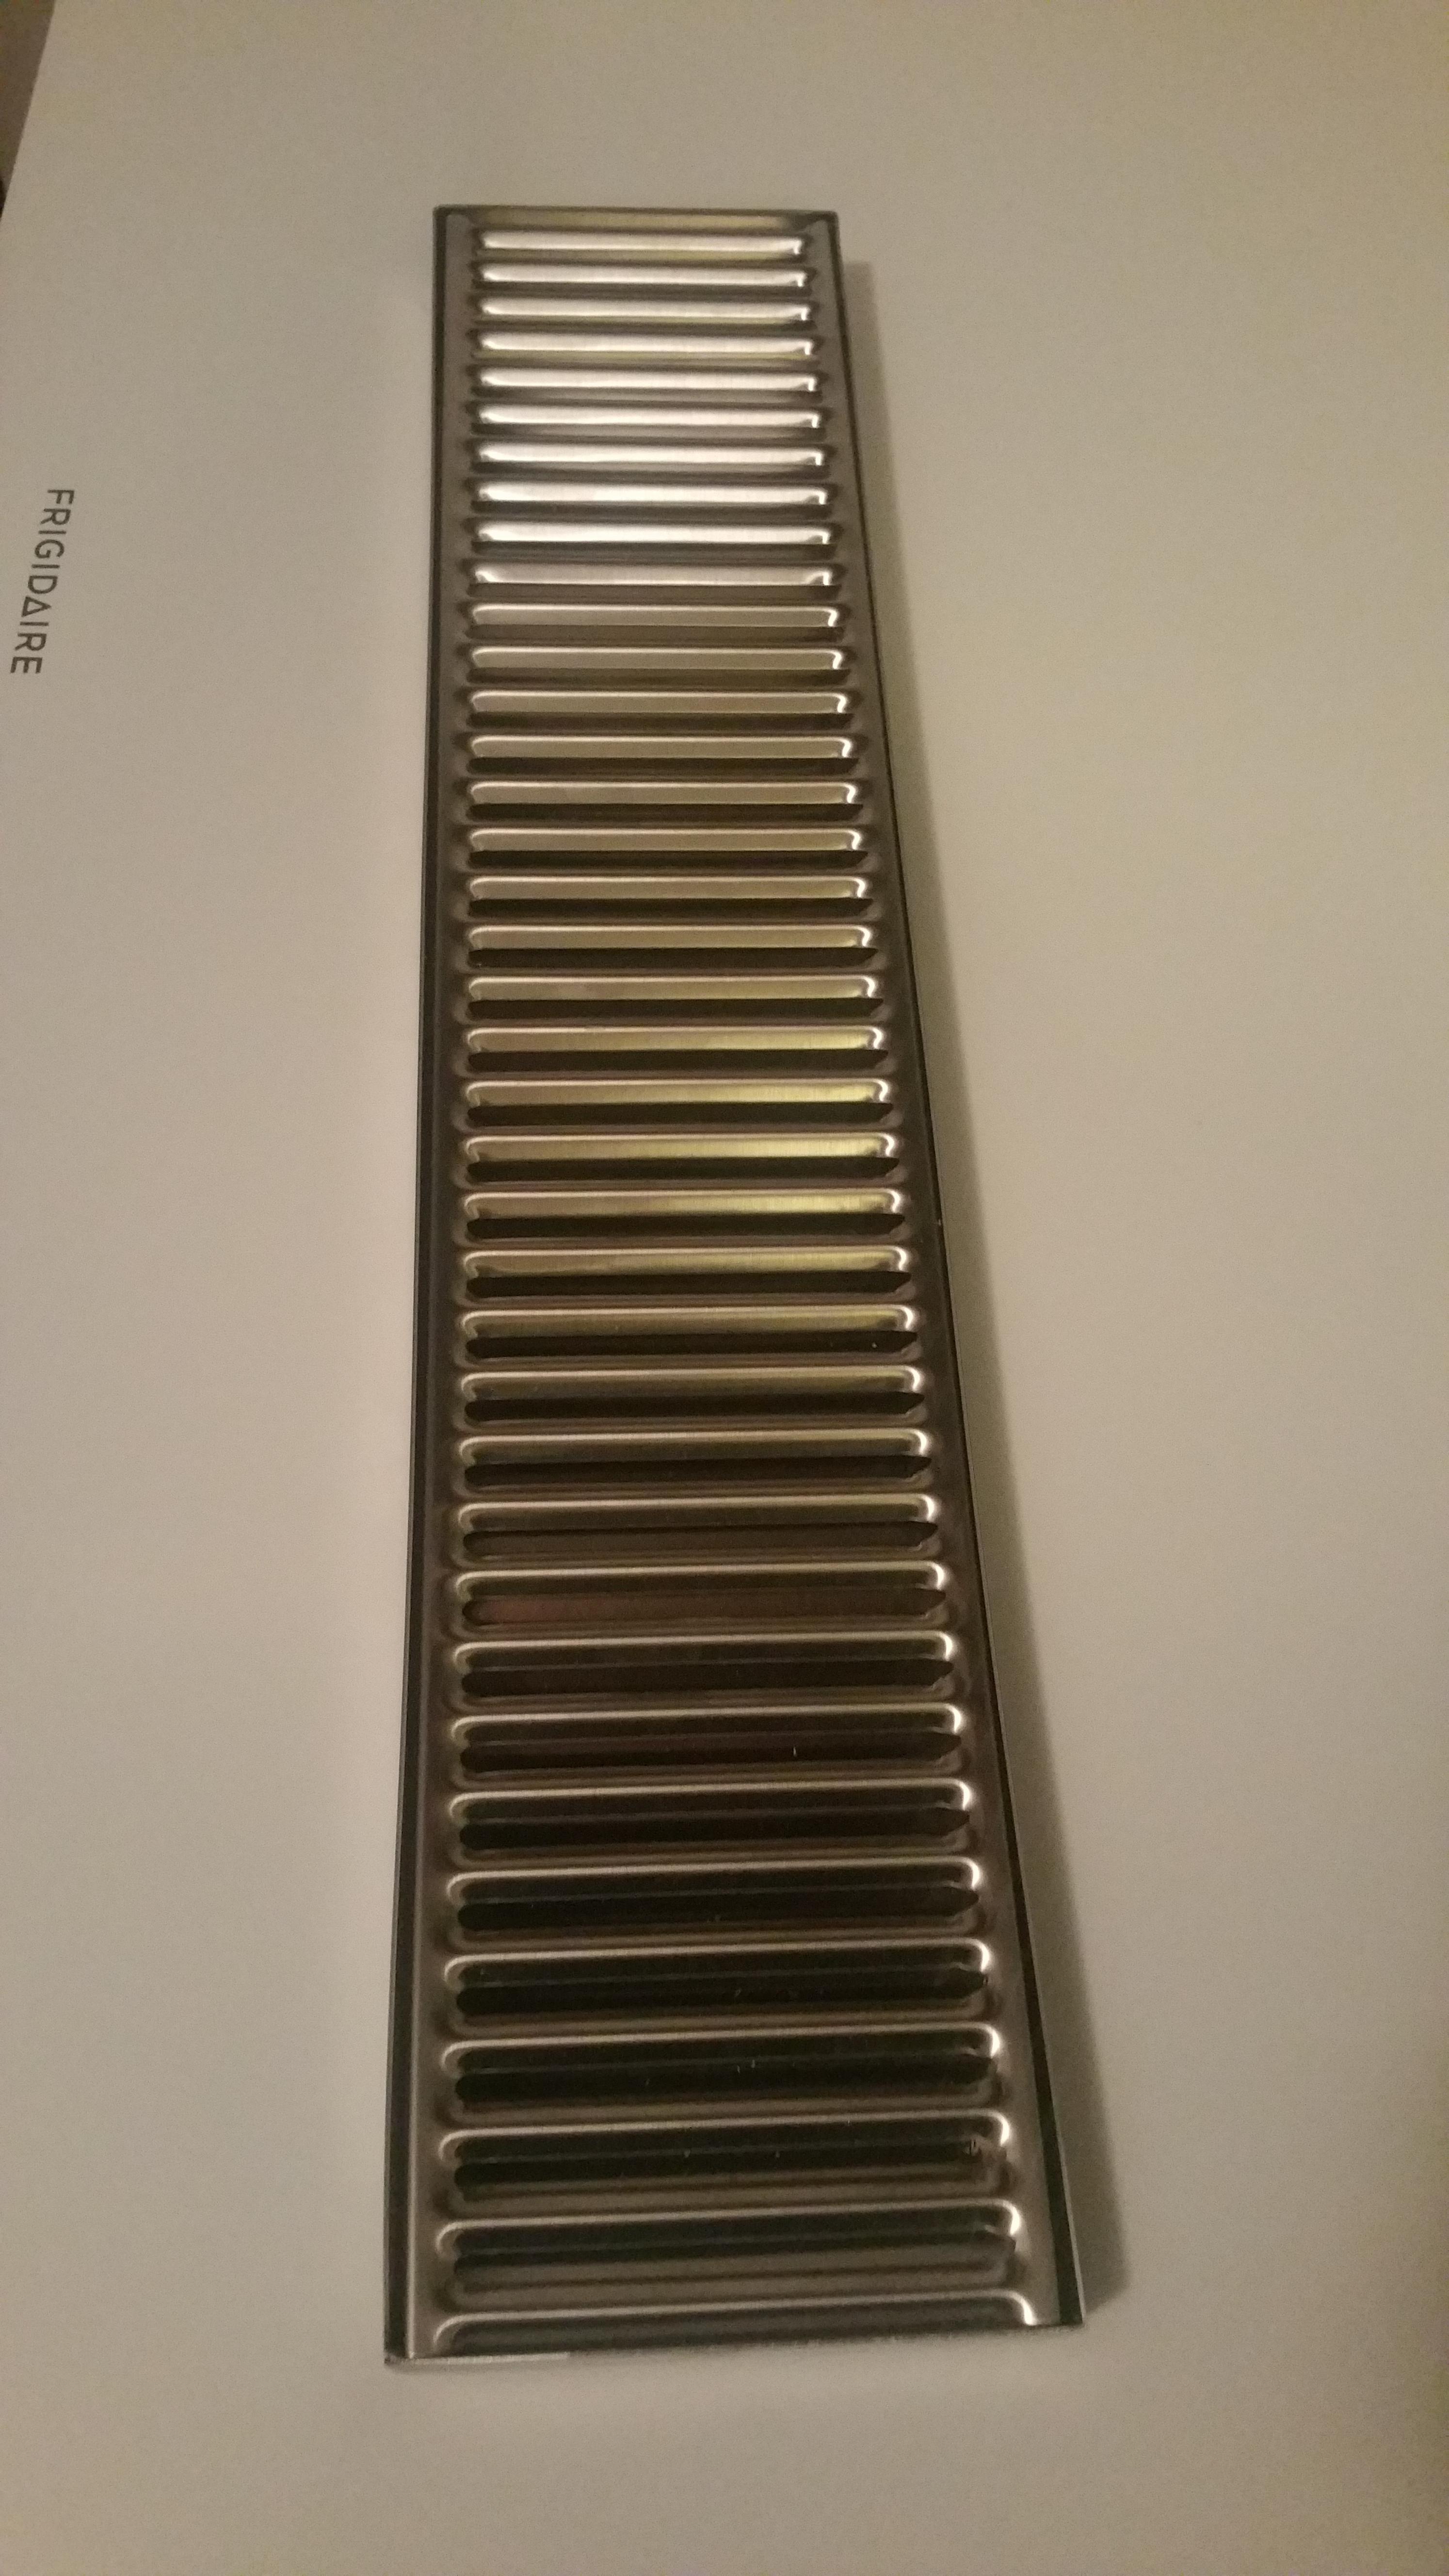
I will be building my keezer using the Frigidaire 7.2 Cu. Ft. Chest Freezer Model: FFFC07M1QW

Thank you to @Quaffer for his old by amazing thread on this model, and more recently thanks to @skraeling for his build as well.

I would also like to thank @OntarioBeerKegs for all the kegging parts.
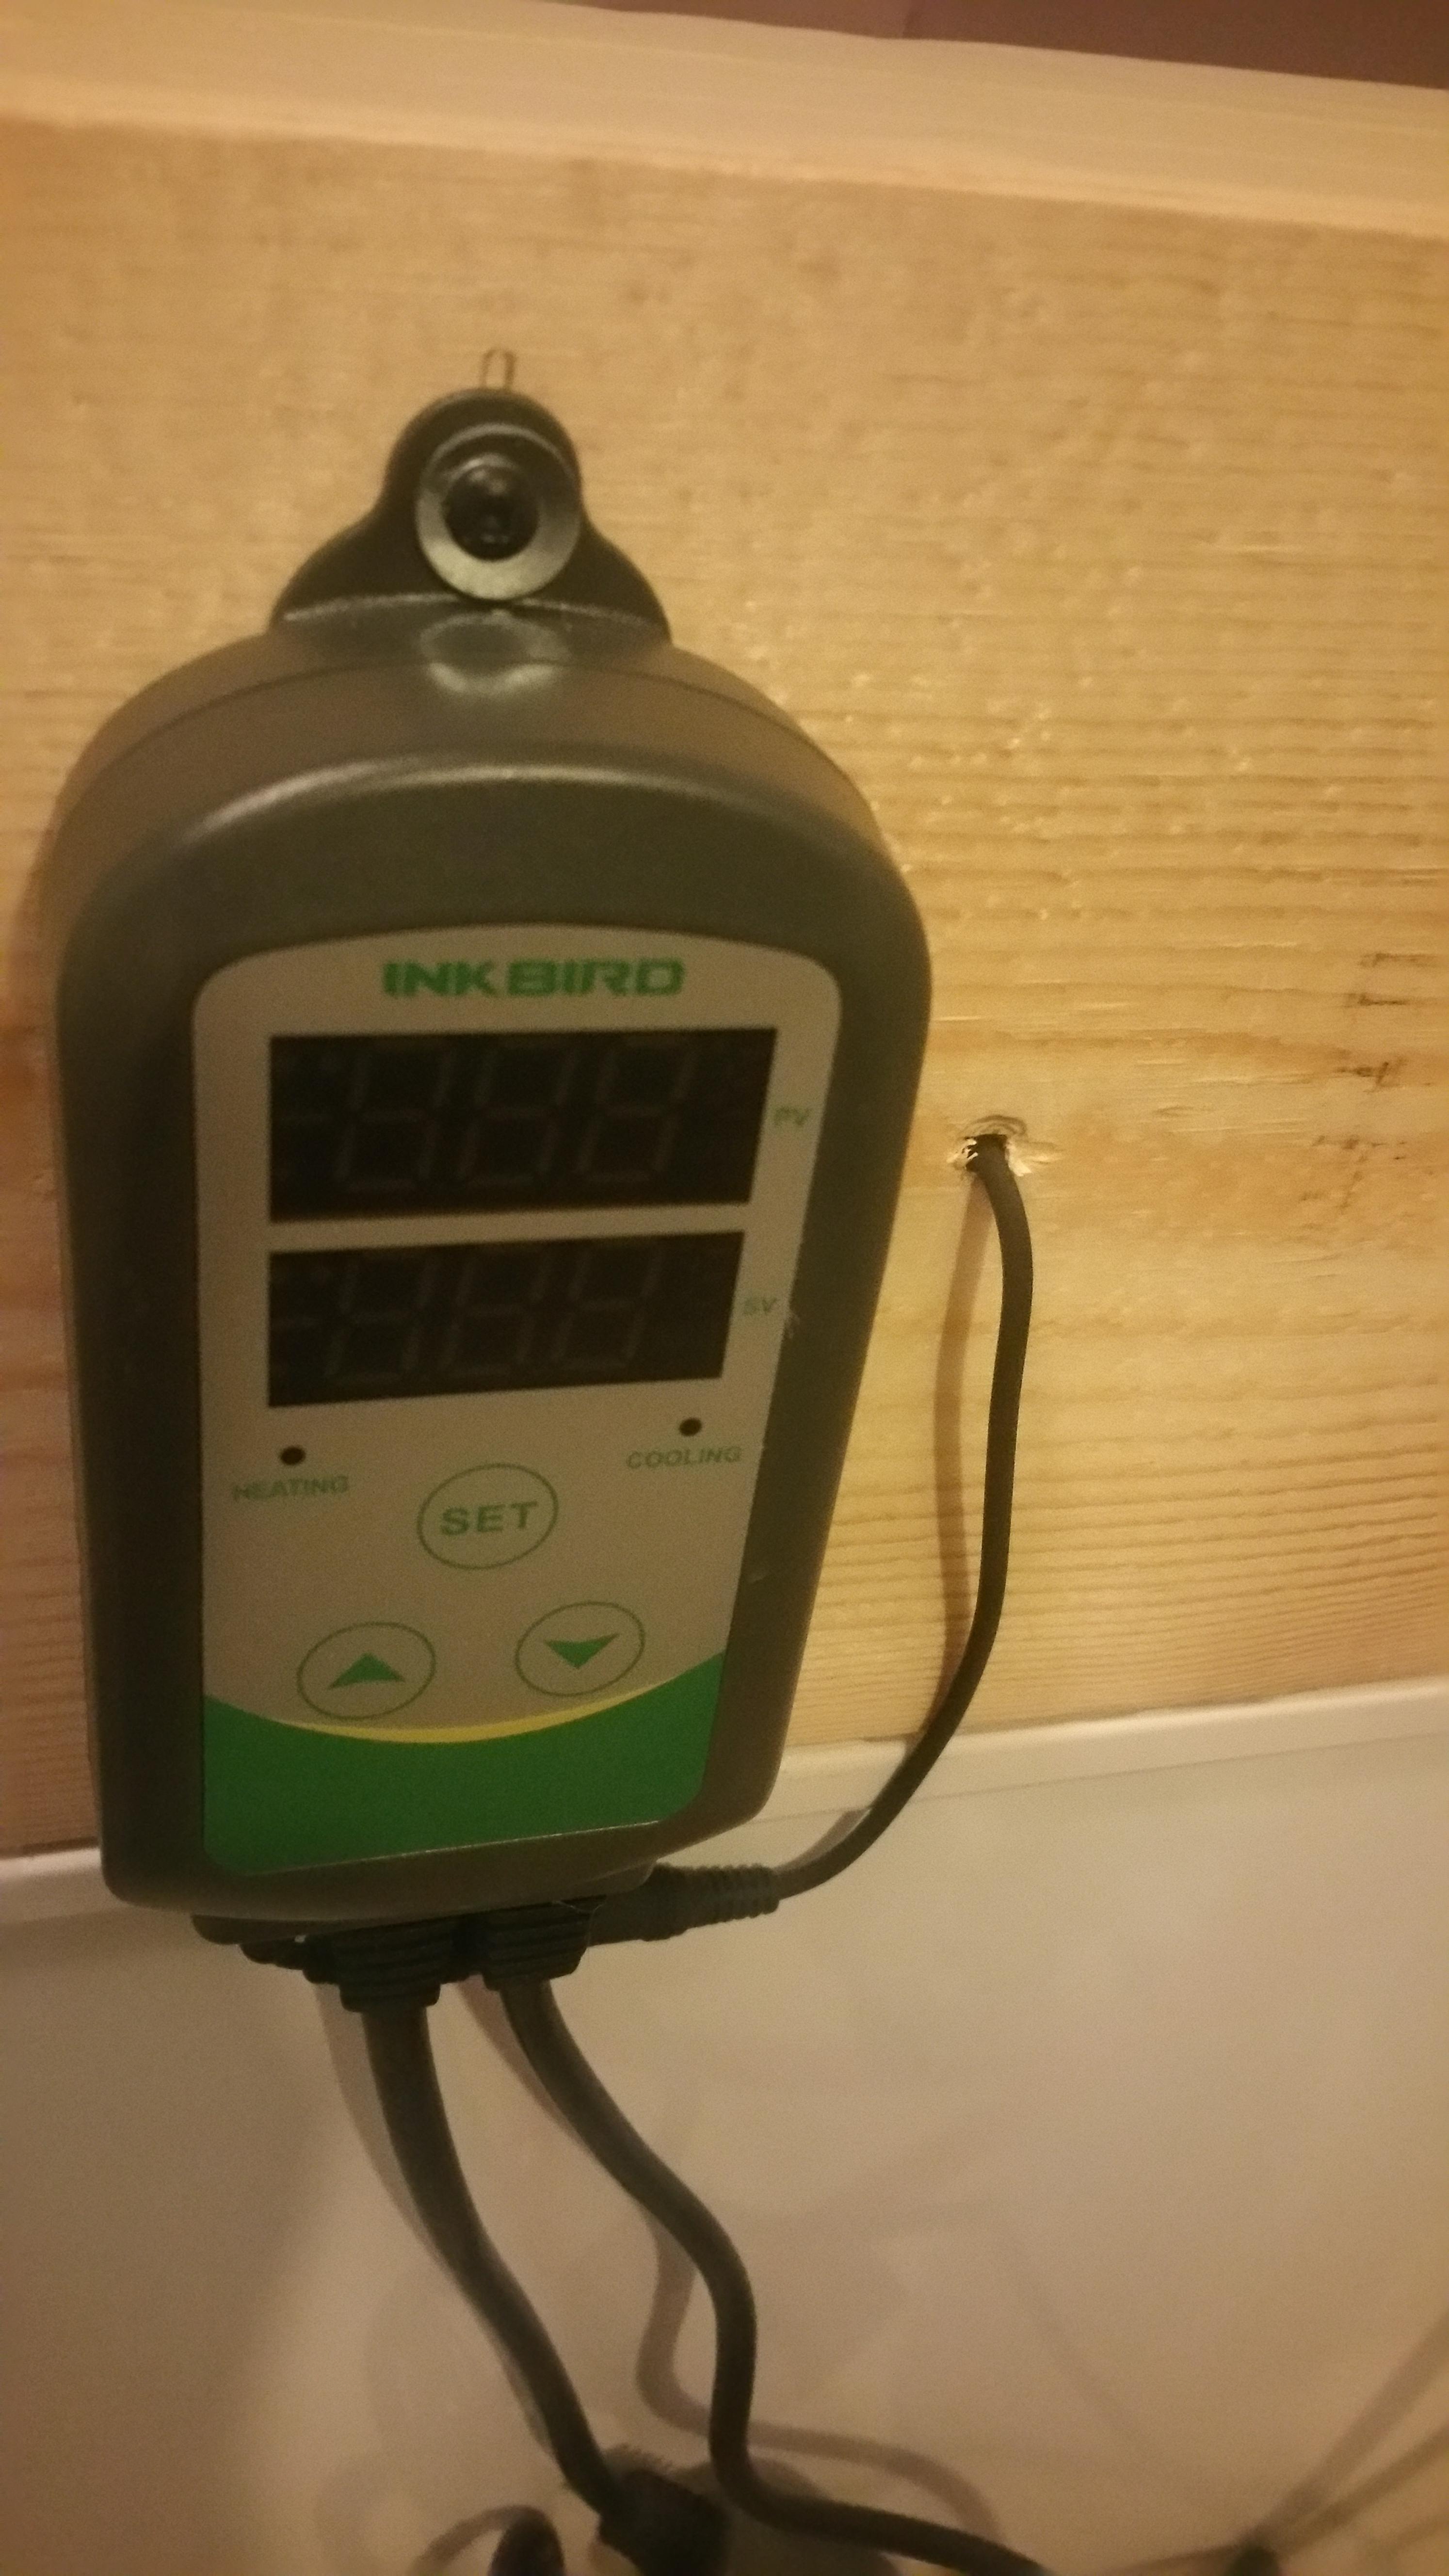
I got a great deal on an @inkbird ITC-308S for a temp controller.
I picked up the freezer from Leons a while back when it was on sale.
The rest of the hardware came from HomeDepot.

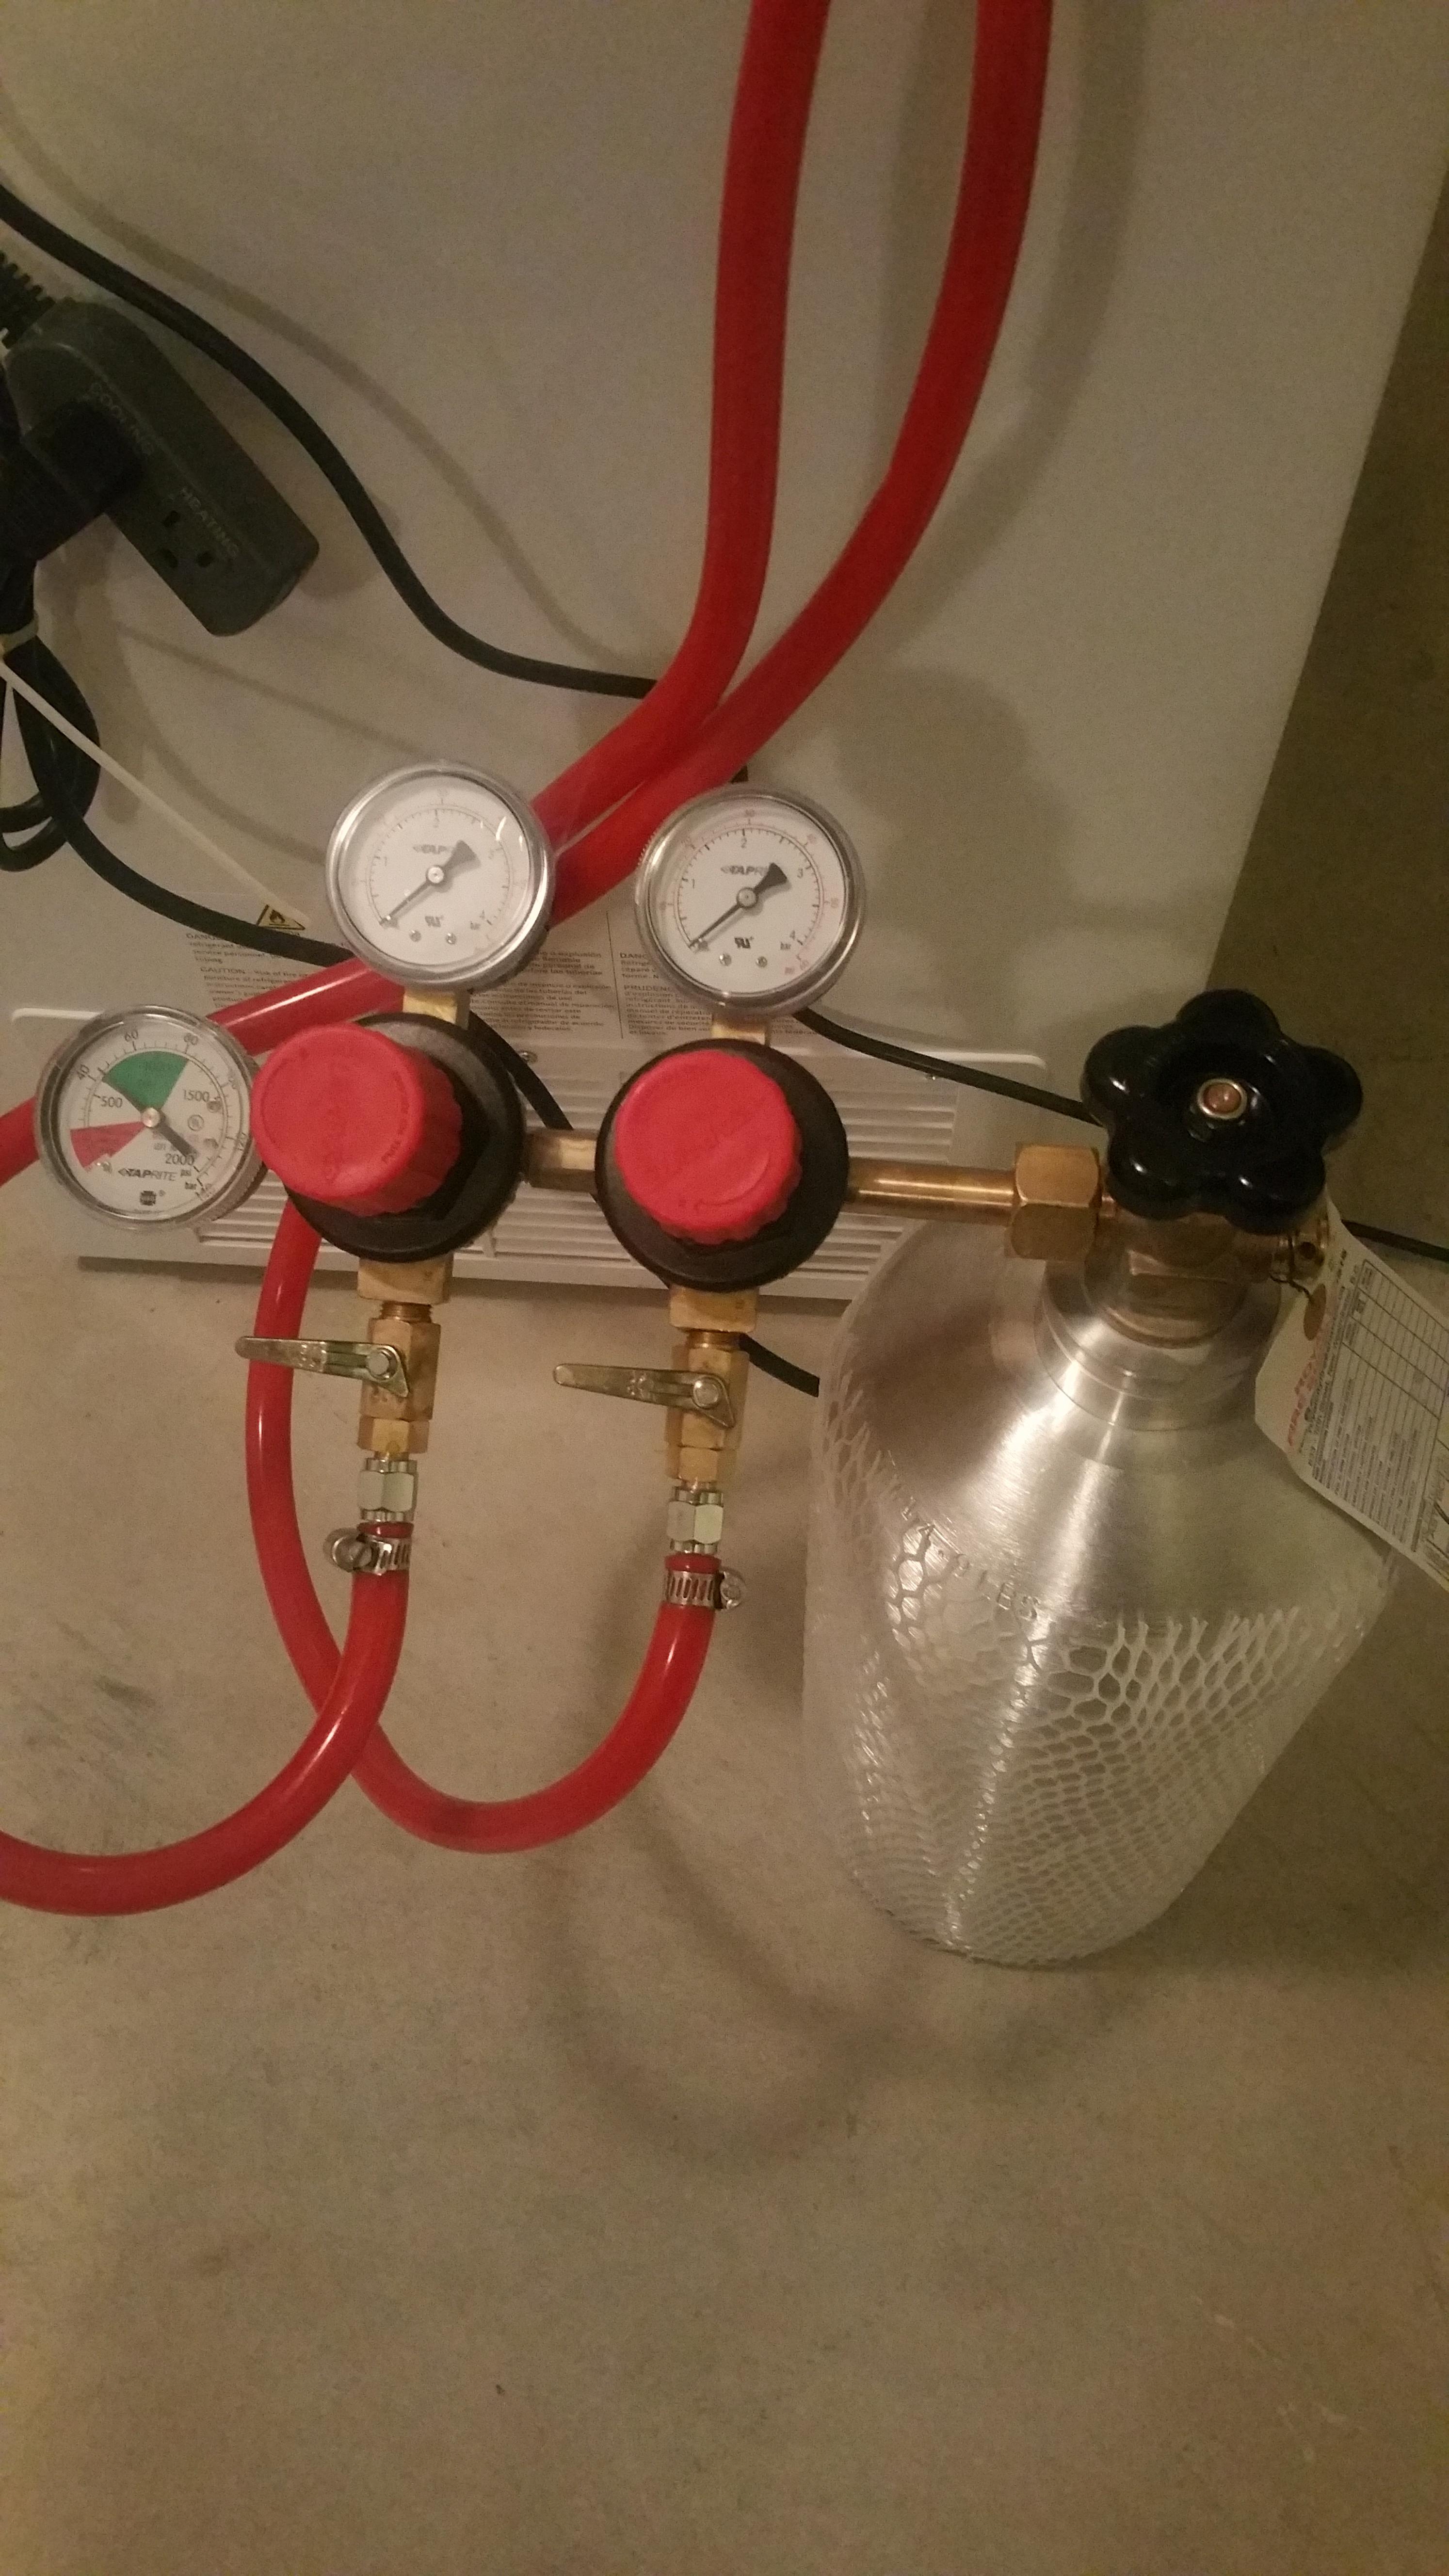
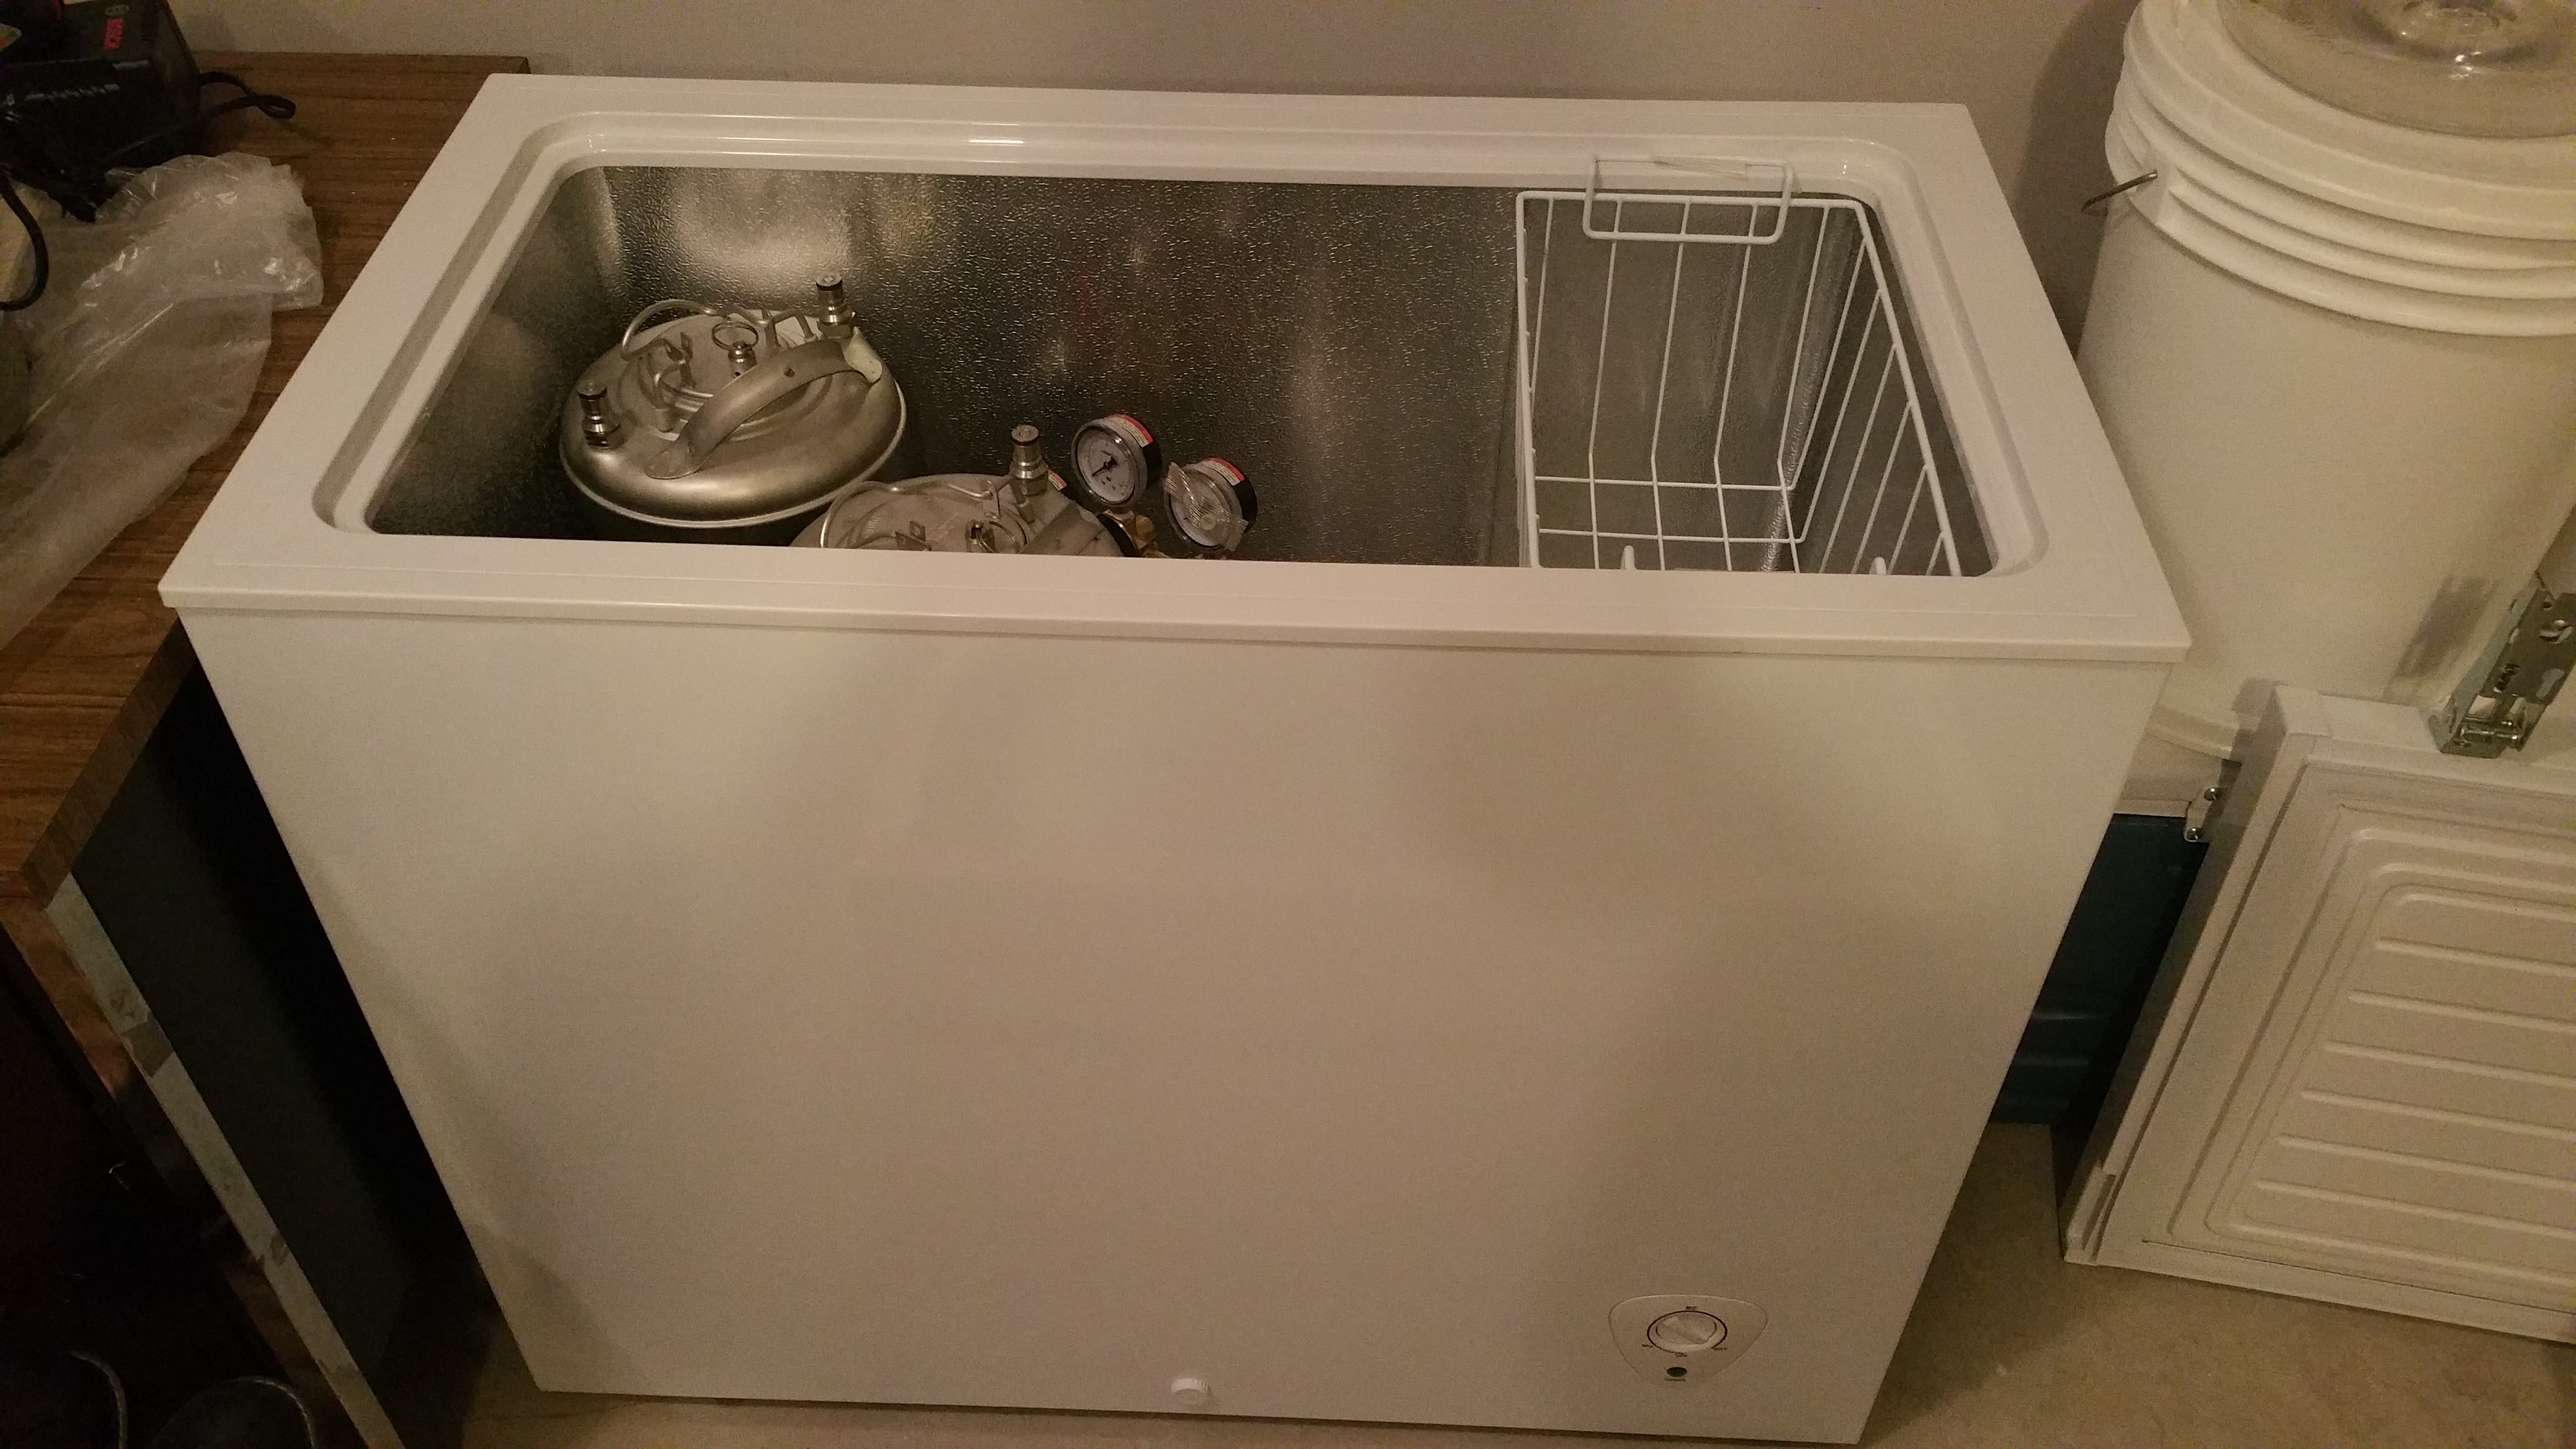
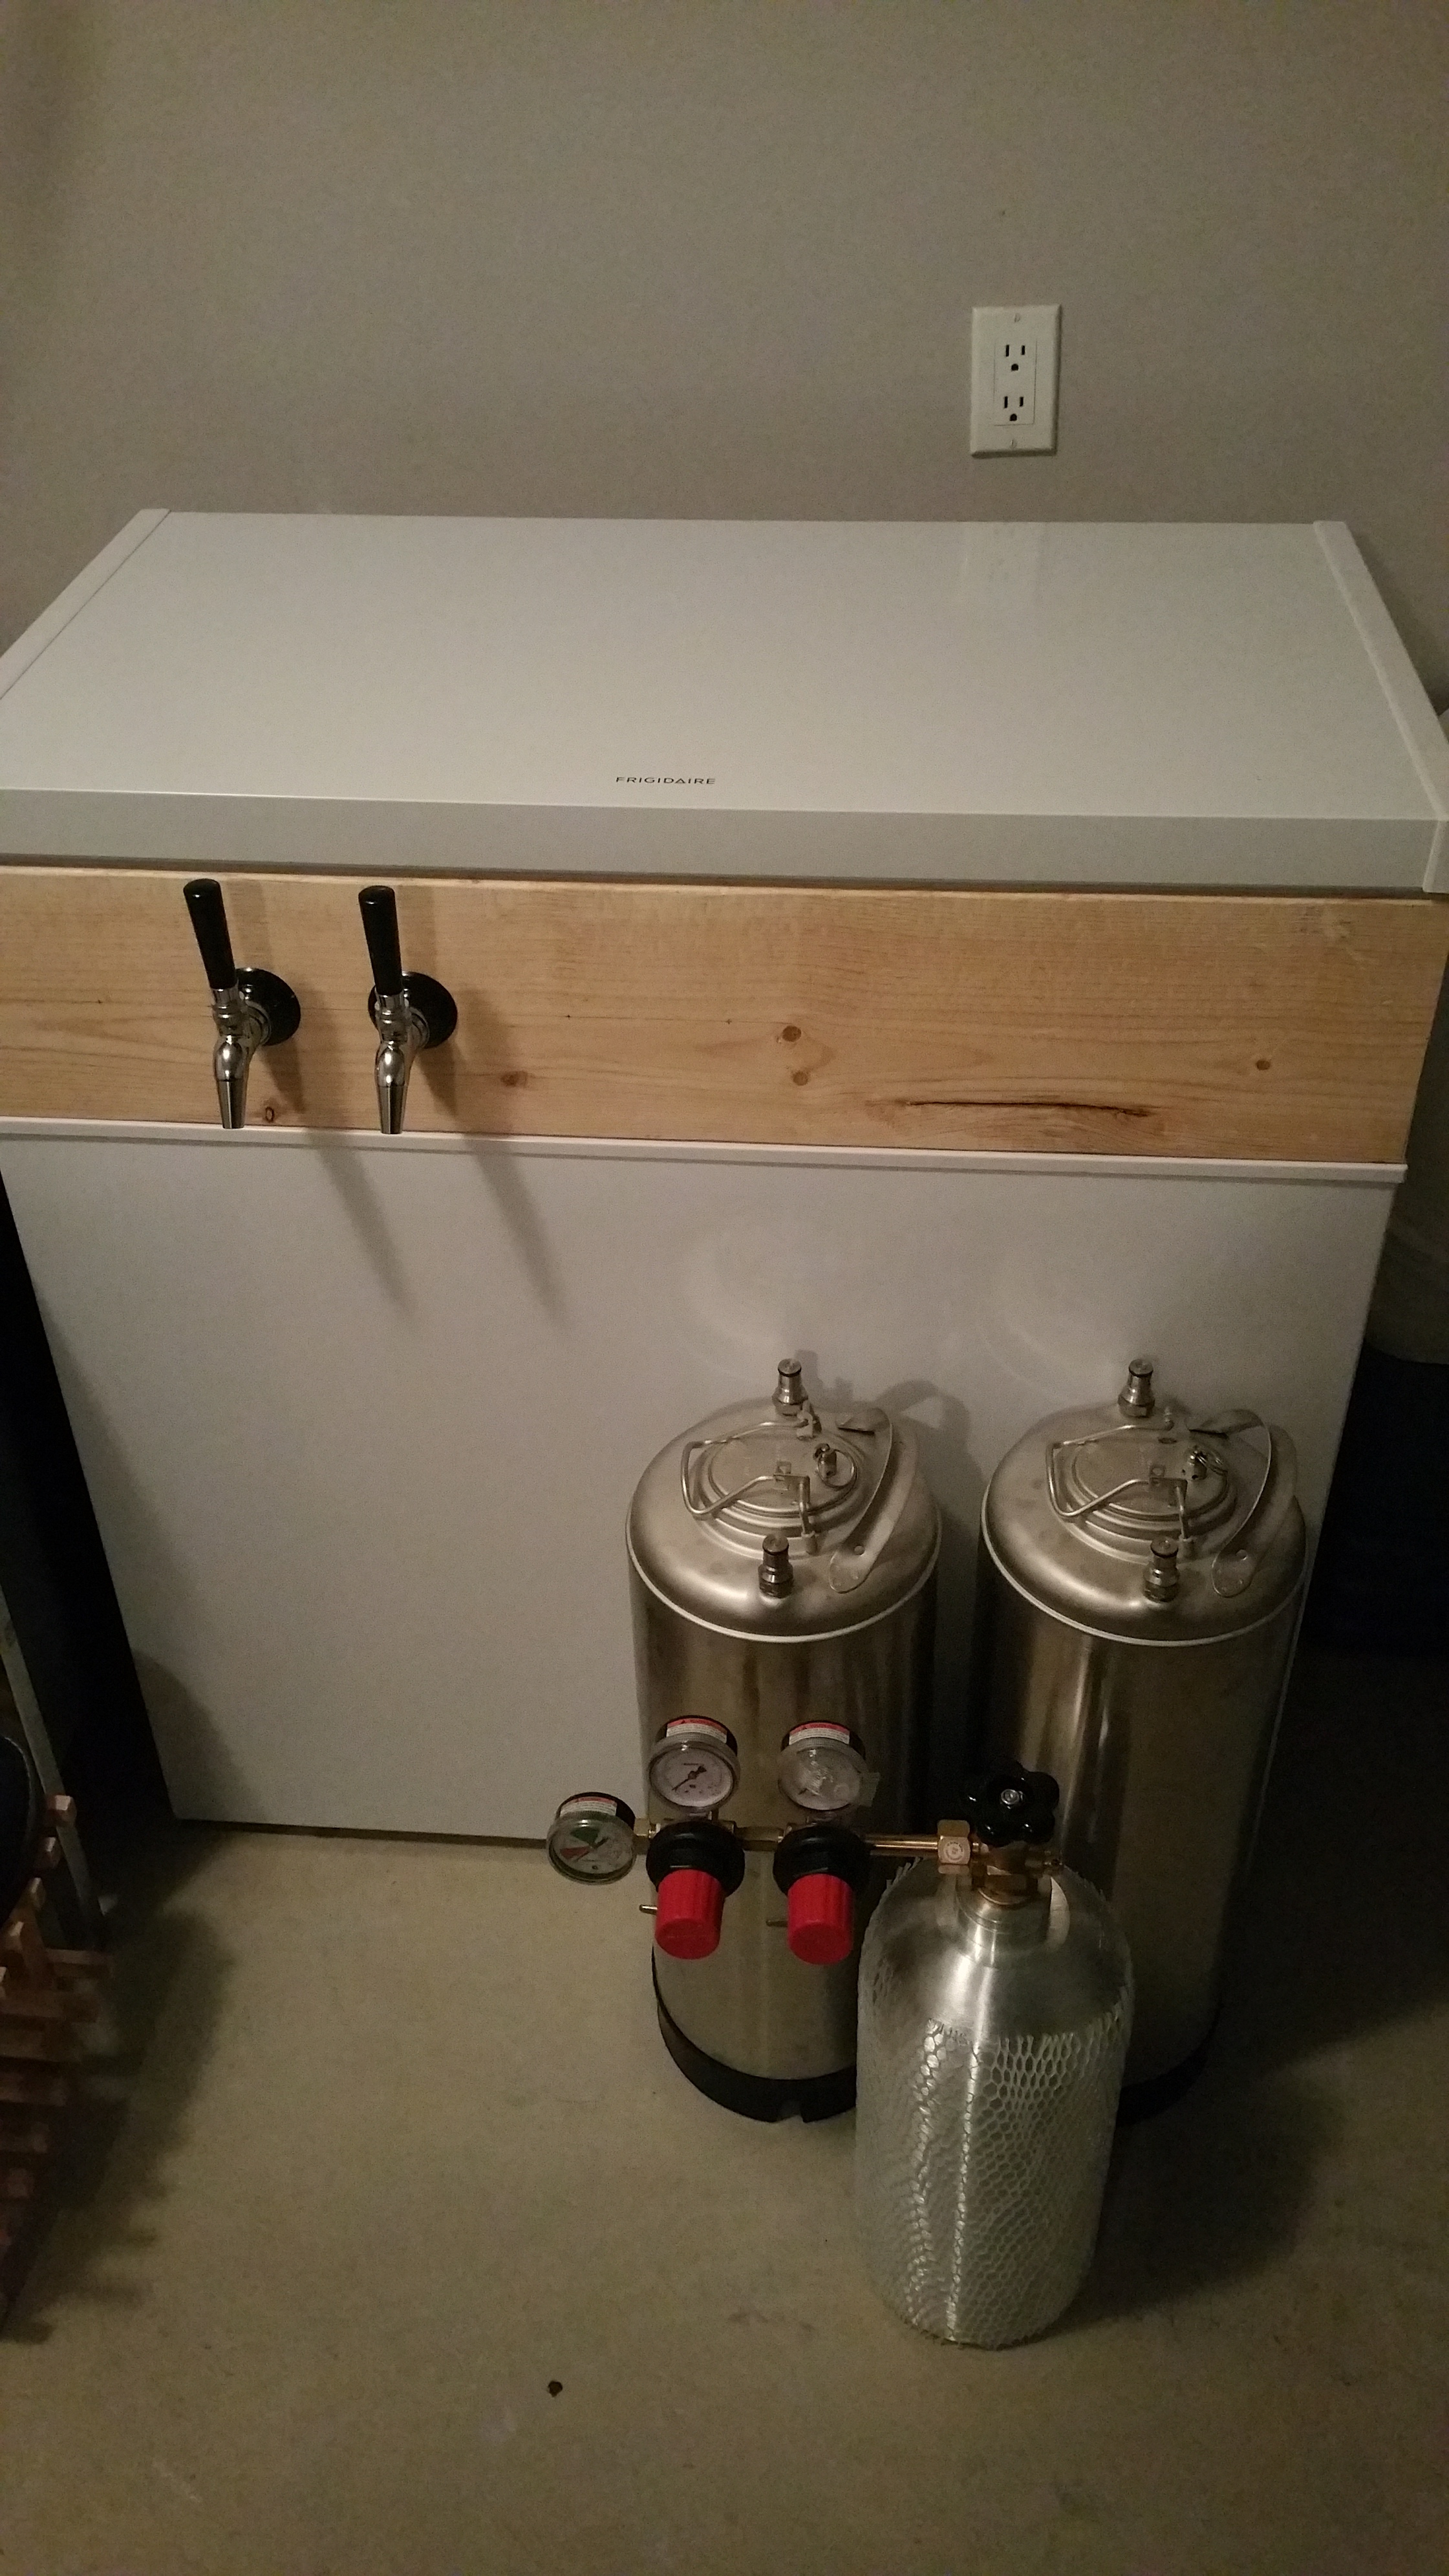
Here is my freezer with the lid removed and my two (for now) kegs and co2 tank inside. Thanks everyone who helped me calm down about taking the hinges off.

qjbZwea.jpg


I used cheap 2x8 lumber for my collar since this is my first build and a garage only keezer. Here you can see my pieces cut and laid out to check the fit.

sMvh72u.jpg


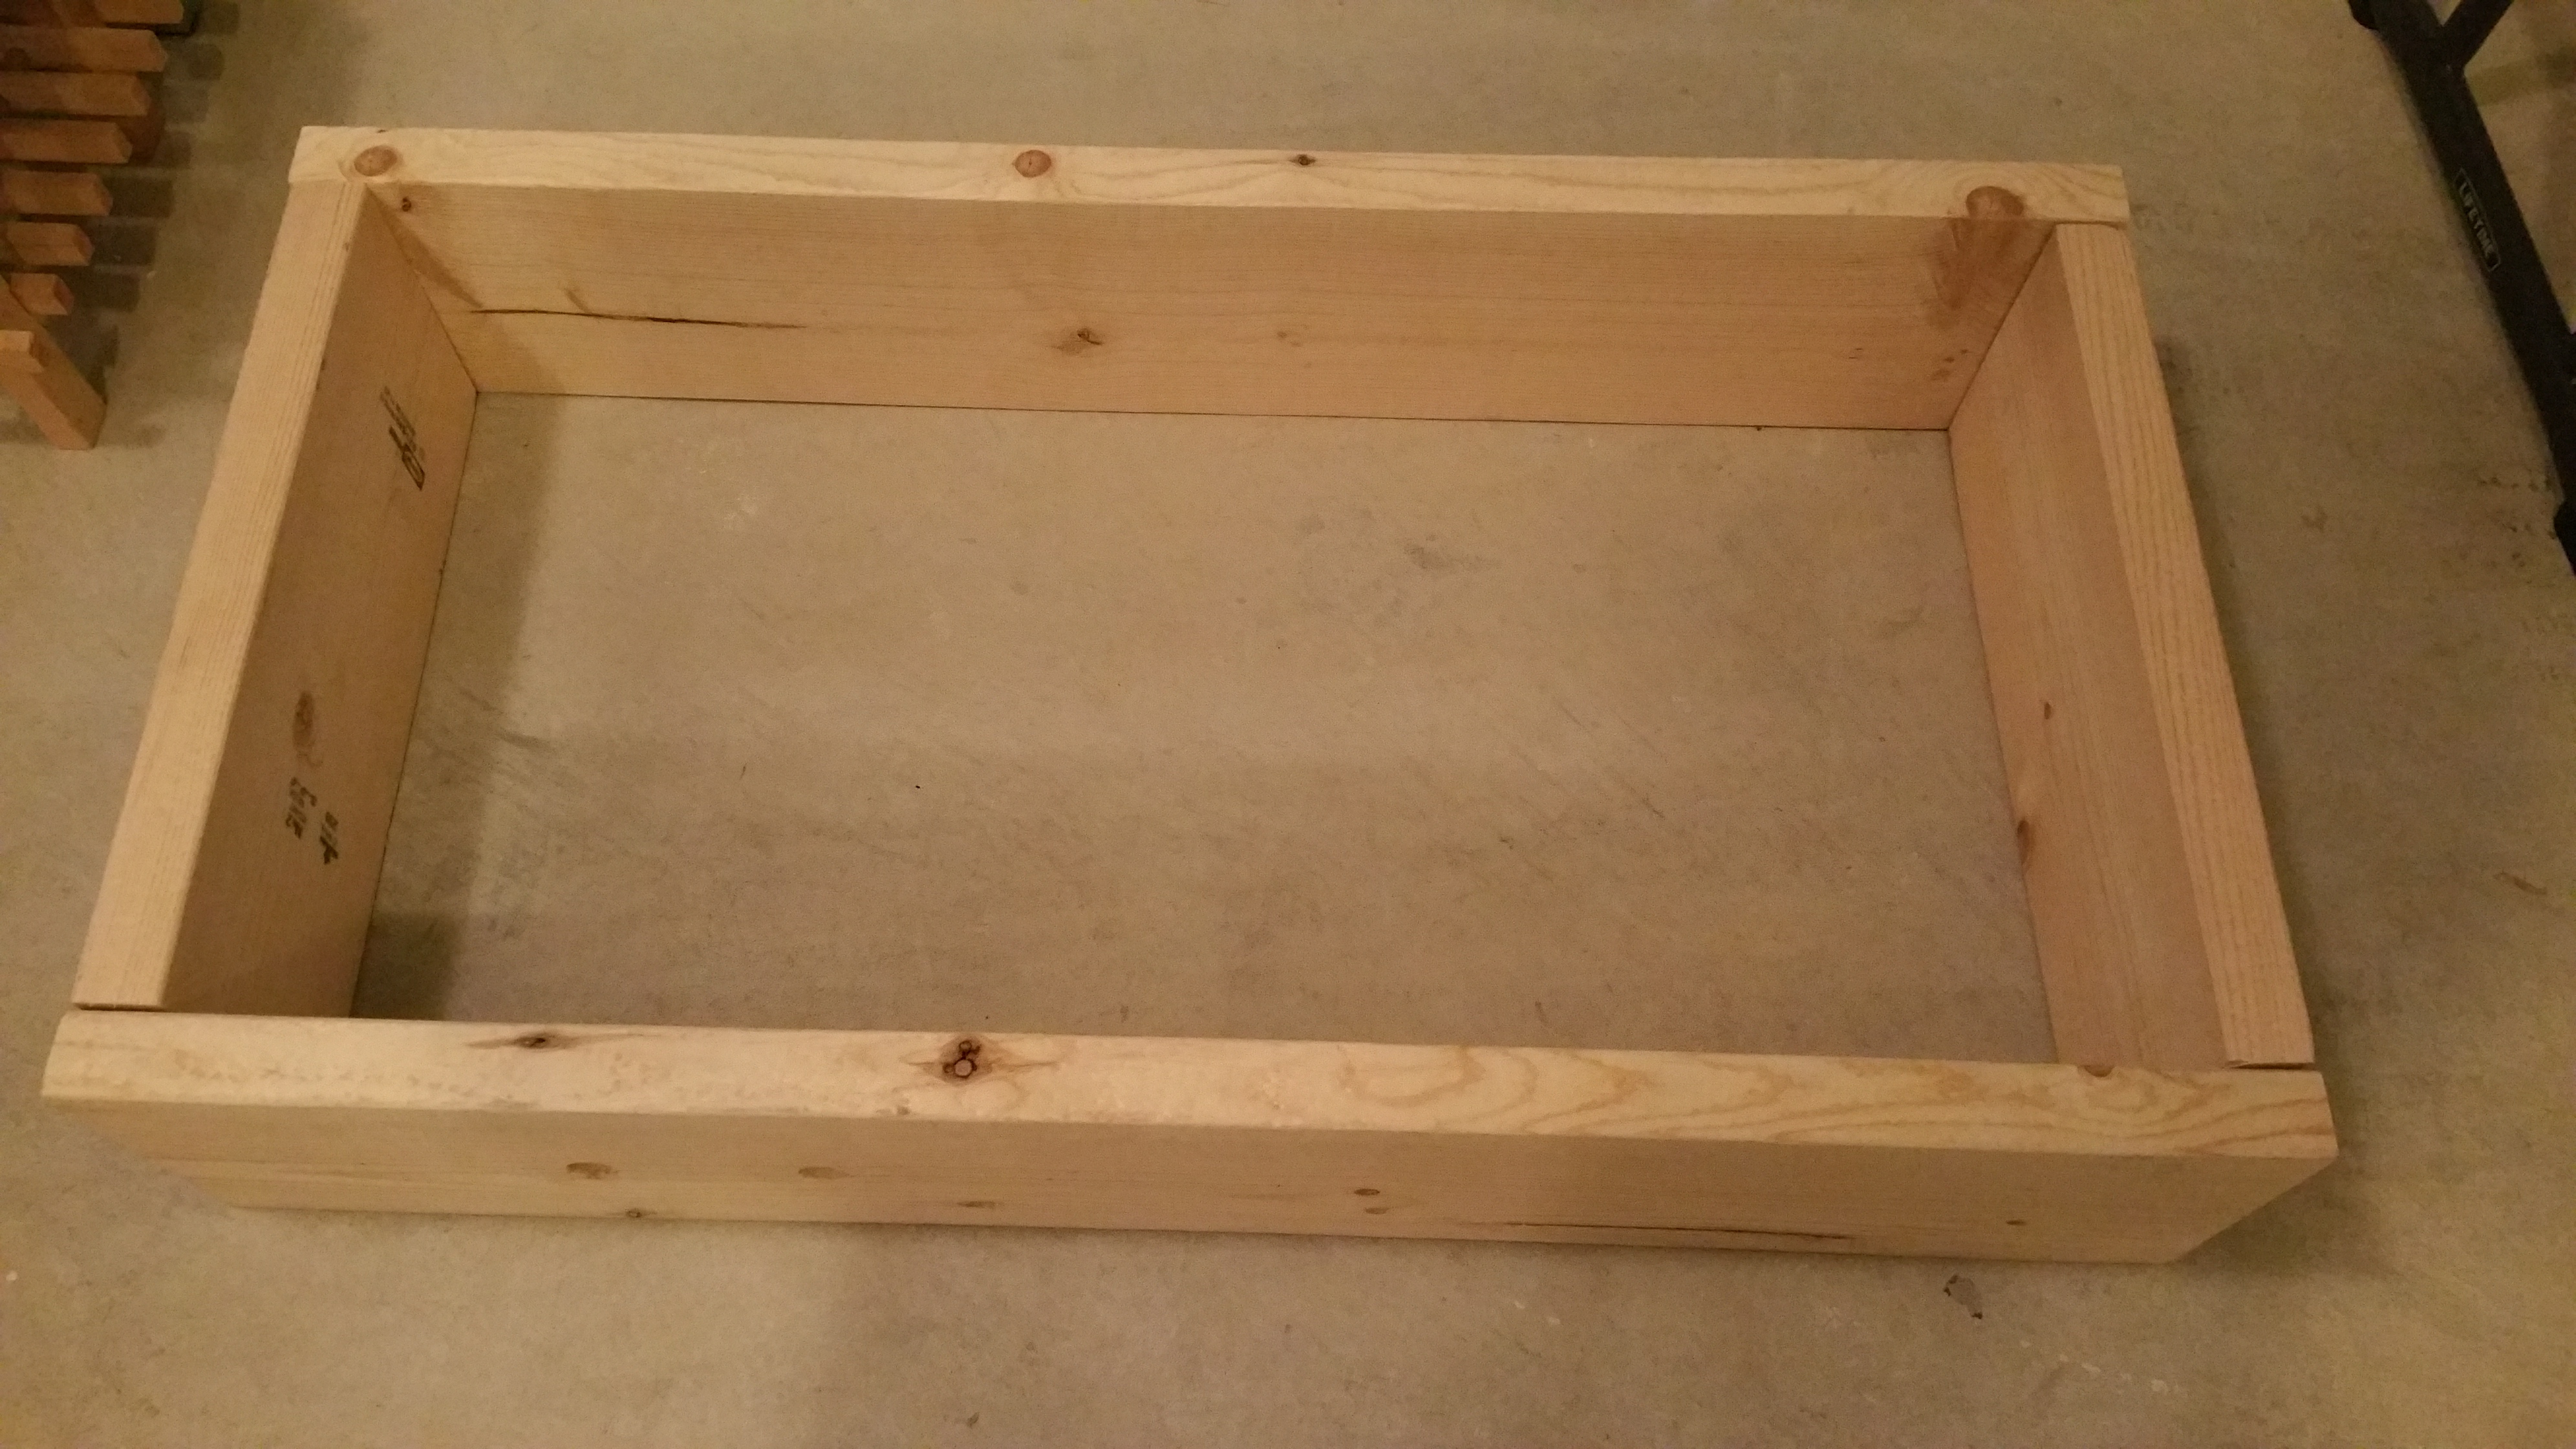
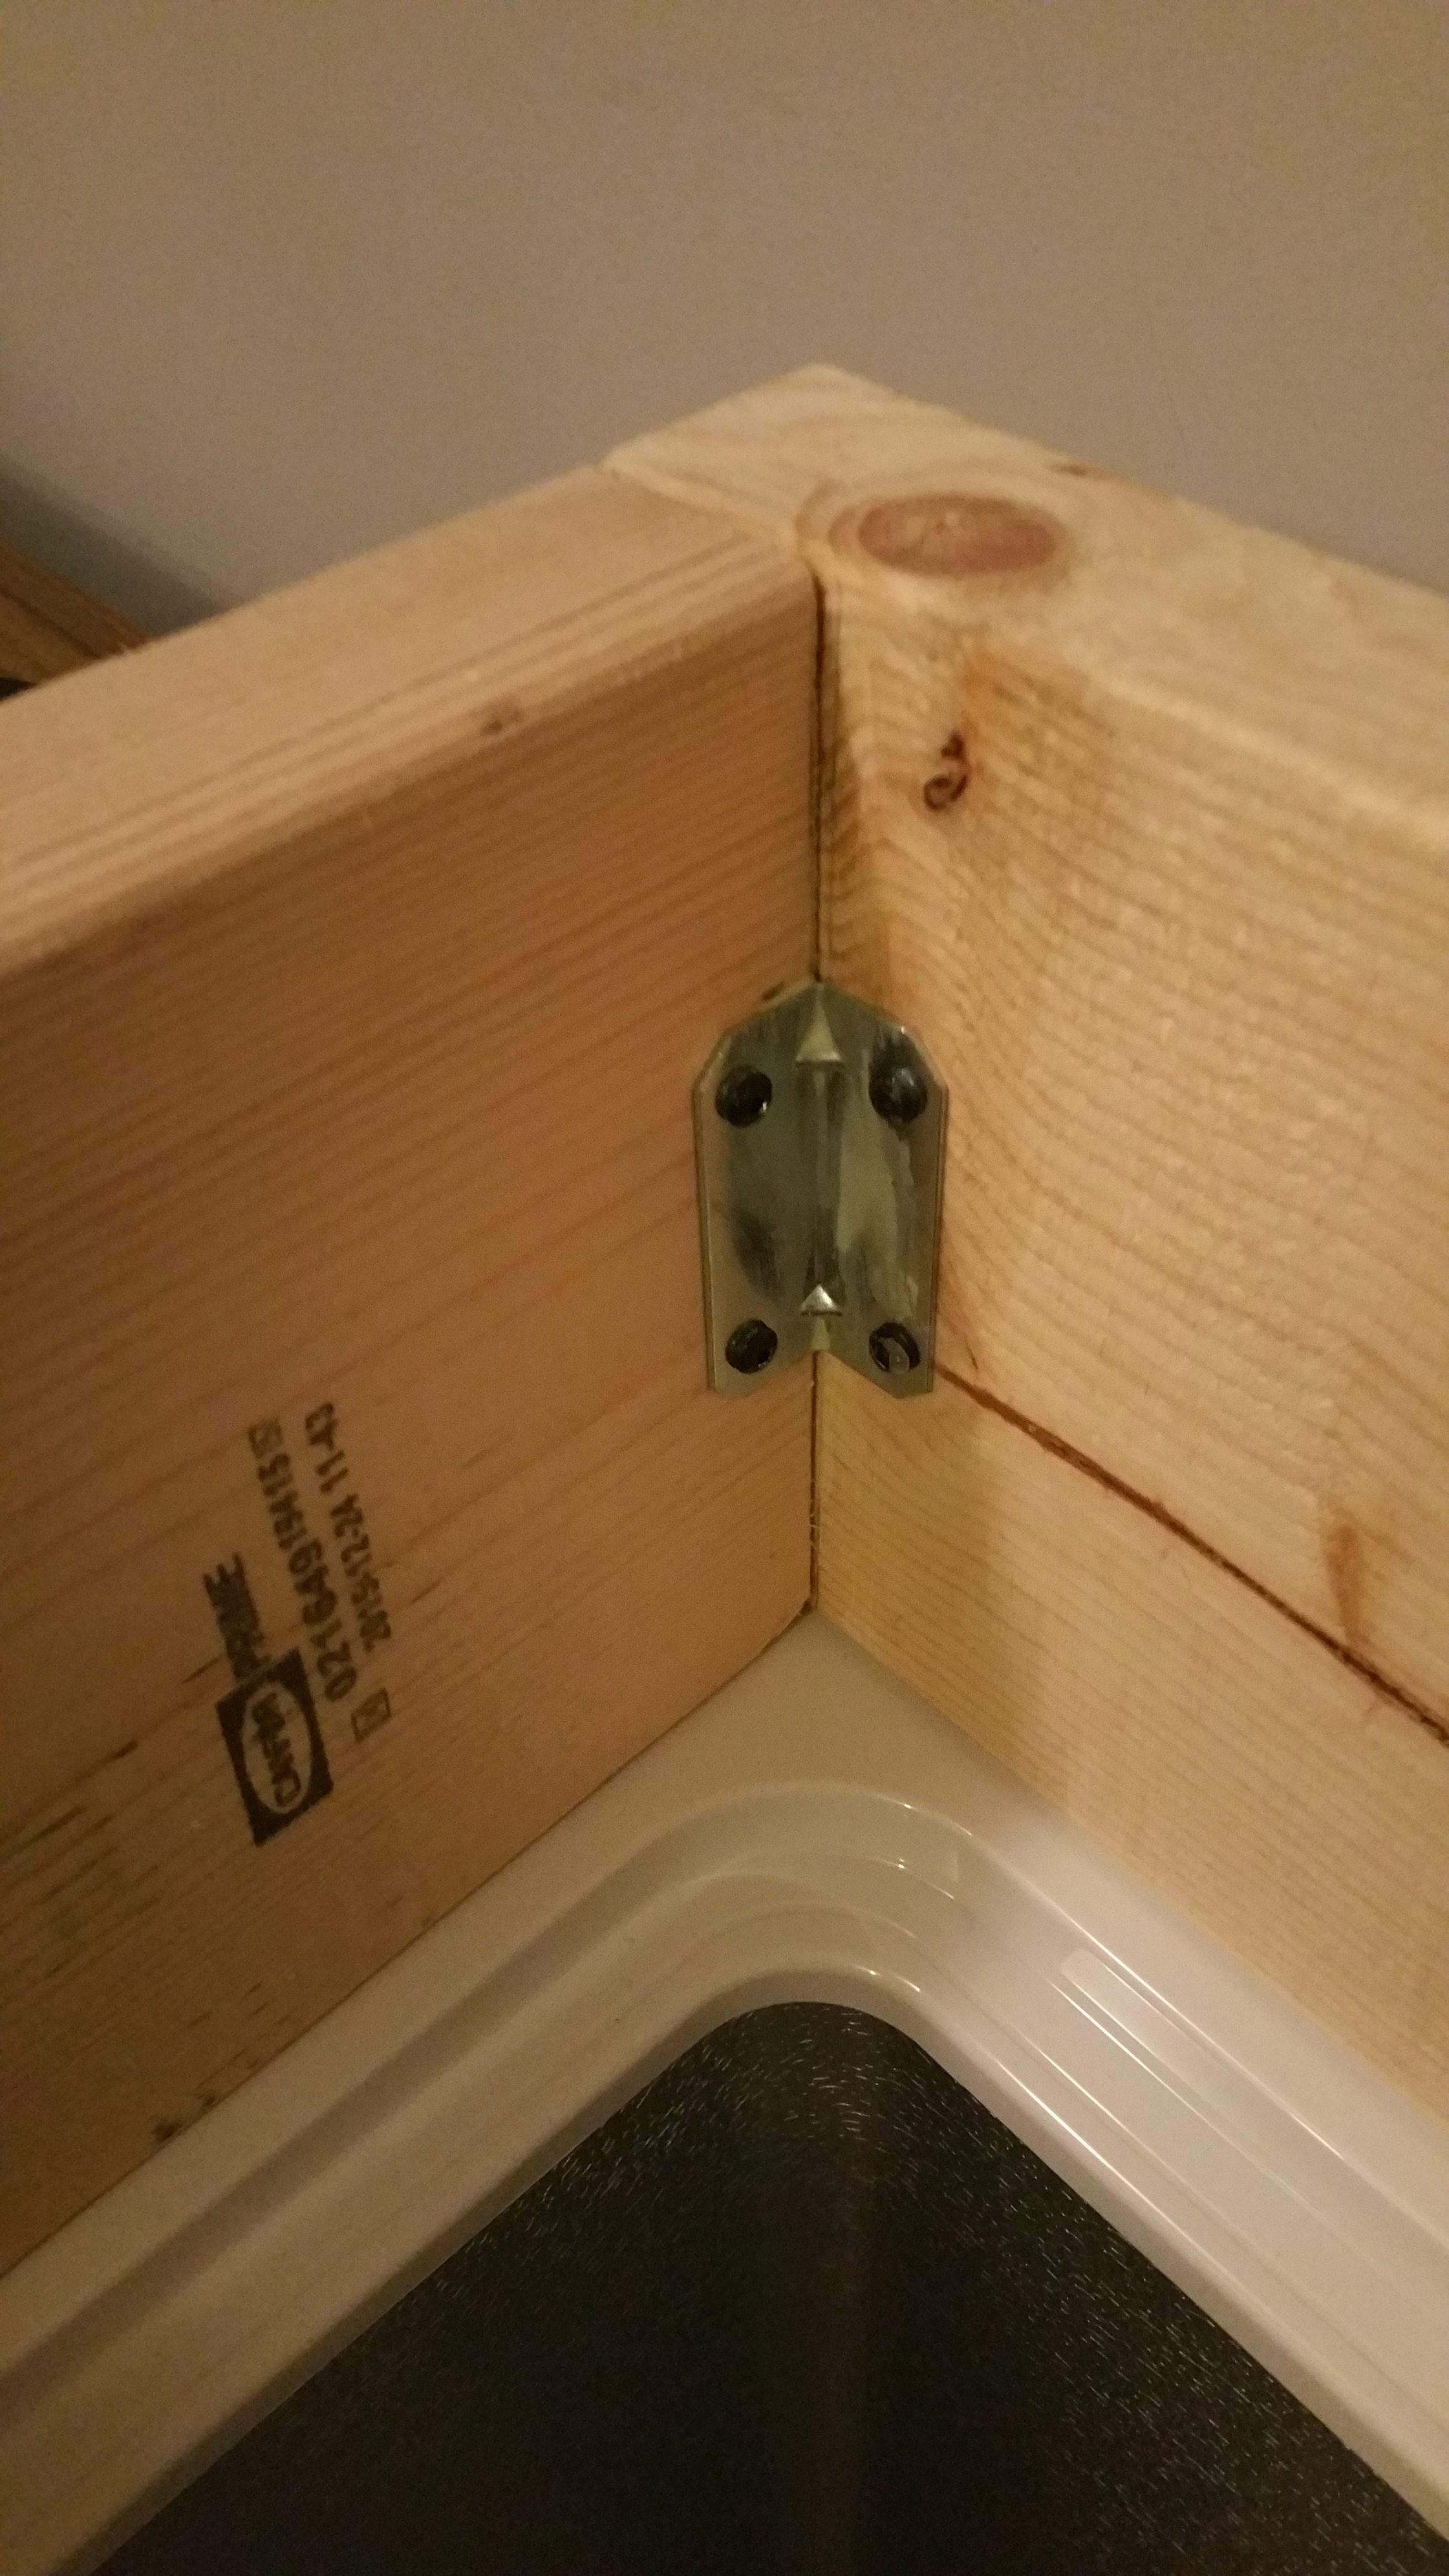
I attached to collar pieces using wood glue and metal corner brackets. Everything seems sturdy enough at this point as it will just be affixed to the freezer top.

fHbP7vE.jpg


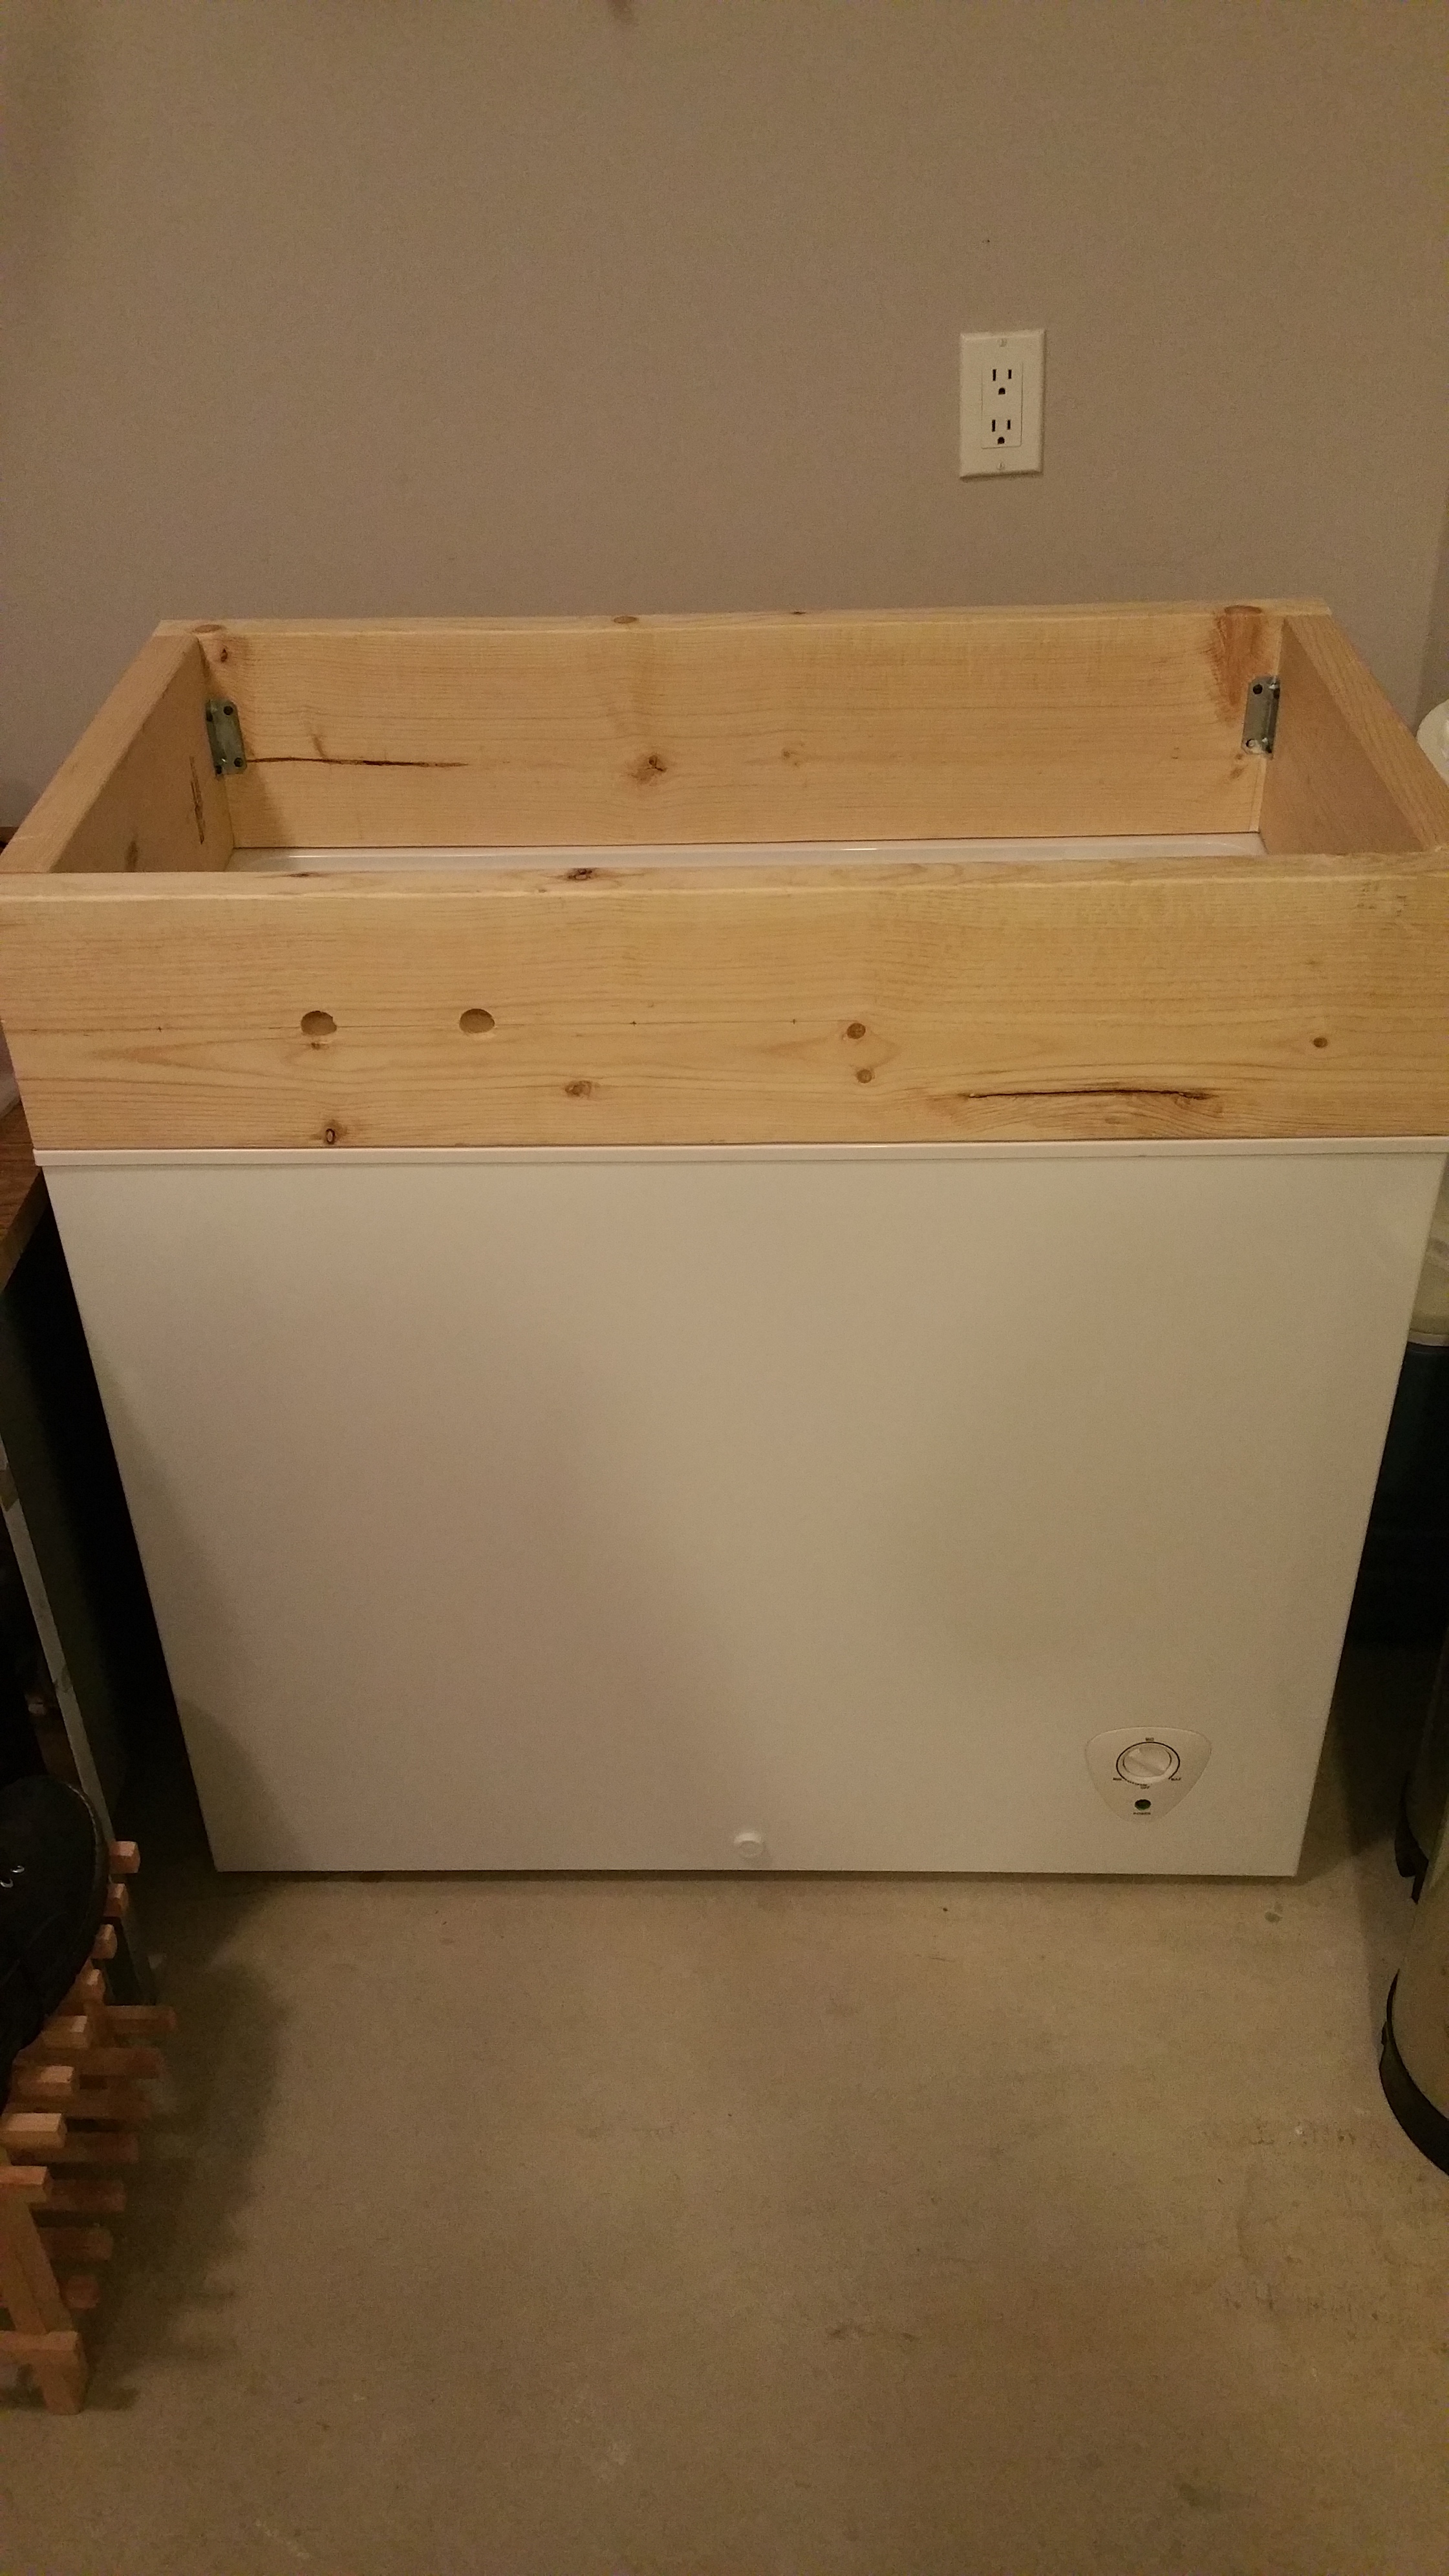
This shows the collar resting on top of the freezer from now to check the fitting and the two tap holes drilled.

8TjdMSI.jpg


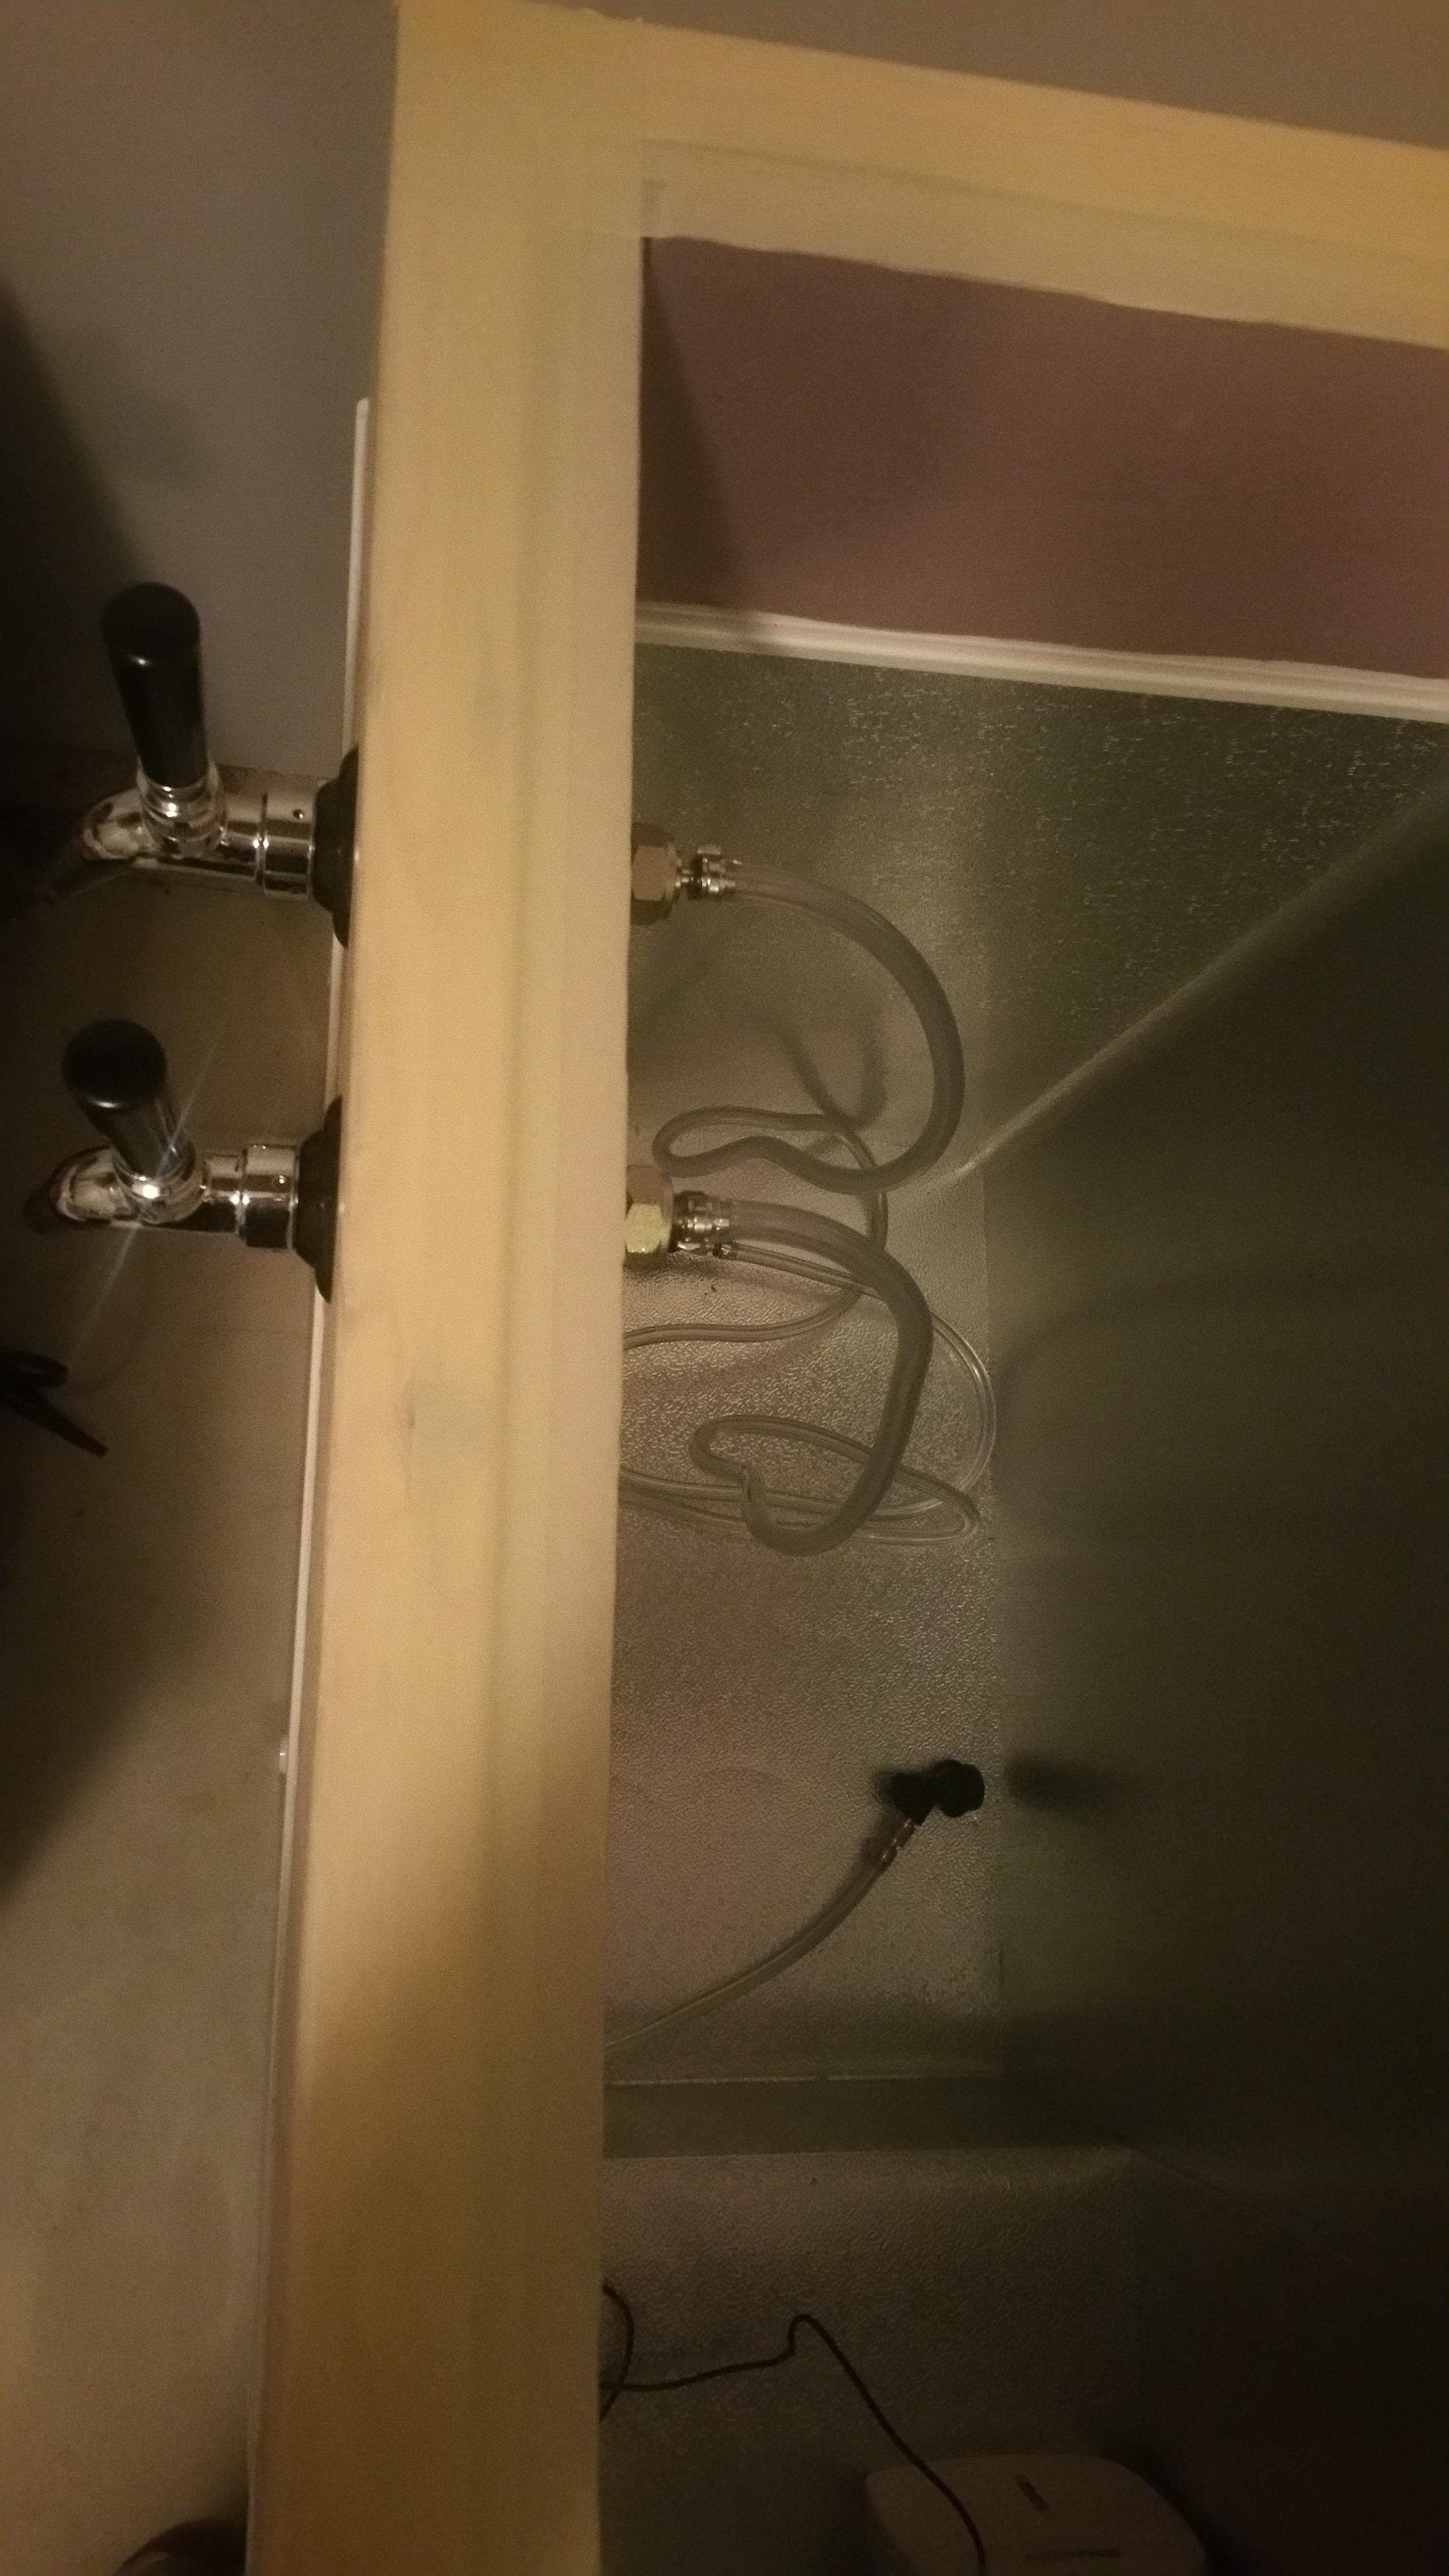
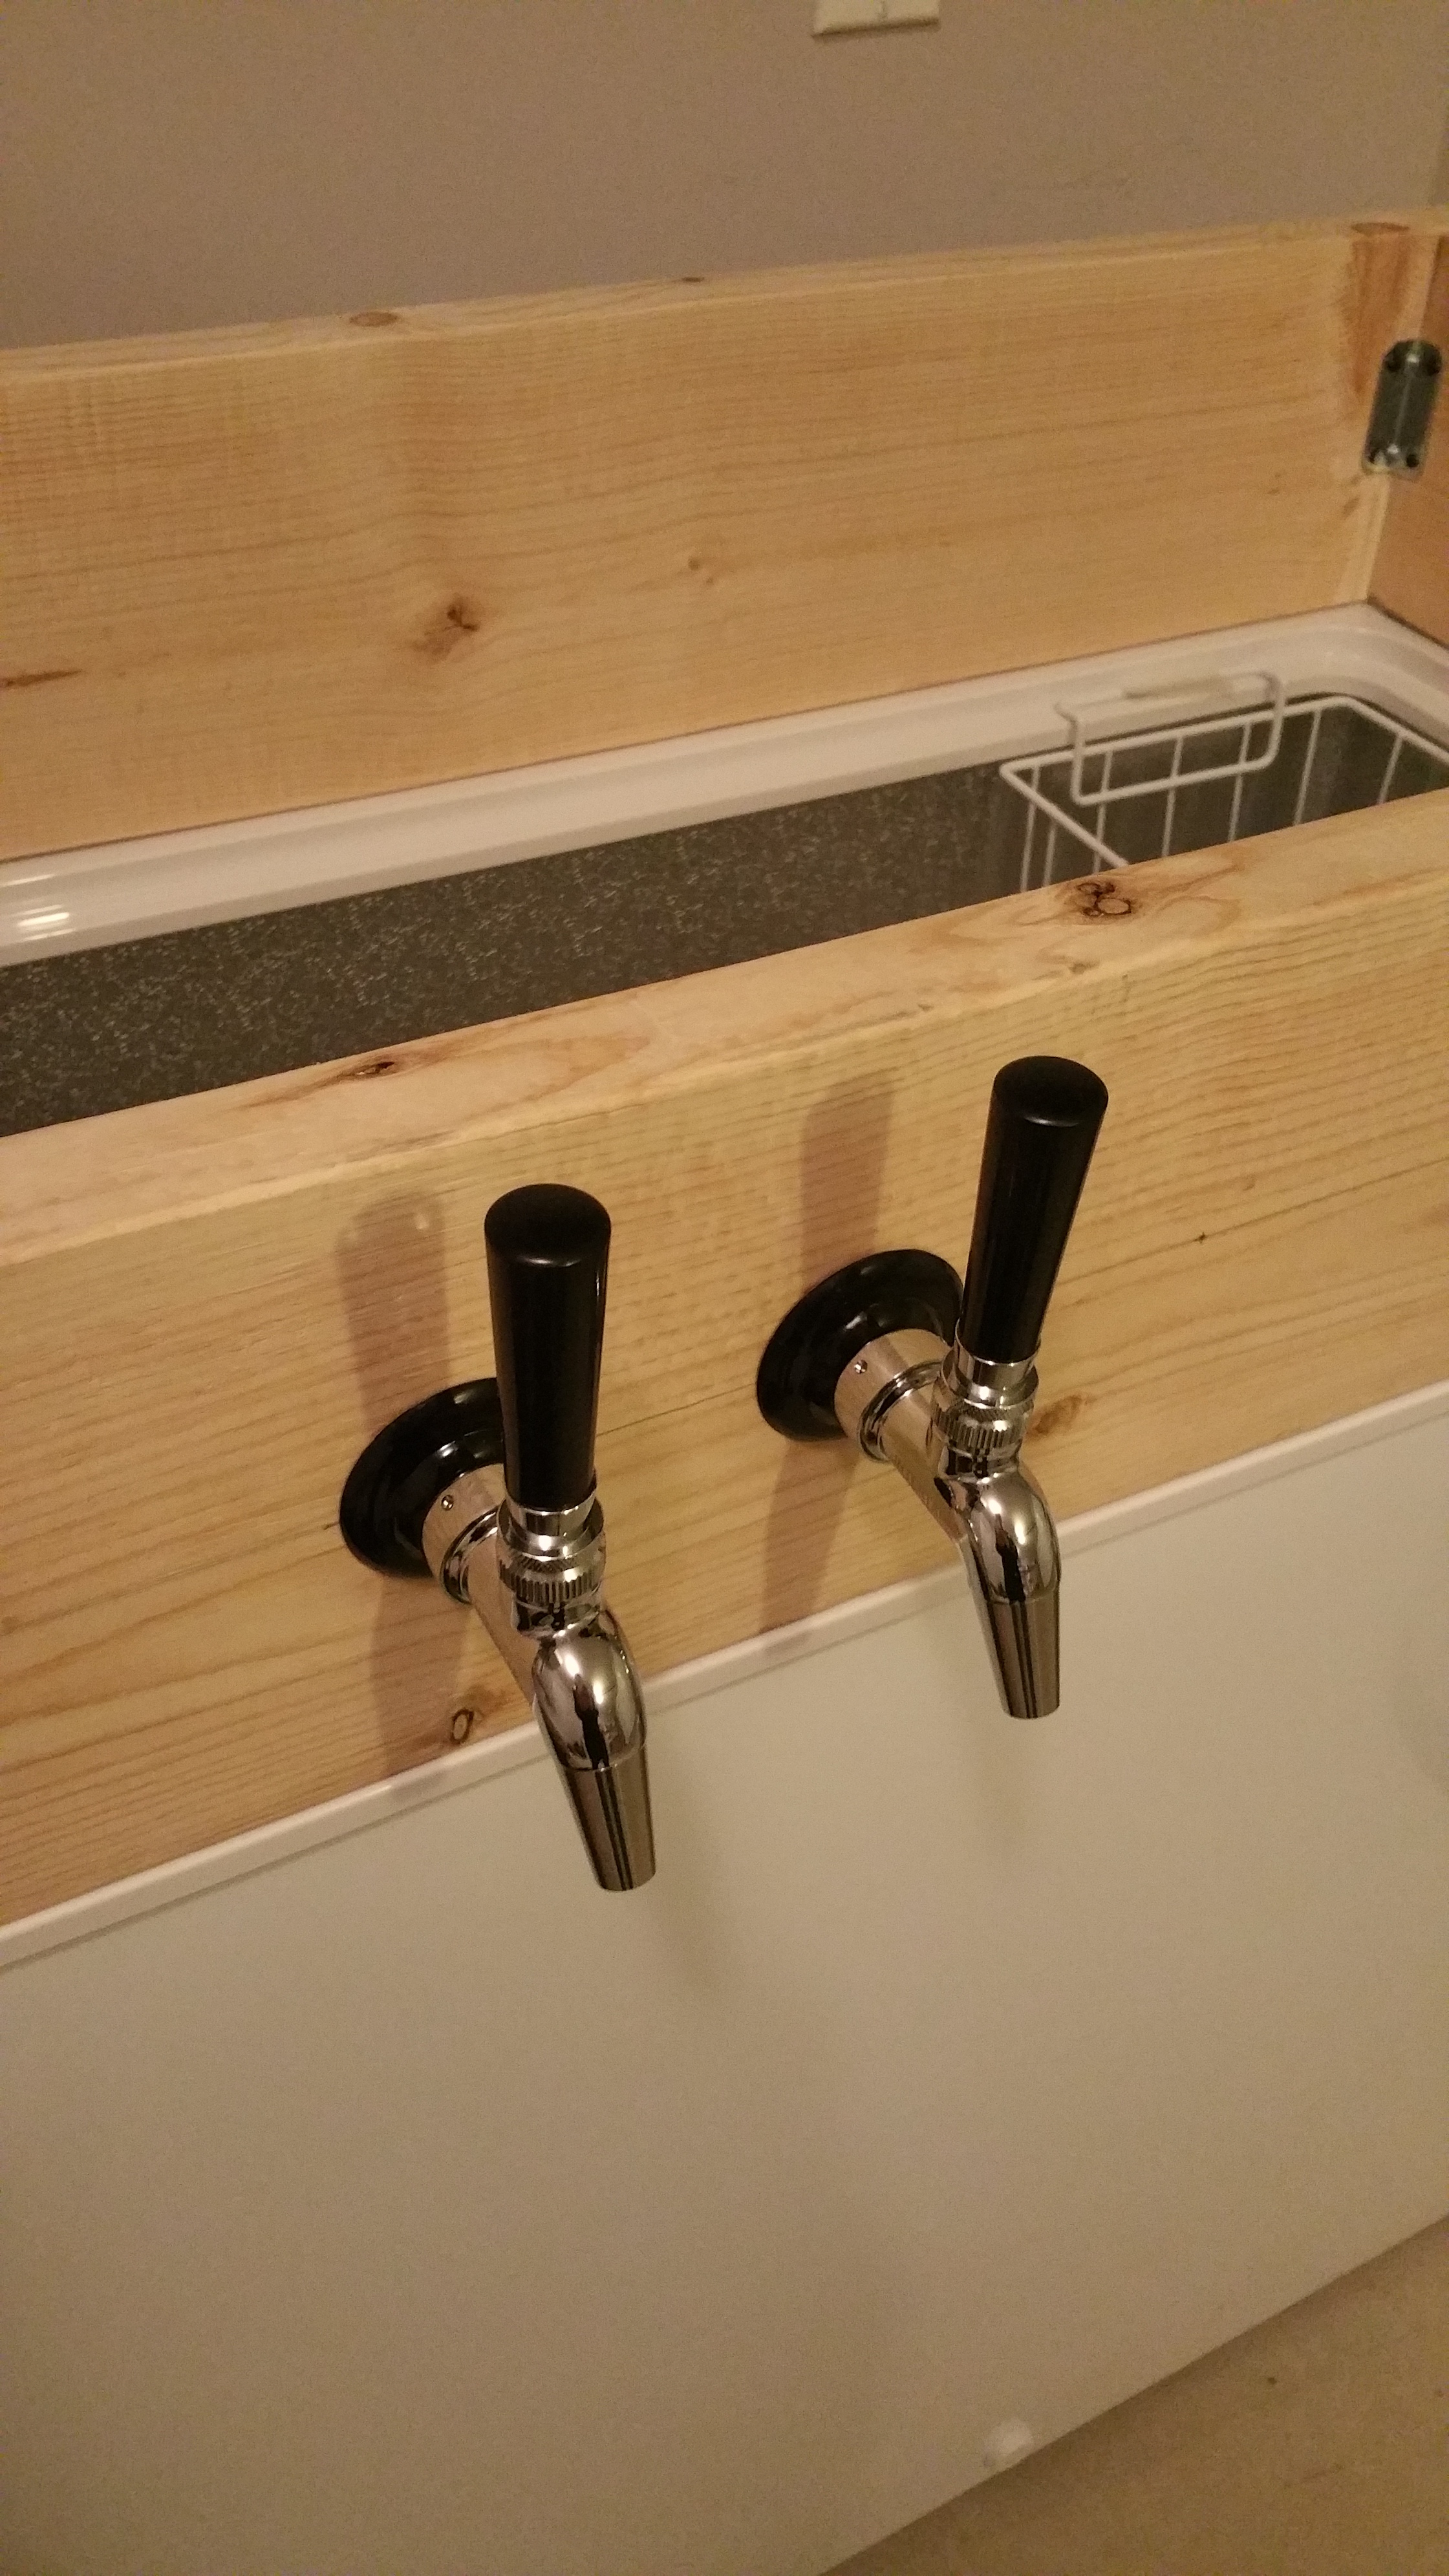
A close look at the test fitting of the two SS Intertap taps.

c0gjDQg.jpg


Test fitting the lid on top of the collar, so far so good.

at2F79u.jpg


Whats left? Lots.

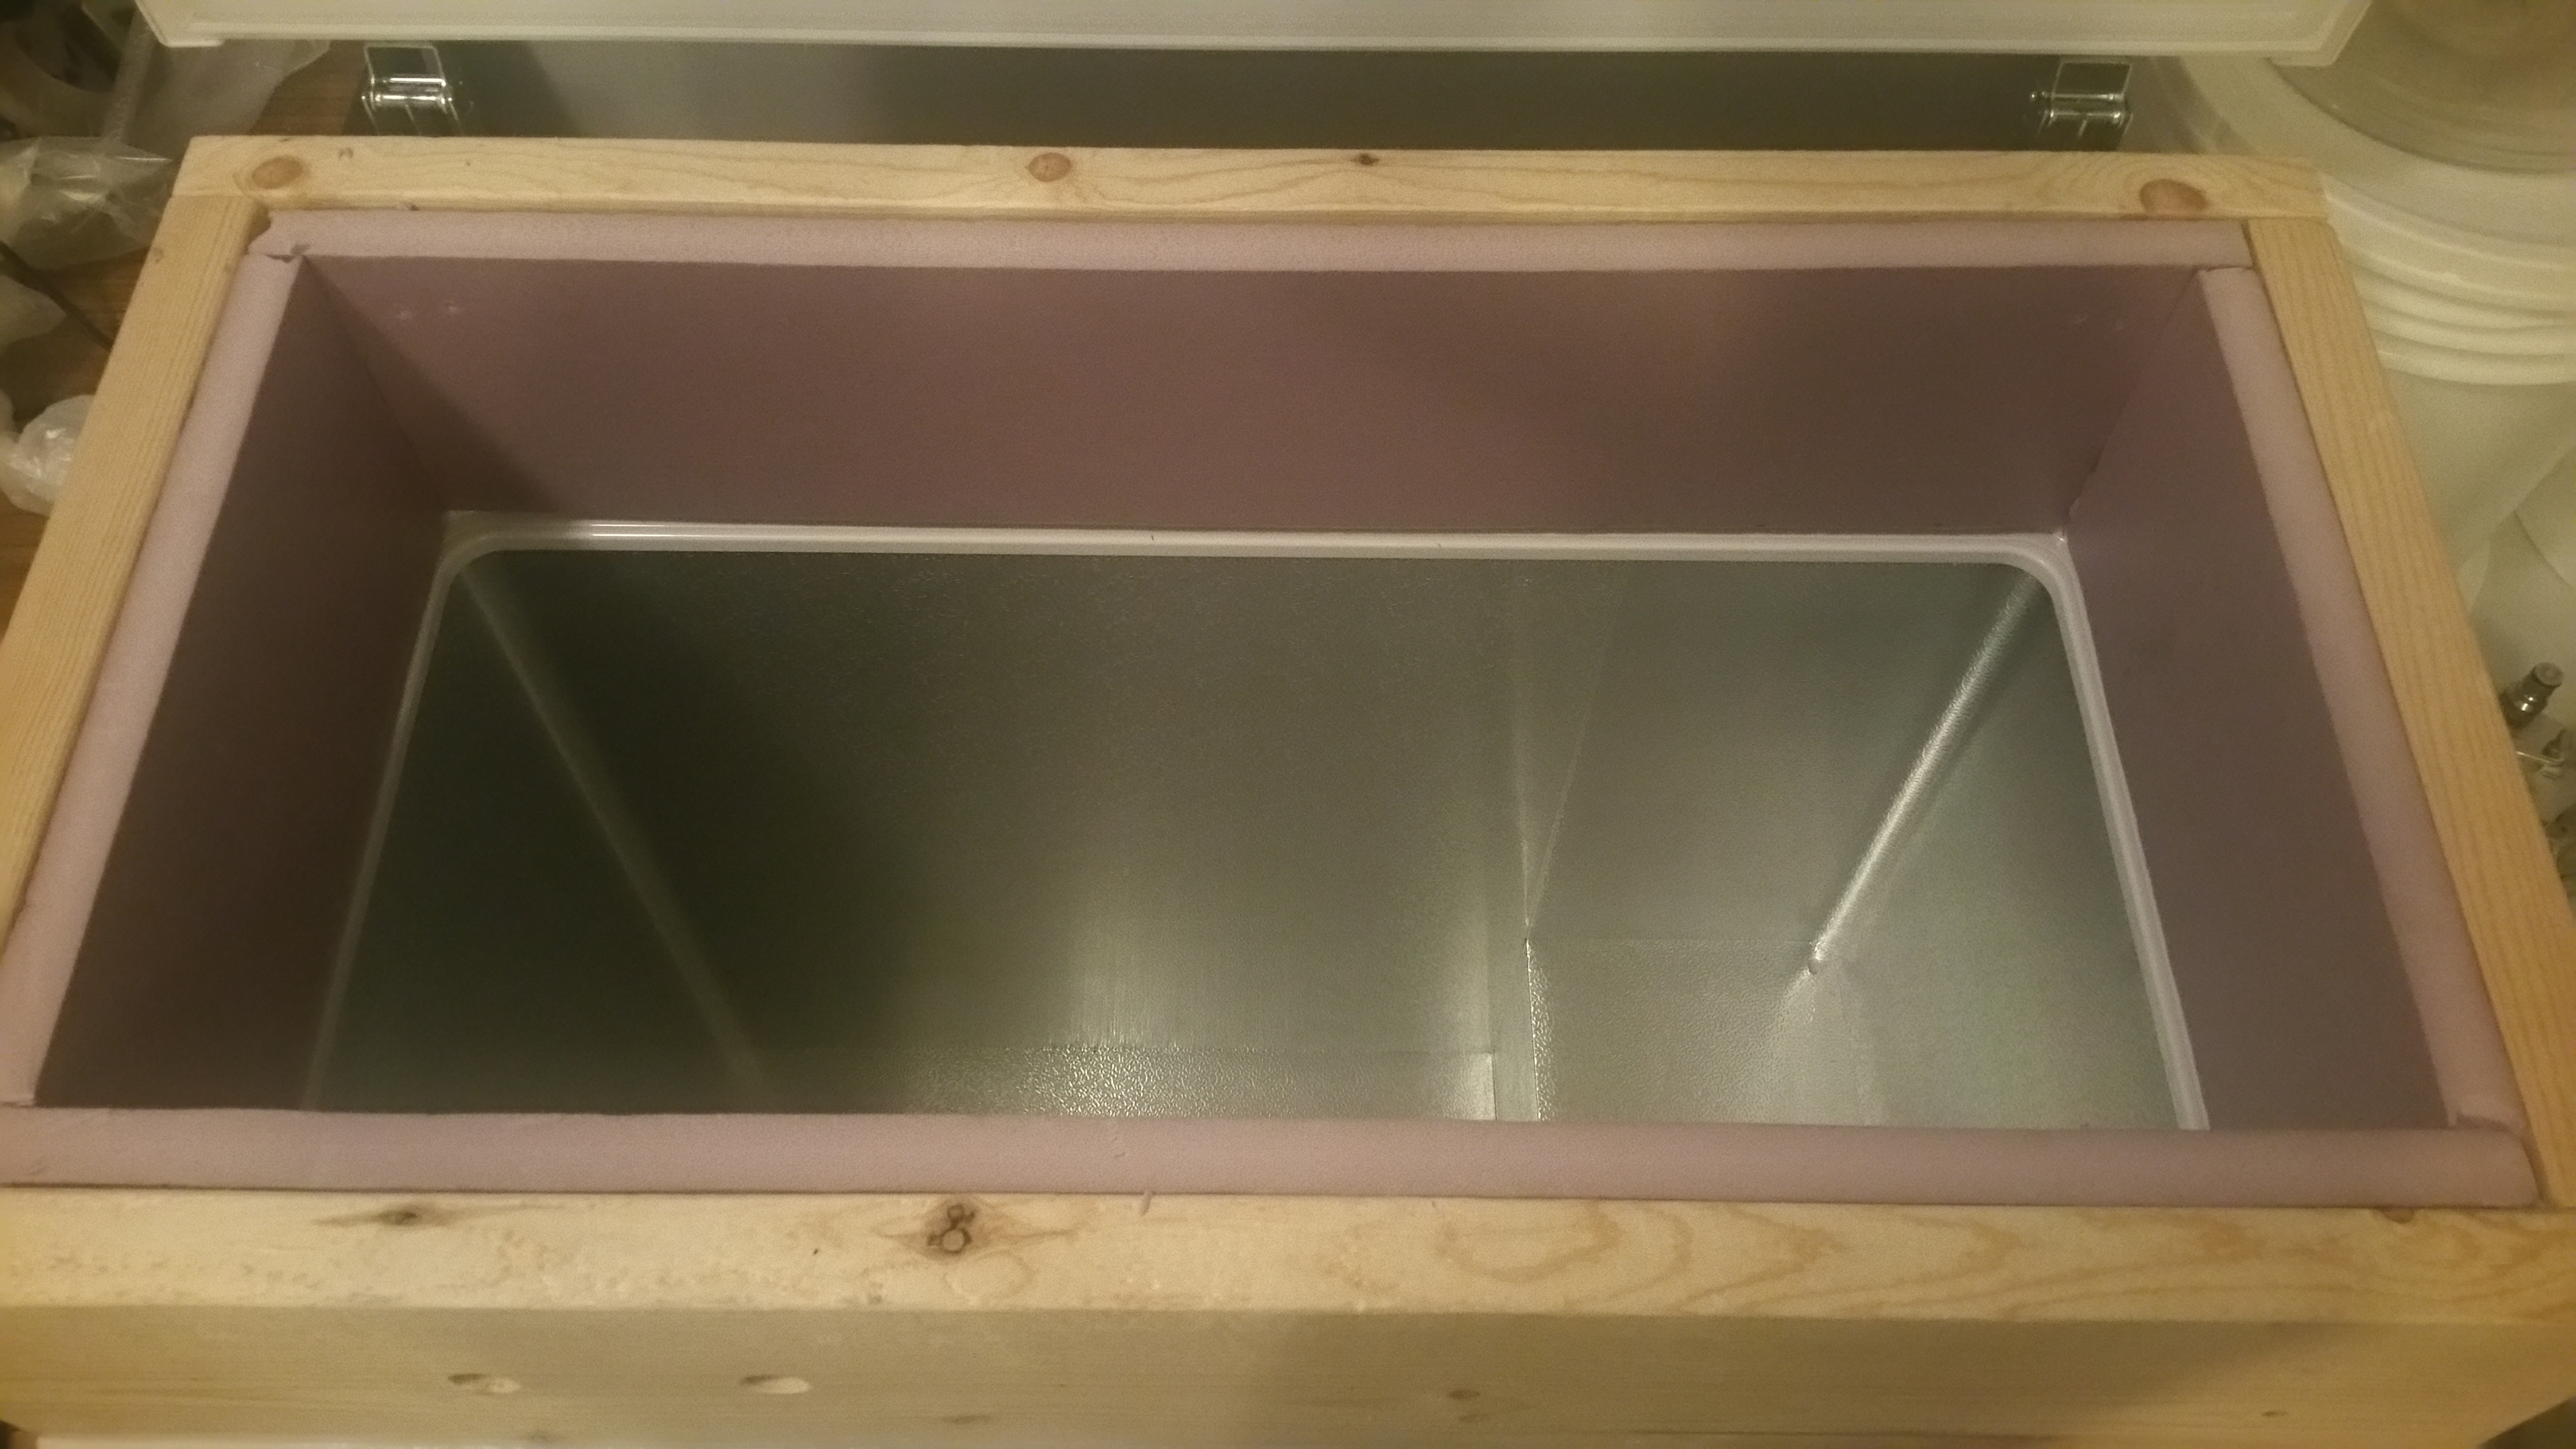
I have a big sheet of 1" think pink hard insulation that I will be adding a layer of inside the collar.
I will be using silicone to affix the collar to the freezer and attaching the hinges so that the lid opens on top.
I still need to drill a hole for the temp probe from the Inkbird temp controller.
I only have two kegs, taps, etc. but there is tons of space left to add more (in the pics you might be able to see that I have marked out the spots for the future taps)
 
Last edited:
Today I was able to get the collar siliconed to the freezer and that is currently drying. I also drilled the holes for the lid hinges and put those bolts in hand tight for now.

No pics as things basically look the same as the test fit picture for now.

Next up I will start cutting the insulation board into the correct pieces and fitting that in one the collar dries.

Not sure where I will mount the temp controller yet so I will drill the temp probe hole later.

I am happy to be taking a simple route with the collar and spending more on the kegging components. I am learning a lot about woodworking that I have not had to do for a long time. Maybe next keezer will be super fancy but I am happy with functional for now.

Looking forward to having somewhere to cold crash and more consistently carbonate my beers.

I am also still deciding if it will be possible for me to double duty this as a fermentation chamber, my temp controller is the Inkbird ITC-308 so it can handle both heat/cool but I need to decide if it will work out. Ferment only when all kegs are empty? Take some kegs out for a number days while at ferment temps until time to cold crash and put everything back in?
 
Got the insulation for the collar cut and test fit. Still need to mark a few spots to cut out for the tap shank holes and little spots for the bolts that hold the hinges on.

62eSfOG.jpg


I will drill the final few collar holes for the temp probe and power for a fan before affixing the insulation and sealing it all up.

Hopefully wont be too hard in the future to add some taps, already marked the spots on the outside of the collar so I just have to drill there and then clear out the insulation hole.

Things are coming along well so far, enjoying building things again.

I would go ahead and cut the other two holes while you are at it. Itll be easier to do them now even if you just have to plug them. Better yet just dont cut the foam holes and itll seal it good enough I think.

edit: though I guess you already siliconed it to the freezer. Im hopefully doing that tomorrow.
 
Let me offer an idea to both of you. When it came time to affix my collar to my keezer, I kept being bothered by the idea of the permanence of it.

Then I saw a solution at the home of one of my LHBC members: he used foam tape on the mouth of the keezer, set the collar on it, used a facade on the front and sides to keep it there, and voila! Removable collar.

I used pickup truck cap tape, the foam tape that cushions the cap as it sits on the sides of the pickup bed.

If the mouth of the keezer isn't perfectly smooth (mine had corners that stood proud--you can see that in the pic below), then you have to add a shim to bring the middles and sides to the same surface. I used plastic paint shields and double-sided tape to do that.

The collar is heavy enough that it presses against the foam and seals perfectly.

Here's what I'm talking about:

keezercollar.jpg

4tapkeezer.jpg

k4.jpg

I used a 2x6 for the collar, and a 1x8 for the facade. The facade extends below the mouth of the keezer on three sides, so the collar can't slide off. But it's heavy enough it's not going anywhere.

Why this way? My keezer is in my basement. The freezer unit is heavy enough without adding all the poundage of the collar and lid, so I can simply carry the collar and lid upstairs if I ever need to move it, and then the body of the keezer as well.

If I were to do it over again, I'd do it exactly the same way.

Food for thought, YMMV, keep your options open, and brew on!
 
I would go ahead and cut the other two holes while you are at it. Itll be easier to do them now even if you just have to plug them. Better yet just dont cut the foam holes and itll seal it good enough I think.

edit: though I guess you already siliconed it to the freezer. Im hopefully doing that tomorrow.

Thanks for the thought skraeling, I have already siliconed the collar to the freezer but this is a good idea.

I thought about using some nice looking SS caps over the holes but in the end I don't think it will be too tough to drill them once I get the taps some day.
 
Let me offer an idea to both of you. When it came time to affix my collar to my keezer, I kept being bothered by the idea of the permanence of it.

Then I saw a solution at the home of one of my LHBC members: he used foam tape on the mouth of the keezer, set the collar on it, used a facade on the front and sides to keep it there, and voila! Removable collar.

I used pickup truck cap tape, the foam tape that cushions the cap as it sits on the sides of the pickup bed.

Thanks for the idea, I have seen some really nice keezer builds (yours included) that use the facade and just rest on the freezer.

Since I am not building a facade this time and just have the plain dimensional lumber sitting on the freezer I went with basic silicon to keep it there. It should be pretty east to take off some day if I want to build a nicer collar or something.

This has been great fun so far, looking forward to getting back to brewing though soon!
 
Finally got out to get a few things I needed to finish up the keezer. I had to fill the CO2 tank (and my propane tank) as well as pick up a bigger wrench for the CO2 regulator and a couple more washers to finish attaching the lid.

Took a bit of wiggling and adjusting but the lid seals perfectly now against the top of the wood collar and insulation boards. Very happy with how that came out.

I got the temp controller probe hole drilled and installed that, thanks @inkbird !

ShaOv7T.jpg


I attached the regulator, gas lines and ball lock disconnects to my now full CO2 tank.

4krYCCt.jpg


Tightened down the taps and shanks through the insulation and attached the beer lines and disconnects.

nC47D96.jpg


Still have to think about how to attach this drip tray (you may notice its massive, it will eventually cover more taps as I add them later)

MbZGDVG.jpg


Tested the gas lines for leaks by using my carb cap and carbonating some water in a PET bottle while spraying my star san on the areas in question. Then I pressure tested one of my kegs overnight at 30 PSI, turned off the tank and disconnected the line. The next day the regulator was still holding at 30 and the keg held the pressure. Looks good so far.

Tossed my Eva-Dry E333 Dehumidifier down on the hump for now.

Next up is mounting the circulation fan, cleaning and sanitizing the kegs, lines and taps and getting some beer in there!
 
I struggled with how to attach my drip tray. I didn't want to drill into the side of the keezer for fear of puncturing a line and ruining it.

Another way would be to attach something to the collar/facade hanging down to support the drip tray. I just didn't want to have to create the parts (impatient sob that I am), so I looked for a way to use magnets.

The only other ways I could think of were epoxying the brackets to the keezer.

Strong enough magnets (meaning really strong) could be enough to hold brackets or some such to the side of the keezer. I ended up using magnetic paper towel holders to support the tray, and smaller magnets to hold it in place.

Not saying this is the best or only way, obviously it's not. I had the paper towel holders so it wasn't hard to do it. But it may give you a better idea.

driptray.jpg

driptraymagnet.jpg

papertowelholder.jpg
 
Back
Top