ryank25
New Member
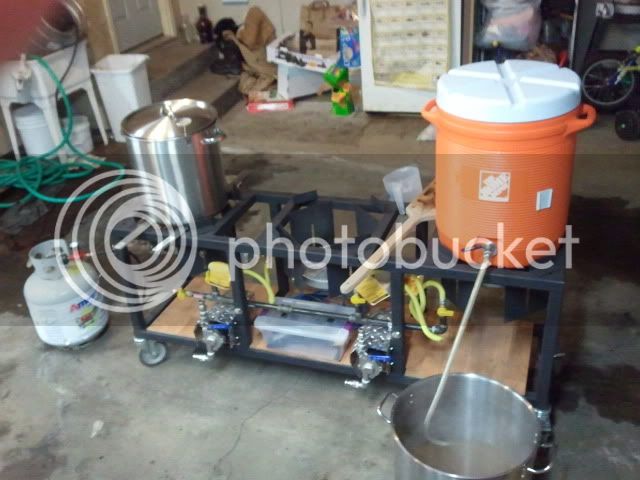
I can't wait to come over to your place and help you brew on that sucker!

Gosh all these MN people!
I am Just Past the outlet malls in Albertville. I also have a Homebrew Club in Monticello, we pull quite a few from the cities. You guys on the Midwest Forum at all?


![Craft A Brew - Safale S-04 Dry Yeast - Fermentis - English Ale Dry Yeast - For English and American Ales and Hard Apple Ciders - Ingredients for Home Brewing - Beer Making Supplies - [1 Pack]](https://m.media-amazon.com/images/I/41fVGNh6JfL._SL500_.jpg)
")

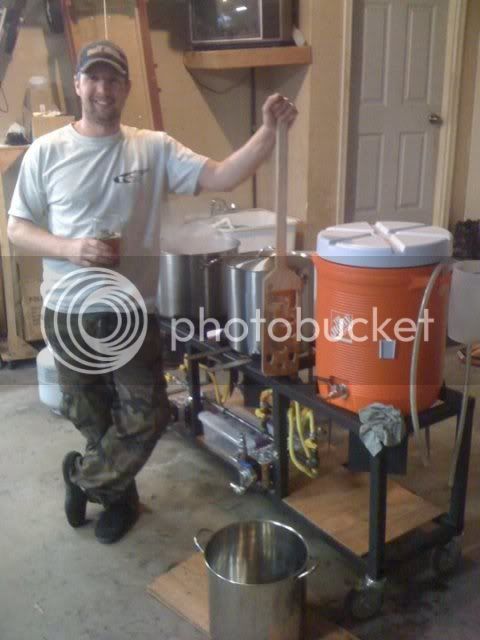
 Against my better judgement and against my wife's wishes, I started a keezer build. I am so frickin' burned out with the basement build that I needed to change gears a little. I got my hands on a new 7 cf GE freezer on CL for cheap last week, so I started the build on Sunday and also started a thread. I am soooooo sick of bottling, so the keezer has become a priority at this point. I'm building it to match the rustic decor in my bar, check it out if you get a chance. I promised my wife that I would have the rest of the basement done this spring, at which point I will begin my single tier build. Your build turned out spectacular, so I may have to steal some ideas from you. Again, awesome job!

Thanks boys!
Hop, I wish I had your woodworking skillZ! Welding is easy with a bit of practice. Paul welded most of his own stand together and hadn't done any before that.
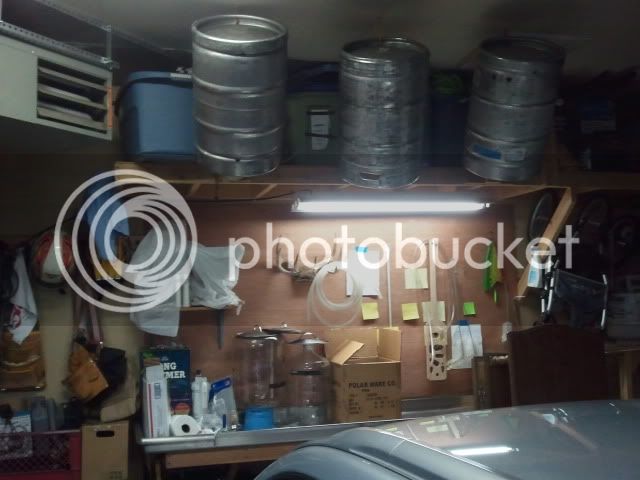
 It's gonna be my "summer project". In the meantime, I'll continue with extract brewing. BTW....Nice rack above the workbench....looks like the one I shot this year.