OP
OP
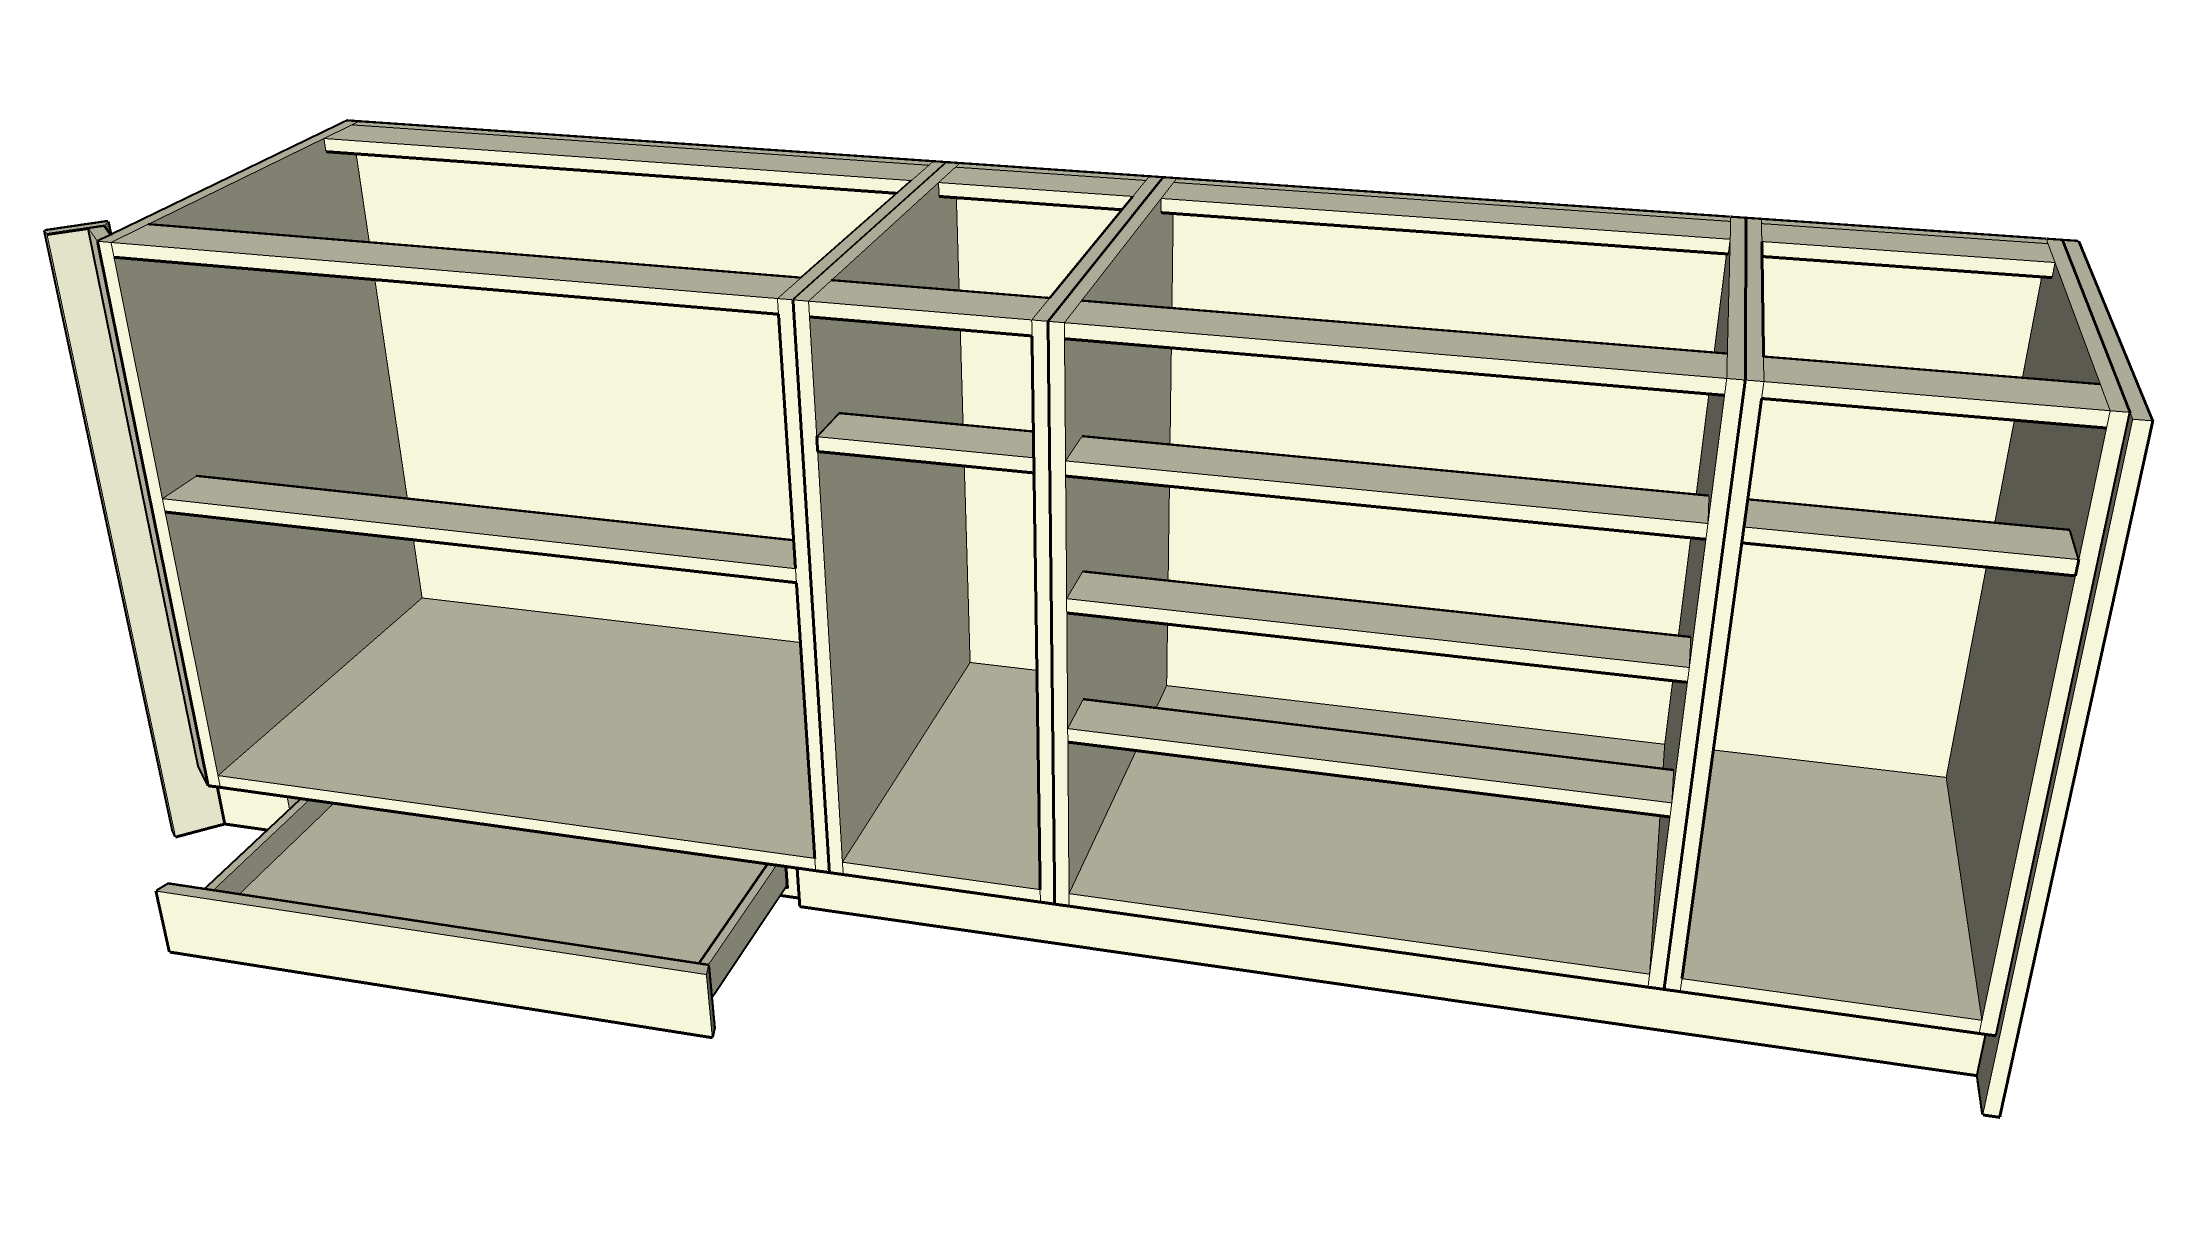
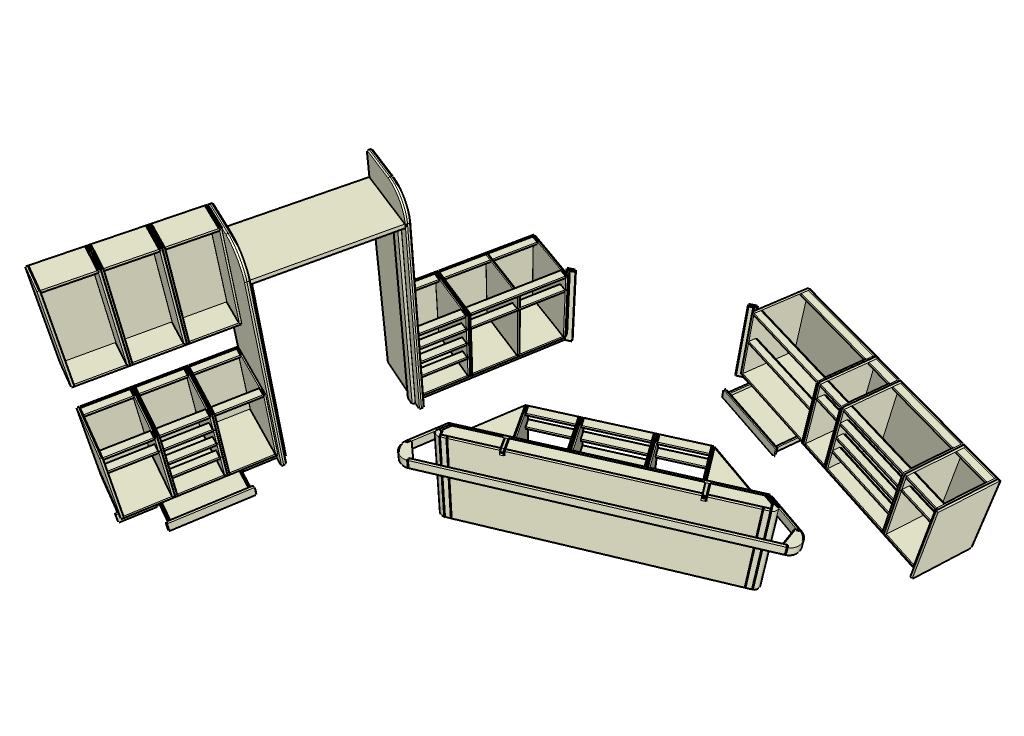
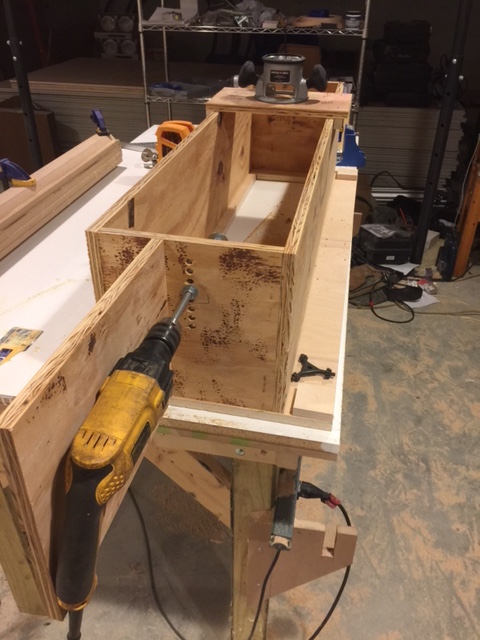
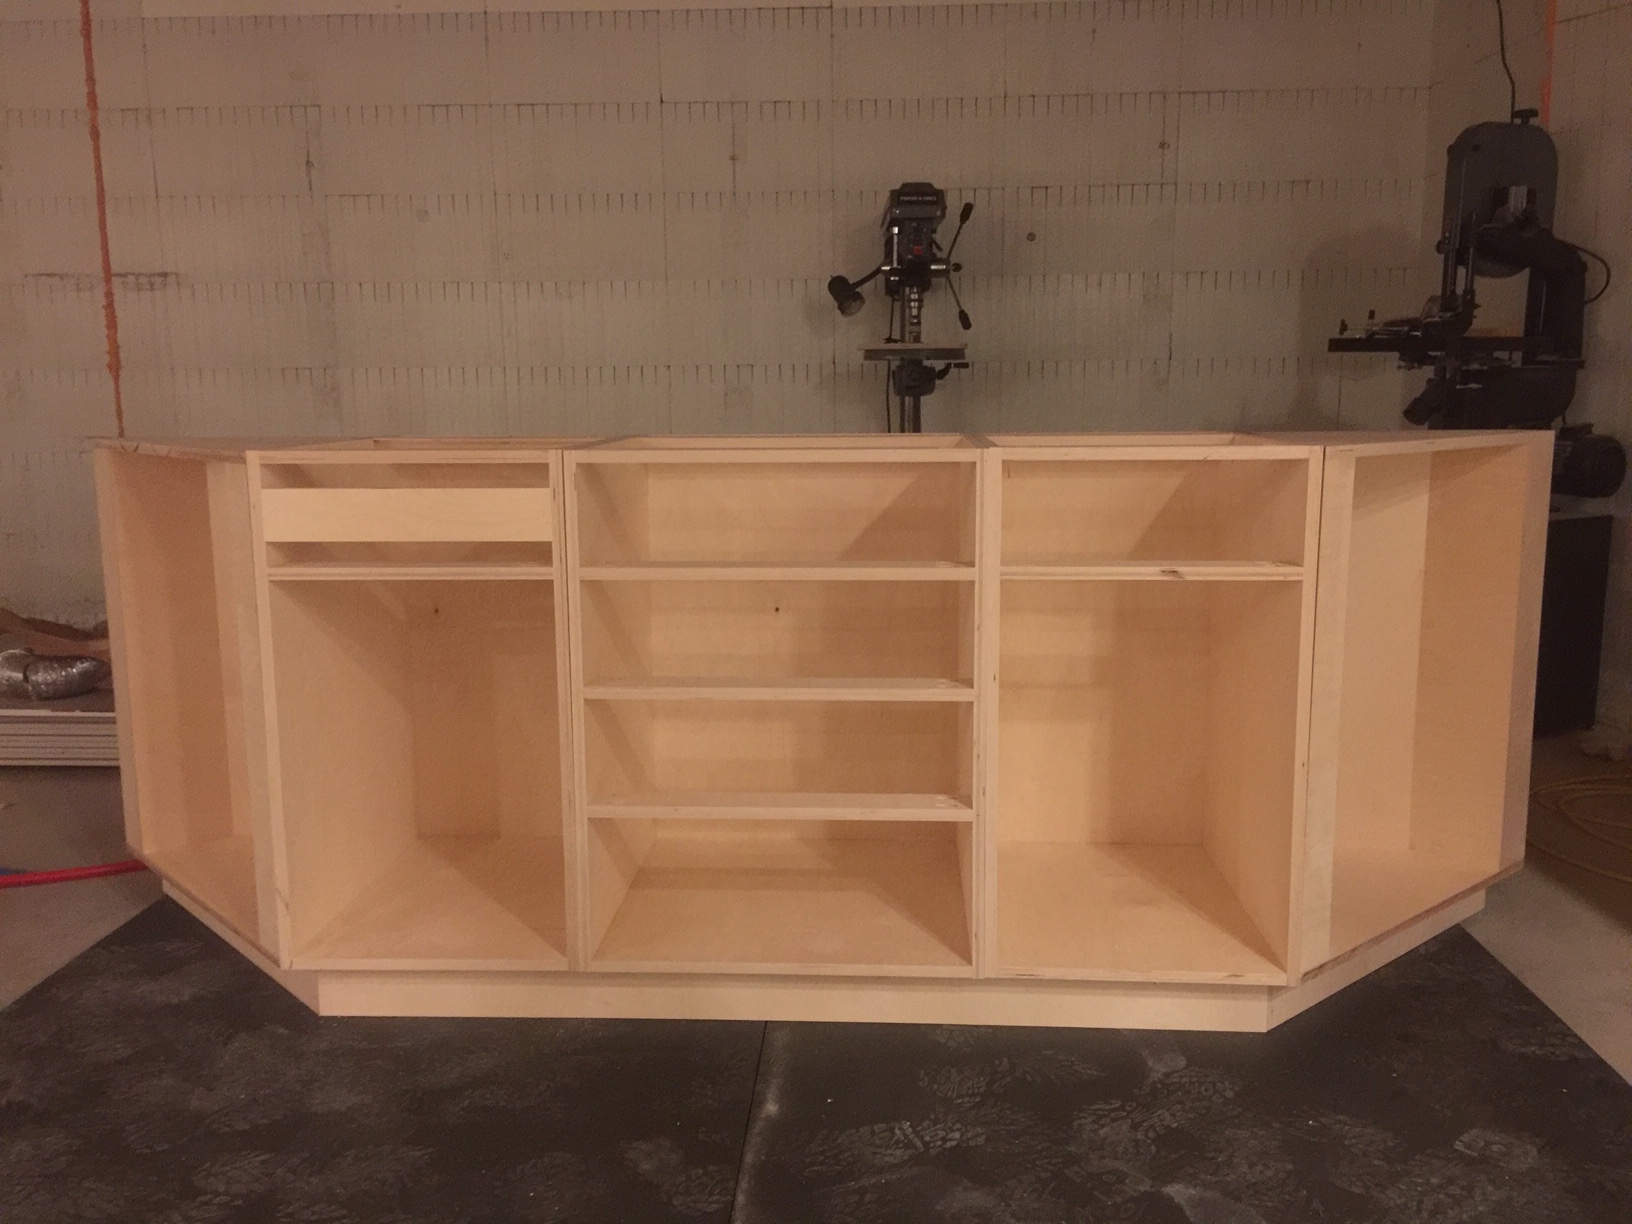
Are you using plywood for the base frame? Interesting idea to keep things square and flat, if so.
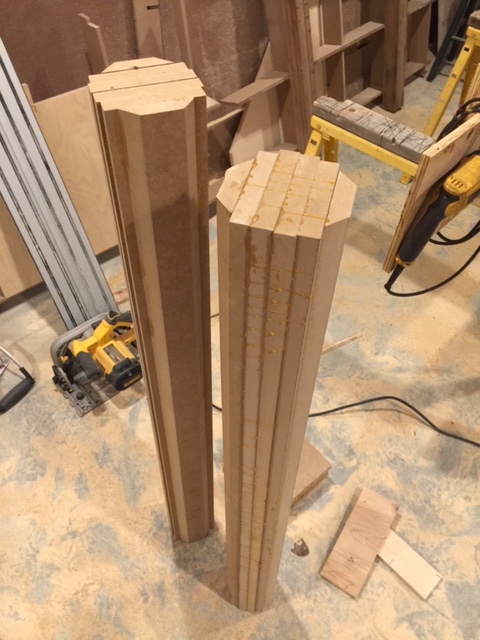
Yes, pretty much everything will be plywood with the exception of a few odds and ends. What you seen in these photos is all baltic birch ply - it has no voids and is 100% hardwood (no fillers) so it makes excellent cabinet carcasses. Any exposed parts will either be covered in cherry ply, veneer, or edgbanded. I'm doing very simple, flat doors and drawers so they will be edgbanded cherry ply as well. When it's all done, it will look like solid cherry cabinets, but they will be super strong and stable.
")


![Craft A Brew - Safale S-04 Dry Yeast - Fermentis - English Ale Dry Yeast - For English and American Ales and Hard Apple Ciders - Ingredients for Home Brewing - Beer Making Supplies - [1 Pack]](https://m.media-amazon.com/images/I/41fVGNh6JfL._SL500_.jpg)