Stc-1000+

Homebrew Talk - Beer, Wine, Mead, & Cider Brewing Discussion Forum

Help Support Homebrew Talk - Beer, Wine, Mead, & Cider Brewing Discussion Forum:

This site may earn a commission from merchant affiliate links, including eBay, Amazon, and others.
Not sure if this is of interest to you, but I made these two LUTs for the standard STC-1000 NTC while I was creating the LUTs for the Grainfather NTC:

This one is 0*C - 93*C with 3*C increments:

Code:
0.0 27340
3.0 23800
6.0 21200
9.0 18750
12.0    16600
15.0    14700
18.0    13100
21.0    11600
24.0    10400
27.0    9300.0
30.0    8300.0
33.0    7500.0
36.0    6700.0
39.0    6000.0
42.0    5450.0
45.0    4900.0
48.0    4450.0
51.0    4040.0
54.0    3660.0
57.0    3330.0
60.0    3015.0
63.0    2745.0
66.0    2505.0
69.0    2290.0
72.0    2100.0
75.0    1925.0
78.0    1770.0
81.0    1625.0
84.0    1500.0
87.0    1380.0
90.0    1280.0
93.0    1180.0

This one is 6*C to 37*C with 1*C increments:

Code:
6.0 21200
7.0 20300
8.0 19500
9.0 18750
10.0    18000
11.0    17300
12.0    16600
13.0    15900
14.0    15300
15.0    14700
16.0    14150
17.0    13600
18.0    13100
19.0    12600
20.0    12100
21.0    11600
22.0    11200
23.0    10800
24.0    10400
25.0    10000
26.0    9600.0
27.0    9300.0
28.0    9000.0
29.0    8650.0
30.0    8300.0
31.0    8050.0
32.0    7750.0
33.0    7500.0
34.0    7200.0
35.0    6950.0
36.0    6700.0
37.0    6500.0

I use the second one with my dual probe STC-1000+ on my fermenation fridge and tested it within those temps using water and a Thermopen.

Cheers,

Kal

With your themistor dialed in like that you'll get very precise control.

I had a look between 0 and 5 degrees, and the error of approximation only increased by around 0.01 deg C for 5 degree increments.

I tested a handfull of ebay B(25/85) 3435 thermistors at as close to 0 as I could get. In the same temperature water, each was with 0.1K ohm. I don't have precise enough measuring equipment to draw solid conclusions or to reference the resistance to a particular temperature. But, from the small sample size, the 5 for $5 temperature probes are excellent value for money and do an awesome job.

I began collecting data to the curves for different thermistors. So far this is what I have found. The curve needs to be as flat as possible in the temperature range of interest to provide reliable results. The 3435 probe that is readily available has a curve that seems very good for the temperature range home brewers are interested in.

The other thermistor that seems readily available has a beta(25/50) of 3950. The ebay ones do not seem to quote the (25/50) part though, but it seems to be targeted at ardunio users. The adafruit branded probe has data, but it is not in a format I can readily rip out the data to look at.

I like curves.... can you tell?:fro:

thermistor.JPG
 
Just for completeness. There is zero point changing to a "more precise" 10K thermistor if the resistance value at -40 deg C is more than the 3435. This puts a bigger "bend" in the curve as it has to cross 10K at 25 degrees. This will mean less (very slightly) precision at cold crashing and lagering temperatures.

The error is more consistent with the 3435 and can almost entirely be compensated by calibration and this calibration will be good for 0 to 30 degrees, the error rounds off to 0.1 degree for all values I checked. The calibration drifts slightly with the 3976 and Adafruit type thermistor.... Not by much, but if you are a stickler the 3435 does a sterling job and the linear model introduces very little variation across all fermenting temperatures.

I didn't look at the mashing to boil range as the curves flatten right out and a linear model would probably not give very much error.

I was looking forward to playing with the lookup table code and getting back into dabbling with programming after forgetting everything I learned at Uni. But unless there is a different thermistor that is readily available and cheap.

I am glad I looked into this as I learned a hell of a lot about thermistors and temperature measurement.
 
I have uploaded this firmware to my stc and works like a charm. Is there a way of changing the script in order to support the use of the pt-100 temperature probe?
 
I have uploaded this firmware to my stc and works like a charm. Is there a way of changing the script in order to support the use of the pt-100 temperature probe?

Short answer: No.
Long answer: Pt100 and NTC 10k are completely different types of sensors. NTC is simple to interface to the MCU with just an extra resistor to form a voltage divider. All the MCU wants is an analog input signal in the 0-5v range. If you are willing to build a little extra hardware (i think a simple OP amp and a few resistors will do), that can give the MCU the 0-5v over the temperature range you are interested in, then yes, it can be done. You obviously need to change the lookup table to match your setup as well.
 
So I guess I'm sticking to the ntc probe then :)
and another thing, where in the code can i change the string of text displayed on the stc so that instead of pr0 it displays "ale"?
In other words, is it possible to change the name of the profiles?
 
So I guess I'm sticking to the ntc probe then :)
and another thing, where in the code can i change the string of text displayed on the stc so that instead of pr0 it displays "ale"?
In other words, is it possible to change the name of the profiles?

Short answer: You can't.
Long answer: The 'Pr' part is hardcoded and 0-5 is just an index. This is to save precious code space. As the firmware pretty much fills the available code space, you'd probably need to trim out some other functionality to fit this in and even then you'd need to hard code the names in. Also, as the display is 7 segment LED and only 3 digit, you are limited in what you actually can show.
I'd suggest a piece of paper with 'Pr0 - Ale, Pr1 - Lager, etc...'.
 
Guess who's got a shiny new jacket (just in time for Summer...?)?!

img_20151118_184535-66447.jpg

the insulation makes a huge difference in holding temps...
I have my stc 1000+ units controlling three of my conicals now using a dual contract relay to have them control individual cheap DC solenoid valves at the same time they turn on my ac driven chiller pump. It really does work damn well... especially the one i used the cheap discharge hose to make my chilling jacket out of..
PS sorry for the mess... I desperately need to reorganize and clean my brew room.

IMG_20151201_145305813[1].jpg


IMG_20151024_120616208[1].jpg


IMG_20151115_184014148[1].jpg
 
the insulation makes a huge difference in holding temps...
I have my stc 1000+ units controlling three of my conicals now using a dual contract relay to have them control individual cheap DC solenoid valves at the same time they turn on my ac driven chiller pump. It really does work damn well... especially the one i used the cheap discharge hose to make my chilling jacket out of..
PS sorry for the mess... I desperately need to reorganize and clean my brew room.

That's an "F"-ing awesome setup! I plan on upgrading to conicals once we move into a bigger place midway through next year, at the moment my fermentation chamber is in our dining room, next to the kegerator, so physically don't have the space right now, but you my friend are living the dream :)
 
I got a message back. Seemed to be a miss pick. A refund has been offered so false alarm sorry :)
 
I got a message back. Seemed to be a miss pick. A refund has been offered so false alarm sorry :)

Cool. I don't know how AliExpress works, but I thought they didn't 'stock' items for the sellers, just relayed sales. But that might not be the case then.
Göad you got it sorted.
 
I got a message back. Seemed to be a miss pick. A refund has been offered so false alarm sorry :)


It's not a false alarm if it happened to others too.

Glad you got a refund.

Fingers crossed the 2 I recently ordered turn out to be genuine.
 
Hi,

I have built an electrical BIAB /RIMS system with a 70 Liter kettle and a brewcontroller with your STC1000+ firmware.
We have been brewing 200 Liters now and i'm trully amazed how great the OVBS firmware is working. I't really amazing and i want to thank you for the great work on this!!

I was wondering if it is possible to use more than 4 Hop Alarms, since we only use 2 or 3 maish steps but 5 or 6 hops. Is it possible to have some less maisch steps and more hop alarms? Thanks

Keep up the great work!

Jan

Cool, glad you like it :)

Possible, yes, but I don't think I will add it.
There will always be someone wanting more of this and less of that, no matter what the number is.
Personally, I think 4 is too much :) 60 min and 5 min hop additions are enough in my book.
 
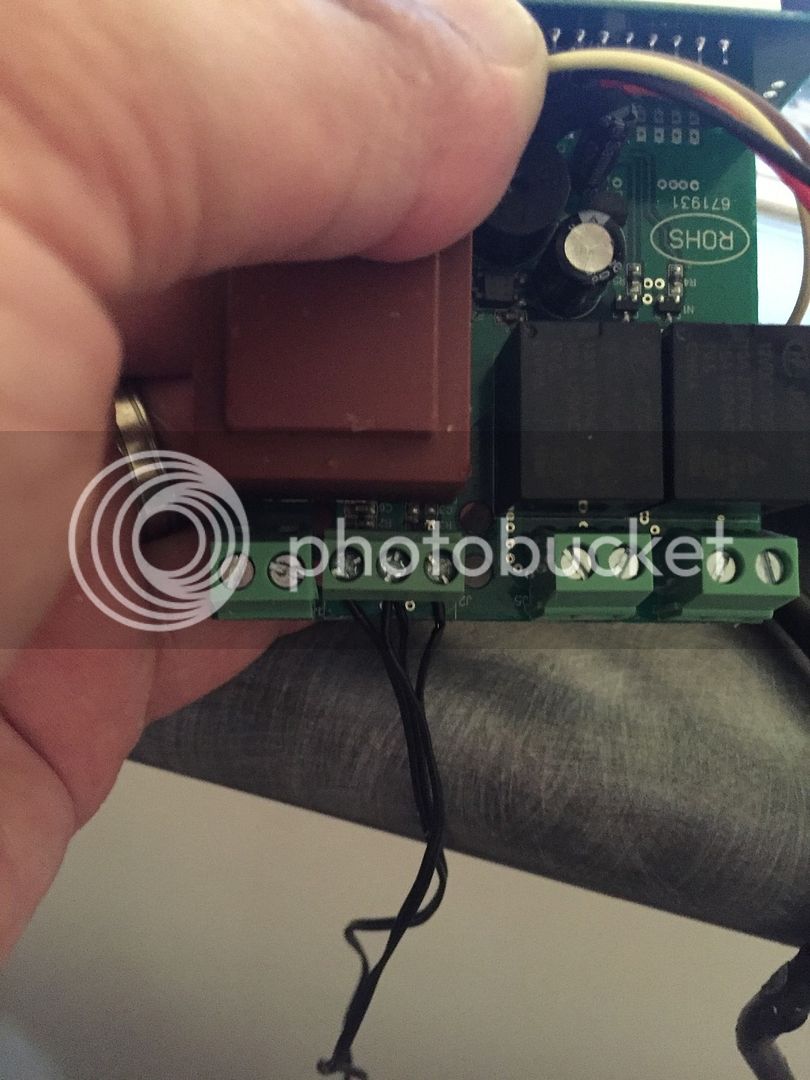
I got 2 more flashable A400_P versions of the STC 1000 today.


It is very possible to solder in the flea sized SMD resistors and get a 3 pole terminal soldered in.
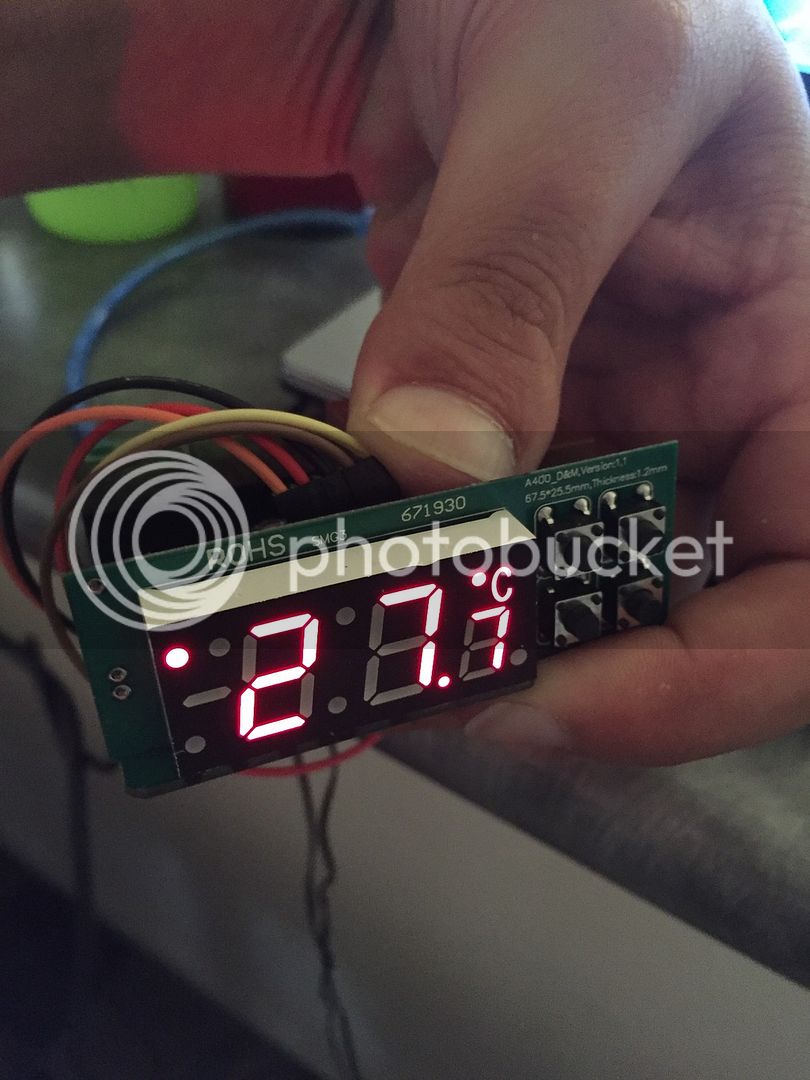
055BAFF9-7C19-4A65-B826-1B1569E5B536_zpsxfqb6ist.jpg


Here is the temp of probe 1.
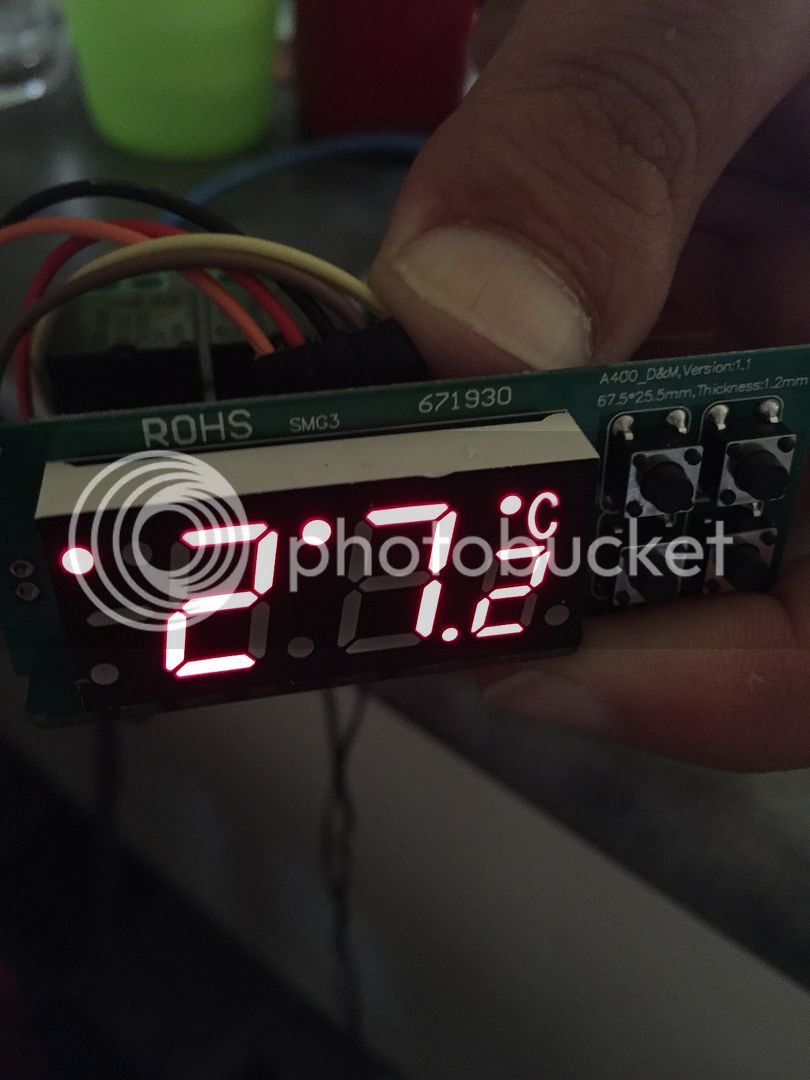
E7FDECE2-6521-41B1-A915-406A92DEFE86_zpsffsjm3wy.jpg


Here is the temp for probe 2.
E354D532-C24F-4508-9813-374E6BAEFE37_zpsw8egpgpo.jpg


A much cleaner way to do it.
 
Well, that is probably a genuine UNO. If you check eBay, you can find very cheap clones, but you'll have to wait for the slow boat.
 
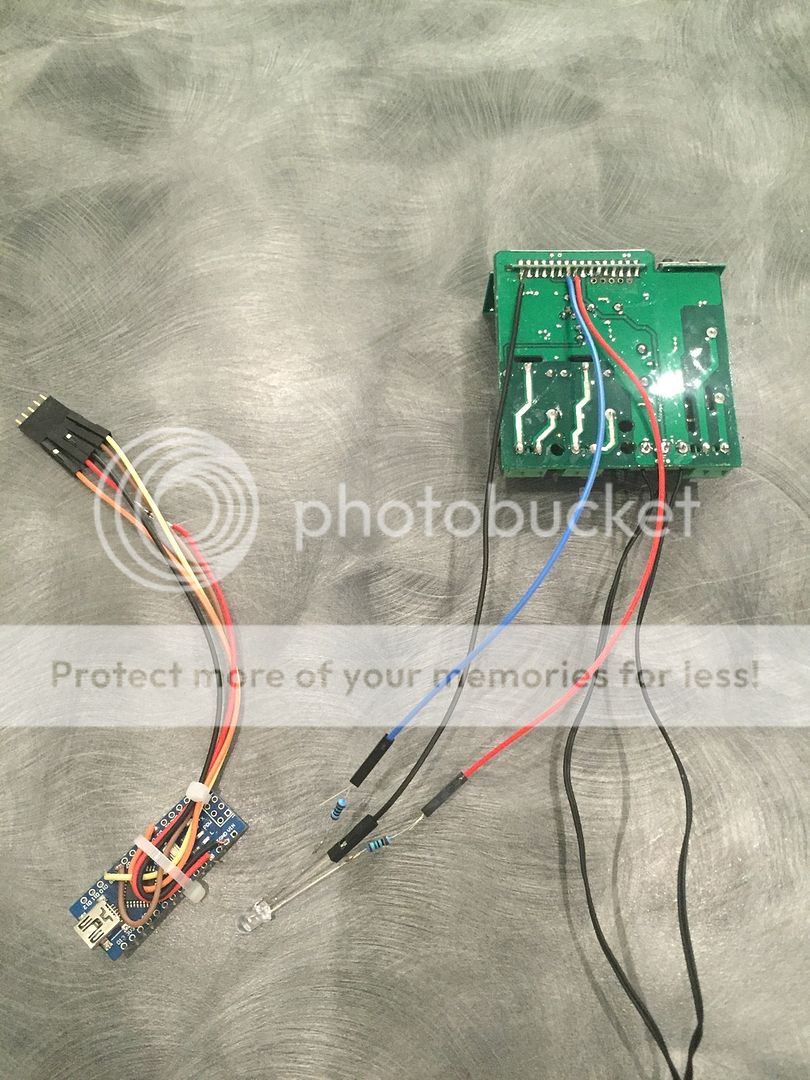
I got the LED attached to this new unit and wired up the Arduino Nano. I used a couple of zip ties for tension relief on the wires. I also put a Bat85 Schottky diode on the 5V wire.

A little tidy up with some heat shrink and it will be ready to go in the box.

0C4B2CB3-8480-412E-8C46-68724A9A9AE0_zps0cly75tv.jpg
 
Hi,

I have built an electrical BIAB /RIMS system with a 70 Liter kettle and a brewcontroller with your STC1000+ firmware.
We have been brewing 200 Liters now and i'm trully amazed how great the OVBS firmware is working. I't really amazing and i want to thank you for the great work on this!!

I was wondering if it is possible to use more than 4 Hop Alarms, since we only use 2 or 3 maish steps but 5 or 6 hops. Is it possible to have some less maisch steps and more hop alarms? Thanks

Keep up the great work!

Jan

@januzz - I would love to see some pictures of your STC BIAB electrical panel buildup. I've been considering trying to build something as well but haven't found much for inspiration
 
Well, that is probably a genuine UNO. If you check eBay, you can find very cheap clones, but you'll have to wait for the slow boat.

@alphaomega - Hi Mats, I'm having trouble uploading the most recent picprog.ino to my Uno clone (CH340). I open the file and place it into a new folder, then hit upload and I get a series of errors - mainly 'get_device_id' was not declared in this scope. I am not connected to the STC, just connected directly to the Uno. Do you have any suggestions for this problem? I recall the first controller I flashed went flawless. I am using Windows 10 and the driver for the Uno seems to be installed properly as I'm able to send the 'Blink' function. Perhaps I'm selecting the wrong picprog.ino file? I'm just looking to flash the basic Vanilla version. Thank you in advance and Merry Christmas!
 
Hi @CNevay !
I saw your github issue, and that you already solved this (by downgrading your Arduino IDE). I don't know if it is an issue with the code with newer arduino IDE's or what. If that is the case, then I guess more ppl will eventually stumble on the same issue and I'll have to get it fixed :)
Anyway, glad you got it working and a holly, jolly, ho, ho, ho to you!
 
Hey there,
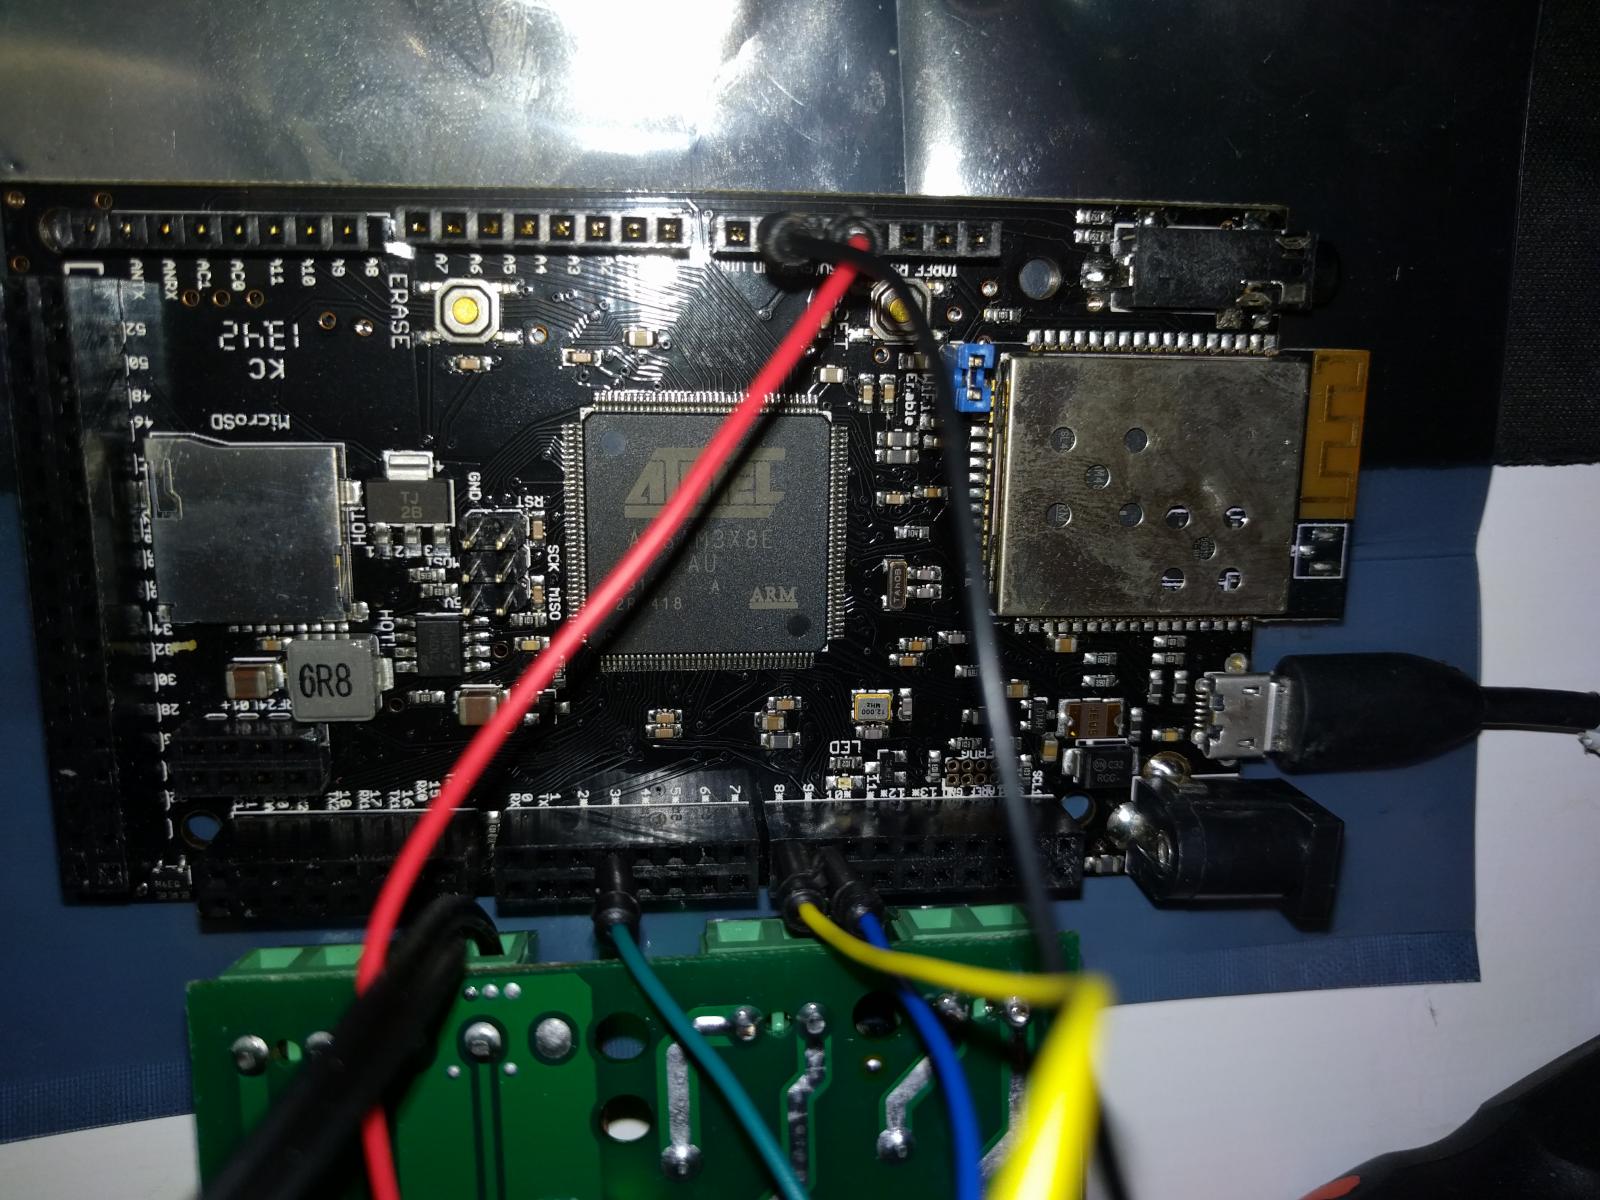
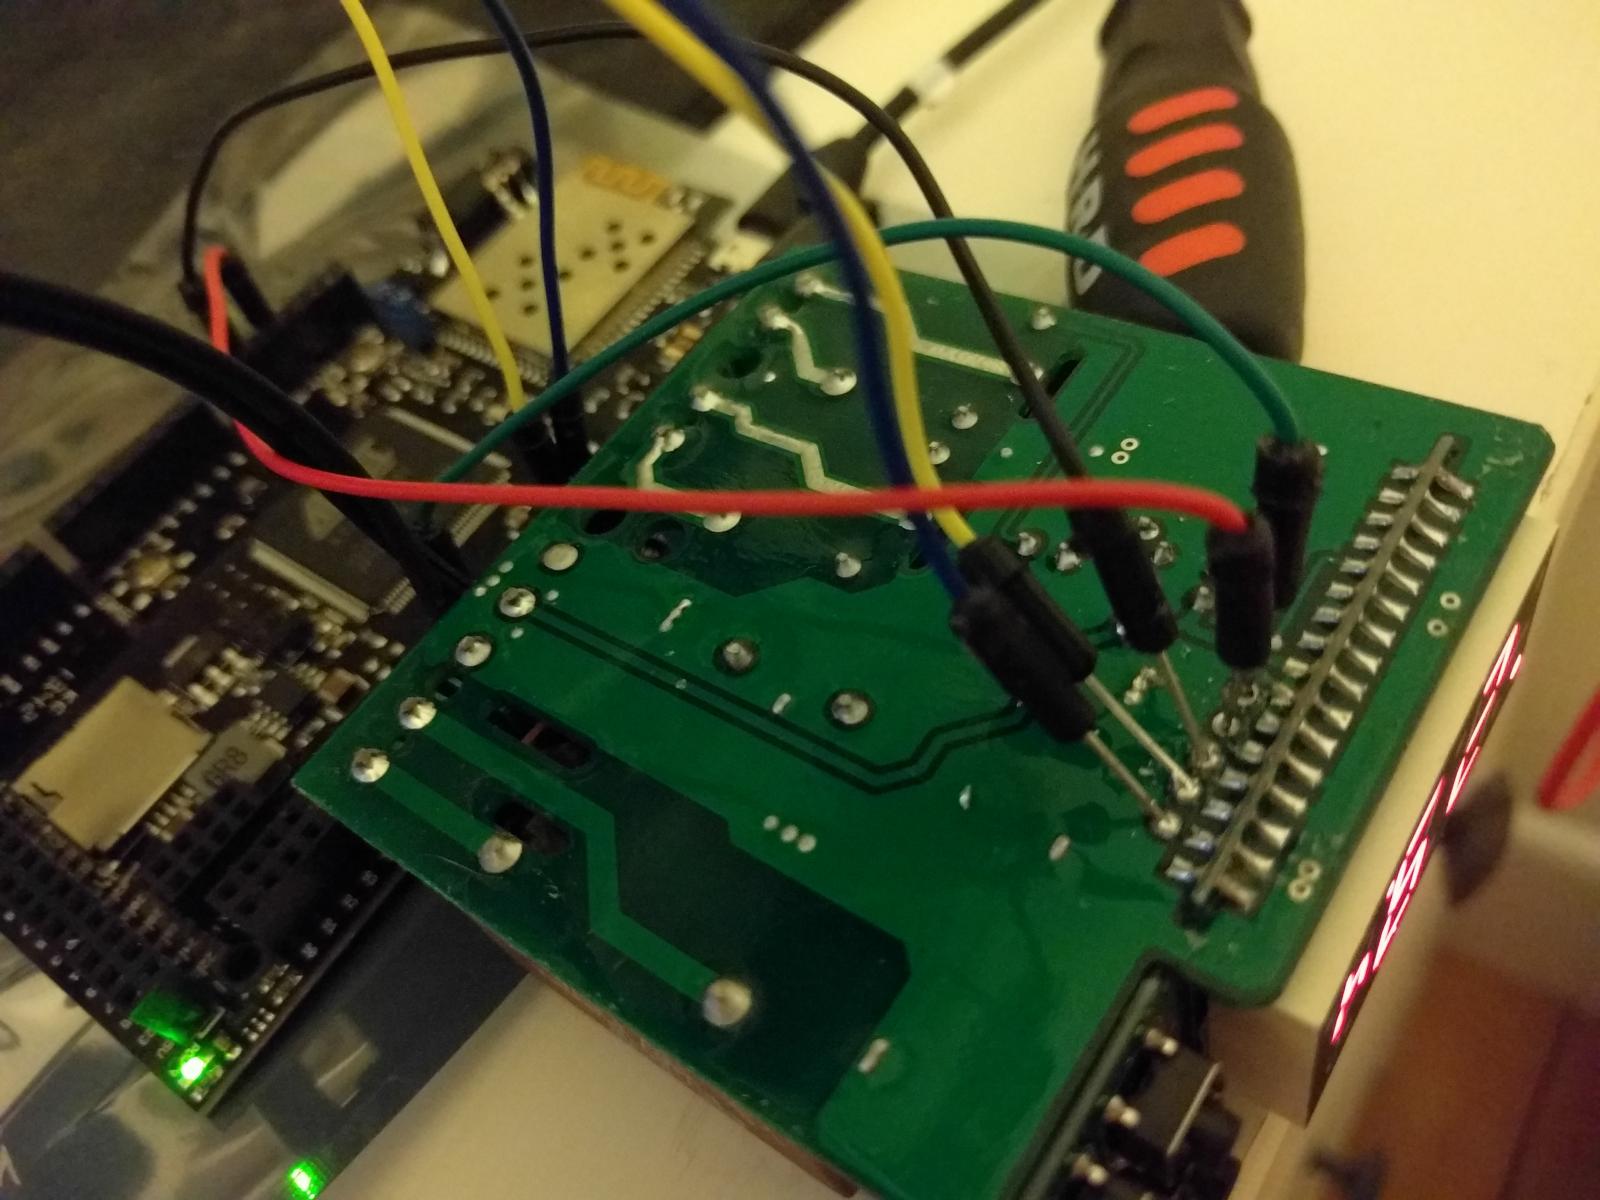
I have received the correct unit from U-control but keep getting the message "STC-1000 NOT detected. Check wiring." I have double checked the wiring multiple times and checked connections with a multimeter. The only thing im doing different than the instructions is using a Digix http://digistump.com/products/50 instead of an arduino. Could this be the issue?
Secondly when I run the software I had to increase the delay below before the initial message would appear. I have also played with the baud rates to no avail :(

Serial.begin(115200);

delay(2000);

Serial.println("STC-1000+ firmware sketch.");
Serial.println("Copyright 2014 Mats Staffansson");
Serial.println("");
Serial.println("Send 'd' to check for STC-1000");

Any advice would be much appreciated

IMG_20151231_000059.jpg


IMG_20151230_235735.jpg
 
@hidara: That looks like a sweet board, I haven't heard of it before (but tbh it is a bit pricey).
You are treading into the unknown, so I think you are on your own here. These are ARM boards I take it, so there is no guarantee that it will work, but being Arduino compatible does increase the the odds.
Just looking at the page you linked to, it clearly states that these are 3.3v devices. You should not connect 5v on the I/O pins! From your pics it seems you have. Unfortunately this could mean you may have damaged your board. Specifically, you may have damaged some of the I/O pins.
You could try and feed the STC with 3.3v instead of 5v. I have done so and it works fine. This could allow you to use this board. You might need to use other pins if they have been damaged. You may also want to add a resistor of a couple hundred ohms between the stc and dev board on the ICSPDAT line (and possibly ICSPCLK) to protect the dev board.
Good luck!
 
Also check for continuity of the soldered DuPont connectors. I've actually had issues in the past doing it this way. sometimes the solder will stick but you won't actually have a solid connection
 
I'm trying to upload the sketch to my newly purchased Arduino UNO and I receive this error message, I'm new to this...so hopefully its just something I'm doing wrong, nothing major...but hoping someone can help me out:

picprog:190: error: 'get_device_id' was not declared in this scope

get_device_id(&magic, &ver, &deviceid);

^

exit status 1
'get_device_id' was not declared in this scope

I set the comport that the drivers displayed.
it was already set to the arduino UNO.

and that was all I did...I saved the vanilla sketch, exactly as it was. I tried to keep it simple...

thanks in advance for any help.

UPDATED:
see my post below. I am leaving this one up, as it shows the entire error message in case anyone else searches for that down the road.
 
Last edited:
Hi @CNevay !
I saw your github issue, and that you already solved this (by downgrading your Arduino IDE). I don't know if it is an issue with the code with newer arduino IDE's or what. If that is the case, then I guess more ppl will eventually stumble on the same issue and I'll have to get it fixed :)
Anyway, glad you got it working and a holly, jolly, ho, ho, ho to you!

Hi, I am also getting the same message, can I please know which version of the IDE worked to properly load the sketch file to the UNO?

thanks,

UPDATE:
OK, I was able to download and install the 1.6.4 version of the IDE software, and it was able to load it without any errors. just in case anyone else has the same issues as me.

http://arduino.cc/download.php?f=/arduino-1.6.4-windows.zip
http://arduino.cc/download.php?f=/arduino-1.6.4-windows.exe
 
Last edited:
Ok, so it seems something has changed with newer versions of the Arduino IDE.
Thanks for reporting this. I'll look into it as soon as I have the chance.
Glad you got it working by downgrading though.
Cheers!
 
Mats, awesome work. Got mine installed and tested.
I am running the single probe setup. I noticed with this firmware the unit accepts a single temperature set point for both heating and cooling and a single hysteresis value? Is that right?

I am concerned temp. undershoots will start the heater which will result in an overshoot and so on .... What do you recommed?

In your documentation you recommend using a long heating delay to avoid oscillation, which is probably appropriate if fermentation is in progress and generating heat, but will not help much once complete?

I would much rather have two sets of SP and hy parameters, one for heating and one for cooling. Is there any reason you'd advice against this? (Beyond lack of EEPROM and flash memory)

Thanks
 
@p_p : Use a low wattage heater. A long heating delay is also good.
Once fermentation is complete, it doesn't matter as much. Doesn't matter if it takes an hour or a day to reach diacetyl rest temp. You just don't want to heat more than you have to.
This has been up for discussion before in this thread. Complexity is one thing, buy mainly, if you are trying to maintain a temperature, why would it be ok to differ more in one direction than the other? Use a larger hysteresis setting then, and set another temperature instead.
 
@hidara: That looks like a sweet board, I haven't heard of it before (but tbh it is a bit pricey).
You are treading into the unknown, so I think you are on your own here. These are ARM boards I take it, so there is no guarantee that it will work, but being Arduino compatible does increase the the odds.
Just looking at the page you linked to, it clearly states that these are 3.3v devices. You should not connect 5v on the I/O pins! From your pics it seems you have. Unfortunately this could mean you may have damaged your board. Specifically, you may have damaged some of the I/O pins.
You could try and feed the STC with 3.3v instead of 5v. I have done so and it works fine. This could allow you to use this board. You might need to use other pins if they have been damaged. You may also want to add a resistor of a couple hundred ohms between the stc and dev board on the ICSPDAT line (and possibly ICSPCLK) to protect the dev board.
Good luck!

Cheers for the advice. I've attached a photoresistor to the pins and I seem to be getting the same readings on these pins as I am getting on other pins. So finger's crossed that the board is fine!
Ive tried other pins and I seem to be getting the same result. I'm going to borrow a normal arduino from a mate but was just curious about the Vdd1 vdd2 vdd3 and the pins they were assigned. What are they?
Cheers
D
 
I took inspiration from another sketch that implemented a PIC programmer uing an arduino, but ended up rewriting pretty much all of it. That sketch used three digital pins to provide power for the target for programming (you need several pins to provide the needed current). I ended up just using the the 5v pin, as it makes wiring it easier (just point-to-point), but kept the ability use these pins to provide target power as well, if it for some reason should be needed.
 

Latest posts

Back
Top