Sparge arm

Homebrew Talk - Beer, Wine, Mead, & Cider Brewing Discussion Forum

Help Support Homebrew Talk - Beer, Wine, Mead, & Cider Brewing Discussion Forum:

This site may earn a commission from merchant affiliate links, including eBay, Amazon, and others.

fins2rit

Well-Known Member
Joined
Apr 10, 2007
Messages
74
Reaction score
0
Location
Poughquag, New York
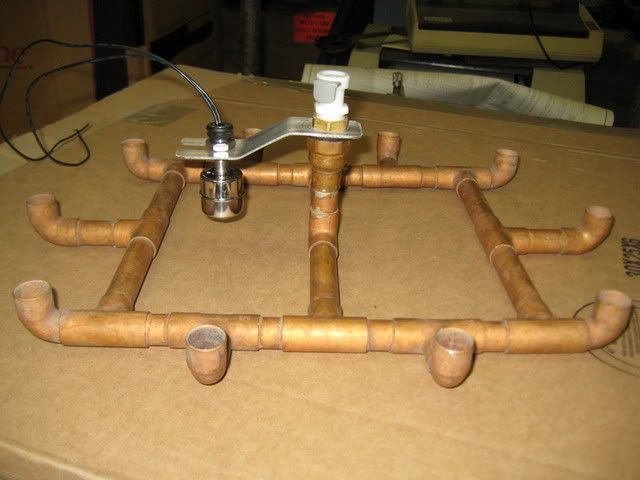
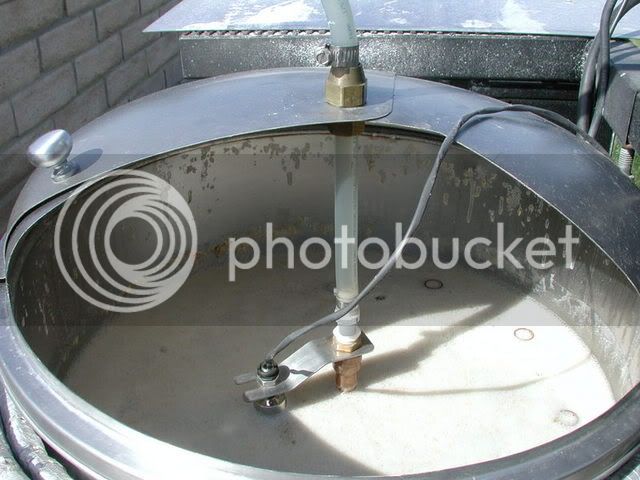
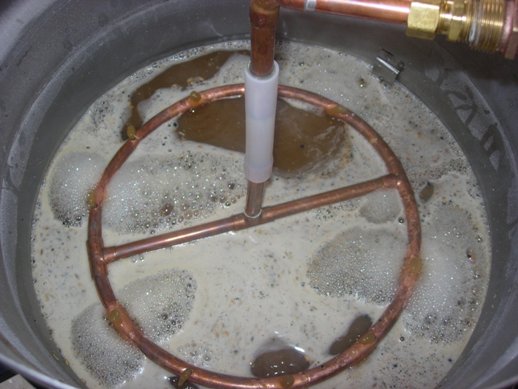
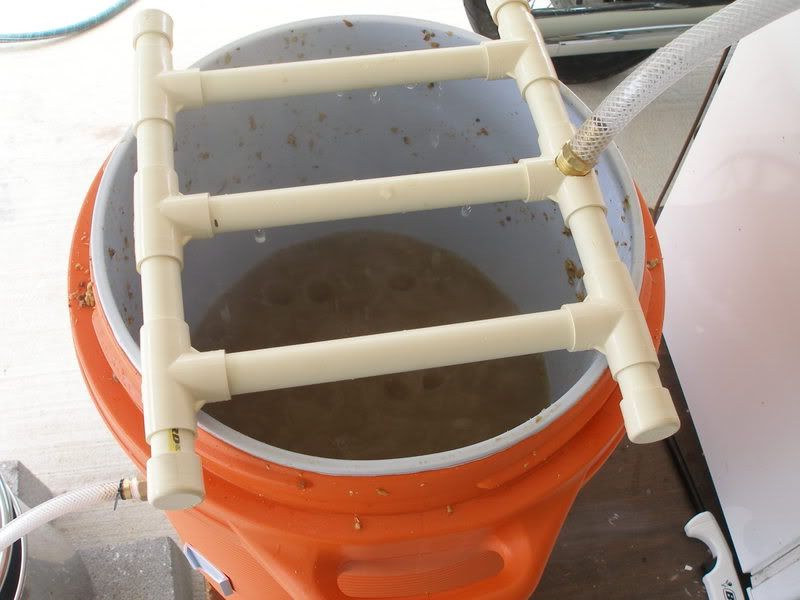
Ok I am putting my All grain system together and I am purchasing a false bottom for northern brewer and was wondering should I just buy the sparge arm or build my own. I have some cpvc pipe and was thinking of saving the $40 and build it myself. Does it have to rotate? I was just going to drill a bunch of small holes in it and see how it goes. what do ya think?
 
I wouldn't bother buying one. I have one but that's because it came as part of the kit I got for Christmas. The key is to not let the sparge water burrow a hole in the grain. A plate sitting on top of the grain supposedly works fine or a tube with holes drilled in lying on the grains as well.
 
I bought a Phil's sparge arm about 15 years ago. It has served be faithfully for all that time, and still works as well as the day I bought it. If it ever does die, I'll get another one because I know I couldn't make anything that works as well.

-a.
 
When I fly sparged I just used a cheapy $2 sprinkler from home depot attached to a piece of wood to hold it over the top. Worked like a charm. Spinning sparge arms do work, but you're really just overpaying for a gizmo that's fun to watch.
looney.gif
 
I built a sparge arm and to me it was a PITA but it worked. Now I just batch sparge and I like it because its easy and I still make pretty good beer. I think that the cpvc with holes in it will work good just make sure that they are small and there are many of them. Like bassburner says you don't want to burrow a hole in the grain when you sparge. MMMMMM beer!!!!!
 
I built mine out of copper and attached a float switch to it so the sparge level automatically adjusts to my runoff rate.

IMG_0174.jpg


DSCN3097.jpg
 
Lots of people (myself included) don't bother with a sparge arm at first, because we try batch sparging instead of fly. In general, it's easier, although most believe it cuts a few points off your efficiency (there are lots of factors at work, though). So, don't let the lack of a sparge arm hold you back, you can always do your first batch as a batch sparge and see how you like that.
 
Denny's Evil Concoctions said:
Hell, if you do a slow enough sparge, you don't even need a sparge arm, especialr 10g brews. There so much grain bed that the water doesn;t really furrow down far enough to matter.
You have a good point there. A10 gal batch has several inches of grain bed.

That is a great set up monster very cool!!!
 
I read somewhere that the SABCO systems just use a coiled piece of .5' silicone tubing. The idea is that it coils on top of the mash, and the tip sinks slightly below water level....not aeration and gentle entry. Anyway, just a thought.

For mine, I built a copper ring with holes. I also put QD's on it..so easy on and easy off. Nice if you ever need to get into the mash to stir. It's fully described here -> http://onebeer.net/beergadgets.shtml#Recirculation Arm

recirc.jpg
 
I'm a cheap homebrewer (aren't we all). From the beginning I used an aluminum pie pan with a bunch of holes poked in it. I run a tube for the sparge water to the pie pan and control the flow with a valve. The pie pan is very effective in distributing the water over the grain bed without making any holes. I have used this for a long time and have had nothing but success.
 
I made one out of CPVC and it works great with about 2" of water over the bed. Here's a pic:


:cross:
 
thanks guys for all your advise I am going to batch Sparge for the first couple and than make my sparge arm.. Nice setup Monster float switch very creative
 

Latest posts

Back
Top