twst1up
Well-Known Member
why is silver solder preferred over regular plumbing solder as noted in the OP?

What has been the best/cheapest method for making holes for 1/2 NPT couplers and 1.5" TC?
I plan to use a 7/8 hole saw for the coupler but can't find a good size for the TC.
Parts for the keg tools:
1/2" coupler> McMaster 45605K725 & 4335T65
1.5 TC> McMaster 45605K711 & 4335T64


![Craft A Brew - Safale S-04 Dry Yeast - Fermentis - English Ale Dry Yeast - For English and American Ales and Hard Apple Ciders - Ingredients for Home Brewing - Beer Making Supplies - [1 Pack]](https://m.media-amazon.com/images/I/41fVGNh6JfL._SL500_.jpg)


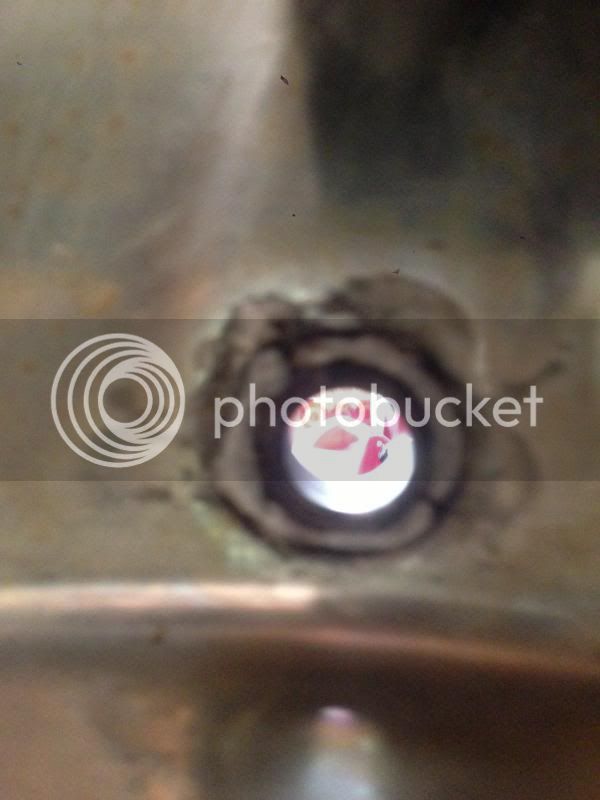
I gave my keg tool a few turns too many and oversized the hole for a 1/4" coupling.
Has anyone noticed any difference in difficulty in soldering the various alloys of stainless? (18/8 vs 316, etc.)
Ruby fluid is also a good flux fairly cheap also , muriatic acid will work . As much as some of you pay for flux and silver solder . Prob have it tig welded .
How big is the hole? The large OD flat gasket might be the ticket if you're using an oring now.
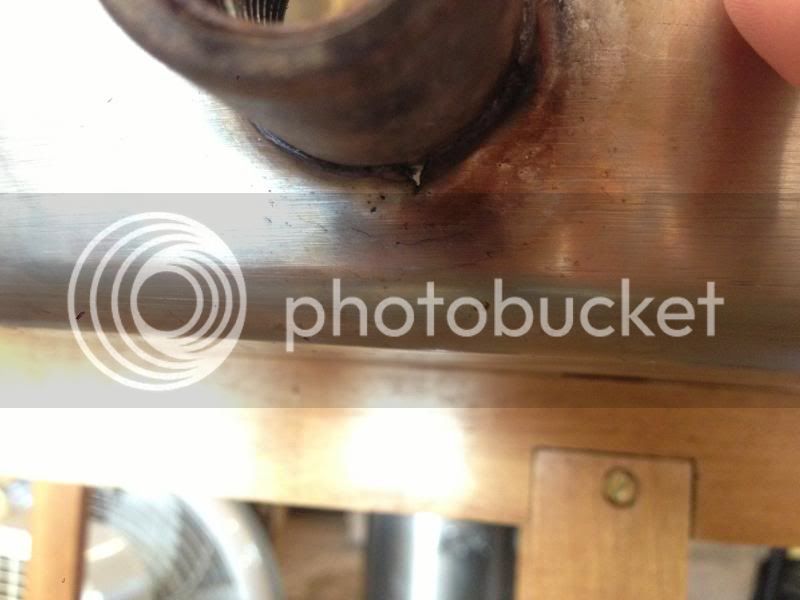
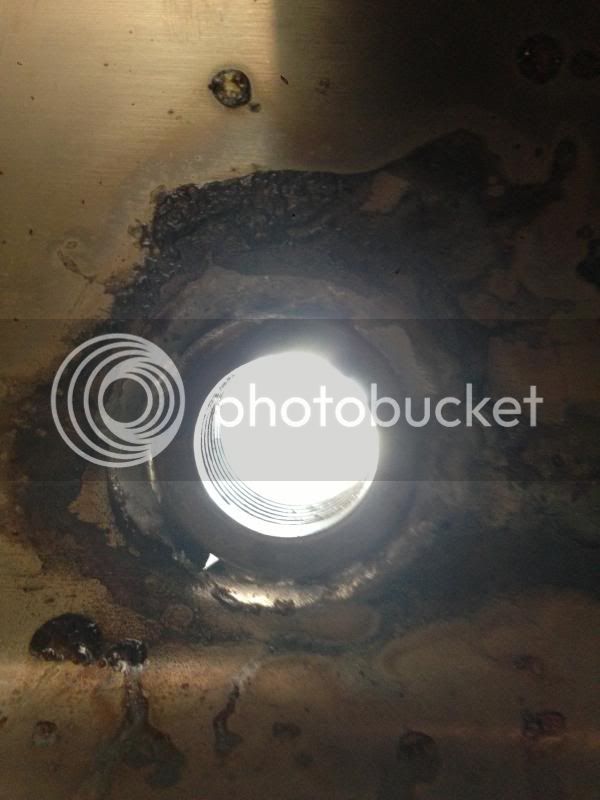
Quick questions... I have been trying to solder my stainless pots but I am having an issue with the pot splitting. I have been using a punch, now at 7/8" and using a dimpler to grow it to 1" but it has been causing the pipe to split rather than just grow. After the pot split, sometimes in a few areas I still tried to solder everything... the hole soldered well, but where there are splits, the solder drips out rather than filling the holes... so I have two questions...
How do i fill the gaps where the solder initially bled through? I can likely re flux it, then just let the solder bead drip through it by melting it above the hole and hoping it stop, drys and sticks to the openings... other than that I am at a loss... use a soldering iron?
How can I grow the holes such that it doesn't split?! Should I warm the pot up before I try to use the expander? should I use a drill so there is a constant force? Should I get an even larger punch, say 15/16"?
Might a slightly larger receiving die not create such a sharp bend at the dimple and be less prone to cracking?
Some of the other dimples posted here seem more gradual and not as abrupt. As if the outer part against the pot is slightly larger diameter,
Also, I think the metal in the pot is simply too thin or brittle to work properly...
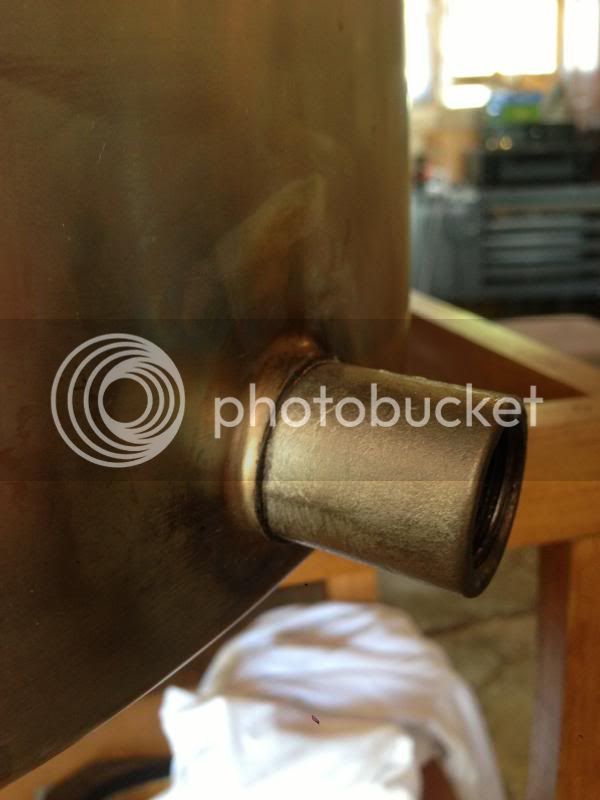
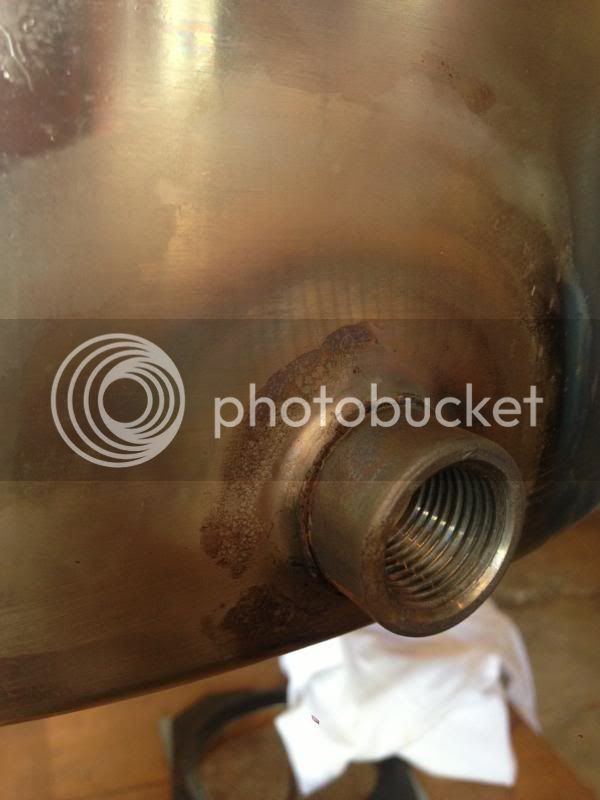
I am new to this and was using way too much flux. I have watched some videos now and have been using much less, and heating the kettle more before applying heat to the coupler, which is resulting in much less discoloration. Also, in the pictures I hadn't cleaned the joints yet.How big of a hole did you start with? I started with a 7/8" hole and it worked perfect.
What kind of heat source are you using? I didn't get that much discoloration of the stainless or burning of the flux around the joint.
Nope, even when I do my 'water input' holes for the top of the kettle it splits. Tried with the larger coupler, and it still happened... but at the same time I was having another issue with my pulling bolt and nut... so I'm trying again once replaced tonight.From your description, you have had several problem pulls. Are the tears always nearest to the bottom of the kettle?
If so, could the proximity of the hole to the bottom of the kettle play a part? I imagine that the area closest to the the bend receives more stress during the forming process and may have left the metal more susceptible to tearing.
Just my two cents.
Sorry to hear you are having problems.
Good Luck.
I drill a small pilot hole, then punch to 7/8. I tried using my step bit, but my step bit has worn down in several areas and it's very hard to grow the hole past those areas... again, when I was new to making the holes I didn't realize high pressure low speed was needed... pretty sure I cooked the damn thing (even using cutting oil).Stainless steel has a tendency to work harden when sawing, drilling, filing, etc. Are you punching your 7/8" hole or drilling before drawing? I have had better luck drawing a dimple after drilling rather than punching. There are stresses induced when punching that don't seem to be when drilled with a step drill at a rapid rate.


