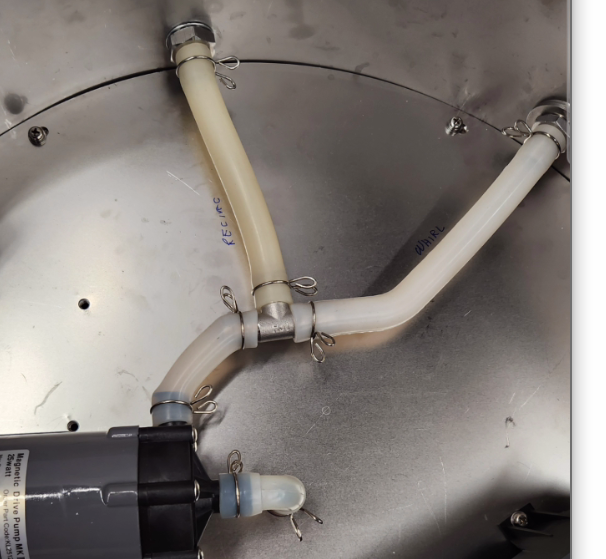
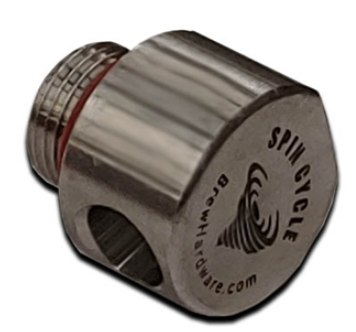
I'm willing to get some measurements on the 35L version of the brewzilla to make sure the parts all line up to put the whirlpool just above the built in false bottom. I have one in the store but I won't be back there until Tuesday morning.
From memory:
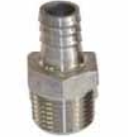
1. Once the stock valve/bulkhead combo is removed from the skirt of the unit, I push the threads of this through the hole.
https://www.brewhardware.com/product_p/hosebarb12mx12.htm
View attachment 883172
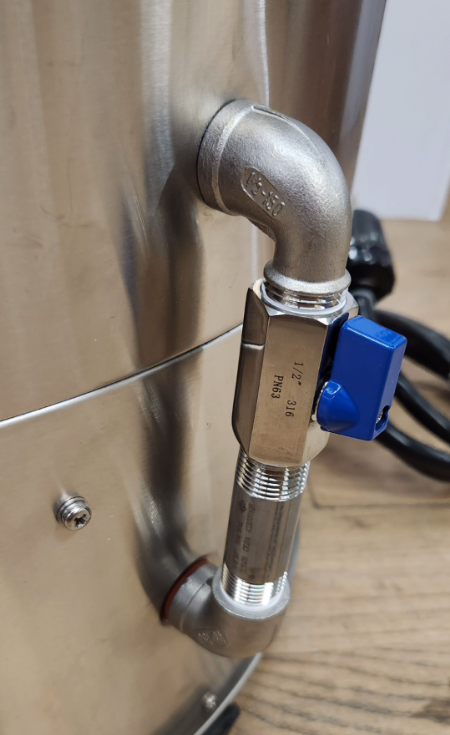
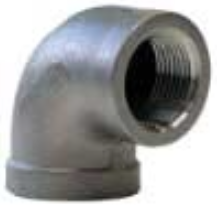
2. On the outside, a regular 90 degree F/F elbow threads on:
https://www.brewhardware.com/product_p/nptelbow90.htm
View attachment 883173
First caveat... based on NPT thread standard randomness, these together may not squeeze the skirt metal tightly. Having a thick and thin SS washer and a squishy silicone one on hand will let you fine tune the shimming on the inside to make this snug and sturdy. It's not critical but it makes operating the valve feel better.
https://www.brewhardware.com/product_p/sswash12thick.htm
https://www.brewhardware.com/product_p/sswash12thin.htm
https://www.brewhardware.com/product_p/gasket12npt.htm
Once you figure out what combo of shims make a snug fit when fully threaded together, the threads get teflon tape for the final install.
3. From the elbow going upwards, it's some length of 1/2" NPT pipe nipple (determined later...) The one on the 100L was a 3" if I recall.
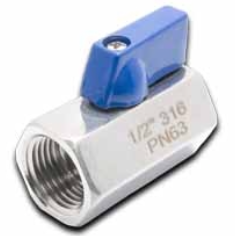
4. Then you get the mini ball valve with F/F 1/2" NPT threads.
https://www.brewhardware.com/product_p/minibv12ff.htm
View attachment 883175
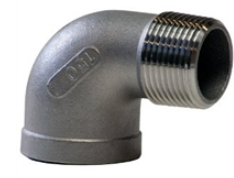
5. Finally to turn back towards the kettle, a 1/2" NPT "Street" elbow.
https://www.brewhardware.com/product_p/nptelbowstreet12.htm
View attachment 883174
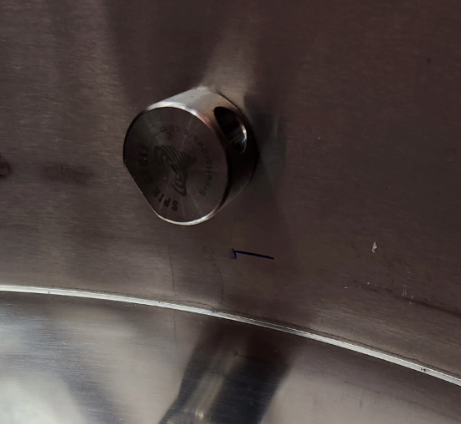
6. The through-wall fitting on the upper hole is actually the Spincycle "SHORTY".
https://www.brewhardware.com/product_p/spincycleshorty.htm
View attachment 883176
This version of the fitting has really short undersized 1/2" NPT threads. The undersizing of the threads makes it thread all the way in to any female threaded fitting so that the captured oring absolutely makes contact with the wall. In this usage, you do need teflon tape on the threads to seal to the street elbow. When you thread this in, you have to submit to its own free will of which direction the side opening lands on. Obviously pointing downward or straight upwards is not going to stir anything but you tighten it to the point where the gasket is at least touching the sidewall and the output hole is either horizontal left or right or slightly angled upwards (ideal) left or right. The softness of the oring allows enough leeway to make this work in every install I've done so far.


![Craft A Brew - Safale S-04 Dry Yeast - Fermentis - English Ale Dry Yeast - For English and American Ales and Hard Apple Ciders - Ingredients for Home Brewing - Beer Making Supplies - [1 Pack]](https://m.media-amazon.com/images/I/41fVGNh6JfL._SL500_.jpg)


