• Please visit and share your knowledge at our sister communities:
  • If you have not, please join our official Homebrewing Facebook Group!

    Homebrewing Facebook Group

Single Vessel, All Electric, NS, NC Brewery

Homebrew Talk

Help Support Homebrew Talk:

This site may earn a commission from merchant affiliate links, including eBay, Amazon, and others.
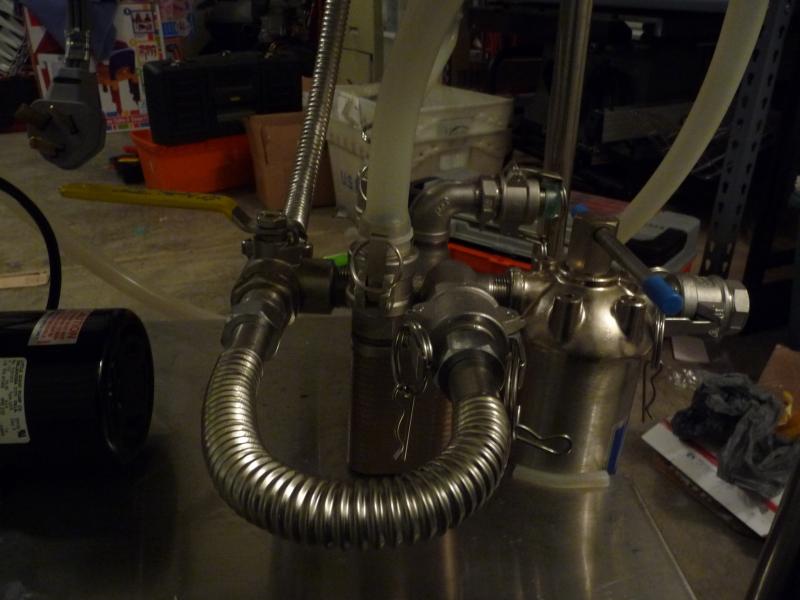
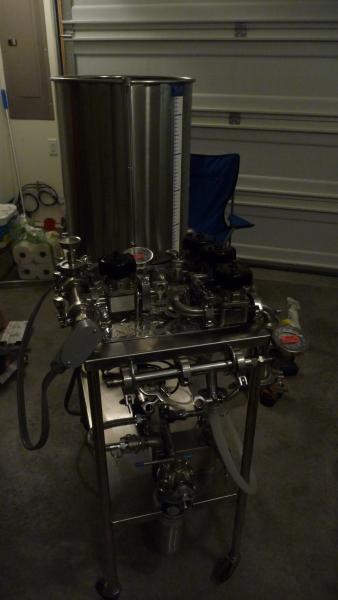
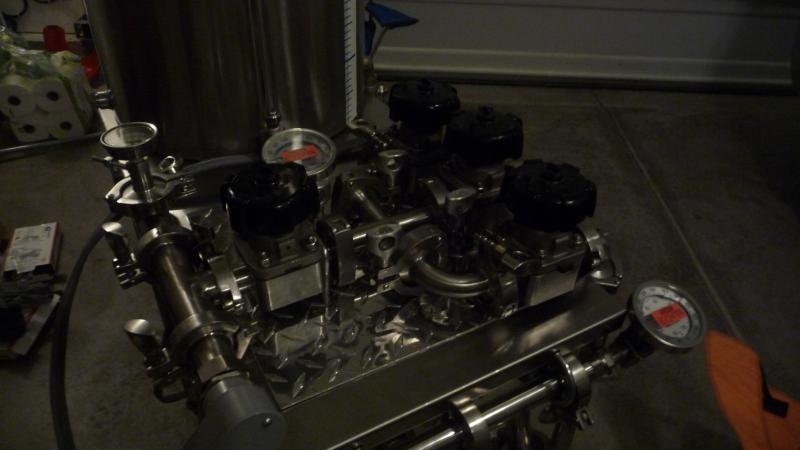
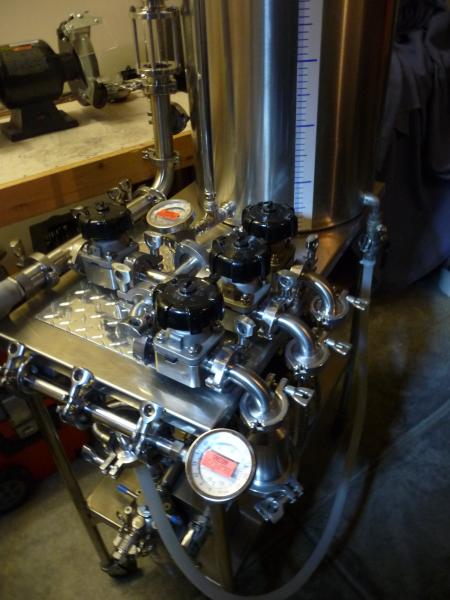
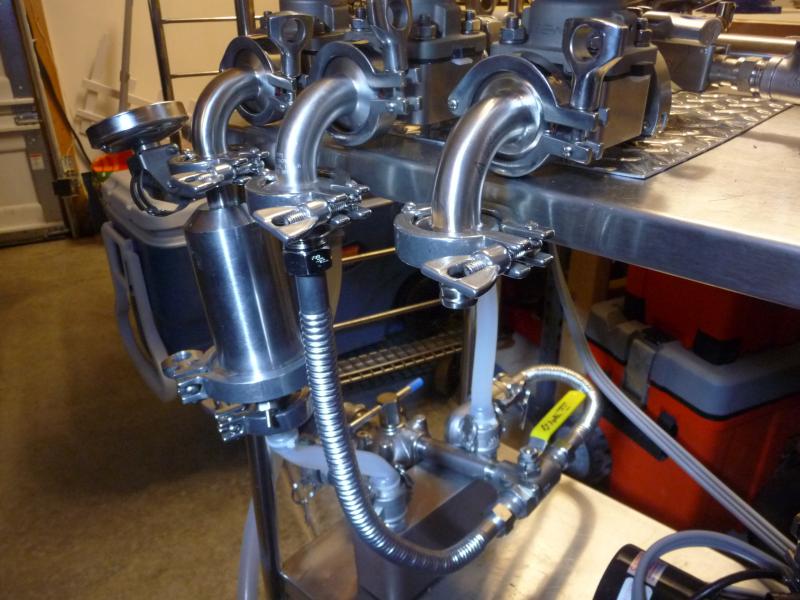
Funny you might ask ;) I got more fittings for the chiller and attached tubing in a few places. I used stainless flex line for the water supply for extra bling....what you're looking at is the filter canister in front of the chiller, where the filter output is a SS pipe laid across the chiller body split with a 3 way valve and the lines bend back to the chiller water input. There's still a few more triclovers to buy, as well as some electronics...but the end is in sight :D

P1040219.jpg


P1040220.jpg


P1040222.jpg
 
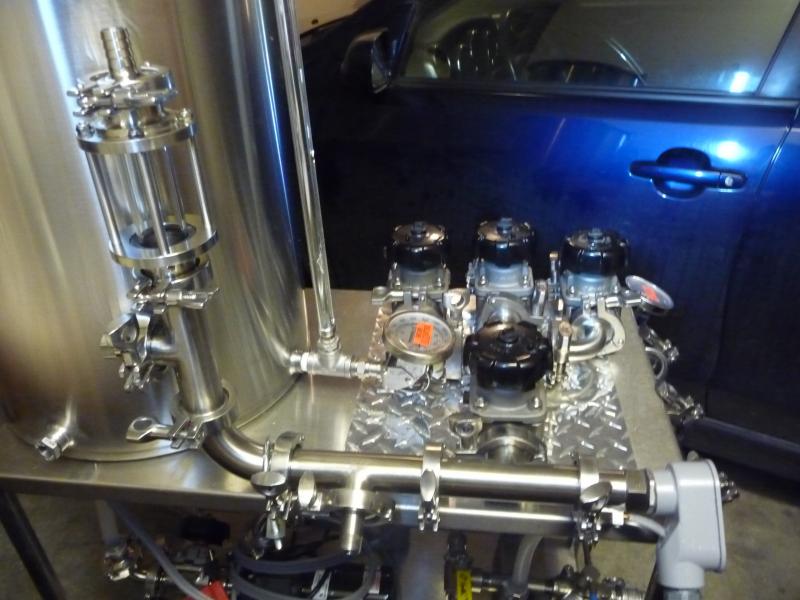
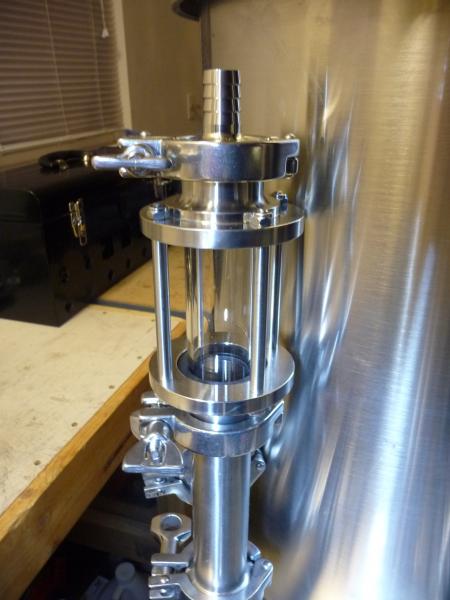
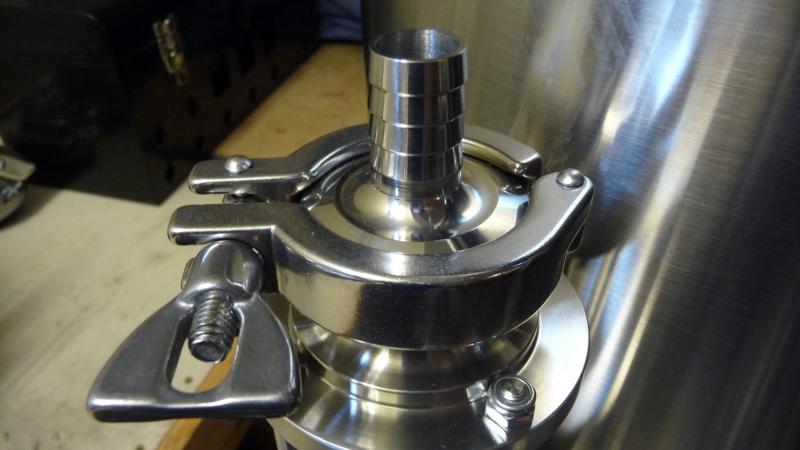
I also mounted the oxygenation chamber, bolting it on in such a way that I can later add an inline sight glass. The output of this chamber can hook into the bottom right port on the kettle for recirc/whirlpool, and then be disconnected for draining to the fermenter.

P1040233.jpg


P1040234.jpg


P1040235.jpg
 
Sorry guys... the pics ARE dark...this time of year there's no light and I do most of my work in the garage where the wind can't get me. I didn't want to wash things out with a flash....
 
You bet. But I'm gonna wait till she has hot wort coursing through her veins...the plumbing is hard to understand from still pics.
 
More to come, gents! Got some major stuff in...xmas is an awesome excuse to get SWMBO to open the budget for brewing. On another note, I AM SO PUMPED!!!!!! Got 125 feet of 10/3 stranded THWN/THHN at Lowe's for 11 CENTS/FOOT!!!!!!!! With the military discount it came to 10 cents/foot. I only needed 10 feet, and saw the pricetag....checked and double checked, and I said screw it, give me the whole roll! 220v welder, here I come!!!!
 
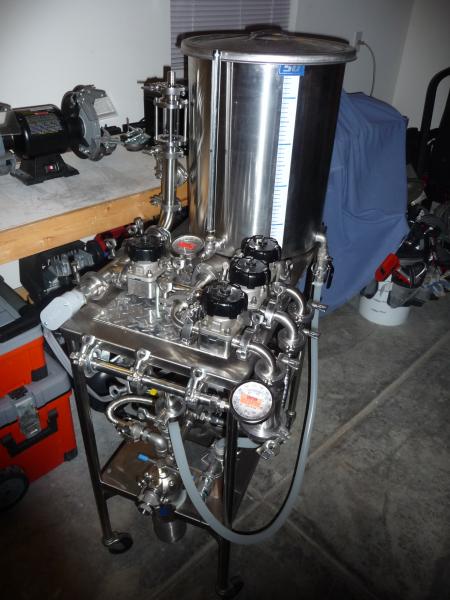
So here's the latest...I've been busy! I've got most of the parts, but I keep having unforeseen "connection" problems....e.g., I naively bought panel style breakers when I should have gotten DIN mountable. So I got the plumbing done, and this is the final product (until I change it again :) )

P1040237.jpg


P1040241.jpg


P1040244.jpg
 
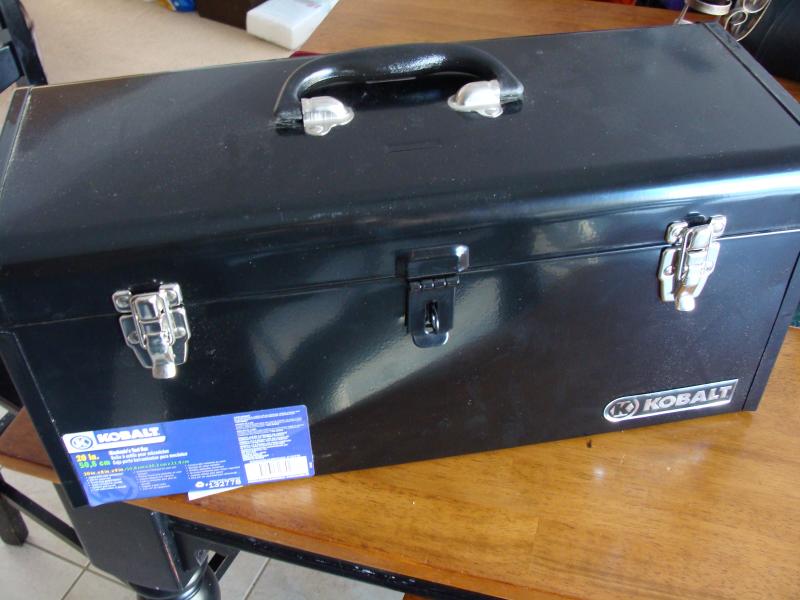
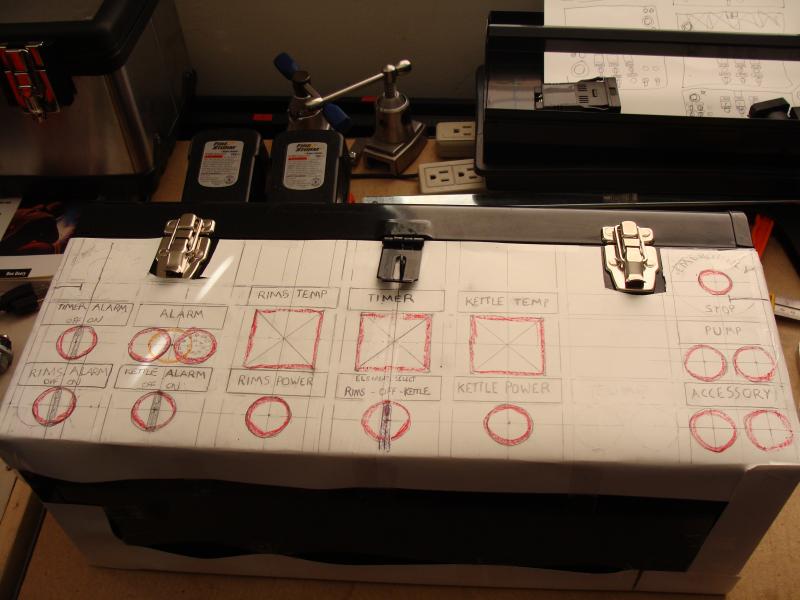
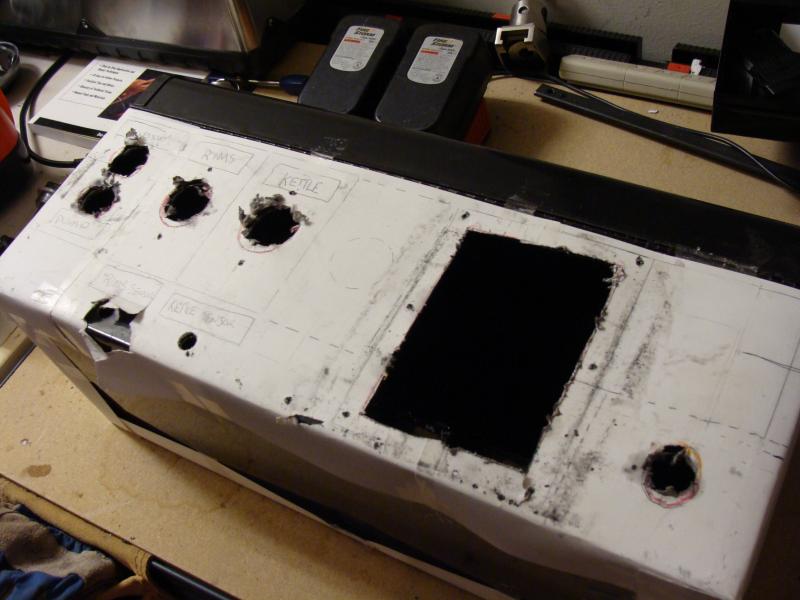
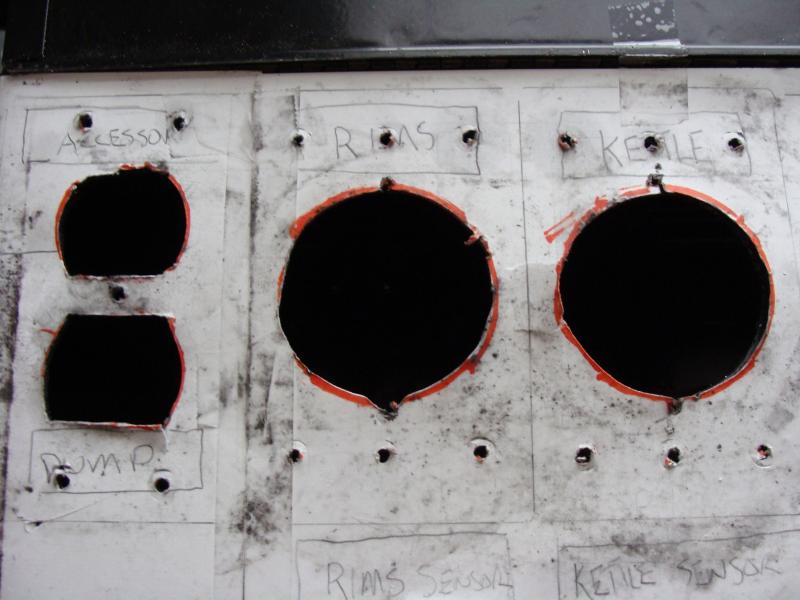
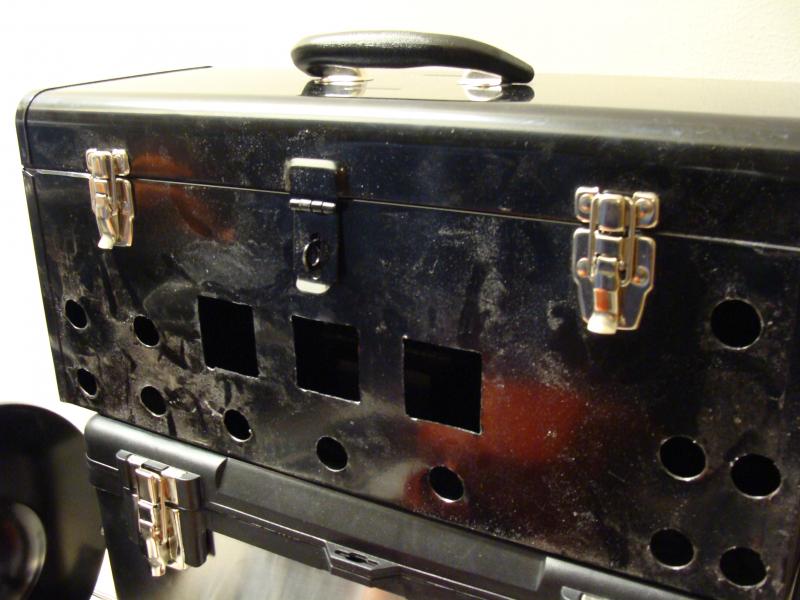
And here's what I've done with the control box...I actually went a different route and followed Boerderij Kabouter's lead with the TOOLBOX. The Homak SS toolbox had too much plastic and not enough room for all the switches and lights....in these pics you can see how I laid out things on paper I taped to the box....it REALLY helped. Once I was sure of how I wanted it (be absolutely sure you leave room for the future, if you want to add another PID, etc.....I planned for the addition of another PID and outlets in case I ever go back to a multi vessel system), I drilled pilot holes then carefully finished with a step bit.

DSC08328.jpg


DSC08333.jpg


DSC08335.jpg
 
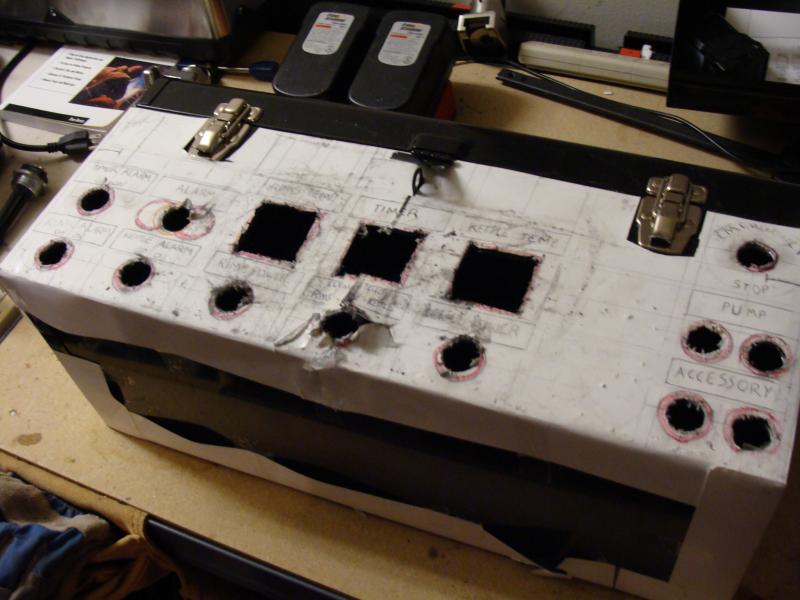
And here's a few more....I CAREFULLY used step bits, dremel, and scroll saw to cut the holes. I went smaller and used a file to finish the holes out...there's no turning back if you make them too big! Also be sure you protect the box from scratches; the metal filings will be everywhere. The paper I used was very thick and held up to all my abuse:

DSC08337.jpg


DSC08346.jpg


DSC08349.jpg
 
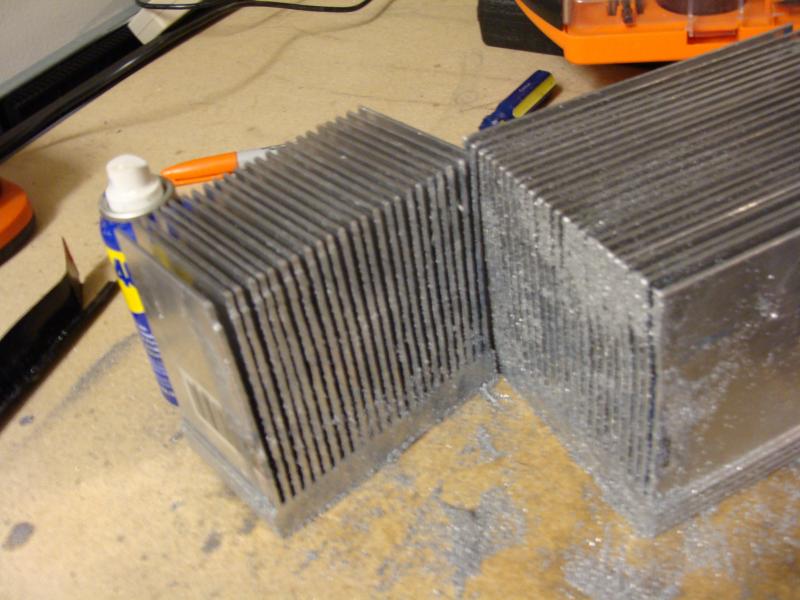
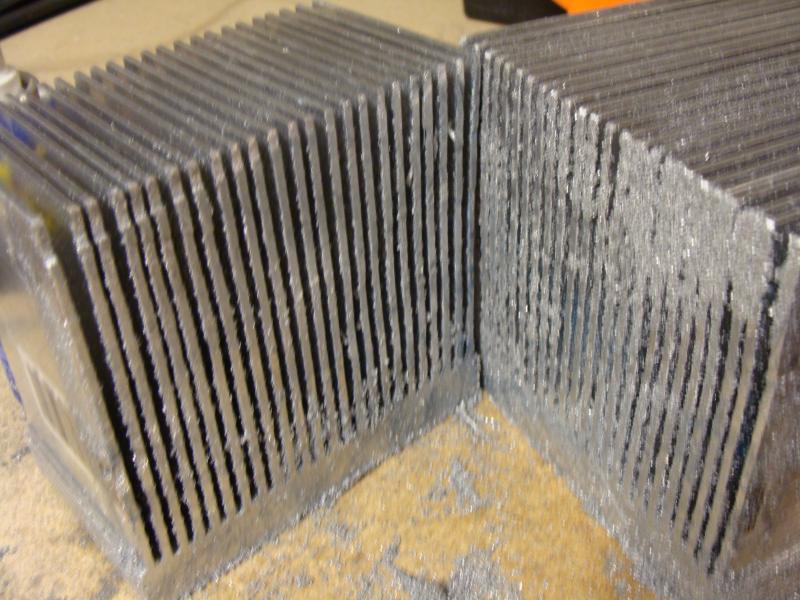
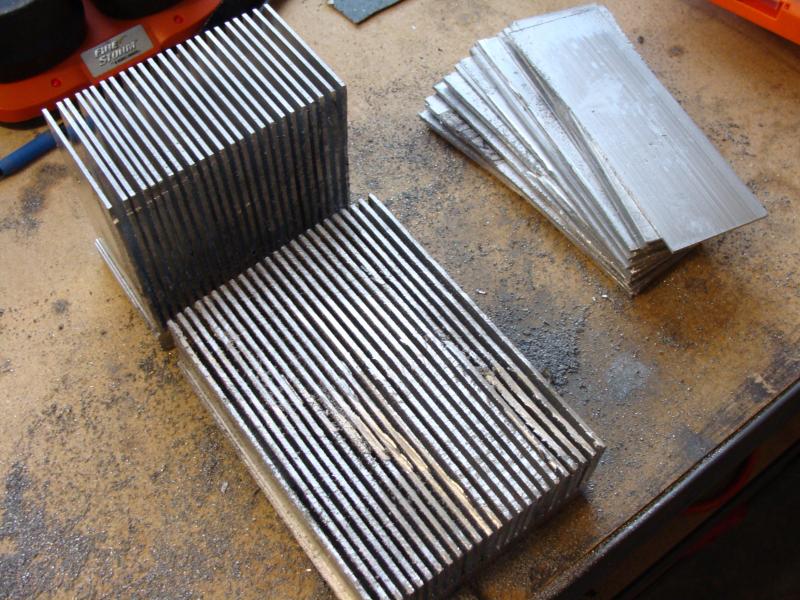
Lastly, the heat sink. I already purchased this thing, thinking it'd be light because it was aluminum. NO...it was 10 lbs! No way could I stick this on a PORTABLE box, and no way was I going to mess with selling it on ebay and purchase inferior stuff. SO, I decided to chop it down which took me no less than 6 hrs with a hacksaw and sawzall...it is some kind of alloy and dulled all my blades! I was completely sore the next day. Now it is a much better match to the box's profile...it can fit up to 6 ssr's if I ever get away from using my SSRD's....and it's still way overkill with the conductive mass it provides. The base alone is probably 1/2" thick! In the final picture, you can see the finished product....it is the longer slimmer piece.

DSC08350.jpg


DSC08352.jpg


DSC08353.jpg
 
details on that sight glass ? looks like the real deal.

BTW - nice build. I've been subscribed for a while now.
 
details on that sight glass ? looks like the real deal.

BTW - nice build. I've been subscribed for a while now.

Thanks, Man! It's a huge thread I know....wonder if I can trim it down once we get a working product?

Sight glass is from http://www.stpats.com. It's 1" I believe, got it for ~$65....it's really nice. You may read bad things about this vendor elsewhere, but I have had zero issues. The quality and selection are good, and the prices are very reasonable. I took a chance and it paid off....just sayin'. :mug:
 
Steve, out of curiosity what are you using for a 1/16 DIN timer? Thanks!

The timer is an ASL-51 from Auberins.com it was about the same price as the PID's, and I figured what the heck. I usually use my watch....but it'll be nice to use a variable function timer that can drive a flashing alarm. I'm thinking about getting an industrial beacon or revolving light like THIS ONE maybe smaller. But I really wanna focus/spend money on getting this thing working...then I can add more bells/whistles (literally :) ) :mug:
 
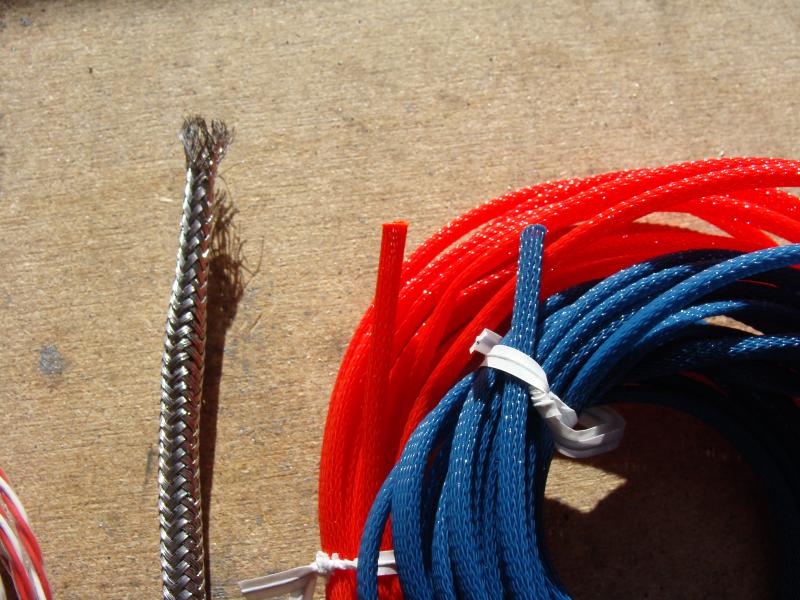
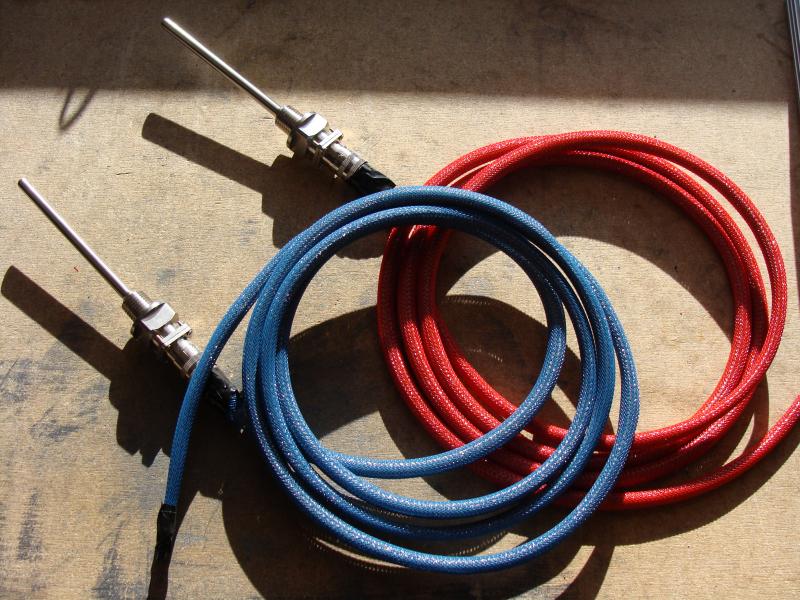
Okay, so a bit more progress...following the lead from TiberBrew, Kal, and several others, I stripped some spare coax I had lying around, salvaged the stainless braid and shielded my RTD wires with it. Then covered the cable with PET mesh. I plan on using the primary colors for the cables and their connectors....red goes to red port, etc. to make it fool/drunk proof. I still have to solder the panel mount connectors on...wasn't sure if cutting some off to use inside the box would be a no-no :confused:

DSC08488.jpg


DSC08489.jpg


DSC08490.jpg
 
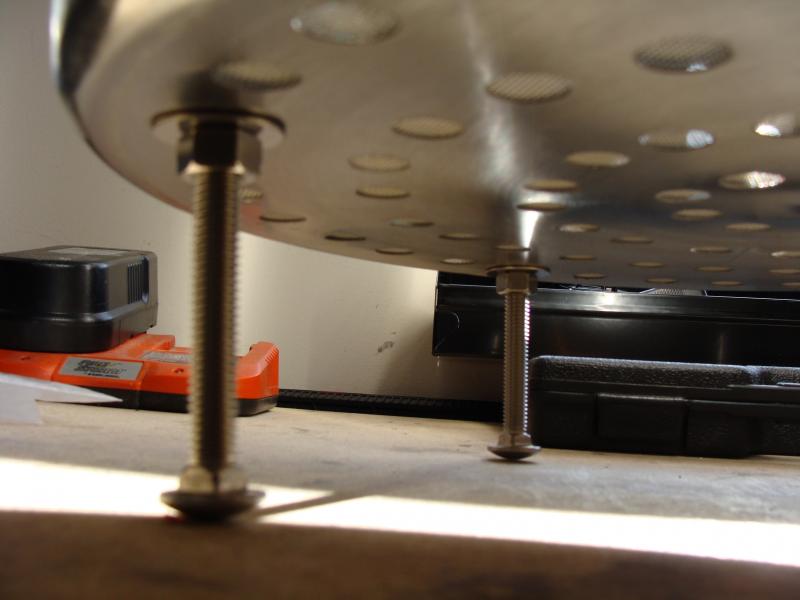
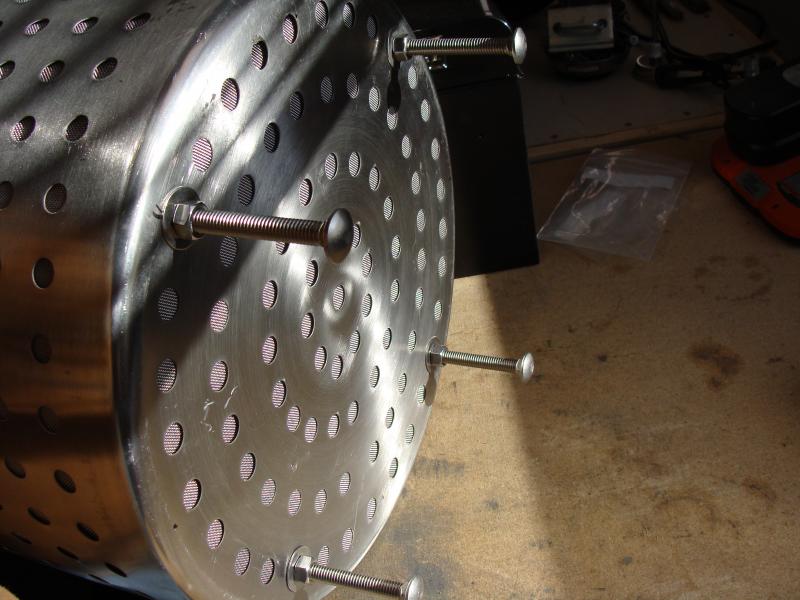
Because my time was limited today...I also did another "mini-project"....added 3/8" SS carriage bolts with matching fender washers, hex nuts, and cap nuts for the basket's legs. BOLT DEPOT rules, by the way.There's a fender washer on either side, so no stress on the screen or leakage past the bolts. Also, I made sure there was a hex nut on either side (in addition to the cap nut) so I can adjust height as necessary. As you see it, it fits perfectly, but I will fine tune it to work near (but not too near) the element.:mug:

DSC08492.jpg


DSC08494.jpg


DSC08495.jpg
 
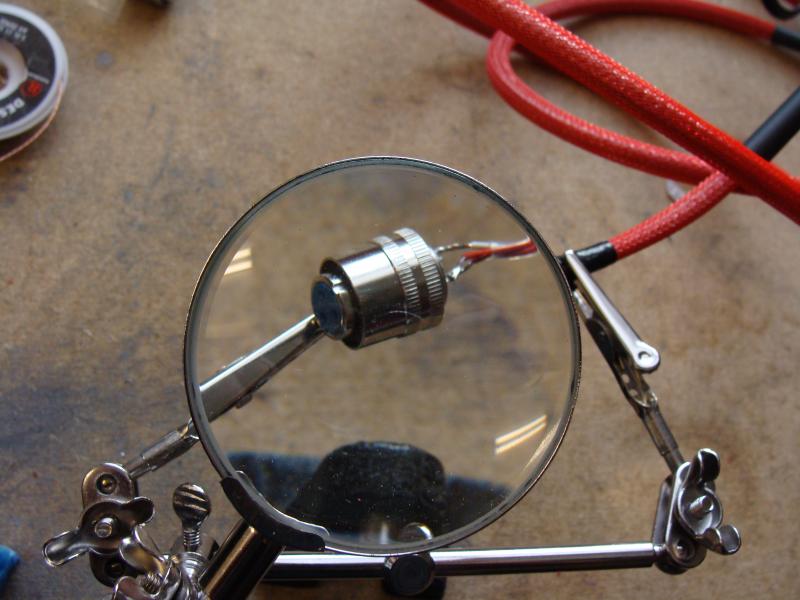
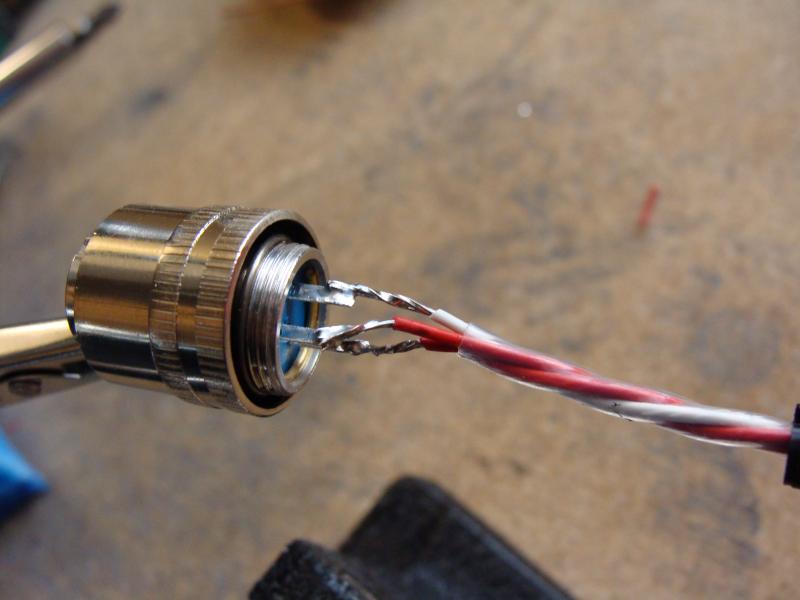
Here's a few more....I soldered the panel mount connectors up and added the heat shrink tubing. I eventually added small black zipties because I am paranoid about the sleeving shifting. Word to the wise: Get yourself a "third hand" (seen in the first pic)...soldering the connections would have been nearly impossible without it! :mug:

DSC08496.jpg


DSC08498.jpg


DSC08499.jpg
 
Steve, good suggestion about the "third hand", what stores would carry something like that? A bit off topic, do you need anything to connect the probe end of the RTD into your kettle (i'm guessing they are Auberins liquid type ones), or does it come with everything you need to screw into the kettle.
 
Well...I got mine on Amazon....it's THIS ONE Really pretty cheap and does what it says (love stuff like that!)....it has a cast iron base and wing-nuts that you can crank down....very important because it will keep a firm grip on stuff so when you touch your soldering iron to the part it won't move.

About the probes, I'm not sure...but it looks like a simple 3/8" MPT. It has a flat face, so you could add an o-ring if you want, but I plan on using either silicone sealant or teflon tape.
 
Last edited by a moderator:
Back
Top