Show us your sculpture or brew rig

Homebrew Talk - Beer, Wine, Mead, & Cider Brewing Discussion Forum

Help Support Homebrew Talk - Beer, Wine, Mead, & Cider Brewing Discussion Forum:

This site may earn a commission from merchant affiliate links, including eBay, Amazon, and others.
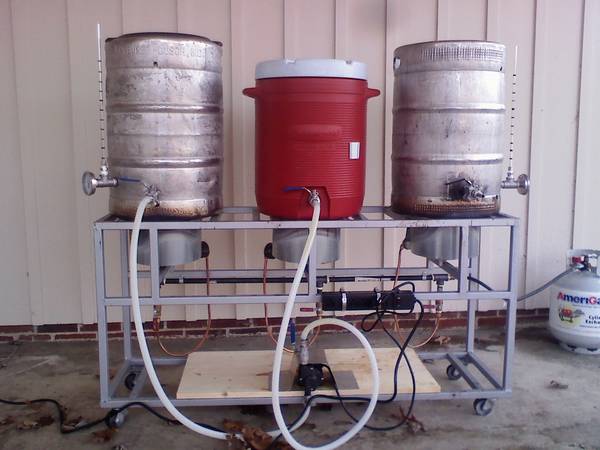
btw/fwiw, I just noticed the pump orientation on that rig (the blingy controller distracted me ;) and if past is prologue I think they might be a headache waiting to happen - especially the pump on the right...

Cheers!
 
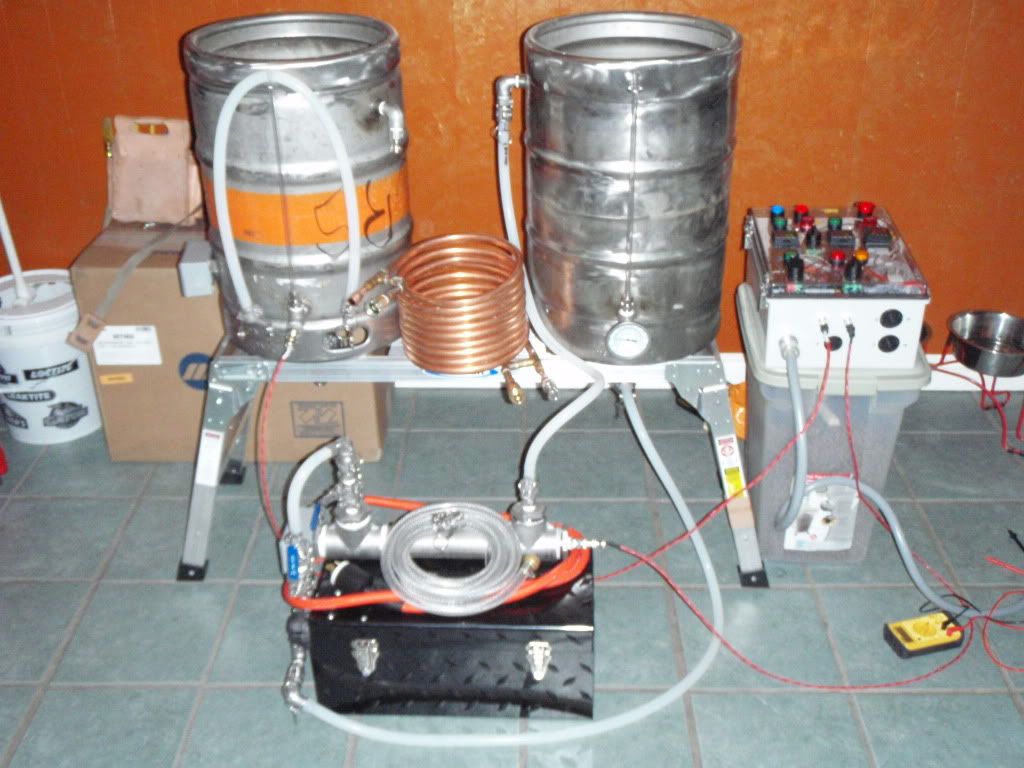
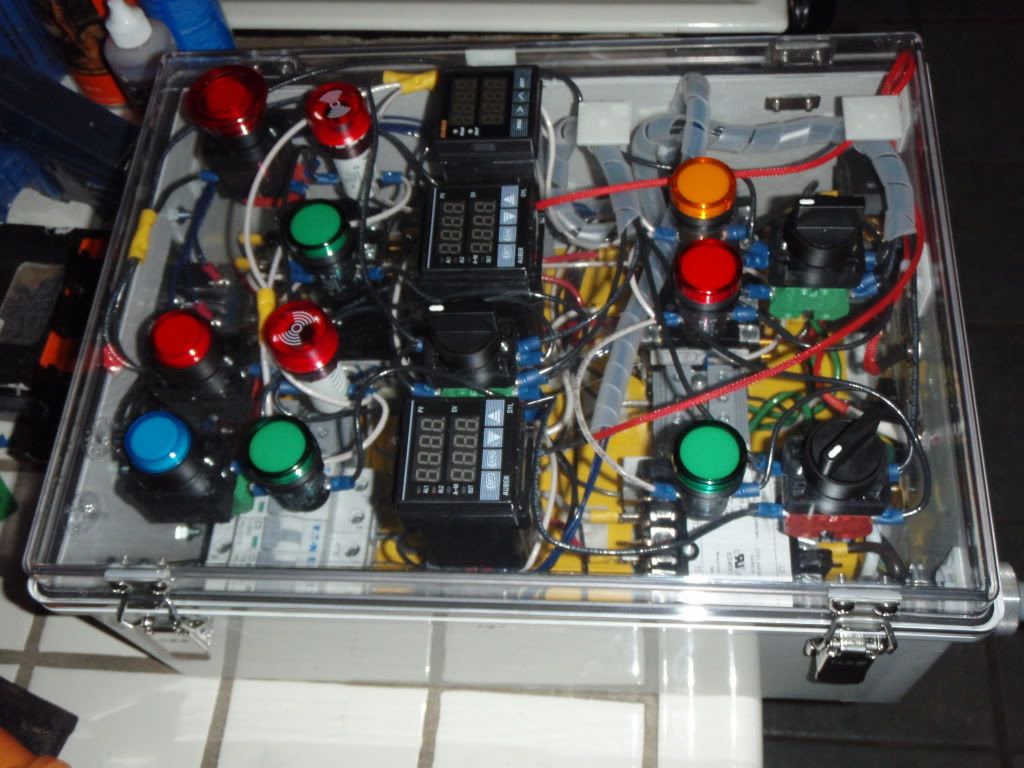
With regards to the controller position, it bothers me too. Putting it there let me use relatively short car plug wires for the igniters. I'm thinking about an angled plexiglass shield over the top, but need to see how hot that top rail gets. I'd prefer a transparent shield so I'm not peering under to see the controls. If the top rail gets really hot, I'll make a stainless roof for the control box. It is a waterproof enclosure, but I don't want to be wiping wort off all those lights and switches. The seals around those PID's are kind of suspect, too.

Re: pump position, why will it be a headache? The pumps are attatched with u-bolts, so it would be easy to move them. I'd rather move them now, before I cut the silicone tubing to length. Any other pointers are welcome - there's a wealth of knowledge on this thread.

Regarding the parts and cost, I used the controller, dual valve, and pilot in the picture I've included in this post. The ignition controllers S8610U (2) cost $99 each, the valves VR8304 M 4507 (2) about $150 each, and the sensing pilots Q345A 1313 (2) I've forgotten. I used a universal 4-cylinder spark wire kit to run spark to the pilots. I soldered the cut ends (so there's a boot on each far end), wrapped the joint in insulation tape, slid silicone boots over each joint, and wrapped again in electrical tape. I get a great spark and I don't see (or feel) any short to the frame. I don't know that the choices I made above are the best or cheapest way to control the flame, but they were the parts that I could find locally that work well together.

PS. Don't drop the controller. I dropped one when I was building the rig, installed it, wired the whole thing, and found that it didn't work. After removing the controller (no easy feat) I opened the controller up and found a capacitor with a broken leg. Although I'm kind of handy with a soldering iron, the circuit board was a bit too tight for me to work on and I had to buy another controller ($99).

brew parts.jpg
 
[...]Re: pump position, why will it be a headache? The pumps are attatched with u-bolts, so it would be easy to move them. I'd rather move them now, before I cut the silicone tubing to length. Any other pointers are welcome - there's a wealth of knowledge on this thread.[...]

34065d1316572830-show-us-your-sculpture-brew-rig-brewstand.jpg


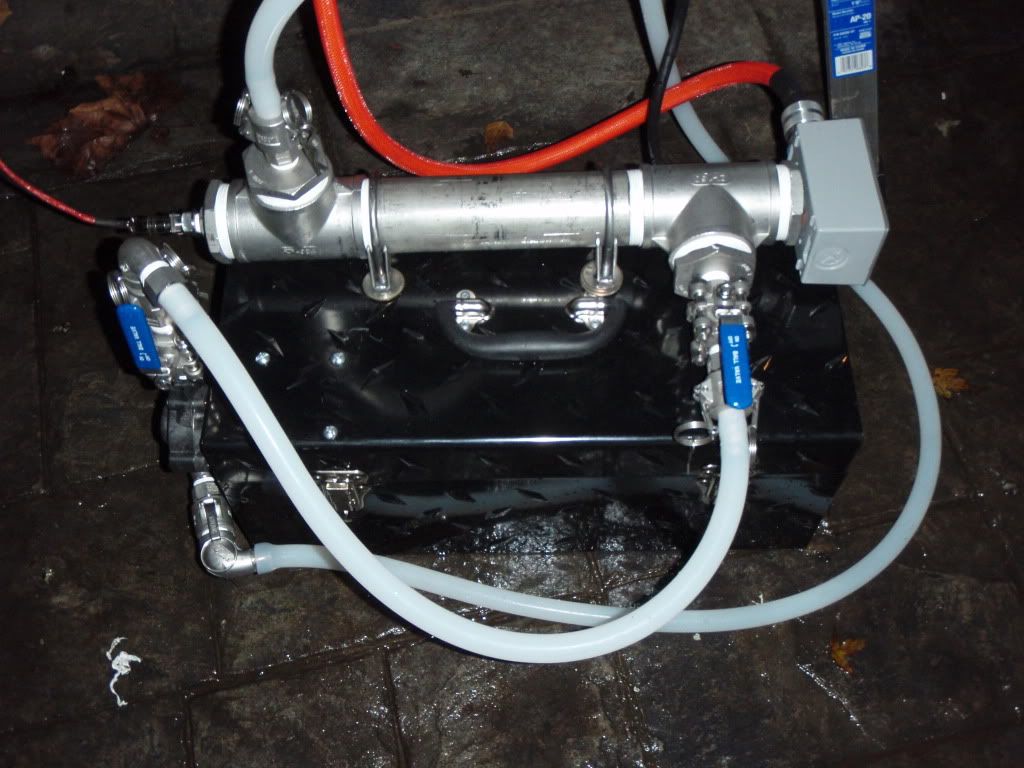
With respect to priming - and maintaining prime - both the March and Chugger pumps are sensitive to having the outlet port unambiguously above the inlet port. Otherwise they tend to trap air in the impeller housing, and as these pump heads have little to no ability to self-prime, they'll cavitate at the least provocation.

Both of your pumps - and especially the pump on the right side - are rotated in such a way that the outlet ports are even with or below the inlet ports. If you leave them that way you're almost certain to end up in one of the numerous "Why doesn't my pump work?" threads ;)

You can rotate the pump heads independent of their mounts and motors, doesn't take long to do. Set them so their outlets are pointing straight up and you'll be in much better shape...

Cheers!
 
Trippr - Thanks for the quick reply regarding the pumps and priming problems. I had assumed that the pressure from the height difference between pump and kettle would be enough to prevent cavitation, but it sounds like they are pretty sensitive. I'll do a little tinkering with the outlets before my first brew day - thanks!
 
Runtgun, you really should put some type of splash shield on the pump motors
Also, ALWAYS plug your system into a GFCI outlet.
 
Mine isn't completely done but I couldn't wait to post it. The stainless gas lines still need to be installed and the propane line finished. Also I need to install another pump, a cover for the pumps and built a HLT, other than that it's totally done. A few notes, the narrow band of insulation on the mash tun is removable in order to direct fire it, the mash tun has a lid and a reflectix top on it, the full reflectix jacket is also removable for cleaning and the tun has a full false bottom. I used SouthernYankee's build as a baseline and made a few modifications from there.

photo(14).jpg


photo(13).jpg
 
It took forever, but she finally had her inaugural batch yesterday. Many small problems led to a very long brew day. They'll all get sorted out by the next batch.

request for you to start a thread with more details on your rig? more pics too
 
2011.07.02_Golden Strong Brewday-1.1.jpg

2.5 years later #15 batches and still brewing (yes my bk is upside down at the moment) (Thanks SWAGMAN)
 
IMG_4496cropped.jpg


Nearly complete and semi-automated. My TopTier controlled by a BCS-460 with expansion board. It has three standing pilot honeywell furnace valves, three march pumps and and 6 electronic ball valves and a touch screen for the hell of it. The BN got me started designing the project about 2 years ago originally was thinking of something similar to a brutus-10 started reading the DIY forum and there has been a ton of inspiration from posts here. I was going to go with manual ball valves but then I saw JonW's build thread I changed my plans.
 
BryngelBrau said:
I was going to go with manual ball valves but then I saw JonW's build thread I changed my plans.

I thought I was the only one that JonW's build made me change my plans. Damn motorized ball valves cost me a fortune.
 
They are both very cool... Personally I like over the top and extravagant. But there is something to be said about simplicity
 
Nearly complete and semi-automated. My TopTier controlled by a BCS-460 with expansion board. It has three standing pilot honeywell furnace valves, three march pumps and and 6 electronic ball valves and a touch screen for the hell of it. The BN got me started designing the project about 2 years ago originally was thinking of something similar to a brutus-10 started reading the DIY forum and there has been a ton of inspiration from posts here. I was going to go with manual ball valves but then I saw JonW's build thread I changed my plans.

Very nice setup. I wish I had a dedicated space like that for brewing.

I thought I was the only one that JonW's build made me change my plans. Damn motorized ball valves cost me a fortune.

It's cool to hear that I may have inspired some design aspects of someone else's system as I was very inspired from this exact same thread by so many others! :mug:
 
Thanks for all of the comments, certainly wasn't going for-the-win but just wanted to share what was inspired by this place. I was brewing for the last 10 years with a very simple gravity system with HLT bucket and a MT cooler at 5 gal which made great beer. Got sick of lifting all that hot liquid. The new setup probably wont make any better beer but it will sure be easier to make a lot more of it. The dedicated space and being inside is probably going to be one of the biggest things that makes it easier to brew.:mug:
 
Thanks for all of the comments, certainly wasn't going for-the-win but just wanted to share what was inspired by this place. I was brewing for the last 10 years with a very simple gravity system with HLT bucket and a MT cooler at 5 gal which made great beer. Got sick of lifting all that hot liquid. The new setup probably wont make any better beer but it will sure be easier to make a lot more of it. The dedicated space and being inside is probably going to be one of the biggest things that makes it easier to brew.:mug:

I think you'll be surprised at how much better beer you can brew when you have complete control over your process. The BCS will really take a lot of variability out of your brewing and will allow you to brew much more consistent batches. I went from a gravity set up like you describe to a BCS controlled "Brutus" style system and not only did it shorten my brew time, but my beers have become better.
 
Hi!

My RIMS finally done and had 2 batches brewed. Due to space limitations each component is standalone so I can carry it to basement.

All parts together
img_0913_160.jpg


RIMS
img_0900_194.jpg


Simple control box:
img_0905_511.jpg


Description of system can be seen on:
http://www.pivarstvo.info/forum/viewtopic.php?t=2397 (in Croatian only)

Many thanks to all who showed their systems in this great thread as it was great inspiration for my build.

Best regards form Croatia

Andrej
 
I think you'll be surprised at how much better beer you can brew when you have complete control over your process. The BCS will really take a lot of variability out of your brewing and will allow you to brew much more consistent batches. I went from a gravity set up like you describe to a BCS controlled "Brutus" style system and not only did it shorten my brew time, but my beers have become better.

I totally agree with this. Automating my system has shortened my brew day and works very well to keep me focused to the task at hand. I put a hardware beeper alarm on my BCS system and I program it to activate for each step that needs my intervention like mash in, fly sparge start (just to adjust flow rates) and all my hop additions. I get distracted easy and I can continue doing other things and jump right back to the brew when necessary.
 
JonW said:
I totally agree with this. Automating my system has shortened my brew day and works very well to keep me focused to the task at hand. I put a hardware beeper alarm on my BCS system and I program it to activate for each step that needs my intervention like mash in, fly sparge start (just to adjust flow rates) and all my hop additions. I get distracted easy and I can continue doing other things and jump right back to the brew when necessary.

+1 love the automation and use a beeper too. I have it set to beep fast if there is trouble and slow when intervention is needed like hop additions. Brew day under 4 hours with 60 min mash/boil. I've brewed the same recipe 6 times in a row now and the numbers are dead on every time. Once you get the BCS programmed consistency will be easy to achieve. Love it.
 
I finally finished by brew stand a couple weeks ago so I thought I'd post a pic. I've never posted a pic before, so just in case I screw this up, I have more info on my blog for anyone that's interested: http://www.microbusbrewery.org/2011/10/finished-brew-stand.html

My system is a gas/electric hybrid. The mash process is all electric and is controlled by a BCS-460. For the boil I have a natural gas burner.

BS3_small.jpg

BS2_small2.jpg
 
Here is my fully digital B3 1100

image-3526793031.jpg

My wife loves this sculpture

image-1853931136.jpg

The hot liquor tank, heat infuser, and float switch

image-1154664433.jpg

The mash tun with float switch

image-2371816685.jpg

The digital controllers

image-1424851639.jpg

The digital control panel selector switch

image-2780378251.jpg

The digital burner under the hot liquor tank

[email protected]. on tap: easy virtue blonde, fruity monk belgian wit. primary: American pale ale, American stout, blow your top steam, and heffewitzen
 

Attachments

  • image-907345162.jpg
    image-907345162.jpg
    16.5 KB · Views: 3,076
  • image-3313774176.jpg
    image-3313774176.jpg
    11.7 KB · Views: 3,053
  • image-2485983528.jpg
    image-2485983528.jpg
    13.9 KB · Views: 3,066
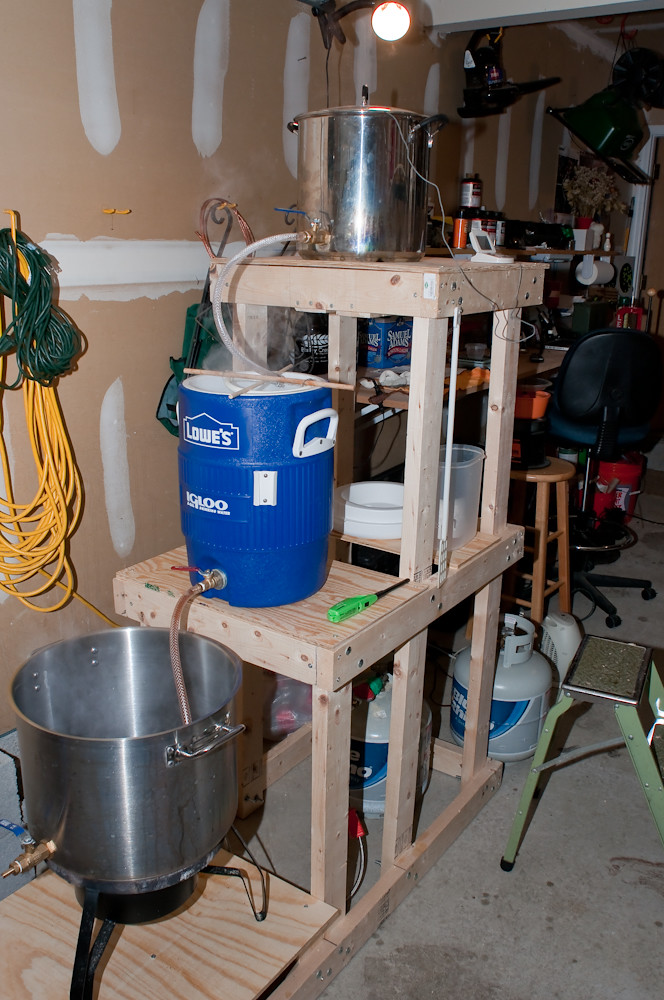
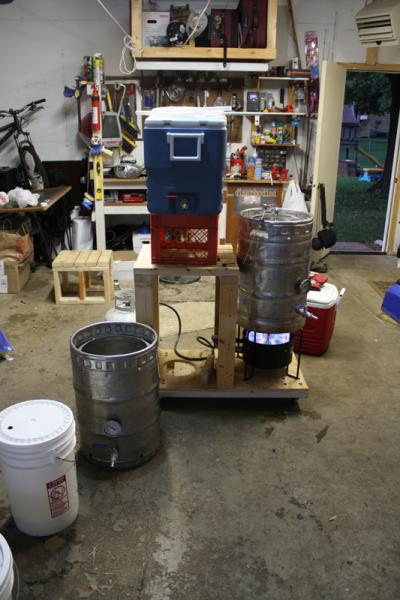
Here's my pile of leftover junk laying around the garage that I turned into a brewery. I keep meaning to make a an actual two tier stand with HLT on top, but this works for now and I'd rather be brewing than building.
HLT is my original BK that started the whole madness, now equipped with a 120V element. I have all the stuff to hook up the temp control for it, but for now, I just manually plug and un-plug it.
MT has a RIMS for dummies setup behind it.

IMG_1237.jpg


IMG_1238.jpg
 
CanadianQuaffer said:
Hey SaltyHog...those red burners you have in your set-up...did you get those at Home Hardware?

I got 'em at a restaurant supply store. $80 each. They work well but they could be a bit closer to the pot bottom.
 
Rig I built for a buddy I dont have any finished pics but it has three pids and a RIMS tube set up,Second pic is the pump cover.
Pat
img1871x.jpg

img184921.jpg
 
Back
Top