- Joined
- Mar 12, 2021
- Messages
- 198
- Reaction score
- 584

That's a great idea.View attachment 771382
Didn’t like the ugly white so I covered it with vinyl wallpaper.
![Craft A Brew - Safale S-04 Dry Yeast - Fermentis - English Ale Dry Yeast - For English and American Ales and Hard Apple Ciders - Ingredients for Home Brewing - Beer Making Supplies - [1 Pack]](https://m.media-amazon.com/images/I/41fVGNh6JfL._SL500_.jpg)


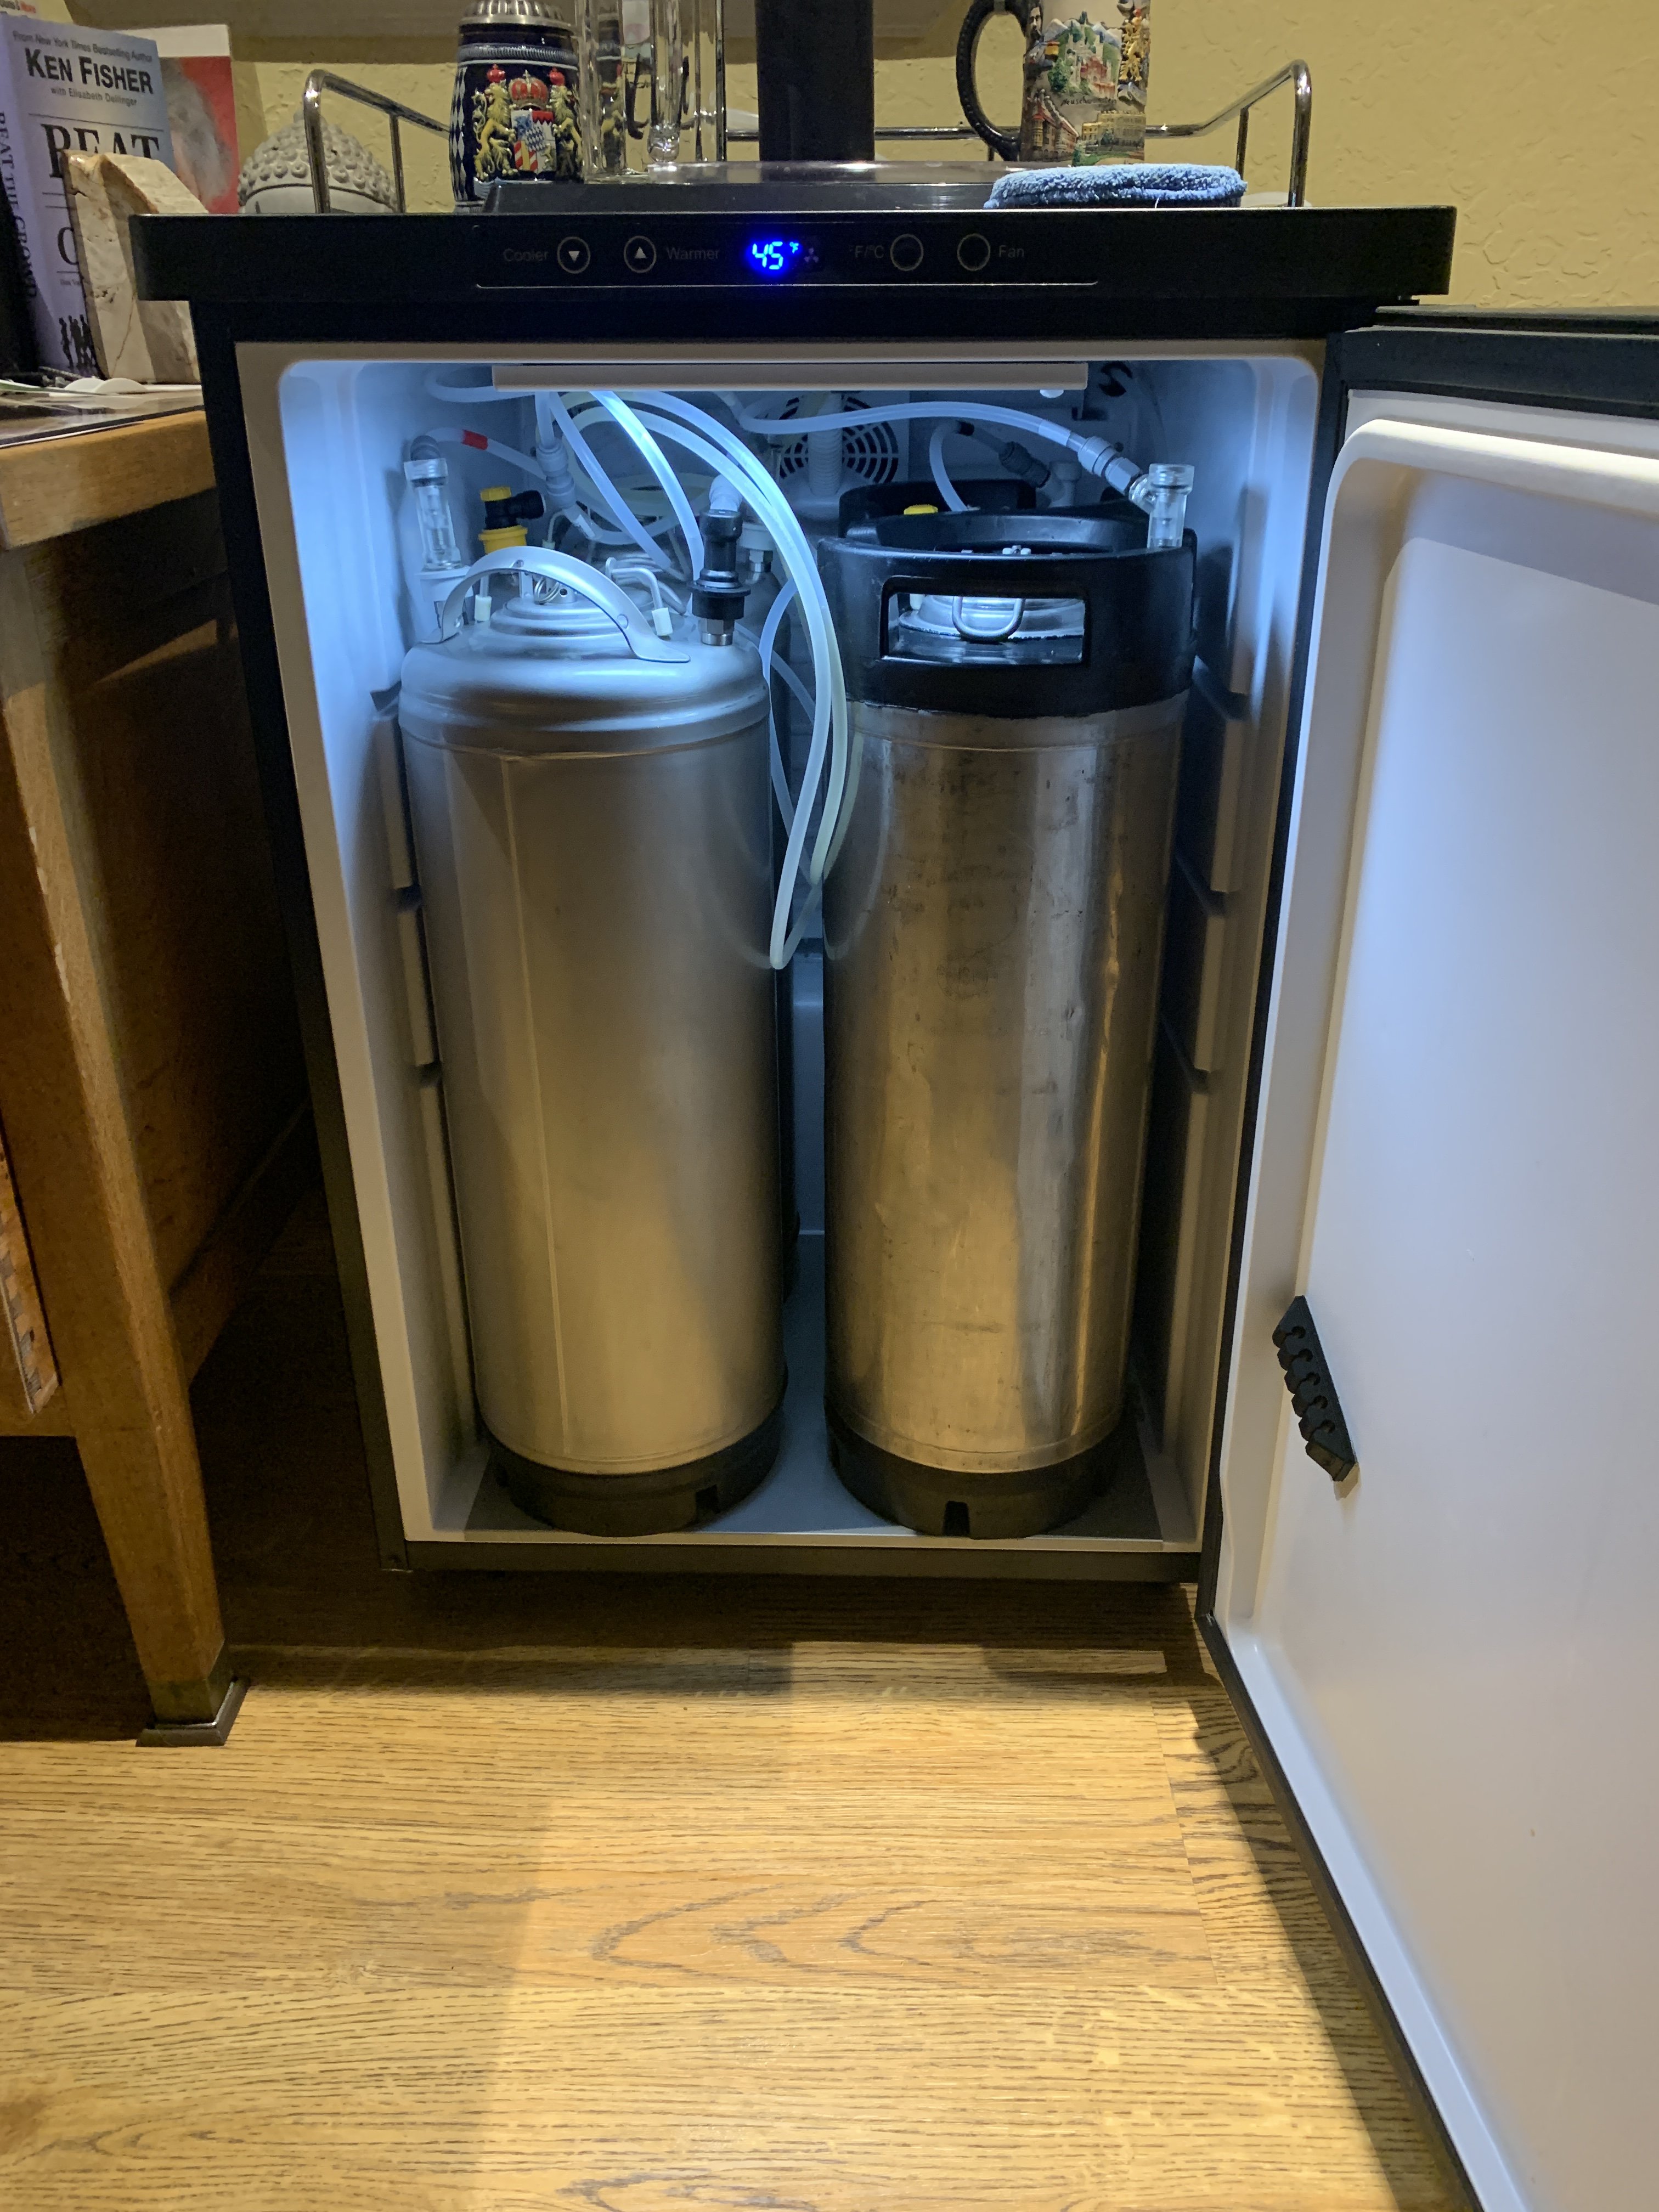
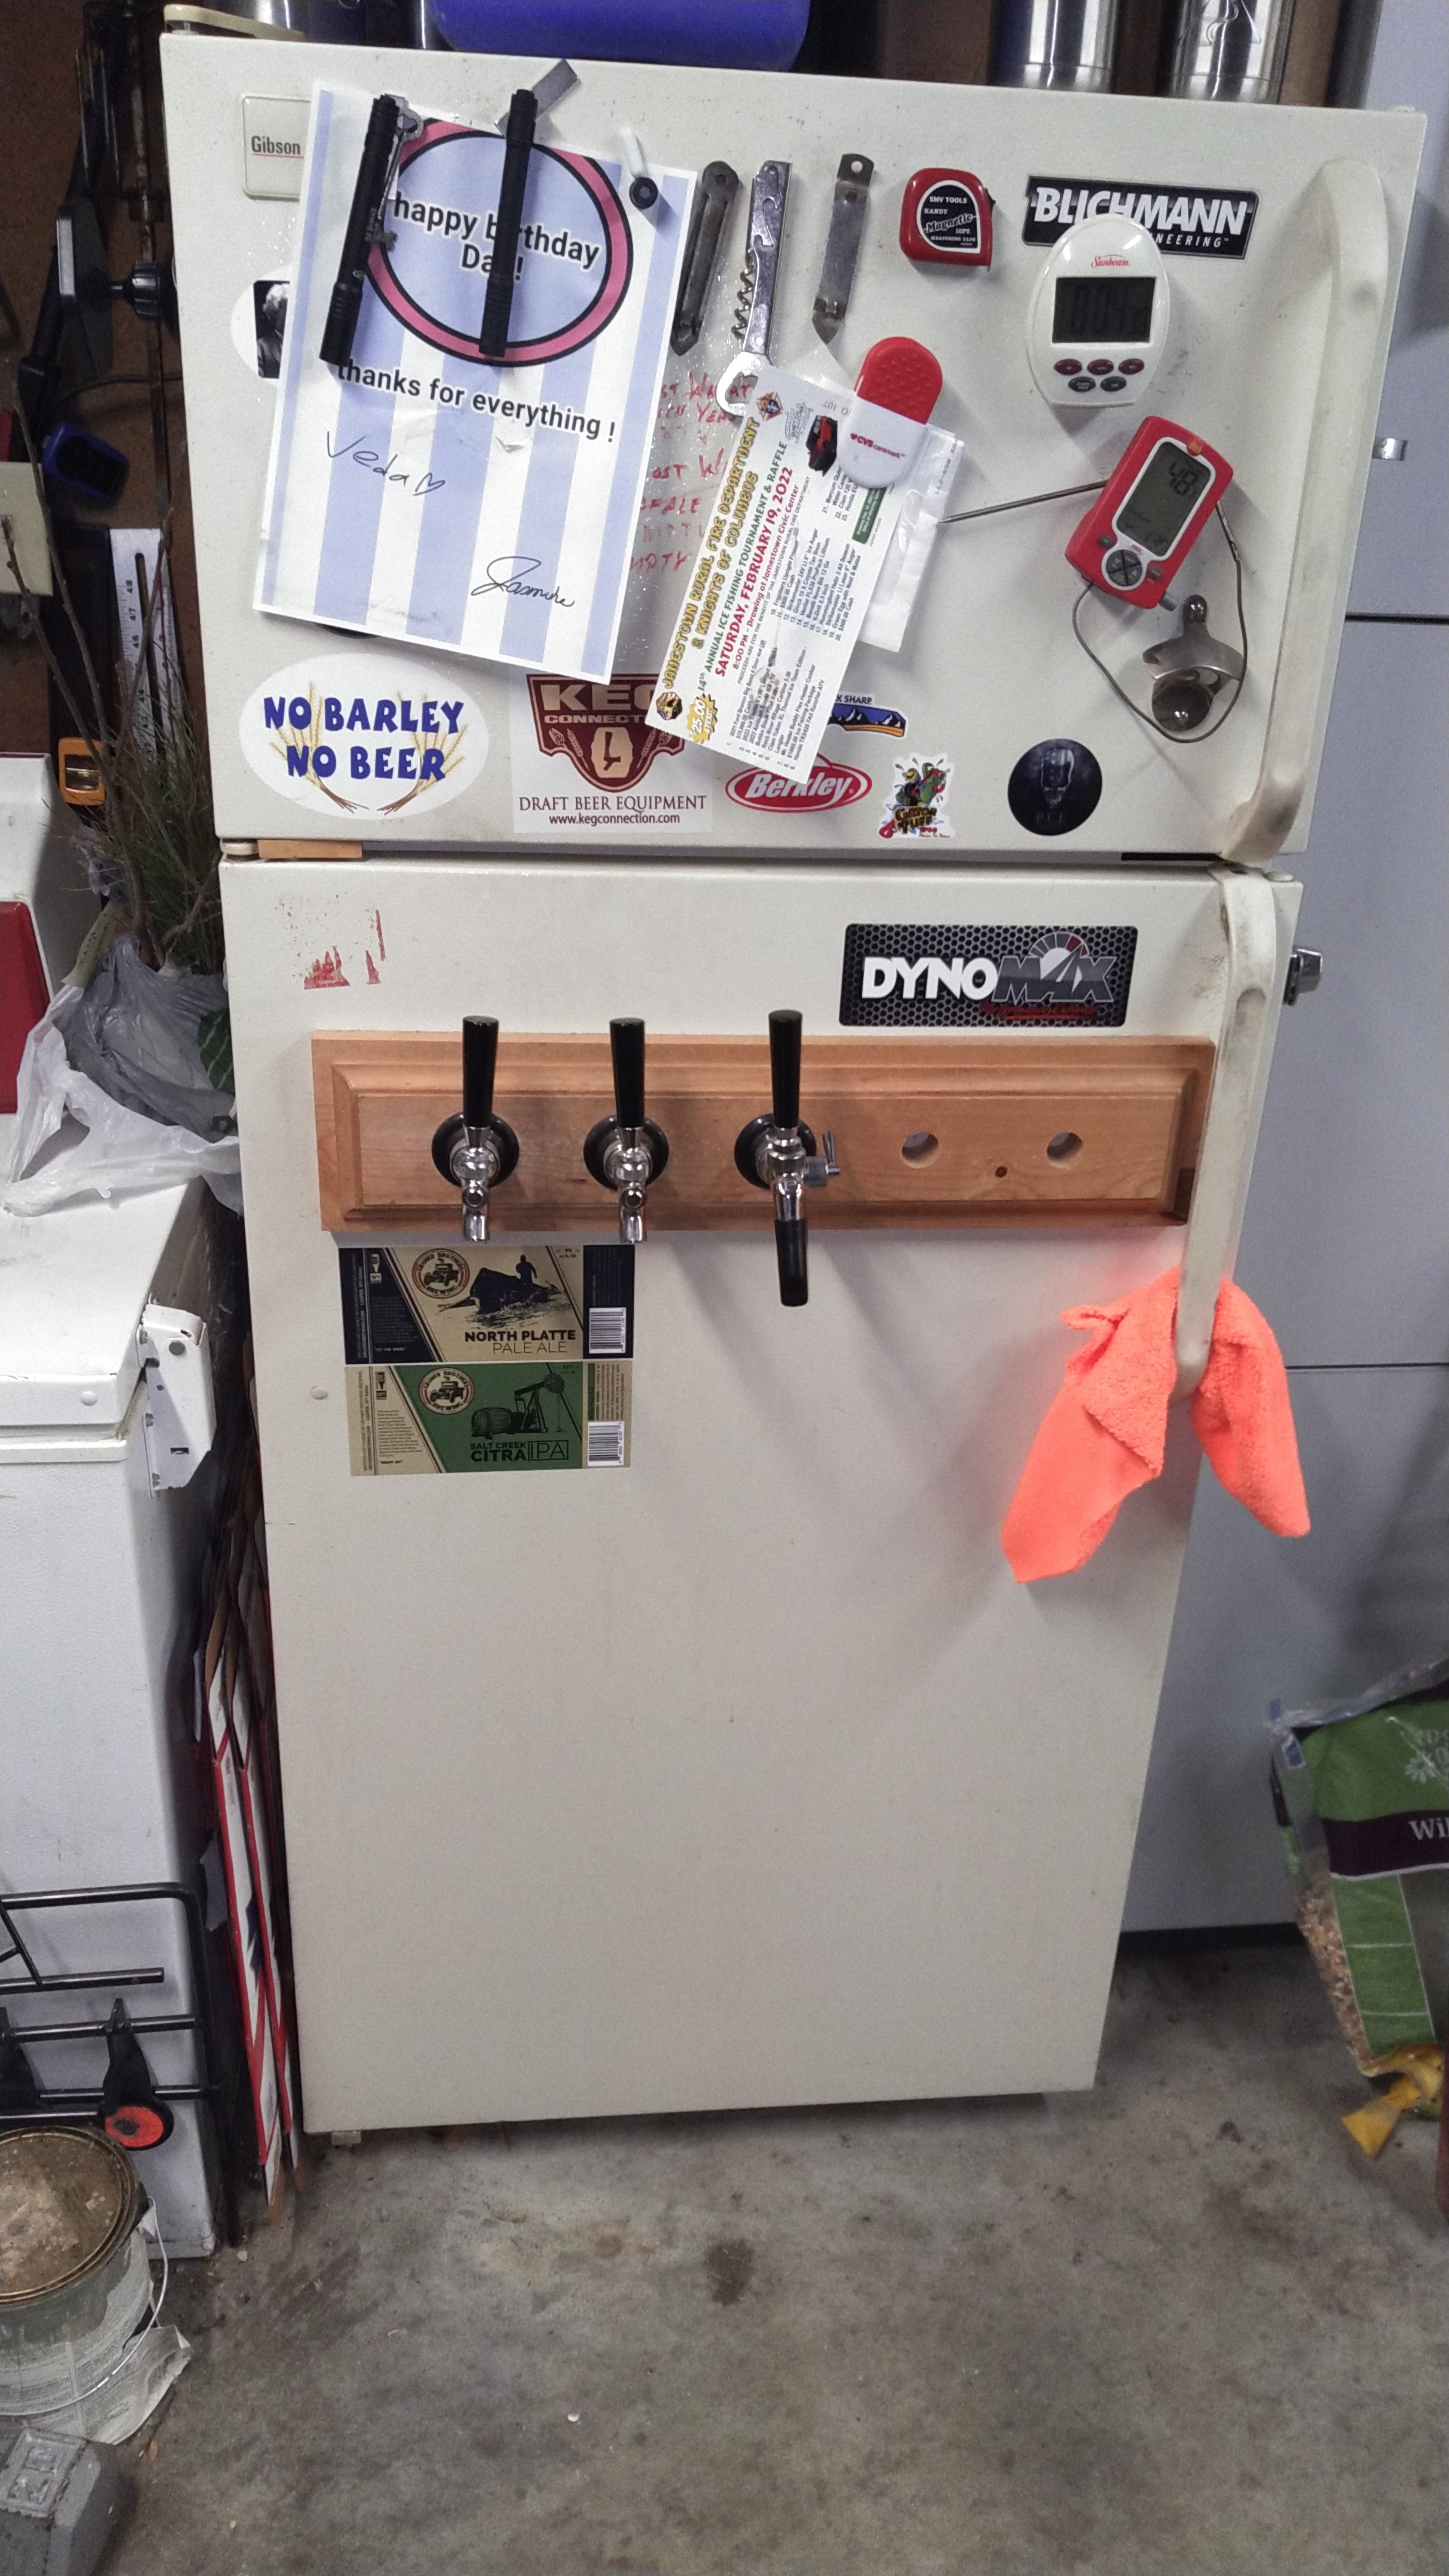
Nitro keezer:
Hard to see the etching on the tap handles in this light. The taps are labeled &, %, and @. I’m already using numbers for keezer #1 and letters for keezer #2.
View attachment 774569
Inside is bog-standard, EVA + Duotight. Manifold for beer gas, secondary for CO2 for initial carbonation:
View attachment 774570
The kegs sit on a shelf, stood off a few inches from the freezer bottom, with 2 fans blowing to circulate air:
View attachment 774571
Thanks! Yes, I used stencils and salt-water etching with an AC/DC power supply. (DC removes metal, AC turns the surface black.)Did you etch those handles yourself? Pretty slick looking keezer!
Thanks! Yes, I used stencils and salt-water etching with an AC/DC power supply. (DC removes metal, AC turns the surface black.)
I just used an AC wall wart (I think it was 12 VAC). I did the standard stuff to get DC (diode bridge, capacitor, voltage regulator), but just used the AC as-is.I did the battery charger trick when I did my mash tun. My numbers were chalky white. I didn't know AC would make the numbers black. Any particular supply you used? I may go that route and redo my MLT and some other projects.
I just used an AC wall wart (I think it was 12 VAC). I did the standard stuff to get DC (diode bridge, capacitor, voltage regulator), but just used the AC as-is.
Sorry! Most of the plug-into-the-wall transformers will both bring the wall voltage down and convert AC to DC. There are some that lower the voltage but keep it AC. I used something like this:Pardon my ignorance, but can you dumb it down more? I think the "AC as is" is throwing me off.
I had a DC battery charger I used when I did mine. It was just a matter of the black (-) connection to the kettle and the red (+) connection to a Q-tip in some vinegar/salt solution. Mine is still pretty legible, but I like the black much better like what's on my Spike kettles.

So, if it keeps it AC, just cut the plug off and split the wiring to the Q-tip and metal part? Seems easy enough. I may look around for some old wall warts that can work. Thanks!Sorry! Most of the plug-into-the-wall transformers will both bring the wall voltage down and convert AC to DC. There are some that lower the voltage but keep it AC. I used something like this:
https://www.newark.com/triad-magnetics/wau12-1000/adaptor-ac-ac-120v-12v-1a/dp/96M0296
One connection to the metal part, one to a Q-tip, just as before. I didn't use vinegar, just salt, but I bet it works both ways.
Consider the door View attachment 774654
I used 8 short fat (#10?) sheet metal screws through the door's inner steel panel. I was worried about the weight of the quad secondary Taprite, but it's been rock solid. Kegco commercial, not Komos: ymmv.I plan on going (hoping I can go?) this route with mine. I have the Komos so was wondering what would be the best way to mount the distributor to the door without it falling off? I plan on mounting a 4 port distributor and one secondary regulator for force carbing, so weight wise I hope it's easier.
What I like about the Komos is the back has carb caps, so the openings are completely closed off. This is great as I don't have to open the door for a gas connection for bottling or having to use the main tank if the spare is out.


@oblongshapes i second this! Would look so nice!@oblongshapes
A wooden lid cover matching the collar would finish it off nicely. But it looks really good.
Yea, my dumb cat keeps using it and now I get fur in my glasses!Just noticed the glass washer on the bottom left is a bit inconvenient.


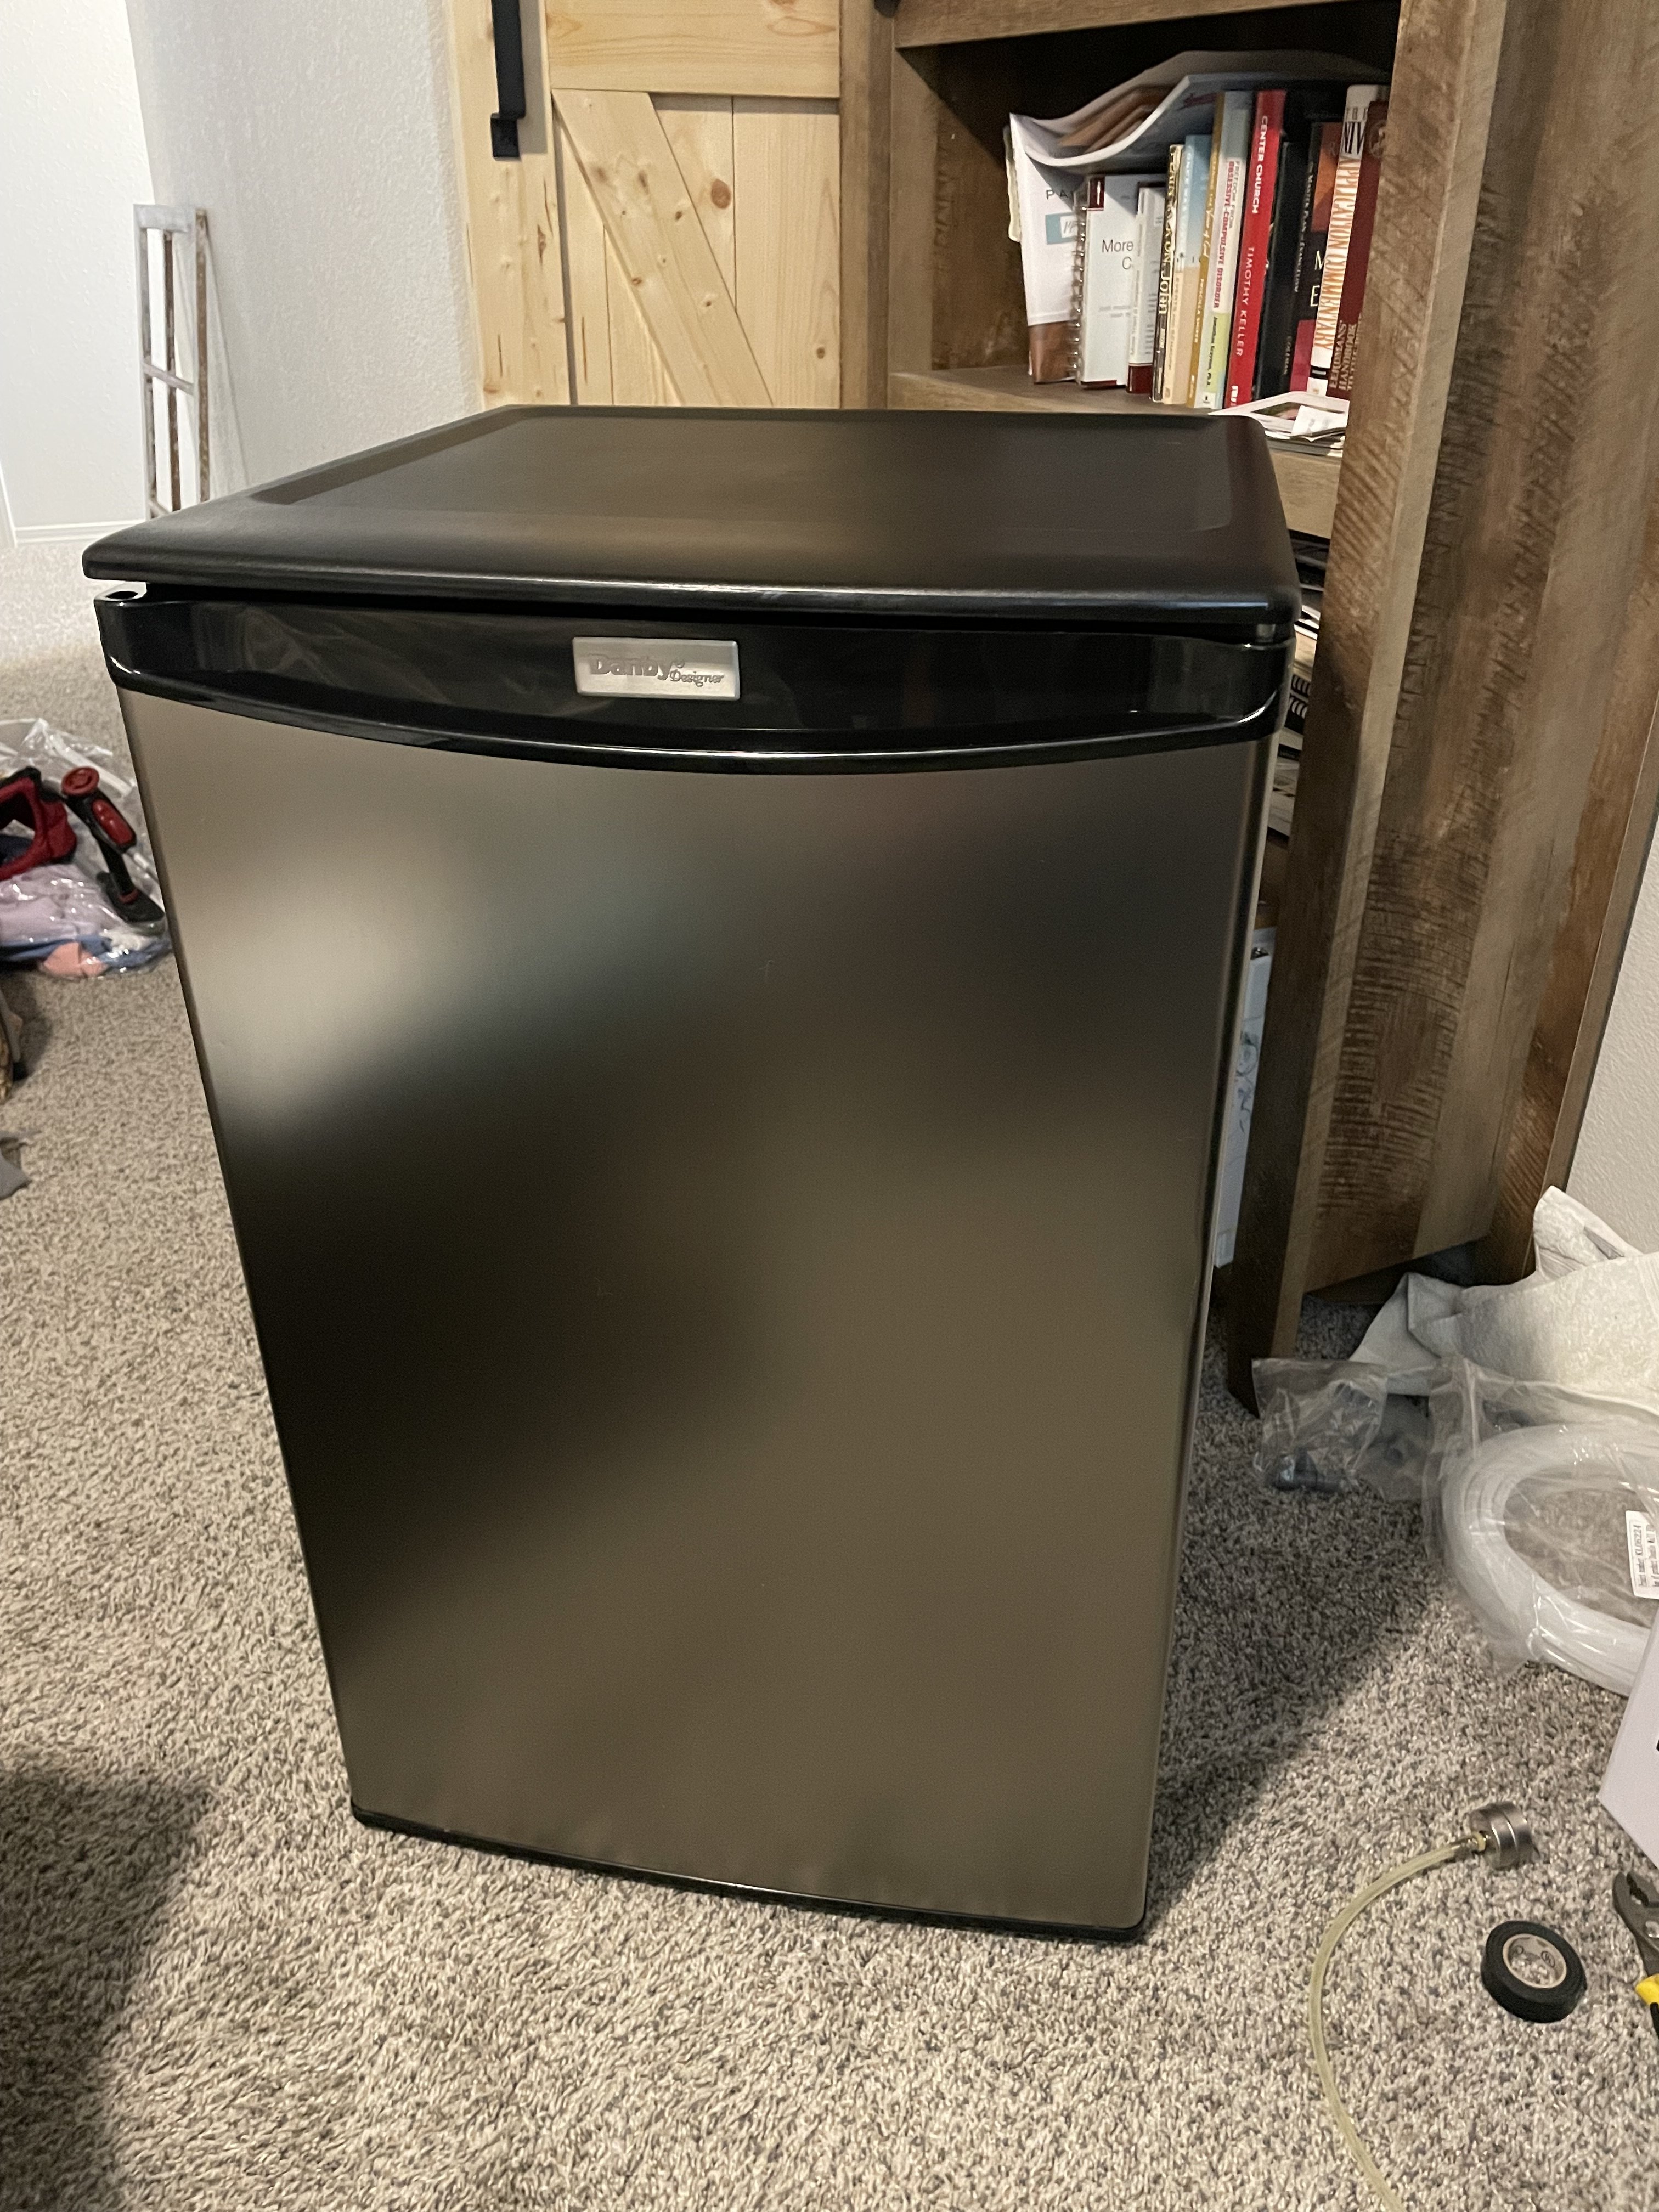
That's a nice looking setup, good call on the duotight. I've been wanting those flow control ball locks, interested in how they work out for you.Another Danby conversion. Nothing real special, but it means a lot to me. I've been suffering from long covid for 13 months now and this project gives me something to look forward to...when I can brew again and enjoy some good beer. For now I need to continue to do what I can to get better, which means no beer for now.
Duotight throughout, intertap with springs, Komos tower and kegco guard rail. Eventually I'll get a tower cooler too. I used dust collection fittings to use for the collar. 4" to 2.5" reducer on top and I cut of the 4" section to use the leftover lip as a seal on the table top. 2.25" to 1.5" reducer for inside the fridge. Used leftover UHMW I had to make a plate, some sealant gorilla glue and caulk to seal everything. Going to eventually upgrade the tap handles
View attachment 783865View attachment 783866View attachment 783867View attachment 783871
Thank you for the compliment and I hope I get better soon as well.That's a nice looking setup, good call on the duotight. I've been wanting those flow control ball locks, interested in how they work out for you.
Get better soon,
Jayjay
Thank you! I think there is light at the end of this tunnel and hoping I can turn a corner by the end of this year.Very nice job - sorry to hear of the long covid, but something good comes from something bad. Get Well Soon!
What model number Danby did you get? Thanks.
I feel for you get better! I had long Covid issues for about 3 months after having it. Kegerator looks great!Thank you! I think there is light at the end of this tunnel and hoping I can turn a corner by the end of this year.
I got the Danby DAR044A4BSLDD-6. It was made a year and a half ago, so hopefully it has lots of life left in it.
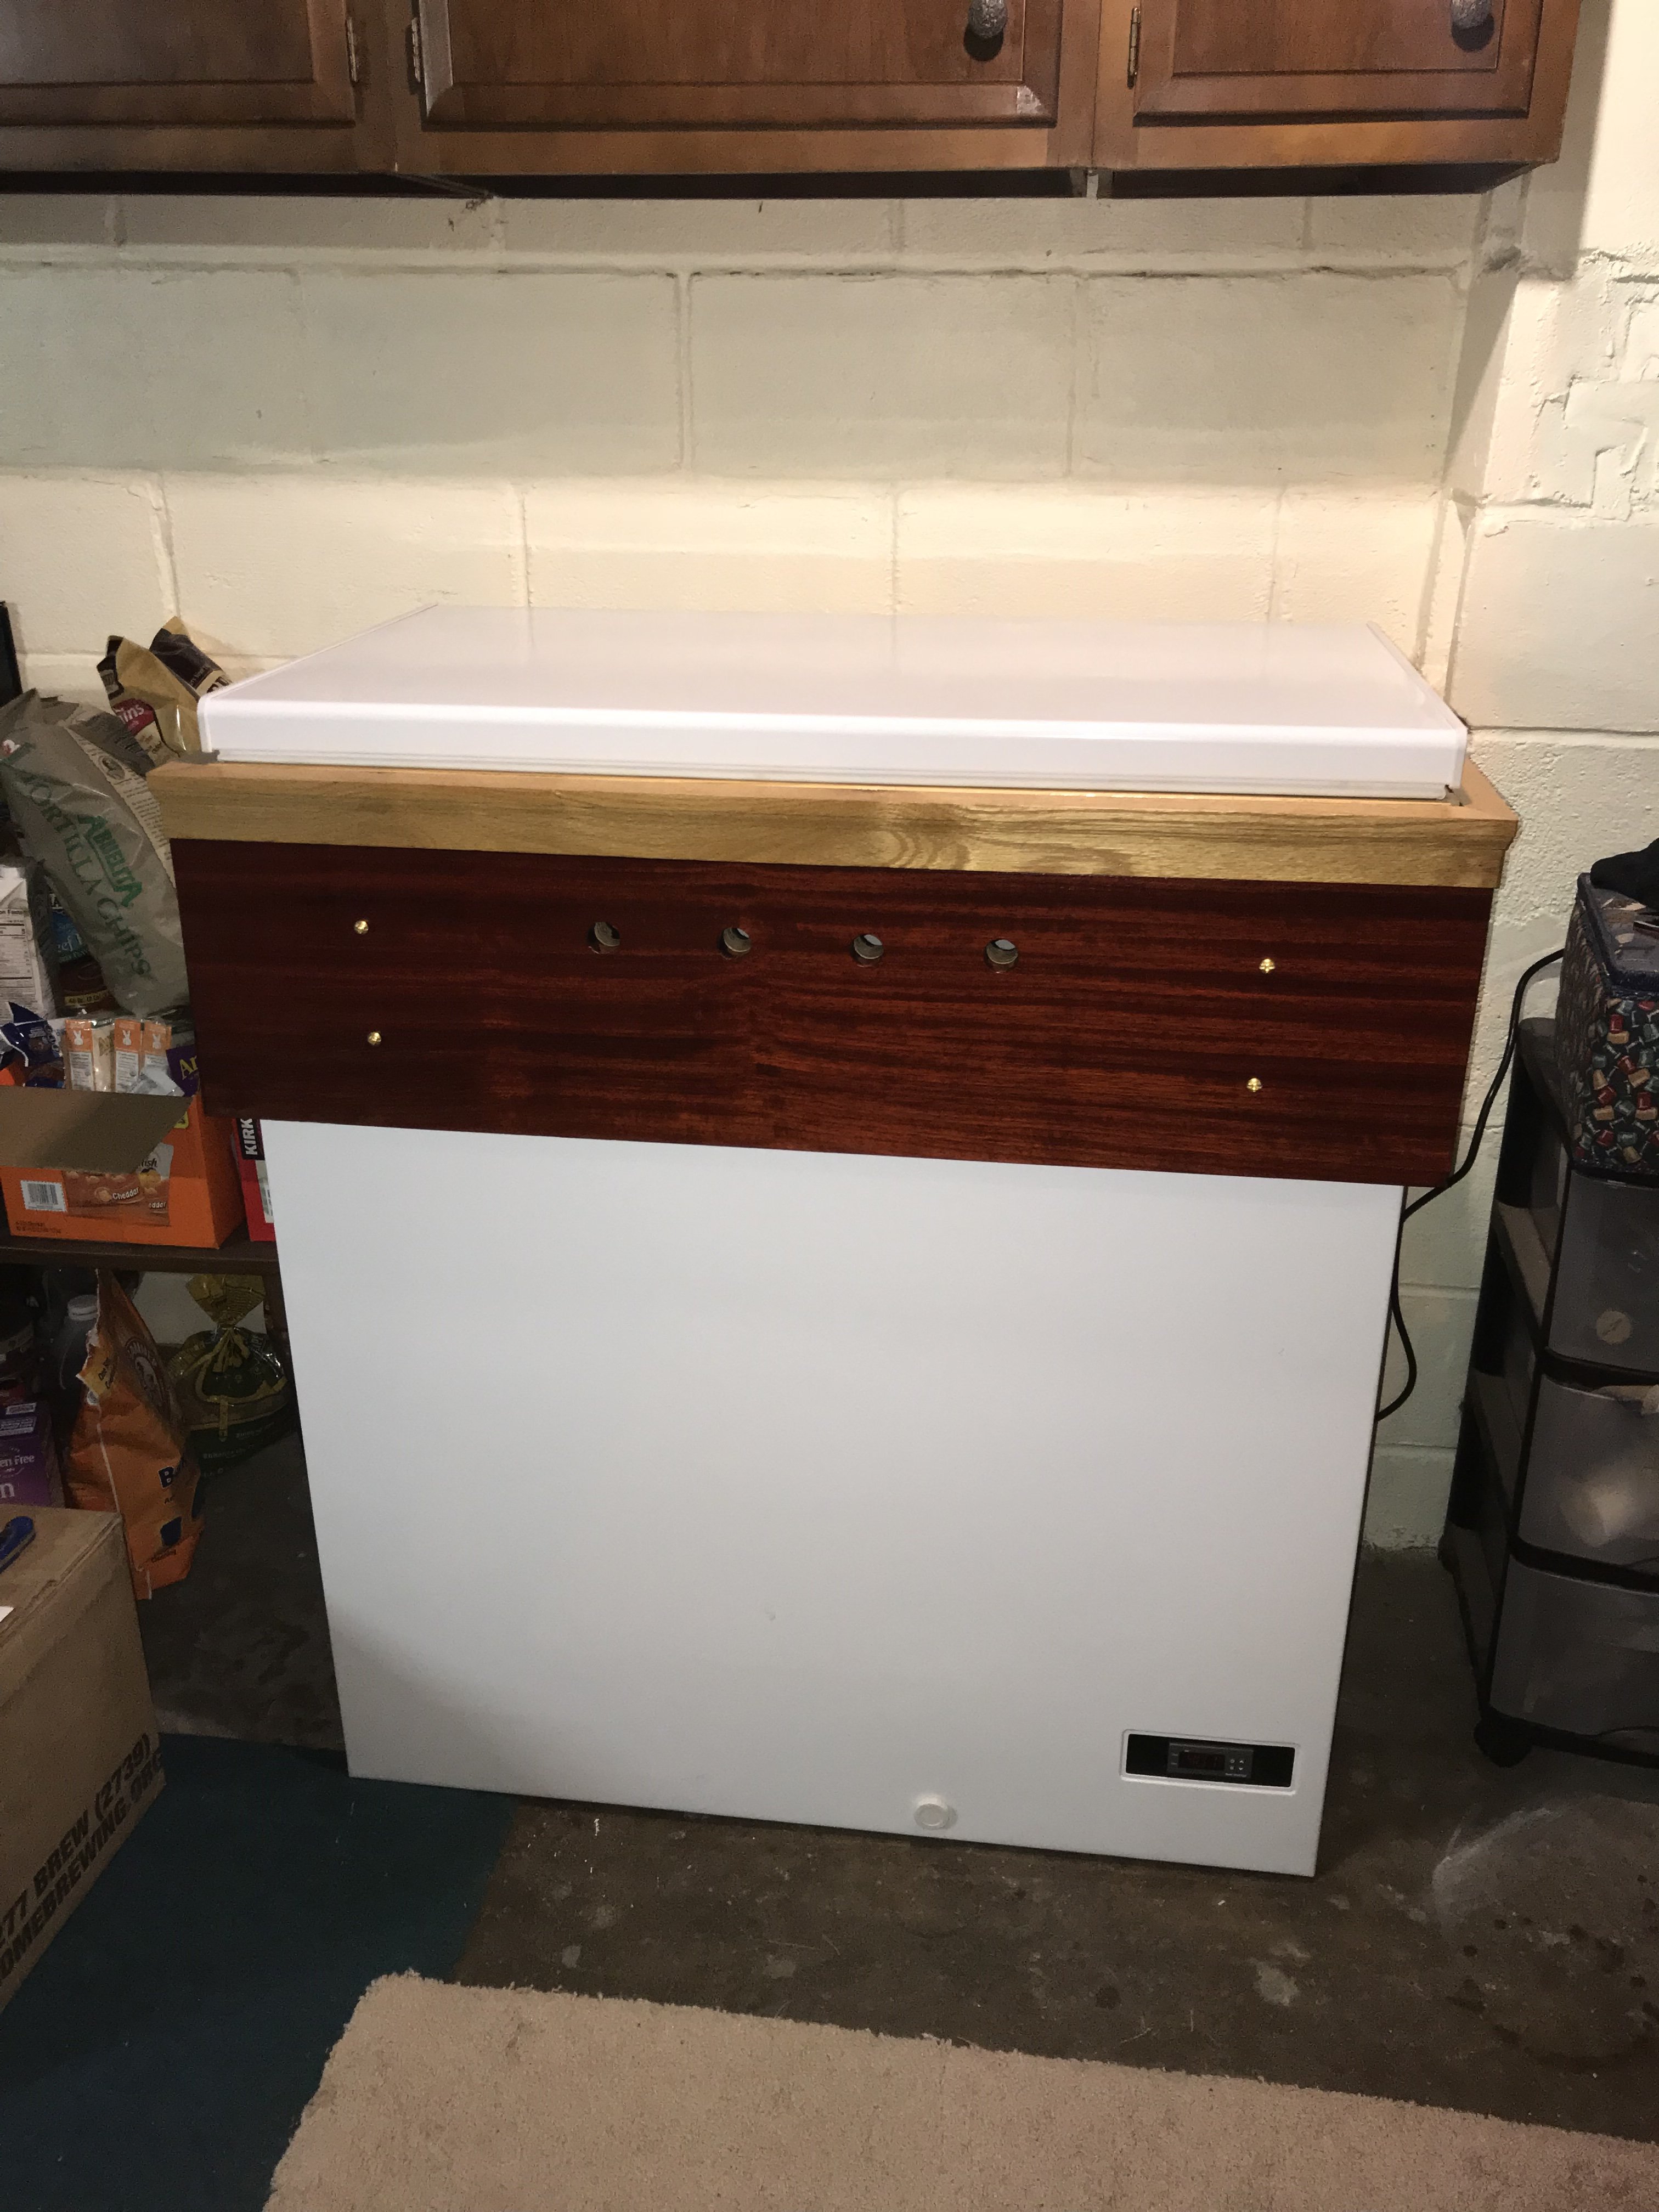
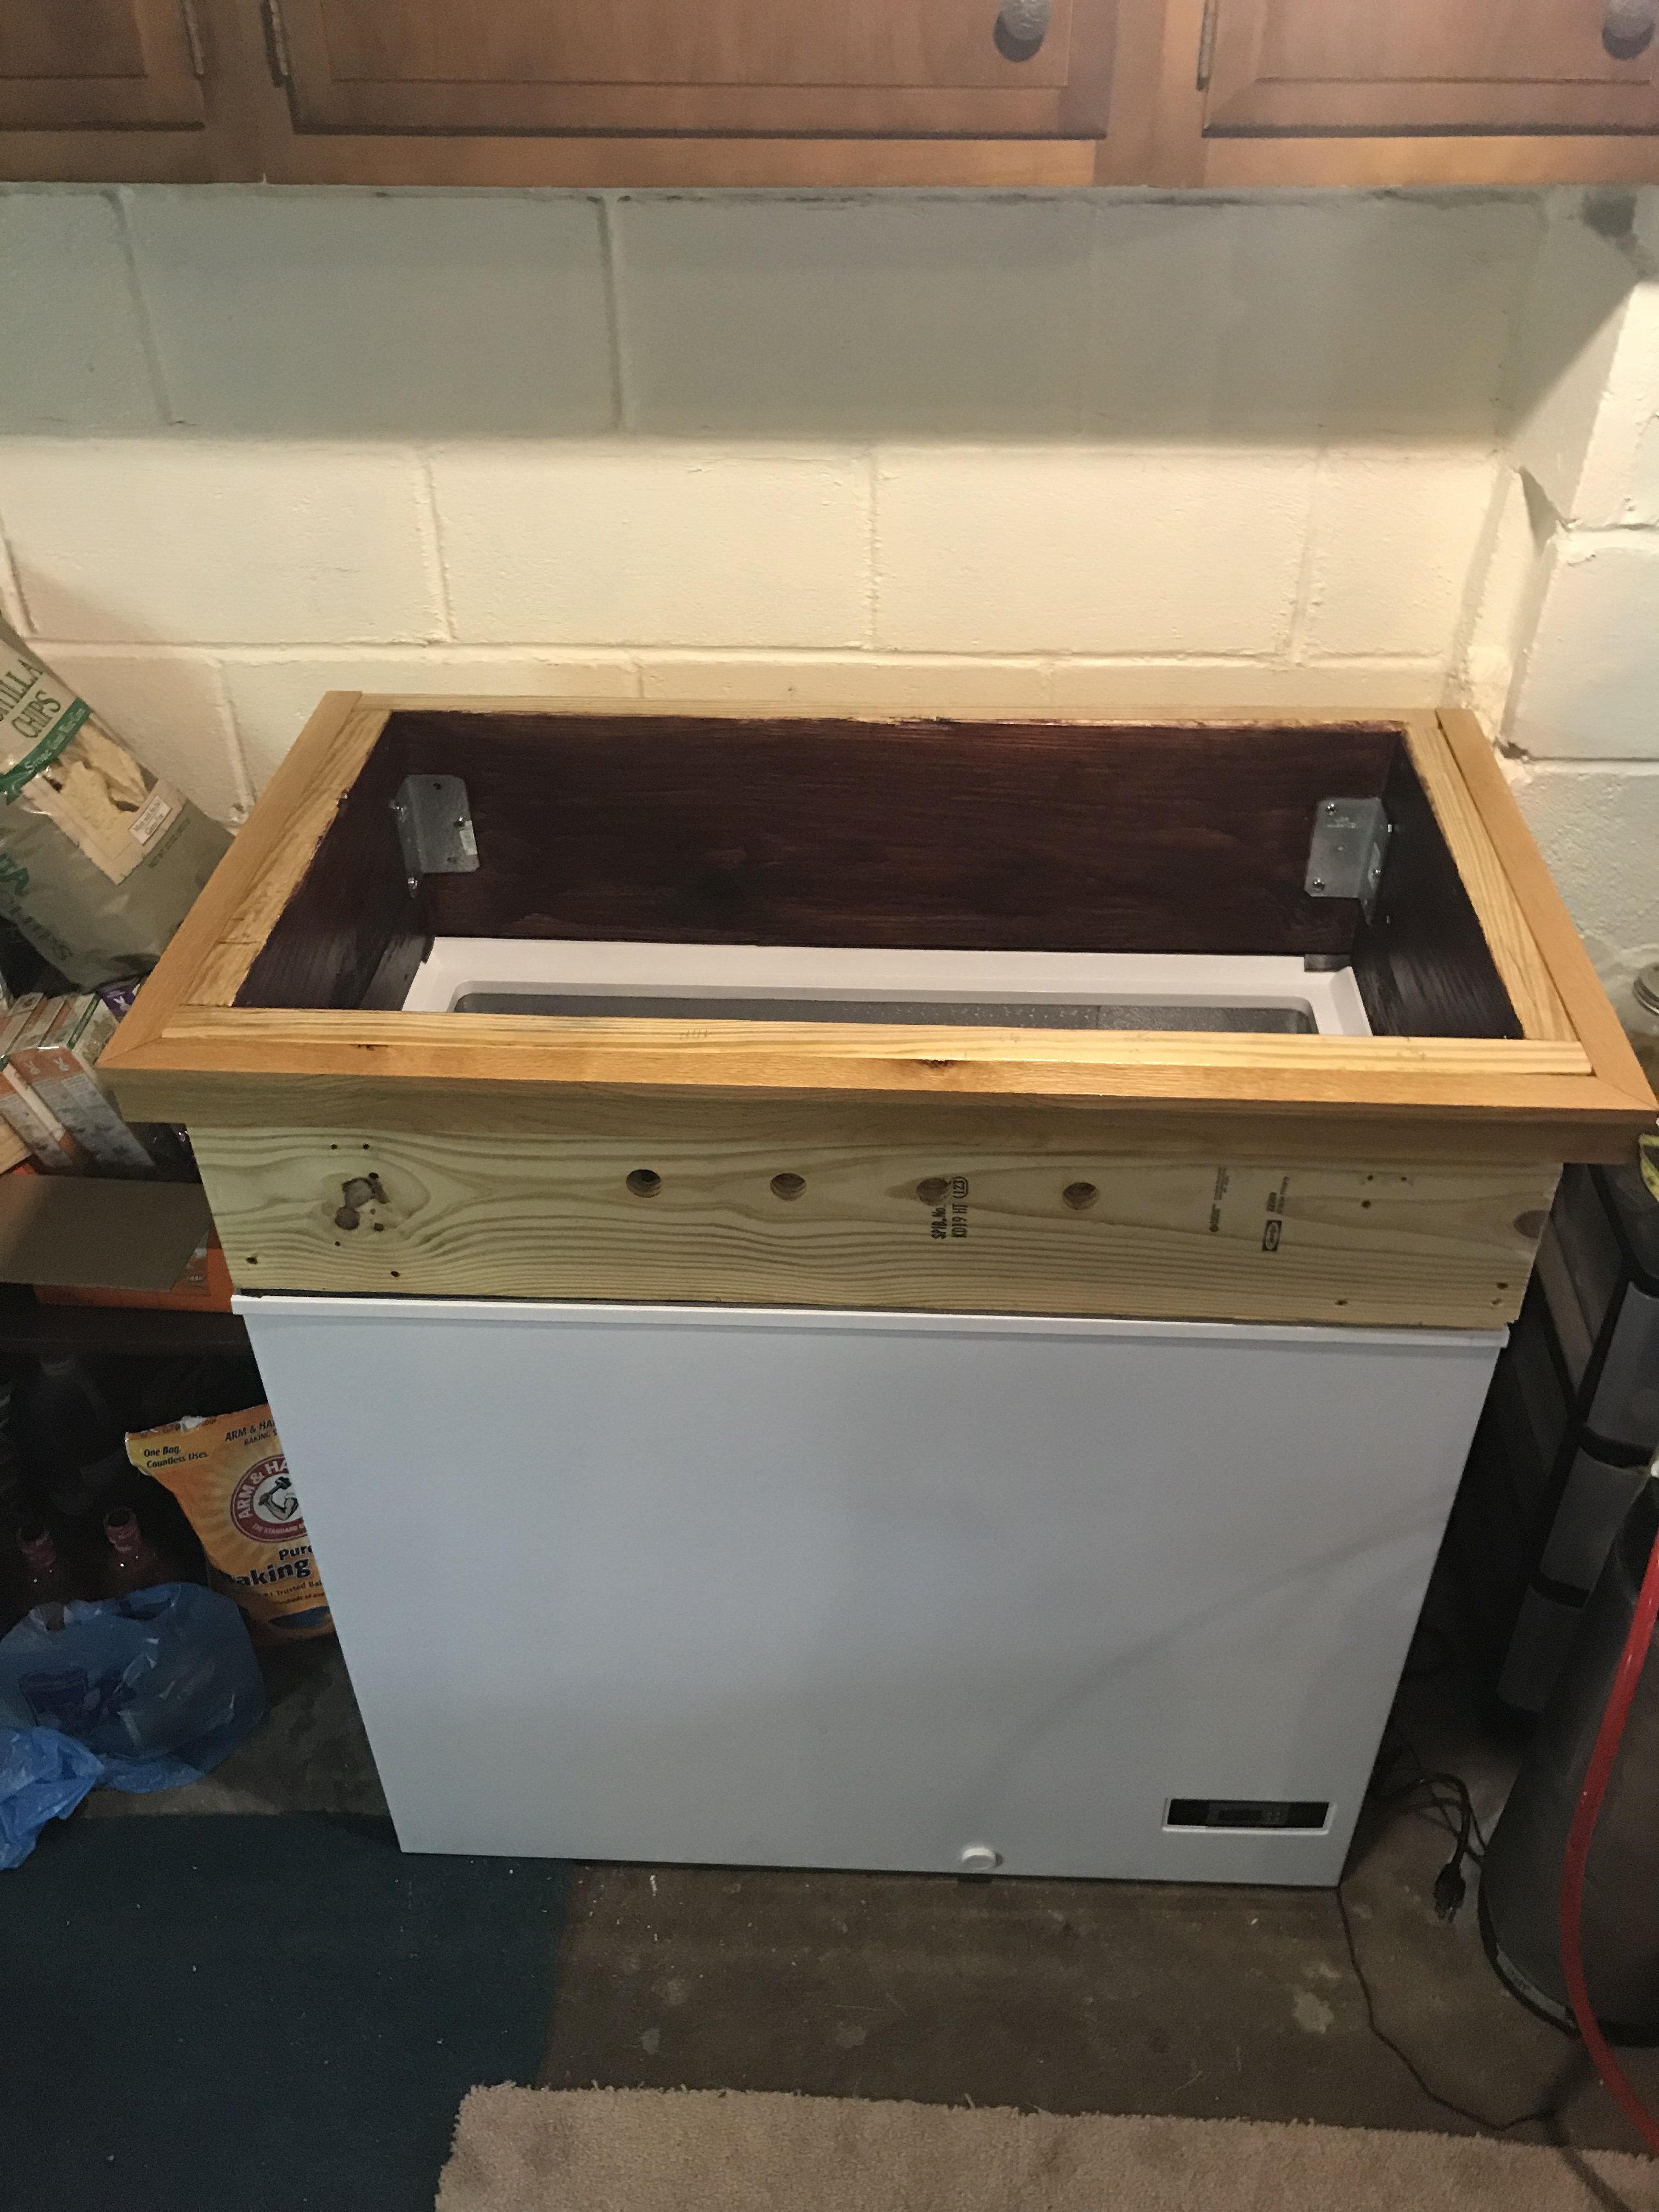
I have a Danby mini freezer, about the size of your fridge. I took the door off of it and strapped it to a junk chest freezer that died. I used it that way with a temp controller as a beer fridge. It was very ugly, but it worked and limped me by for many years. I'm now working it into a proper beer fridge with a built insulated box that will also be strapped to the Danby freezer. Long story, but the point is the Danby has served me well and I expect many more years when I get the new fridge built.Thank you! I think there is light at the end of this tunnel and hoping I can turn a corner by the end of this year.
I got the Danby DAR044A4BSLDD-6. It was made a year and a half ago, so hopefully it has lots of life left in it.

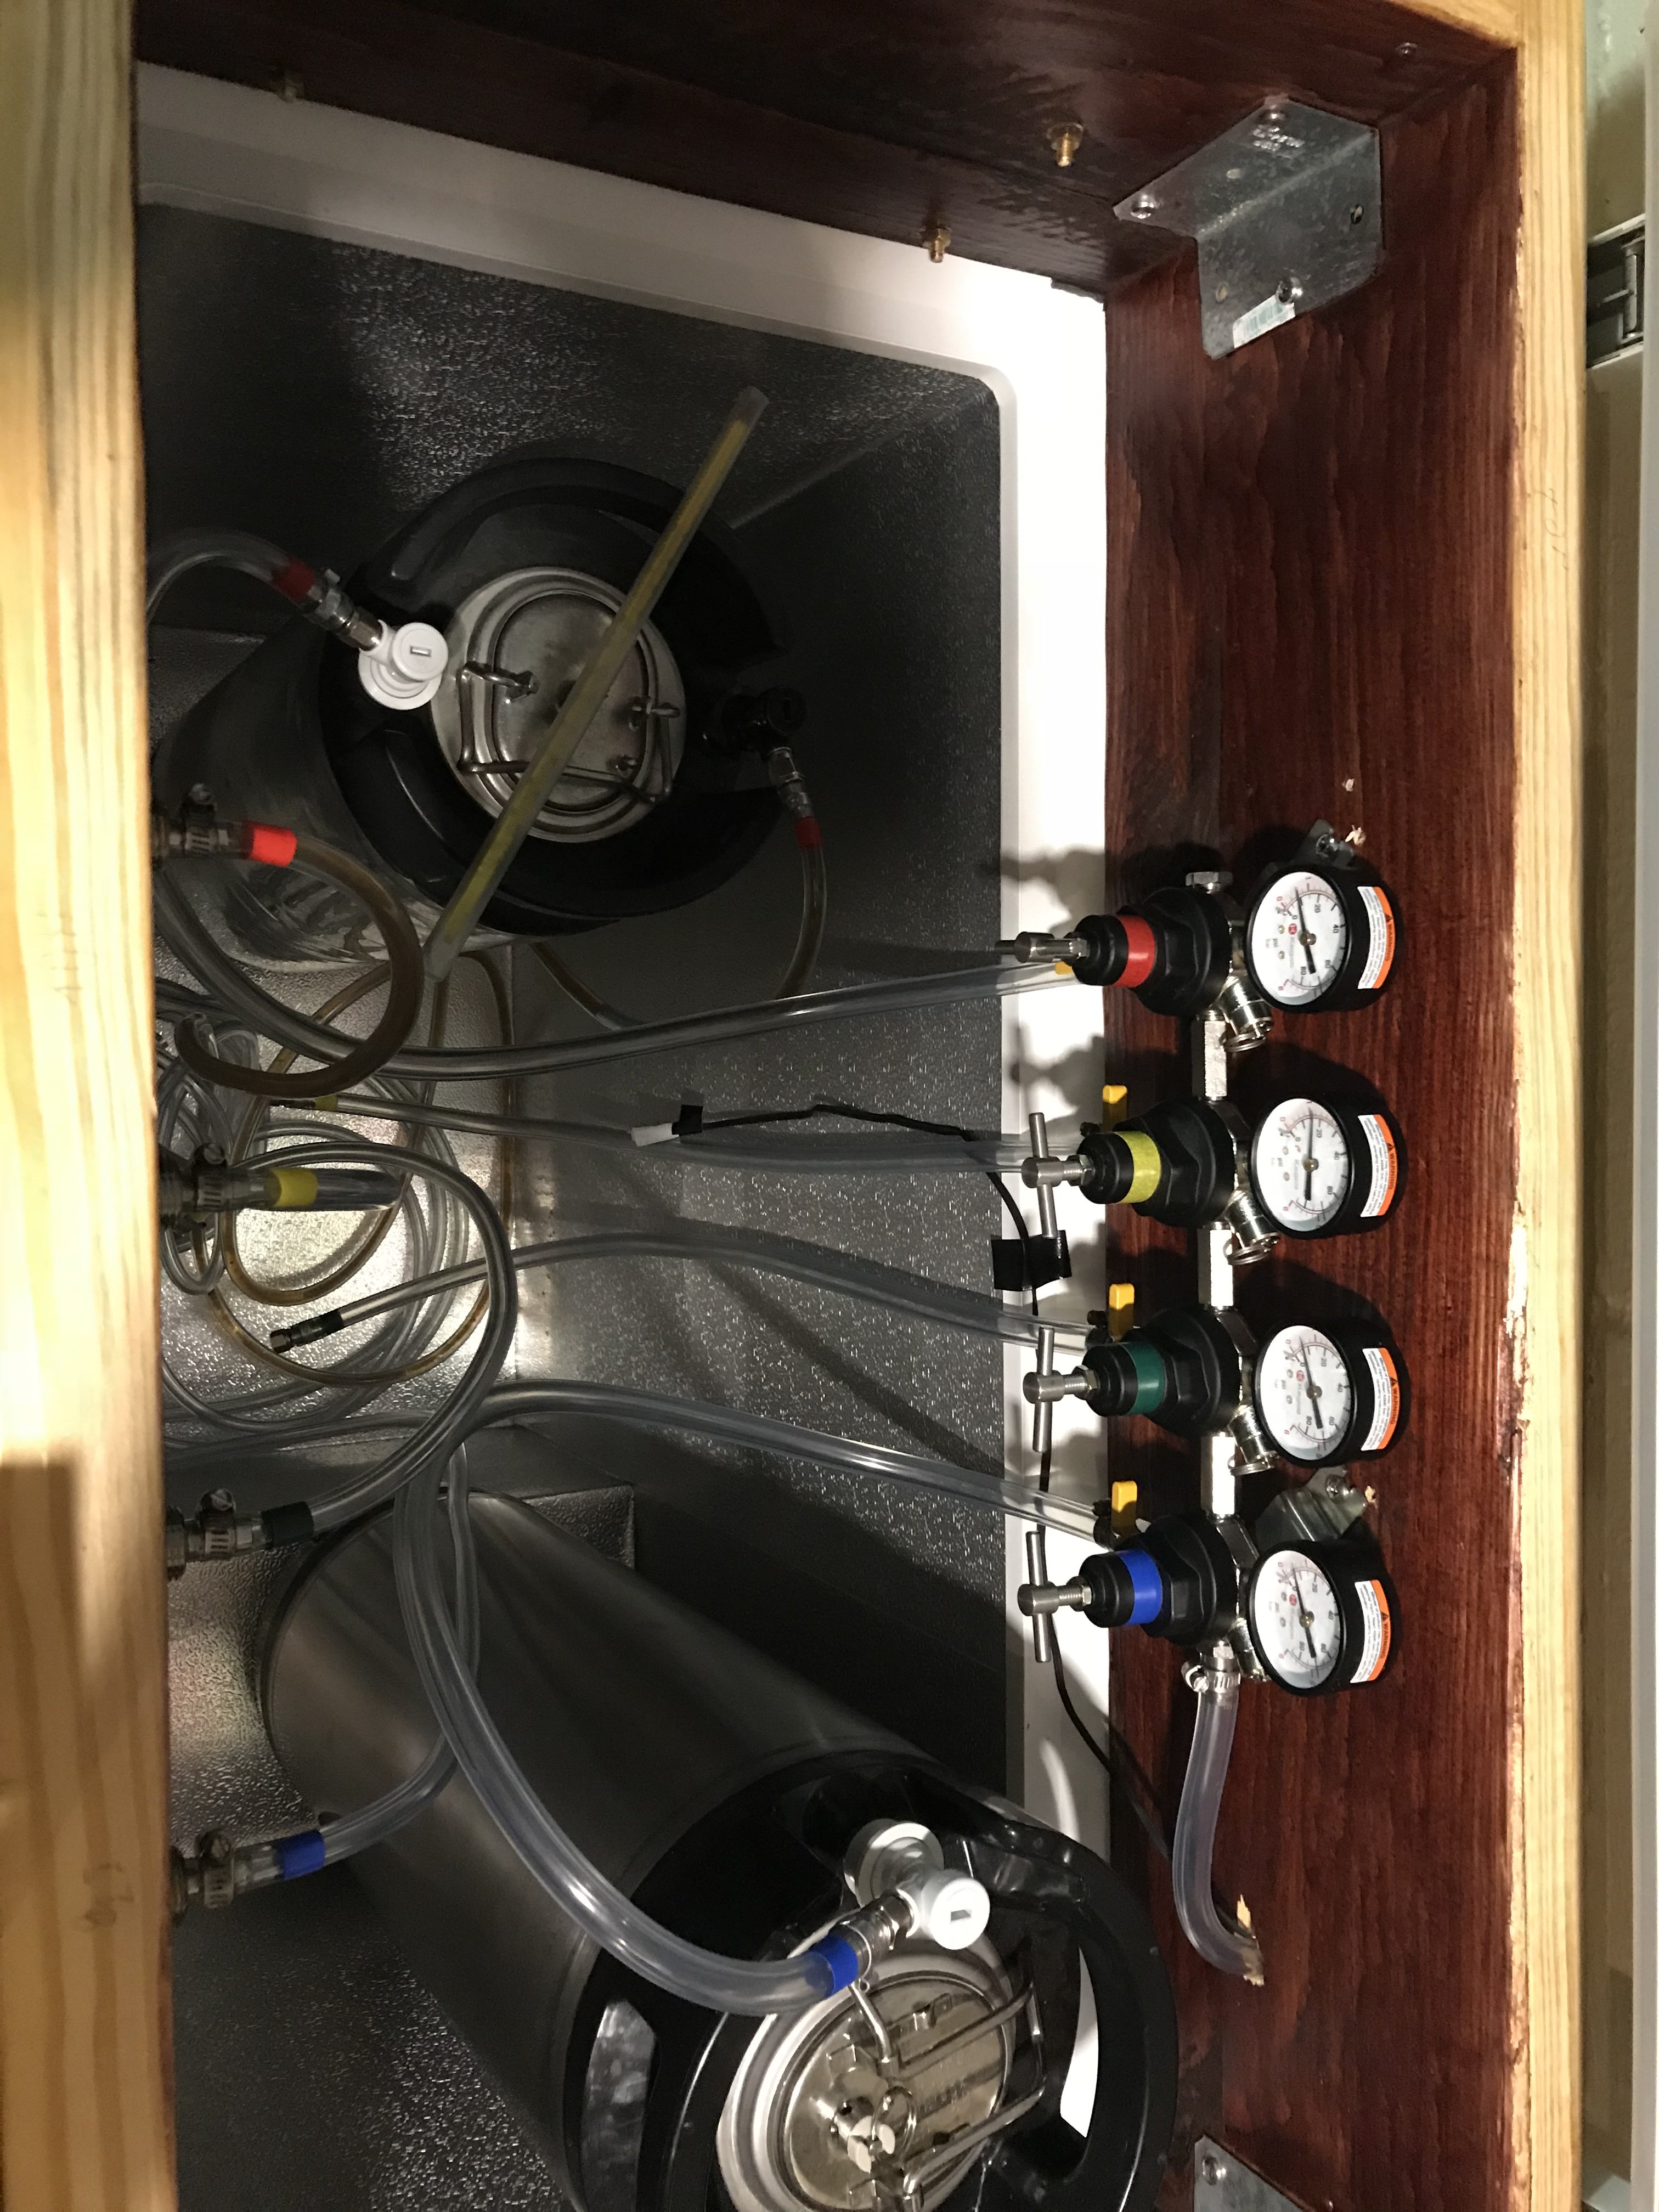
A couple things come to mind looking at your picture. Is there a way to have the CO2 tank/regulator/manifold outside of your kegerator? It appears the beers line exit the top into a tap tower, is there a way to sneak a gas line in too? A single gas line through there could supply your manifold or three gas line coming in with the manifold on the outside.Took a while to come up with this idea. I thought about hanging the distribution block on the back refrigerator plate, but it's pretty thin metal and the block is somewhat heavy without the hoses (didn't want to have the plate bend/warp). Also didn't want to put any permanent holes anywhere.
Not sure if I like the setup or not. I've yet to have a full kegerator with all three kegs and all the hoses, so that's my goal is to brew enough to fill it. Still want to get a bolt and maybe a wingnut to secure the co2 tank, and I need some tap handles, but other than that, it's gonna be the setup I run for a while. View attachment 784994