Show us your Kegerator

Homebrew Talk - Beer, Wine, Mead, & Cider Brewing Discussion Forum

Help Support Homebrew Talk - Beer, Wine, Mead, & Cider Brewing Discussion Forum:

This site may earn a commission from merchant affiliate links, including eBay, Amazon, and others.
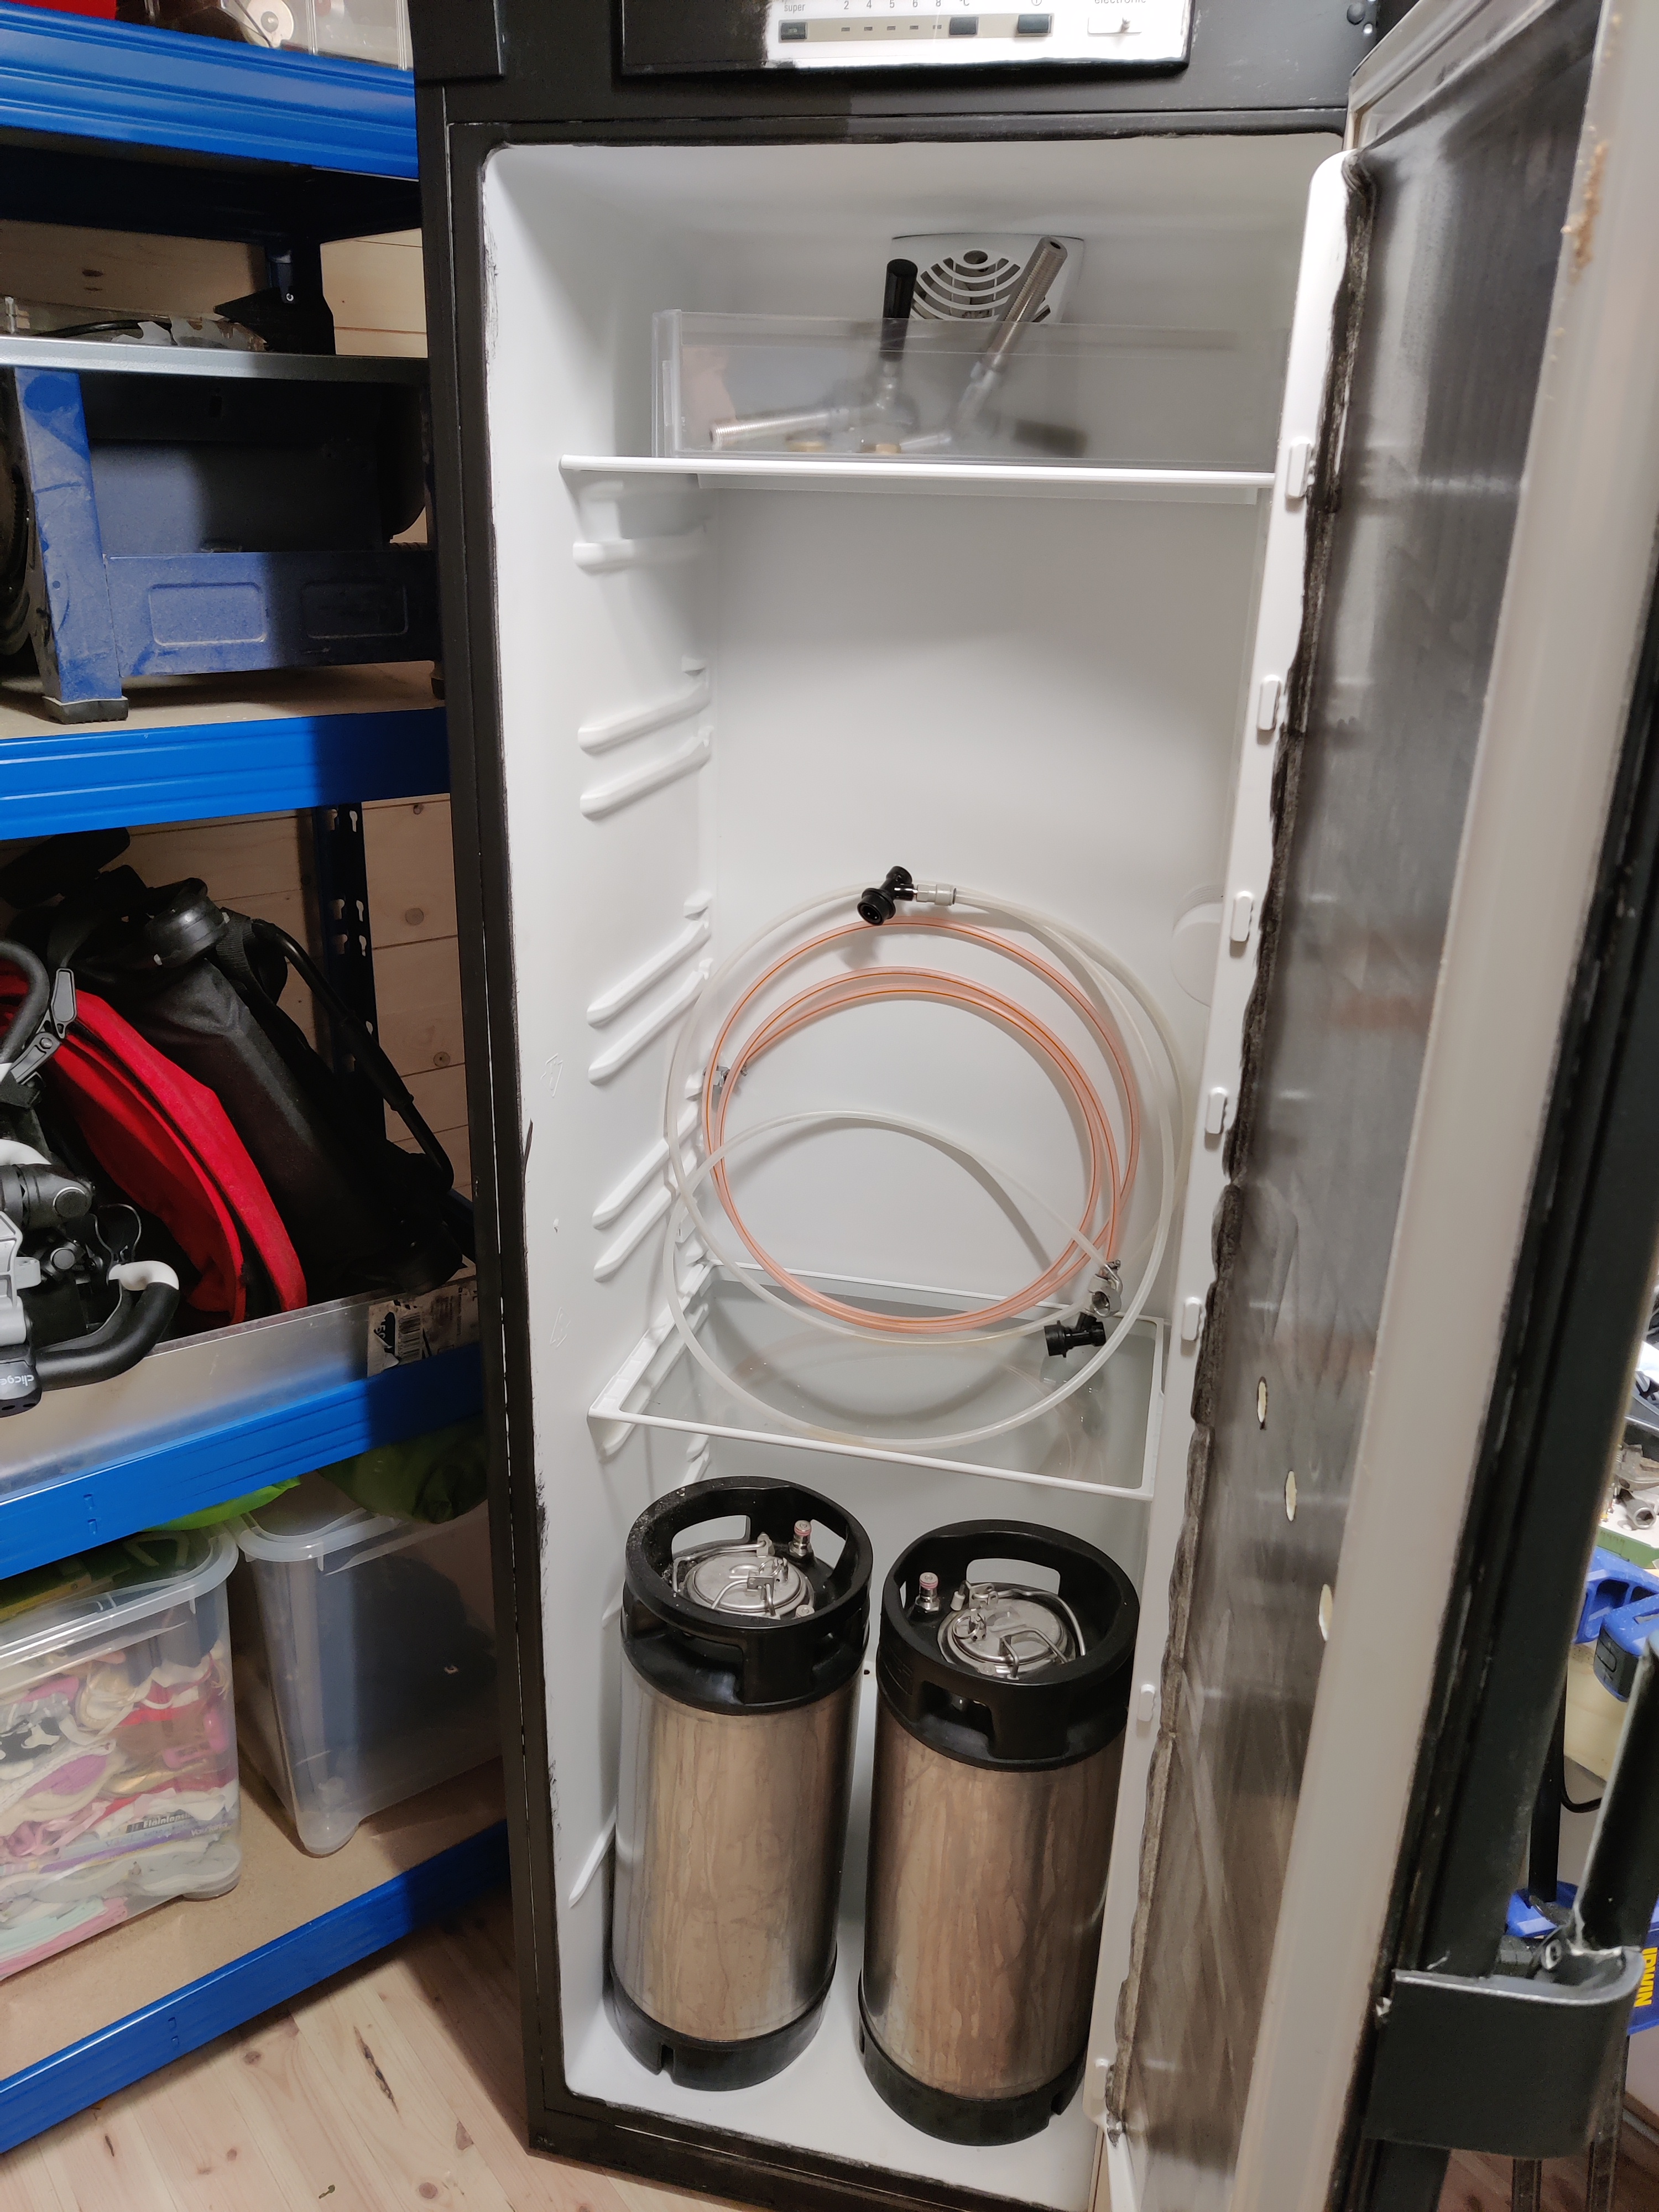
For heavy duty platforms inside my brew fridges I used 3/4" plywood. Cut to pick up the original shelving supports molded into the liners on my two smaller 17cf fridges, with added center and/or front supports as needed. Ironically that wouldn't work on the 22cf fridge (food compartment is actually shorter!) so I had to add supports on the sides, back, and down the middle. I don't ferment in the 22 so no reptile bulb heater nor fan.

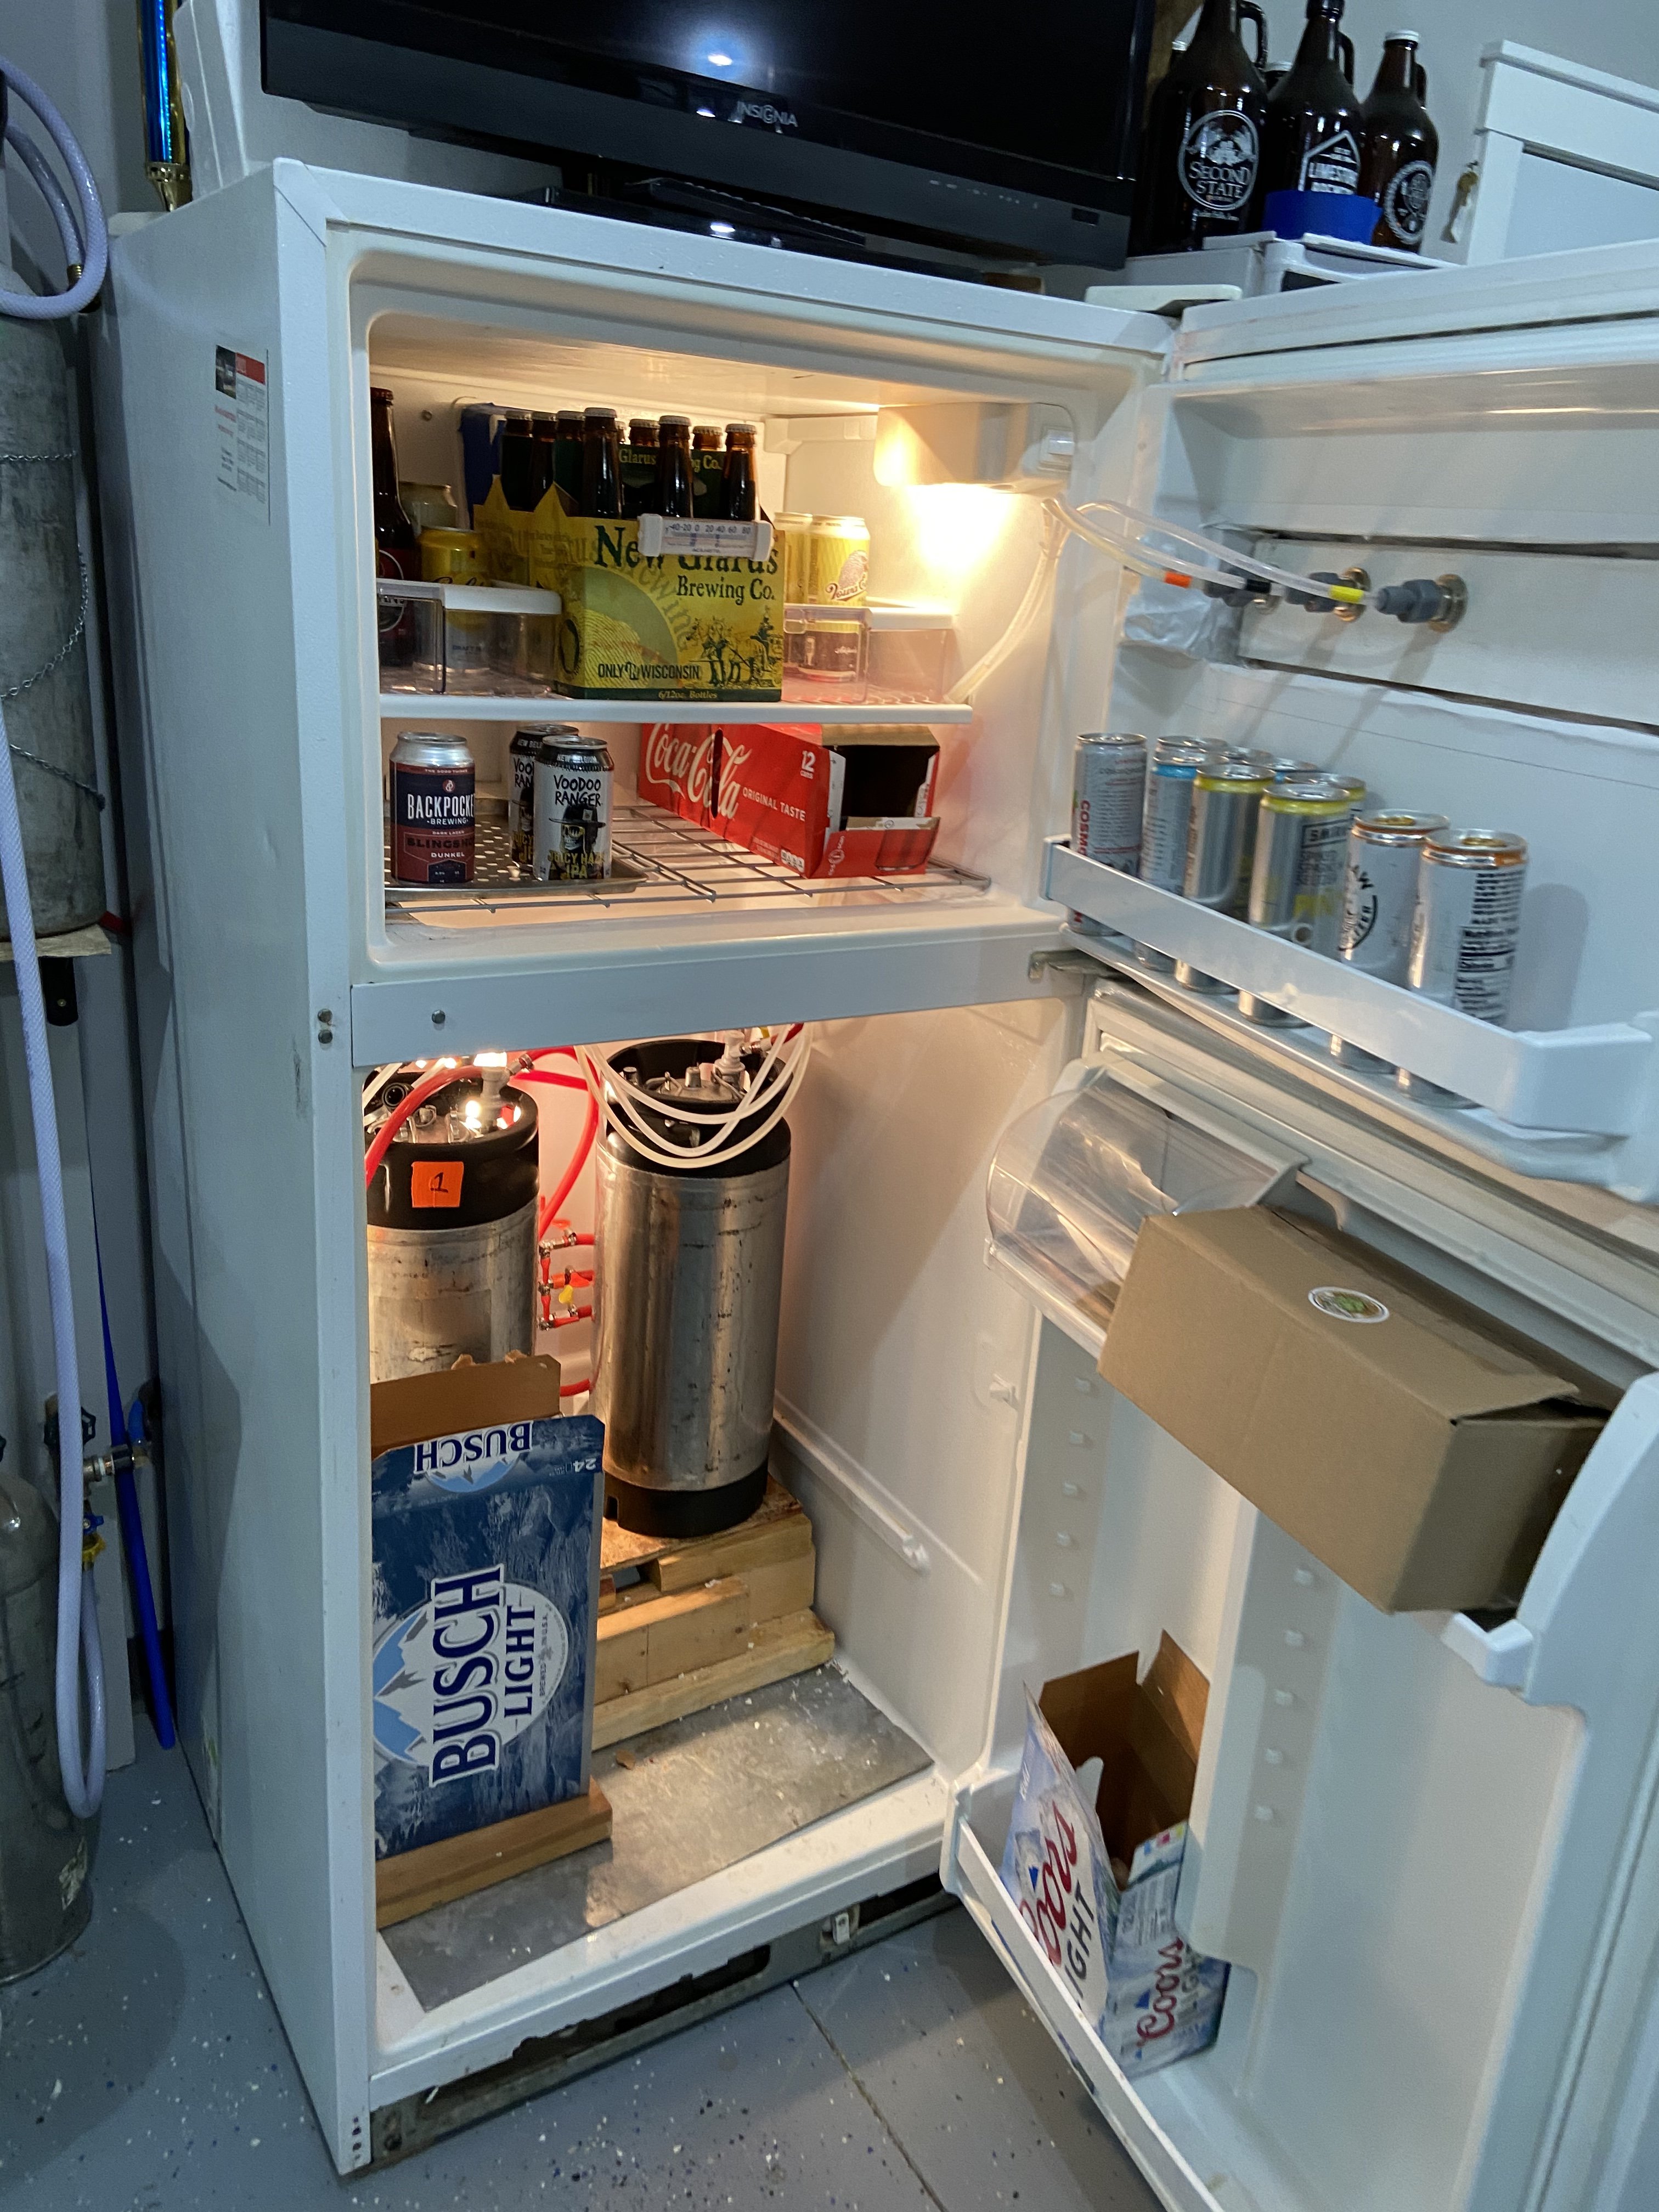
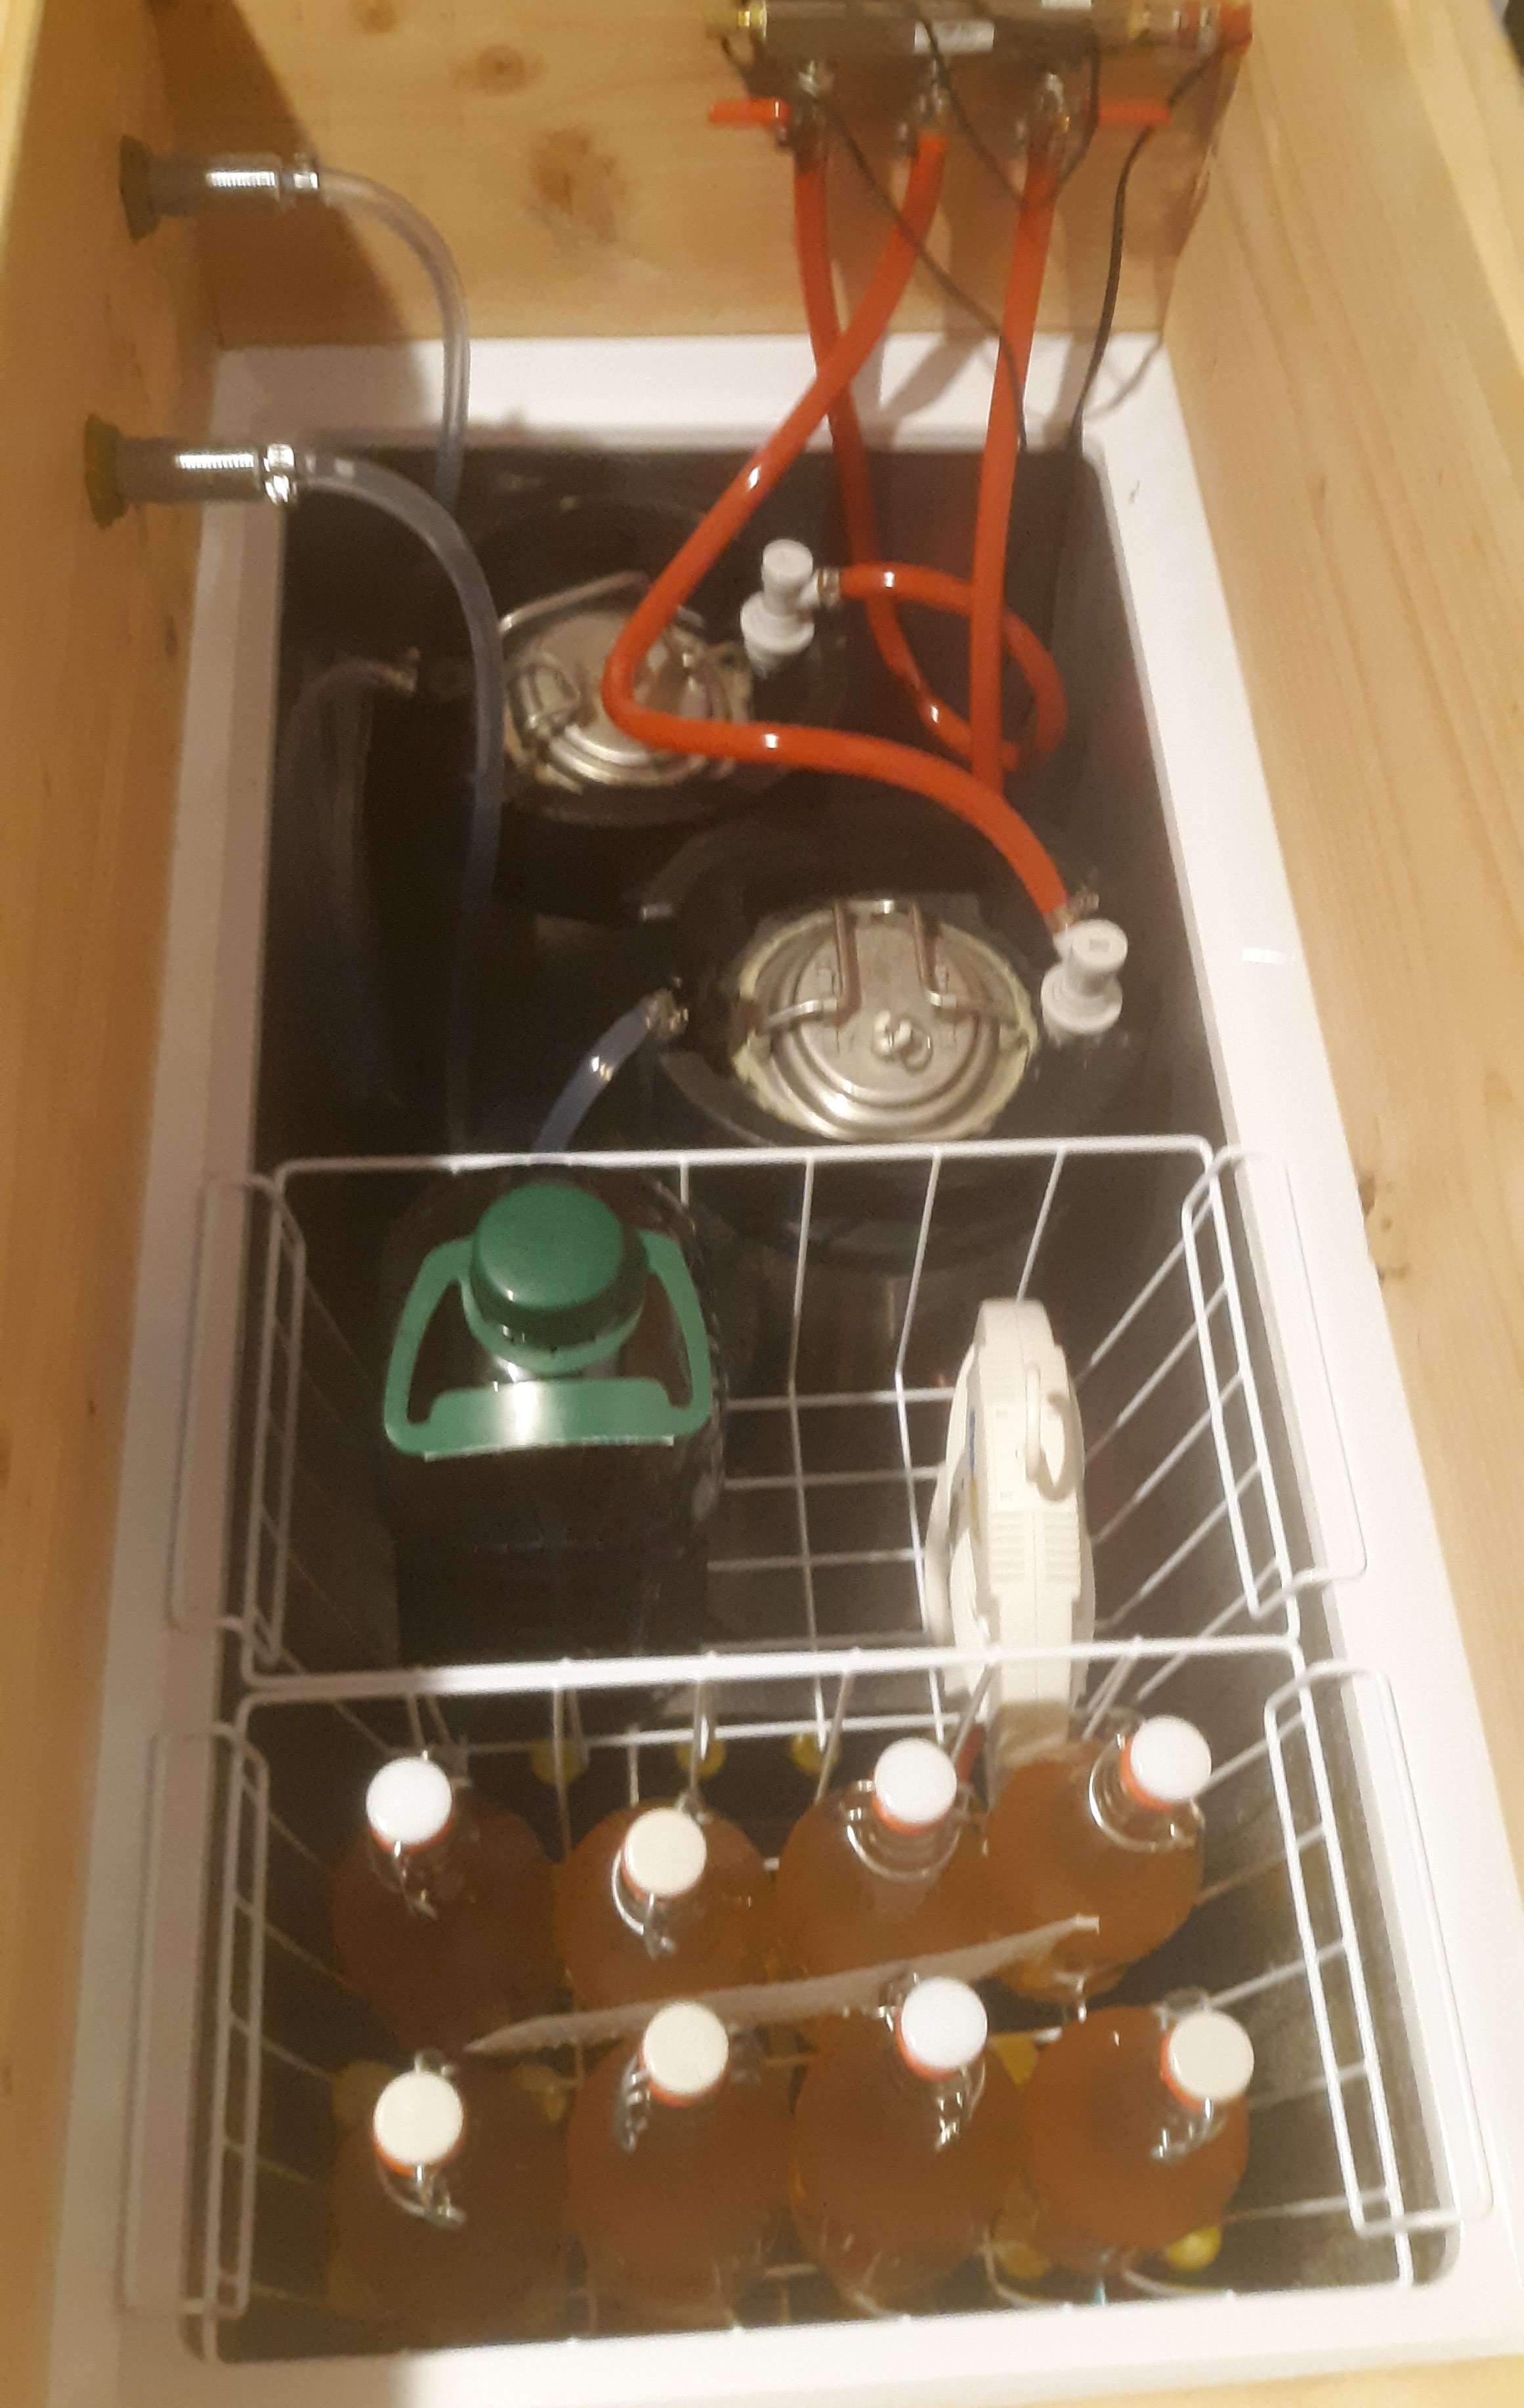
I've had as many as 5 full kegs on the two smaller 17cf fridges and 6 full kegs on the 22cf unit.
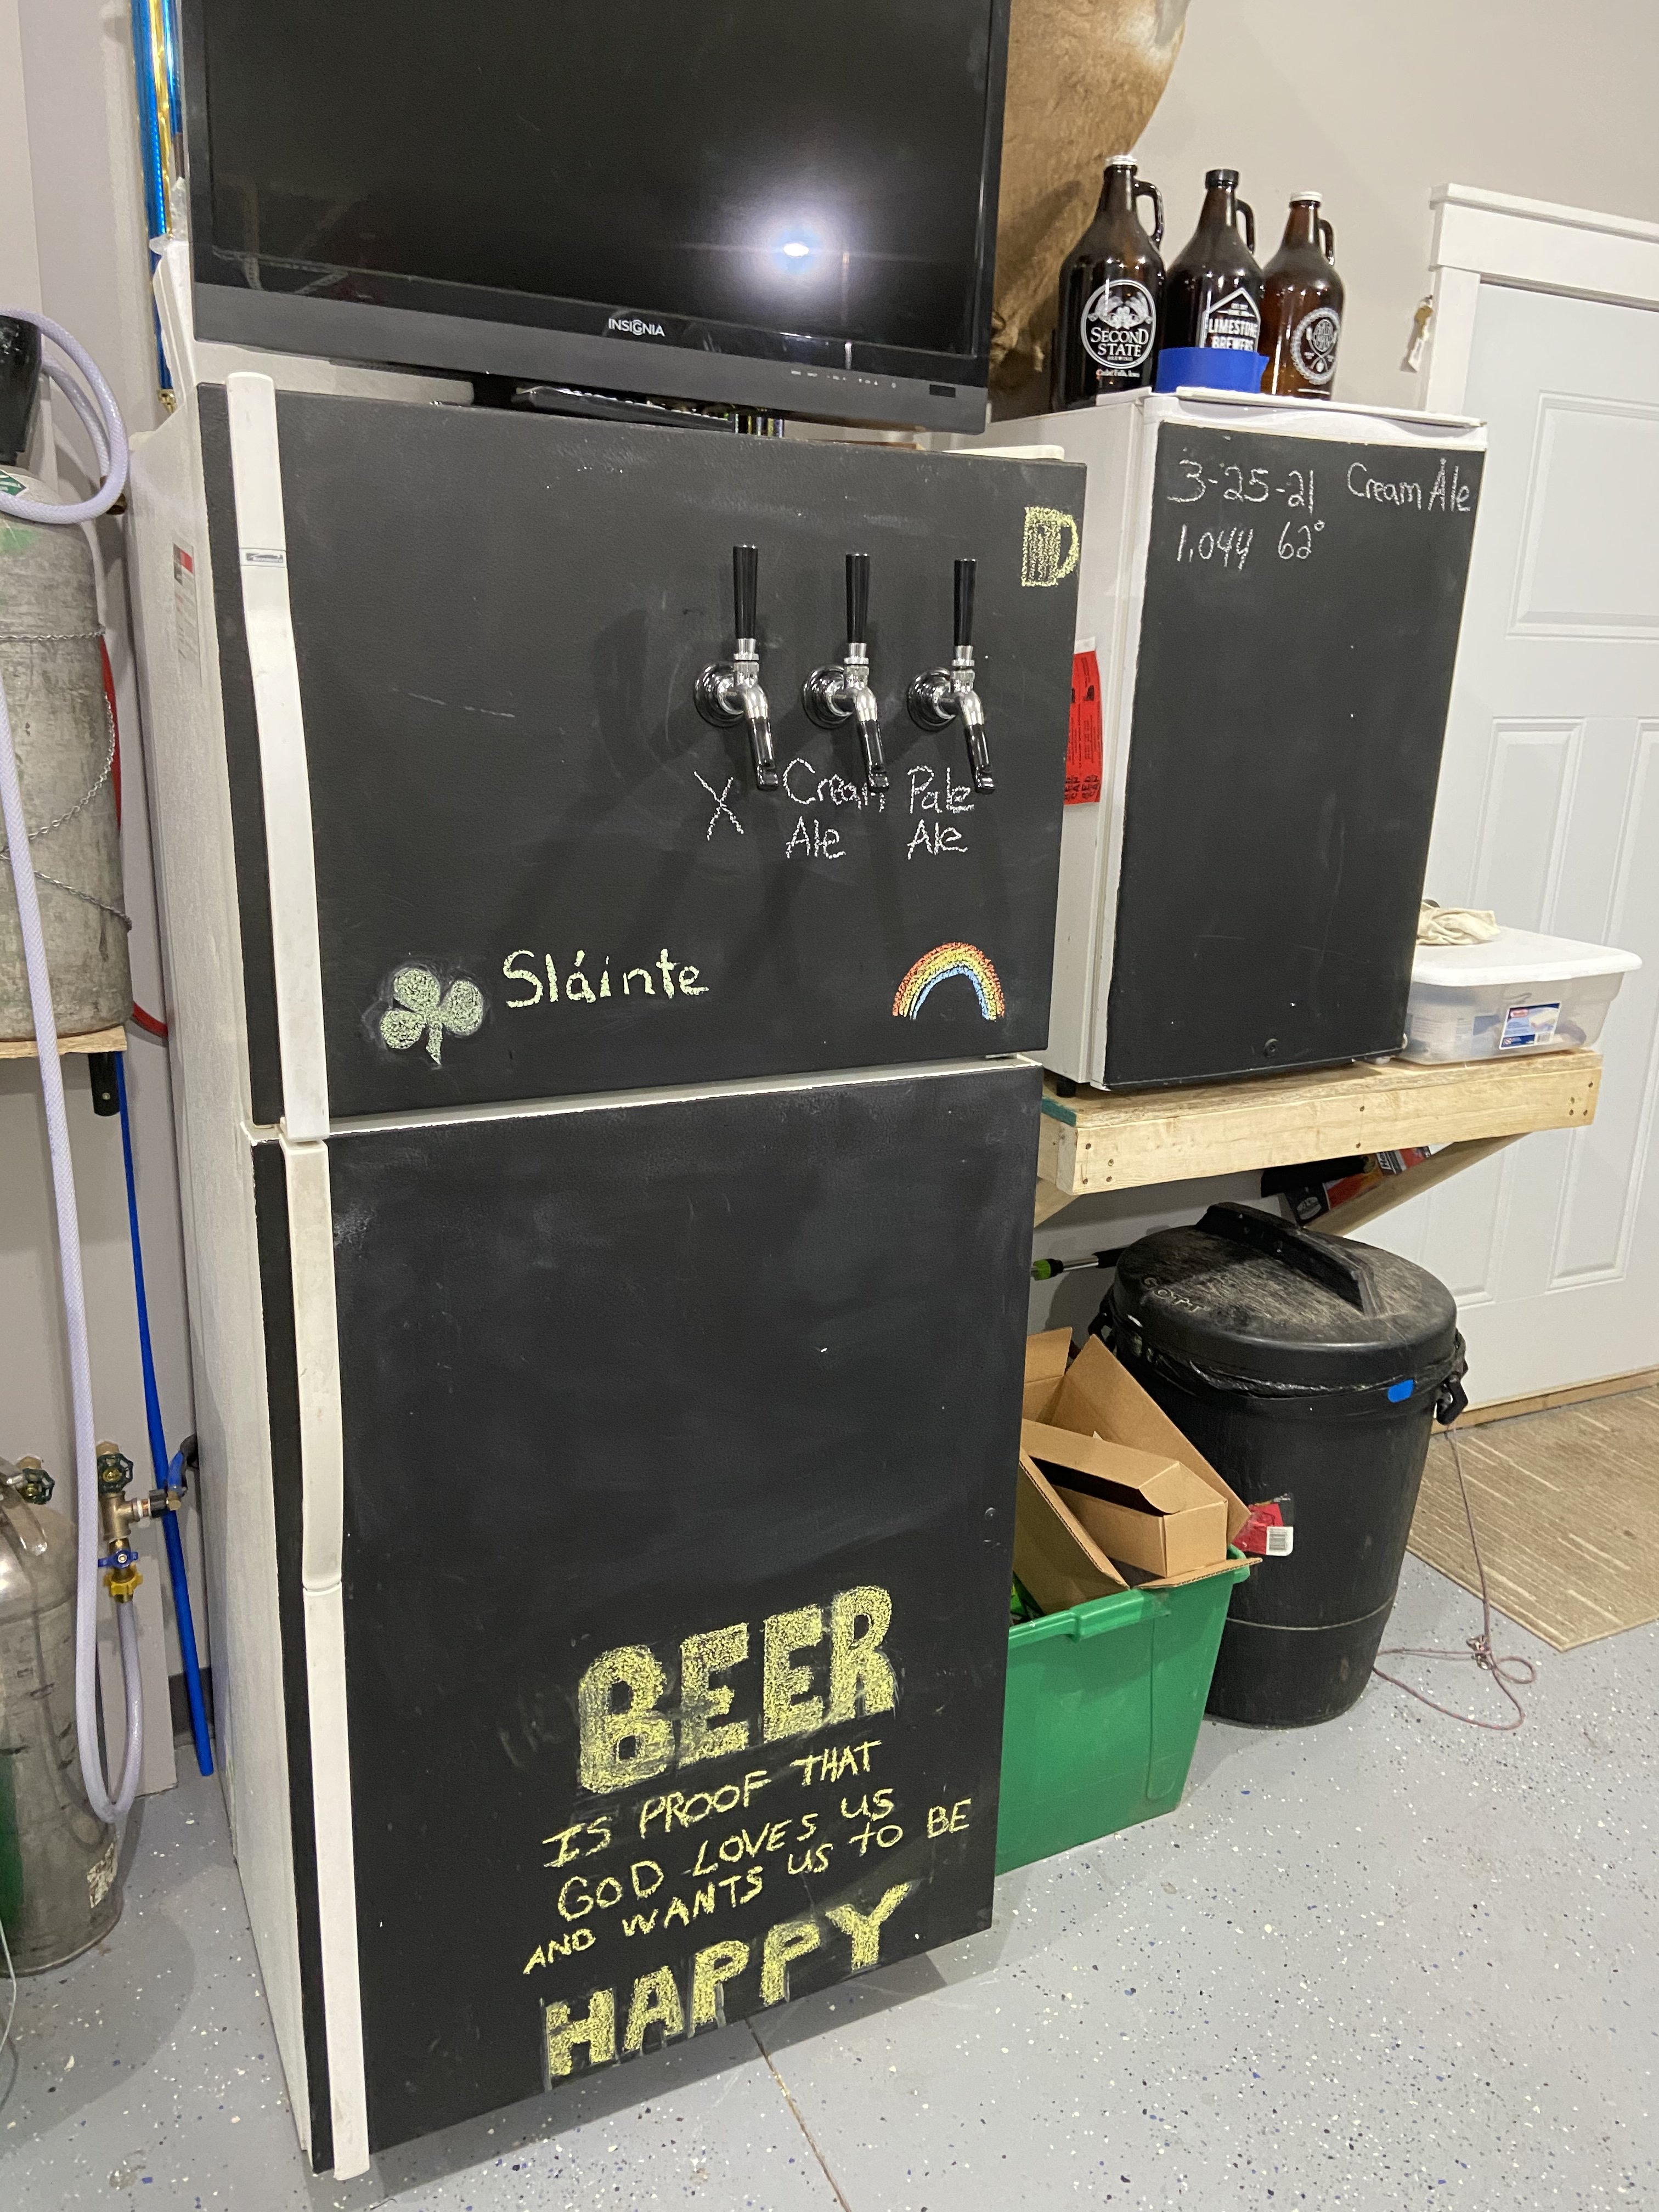
fridge1_platform_sm.jpg


fridge2_platform_sm.jpg


fridge3_platform_sm.jpg


Cheers!
 
Following up to Uslackr and Neobrew and concerns about airspace etc. We have a similar freezer to the one Uslackr converted, I had lined it up as a keezer convert but wife decided food storage. Though I do have some room for my hops so some result there. Another fridge now purposed as kegerator . Picture will follow of that at some stage.
Some fridges and freezers have their Condensers on the back ( that dusty black grille ) this tended to be the old fridge way and also for commercial fridges and freezers. Keep this clean if you have one improves efficiency.
Modern fridges and freezers tend to build the condensers into the walls of the fridge or freezer, this keeps it all neat and tidy. But the condenser needs airflow to help it work. Insulating it with wood or improving your fridge insulation on the outside reduces the ability of the condenser to work and the other components will have to work harder and use more energy.
So drilling those holes over the grill is helping to keep the pump/ compressor cool but little else, the wood is actually holding heat in towards your freezer.

Have attached a couple of photos showing the condenser array taken with my FLIR camera for our freezer, and also for the side of my ferment fridge.
The areas that are glowing are also warmer to the touch.
Consequently better to have your insulation inside the freezer, but that " wood " spoil the look.

Also of note is that if you aren't putting your taps in the door ie side taps you have to be very careful to not hit these condenser pipes as that will finish your fridge or freezer.

Obviously your keezer works and looks good , but you may be using a lot more energy and shorten its' life.
flir_20210316T103718.jpgIMG_20210316_103757.jpgflir_20210316T103742.jpgIMG_20210316_103801.jpgflir_20210316T105952.jpg
 
What the heck is that? A giant dorm fridge?

Pictures of the inside might yield some more helpful advice.

Given what looks to be a fairly small footprint I'd suggest you bite the bullet and drill your CO2 through to the outside.

Heres a picture of the insides. 165cm inside hight and 50cm width, deep around 45cm.
 

Attachments

  • IMG_20210316_180940.jpg
    IMG_20210316_180940.jpg
    2.9 MB · Views: 183
AnttilLeh I like the vertical kegerator. You've got room in there for at least six kegs I would think ( based on my kegerator dimensions. Very imposing and anyway I'm not sure what a dorm fridge is, had beds in my dorm not fridges.
 
Not too many like this.
I cut out the bottom of the freezer, cause I didn’t need it to freeze stuff, and turned it into a big fridge, added a few taps and...perfect.
 

Attachments

  • 8BA217E7-CE80-41E3-A309-ED407780A1A4.jpeg
    8BA217E7-CE80-41E3-A309-ED407780A1A4.jpeg
    1.6 MB · Views: 273
  • 3E729DFD-7675-4E43-8790-E888F6C55FF8.jpeg
    3E729DFD-7675-4E43-8790-E888F6C55FF8.jpeg
    1.7 MB · Views: 272
Thanks to you all! This is the results of my first, hurried project.
 

Attachments

  • 20210412_160219.jpg
    20210412_160219.jpg
    1.9 MB · Views: 180
  • 20210412_160248.jpg
    20210412_160248.jpg
    929.8 KB · Views: 181
Pipes? Are you referring to the liquid lines? They are 10 feet I coiled up and stuck between keg and front of freezer. Not sure how to run them for best cooling? The Co2 lines I cut at 4,3, and 2 foot lengths.
 
I'm guessing the comment regarded the apparent diameter of the beer lines.
However, from this distance, they look like 7/16" OD solid PVC lines - eg: Bevlex 200 3/16" ID tubing - pretty much the old-school industry standard beverage tubing...

Cheers!
 
Ohhhh yes, LHBS recommended
I am about 3 weeks out from actually trying my first beer through it to see what my next set of problems are gonna be. Im hoping will be just fine.
 
@357 Home Brew
Just saw you'd cut out the bottom of the freezer. No pipework in there?

Did you know that before starting the hack or proceeded with caution?

My ferment fridge is a fridge freezer and freezer on top. I wanted to access the rapid cooling from the fan assisted freezer as it's either cooling or not on at all.
My freezer section has a metal base to it but I can't identify any cooling lines when I look at it with my FLIR camera.
 
Most top-freezer units have nothing but insulation and liners between freezer and fridge compartments - aside from the ducting (and often fan) typically at the back of the two spaces. Folks have carved out the interposer to fit small conical fermenters inside. Nothing like dedication to make something happen :)

Cheers!
 
20210715_112632.jpg
20210714_115856.jpg


Never posted a build thread for this...took a few weeks an hour or so each day.
Silicone caulked between the mitered edges and used corner braces to hold the structural load.
Lots of sanding and plastic wood to get the top surface of the redwood to be a flat profile. Then a few coats of polyurethane to make it non porous and reduce surface roughness. The lid seals like a boss.
Adhered collar with construction adhesive and also ran a bead of caulk around the inside and outside.
Used pink foam attached with construction adhesive and foil tape to improve surface durability (and guard against spills).
I was trying to avoid, but I eventually gave in and ran a Johnson temp probe thru the lid. That was after I almost ruined the built in thermostat trying to modify it (long story, I'm an idjit).
Still trying to think a way to get more space between these units for ventilation...garage is crowded right now.
 
View attachment 735783View attachment 735784

Never posted a build thread for this...took a few weeks an hour or so each day.
Silicone caulked between the mitered edges and used corner braces to hold the structural load.
Lots of sanding and plastic wood to get the top surface of the redwood to be a flat profile. Then a few coats of polyurethane to make it non porous and reduce surface roughness. The lid seals like a boss.
Adhered collar with construction adhesive and also ran a bead of caulk around the inside and outside.
Used pink foam attached with construction adhesive and foil tape to improve surface durability (and guard against spills).
I was trying to avoid, but I eventually gave in and ran a Johnson temp probe thru the lid. That was after I almost ruined the built in thermostat trying to modify it (long story, I'm an idjit).
Still trying to think a way to get more space between these units for ventilation...garage is crowded right now.
Looks great to me!!
 
Hello everyone!
I'm Rafael Maximo from Brazil. I'm a beginner homebrewer hahaha

As our friend @hfagner, I'm using your DIY controller too!!! It's really amazing!

See below my kegerator

It's a fridge of 130 liters
Wood table was homemaded (Safari Technique)
The tower is homemaded too. I made a internal heat exchanger (DIY too kkkkk) in order to mantain the beer line always cold!

If you wants any information, feel free to answer in this post!

Cheers!

1626790103997.png
1626790130961.png
1626790147810.png
 
I like how you segregated the Co2 with a security barrier, that prevents unnecessary fraternization. You dont want your beer to mingle with the wrong kind of crowd.
 
My old keezer has 9 taps. This is not enough, and a second keezer was needed. Clearly, what was called for was overkill.

Here is the new keezer:
IMG_1832.jpg

It's an Insignia 14.0 cf (NS-CZ14WH2) with 18 taps.

It's pretty much a bog-standard design, with a framing lumber box glued to the top of the freezer. The tap handles are labeled A through R, salt-water etched onto the stainless steel handles (from Amazon):
IMG_1833.jpg


Inside is all Duotight/EVABarrier (thanks to BrewHardware for stocking regulators and distribution blocks with flare fittings):
IMG_1834.jpg


There are 5 zones set by secondary regulators, varying carbonation levels for stouts, regular beers, highly carbonated beers, sodas, and still. Here's the other view:
IMG_1835.jpg


Mountable velcro ties (with grommets) are attached to the front panel with standoffs for neat hose management.

Note the keg-stacking widgets. There can be 8 stacks of two kegs each (one 3 gallon and one 1.75 gallon), plus two single kegs on the compressor, for 18 total.

Finally, the false bottom:
IMG_1836.jpg

Shown from the top. It's a swiss-cheese-cut plywood platform (can I tell you what a pain it is to cut 140-mm holes in 3/4" plywood with a hole saw and a hand drill?) on ~3" legs. Fans are mounted in three of the holes, the ones on the left and right blowing up, and the one in the center blowing down. The kegs make kind of a natural tunnel for the airflow.

Cooling down now with beer in it. Now for an 18-tap tap list...
 
Do you brew 3 gal and 1.75 gal batches? Or do you brew 5 gal and split it between two small kegs? If so, don't you then have the same beer on two taps?
I'm not being a smart a$$, Just curious as to the system you plan on to keep 18 kegs of various sizes full. If the goal is to have 18 taps, all serving beer, then It seems you would need at least 5-10 extra kegs for beer in various stages of conditioning, getting ready to serve. Also a separate fridge would be needed with Co2 capabilities to condition these kegs, or at some point one or several of those taps will be out of service.
Maybe I'm overthinking this, but with 18 taps you are indeed in the 1st World Problem level.
That said, I commend you on your build. Very adventurous.
 
No offense taken! This wouldn't work for everyone (or even most everyone), but it's perfect for how I brew (and drink.)

I brew 2.75 and 1.5 gallon batches. I also brew a lot of them -- if we go back into pandemic lockdown, probably 3 batches a week. I do split 2.75s into two batches sometimes, but only if there's a variable I'm exploring: type of yeast or hops, usually, so not only is it not (exactly) the same beer, but I want to be able to side-by-side them on two taps to see the differences.

Some batches get bottled. I'm starting to have 1 L bottles piling up.

At any given point, one or several taps will indeed be out of service when I'm conditioning or carbonating. And 4-6 taps will be reserved for things like ice tea, ice coffee, and soda. Between the two keezers, I'm still hoping to have ~40 gallons of beer on ~20 taps.

The real (first world) problem is that I just don't drink it or give it away as fast as I can make it.
 
I understand a bit better now. That may indeed be the solution for all that small brewing. I don't think I could put up with all the cleaning involved. Thats alot of keg cleaning. It would seem that just when you get a beer conditioned properly, the keg blows.
I have a 9 keg system, with 8 in the keggerator, and one waiting, and four fermenters full. When a keg blows, everything moves up one, and its time to brew. However I only have three taps on the three that are conditioned perfectly. I can move them around if I need to lay out a tasting flight, but normally, its just the three. That's about all the work I can handle. Cheers.
 
I see three taps. Do you have room for three kegs? Looks tight, especialy with the Co2 cylinder in there. Nice build. Should dispense beer alright.
Yeah it’ll hold a 3rd on the right side where the CO2 tank is. Just have to move things around to get it all to fit. It’s super tight.
 
Back
Top