blaster_54738
Well-Known Member
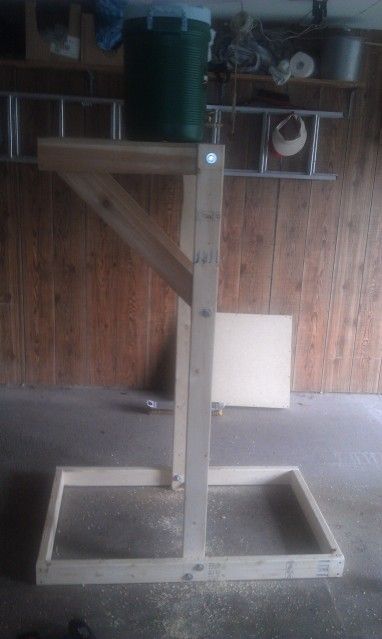
Nice setup...do you have plans or materials list? I like the idea of folding it up to store when not using it. Space is at a premium in the garage!
I can try and scan my plans and post them.
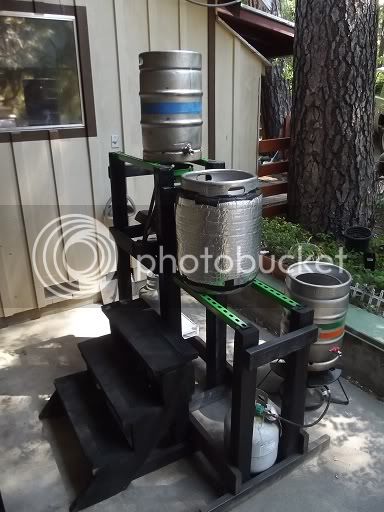
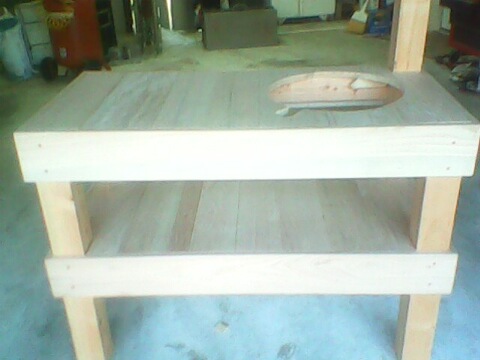
The base is 2x4's and is 4' x 2'6".
The uprights are 2x4's as well and I think I ended up making it 5'6" tall.
The platforms are made with 1x4's and measure 2'x2'.
The side supports are 1x4's I just cut to fit. These have to be removed for it to fold.
I used 1/2"x4" bolts for all of it. Base separates and stores really nice.


![Craft A Brew - Safale S-04 Dry Yeast - Fermentis - English Ale Dry Yeast - For English and American Ales and Hard Apple Ciders - Ingredients for Home Brewing - Beer Making Supplies - [1 Pack]](https://m.media-amazon.com/images/I/41fVGNh6JfL._SL500_.jpg)