sticky_iks
Member
- Joined
- Aug 1, 2014
- Messages
- 5
- Reaction score
- 1
In the Philippines, Stealthcruiser. Craft beers are still pretty new here and we only have a handful of active brewers but we're chugging along. Thanks guys, I think I'll take my chances with a cheap direct drive and hope it lasts a year or until I can get a quality belt-driven one. Oh, and happy international IPA day!


![Craft A Brew - Safale BE-256 Yeast - Fermentis - Belgian Ale Dry Yeast - For Belgian & Strong Ales - Ingredients for Home Brewing - Beer Making Supplies - [3 Pack]](https://m.media-amazon.com/images/I/51bcKEwQmWL._SL500_.jpg)


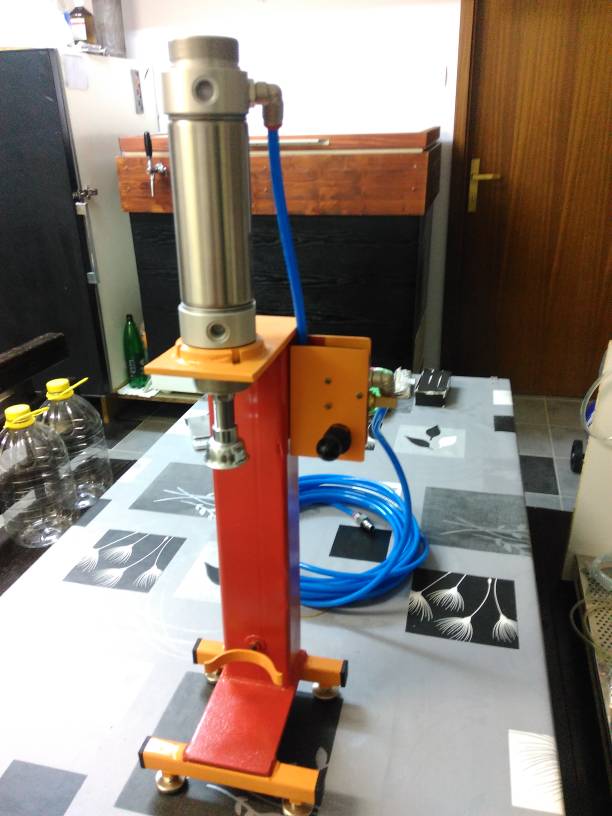
 . I will probably run it at more like 80-90psi when bottling a whole batch.